What Oregon Strawberry Beds Need Right After The Last Harvest
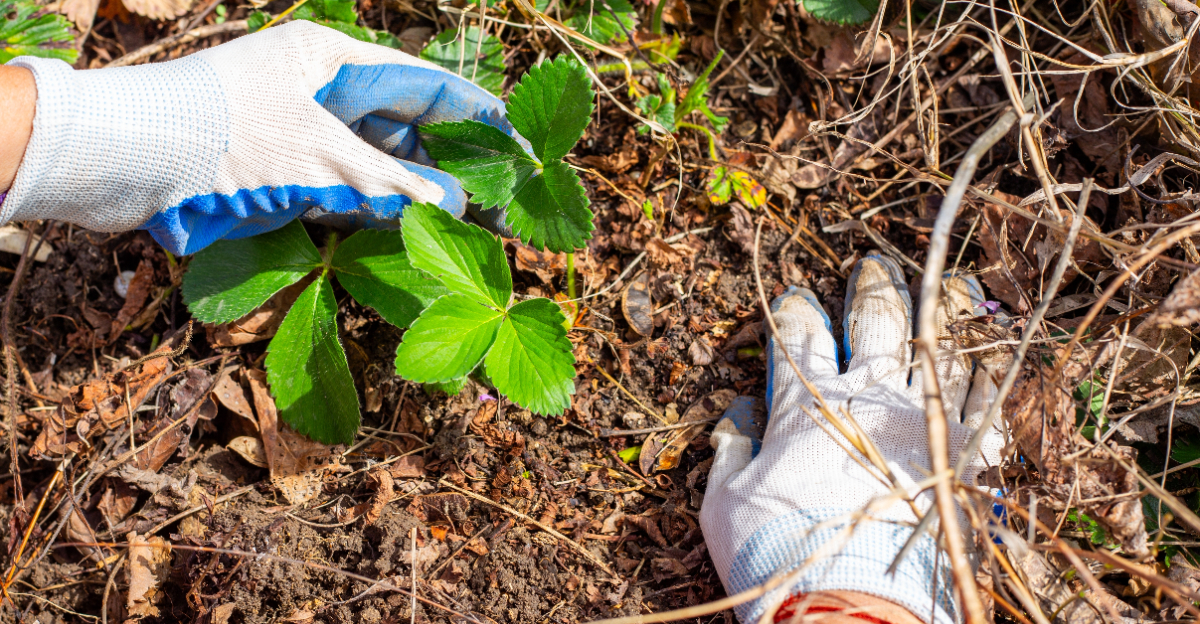
Your strawberry bed spent the whole season turning sunlight into sweetness. It fed pollinators, filled your baskets, and shaped every summer breakfast. Now the last berry is gone and the rows look ragged and overgrown.
What you do in the coming weeks sets up next season’s harvest, full baskets or a patch that stays mostly leaves. Oregon’s damp, mild autumns push mold and crowding fast when a bed sits untouched.
A handful of targeted moves right now can flip that outcome. Picture a trim, a clear-out, and a nutrient boost, all handled in one focused afternoon.
These eight steps turn a tired patch into a strong foundation, one that wakes up hungry and ready for next year’s harvest.
1. Mow The Foliage Down To Two Inches Above The Crown
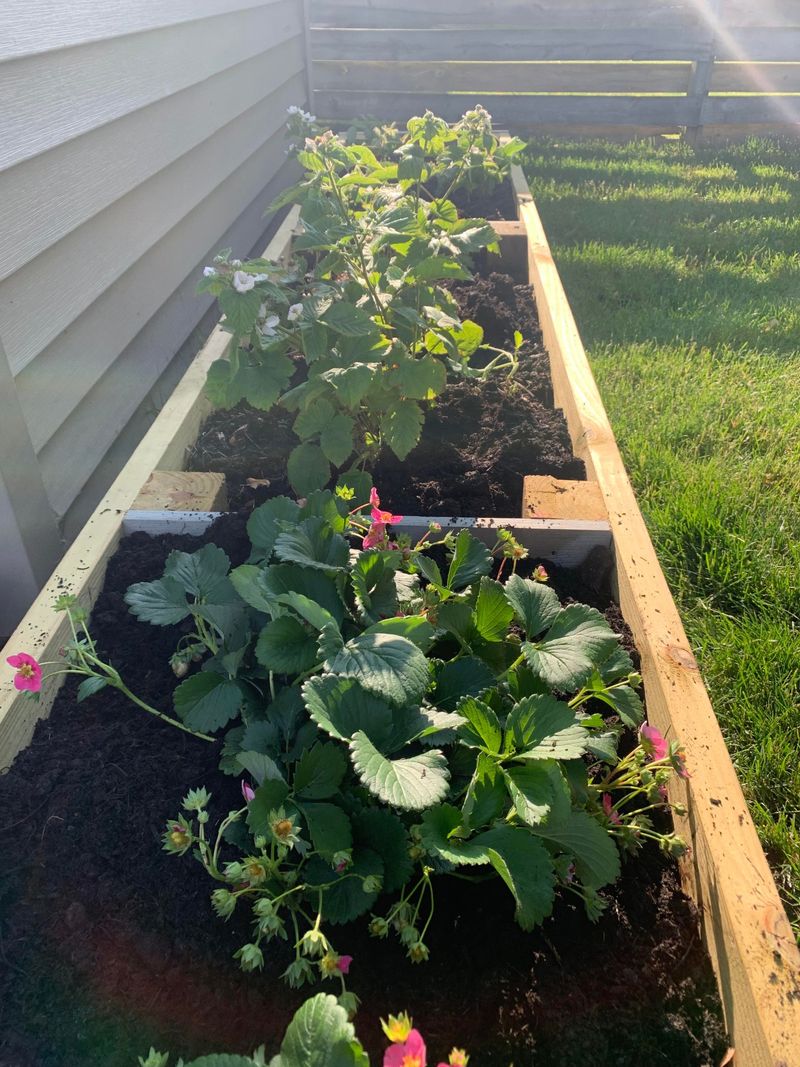
Grab your mower and set the blade height before you do anything else. Cutting the old foliage down to two inches above the crown is the single most powerful reset you can give your patch after the last harvest.
This step removes tired, disease-carrying leaves fast. It also lets sunlight reach the soil and encourages a flush of healthy new growth before fall rains arrive.
A lot of gardeners hesitate here because cutting plants feels harsh. Trust the process. Strawberry crowns are tough, and a clean mow actually reduces stress on the plant by removing the leaves it has to support.
Set your mower deck carefully. Two inches is the target. Go lower and you risk slicing into the crown, which can invite rot and slow regrowth significantly.
If your bed is small or awkward to mow, a pair of sharp hedge shears works just as well. Cut in one smooth pass and move on quickly.
Timing matters more than most people realize. Mow within a week of picking the final berry. Waiting too long lets old foliage become a breeding ground for fungal spores that thrive in Oregon’s humid summer air.
After mowing, step back and look at the bed. It should look short, even, and surprisingly tidy. That clean slate is exactly what your strawberry plants need to push out strong new leaves and build energy for the season ahead.
2. Rake Away Old Leaves And Debris Right Away
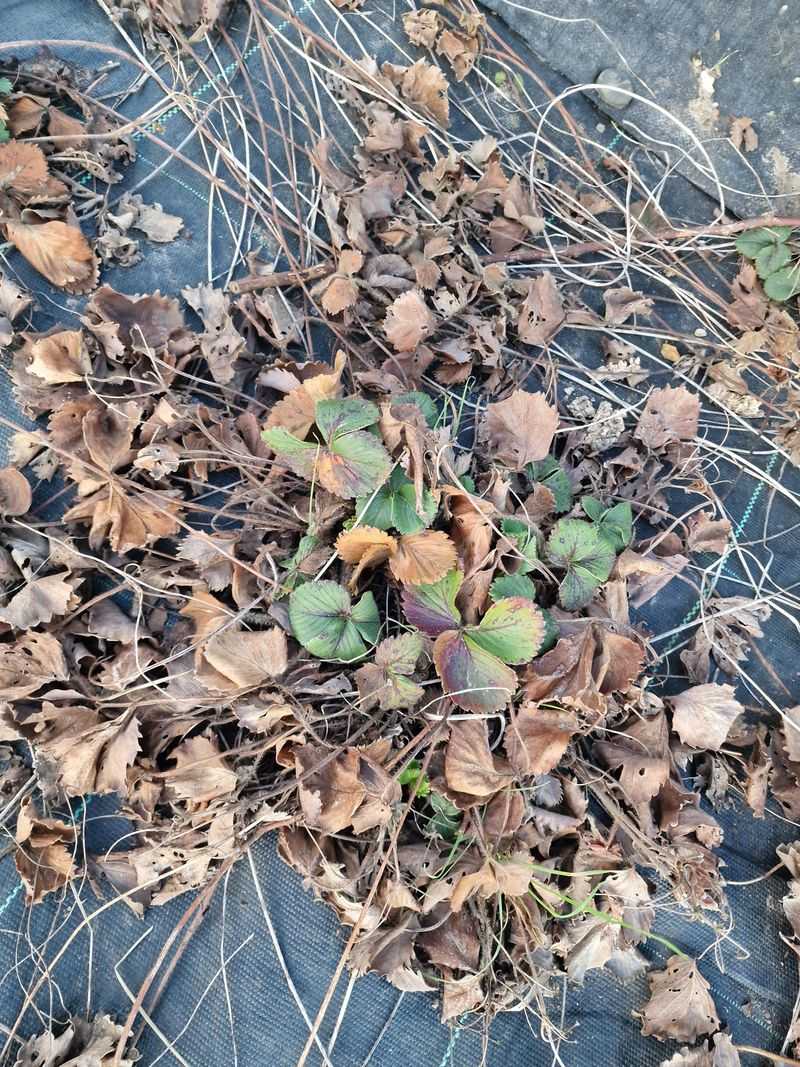
Right after mowing, the ground looks like a mess of clippings and old stems. Do not leave that pile sitting there. Raking away all the debris immediately is one of the fastest ways to protect your plants from disease pressure.
Old leaves carry fungal spores, insect eggs, and bacteria. Leaving them on the soil surface gives those problems a warm, moist place to multiply before fall even begins.
Use a lightweight leaf rake or a hand cultivator for tight spots between plants. Work quickly and gather everything into a pile at the edge of the bed for easy removal.
Here is a question worth asking: can you compost the clippings? Only if your pile runs hot enough to break down pathogens. If you are unsure, bag the debris and send it out with yard waste instead.
Your Oregon Garden Changes Every Week. Your Plan Should Too.
Gardening in Oregon changes quickly throughout the season. Every Friday you’ll receive a simple weekly plan showing exactly what to plant, prune, fertilize, harvest, and protect so you never miss the right timing.
Clearing the surface also gives you a clear view of your plants. You can spot crowns that look damaged, soil that has crusted over, or runners that are already reaching out in new directions.
Freshly raked beds also dry out faster after watering, which helps reduce the gray mold that loves Oregon’s cool, damp evenings. Air circulation at soil level does more to prevent disease than most gardeners realize.
Think of this step as setting the table for everything else you are about to do. A clean bed absorbs fertilizer better, accepts new mulch evenly, and gives your plants the open space they need to bounce back strong.
3. Narrow Overcrowded Rows To Clear Plant Strips
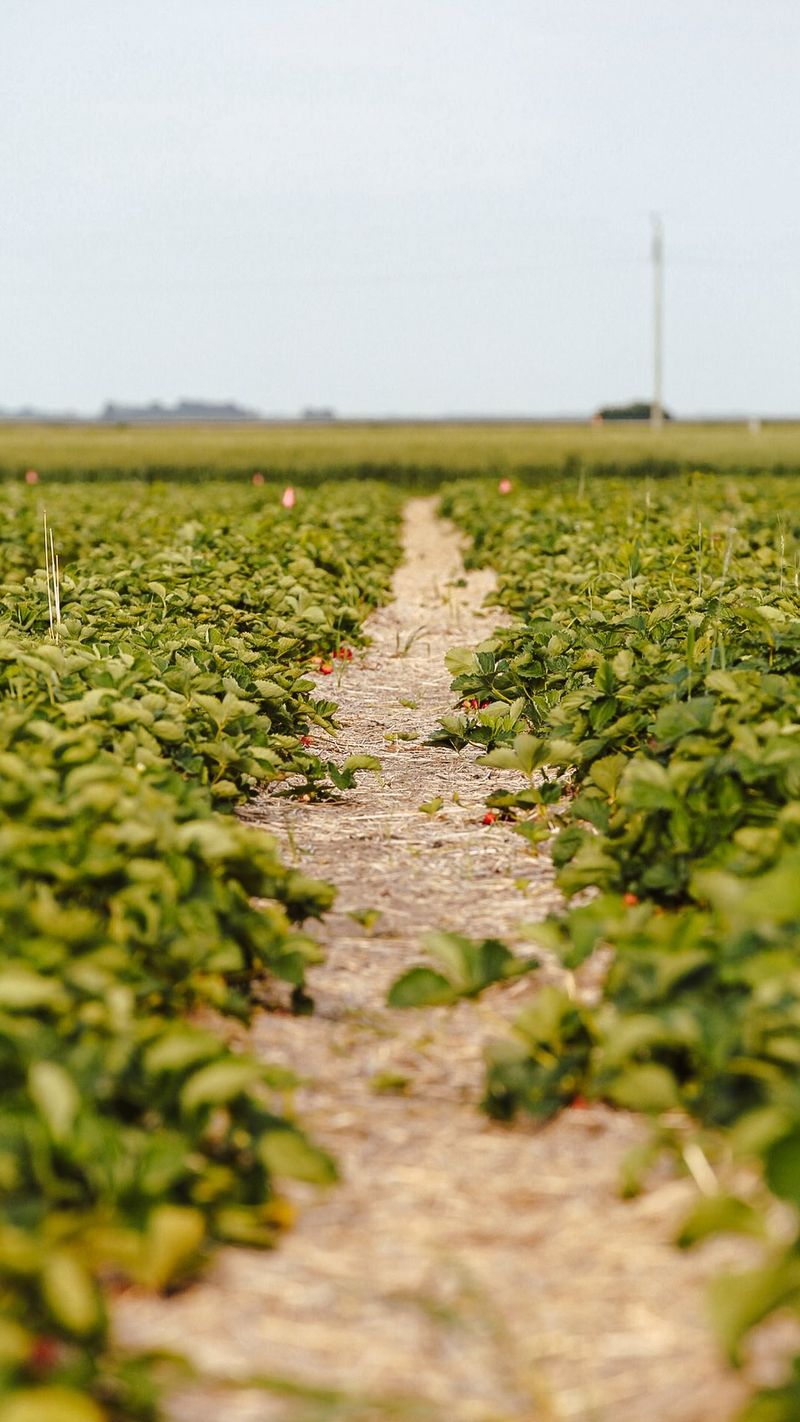
Strawberry beds get wild fast. Runners spread in every direction, and by the end of harvest season, a tidy row can look like a tangled green mat.
Narrowing those rows back into clear plant strips is one of the most satisfying tasks in the whole post-harvest routine. The goal is a strip about eight to twelve inches wide.
This width gives each plant enough room to breathe, grow, and send energy into fruit production rather than competition with its neighbors. Use a sharp hoe or a flat spade to cut along both edges of the row. Slice through runners and unwanted plants firmly.
Do not wiggle or drag. Clean cuts heal faster and disturb the soil less. A bed that stays overcrowded produces smaller fruit.
Air cannot move through a packed row, and moisture just sits there, inviting botrytis and other fungal problems that love the Willamette Valley’s humid summers. After narrowing, the removed plants do not have to go to waste.
Healthy young runners can be potted up and shared with neighbors, planted in a new bed, or kept in pots to replace any plants that struggle next spring. Thinned rows also make every other task easier.
Fertilizing, watering, and checking for pests all go faster when you can actually see what you are working with. A well-narrowed bed looks almost bare at first.
By mid-fall, it will be lush, organized, and ready to deliver a much stronger performance in the coming year.
4. Keep Only The Strongest, Youngest Plants
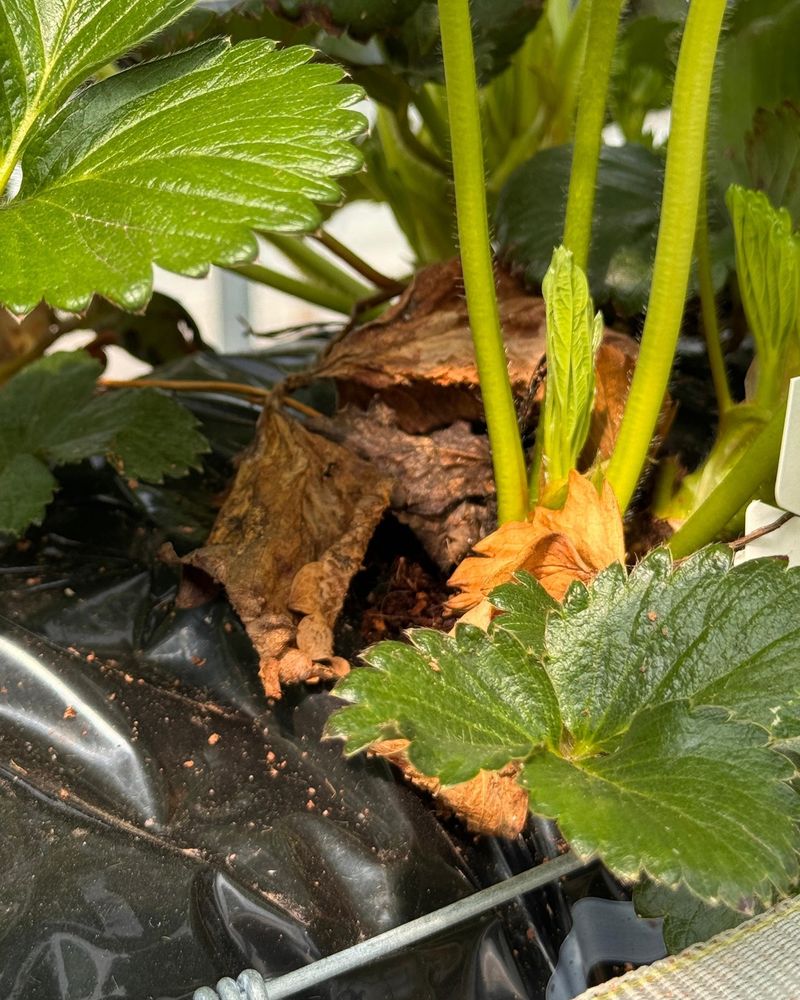
Not every plant in your bed deserves a spot for next season. After narrowing the rows, walk the bed slowly and evaluate each crown with a critical eye. Keeping only the strongest, youngest plants is how you build a bed that actually performs.
Older crowns, usually more than two years old, produce fewer berries and take up space that a vigorous young plant could use. They often look woody, dark, and slightly sunken compared to the firm, pale green crowns of younger plants.
Pull the old ones out by hand or loosen them with a trowel. If the crown resists, that woody root system has been there too long. Make the cut and move on without second-guessing yourself.
Young runners that rooted during the current season are your best candidates for keeping. They are fresh, disease-free, and full of potential. A bed full of one-year-old crowns will almost always outperform a mixed-age patch.
Spacing matters here too. Aim for one plant every eight to ten inches within the narrowed row. Crowding even good plants reduces airflow and fruit size by the following summer.
Check each selected plant for signs of damage, crown rot, or unusual discoloration. A plant that looks off now will not improve over winter. Replace questionable crowns with healthy potted runners if you have them available.
Selecting the right plants now feels like a small decision. Come June, when your bed is loaded with plump berries, you will know it was one of the most important choices of the whole season.
5. Feed The Bed With A Balanced Fertilizer
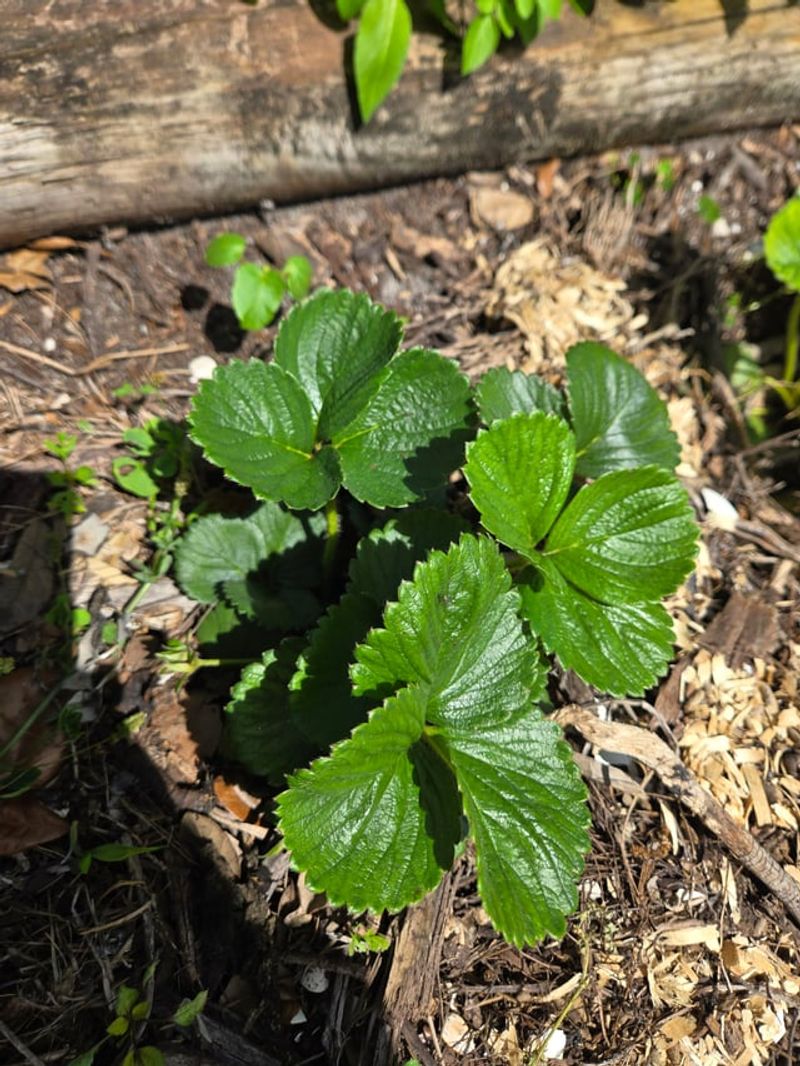
Strawberry plants are hungry after a full harvest season. They pushed every bit of stored energy into producing fruit, and now the soil needs restocking.
Feeding the bed with a balanced fertilizer right after cleanup gives plants the nutrients they need to recover and build strong crowns before winter. A 10-10-10 granular fertilizer works well for most home strawberry patches.
The equal parts nitrogen, phosphorus, and potassium support leaf regrowth, root development, and overall plant resilience without pushing too much leafy growth too fast. Scatter the granules evenly across the bed at the rate listed on the package.
Do not guess on application rates. Too much nitrogen in late summer can cause lush, soft growth that is vulnerable to frost damage later in the season.
Water the fertilizer in thoroughly right after applying. Granules sitting dry on the soil surface do nothing useful and can even burn exposed crowns if left in contact too long.
Organic options like fish meal or composted chicken manure work beautifully if you prefer to skip synthetic products. They release nutrients more slowly, which suits Oregon’s long, mild falls perfectly.
Avoid fertilizing too late in the season. Feeding after September can push new growth that will not harden off before the first frost arrives in the Willamette Valley or Coast Range foothills.
Think of this feeding as a recovery meal, not a growth booster. You are not trying to make the plants sprint. You are helping them rebuild quietly so they can hit the ground running next spring.
6. Water Deeply Through The Rest Of Summer
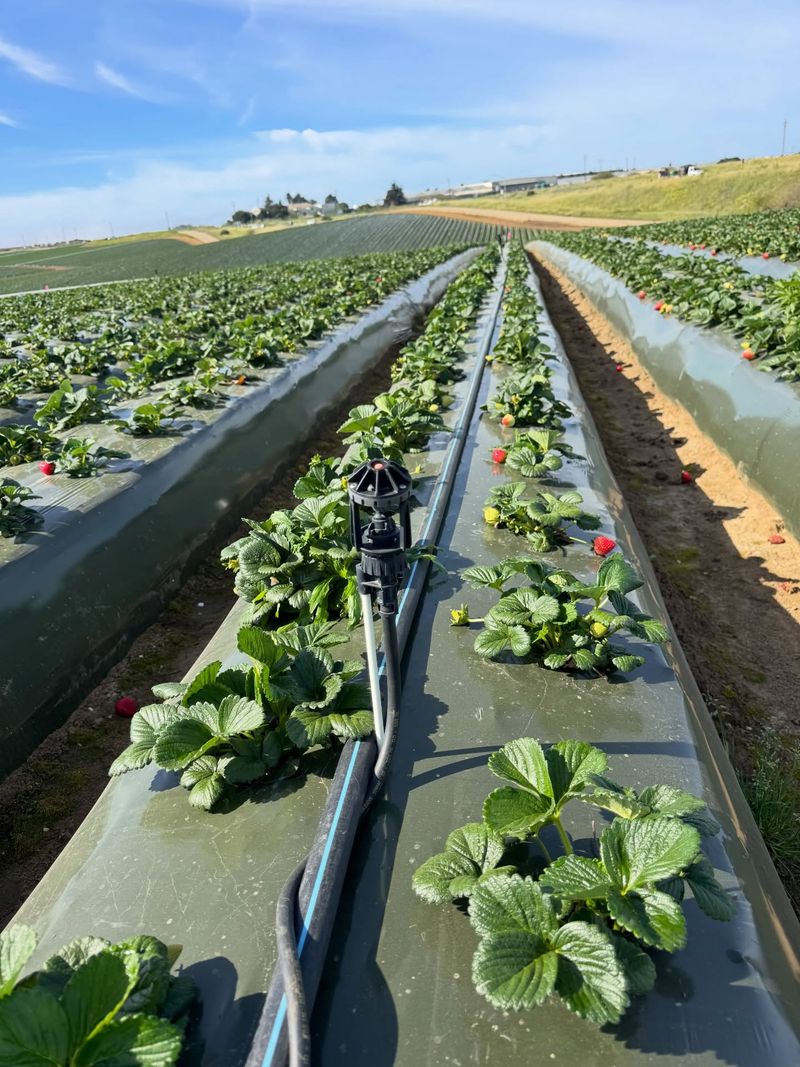
After all that cutting, raking, and fertilizing, your strawberry plants need one more thing immediately: water.
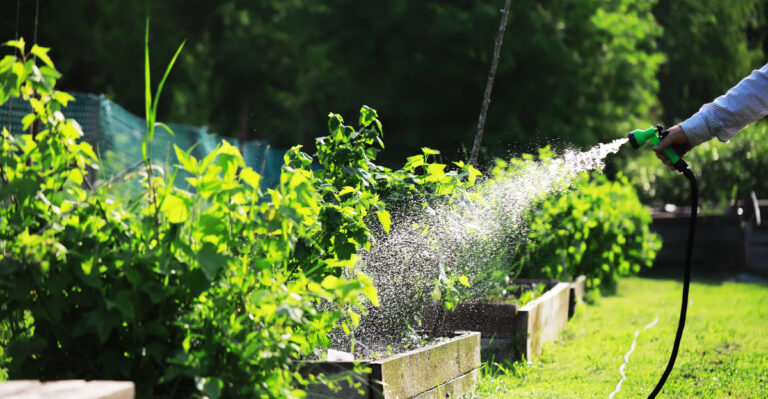
Deep watering through the rest of summer keeps the crowns hydrated during the recovery phase and helps newly applied fertilizer reach the root zone where it can actually do some good.
Shallow watering is a common mistake. A quick sprinkle wets the top inch of soil and encourages surface roots that are vulnerable to heat and drought stress.
Deep watering pushes moisture six to eight inches down, where established roots can find it reliably. Aim for about one inch of water per week throughout August.
Drip irrigation is the most efficient delivery method for strawberry beds. It keeps water off the foliage, which reduces fungal disease pressure and targets moisture directly to the root zone.
If you use overhead sprinklers, water in the morning so foliage dries completely before evening. Wet leaves sitting in cool night air are an open invitation for botrytis and powdery mildew to settle in.
Check soil moisture by pressing your finger two inches into the ground near a plant. If it feels dry at that depth, it is time to water, even if it rained lightly the day before.
Consistent moisture now builds the foundation for a strong harvest next year. Plants that stay hydrated through summer produce bigger crowns, stronger roots, and a heavier fruit set the following June.
7. Watch For Signs Of Verticillium Wilt
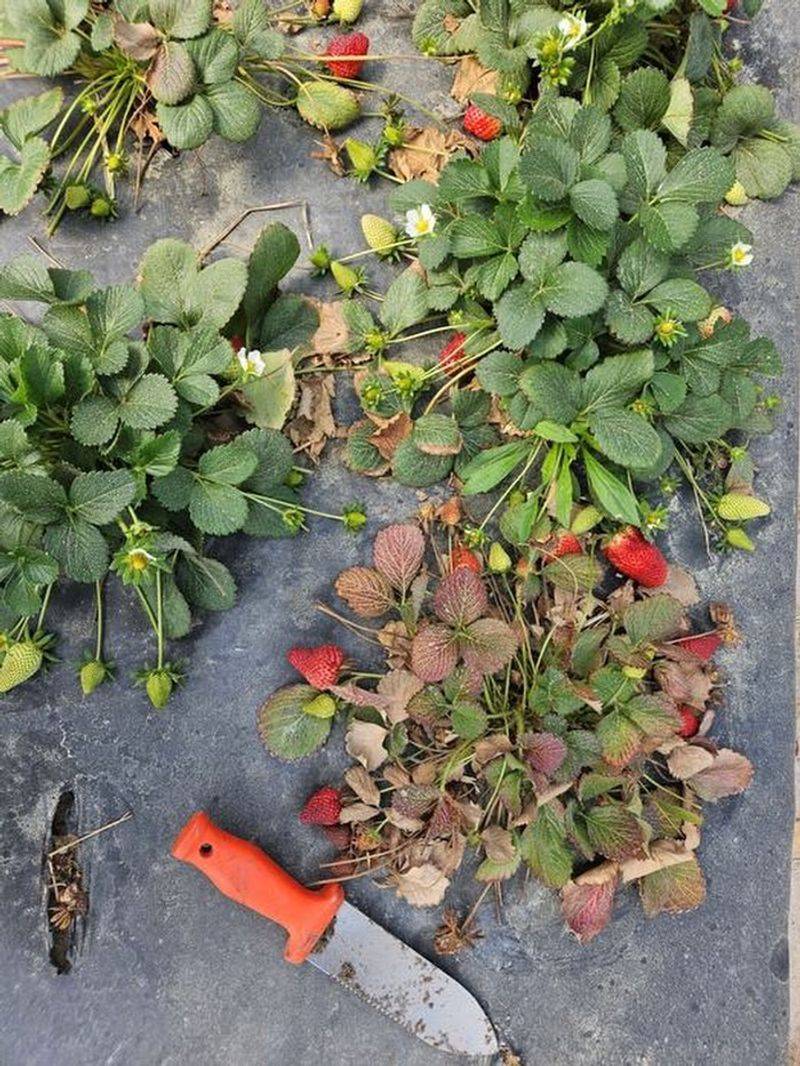
There is a silent threat lurking in many Pacific Northwest garden soils, and it goes by the name verticillium wilt. Watching for signs of this fungal disease right after harvest is one of the smartest protective moves you can make for your strawberry beds.
Verticillium wilt lives in the soil and spreads through the plant’s vascular system. It blocks the flow of water and nutrients from roots to leaves, causing the outer leaves to yellow, wilt, and collapse even when the soil is moist.
Look for plants where the older, outer leaves brown and wither while the newer center leaves look stunted or bluish-green. That pattern is a classic signal. Pull a suspicious plant and slice through the crown. A reddish-brown discoloration inside the tissue confirms the diagnosis.
Verticillium stays in the soil for years after it takes hold. The fungus survives in crop debris and spreads through contaminated tools, water, and transplants from infected sources.
Remove affected plants immediately and do not compost them. Bag them and dispose of them away from the garden to prevent the spores from spreading to healthy areas of the bed.
Rotate strawberry plantings every three to four years to reduce soil pathogen buildup. Avoid planting strawberries where tomatoes, peppers, or potatoes grew recently, since those crops carry the same fungal problem.
Catching verticillium wilt early saves the rest of your bed. A few removed plants now is far better than losing an entire planting next spring when the season should be hitting its stride.
8. Set Up The Bed For Next Year’s Runners
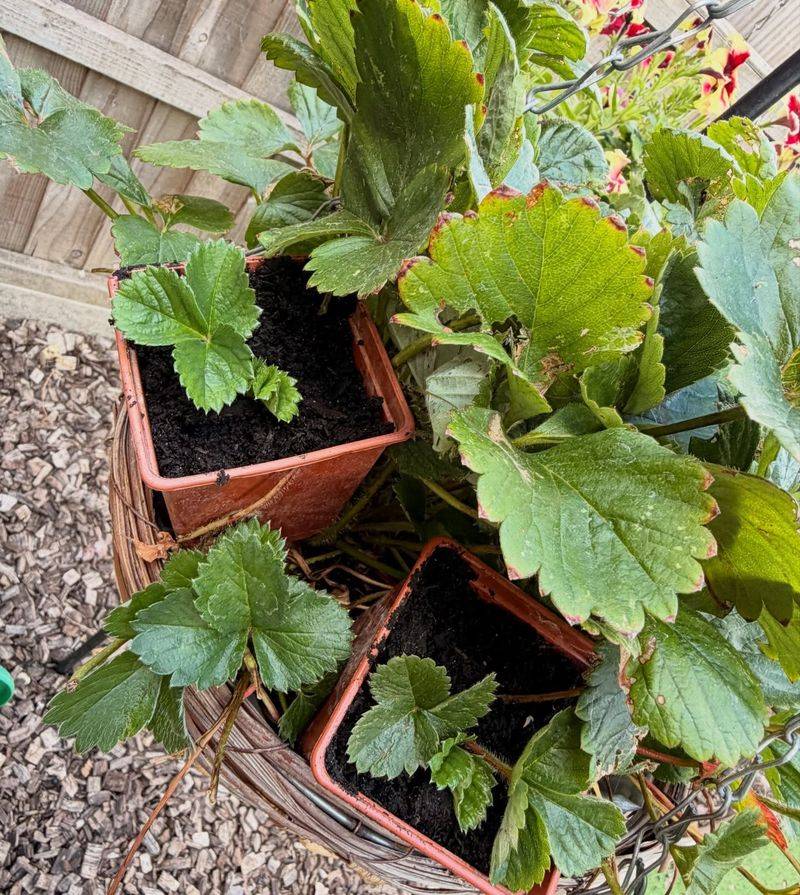
The last task after harvest is also the most forward-thinking one. Setting up your patch for next year’s runners is how experienced gardeners keep it productive season after season without buying new plants every spring.
Strawberry runners are the long, thin stems the plant sends out horizontally after fruiting. Each one can produce a new plant at its tip. Those tip plants root quickly in warm soil and become next season’s strongest producers.
Select runners from your healthiest, most productive plants. Not every runner is worth saving. Focus on the first daughter plant on each runner, closest to the mother plant. It roots faster and grows more vigorously than plants further down the chain.
Pin the tip of each chosen runner into a small pot filled with potting mix placed right beside the bed. Use a bent wire or a hairpin to hold the stem against the soil. Roots will form within two to three weeks.
Once the new plant is rooted and showing active leaf growth, snip the runner connecting it to the mother plant. The young plant is now independent and ready to overwinter or fill a gap in the bed.
Label your pots if you grow more than one variety. Keeping track of which runner came from which plant helps you make smarter planting decisions next spring based on actual performance from the current season.
Building your own runner supply costs almost nothing and keeps your rows full of young, vigorous plants year after year. That is how a great patch stays great for a long time.