What Successful New York Gardeners Do Before Winter Arrives
Many spring flowers refuse to bloom at all unless their bulbs spend roughly twelve cold weeks underground first. That chilly waiting room starts in late fall, which makes November far busier than most people expect.
Across New York, the ground often stays workable well into the month, especially near the coast and in cities. Upstate gardens freeze sooner, yet even there the soil usually gives you a few productive weeks.
Truth be told, I used to hang up my gloves after the last tomato came off the vine. My garden taught me a lesson the following spring, when bare patches showed exactly what I had skipped.
The smartest growers I know treat these gray, chilly weeks as a quiet head start. So what exactly are they doing out there while everyone else stays inside with the heat cranked up?
1. Fresh Mulch Goes Down After The Ground Freezes
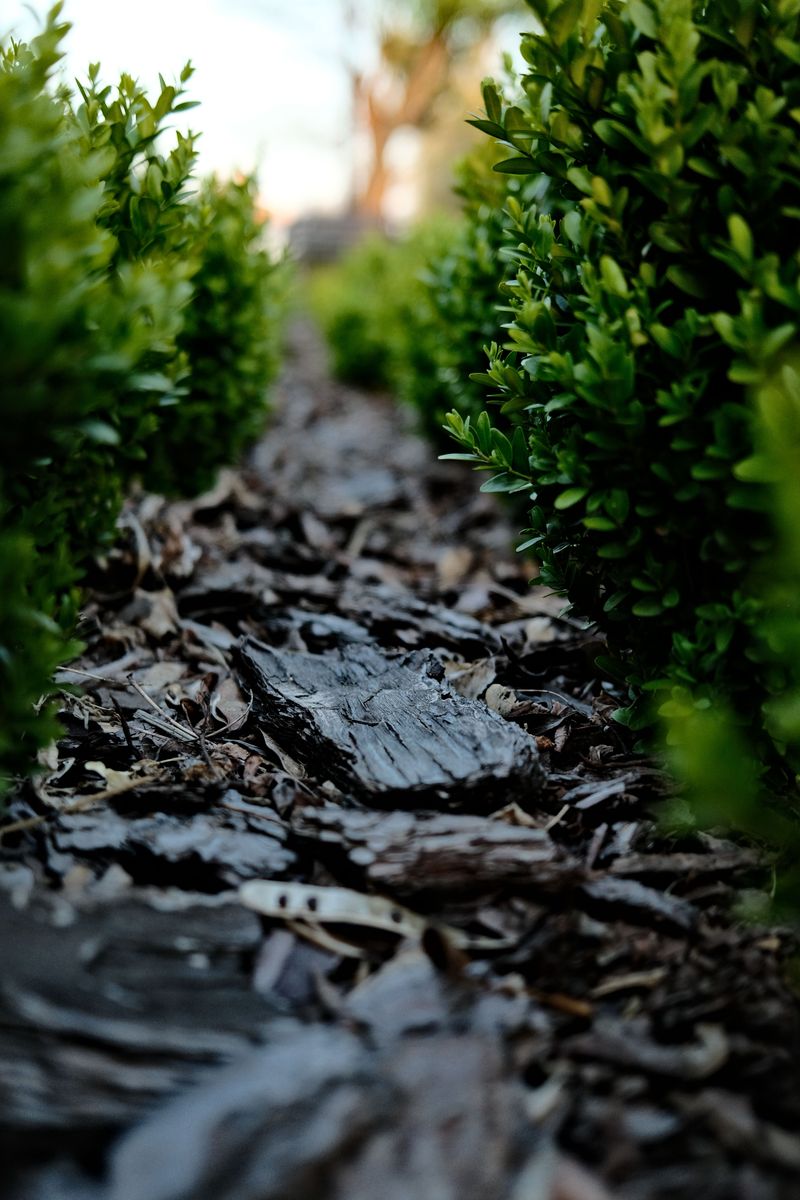
Mulching too early can actually invite trouble, because voles and mice love moving into a warm, fluffy layer. Experienced gardeners wait until the top inch of soil freezes, which often happens in late November upstate.
Funny thing is, the real goal of winter mulch is not keeping your plants warm at all. It keeps the soil steadily cold, so roots avoid the constant freezing and thawing that shoves them upward.
That upward shove is called frost heaving, and it often lifts shallow perennials like heuchera right out of the ground. Exposed roots then dry out in winter wind, and the plant struggles badly when spring finally arrives.
Shredded leaves and clean straw both work nicely, and your own yard probably supplies plenty of the first one. Aim for a layer around two to four inches deep over perennial beds and newly planted areas.
Keep the mulch pulled back a few inches from tree trunks and shrub stems so bark stays dry. Piled mulch against bark holds moisture and gives gnawing rodents a cozy hiding spot all winter long.
In my own yard, I save a few bags of leaves in October just for this job. They sit behind the shed until the ground stiffens, and then they go down in about ten minutes.
Come early spring, rake some of the mulch aside as the soil thaws and new shoots appear. Leave the rest in place to break down slowly and feed the soil through the growing season.
2. Tulip And Daffodil Bulbs Go Into Chilly Soil
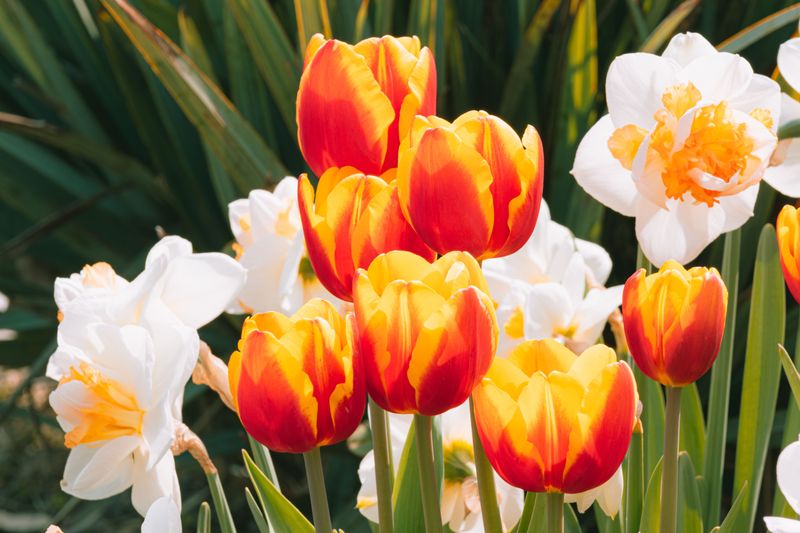
A tulip bulb looks like a plain brown onion, yet it holds a fully formed flower waiting for winter. That tiny bud needs a long cold spell before it can stretch up and open next April or May.
Cornell Cooperative Extension notes that bulbs can go in any time before the ground freezes solid. In much of the state, that window stretches through November, and downstate gardens often have even longer.
Planting depth matters more than most people realize, so follow a simple rule that works for nearly every bulb. Dig about three times as deep as the bulb is tall, with the pointy end facing up.
Daffodils deserve a special shout-out because deer and squirrels mostly leave them alone thanks to a bitter, toxic compound. Tulips, on the other hand, are basically candy for deer, so plant them closer to the house.
If you ask me, groups of ten or more bulbs look far better than neat single rows. Clusters create a bold splash of color, while rows can look a bit stiff and lonely in spring.
Water the bed once after planting so roots can start growing before the soil turns hard. Those early roots anchor the bulb and help it pull moisture as the weather swings back and forth.
Squirrels sometimes dig up fresh plantings, so lay chicken wire over the bed and cover it with mulch. Shoots push right through the openings in spring, and you can lift the wire once they appear.
3. Garlic Cloves Get Planted For Next Summer’s Harvest
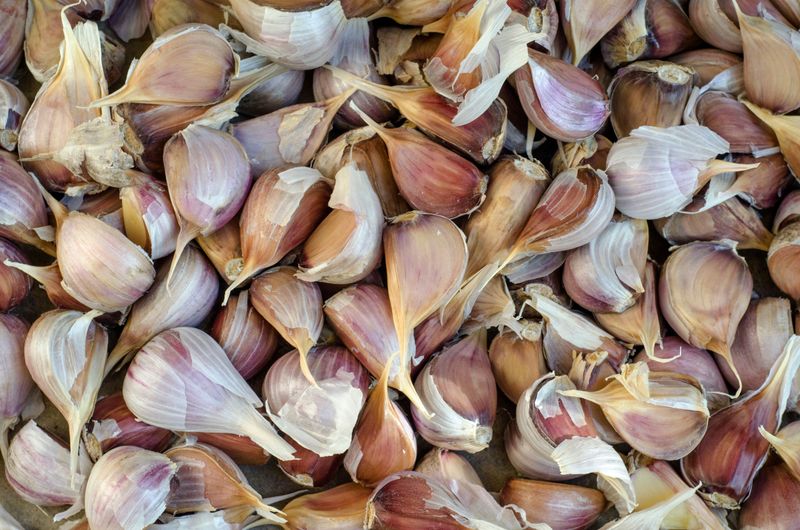
Every single garlic clove you push into the soil this fall can turn into a whole new bulb by July. That kind of return makes garlic one of the most satisfying crops a cold-climate New York gardener can grow.
Cornell recommends planting garlic in mid to late fall, generally a few weeks before the ground freezes hard. Early November fits that window across much of the state, especially in the Hudson Valley and farther south.
Hardneck types like Music and German White handle harsh winters well and form a curly flower stalk called a scape. Those scapes show up in June, and they taste wonderful sauteed in butter or blended into pesto.
Skip supermarket garlic, since it may be a softneck type from a warmer region or treated to slow sprouting. Buy certified seed garlic from a local farm or reputable supplier instead for stronger, better-adapted plants next season.
Plant the largest cloves pointy side up, about two inches deep and roughly six inches apart. Bigger cloves usually produce bigger bulbs, so save the tiny ones for tonight’s pasta sauce or roasted vegetables.
Honestly, my first garlic crop came out tiny because I planted it in heavy, compacted clay soil. Loose ground enriched with compost made an enormous difference the next year, and the bulbs grew noticeably larger.
Once the soil freezes, cover the bed with four to six inches of straw for insulation. Pull some back in spring when green shoots appear, and keep the rest around plants to hold moisture.
4. Coneflower And Black-Eyed Susan Seed Heads Stay Standing
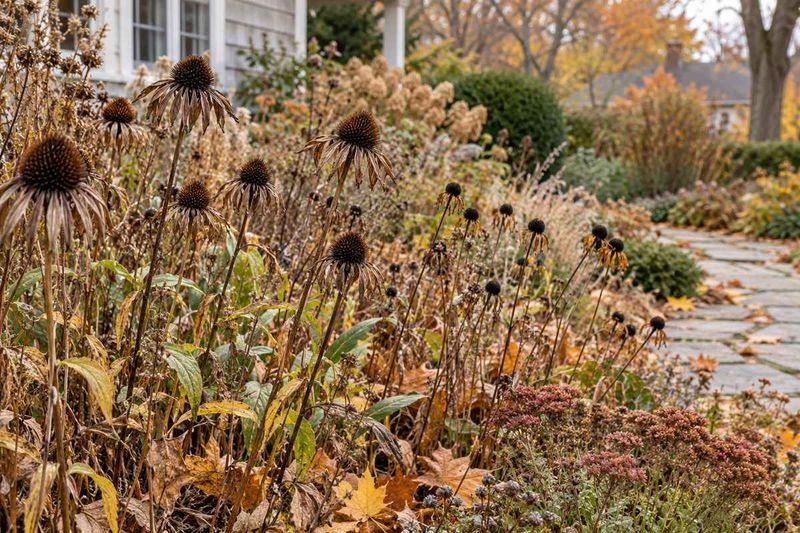
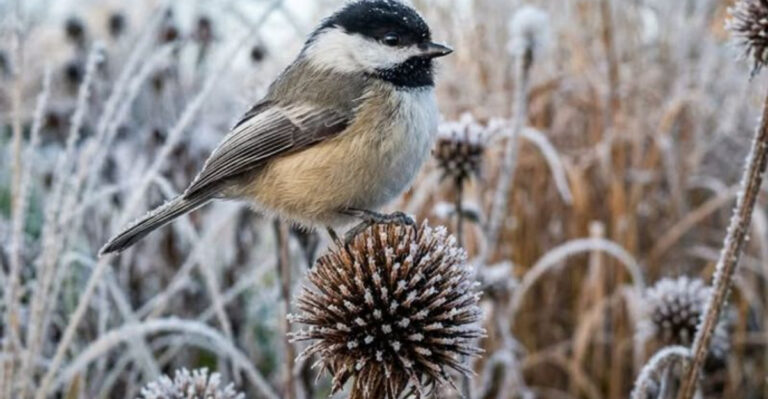
A goldfinch clinging to a bare coneflower stem might be the cheeriest sight in a gray November garden. Those spiky seed heads look scruffy to some folks, but small birds treat them like a free snack bar.
Smart gardeners leave many sturdy perennials standing through winter instead of cutting everything down to the ground. Coneflowers and black-eyed Susans offer seeds for birds, plus they add lovely texture when snow arrives.
Hollow stems also matter, since many native bees spend the winter tucked inside them as eggs or larvae. The Xerces Society suggests leaving stems standing and cutting them later, ideally to varied heights in spring.
Some plants really should come down now, though, especially those that struggled with disease this year. Bee balm and garden phlox covered in powdery mildew are worth cutting back and bagging for the trash.
Peonies belong on the cleanup list too, because their old leaves can carry botrytis blight spores into spring. Cut the stems near soil level and toss them out rather than adding them to your compost pile.
In my yard, the half-wild beds I leave standing attract far more chickadees and juncos than the tidy ones. Watching them hop between stems on a snowy morning makes the slightly messy look well worth it.
If neighbors raise an eyebrow, a small sign explaining your wildlife-friendly garden can start a friendly conversation. Plenty of people simply have no idea that those brown stems are doing valuable work all winter.
5. Evergreens Get One Last Deep Drink Before The Freeze
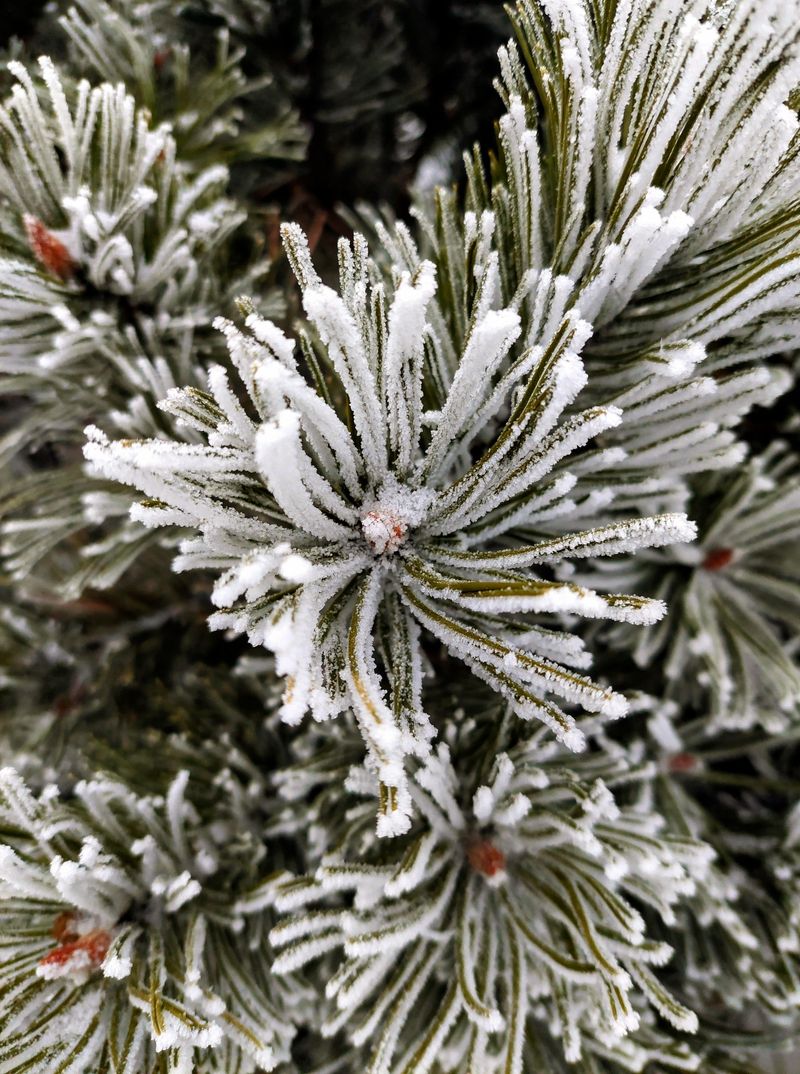
Evergreens keep losing water through their needles and leaves all winter, even when they look perfectly still. Once the ground freezes, roots cannot replace that moisture, and browning foliage often shows up by March.
That browning is called winter burn, and it commonly hits arborvitae, boxwood, rhododendrons, and young hemlocks in exposed spots. Strong winds and bright sun reflecting off snow make the problem worse on south and west sides.
The simplest defense is a slow, deep watering until the soil freezes, especially after a dry fall. Let a hose trickle at the base for a while, so moisture soaks down to the root zone.
Newly planted trees and shrubs need this attention most, since their small root systems reach only a little soil. Anything planted within the last year or two deserves an extra check with your finger in the dirt.
What surprised me most is how much a fresh layer of mulch over the roots helps hold moisture. It slows evaporation and keeps the soil from freezing quite as deep around those thirsty roots.
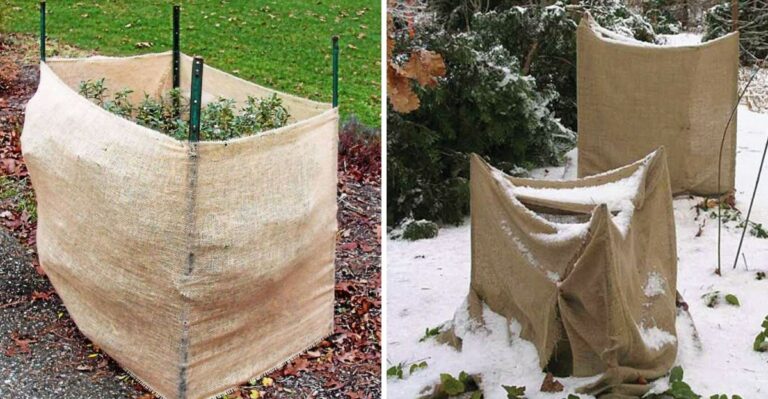
For plants in windy spots, a burlap screen on stakes blocks harsh gusts without trapping heat or moisture. Avoid wrapping burlap tightly around the shrub itself, because the plant still needs air flowing around its branches.
Upright arborvitae can split under heavy snow, so many gardeners loosely spiral twine around them for support. Remove the twine and burlap in spring once the hardest freezes pass, usually around April in most areas.
6. Wire Guards Protect Young Tree Trunks From Hungry Rabbits And Voles
Snow cover feels peaceful, but underneath it voles are busy tunneling and nibbling bark on young trees. By spring, a sapling can show a chewed ring around its base that cuts off its food supply.
That damage is called girdling, and a tree with bark chewed all the way around rarely recovers. Rabbits cause similar trouble higher up the trunk, especially when deep snow lets them reach farther than usual.
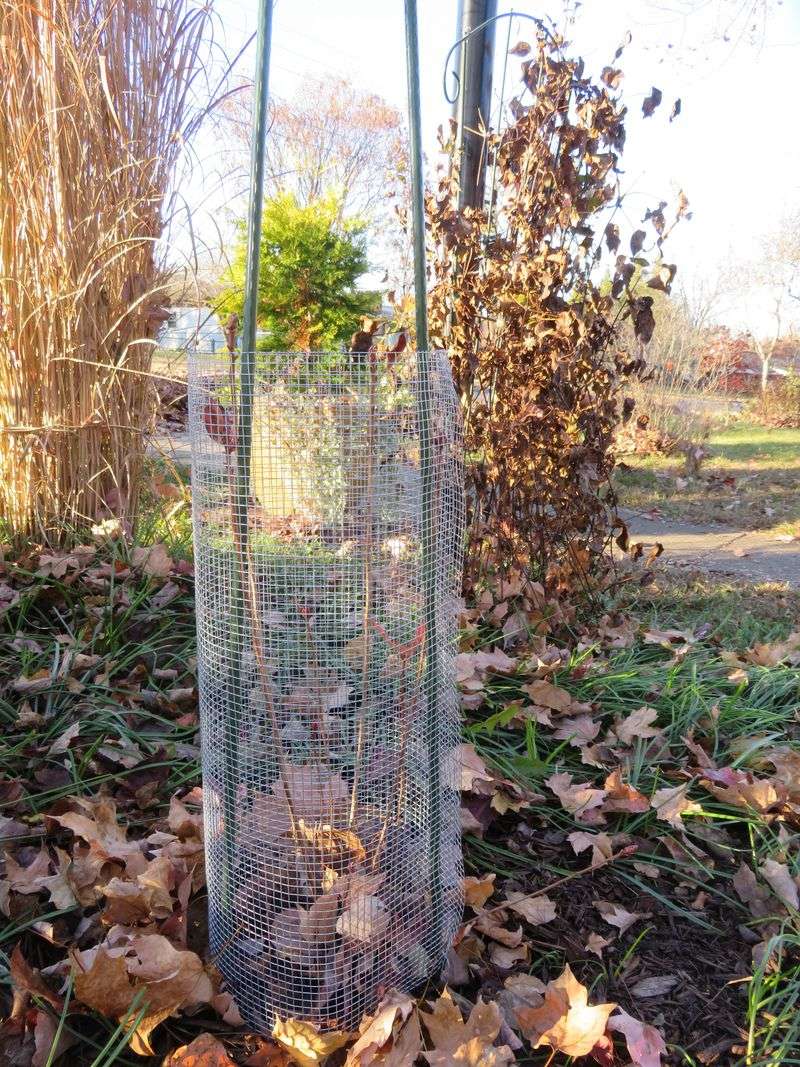
A simple cylinder of hardware cloth around the trunk solves most of the problem for just a few dollars. Choose quarter-inch mesh and leave a gap of an inch or two between the wire and the bark.
Bury the bottom edge a couple of inches into the soil so voles cannot slip underneath the guard. Extend the top at least eighteen to twenty-four inches above the expected snow line for rabbit protection.
Deer are another winter visitor, and they browse arborvitae, yews, and other shrubs when food runs short. A ring of deer netting or a sturdy fence around vulnerable plants offers the most reliable protection.
In my own yard, a single young apple tree lost a strip of bark before I learned this trick. Now every fruit tree under five years old gets a wire collar the same week I store the hoses.
Pull mulch a few inches away from trunks too, since voles love hiding in it while they feed. Check guards after big storms, because drifting snow and frost can shift them out of position.
7. Fallen Oak And Maple Leaves Turn Into Free Garden Gold
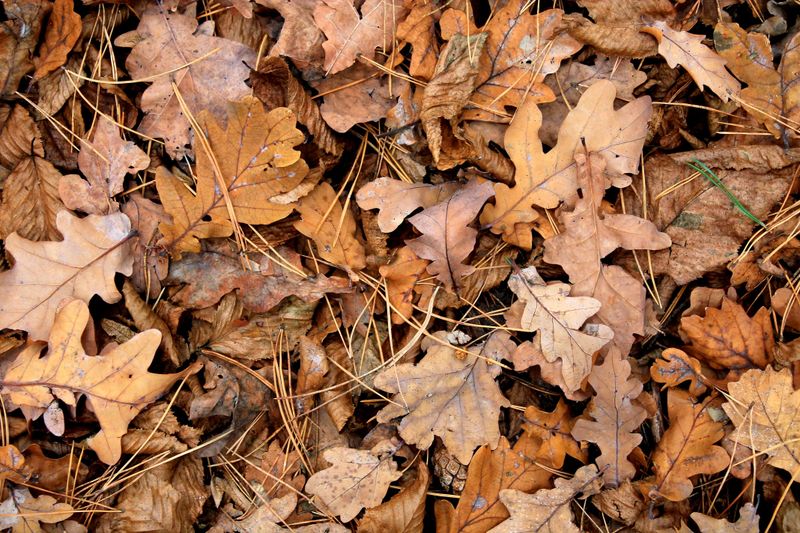
Bagging leaves and dragging them to the curb feels like a chore, yet those leaves are pure garden treasure. A single large shade tree can drop enough foliage to mulch several garden beds without costing you anything.
Running a mower over leaves on the lawn chops them into small pieces that break down quickly. Turfgrass researchers have found that a light layer of mulched leaves can return nutrients to the lawn instead of smothering it.
Thick, wet mats of whole leaves are a different story, since they block light and invite fungal problems. Rake heavy piles off grass and away from the crowns of low perennials before snow packs them down.
Extra leaves make wonderful leaf mold, which is basically crumbly, earthy compost made from leaves alone. Pile them in a simple wire bin, wet them down, and let fungi slowly do the work.
Within a year or two, that pile becomes a dark, spongy material that holds moisture beautifully in sandy soil. Mixing shredded leaves into empty vegetable beds now also adds organic matter that earthworms pull down over winter.
Personally, I love oak leaves because they resist matting and hold their shape longer as mulch. They also shelter overwintering caterpillar cocoons, so leaving some under trees supports the birds you feed next spring.
Diseased leaves, such as apple foliage covered in scab, belong in the trash rather than the compost pile. Removing them now reduces the fungus spores waiting to splash onto new leaves when spring rains return.
8. Dahlia Tubers Come Out Of The Ground For Winter Storage
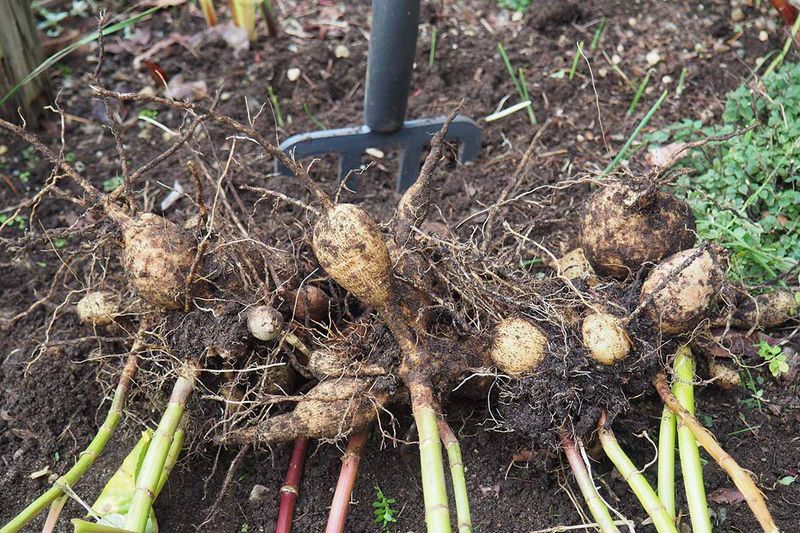
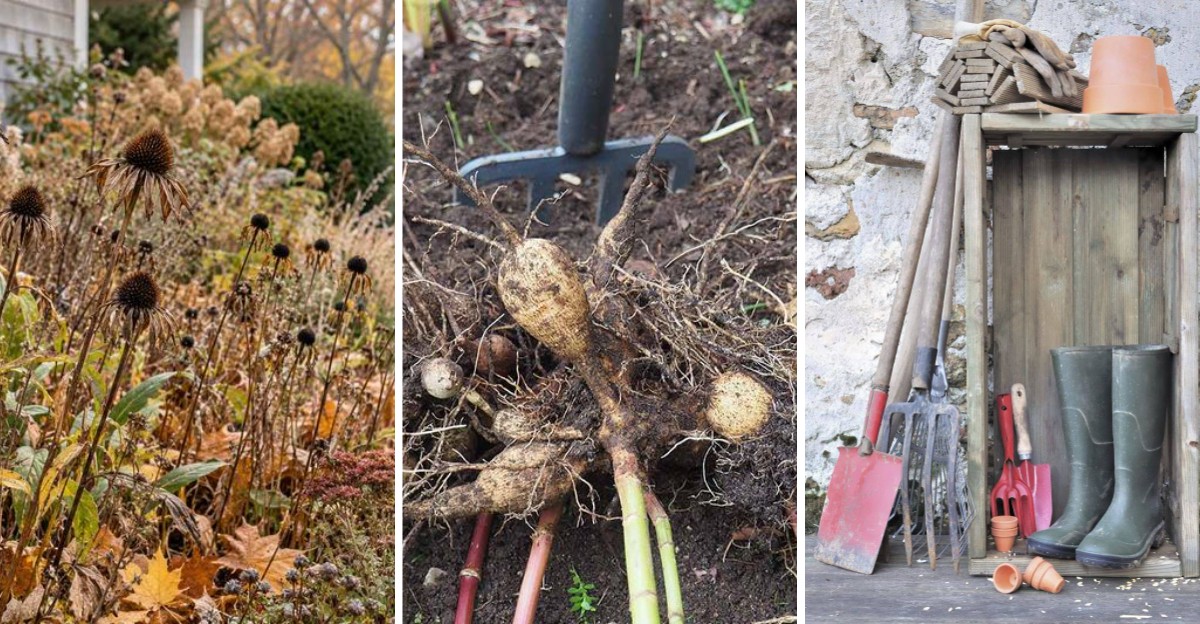
Dahlias come from the mountains of Mexico and Central America, so their tubers rarely survive a northern winter left in the ground. Digging them up each fall lets you enjoy the same plants for years, and they multiply as well.
Wait until a frost blackens the foliage, then cut stems back to about four to six inches. Many growers let tubers sit in the soil another week or so, which helps their skins toughen up.
Loosen the soil with a garden fork well away from the stem, since tubers break easily near the neck. Gently lift the whole clump, shake off loose dirt, and let it air dry for a day somewhere sheltered.
Store tubers in boxes filled with slightly damp peat moss, wood shavings, or vermiculite somewhere cool and dark. A basement or unheated room that stays roughly forty to fifty degrees works well for most gardeners.
Gladiolus corms and canna rhizomes need similar care, since neither handles hard winters across most of New York. Label every variety with a marker, because a pile of brown tubers looks identical by the time March arrives.
Years ago, my first batch of dahlias rotted because I stored them in a tightly sealed plastic bin. Now I check them monthly, tossing any soft ones and misting shriveled ones with a little water.
Potted tender plants like rosemary and geraniums also come indoors before the first hard frost arrives. Give them a sunny window and water lightly, since growth slows down a lot during short winter days.
9. Garden Hoses And Hand Tools Get Cleaned And Stored
A garden hose left full of water can freeze, swell, and split long before you need it again. Outdoor spigots face the same risk, and a cracked pipe inside the wall makes for a pricey surprise.
Drain each hose by stretching it out on a slope, then coil it loosely and store it inside. Shut off the indoor valve that feeds outdoor faucets, and open the spigot outside to let water escape.
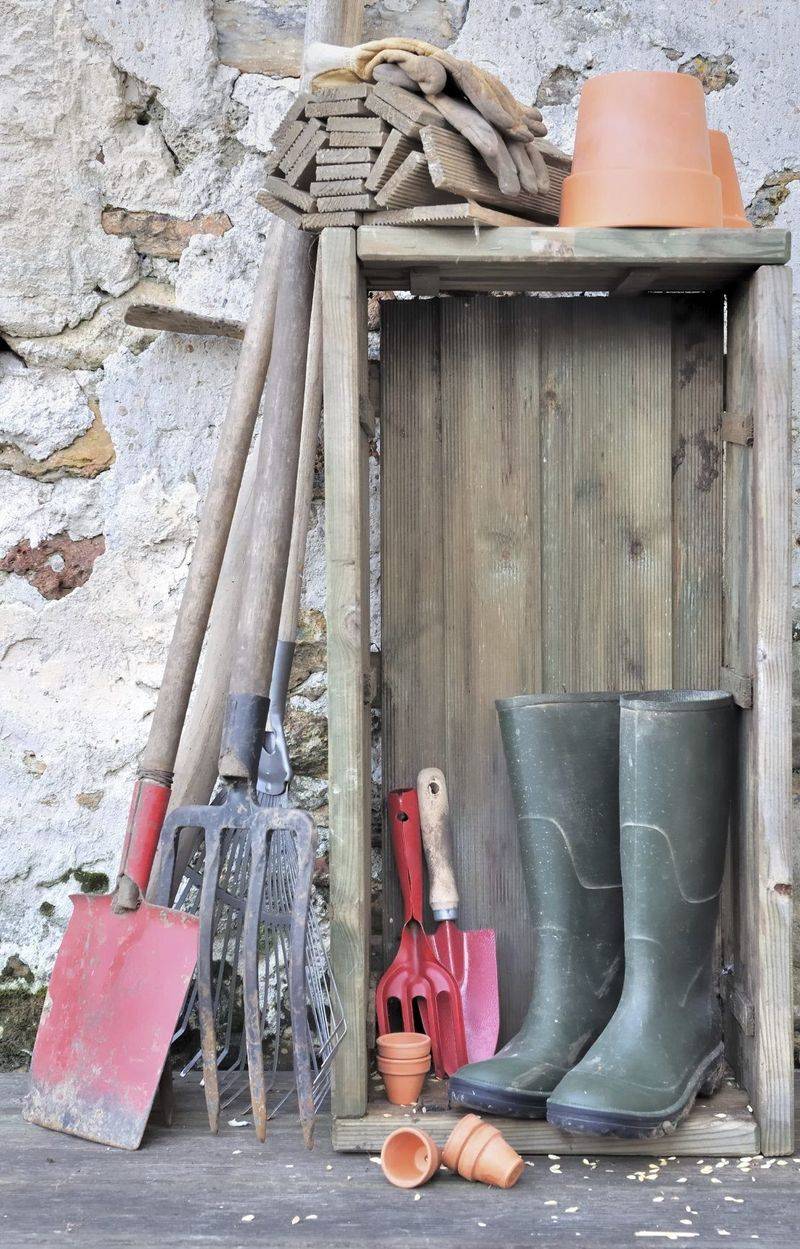
Hand tools deserve some attention too, because caked soil holds moisture and leads to rust over winter. Scrub blades with a stiff brush, dry them well, and wipe metal parts with a light coat of oil.
Pruners and loppers cut far more cleanly after a sharpening, which also means healthier cuts on plants next season. A small diamond file or sharpening stone handles the job in a few minutes at the kitchen table.
Wooden handles appreciate a rub of boiled linseed oil, which keeps them from cracking and splintering in dry storage. Check for loose screws and wobbly heads while you are at it, then tighten anything that needs help.
For gas mowers, follow the owner’s manual about adding fuel stabilizer or running the tank empty before storage. Stale gasoline can gum up small engines, and that often explains why a mower refuses to start in spring.
I like finishing this job with a quick notebook entry listing what worked and what flopped this year. That page becomes my favorite reading in January, when seed catalogs arrive and spring planning finally begins.