Here’s What You Should Do With Daffodils After Flowering To Keep Them Happy And Healthy
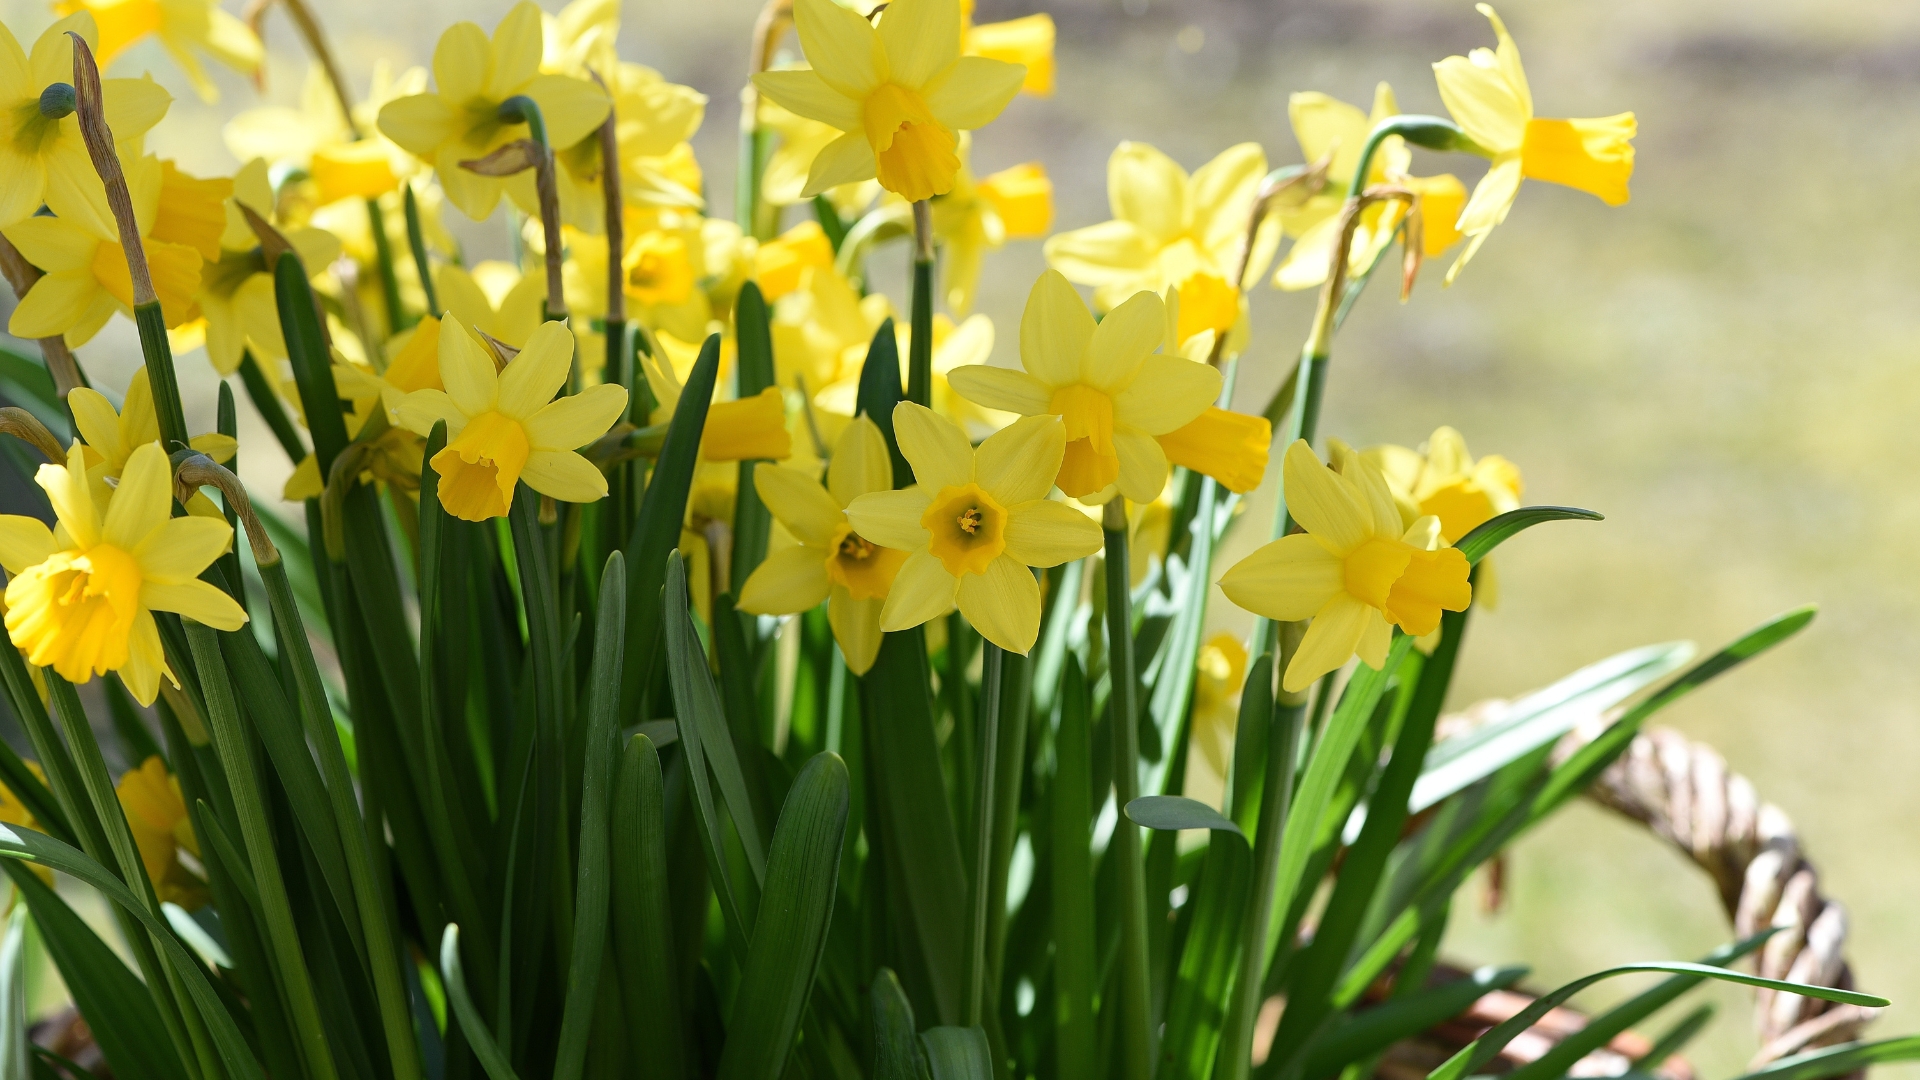
If spring had a trademark, it would be the daffodil! No matter how many times the forecast says it’s spring, for me it starts when I see daffodil blossoms.
They’ll stay on the plant for about 6 weeks, which isn’t enough if you ask me. I wish they lasted all year long!
Since that’s impossible, the only thing left is to take good care of them once they finish blooming. And trust me, messing up this part isn’t something you want because it can cause your daffodils to fail to bloom the next season!
This fact scares many gardeners, and they’re often confused about whether they should cut back their daffodils, lift them up, or just leave them be.
If you’re one of them, don’t worry – I’ve got you covered! My daffodils thrive year after year and I’ll teach you how to do it:
Start With Deadheading Your Daffodils
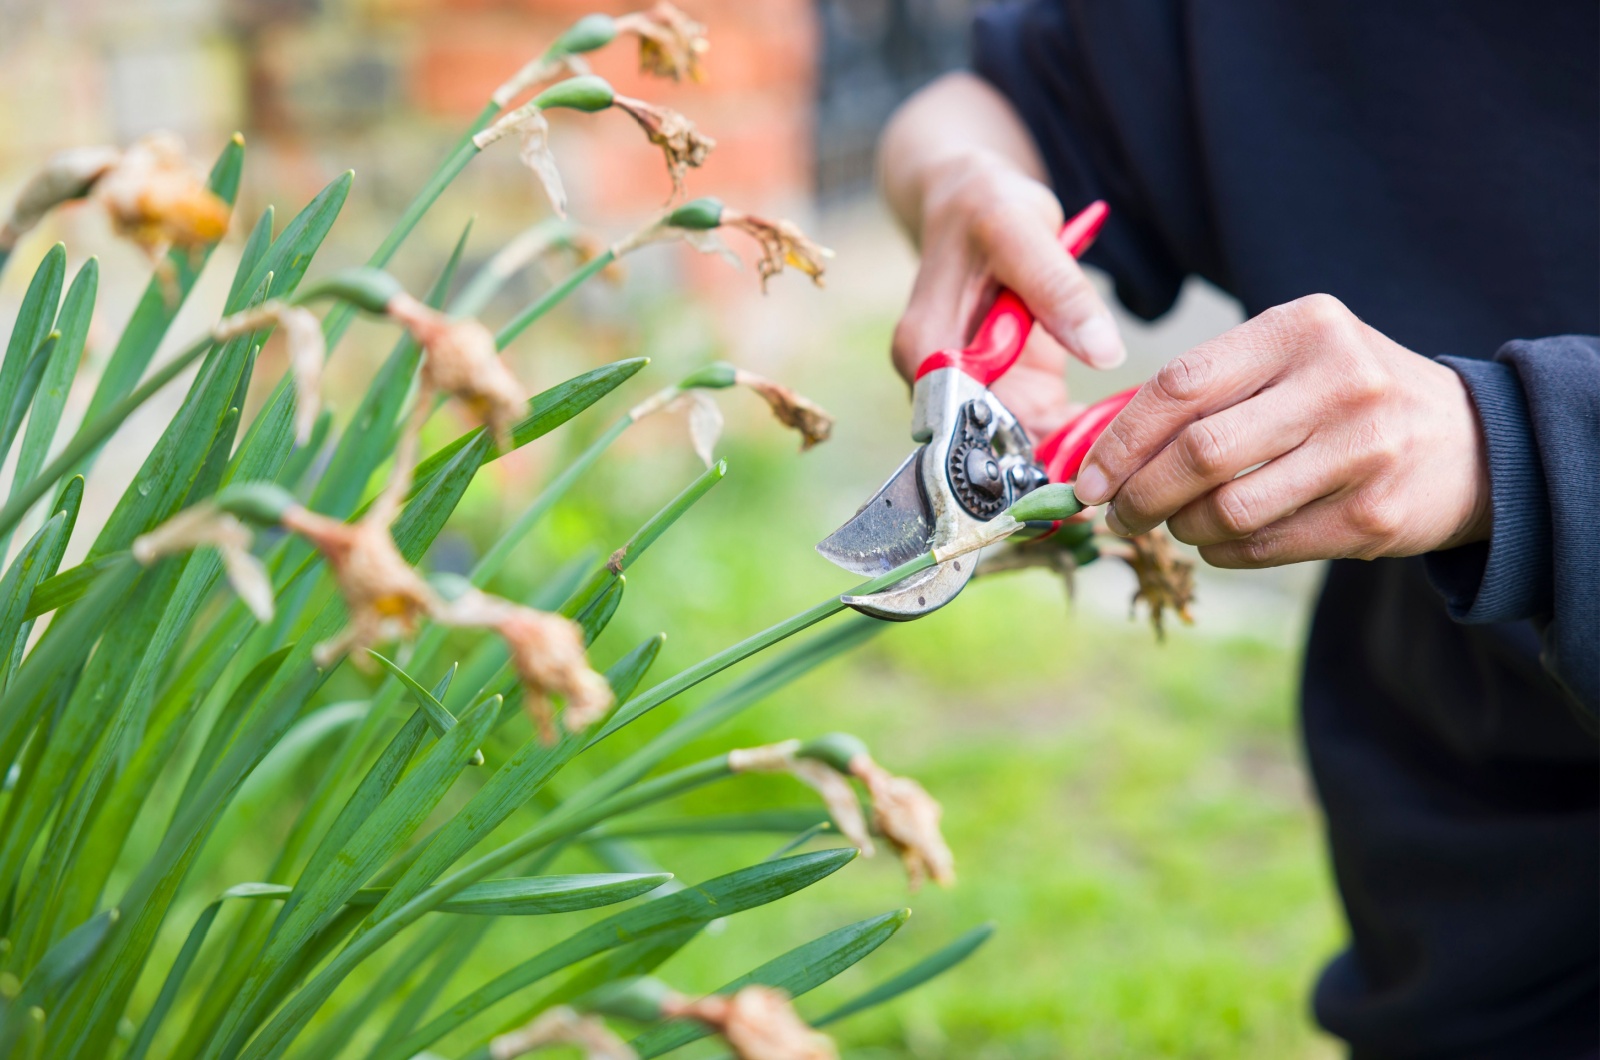
Of course, everything starts with removing faded blooms on your daffodils. I use pruning shears because I don’t want to risk breaking the plant.
Why deadhead? You may already know that plants focus energy on seed production once the flowering stage is over. This isn’t your goal because you want it to save energy for the bulbs.
The leaves may look pretty unsightly at this point, but do not remove them! They are the main allies of the bulbs right now and will help them get their well-needed energy.
And one more thing, you can stop watering your daffodils after deadheading. This way, the bulbs will know the blooming season is over.
This Is How You Take Care Of Daffodil Foliage
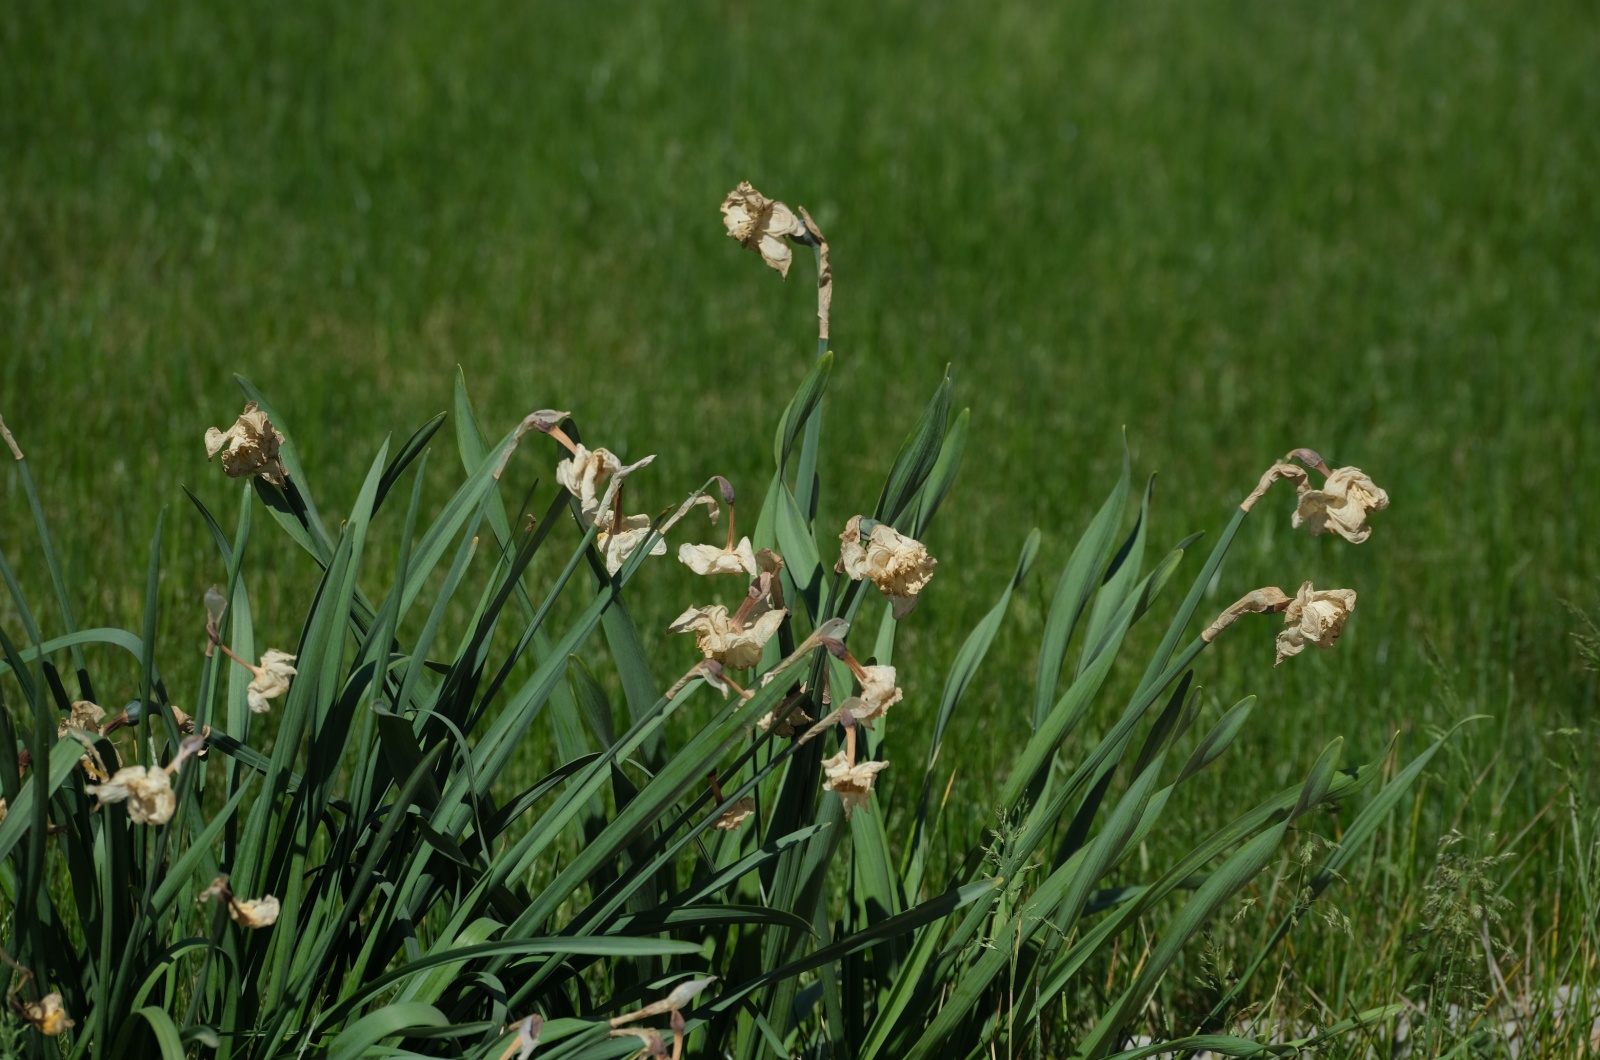
If you don’t remove them, what else can you do? Well, don’t do anything for the next 6 weeks. Remember that the leaves absorb the sun’s energy and convert it into food for daffodil bulbs.
During this period, they’ll gradually turn yellow and die back.
I’ve seen some growers braid their daffodil leaves so that the plant looks tidy. Look, I understand you probably don’t like the way they look, but this isn’t a good approach. They need to absorb the energy from the sun and this method makes it harder.
But there’s one thing you can do to hide this untidy look. I planted daffodils next to hostas and their large leaves steal the show. You can do the same with daylilies.
Do You Really Need To Lift The Bulbs?
Another question I get from my fellow growers is about the need for lifting the daffodil bulbs after the flowering season ends.
I don’t typically lift them unless some of my friends ask me to give them a bulb or two. You can also do this, but make sure you wait for approximately 3-5 years. And if you aren’t sure what time of year to do it, simply wait until the foliage dies back.
If you planted your daffodils in a container and you need that very container for something else, feel free to lift the bulbs and relocate them.
Sometimes, growers forget where they planted the bulbs in their flower beds after they cut back the leaves. Well, it happened to me once and I planted tulips over them. It didn’t end well for both plants. If you’re afraid this could happen to you, you can lift the bulbs.
Now I have something to share with my fellow gardeners from Dakota, Wisconsin, and other states in USDA hardiness zone 3. Yes, daffodils are hardy plants, but they can’t withstand too low temperatures. In this case, I highly recommend lifting and storing them for the next year.
Growers who live in zones 7 and above might also want to do the same thing because extreme heat can destroy the bulbs.
If You Decide To Lift, This Is How You Do It
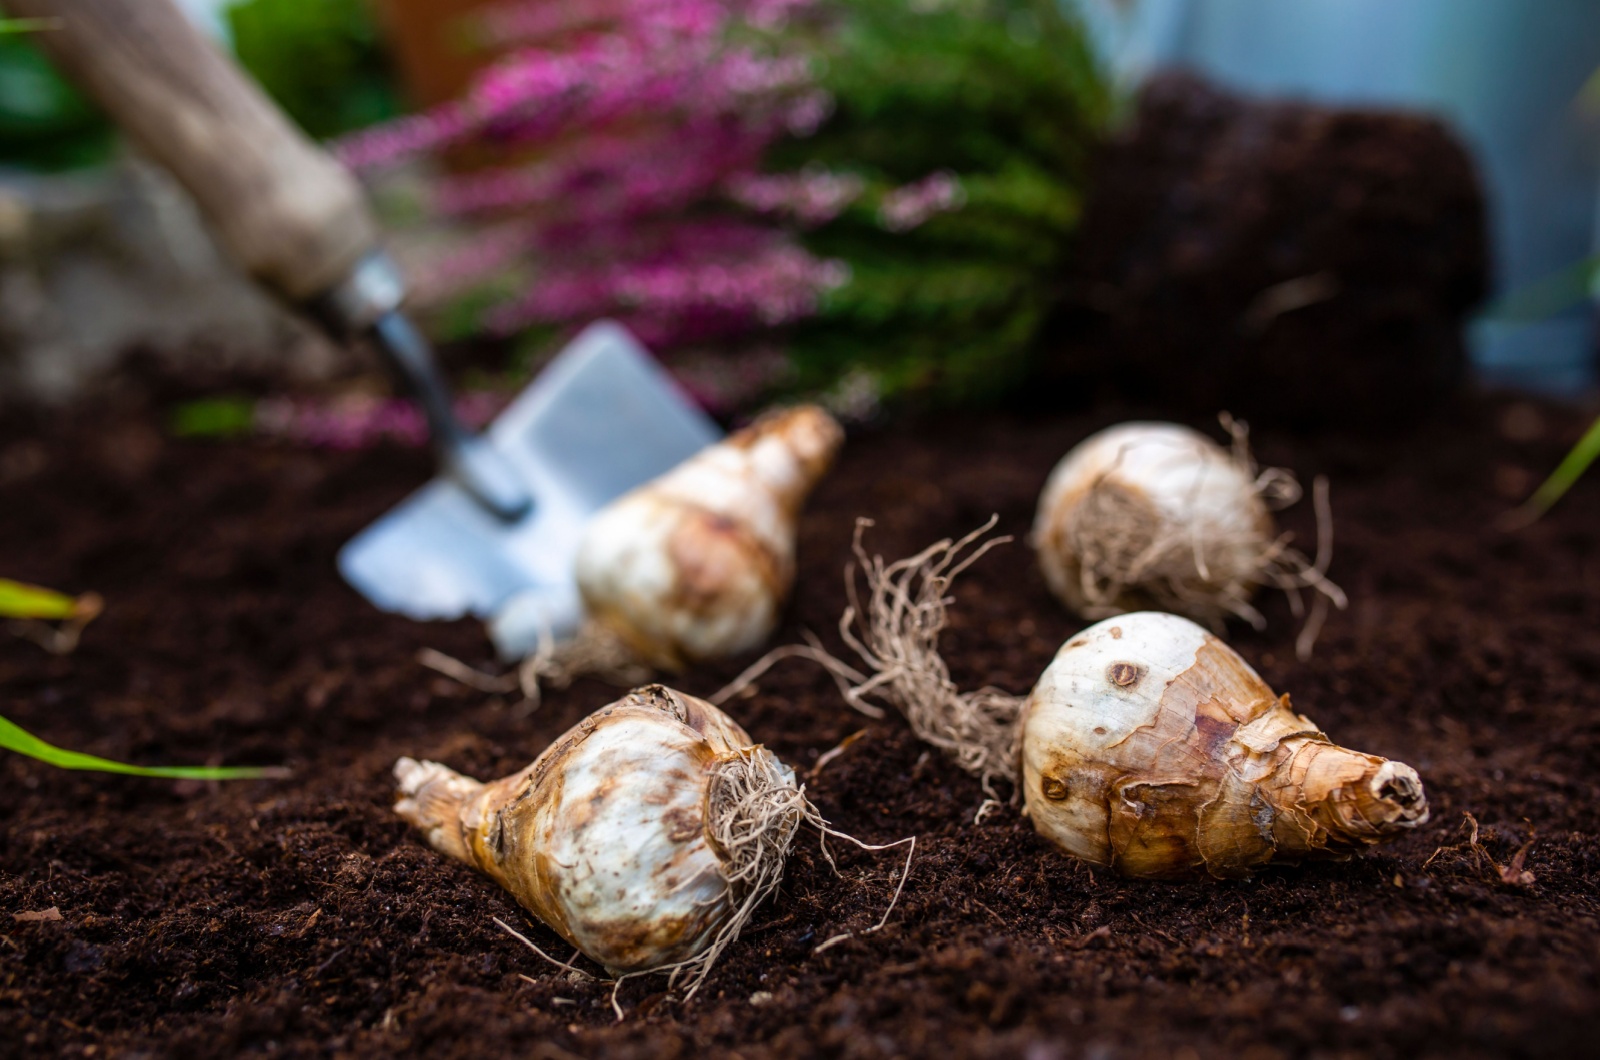
Luckily, lifting daffodils isn’t rocket science and you don’t need any special skill. Just remember that you should do it after the leaves die back. For most USDA zones, this happens somewhere in mid-summer.
I use a shovel when lifting my daffodils but a pitchfork will also do the job. Always loosen the soil before lifting and make sure the shovel is a few inches away from the plant. You don’t want to damage any bulbs!
Now lift the bulb and gently pull it out of the ground while holding the dried stalk or leaves.
If it won’t come out immediately, don’t force it. Keep loosening the soil until the daffodil bulb stops showing resistance.
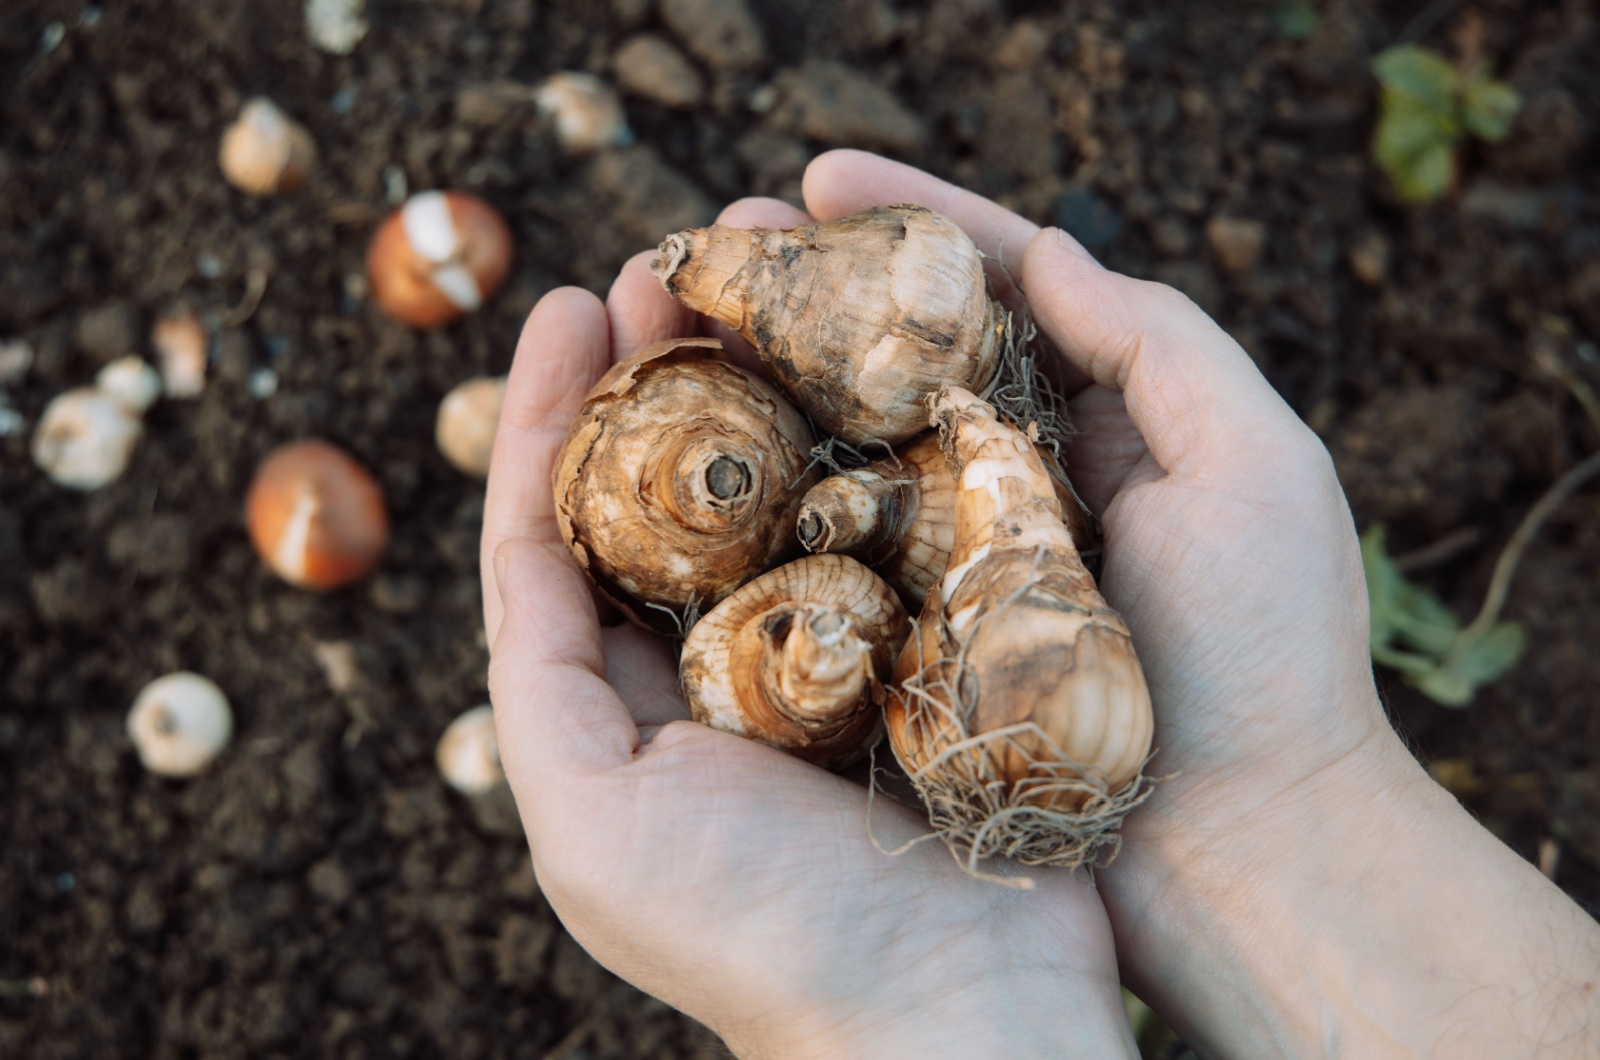
The Way You Store The Bulbs Matters!
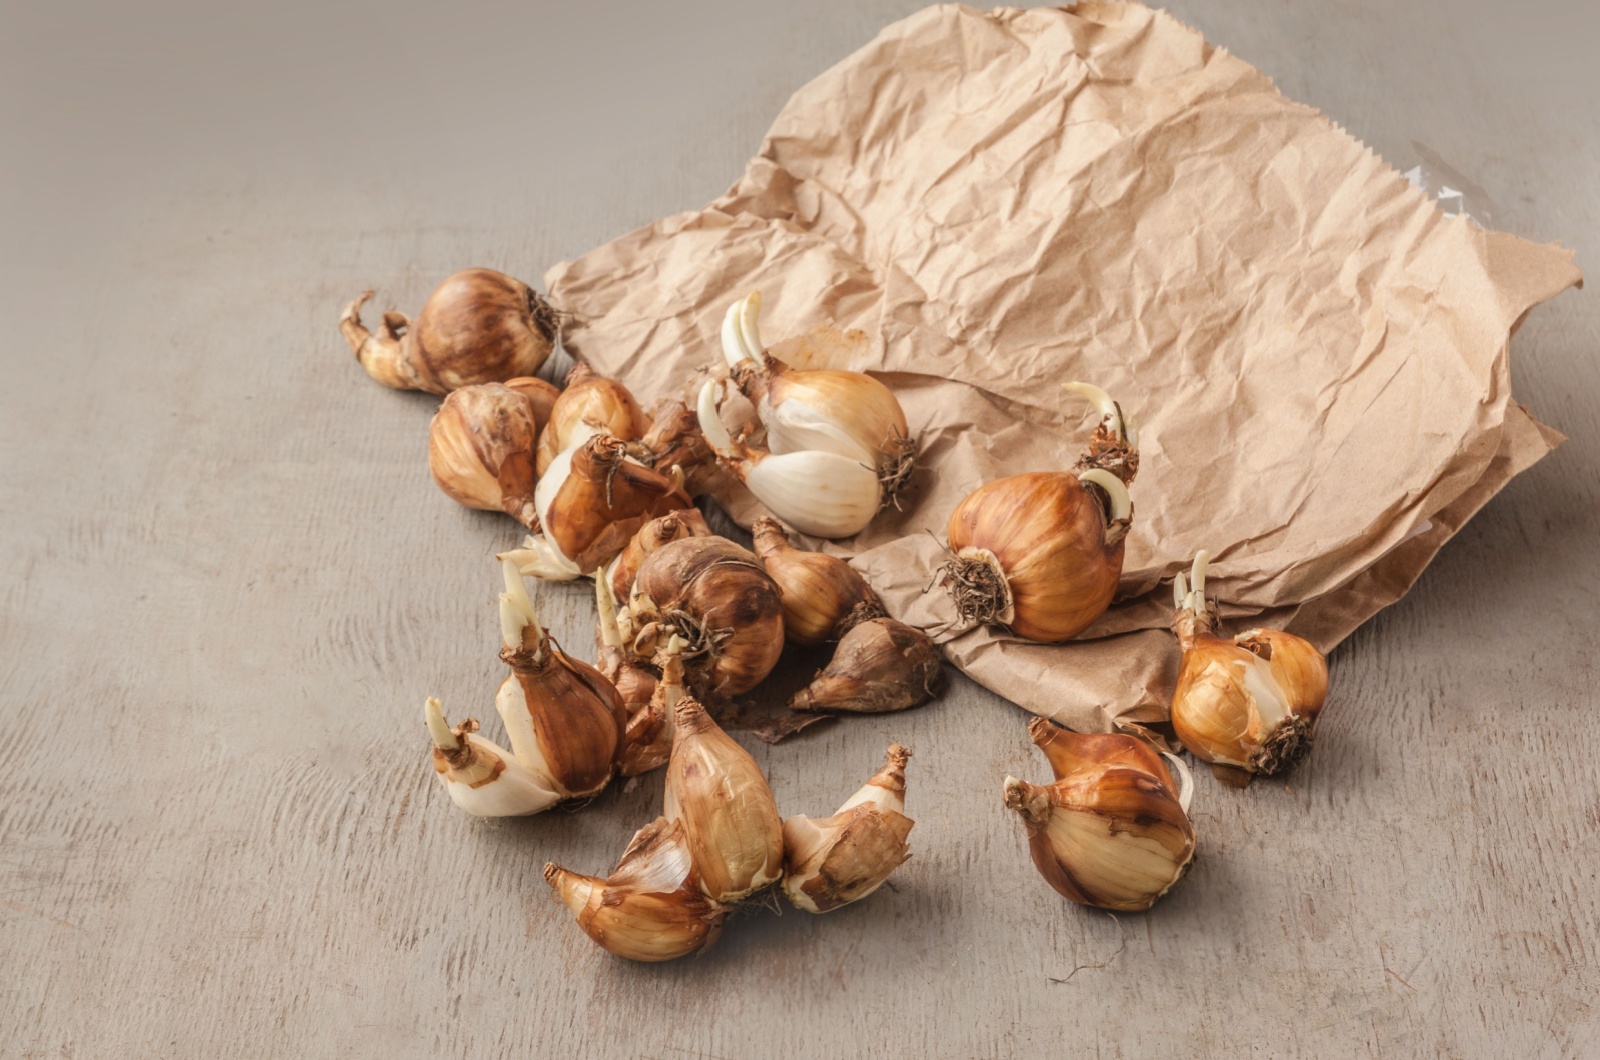
Once you remove the bulbs, you need to make sure they’re stored correctly or they won’t bloom the next season.
First, brush off the soil from the bulbs but please be gentle. Now find a dry spot and put the daffodil bulbs there, making sure they aren’t exposed to direct sunlight. They’ll most likely be dry overnight.
I use paper bags for storing all spring bulbs, including daffodils. Some gardeners use nylon stockings or mesh bags and all work just fine.
And before I put my daffodils into permanent storage, I check again to see if any of the bulbs are moldy. If so, I remove them immediately to prevent them from damaging the other bulbs.
The last step is to put the bulbs in a cold and dark place with good air circulation.
And When You Replant Them
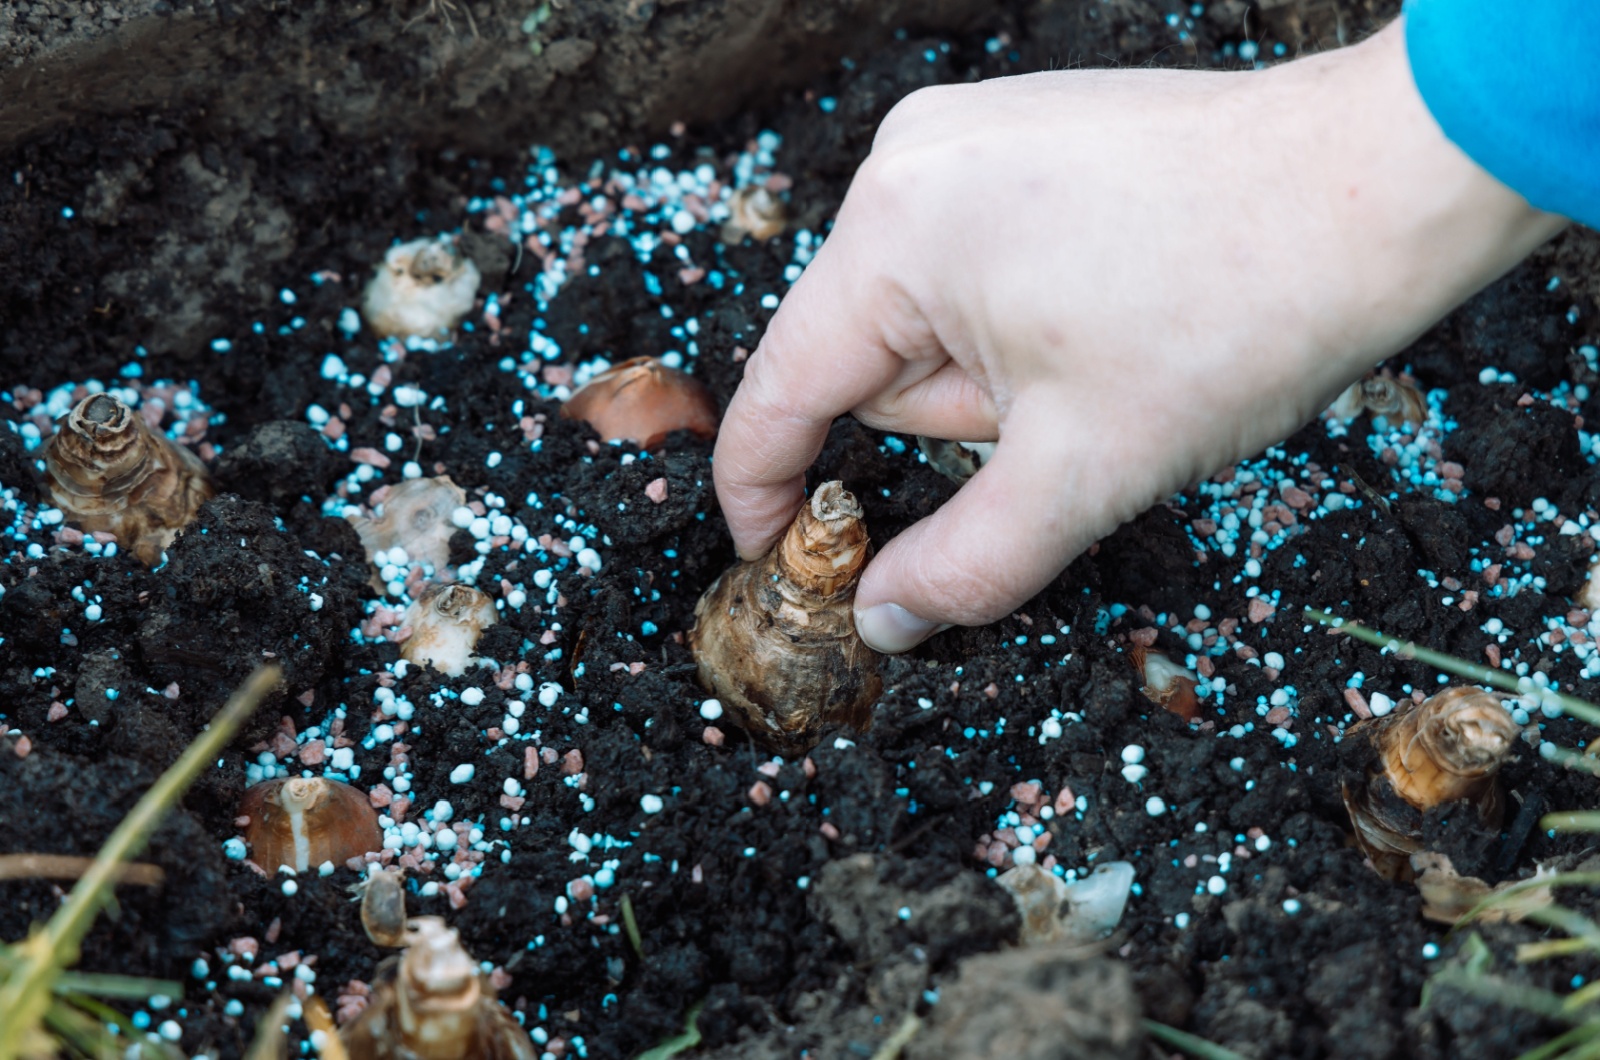
One more question I need to answer is, how long do your bulbs need to be in storage? I plant all my spring bulbs in the fall, before the first frost hits.
This way, they have enough time to establish and low temperatures won’t damage them.
Always check the first expected frost date in your region and plant your daffodils approximately a month before. Here in Florida, I do it at the beginning of October.
Bonus: Why Daffodils Deserve A Spot In Your Garden?
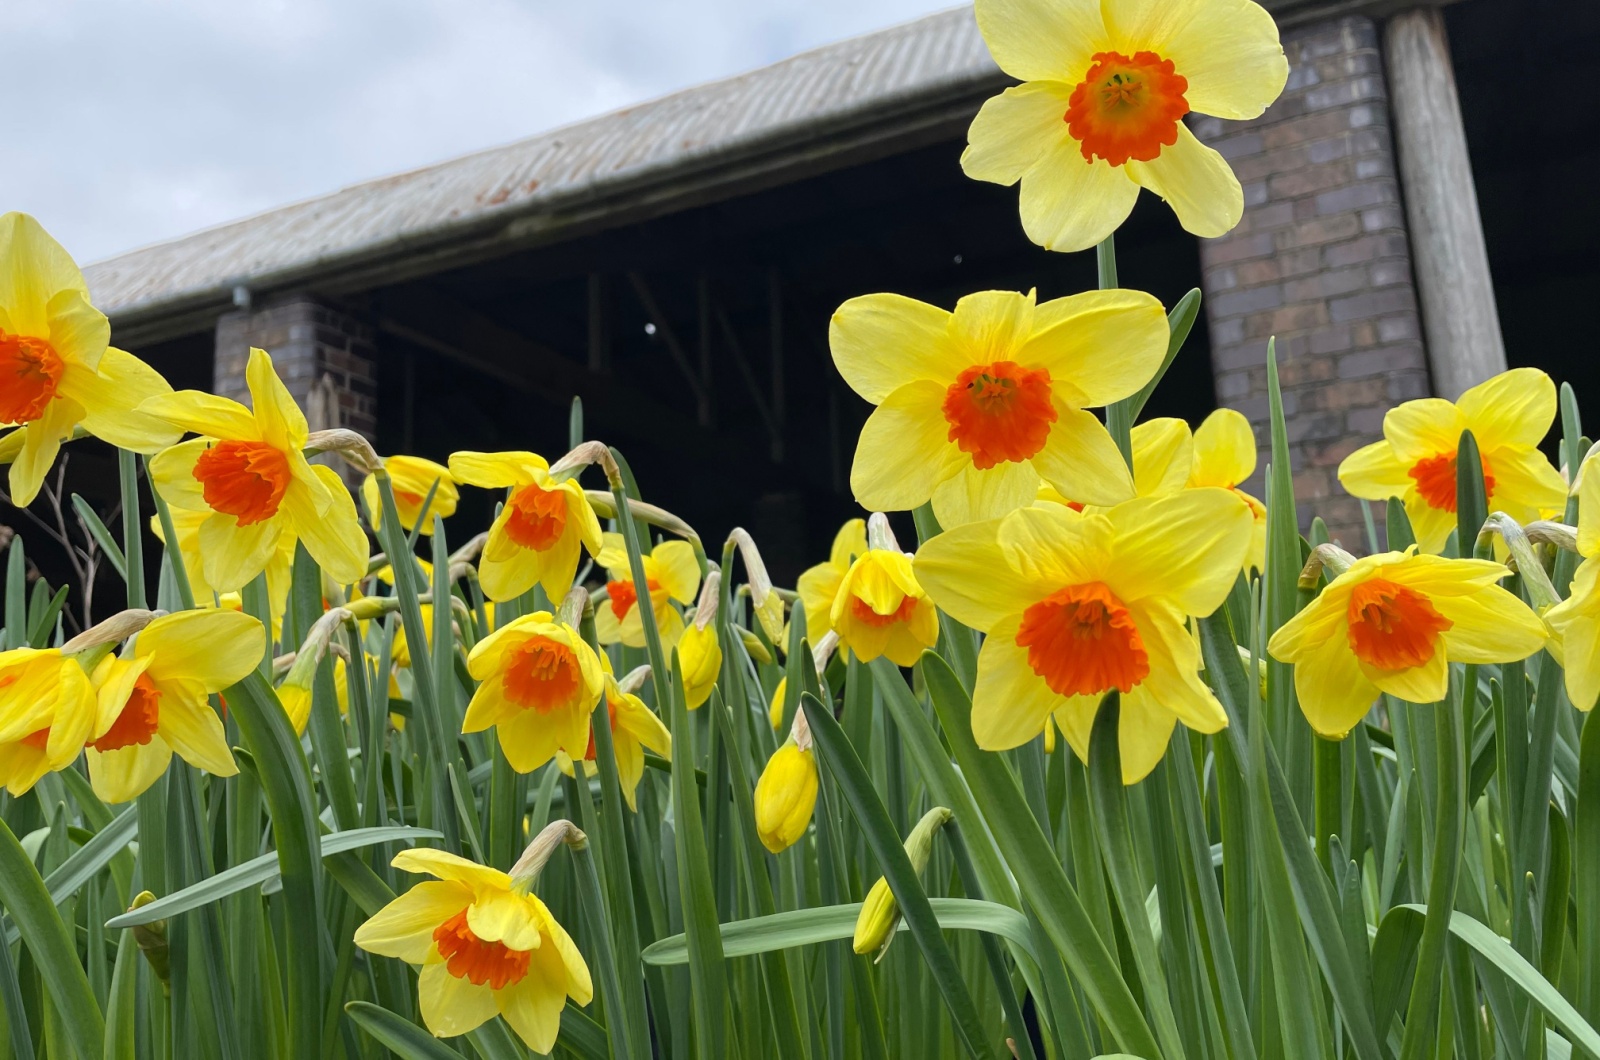
You may think that daffodils are fussy because of all their needs after flowering. Trust me, this is nothing if we compare them to other common garden plants.
And it’s worth it every second! Daffodils are one of the best spring bulbs out there, and for a few reasons! First, they come back year after year and they multiply super fast.
They can tolerate a wide range of soils, except overly wet soil types. Pests, such as deer and rabbit, aren’t really into daffodils, and trust me, these guys can wreak havoc in flower beds.
You can plant your daffodils in borders and they do well in containers. And they’re early bloomers, which means they’re the first ones to offer food for pollinators! What a remarkable plant!
As your daffodils bid farewell to their lovely blossoms, it’s time to embrace the next chapter of their journey! Treat them with tender attention and they’ll reward you with more stunning blooms the next season!