What To Do With Your Mums After They Finish Blooming
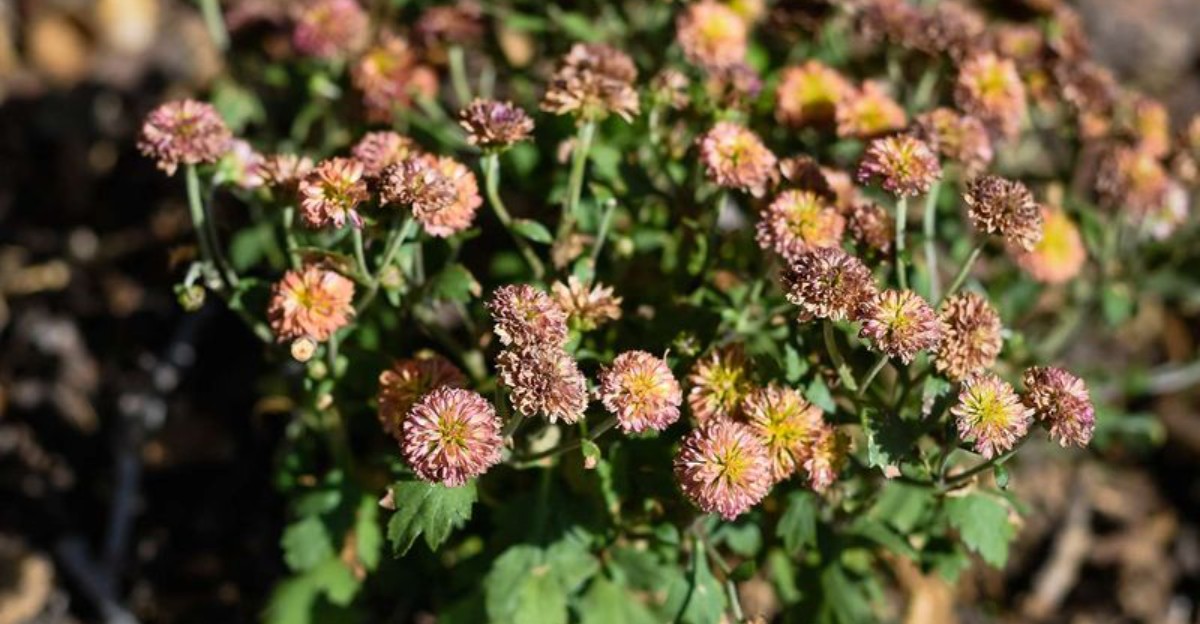
Your porch looked like a postcard a few weeks ago, bursting with gold, rust, and plum petals. Now those cheerful pots look tired and brown around the edges, and the neighbors are starting to notice.
Many people shrug, drag the containers to the curb, and plan to buy fresh ones next fall. That habit costs money, and it skips a surprising second act hiding under all those crunchy, faded flower heads.
The cool October air smells like leaves and wood smoke, and your plants can feel the season shifting too. Underground, roots are still busy, quietly storing energy while the top growth looks ready for a long nap.
With a few simple moves, those scruffy pots can return next year fuller and healthier. You do not need fancy tools, a greenhouse, or a gardening degree to pull off this little comeback.
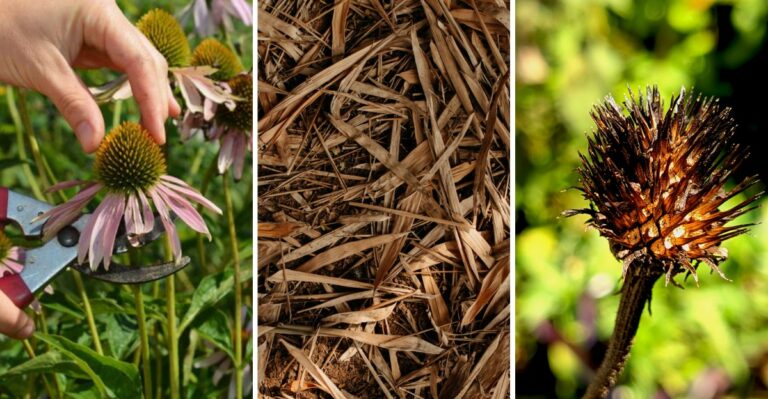
1. Snip Away The Spent Blooms
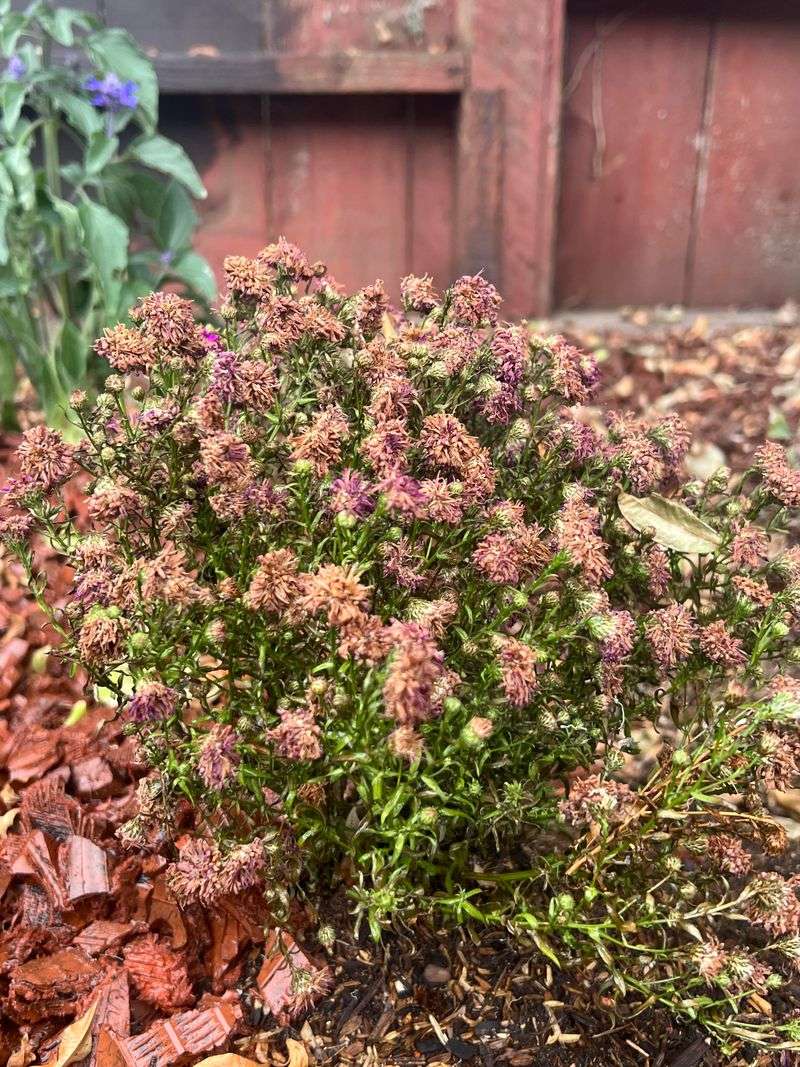
Picture a birthday party where the balloons have shriveled, yet nobody takes them down for weeks afterward. Faded flower heads on your plant send that same droopy message to everyone walking past your front steps.
Removing spent blooms tidies the plant and helps it stop wasting energy on making seeds it does not need. That saved energy can go toward the roots, which support healthy growth next year.
Grab a pair of clean, sharp scissors or garden snips and wipe the blades with soapy water first. Clean tools help reduce the spread of fungus, which loves cool, damp October mornings more than most gardeners do.
Snip each brown flower just below its head, right where the little stem meets a healthy leaf. Work slowly and enjoy the crisp, earthy scent that rises from the foliage as you move around.
If a few late buds are still opening, leave them alone and let them finish their show. Pollinators like bees and butterflies often visit these last flowers before the weather turns truly chilly.
Toss the clippings into your compost pile unless you notice fuzzy mold, dark patches, or tiny bugs on them. Questionable bits belong in the trash, since a backyard compost pile rarely gets hot enough to handle them.
A quick trim only takes a few minutes per pot, and the plant looks neater right away. Think of it as a small haircut that sets the stage for every other step that follows.
2. Check Whether Your Mums Are Hardy
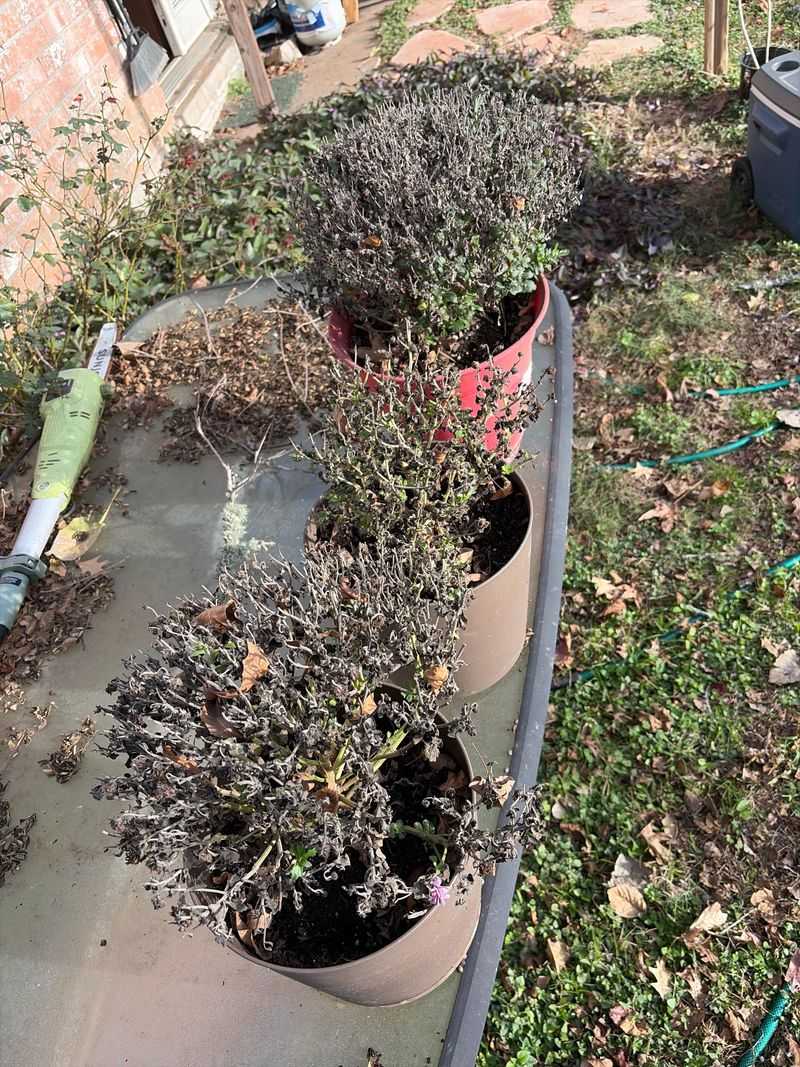
Not every mum sold in a grocery store bucket was raised to survive a cold winter outdoors. Florist mums are bred for big indoor displays, while garden mums are tougher and built for chilly yards.
Take a peek at the plastic tag stuck in the pot, if it is still hanging around. Words like hardy, garden mum, or perennial are a strong hint that your plant can handle frost.
No tag at all is pretty common, so you may need to play detective for a minute. Garden mums usually have smaller flowers packed tightly together, forming a neat, rounded cushion of color.
Florist types often show off huge, shaggy blooms on tall stems, sometimes wrapped in shiny decorative foil. Those fancy plants are lovely gifts, but they usually struggle once temperatures drop below freezing outside.
Your growing zone matters too, since a plant in Georgia faces a gentler winter than one in Minnesota. Most garden mums handle zones five through nine, though very cold areas may need extra protection.
Fun fact time: chrysanthemums have been grown in China for more than two thousand years as treasured garden flowers. Ancient gardeners even brewed the petals into a soothing tea that people still sip today on chilly evenings.
Knowing which type you own helps you choose the right plan instead of guessing and hoping. Florist mums can be enjoyed as temporary decor, while garden mums deserve a real shot at next year.
3. Plant Them In The Ground Soon After Blooming
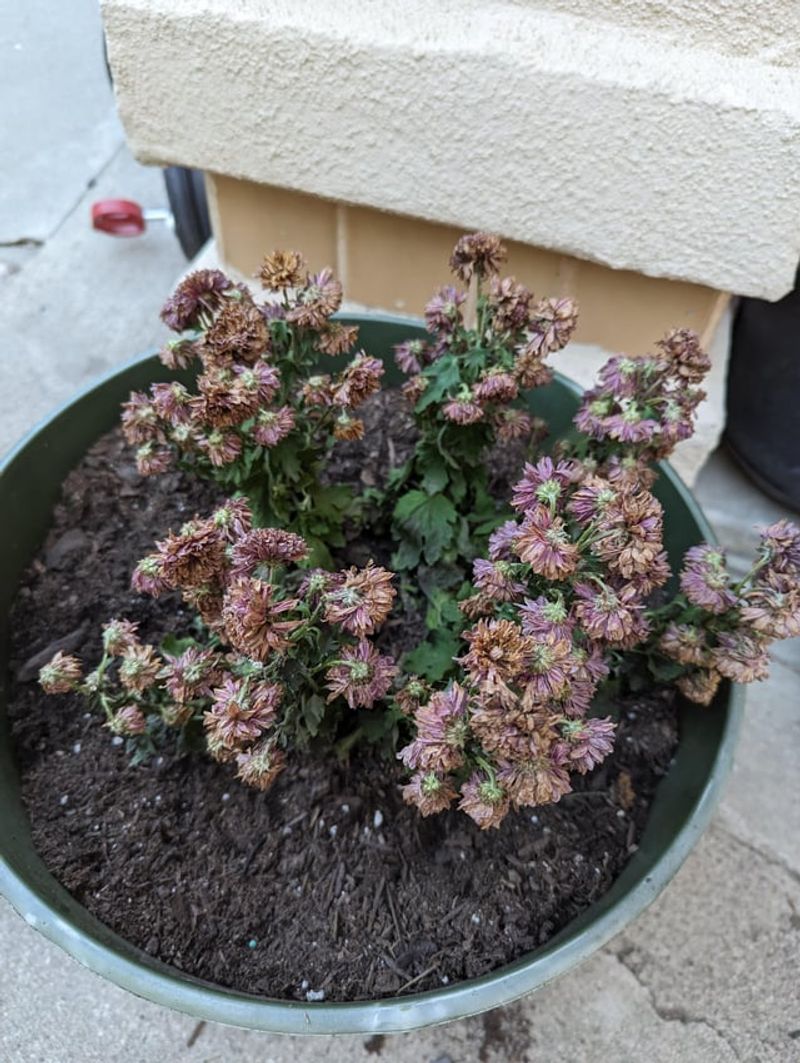
Pots look charming on steps, but they leave roots exposed to cold air on every single side. Soil in the ground works like a thick blanket, holding warmth far longer than a thin plastic container.
Early fall is a good window for planting in many areas, since roots need several weeks to settle in before frost. Aim to finish at least four to six weeks before the ground usually freezes in your area.
Pick a sunny spot with soil that drains well, because soggy winter roots are a recipe for rot. A spot near a south-facing wall or fence can offer a little extra warmth on frosty nights.
Dig a hole about twice as wide as the pot, but keep the depth roughly the same. Gently tease apart any roots circling the bottom, since store-bought mums are often badly root-bound by fall.
Set the plant in place, fill around it with loose soil, and press down with your hands. Firm pressure removes air pockets, which can let icy air sneak down and chill the tender roots.
Give the new planting a long, slow drink right away so the soil settles snugly around everything. Skip fertilizer for now, since fresh, tender growth this late in the year often struggles with cold.
Gardeners in warmer southern states have a bit more wiggle room, yet earlier planting still helps. Your future self will thank you next fall when a bigger, fuller plant greets you by the walkway.
4. Tuck Them In With Cozy Mulch
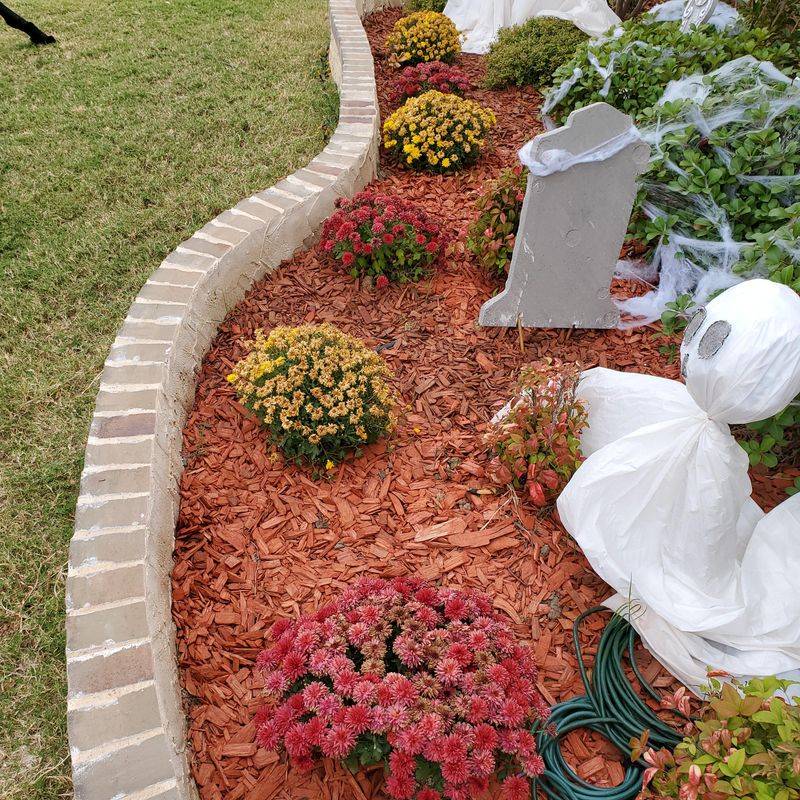
Remember being a kid and pulling a heavy quilt over your head on the coldest winter nights? Mulch does that same cozy job for roots, keeping soil temperatures steady when the weather swings wildly.
A major winter threat is not just cold, but the repeated freezing and thawing of the soil. That back and forth motion can push shallow roots right out of the ground, a problem called heaving.
Wait until the ground has frozen lightly, usually in late fall, before adding your thick layer of mulch. Mulching too early can invite mice, who think a fluffy pile near warm roots is a five-star hotel.
Shredded leaves, pine needles, and clean straw all work nicely, and many of them cost nothing at all. Those crunchy maple and oak leaves piling up on your lawn right now make a perfect free option.
Spread about three to four inches of mulch around the base, covering the soil above the root zone. Running a lawn mower over leaves first chops them up, so they do not mat into soggy sheets.
Some gardeners pile mulch right over the top of the plant, especially in places with harsh, snowy winters. Others leave the crown a little open for airflow, which can help reduce mold during wet spells.
Pull the mulch back gently once spring warmth arrives and new green shoots start poking through. Until then, let your plant snooze under its leafy quilt while the snow does its quiet thing.
5. Keep Watering Until The Ground Freezes
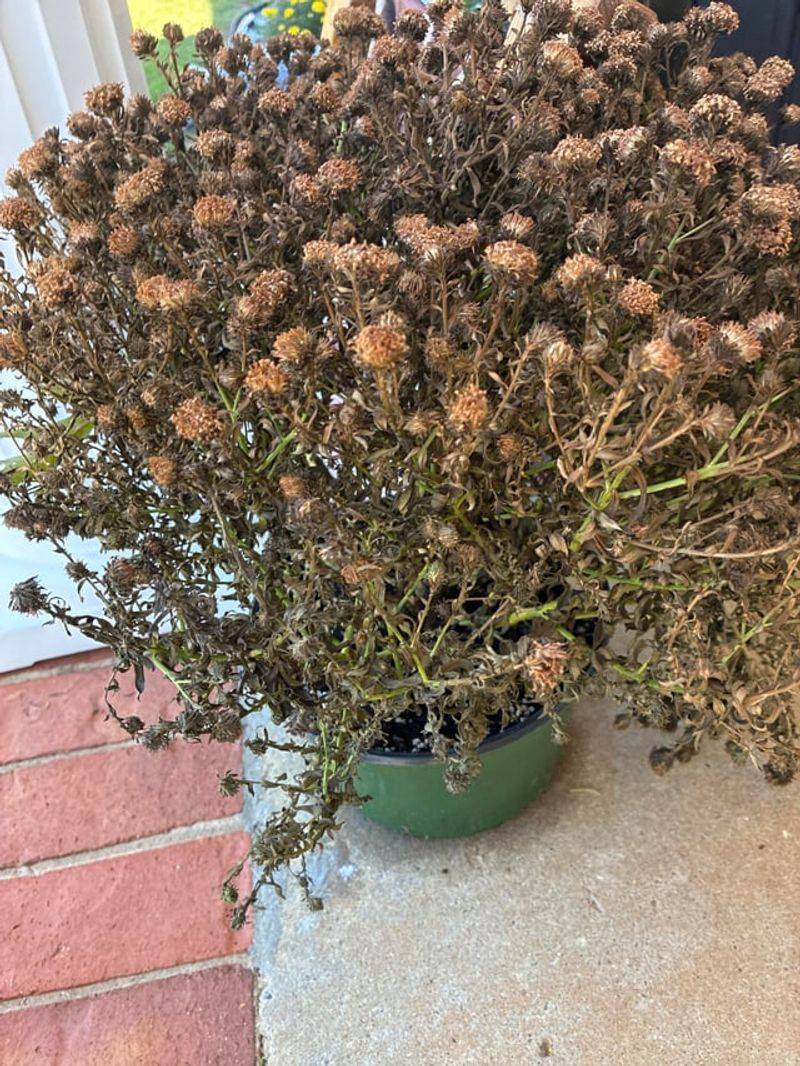
Thirst sounds like a summer problem, yet fall plants can dry out faster than most people expect. Breezy October days and low humidity quietly pull moisture from both the soil and the leaves.
Roots heading into winter well hydrated handle the cold much better than roots that start out parched. Think of water as a packed lunch your plant carries with it into the long, frosty months.
Push a finger about two inches into the soil every few days to check how it feels. If it feels dry and crumbly, give the plant a deep drink at the base, not over the leaves.
Morning is the best time to water, because the sun has hours to dry any splashes on the foliage. Wet leaves sitting overnight in chilly air can invite leaf spot and other fungal problems.
Container plants need extra attention, since pots dry out quicker than garden beds, especially on windy afternoons. Lift the pot slightly, and if it feels light as a feather, the soil is begging for water.
Be careful not to overdo it, because soggy soil in cool weather can lead to root rot. Rainy weeks may mean you can skip the hose and let the clouds handle the job instead.
Once the ground freezes solid, you can roll up the hose and store it in the garage. Your plant can rest through winter on the moisture it took in this fall.
6. Move Potted Mums To A Sheltered Spot
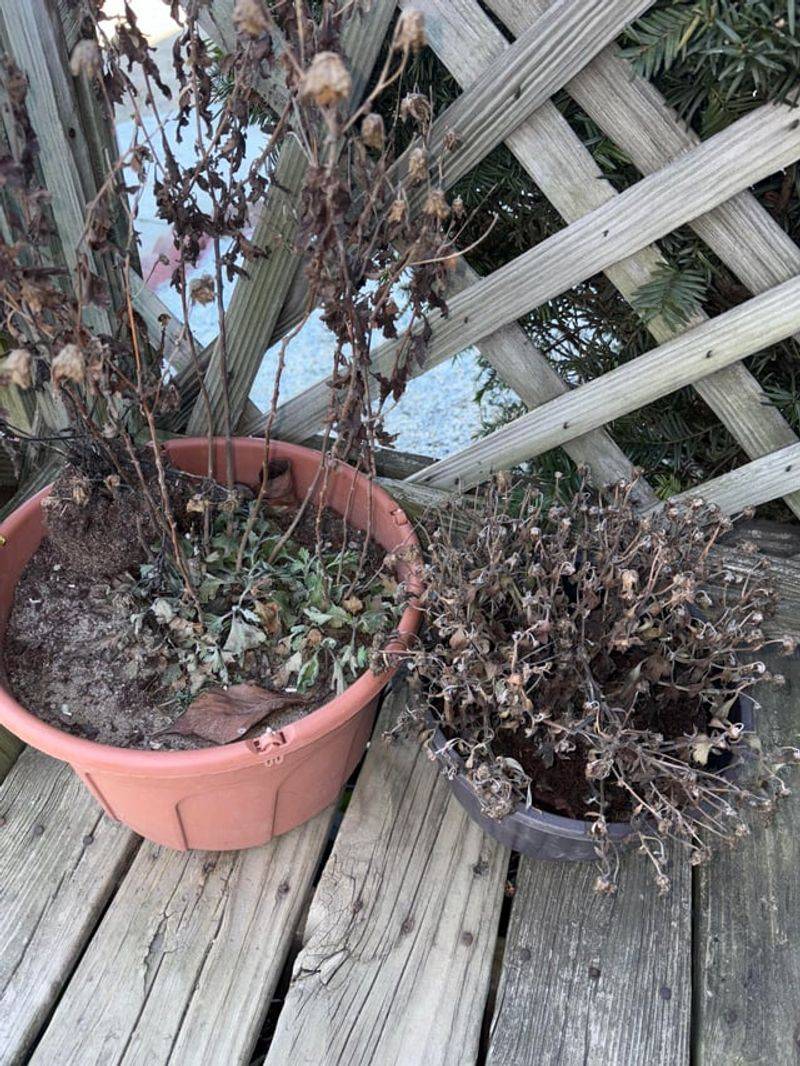
Maybe your yard has no open space, or perhaps you simply love the look of those pots. You can still overwinter them in containers, as long as you find them a protected place to rest.
An unheated garage, shed, or enclosed porch makes a great winter hideout for sleepy potted plants. The goal is a spot that stays cold but rarely dips far below freezing for long stretches.
Trim the stems down to about six inches tall before moving the pots inside for the season. Shorter plants take up less room and are easier to check on during gray January afternoons.
Water lightly about once a month, just enough to keep the soil from turning bone dry. Dormant plants drink very little, so a small splash of water goes a long way in cold storage.
Without a garage, you can group pots together against the house and surround them with bags of leaves. Another trick involves burying the whole pot in a garden bed, right up to its rim.
Clay pots can crack when wet soil freezes inside them, so plastic containers are safer for this method. Slipping a clay pot inside a larger plastic one offers a simple, budget-friendly layer of protection.
Bring the pots back outside gradually once spring frosts ease, letting them adjust to sunlight over a week. Soon those bare little stubs will push out fresh leaves, ready for another round of autumn glory.
7. Leave The Stems Standing For Winter
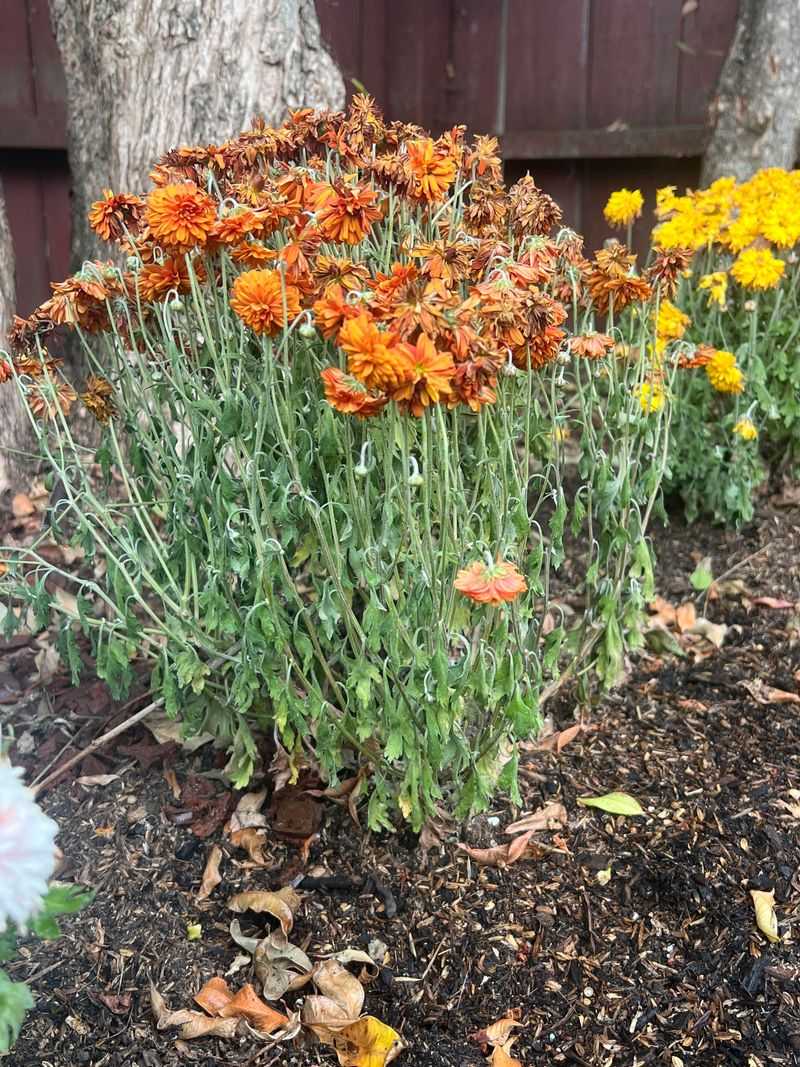
Cutting everything to the ground feels tidy, but your plant may actually prefer its scraggly winter look. Research from university extension programs suggests that leaving old stems in place helps garden mums survive cold weather.
Those brown stalks trap snow and fallen leaves, creating a natural insulating layer over the crown. The crown is the heart of the plant, where next spring’s new shoots are quietly waiting to grow.
Standing stems and the leaf litter around them also give shelter to helpful insects through the winter. Your garden becomes a cozy little motel for bugs that will help pollinate your flowers next year.
Birds enjoy the setup too, poking around the stalks for seeds and bugs on frosty mornings. Watching a chickadee hop through your flower bed in January is a pretty fun reward for doing less work.
Of course, neat freaks might cringe at the sight of brown sticks poking up all winter long. A compromise is trimming the stems to about eight inches, which keeps most of the benefits intact.
Watch for signs of disease, like black spots or fuzzy gray mold, while cleaning up around your beds. Remove any infected stems right away, since leaving them can spread problems to healthy plants nearby.
When new green growth appears at the base in spring, snip the old stalks down to the ground. Patience over the winter months can lead to a stronger plant ready to bloom again.
8. Wake Them Up With A Spring Pinch
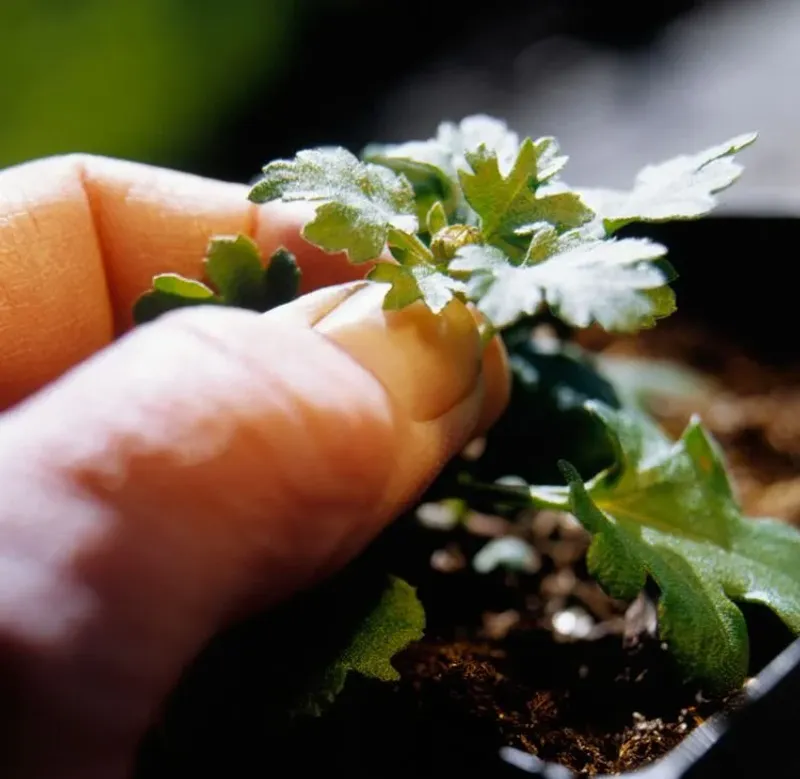
Long before the first fall blooms appear, the secret to a bushy plant happens with your fingertips. Pinching is a simple trick that turns a lanky, floppy plant into a round, flower-packed dome.
Planning ahead this October helps, so jot a reminder in your calendar for late next spring. Once new shoots reach about six inches tall, pinch off the top inch of each stem.
Each pinch encourages the plant to send out side branches right below the cut. More branches mean more flower buds, which means a fuller, brighter display when autumn rolls around again.
Repeat the process every few weeks, pinching each new tip once it grows another five or six inches. Many gardeners follow an old saying and stop pinching around the Fourth of July holiday each year.
Stopping by early July gives flower buds enough time to form before the shorter days of fall arrive. Mums actually bloom in response to longer nights, which is why they shine so brightly each autumn.
Spring is also a great time to divide older clumps that look crowded or hollow in the middle. Dig them up, split them into smaller sections, and replant the healthiest outer pieces with fresh compost.
A little effort over the coming months can turn one tired porch pot into a whole garden border. Next October, your neighbors might be the ones asking where you bought such gorgeous, bushy plants.