Here’s Why Every Gardener Needs A Worm Bin
Every gardener knows that the key to healthy and robust plant growth lies in a good fertilizer. However, high-quality fertilizers can be quite expensive, especially if you have a large garden that needs to be fertilized!
But did you know that you can make your own organic material which provides all the essential nutrients that your plants need?
If not, let me introduce you to vermicomposting.
Vermicomposting is quite similar to composting – only in this case, worms do all the work for you. Worms – yuck! But hear me out, they can be very useful. There is no more aerating, turning, or managing the heat because they do it all for you!
Keep reading to discover why every gardener needs a worm bin, and how to create one on your own.
Get Familiar With Vermicomposting
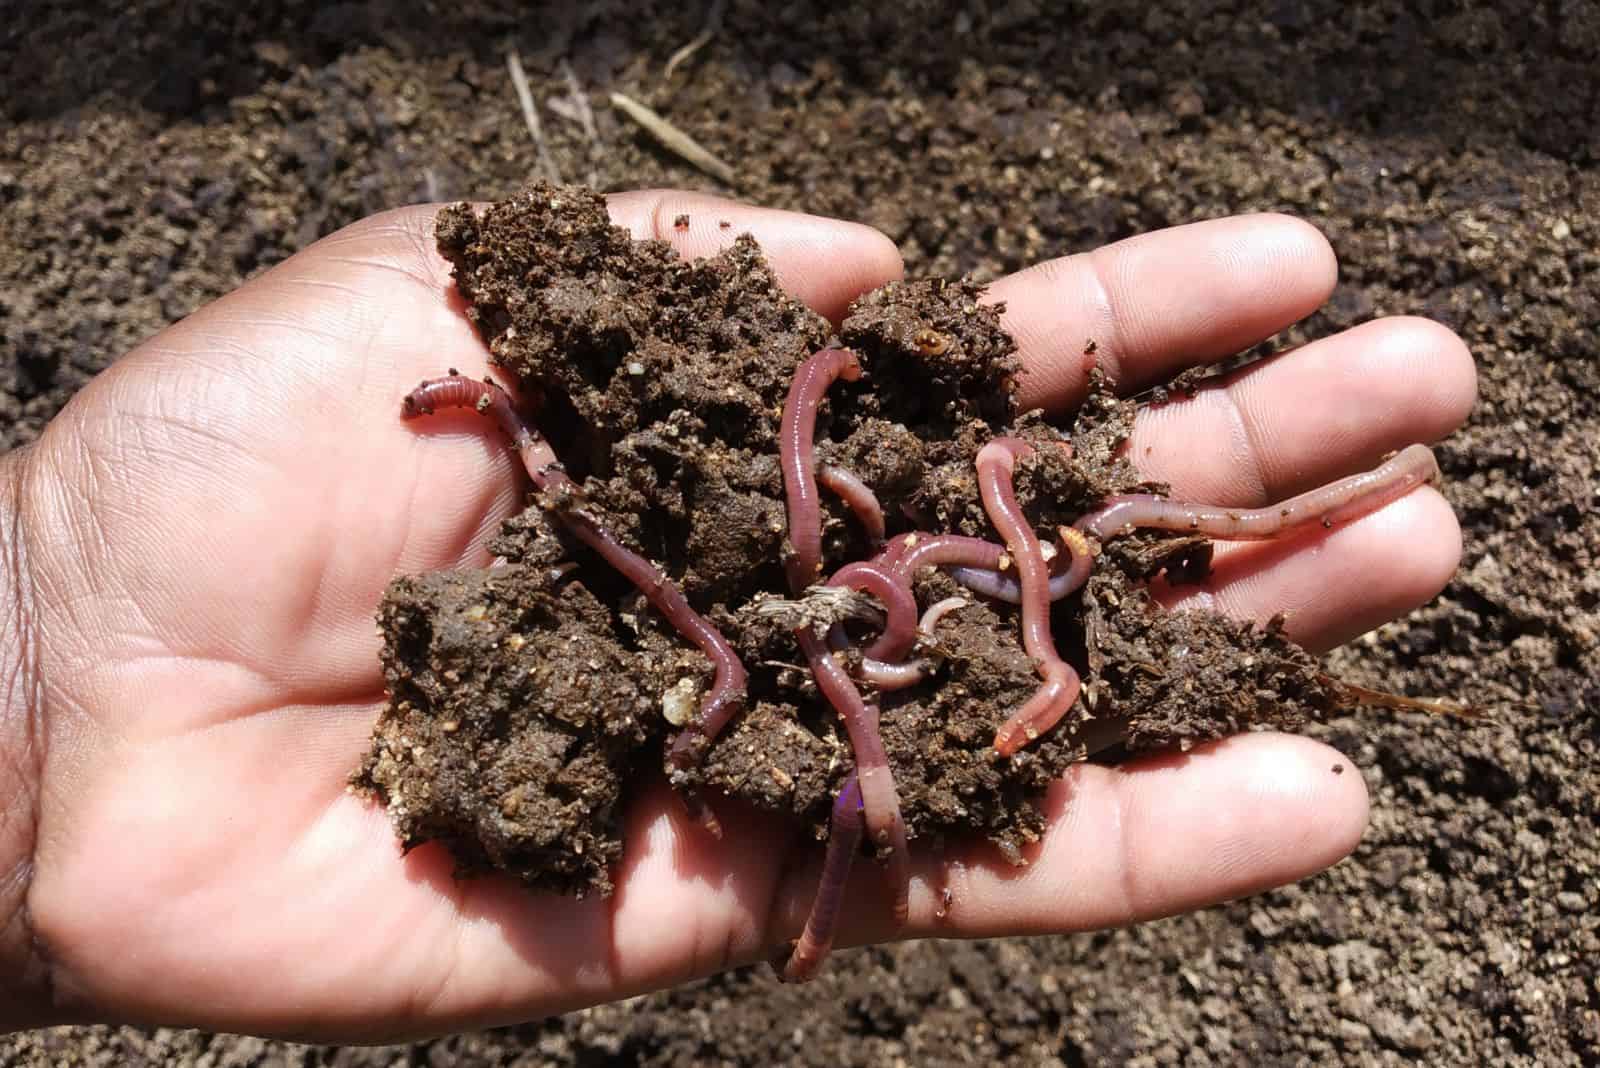
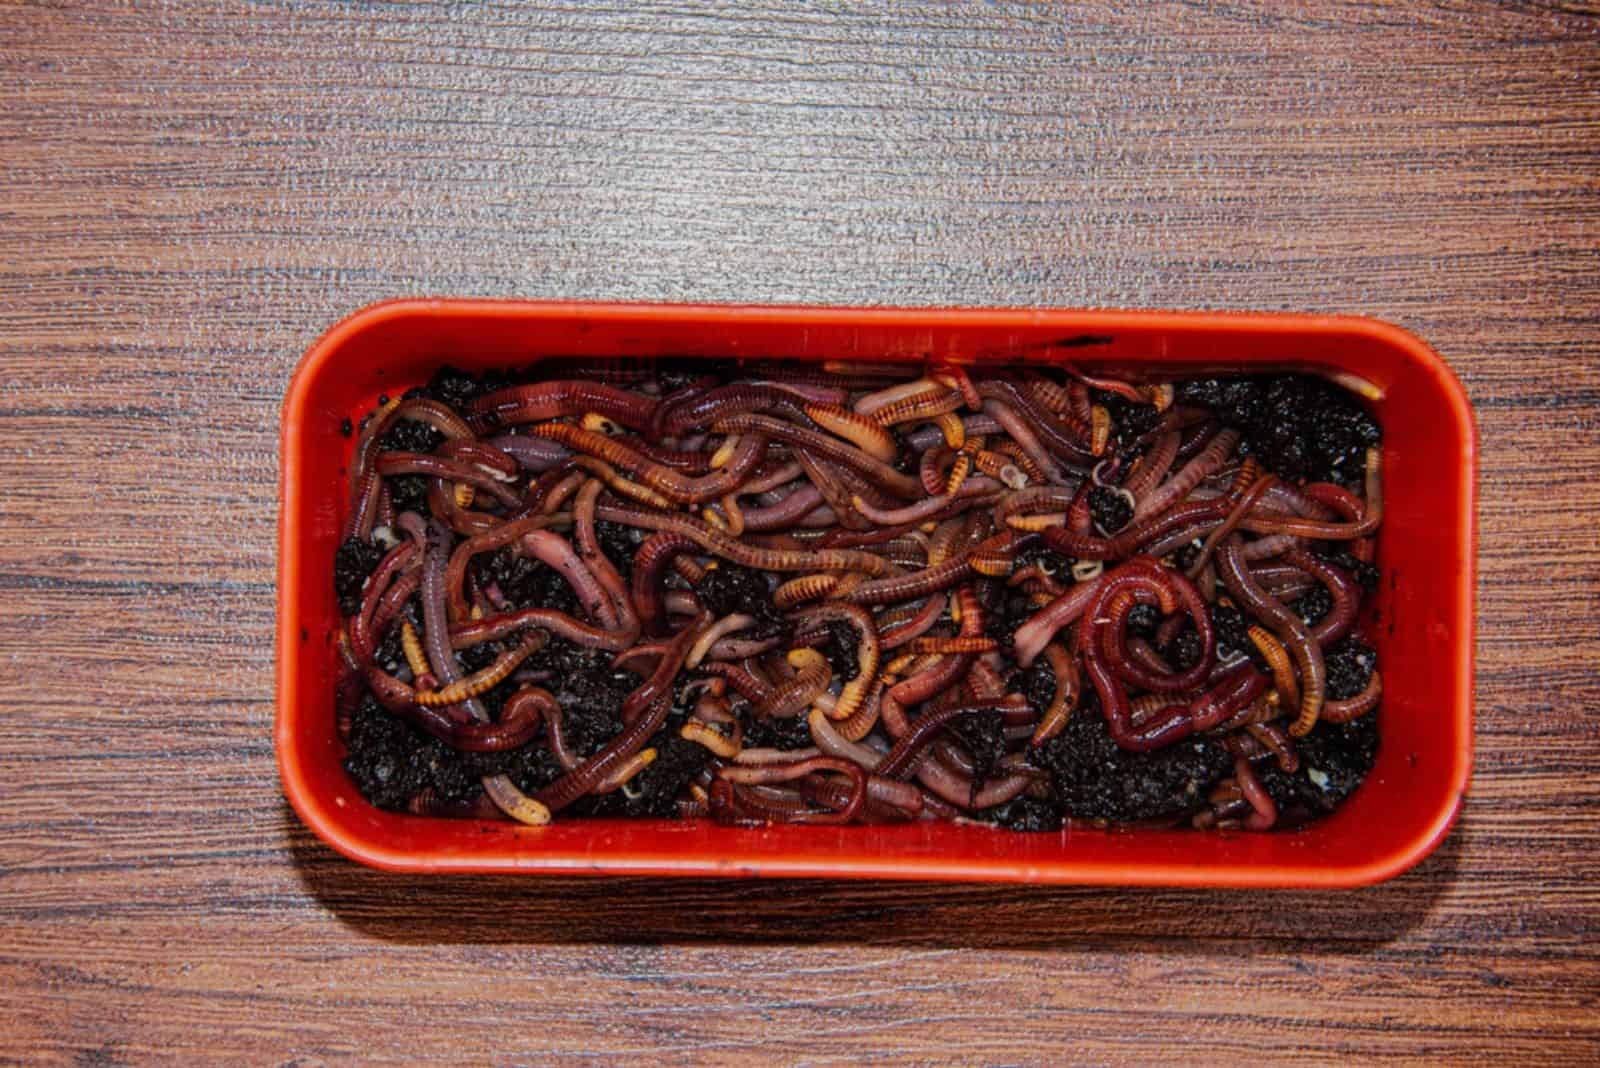
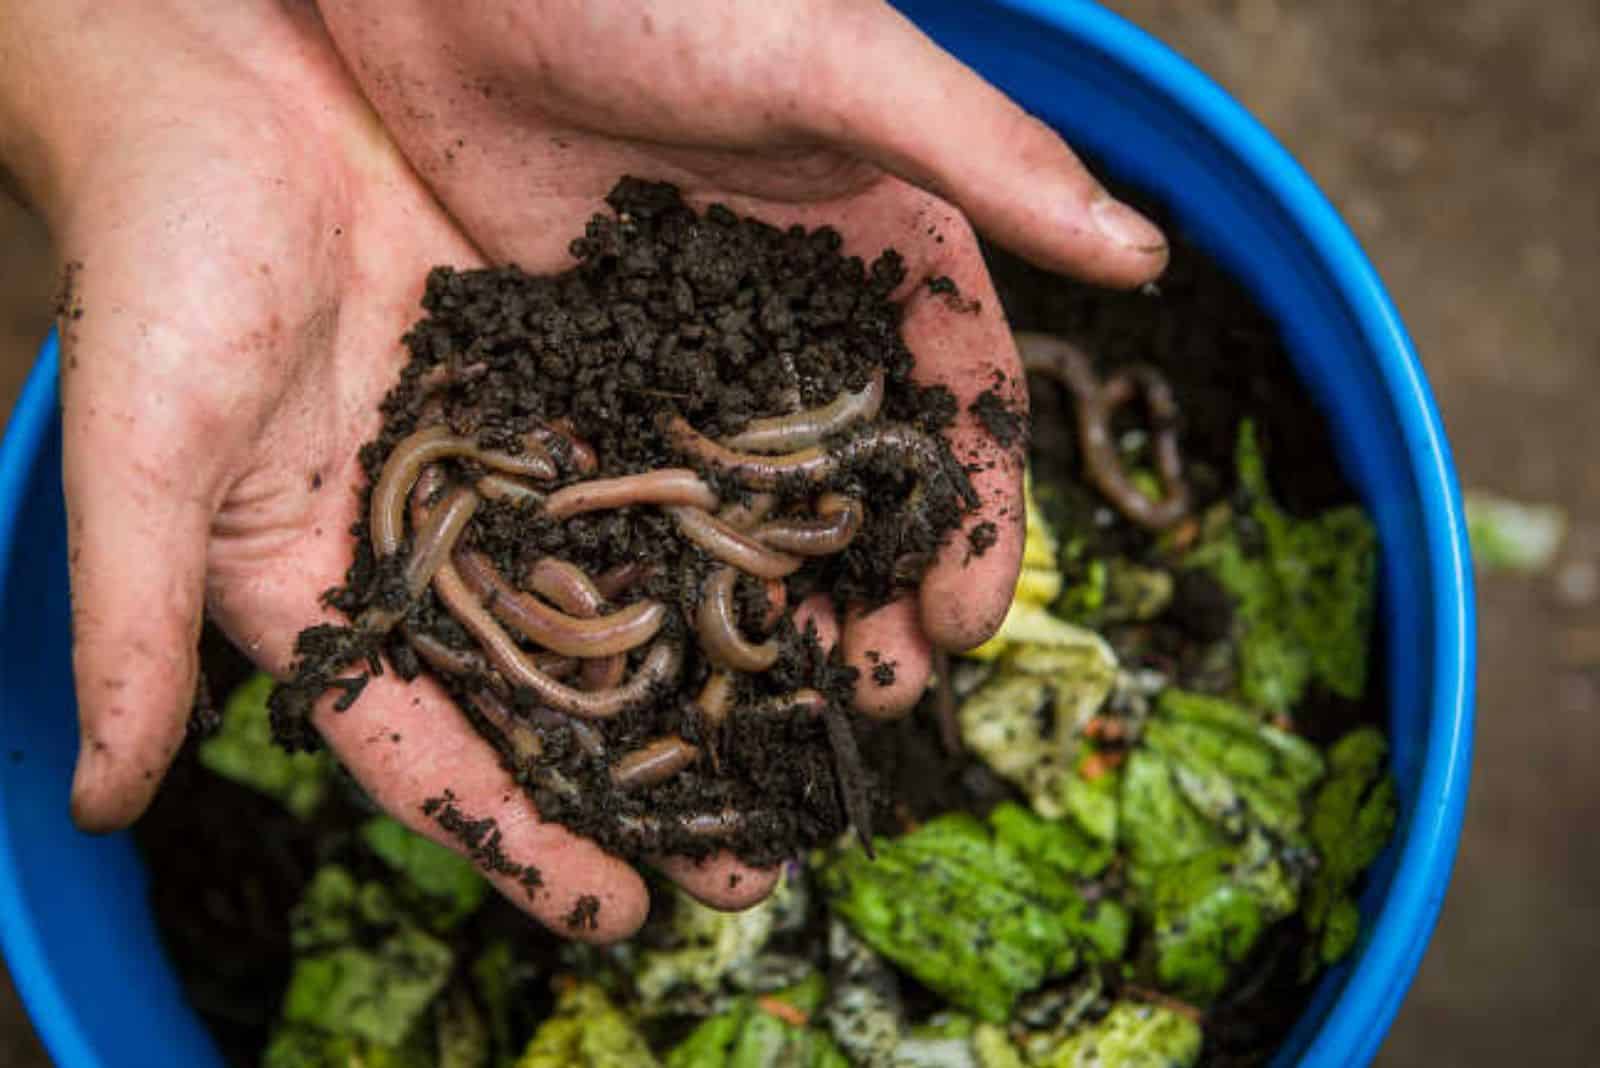
Vermicomposting, commonly referred to as worm composting, is a process of composting that utilizes specialized worms that break down organic waste materials. These worms, also known as red wigglers, consume organic matter and convert it into a nutrient-rich compost.
This natural fertilizer is highly beneficial for plants and can be used to enhance soil quality and aeration, improve plant growth, and enrich the overall health of your garden. It also improves microbial activity in the soil.
There is also a liquid form of vermicompost called “worm tea” – this can be used as a natural insecticide when sprayed on plants’ leaves.
Vermicompost provides many advantages, including saving the gardener time and money that would otherwise be spent buying commercial fertilizers.
According to studies, vermicomposting is a promising technique for managing terrestrial weeds [1].
How To Make A Worm Bin
Setting up a worm bin is not a hard task – even if you are a beginner gardener, I am sure you won’t have any major issues with it.
You can easily find many kits available, but you can also make your own bin.
Let’s see more detailed instructions below!
Tools & Materials Required
• Drill
• Two cups ordinary soil
• Compost worms (Eugenia fetid) or Red worms (Lubricous rubellas)
• Corrugated cardboard and newspaper
• Wooden storage bin or lidded rectangular plastic
First Step
Find a place in the garden that is not exposed to direct sunlight for the entire day. Use your drill to make two rows of ventilation holes along the edges of the bin.
Make sure that the holes are less than ¼ of an inch in diameter so that the worms don’t escape. You can keep them three to four inches apart from each other.
Second Step
The second step begins with tearing up newspaper into strips – stay away from magazines and printer paper since they could contain colors and bleaches that are harmful.
Also cut the corrugated cardboard into three to four inch long pieces. Wet the newspaper strips until they look like a damp sponge and then squeeze out the extra water.
Third Step
The third step is layering. Four to six inches of newspapers should be added into the bin, then a layer of cupboard pieces and two to four cups of typical garden soil.
After that, add worms to the bin and cover them with a layer of damp paper. Close the lid and wait for magic to occur!
How To Take Care Of A Worm Bin
Vermicomposting is better since it requires less maintenance than regular composting. First of all, you should make sure that the inside of the bin stays relatively damp. This is done by misting it with a spray bottle.
If the content gets too soggy, you can simply add some dry newspaper to the bin.
According to Sherman, earthworms are sensitive to light and even brief exposure can cause them to become paralyzed or die. Therefore, choosing opaque and dark bins could ultimately save you a ton of trouble [2].
You can keep your bin indoors if you don’t want to worry about the weather (garage or a shed would work just fine). Outdoor bins should be kept in a shaded area.
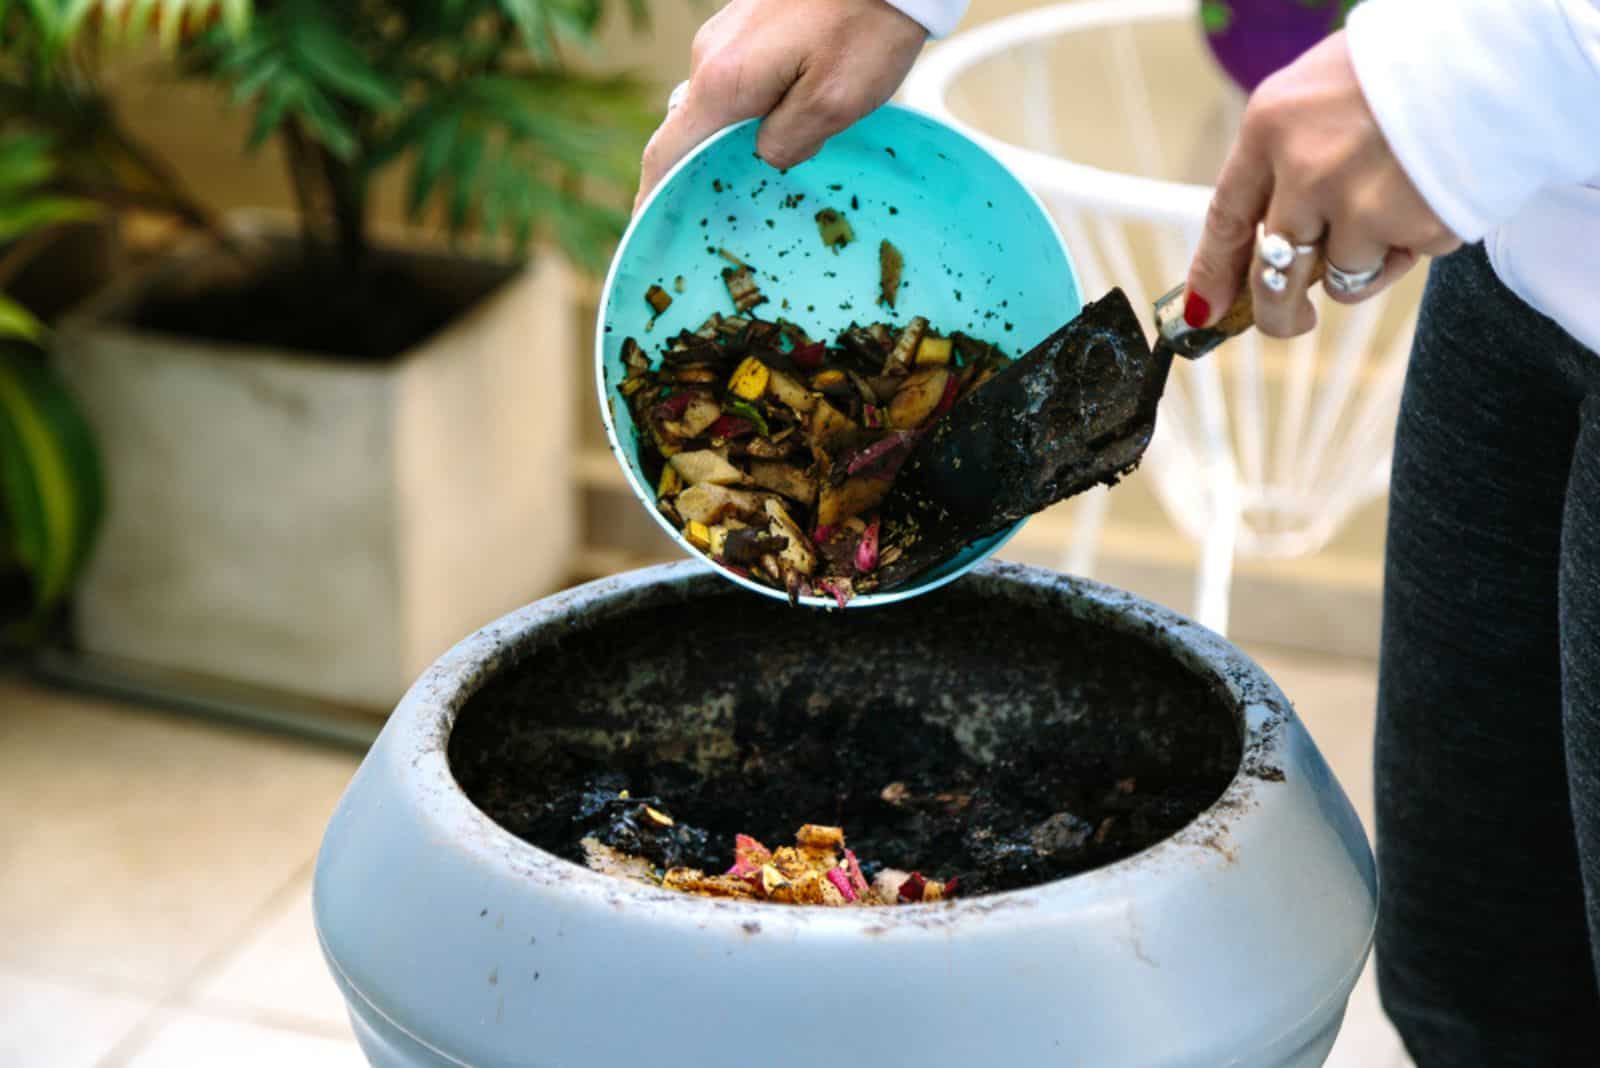
Feeding The Worms
Using appropriate food is also very important. For instance, you can add different manures, but some of them need to be pre-composted, cleaned of urine, and dewatered if they are liquid.
The amount of food you should provide will depend on how many worms you have. Every day, an earthworm swallows half of its own weight. You should therefore feed them 2 pounds each day, or 14 pounds per week, assuming you have 4 pounds of worms.
Good food for worms:
• Tea leaves
• Lettuce
• Fruit (avoid citrus)
• Oatmeal
• Cooked pasta
• Coffee grounds
• Squash
• Soft breads
• Chopped veggies
Avoid using:
• Dairy
• Oil
• Sugar
• Salty or processed foods
• Seeds
• Meat
• Vinegar
How To Harvest
One of the disadvantages of worm casting is harvesting. Still, with a little practice, harvesting is going to be easy peasy!
Once the content begins to turn black, it is time for harvesting (this usually occurs after two months). To stimulate appetite, don’t add any fresh food for the next few days.
After that, you should add something that worms absolutely love on one side of the bin. They will migrate to the food source so that you can scoop out the material from the other side – it will take them a couple of days to migrate.
If you accidentally take out some worms, replace them quickly. Look through the material and use it wherever you want!
References:
1. Devi, C., & Khwairakpam, M. (2022). Resource recovery and value addition of terrestrial weeds through vermicomposting. In Advanced Organic Waste Management (pp. 155-175). Elsevier.2. Sherman, R. (2003). Raising Earthworms Successfully. North Carolina Cooperative Extension Service.