If Your Orchid Is Dying, These Are The 13 Potential Culprits
Although orchids are admired all over the world, they originally come from Greece, China, and Rome.
Orchids are sensitive plants, which is probably the reason there are so many things that cause them to die.
If you’ve been wondering “Why is my orchid dying?” We’re going to get to the bottom of it, whether it’s a problem with watering, humidity and light level, potting soil, fertilizer, or pests.
We will also discuss the solutions to these problems, as well as the difference between a dying orchid and an orchid in its dormancy period.
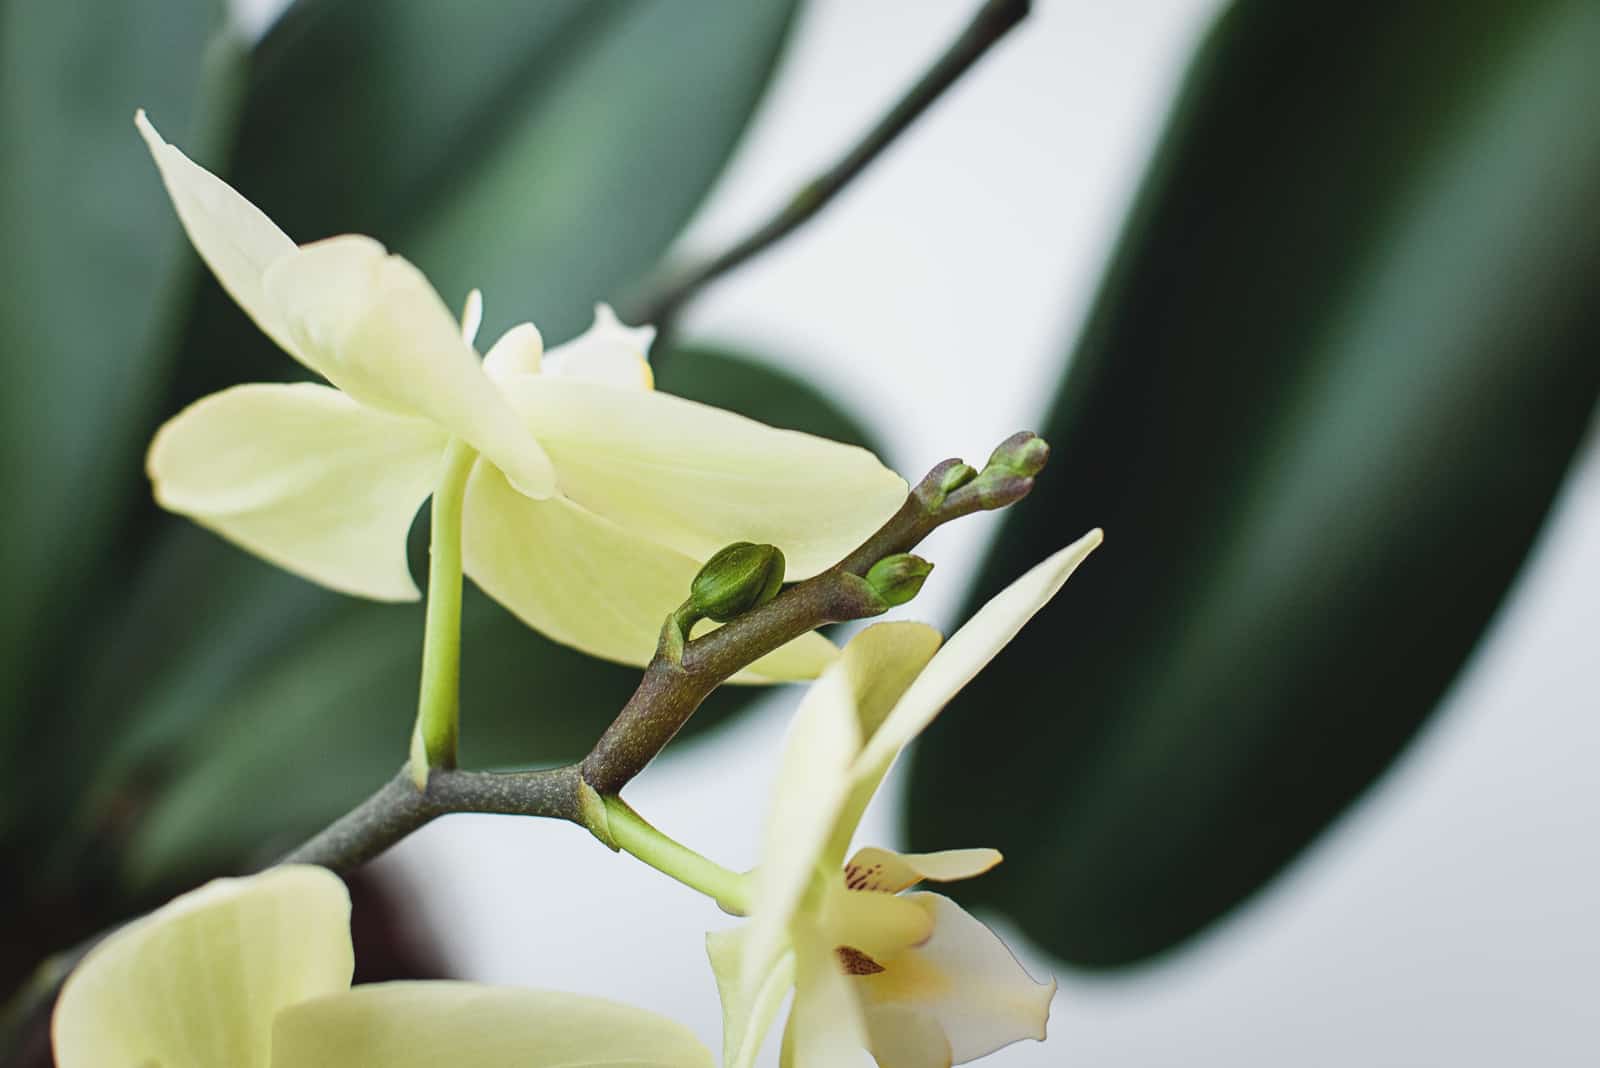
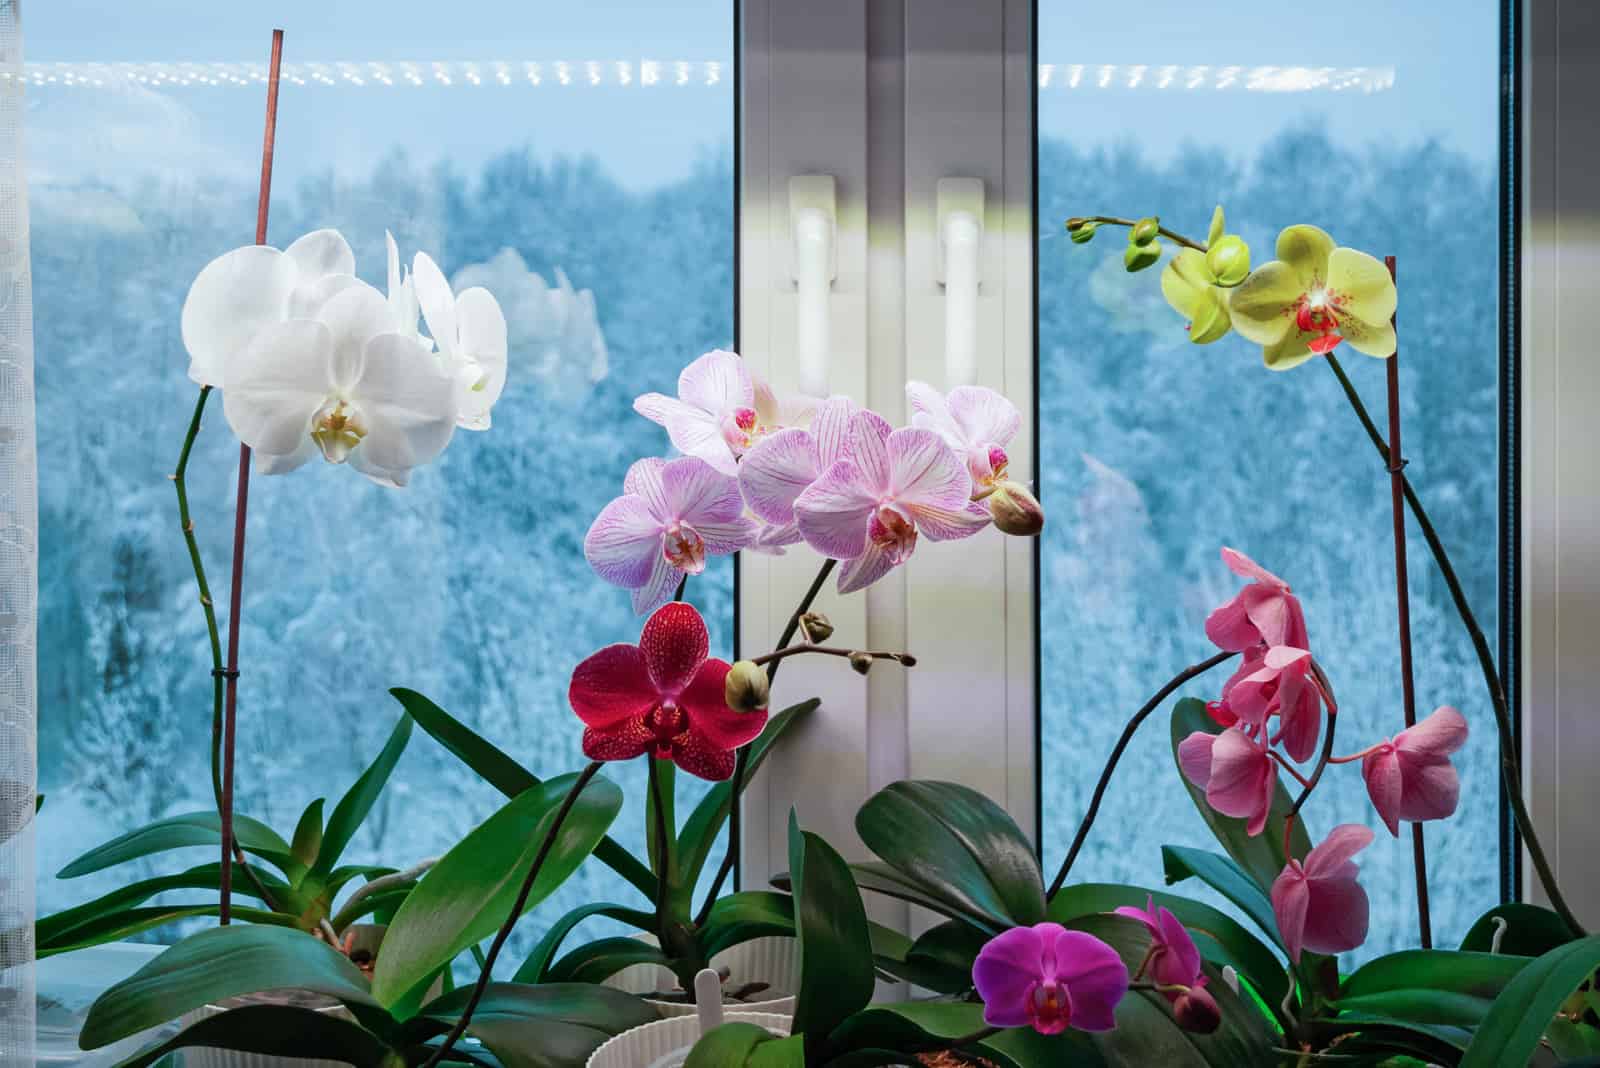
The most popular types of orchids for houseplants are phalaenopsis or moth orchid, dendrobiums. For outdoor plants, cattleya orchids are the most popular ones.
Read on to discover the main reasons for a dying orchid, how to identify when it’s happening, and also some top tips for orchid care.
Why Is My Orchid Dying? 13 Main Reasons
In order to determine the reasons for your orchid dying, you must first observe your plant.
Now let’s work out the cause of your orchid dying and what the indicators are.
1. Overwatering
One of the common reasons for an orchid dying is excess water in the potting medium. This excess water is caused by overwatering.
Bear in mind that the natural habitat of most common orchids are rainforests and tropical areas, so the amount of water the plants receive there is not that high.
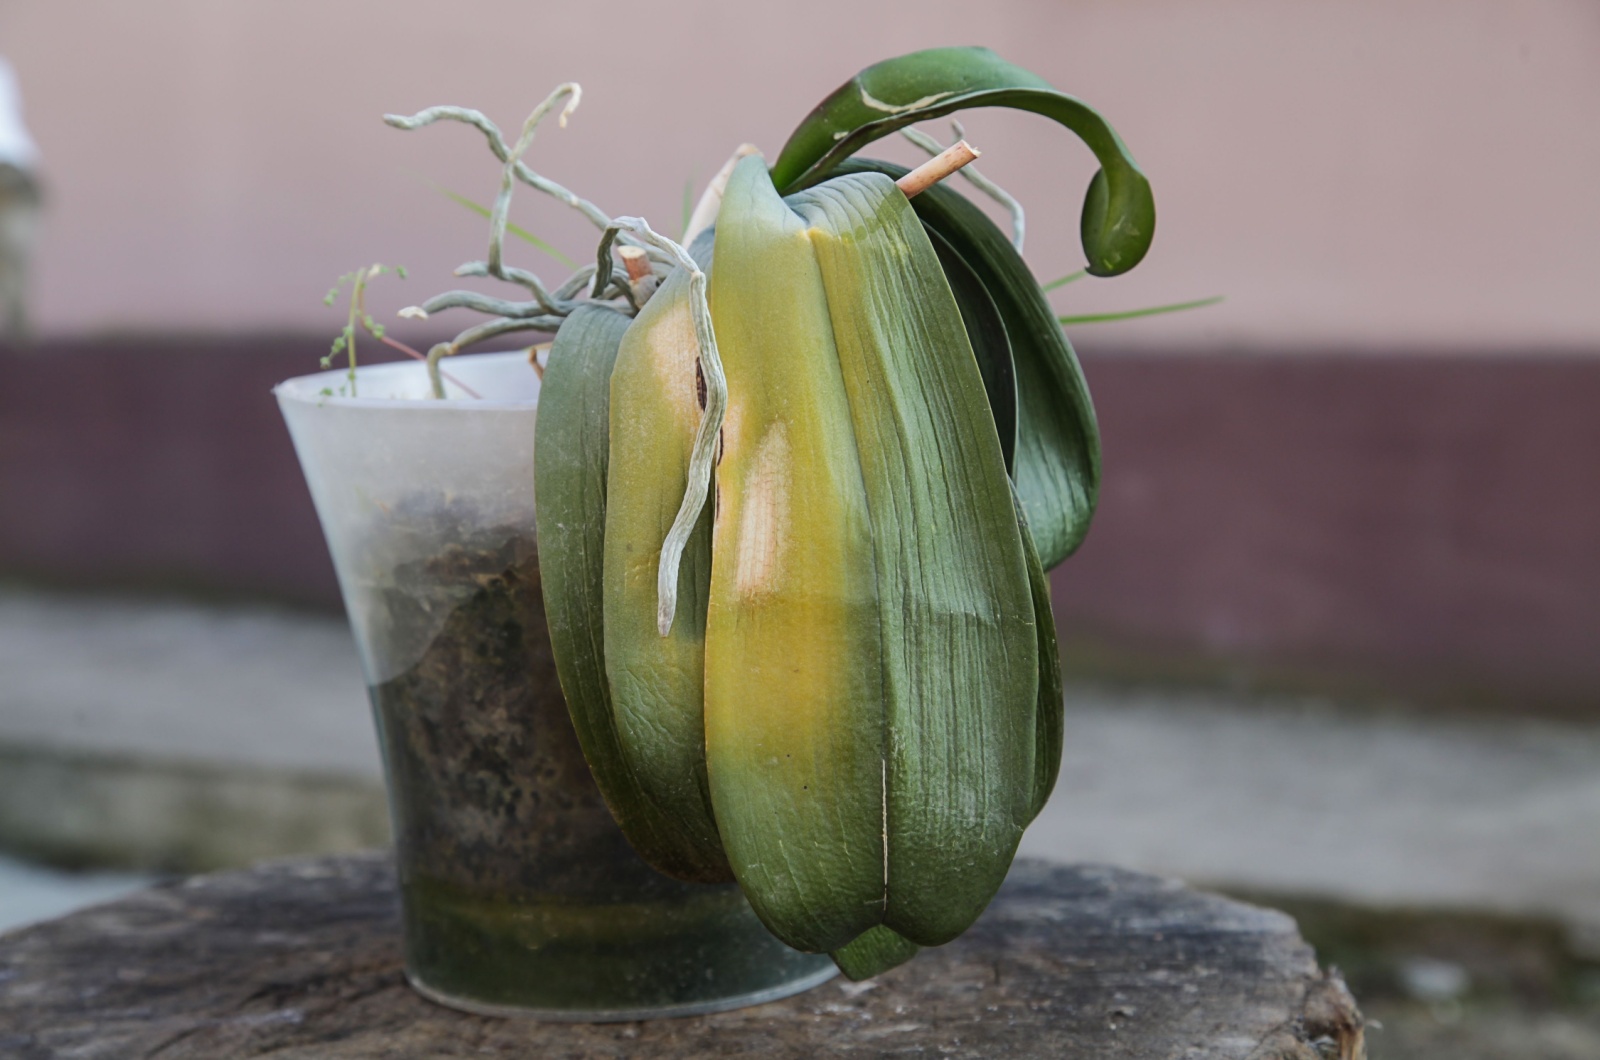
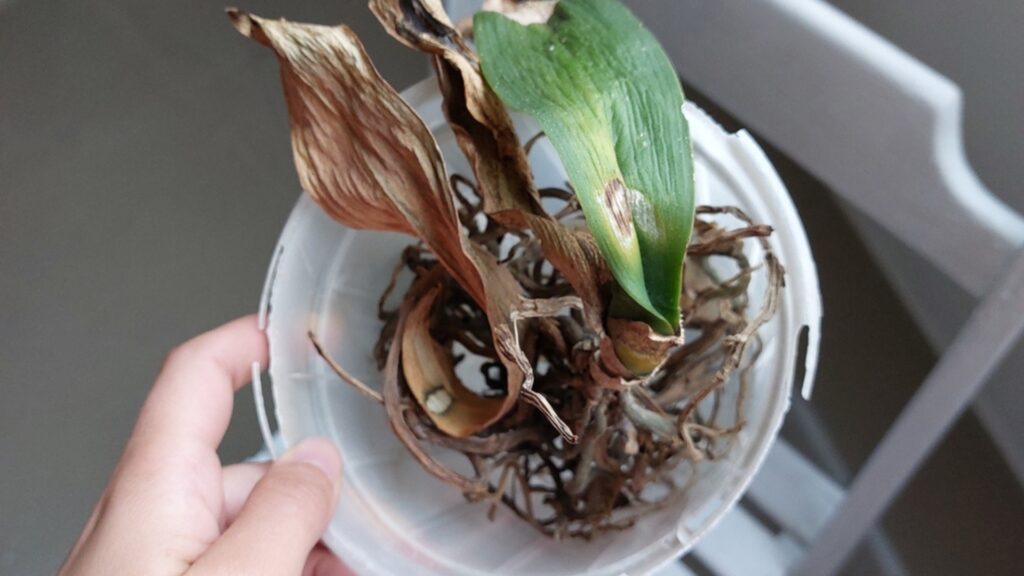
If there is an unpleasant smell coming out of the potting medium and the soil is mushy, your orchid plant might have root rot.
The best way to check if the orchid roots are endangered is to take the orchid out of the potting medium.
Healthy orchid roots are green, gray, or white-colored.
If you notice discolored (brown or black) and mushy roots, your orchid is likely suffering from root rot.
Root Rot
Overwatering leads to soggy soil, which increases susceptibility to pathogens.
When pathogens, fungi in this case, are present in the potting soil, they cause root rot followed by a foul odor.
Fungi decompose the tissues of the roots, which turns them mushy, discolored, and rotten.
The biggest problem with root rot is the spreading of pathogens that cause root rot to the other parts of the plant.
Another indicator of root rot are yellow leaves. These can also occur for other reasons we will discuss later.
In order to find out the reason for your orchid’s leaves turning yellow, always check the roots first to eliminate root rot.
Read on to find out how to fix this problem in the “How To Revive A Dying Orchid” section.
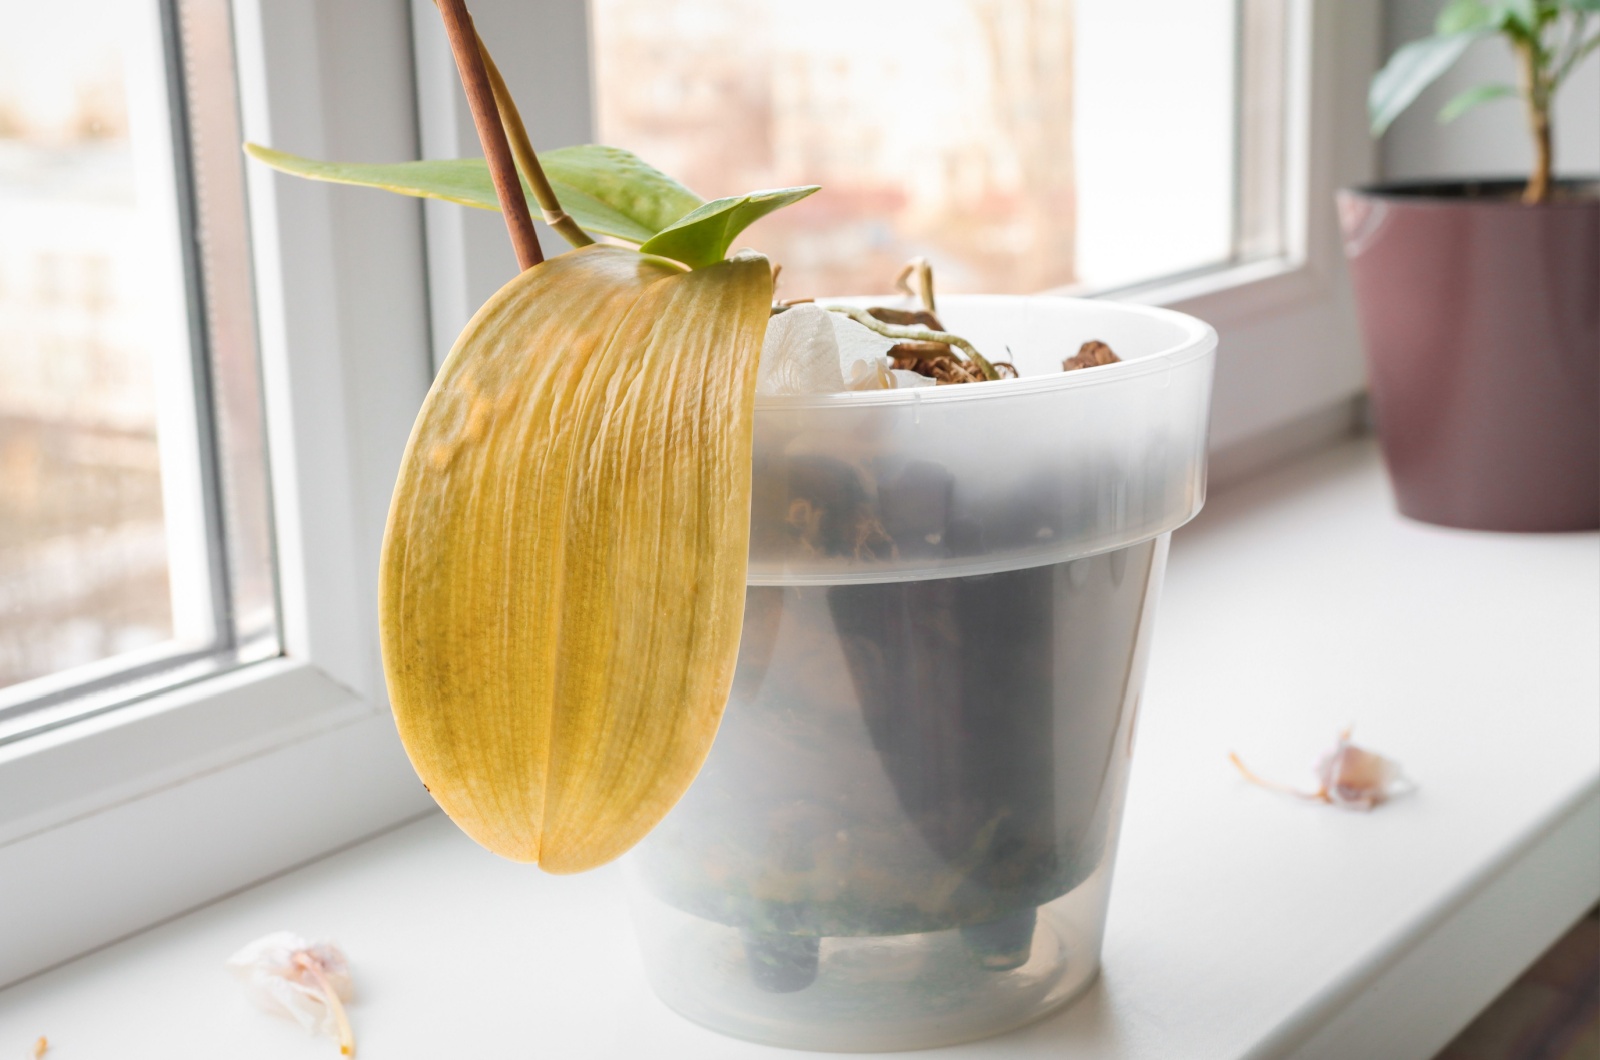
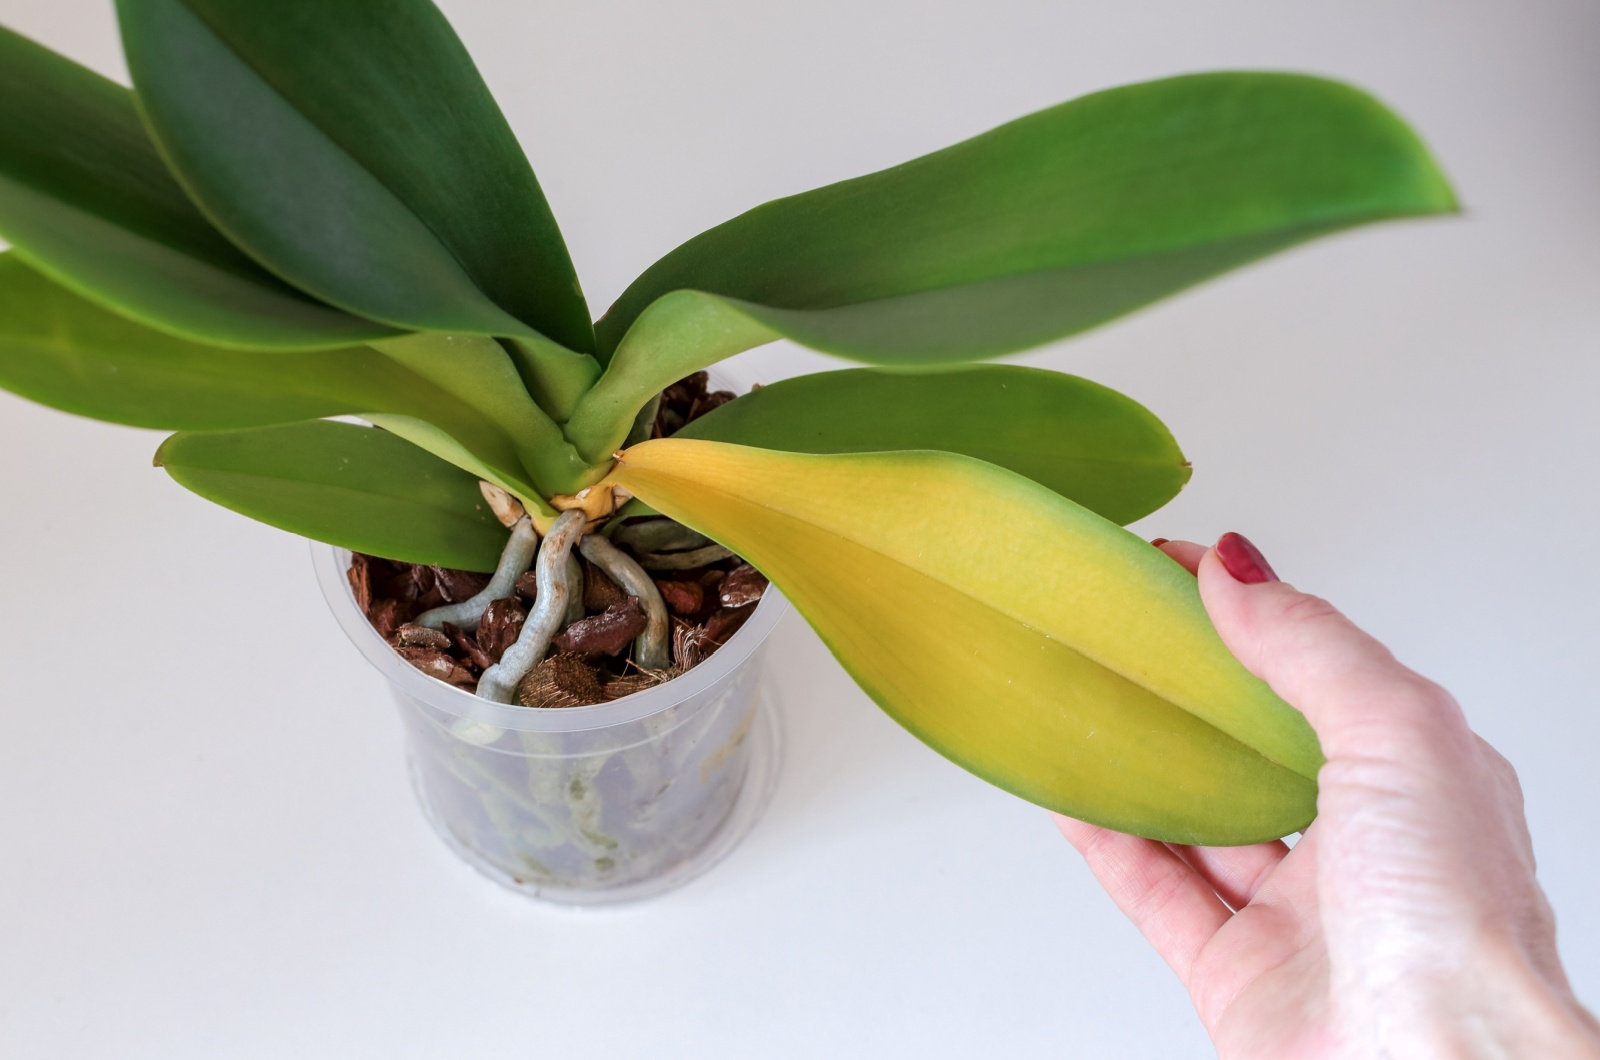
2. Underwatering

Another common reason for a dying orchid is insufficient water supply for your orchid plant.
If the roots are shriveling and you notice the leaves turning yellow, it is likely due to underwatering.
Shriveling Roots And Yellow Or Wrinkled Leaves
The root system needs water for healthy growth.
If underwatered, potting soil dries out and leaves roots with no more water to draw.
Underwatering causes the roots to shrivel and prevents new roots from growing.
In addition, if underwatered, potting soil can’t provide enough nutrients for the plant.
The leaves draw nutrients from the potting soil, and if potting soil is underwatered it won’t have any nutrients left.
In order for the plant to produce nutrients, you must ensure they are put in watered and well moisturized potting soil.
This will prevent the leaves from turning yellow.
Dehydration leads to wrinkling leaves.
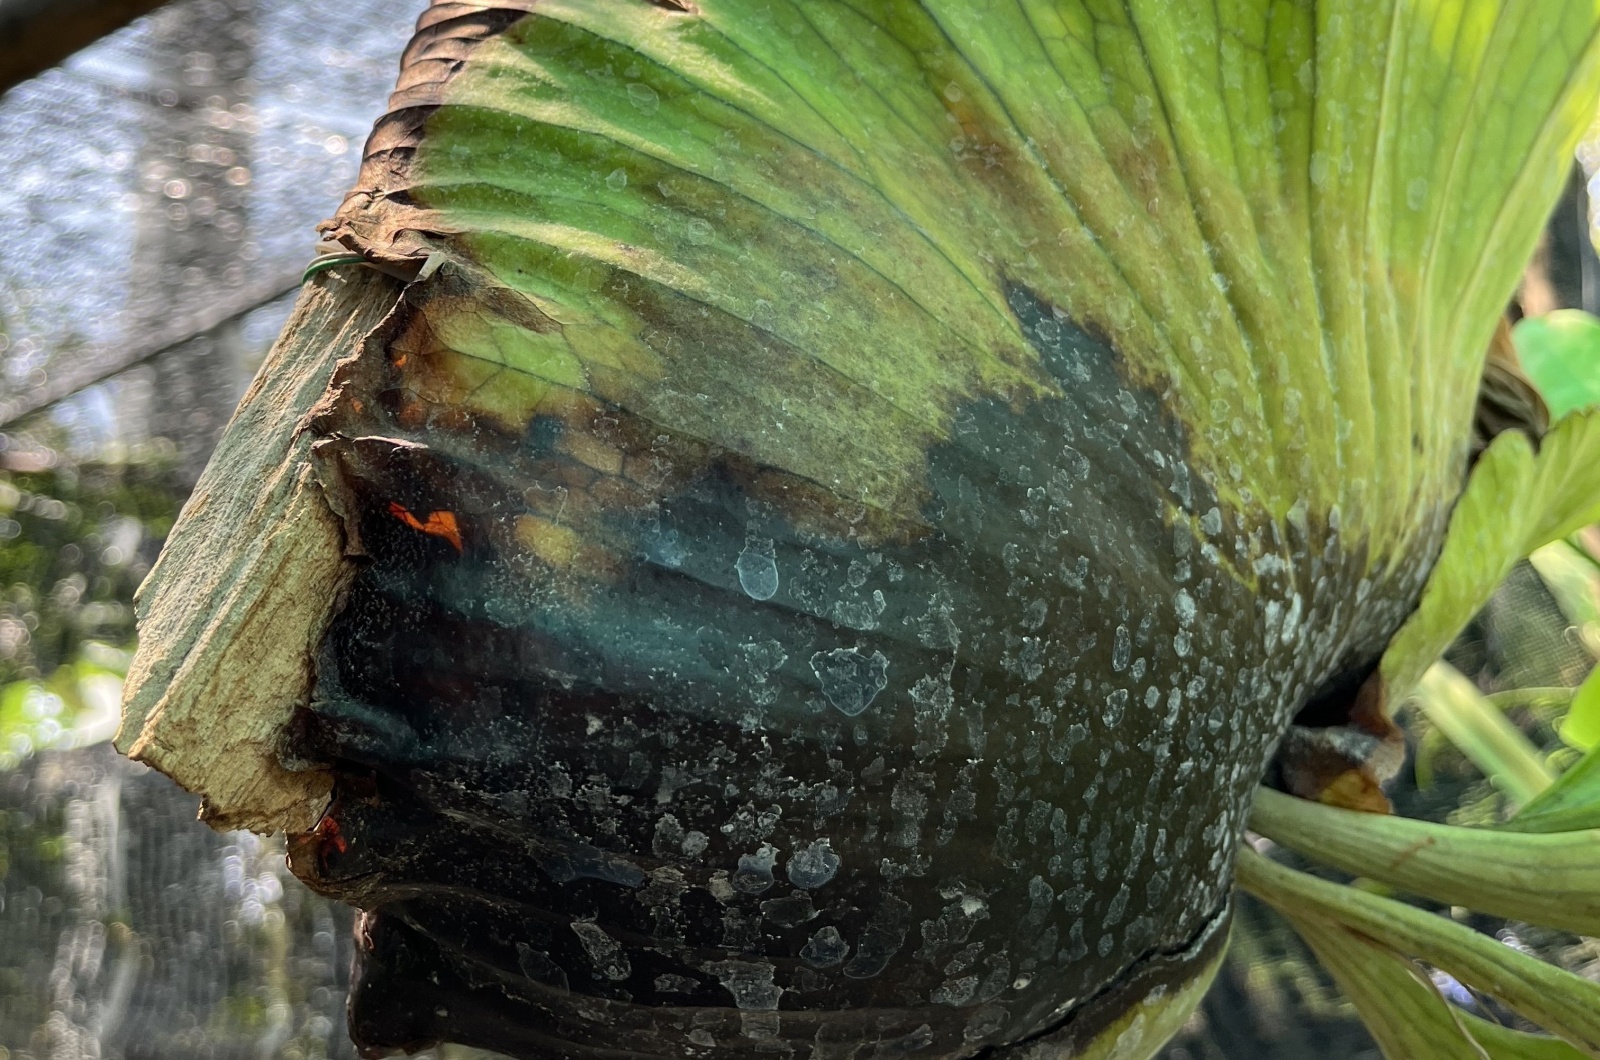
3. Crown Rot
Most orchids are epiphytes.
Epiphytes do not grow in any kind of soil, they actually grow on trees.
In their natural habitat, for example, phalaenopsis orchids do not grow vertically, but at an angle of 45°.
This means that water doesn’t pour directly onto the leaves. Excess water can’t be retained in the crown.
As houseplants, orchids grow vertically, which allows the crown to collect water. This prevents the plant from being able to drain. The stagnant water that then collects in the crown is full of the pathogens which cause crown rot.
Yellow Stems And Leaves
In order to determine if crown rot is the reason for your orchid dying, check out the stem and orchid leaves.
Due to the pathogens that cause crown rot, green leaves and stems are affected and they both turn yellow.
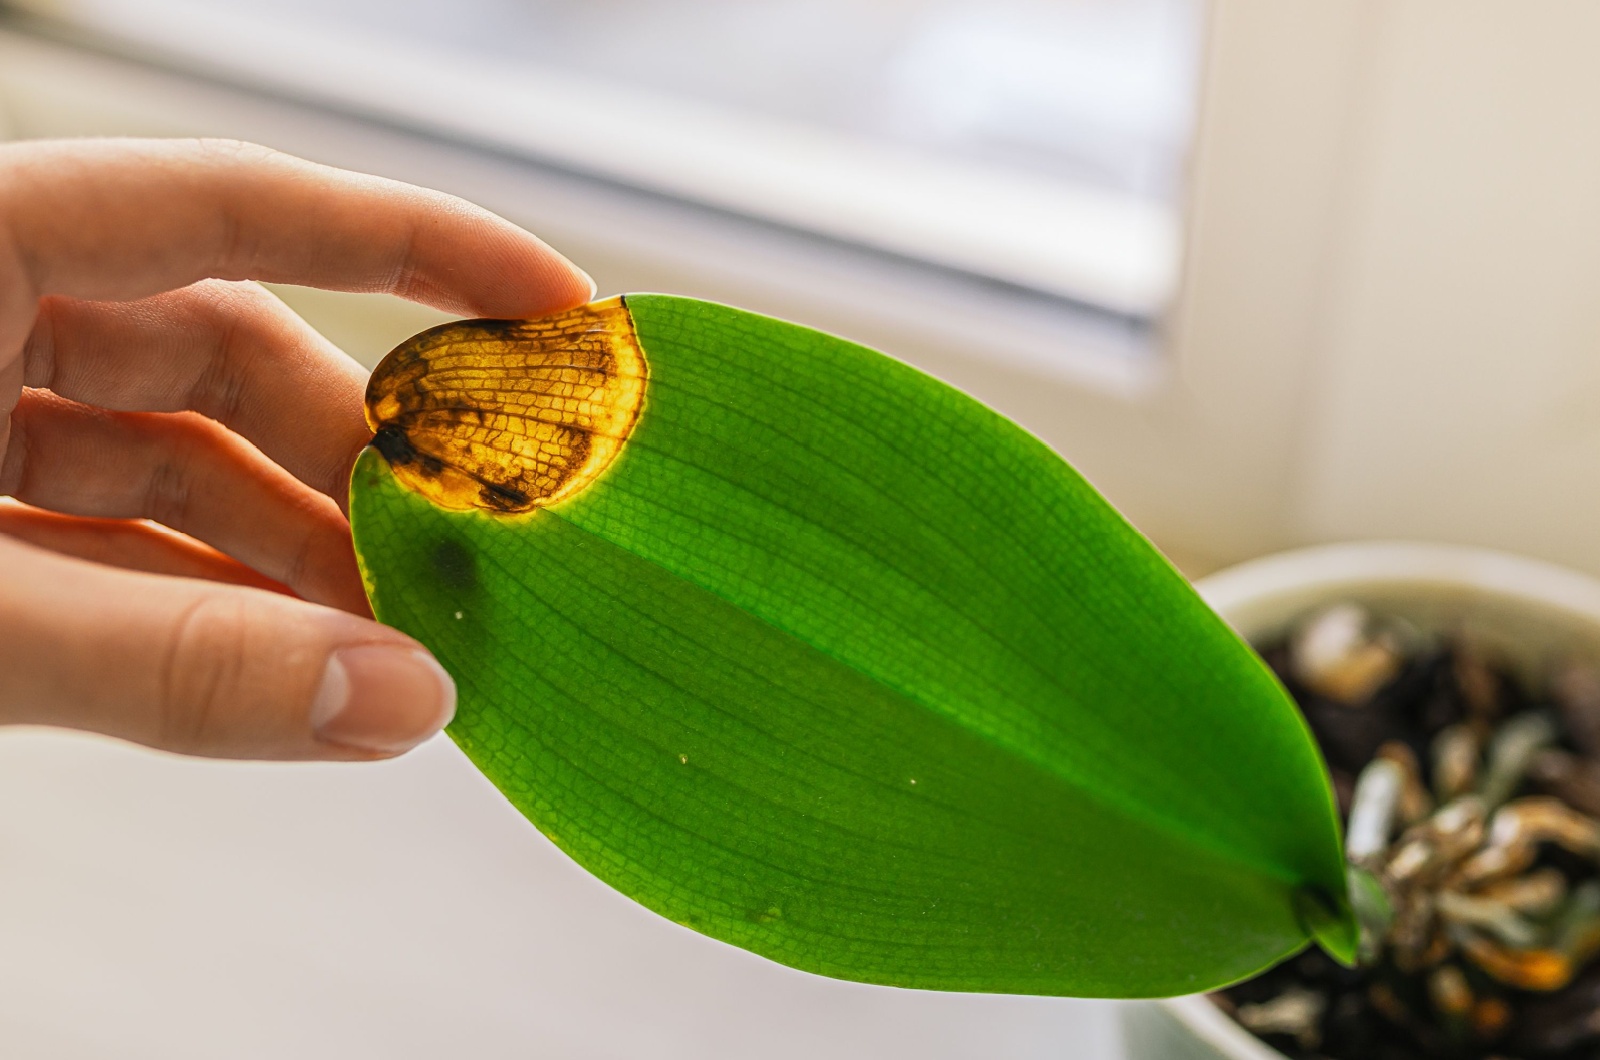
4. Too Much Sunlight Exposure
An orchids’ natural habitat are rainforests, and the forest canopy prevents direct sunlight from affecting the plants.
This means that orchids require a similar environment when living in our homes.
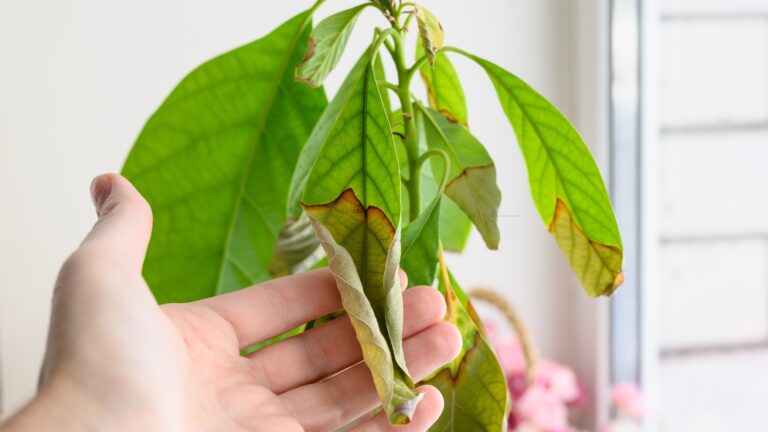
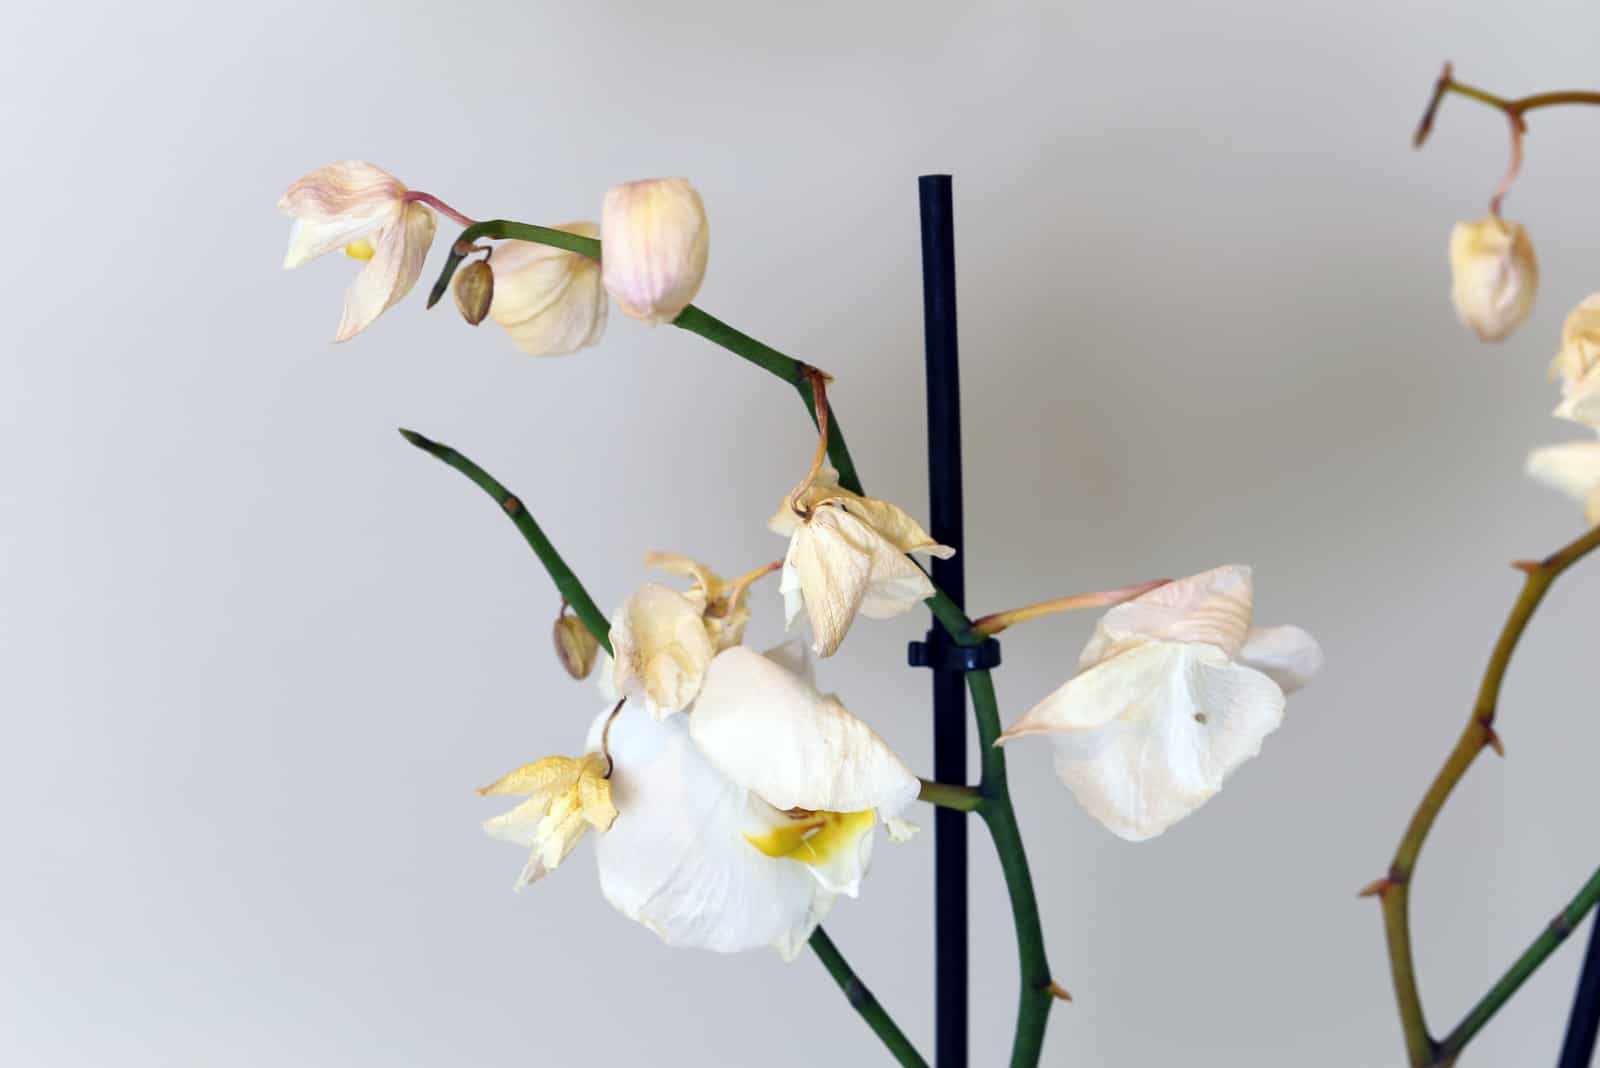
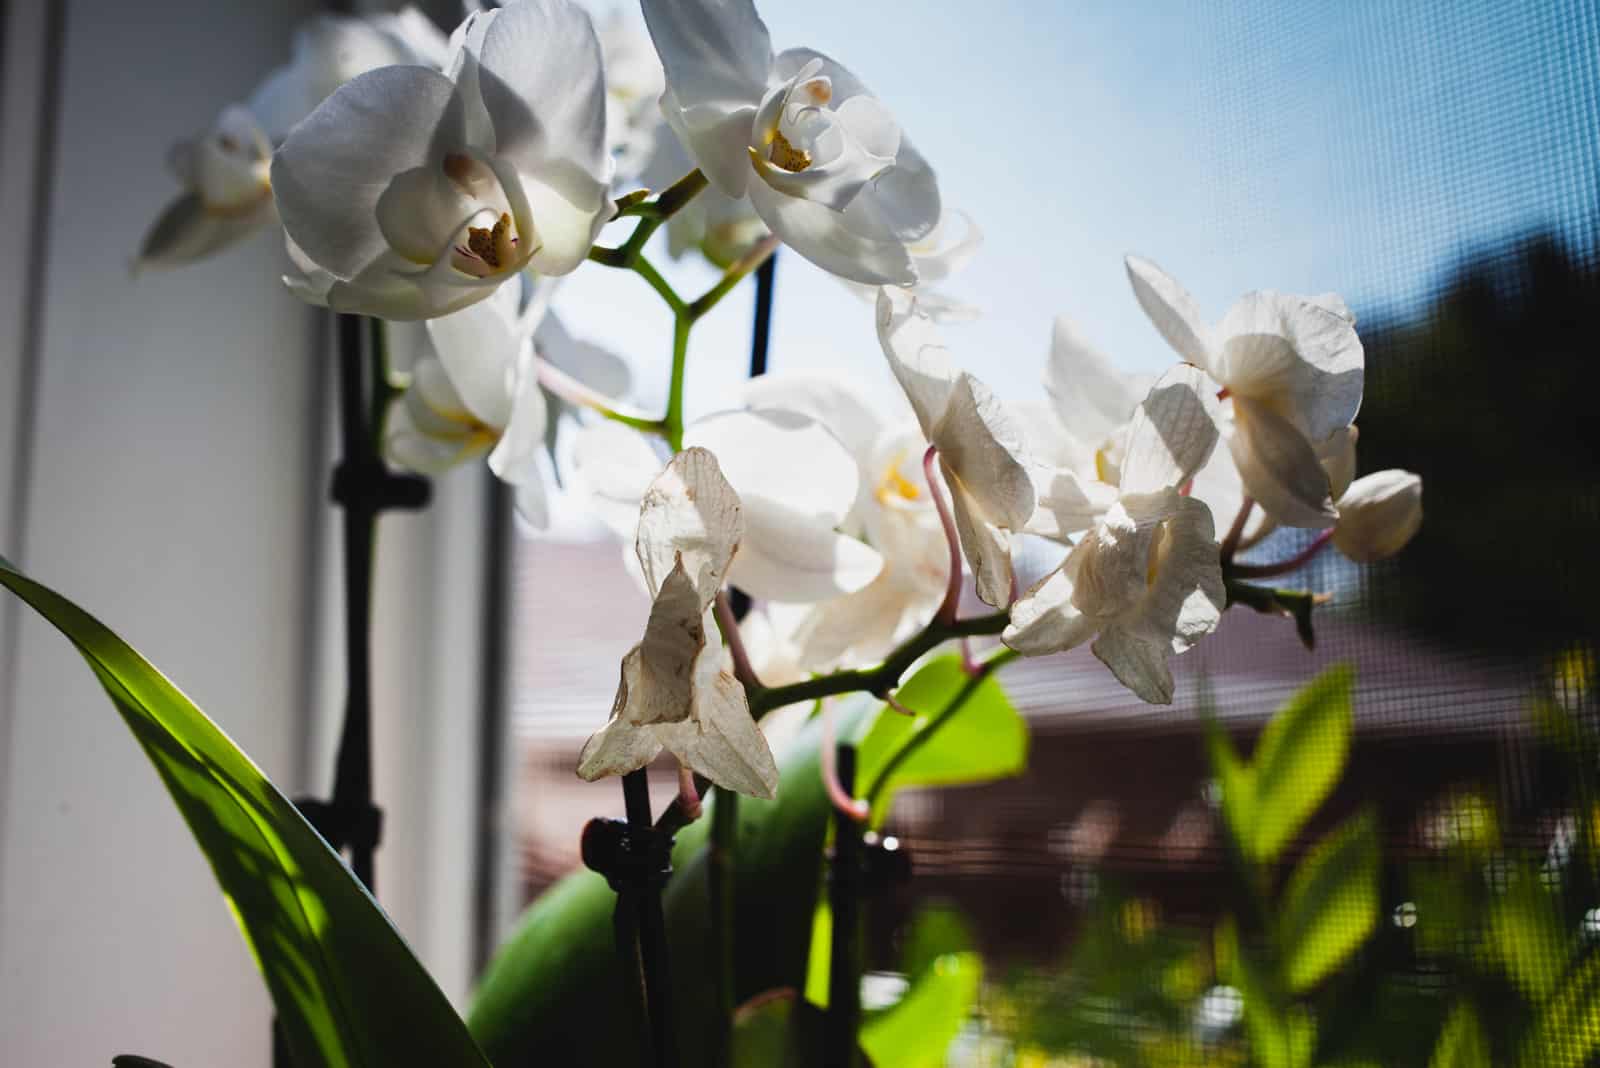
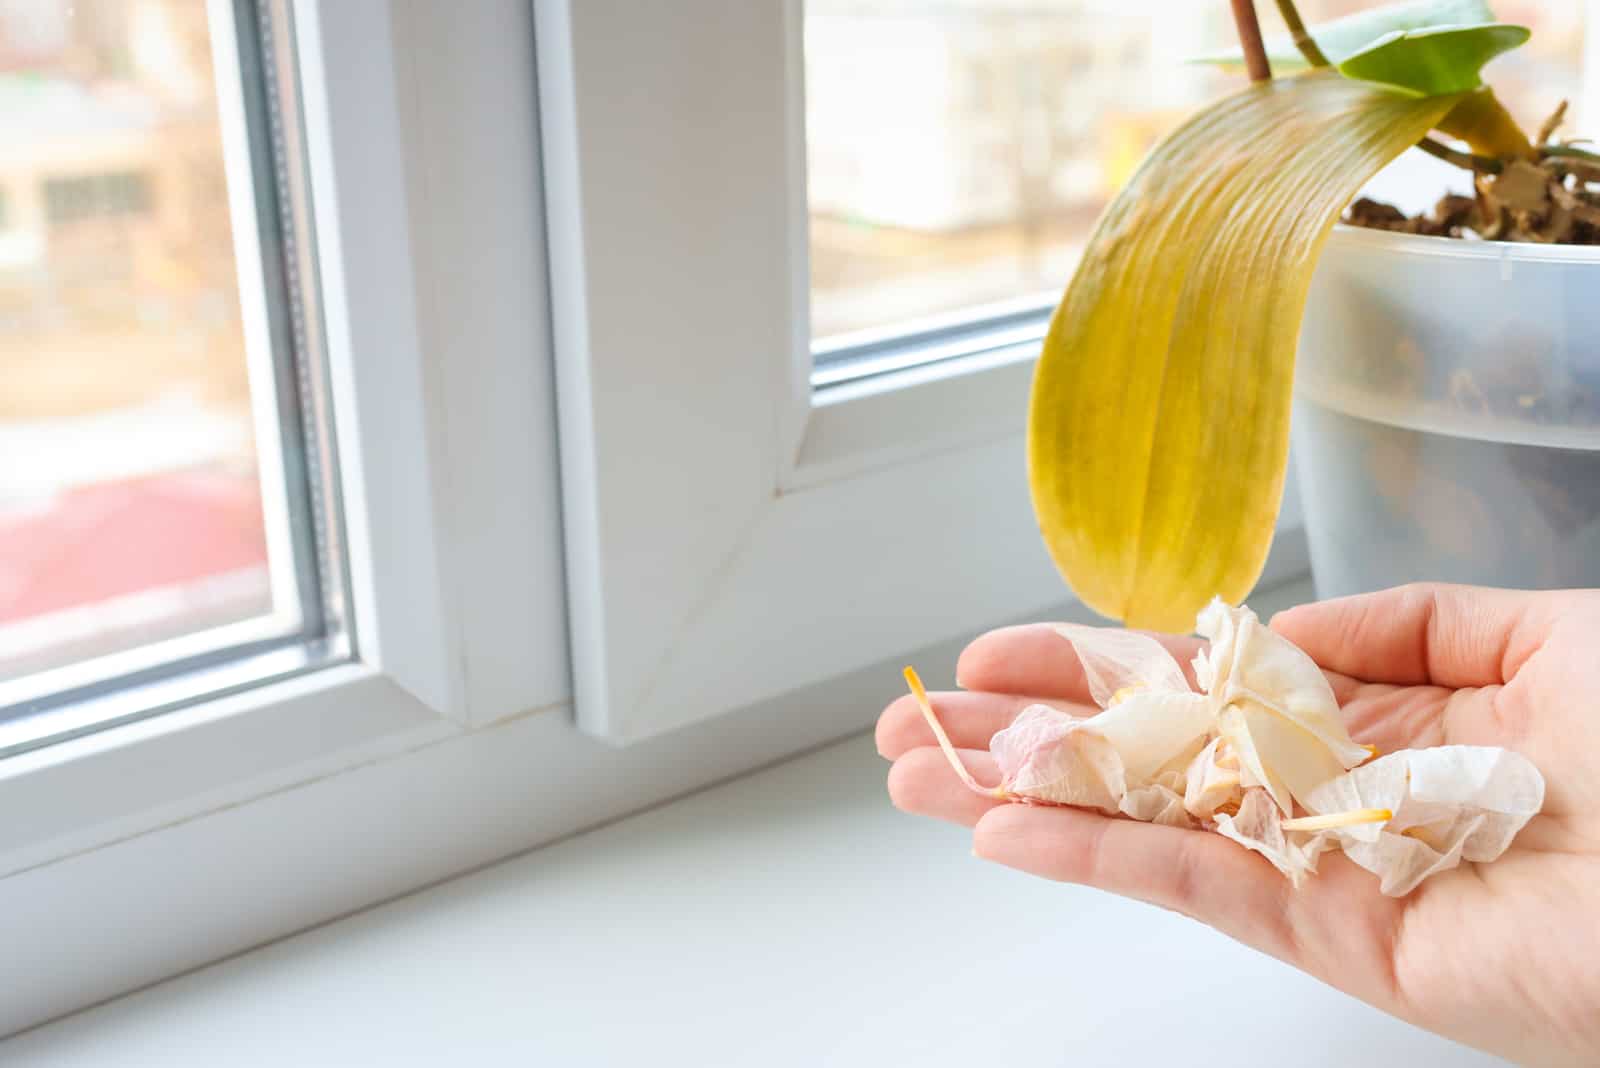
Yellow/Brown Leaves, Orchid Flowers, And Flower Buds Dropping Off
If an orchid is placed in direct sunlight, e.g. on a windowsill, the leaves will turn yellow or brown due to sunburn.
Direct sunlight also affects the roots. The soil drains and the root system becomes damaged, causing the flowers and flower buds to drop off.
If only the flowers fall off and the flower spike turns yellow, just remove the spike.
5. Not Enough Sunlight
Just like too much direct sunlight, not enough sunlight will also affect the growth and leaves of an orchid.
Slow Growth And Less Leaves
Due to low light levels, the orchid is prevented from growing healthily. You will also notice less leaves.
6. Wrong Potting Medium
Potting medium is a fundamental part of all plant health. Orchid potting medium has to be well draining to remove excess water and provide enough nutrients.
If the potting medium does not meet these requirements, root rot and yellow and wilting leaves will appear.
Root Rot And Yellow/Wilting Leaves
Root rot as a result of a suboptimal potting medium will appear if the potting medium is not well draining.
The medium should have air spaces to allow the airflow to circle properly.
If the medium doesn’t drain well, these air spaces will be filled with water and prevent the air circulation it needs.
This causes root rot, and as a consequence the leaves will turn from dark green to yellow and wilt.
7. Poor Temperature Regulation
The ideal temperature to fulfill orchid needs ranges from 55 to 75°F.
If the temperature is either lower or higher than this, it can cause changes to leaves, flowers, and flower buds.
Burned Or Yellow Leaves And Buds And Orchid Flowers Drooping
Excessively high temperatures, i.e. being in direct sunlight or heat sources, will almost certainly burn your orchid leaves.
On the other hand, if the temperature level is too low the orchid flowers could droop along with buds.
8. Overfertilizing Or Underfertilizing
As for every other plant, fertilization is a very important process in orchid care.
Too much fertilizer will cause the leaves to burn and the root to become discolored.
However, if you don’t fertilize your orchid enough it will also suffer from poor growth.
Burned Leaves, Discolored Roots, and Poor Growth
As mentioned before, orchids are sensitive plants, and fertilizer that is too strong for orchids can burn their leaves and discolor their roots, eventually causing them to shrivel.
On the other hand, if you don’t feed your orchid plant it won’t receive enough nutrients and growth will slow.
9. Humidity Too Low
Rainforests of tropical areas are well known for high humidity levels.
The ideal humidity level for an orchid plant ranges from 65 to 70%.
If the humidity level is lower than 65%, roots and leaves shrivel.
Shriveling Roots And Leaves
The air dries out due to low humidity. The plant can’t receive enough water, so the potting soil eventually dries out and causes the roots and green leaves to shrivel.
10. Temperature Fluctuation And Airflow
An orchid can suffer from temperature shock if its environment changes suddenly. A sudden temperature change can cause changes to the orchid buds and leaves.
Make sure that the temperature doesn’t drop overnight in the room the orchids will be kept in.
Bud Blast And Drooping Leaves On A Yellow Orchid
An orchid can suffer from temperature shock even when being transported from the store you bought it to your car! So you must be very careful. When you arrive home you may notice a bud blast.
If the plant is subjected to constant temperature fluctuations, it can leave permanent damage and turn its leaves yellow and droopy.
The same happens if there is too much airflow.
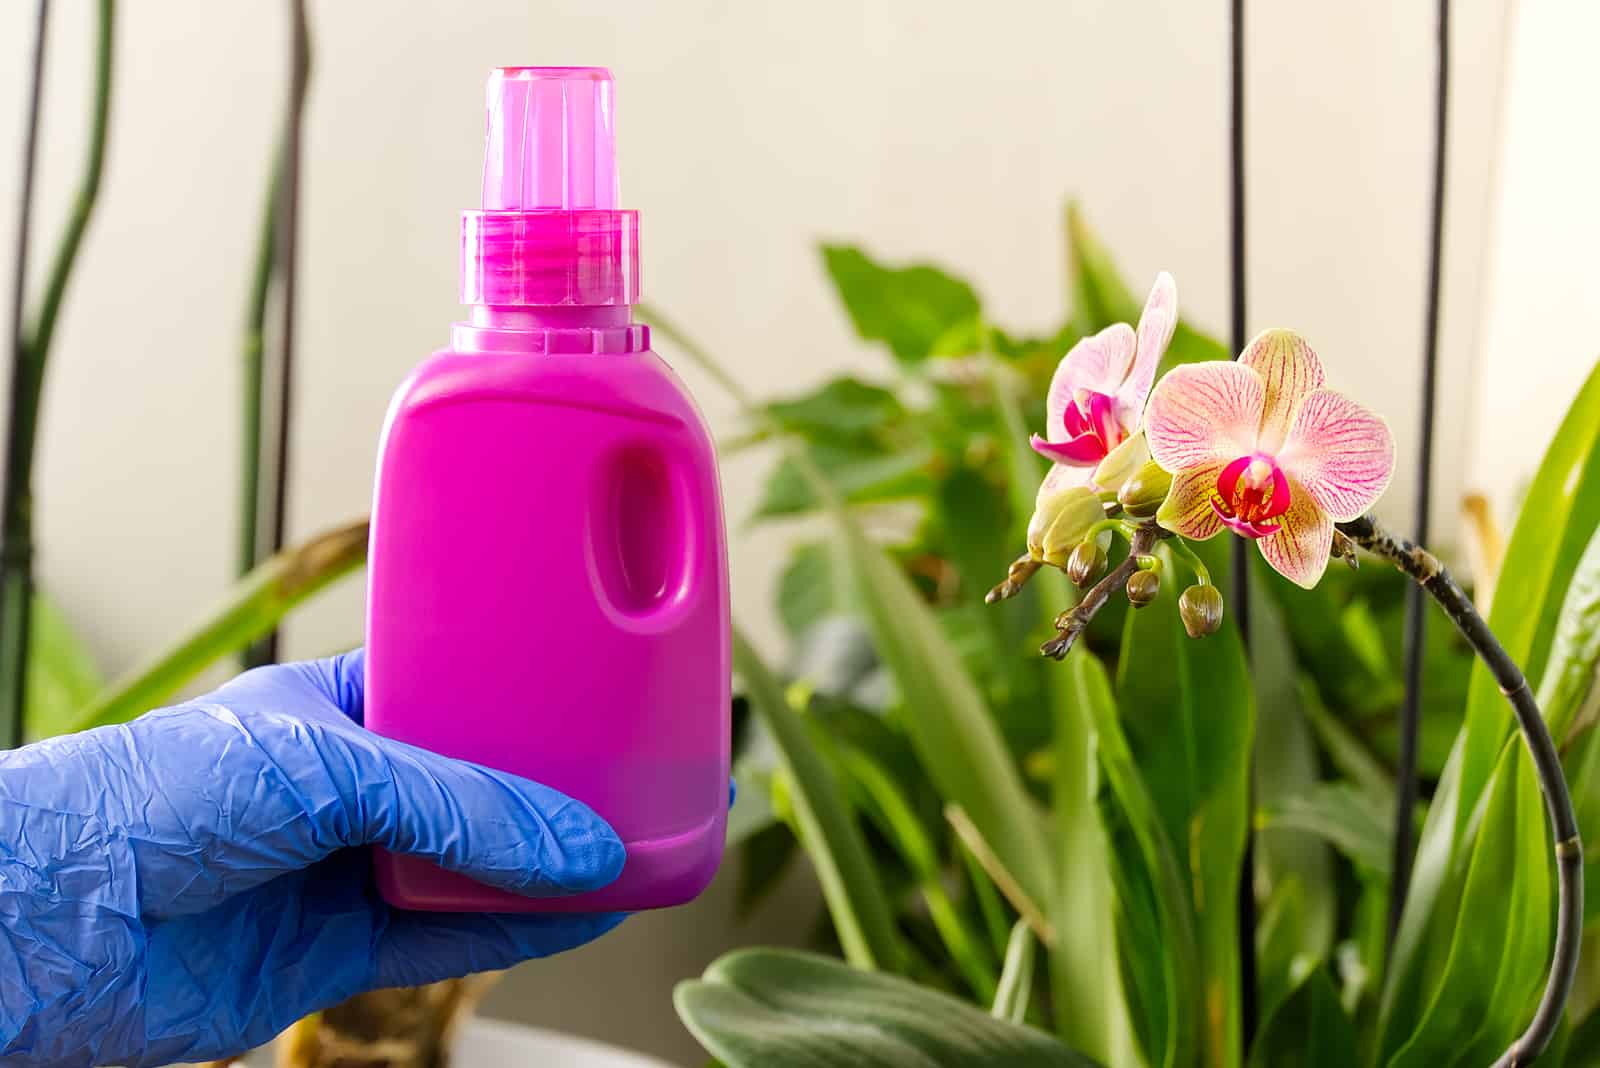
11. Pest Infestation
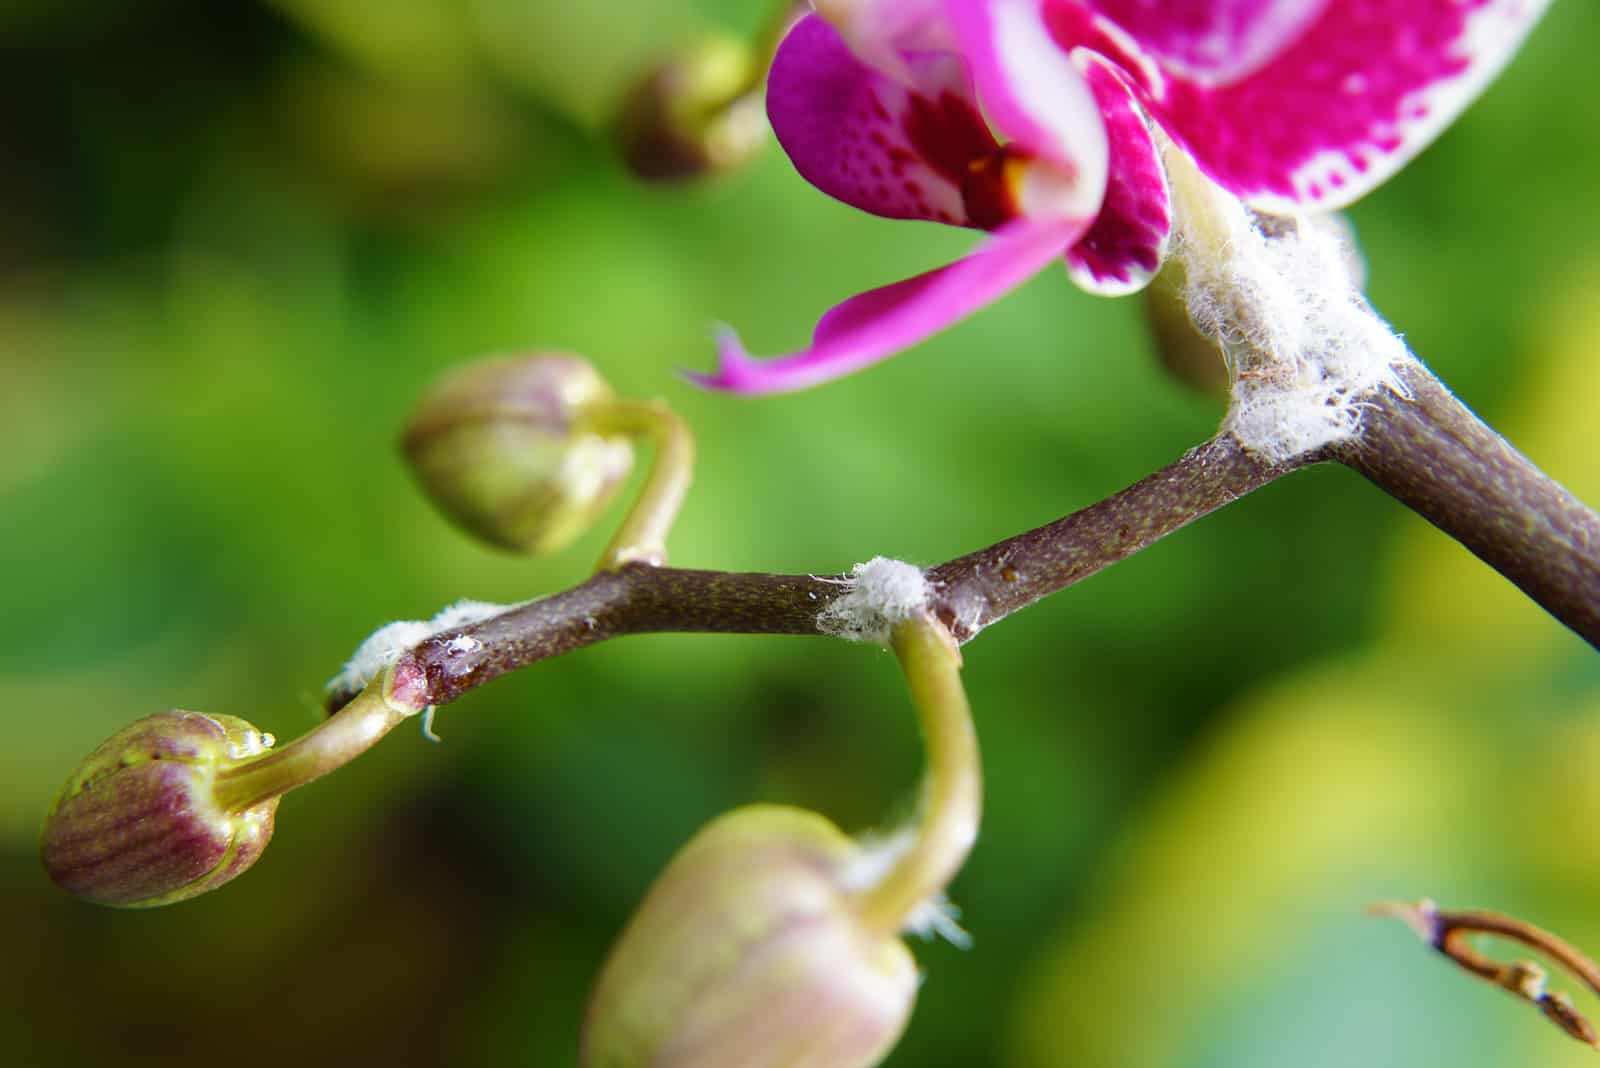
The most common pests which affect the orchid plant are mealybugs, spider mites, aphids, and fungus gnats.
Their presence affects the leaves and roots.
White Or Brown Spots On Leaves
If orchid leaves change their appearance, and especially if they have white-colored spots that are sticky to the touch, mealybugs are to blame.
On the other hand, if you notice brown spots on the undersides of the leaves, then it’s spider mites and aphids.
Fungus gnats feed from wet potting medium and also cause spots. Overwatering the medium will increase moisture levels and leave the potting mix susceptible to fungus gnats.
Yellow sticky traps are a great way to see if there are any fungus gnats present, and also to get rid of them.
12. Dirty Or Non-Sterile Tools
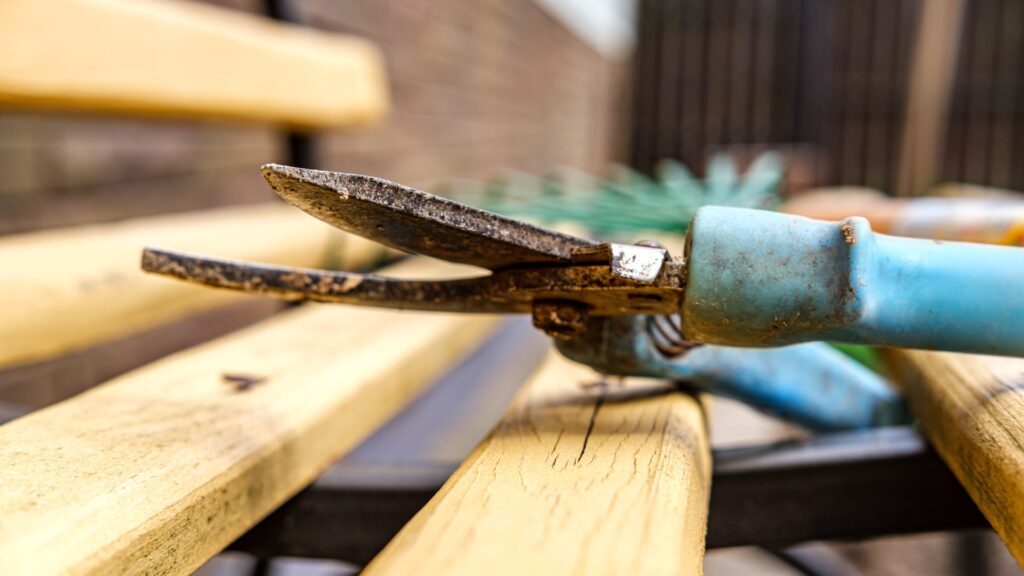
Using dirty tools when trimming orchid roots or leaves can introduce harmful pathogens directly into the plant’s vascular system. This often goes unnoticed by beginner orchid growers, but it can lead to infections that damage the plant internally.
Brown Spots, Mushy Roots, And Foul Odor After Trimming
If you notice that shortly after trimming your orchid the roots begin to rot, or brown spots appear on leaves that were previously healthy, it may be a sign of contamination from non-sterile tools. Fungi and bacteria cling to the blades of scissors, pruners, or even gardening gloves, and quickly spread once inside plant tissue.
To prevent this, always sterilize your tools before and after trimming. You can use rubbing alcohol, a flame, or a bleach solution. Make sure tools are completely dry before use to avoid moisture-related rot.
13. Repotting Shock
Orchids don’t love change. A sudden shift to a new pot or potting medium can disrupt their delicate balance and send them into stress mode, especially if repotting is done during the wrong season or with improper care.
Drooping Leaves, Wilting Flowers, And Lack Of New Growth
If your orchid appears limp, stops blooming, or fails to grow new roots or leaves after being repotted, it could be suffering from repotting shock. This typically occurs when the plant is handled too roughly, its roots are exposed for too long, or the new potting medium is vastly different in drainage or moisture retention.
Always repot orchids during their active growing season (spring or early summer), use similar potting medium components, and avoid disturbing the roots excessively. After repotting, provide extra humidity and indirect light to help your orchid transition smoothly.
How To Revive A Dying Orchid
If you found the answer to: Why is my orchid dying? Now let’s check how to save the plant.
You won’t have to throw your orchid away just yet, you can almost certainly revive it using the techniques provided below.
As well as solutions to these problems, there will also be tips for orchid care to help avoid these complications in the first place.
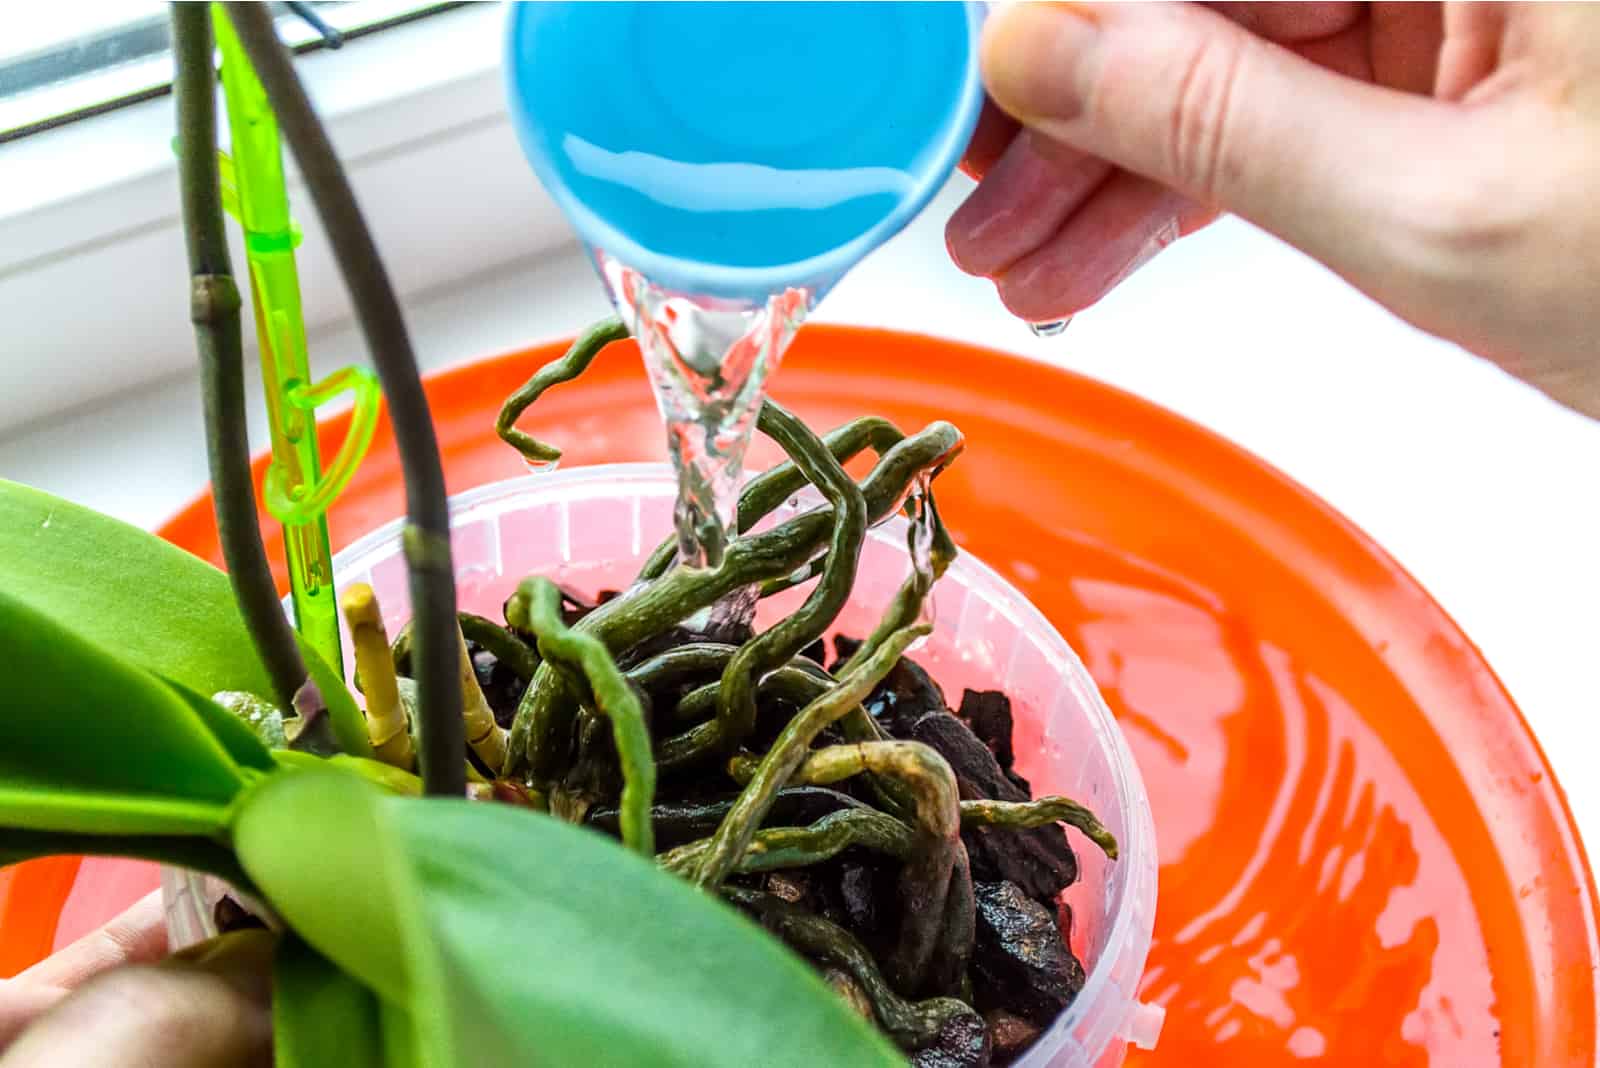
Adjust Watering

As overwatering and underwatering can cause so much damage to your orchid plant, you should stick to a watering schedule in order to keep your orchid plants safe and healthy.
This is the best way to solve the root rot problem.
Your orchids should be watered once a week during the summer and spring seasons.
During the winter and fall seasons, only water your orchids every 7 to 10 days.
Use lukewarm water for approximately 15 seconds before letting it dry for 15 minutes.
Water early in the mornings so the water on the crown evaporates by the nighttime.
You can also try using a shallow dish or tray filled with pebbles.
Then place your houseplant on top of the dish or tray. This way the water will evaporate, causing the moisture levels to improve and eventually increase humidity.
Some orchid growers suggest using ice cubes for watering, but we don’t recommend ice cubes as they may lead to temperature shock.
General Notes For Watering
• Always check the soil moisture (use finger, wooden stick, or a moisture meter).
• Use the watering can you use for your other houseplants (avoid a sink, bathtub, or similar places where the danger of excess water is increased).
• Lukewarm water is best.
• Bear in mind that the leaves should not be watered. You can either choose bottom watering or water over the top of the soil. Water carefully, or you risk either over watering or underwatering.
• The temperature during the Winter is lower, so take into consideration that it will take less water than during Summer (of course, always check the moisture level).
• Don’t soak the entire plant. Instead water over the top of the soil until it reaches approximately two inches below, or alternatively apply bottom watering.
• Soak gradually. Don’t pour the entire prepared amount of water all at once, instead let the soil soak properly.
• The best water temperature for watering is room temperature.
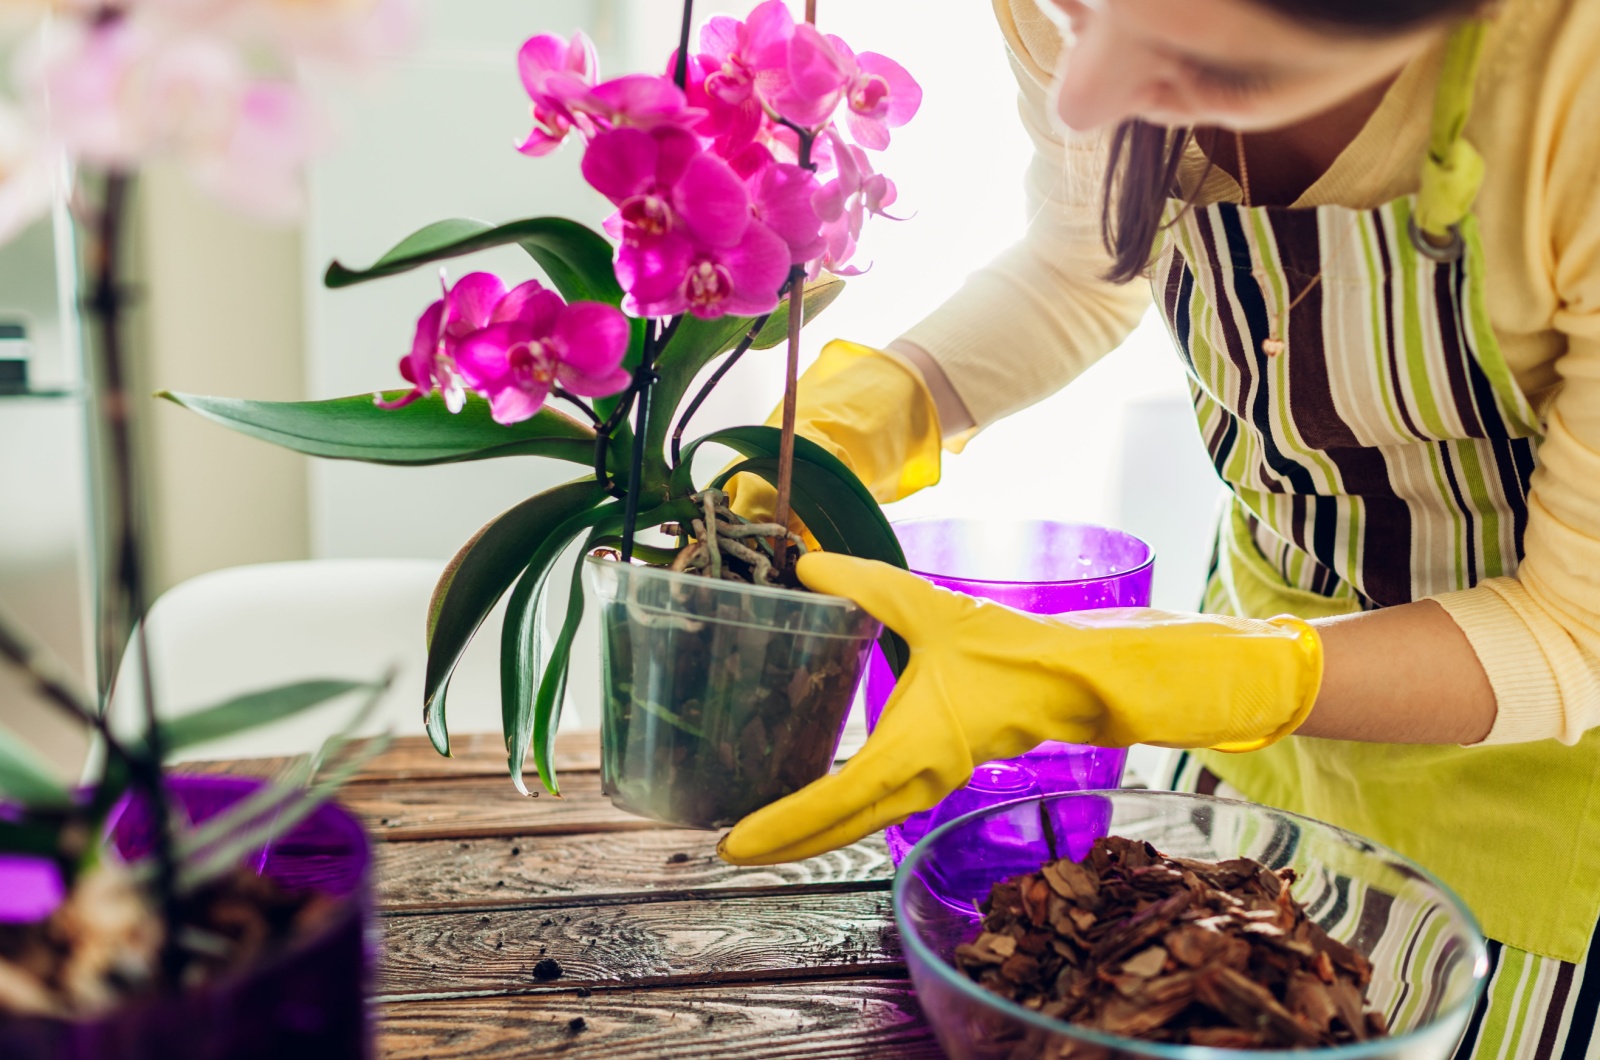
7 Steps To Save An Orchid With Root Rot
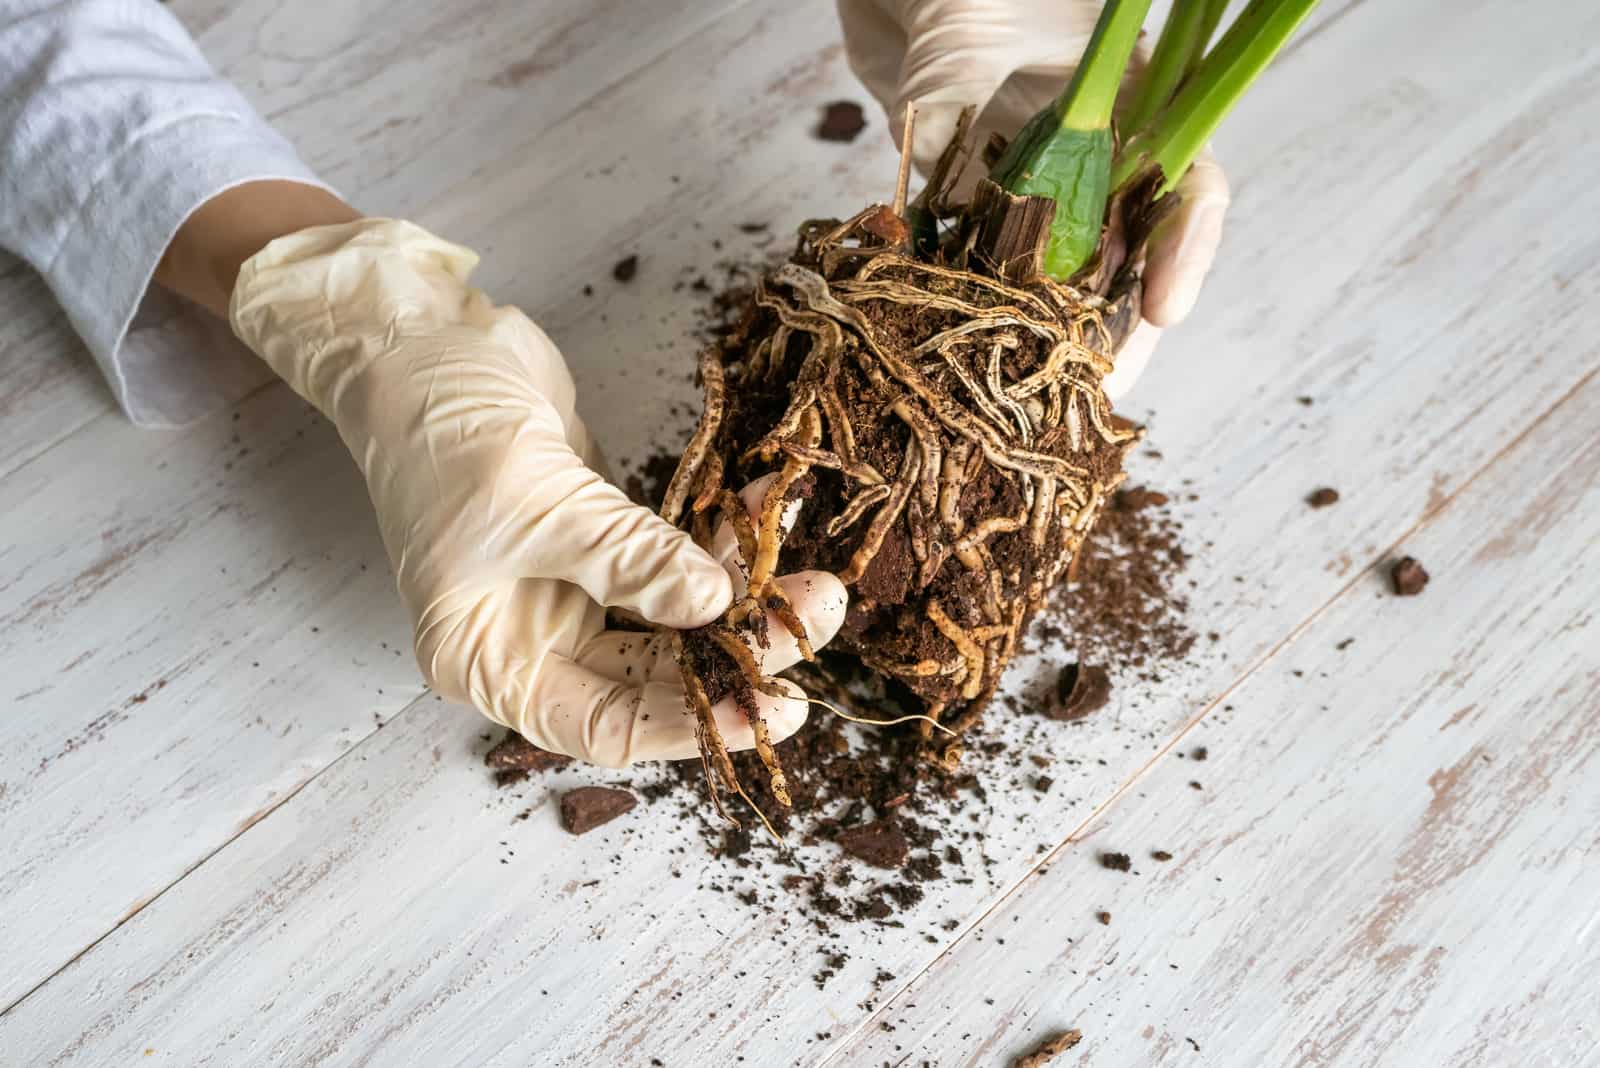
1. Take the plant out of the pot. This will help you to see any changes in the root system.
2. Prepare your pruners and sterilize them. This will prevent damage to other parts of the plant due to root rot. If the roots are affected by pathogens such as fungi, you should use fungicide.
3. Remove any root which looks unhealthy (root rot). Use sterilized pruners or scissors to cut off the dead roots. Before each cut, sterilize the blades of the pruners or scissors to prevent spreading the disease to healthy roots.
4. After removing the affected roots, wash the other roots thoroughly to avoid temperature shock.
5. Let the roots and the soil dry.
6. The next step is to repot your orchid plant. Use a clean pot so that you can avoid spreading the pathogens which caused root rot in the first place.
If you are purchasing a new orchid pot, it shouldn’t be much larger in size because this could cause the roots to drown. If you are using the old pot, make sure it is well cleaned and disinfected before you use it again.
7. Mist the orchid for the next few days and then return to the watering schedule.
The orchid should revive from the base of the plant during spring or summer.
New leaves and new flowers will grow.
Don’t water from overhead, but pour the water onto the potting soil to avoid crown rot.
10 Steps To Save An Orchid With Crown Rot
After you identify crown rot, follow the steps below to try and save your orchid!
1. Remove the orchid from the pot.
2. Remove the soil surrounding the roots in order to check if there are any affected roots.
3. Sterilize your pruners with alcohol, bleach, or a flame.
4. Cut all the dead roots.
5. Fill a spray bottle with fungicide (it’s toxic, so if you decide to use it take precautionary measures) or the less invasive 3% hydrogen peroxide.
6. Spray over the crown rot. You will hear a fizzing sound, which is a sign of fungal infection. Leave the hydrogen peroxide on the crown for about 15 minutes.
7. Use a paper towel to remove the excess water around the crown.
8. Take a hair dryer and place it so that it blows onto the crown. Leave the hair dryer on for 15 minutes.
9. Put cinnamon powder on the crown. Avoid pouring on the roots and other parts of the plant to avoid dehydration because cinnamon accelerates the drying process.
10. Now it’s time to repot. Use an appropriate medium. There is more info about this in the “New Potting Medium” section.
Warning! After this process, do not let any water touch the crown. That will undo the entire process as the crown rot can appear again and destroy the chance of your orchid reviving.
Solution For An Underwatered Orchid
Leaves turn yellow and wrinkle up as a result of underwatering.
Here’s how to fix it if this occurs.
• Give your orchid a good soak. You can keep the orchid in the water for a few hours if it is suffering from serious dehydration.
This will keep moisture levels in the potting soil high for a longer period of time.
The moisture in the potting soil will accelerate the production of the nutrients required for the healthy growth of your orchid.
• After soaking, let the excess water drain completely.
• Relocate the orchid to a room in which the temperature ranges from 55 to 75°F.
Extreme heat will dehydrate the orchid again, so move the plant away from any heating sources, air conditioners, or vents.
Stick to the orchid watering schedule after this process to avoid the complete drainage that causes dehydration.
Adjust Light Level
Many beginners put their orchid in their window, and although this may be the perfect place for them aesthetically, bear in mind that light plays a great role in the healthy growth of orchids.
There are different light levels, and each of them has a different impact on an orchid plant.
Low light will prevent your plant from growing healthily and also cause flowers and flower buds to fall off.
Bright indirect light is the best choice for orchid plants. That is the light level found under the rainforest canopy in which orchids naturally grow.
Windows that face south or east are the best choice for this kind of light.
Not only will you avoid direct sunlight this way, but you will also ensure you get enough indirect sunlight.
Sometimes new orchid growers are not sure about the light level their orchid needs, in this case a light meter can really help.
Light Meter
You can use either an incident or reflected light meter.
The difference is that an incident light meter has a lumisphere, which is a little white ball which indicates the light level it’s currently in.
On the other hand, reflected light meters are integrated into cameras to measure light levels.
Observe the plant, and if you notice slow growth or flowers and flower buds falling off you should check your light levels.
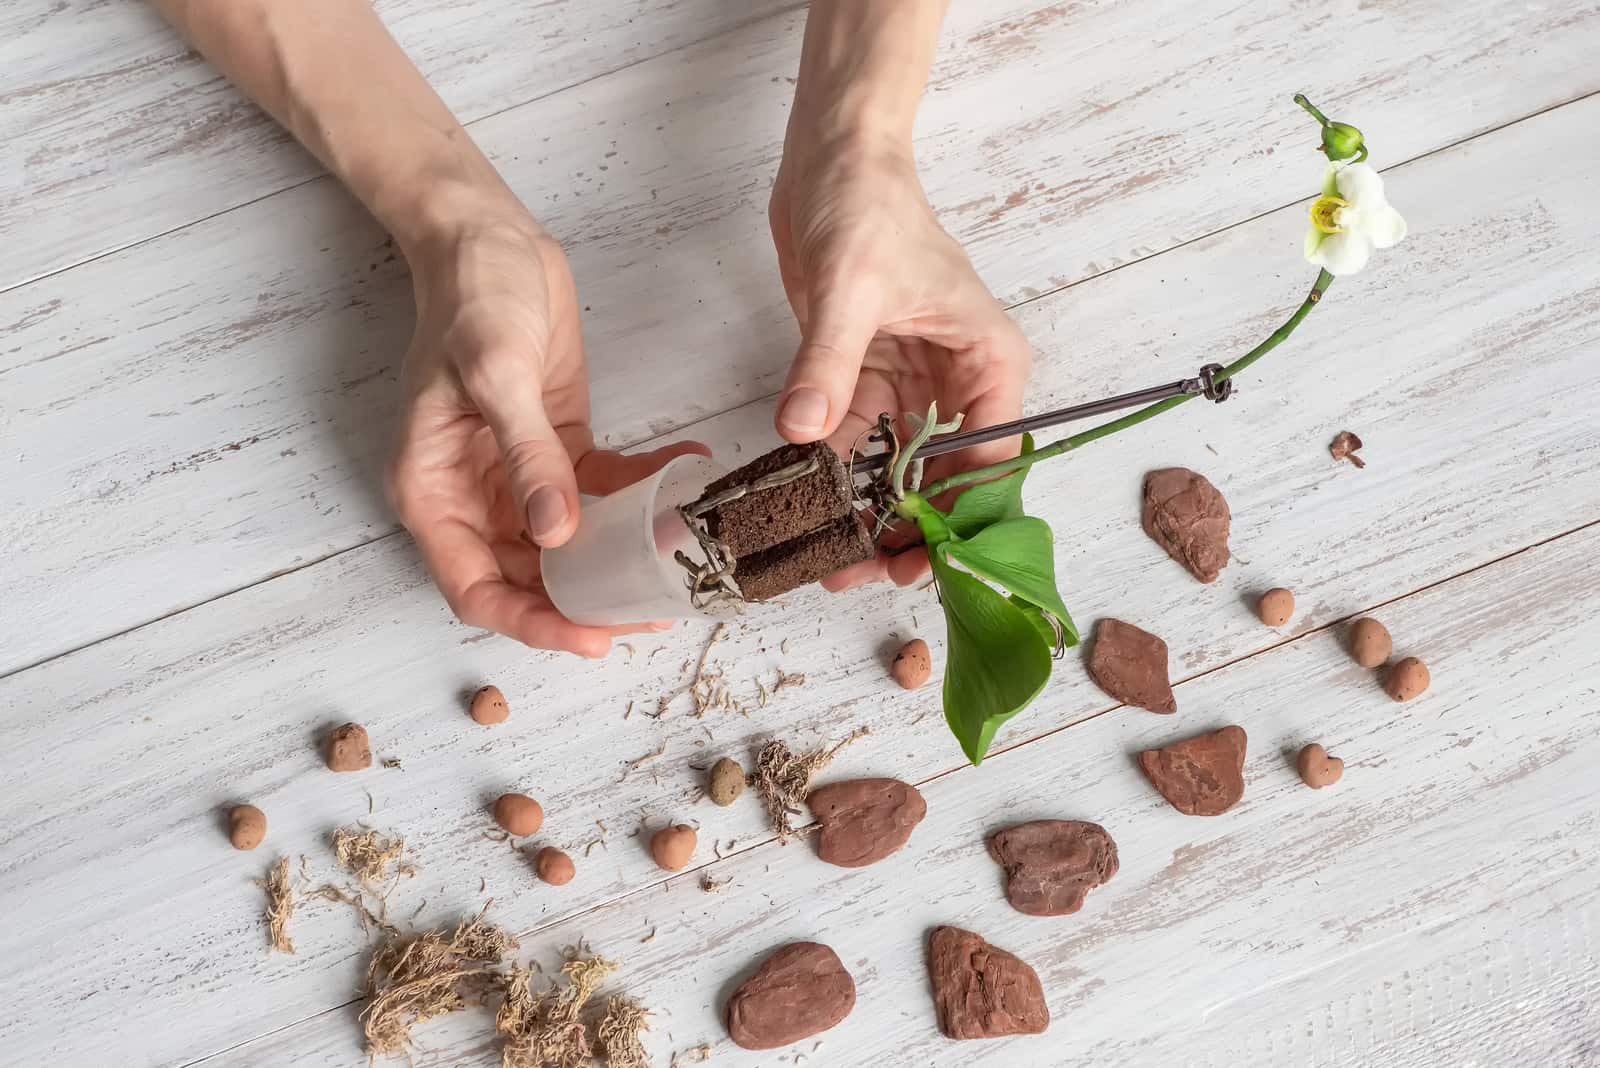
New Potting Medium

As previously mentioned, orchids are epiphytes and naturally grow on trees and not in soil.
The drainage system is great because epiphytes do not grow vertically.
The light level is regulated by the forest canopy, so orchids are exposed to indirect light.
The level of humidity is higher in rainforests and rainfalls are average.
This is why potting medium plays an important role in orchids growth. If it does not meet the requirements above, yellow and wilting leaves will appear.
The fact is that orchid plants can grow in a variety of medium like aroid soil mix . This is due to the diversity of trees they grow on in their natural habitat.
That doesn’t necessarily mean that the potting medium you have chosen is the right one, though.
In order to encourage better drainage, first purchase a pot with drainage holes.
As orchids naturally grow on trees, it means they have an open air root system, so you must be sure not to remove the air roots when replanting. These also take in excess water from overwatering.
Because orchids don’t naturally grow in soil, you should pay extra attention to the potting mix you choose so that it closely imitates the conditions found in their natural environment.
The potting mix should:
• Retain water
• Drain well
• Drain fast
• Allow good airflow
• The potting medium should decelerate decomposition to prevent root rot
The best ingredients for potting mix designed for orchids
• Bark (the bark retains moisture and protects from temperature shock)
• Sphagnum peat moss (retains moisture and improves drainage)
• Coconut coir (improves drainage and provides good air circulation)
• Charcoal (protects the orchid from pathogens, most commonly fungi and bacteria)
• Perlite (improves drainage and absorbs water)
• Tree fern can also be used, but as it is extremely expensive it is rarely used. It increases absorption and drainage.
Adjust Fertilizing
Your orchids should be fertilized every two weeks. Common fertilizer for houseplants can’t be used for orchids.
Don’t water during fertilization.
There are special orchid fertilizers that contain lower amounts of potassium, nitrogen, and phosphorus that won’t do any damage to the plant when mixed with water.
If you notice burned and discolored roots that are the result of over fertilizing, try these steps:
• Take the plant out of the pot
• Sterilize your scissors or pruners
• Remove the damaged roots
• Repot to a new potting medium so you can make sure that damaging fertilizer ingredients like mineral salt won’t be transported over to the new pot
• Give the orchid a good soak
Homemade Fertilizers For Orchids
Orchid growers often use homemade fertilizers, for example egg shells and tea bags.
Crush your egg shells and add them to the potting medium. They are great because they have high calcium levels, and calcium is an important nutrient for orchids.
You can apply this fertilizer once a week.
In order to use tea bags, open them up and add them to the fertilizer. They have a high phosphorus level, which is also a very important nutrient for orchid plants.
You can apply this fertilizer once a month during warmer seasons.
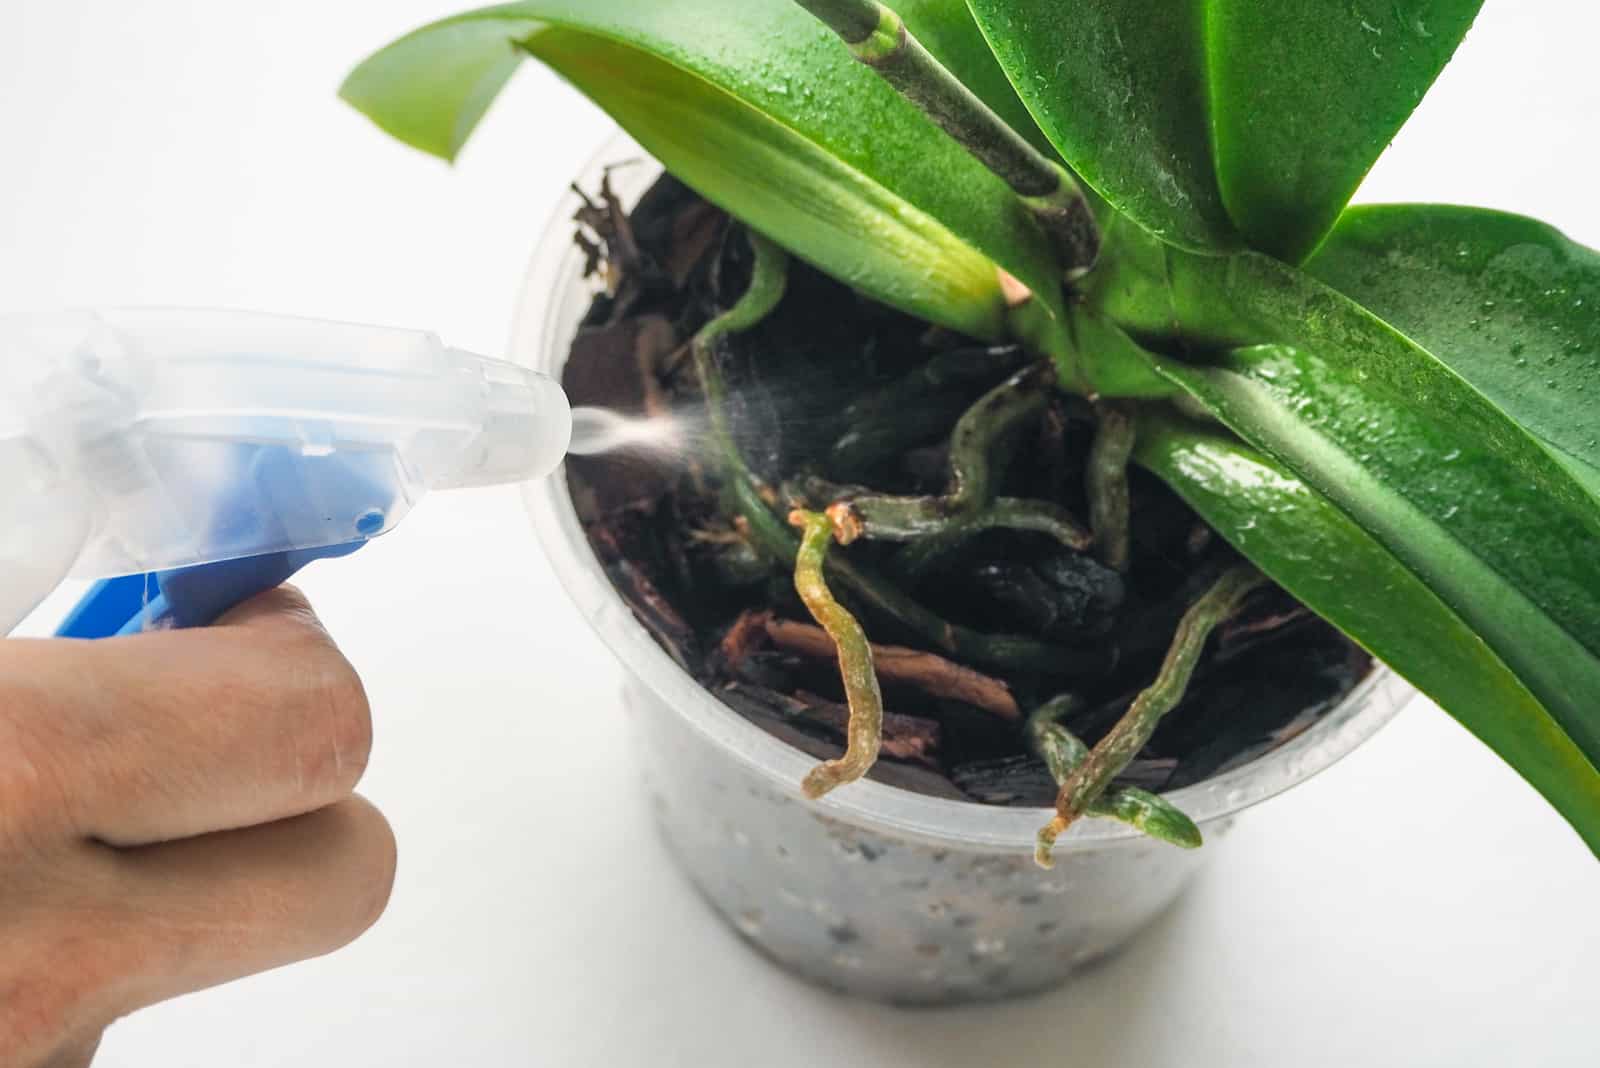
Regulate Humidity And Moisture Levels
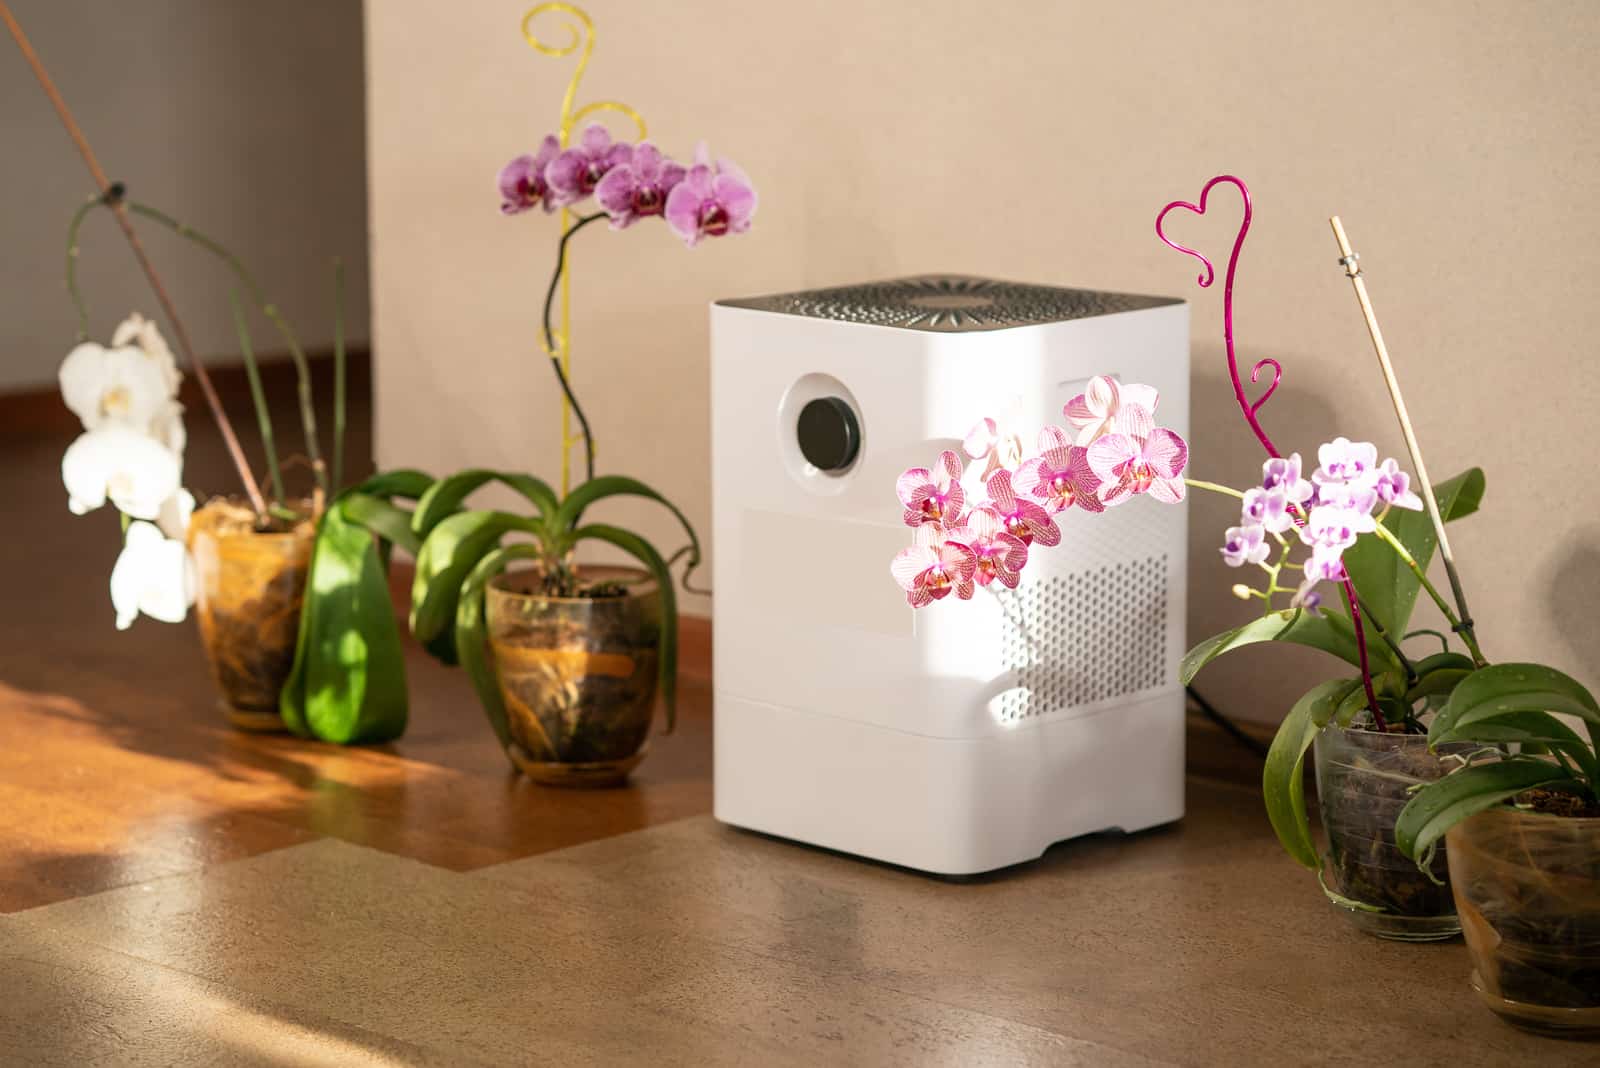
Higher humidity levels, like in rainforests, should be imitated in your home as closely as possible to help your orchid thrive.
If the humidity level is lower than it should be, you can increase it by using a humidifier.
Mist the leaves and roots regularly to maintain healthy growth. Also mist roots that have overgrown the pot as they retain enough water to help in case the humidity level drops.
Keep the plant away from air conditioners and vents as they dry out the air and reduce humidity levels.
The kitchen or bathroom is a great place for your orchid plant due to their humidity levels.
One of the ways to check moisture levels is by simply putting your finger in the soil.
You can also use sticks made of wood. A clean stick means that the soil is dry, and if the soil remains on the stick you have wet soil.
Another more reliable way is to use a moisture meter.
Wet soil will damage the root system and become the cause of wilting.
Wet soil will also attract pests.
If you notice wilting leaves, let them fall off. If you pull them off it may damage the other parts of the orchid.
Regulate Temperature And Airflow
Avoid heat sources such as radiators and fireplaces, and also the cold. If you want an orchid with beautiful flowers, it mustn’t be either too hot or too cold.
Also avoid air conditioners and vents because they dry out the air and reduce humidity levels.
In this way, you will prevent burned and yellow leaves, yellow flowers, and bud droop.
The best solution would be to move your plant to another room where the temperature is regulated to fit the orchid needs.
Pest Removal
If you want to remove mealy bugs, you can use rubbing alcohol and dish soap. Mix it together and spray over the mealy bugs.
If you’re having problems with spider mites and aphids, mix alcohol and water, dip a cloth in it, and gently rub the leaves. You can also use dish soap. Make a mixture that contains dish soap and water, dip in the cloth, and gently rub the leaves with it.
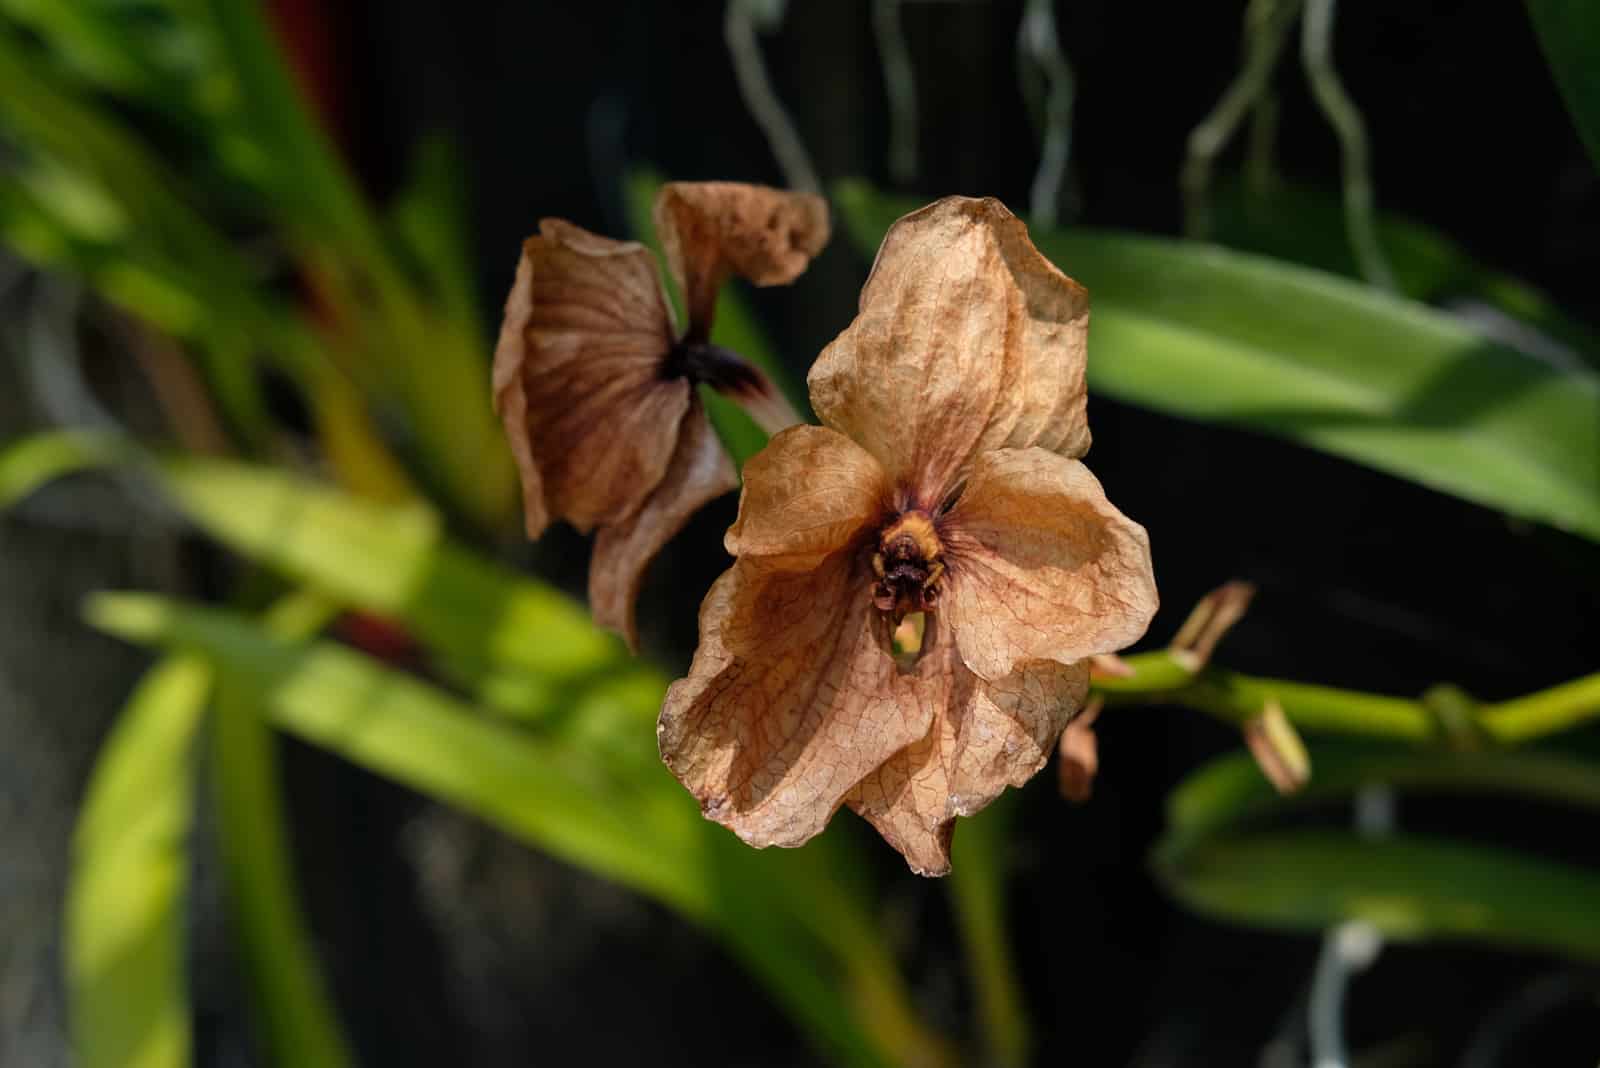
Orchid Dying Or In A Dormancy state?
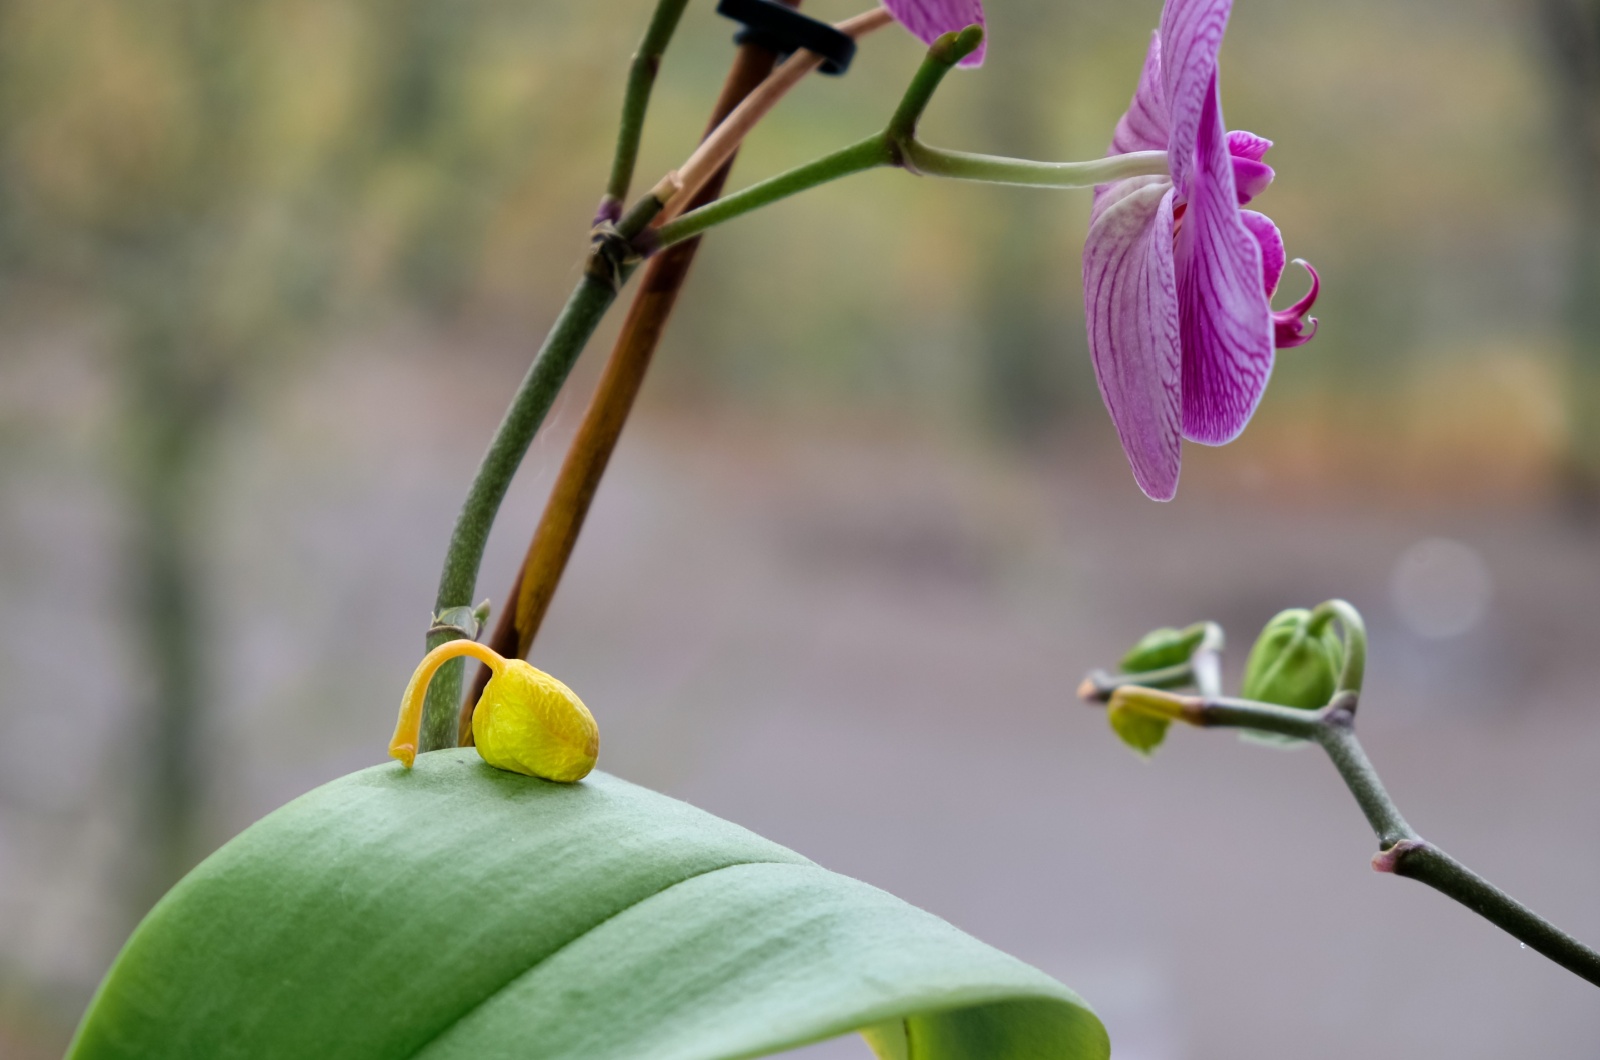
The dormancy state is just another phase in the life cycle of orchid plants.
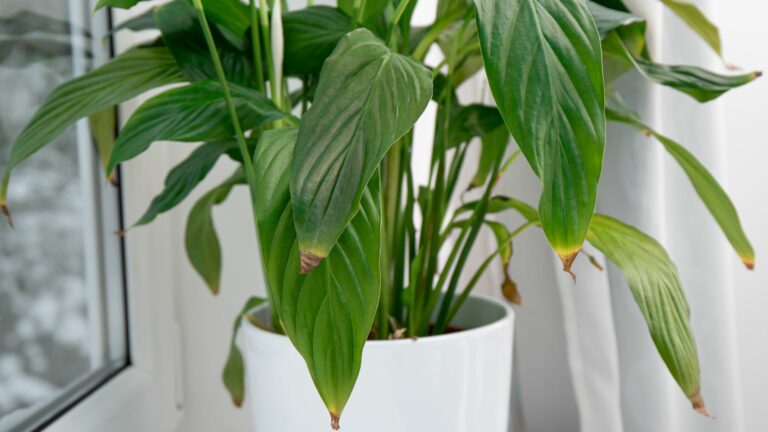
When the orchid is dying, its leaves may turn yellow or brown and have different spots on them.
When an orchid is in a dormancy state, leaves fall off but there aren’t any other symptoms on the leaves.
If there are some bottom leaves that fall off and all the healthy roots remain untouched, the orchid is in a dormancy state.
The spike may turn yellow when the orchid is dying.
On the other hand, when in a dormancy state, the orchid spike is still green and may turn brown.
Inspect the orchid, and if there isn’t any noticeable damage, the orchid will rebloom.
How To Take Care Of An Orchid In A Dormancy State?
• Adjust the temperature so it is lower than the temperature needed for an orchid’s normal growth.
• Water the dormant orchid every three to four weeks during the fall and only when it appears to be completely dry during the winter.
It is very common to overwater an orchid during dormancy. Observe the orchid during its dormancy state and pay attention to watering as it needs less water and is more prone to root rot and crown rot.
• Fertilize less frequently or not at all during dormancy. Fertilizing can do harm to your orchid plant as the orchid is not watered as frequently as in its normal state.
FAQs
Can you bring a dying orchid back to life?
Yes, you can bring a dying orchid back to life by adjusting watering, temperature, lighting, humidity, and fertilizing in addition to regulating temperature and airflow.
What is the best way to take care of an orchid?
The best way to care of an orchid is to water it (once a week in summer and spring and every 7 to 10 days in fall and winter), mist on a regular basis, fertilize twice a month, and repot when it outgrows the pot or if the potting medium gets too old.
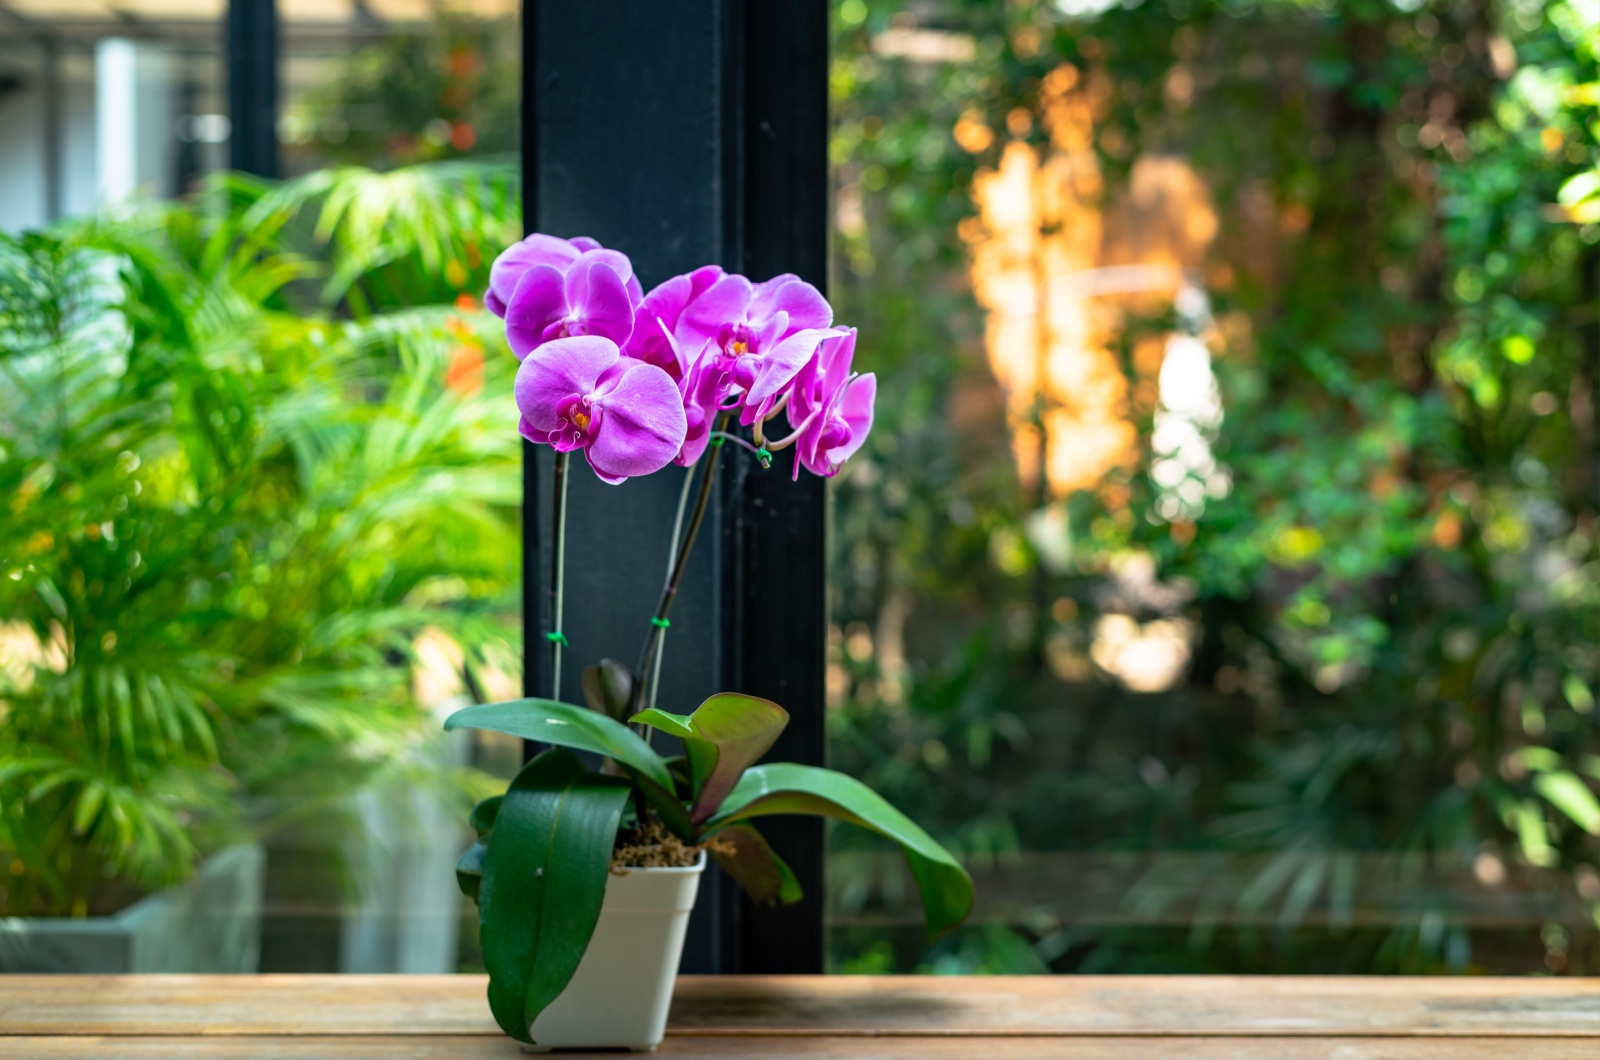
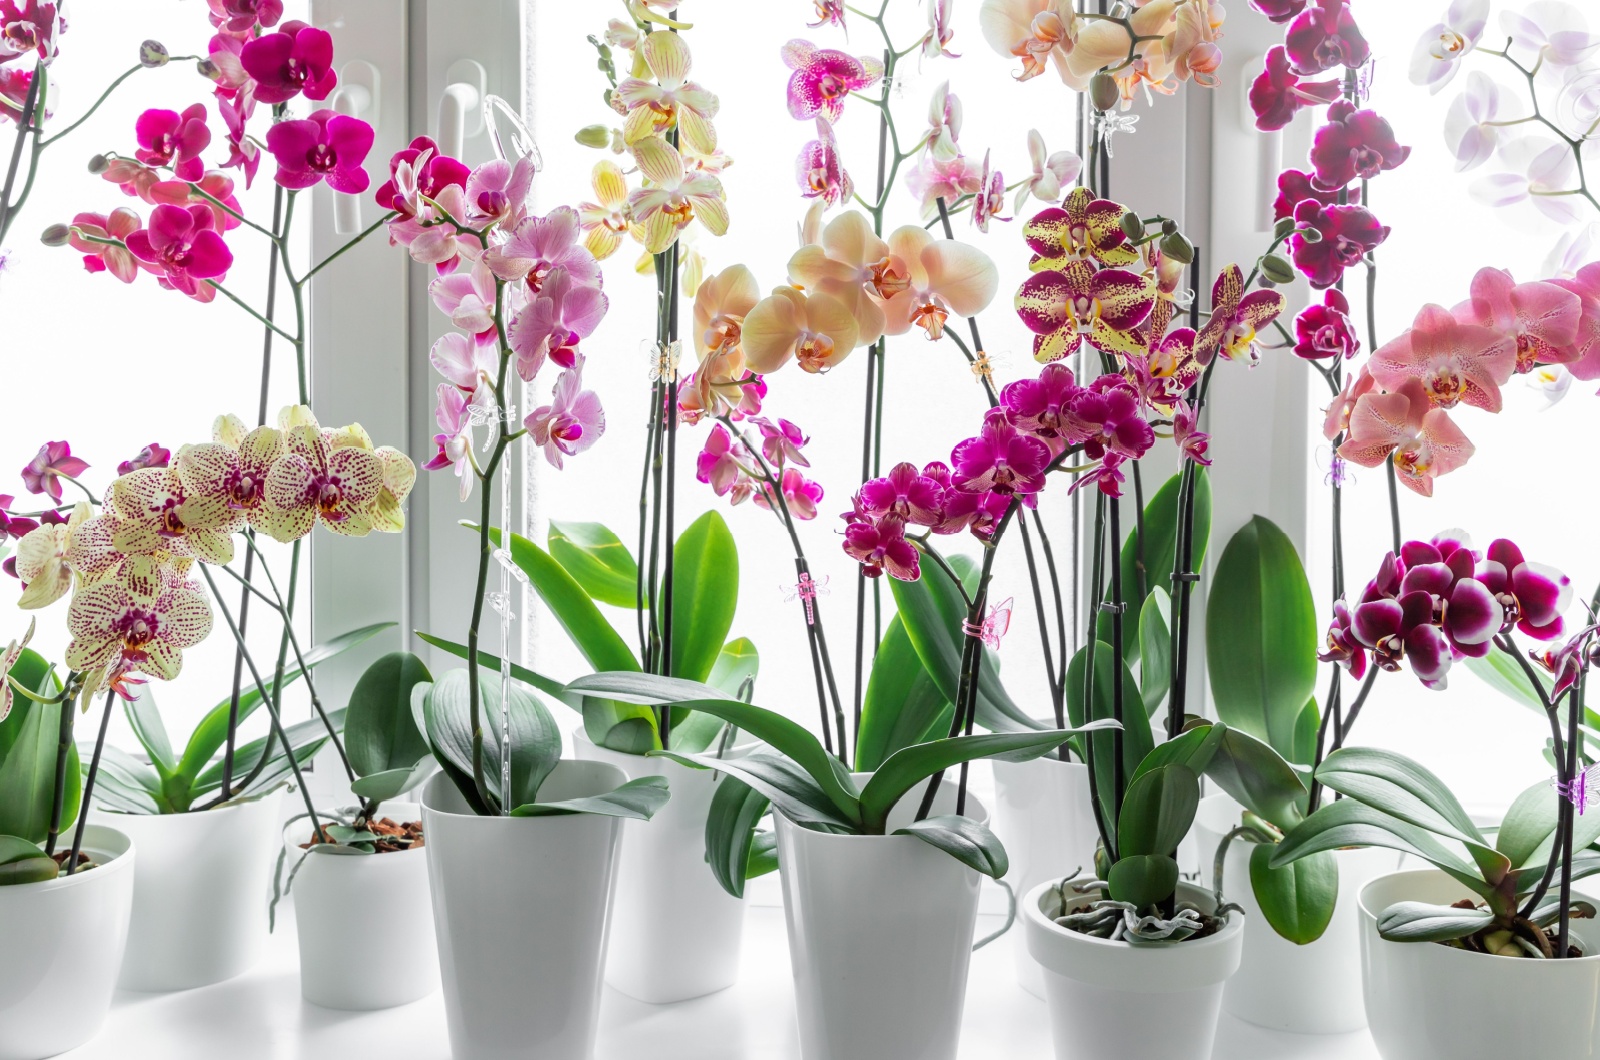
What is the difference between a dying orchid and a healthy orchid?
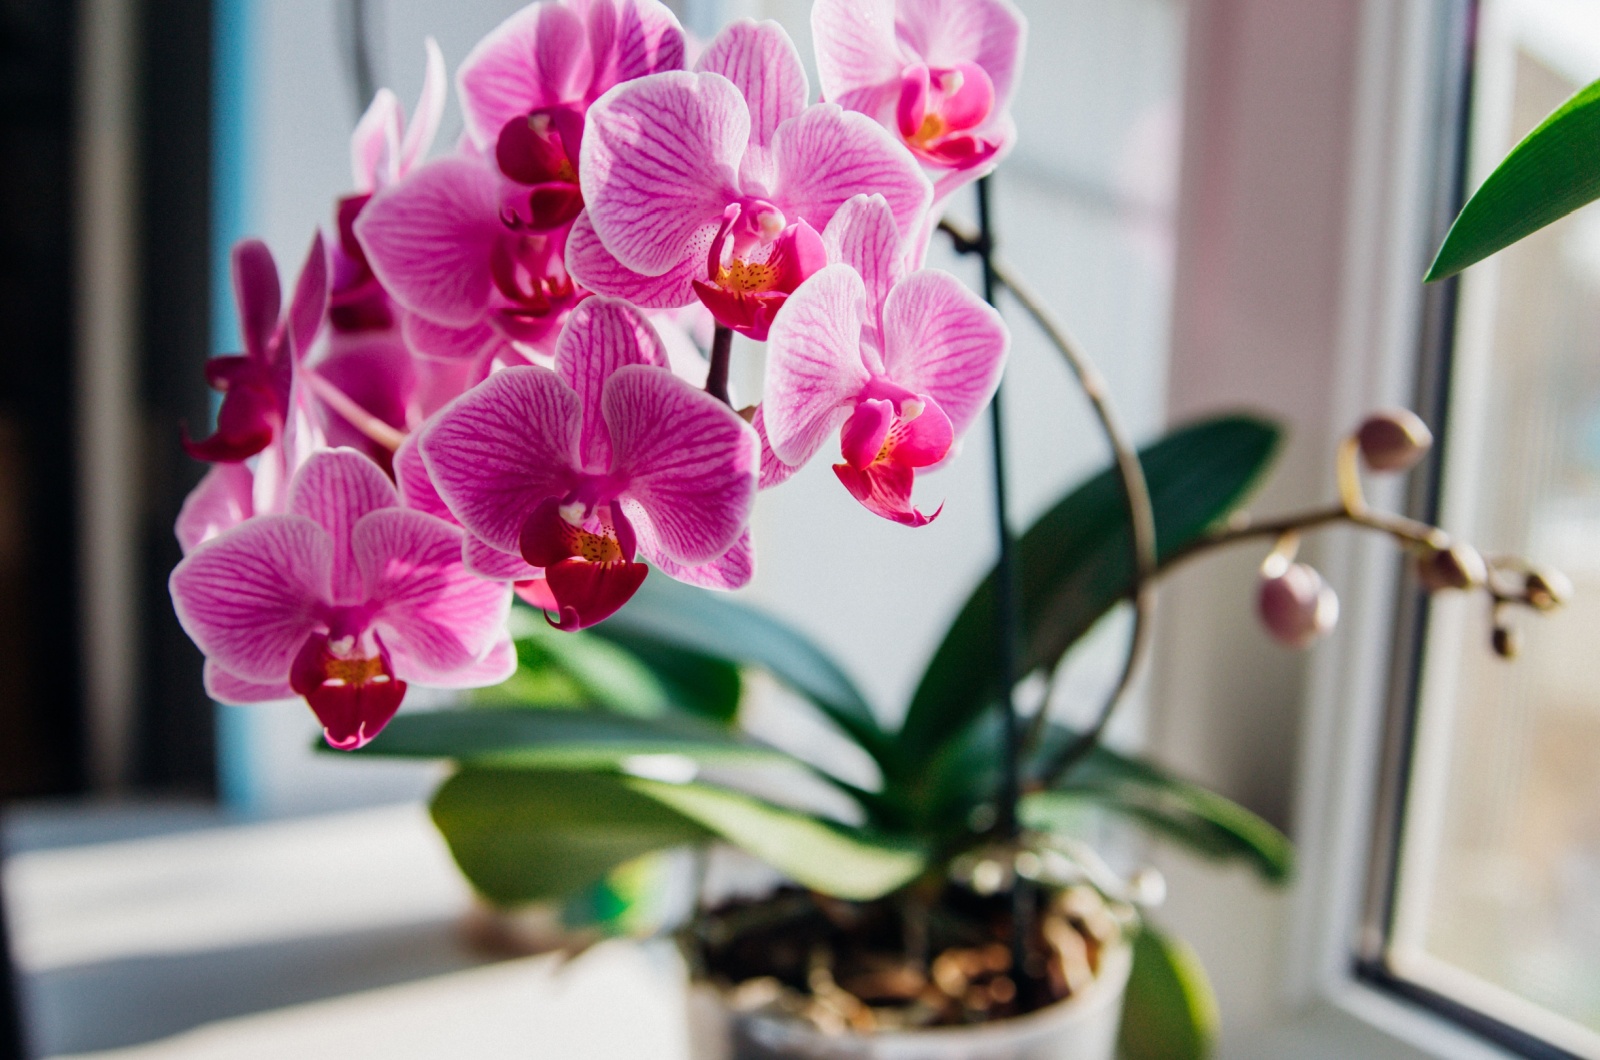
The difference between a dying orchid and a healthy orchid is that a healthy orchid has green leaves, a green stem and spikes, and green or white-ish roots. On the other hand, a dying orchid may have yellow, drooping, wrinkling, brown, or burned leaves that have spots on them, as well as discolored roots, stem and spike, and an unpleasant smell. It also won’t bloom.
Wrapping Up
We hope that you found an answer to the question “Why is my orchid dying?” in this article!
We also hope that this article helped familiarize you with different techniques for the revival of a dying orchid. Looking after an orchid plant is very rewarding, but not always easy, so now you should be well equipped to do so.
Until next time!