Orchid Care For Beginners In Detail (Easy To Follow)
Orchids are one of the most demanding plants that can be grown indoors, but they are totally worth the trouble!
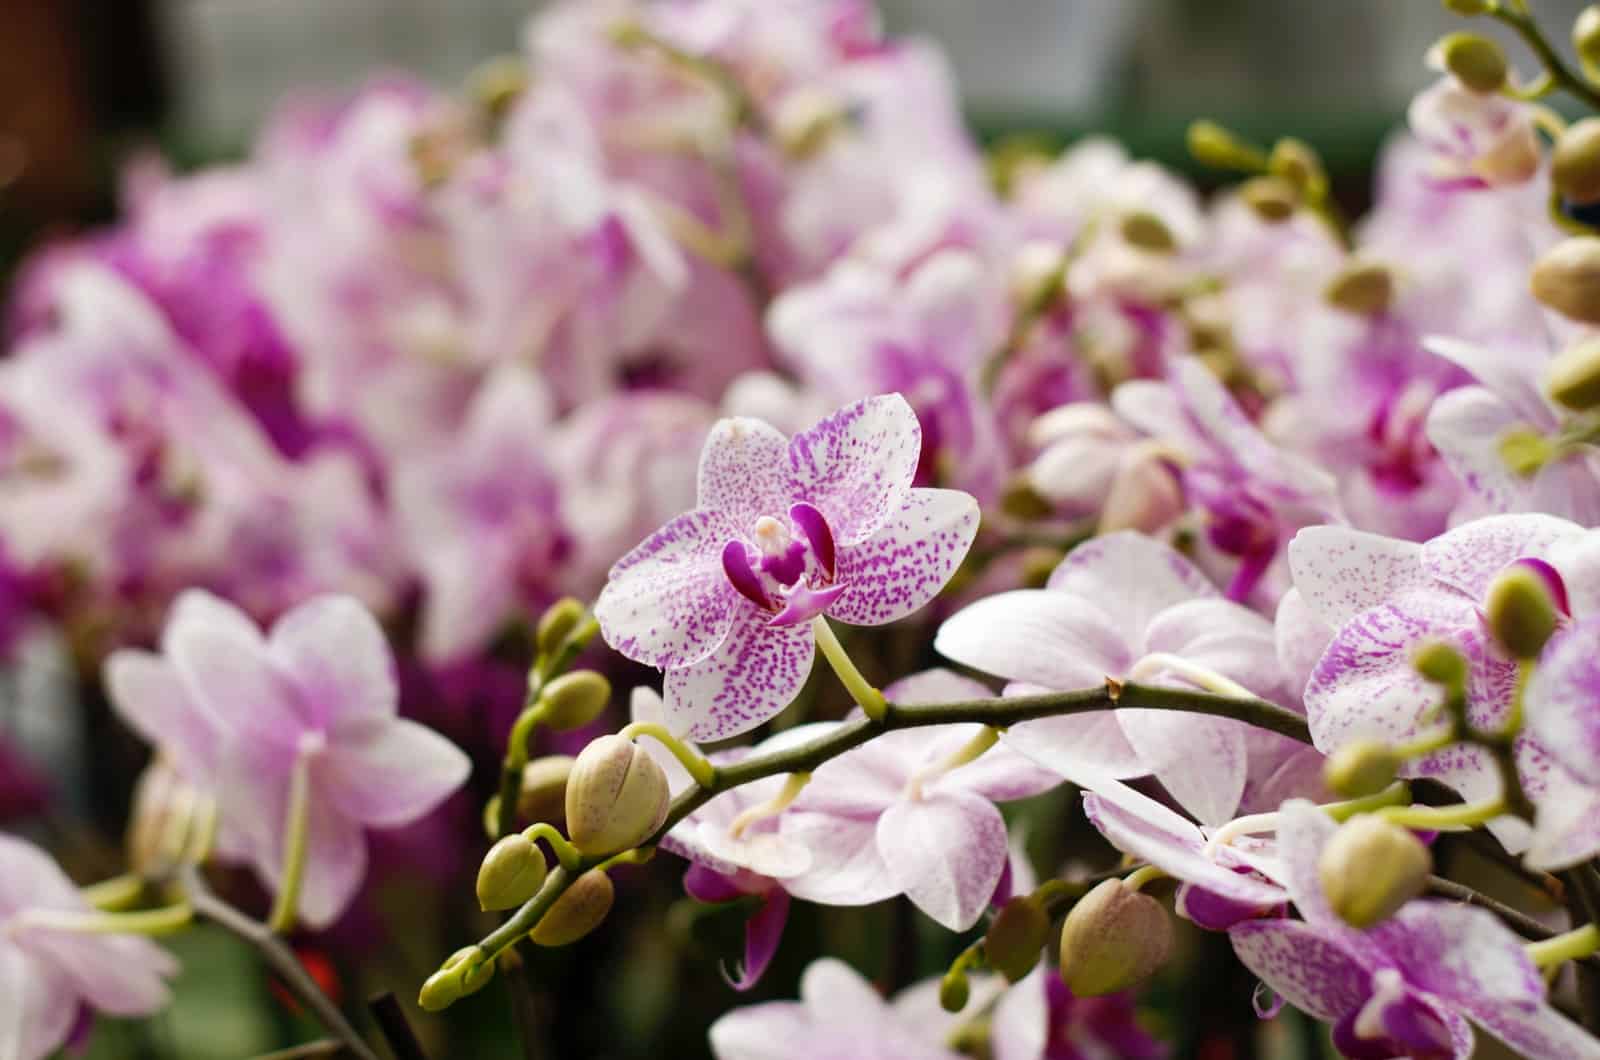
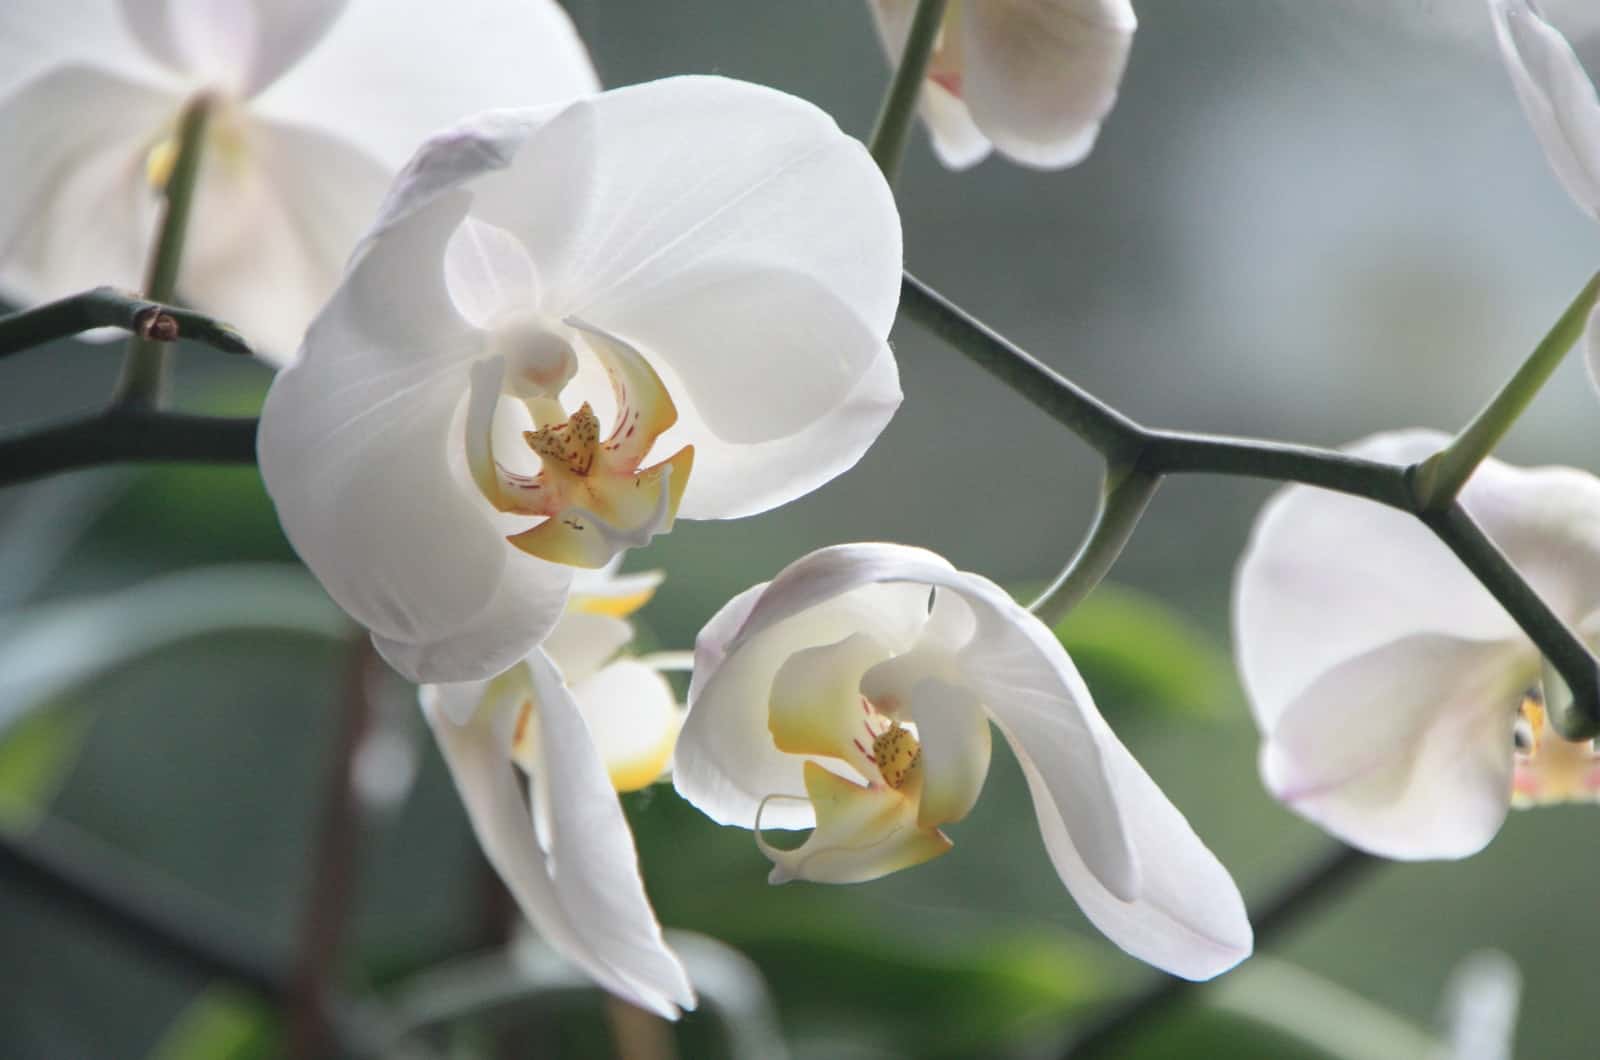
These beautiful plants come in many different colors, and they produce flowers that are unique and pretty. With around 30,000 different orchid species, I am sure that you can find one to grow yourself.
Don’t worry if you are a beginner gardener, some types of orchids require the same plant care as any other tropical plant. For instance, moth orchids (also known as Phalaenopsis) are one of the easiest that can be grown indoors.
Today, we are going to discuss orchid care for beginners. Keep reading to find out all of our secrets on how to care for orchids.
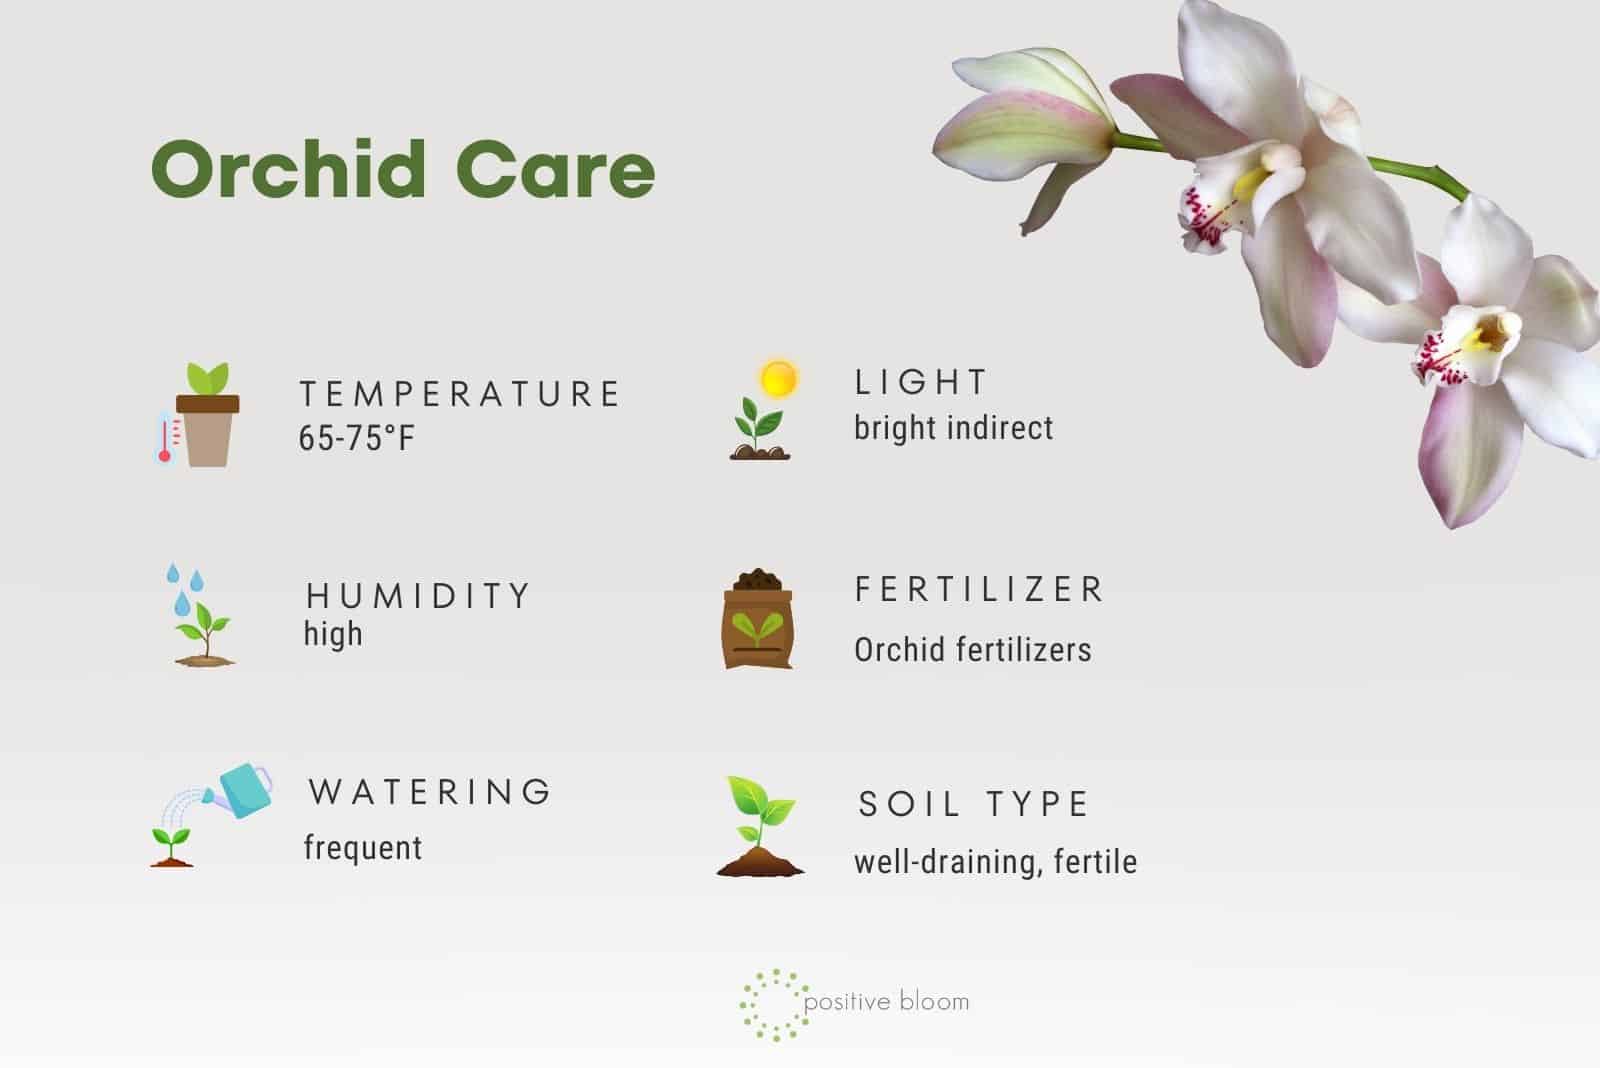
The Best Orchid Care For Beginners
Im sure all gardeners have seen at least one dying orchid. There can be a lot of different reasons why your orchid is dying, but the most common ones are inadequate plant care and pest infestation.
These plants are epiphytes, which means that they are used to growing on other plants and trees in their natural habitat. This is why you have to be extremely careful when looking for potting soil, since they are not used to growing in one.
I would also like to warn you that you should be careful when it comes to temperature since these plants are extremely sensitive to cold temperatures and temperature fluctuations.
Now, let’s find out how to take care of an orchid plant.
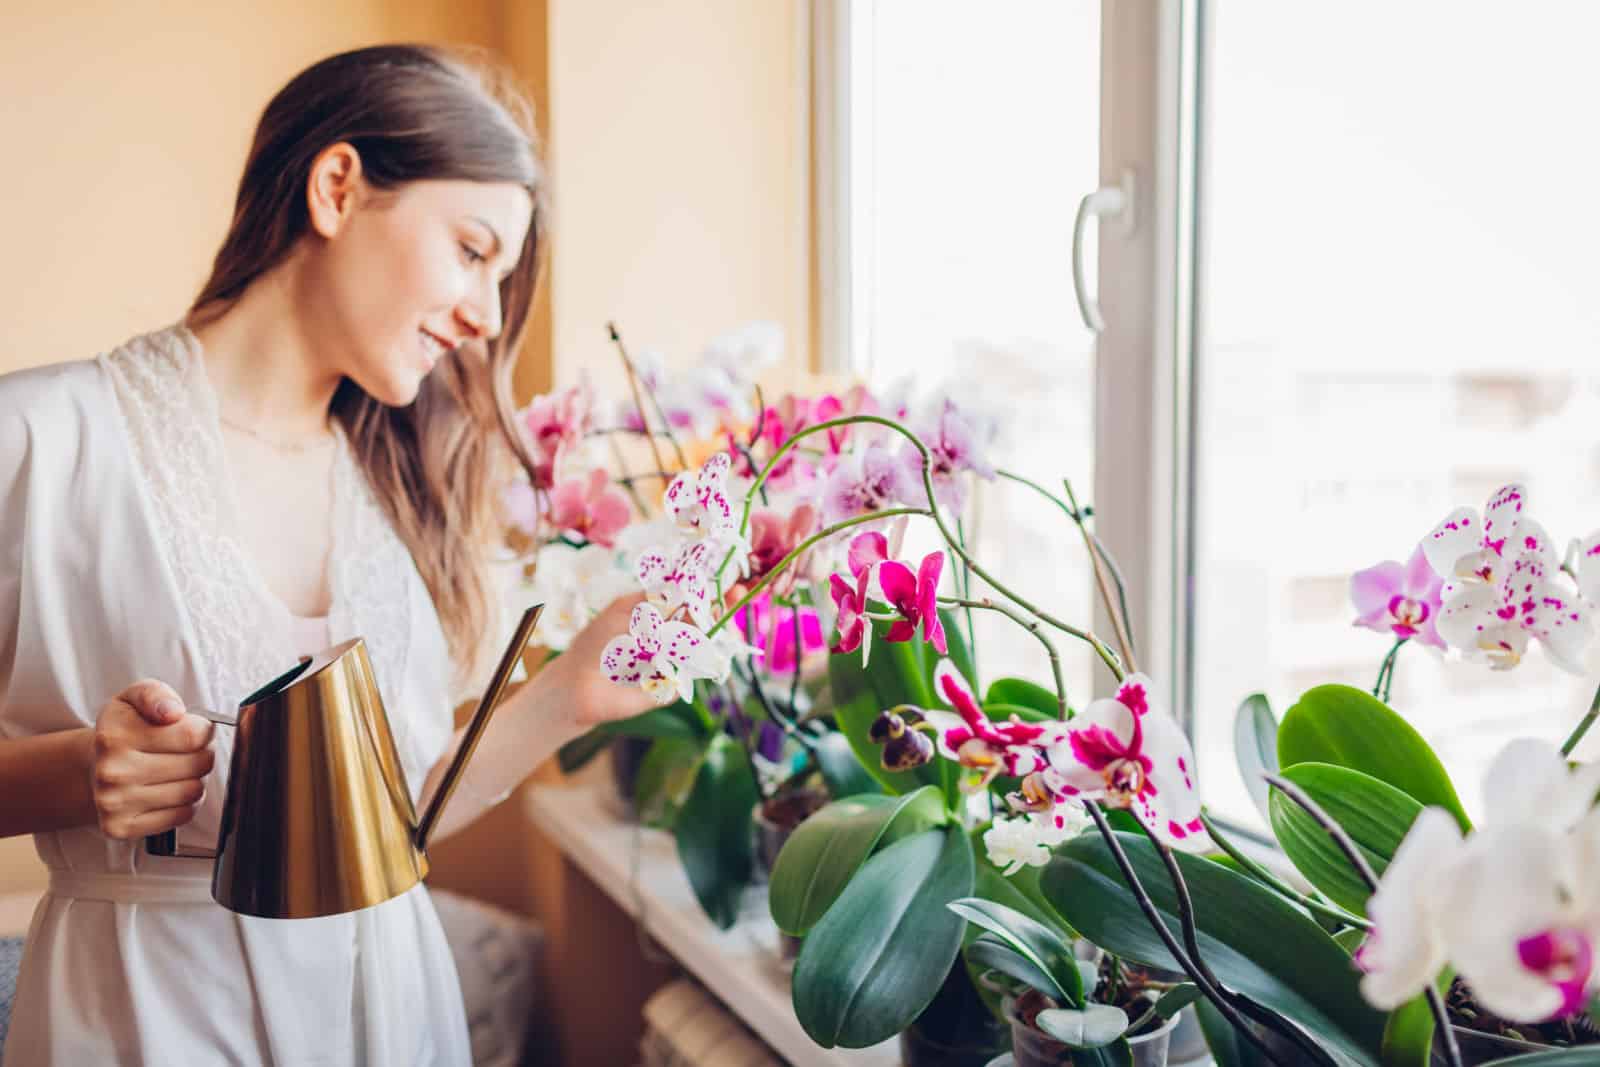
Water Requirements
Overwatering and underwatering are the main causes of plant disease. For instance, frequent watering can lead to root rot, which is a deadly fungal infection that can completely ruin your plant.
It is hard to determine the exact watering regimen as it depends on different factors, but these plants are generally watered once a week during spring and summer, and every 10 days during fall and winter.
You should water your orchid early in the morning so that it will evaporate from the crown by evening. You can use a shallow tray or dish filled with pebbles – just set your houseplant atop the dish or tray. This way, the water will evaporate, improve the moisture levels, and ultimately raising the humidity.
Some orchid growers suggest watering with ice cubes, however we don’t advise it because it could cause temperature shock.
Tips For Watering Orchids
• Water the plant only when the top few inches of the growing medium have dried.
• Consistently monitor soil moisture (use your finger, a wooden stick, or a moisture meter).
• Use lukewarm water.
• Keep in mind that you shouldn’t water the leaves. You can either water the soil from the bottom up or from the top down.
• Don’t completely immerse the plant. Instead, irrigate the soil until it is wet about two inches below the surface, or alternatively use bottom watering.
• Because the temperature is lower in the winter than it is in the summer, less water will be needed (of course, you should always check the moisture level).
• Soak slowly. Instead of pouring all the water at once, give the soil time to soak.
• The best water temperature would be room temperature (if the temperature in your room is adequate, of course).
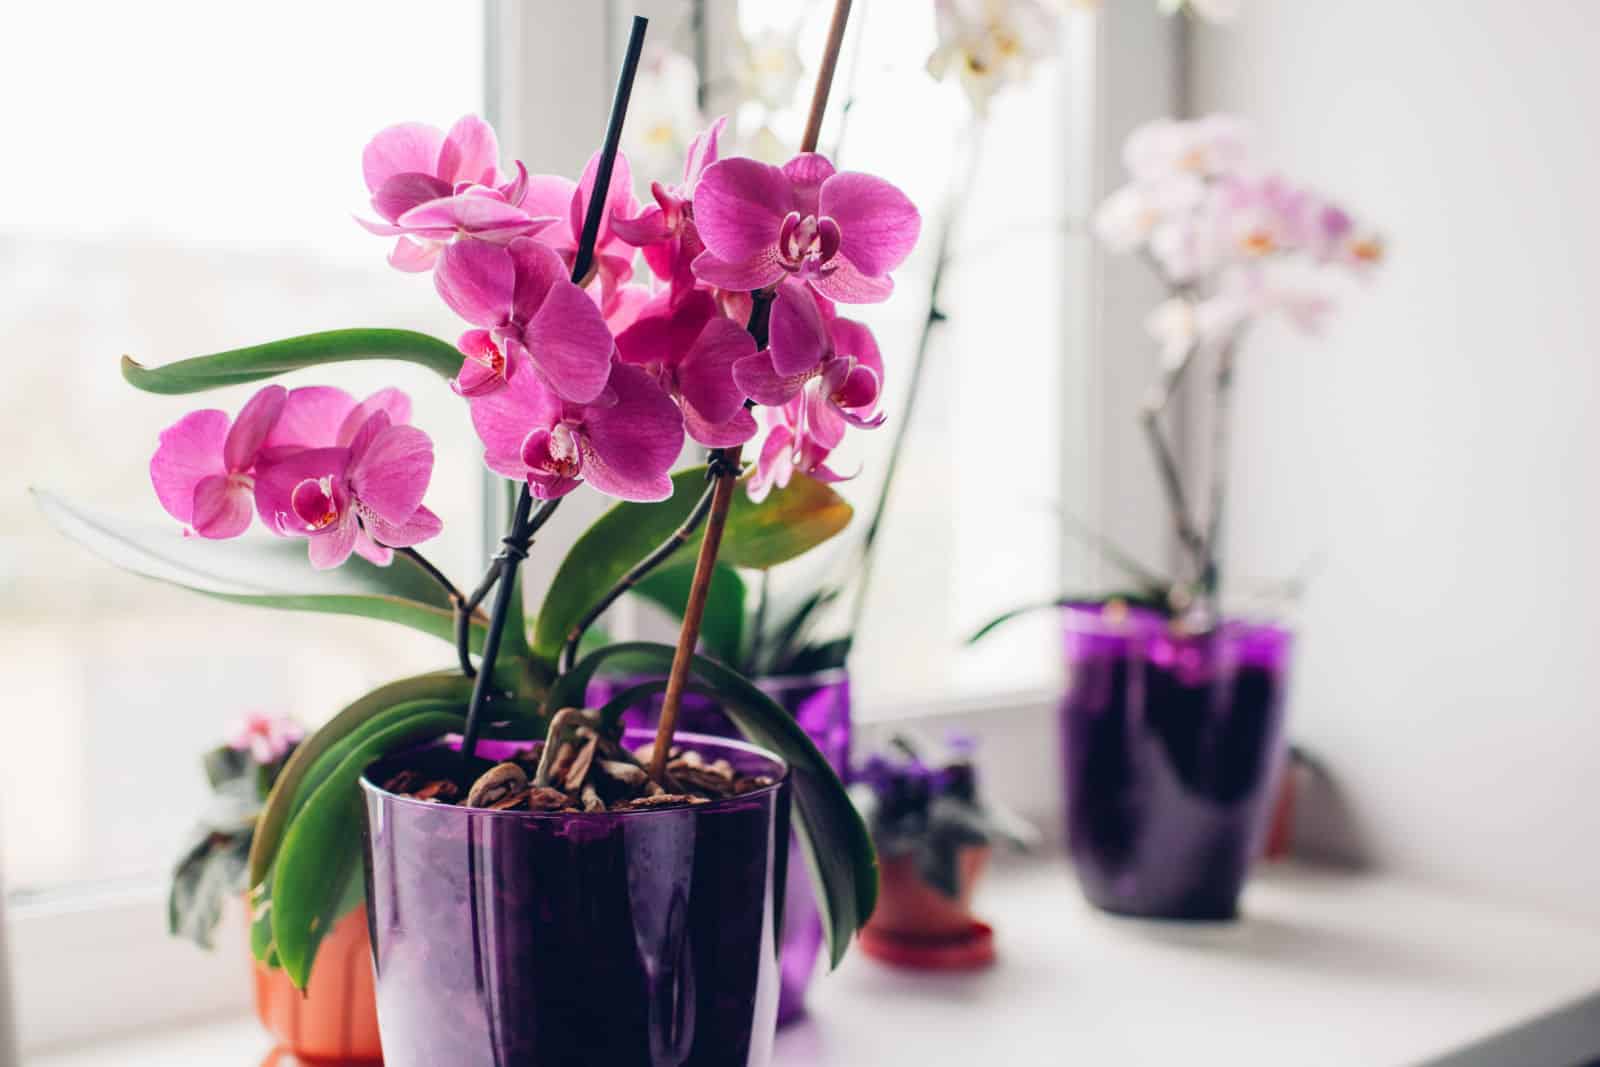
Soil Requirements
Remember when I said earlier that these plants are epiphytes?
This is where you really have to take that information seriously. The truth is that orchid plants can thrive in a wide range of environments, including an aroid soil mix. This is because they grow on a variety of trees in their natural environment.
First of all, you will have to buy a pot that has drainage holes, which will allow the excess water to drain out quickly, thus preventing overwatering. Because soil is not how orchids naturally grow, you need to take extra care to find a potting mix that closely resembles the conditions present in their native environment.
The growing medium needs to be able to retain water to keep your orchid nice and fresh, but also drain excess water to avoid root rot. It should also be porous enough to allow proper air flow.
These are the best ingredients for orchid soil mixes:
• Charcoal (protects the orchid from pathogens, most commonly fungi and bacteria)
• Sphagnum peat moss (retains moisture and improves drainage)
• Perlite (improves drainage and absorbs water)
• Bark (protects from temperature shock and retains moisture)
• Tree fern is another option, however it is rarely utilized due to its high cost (absorption and drainage are improved)
• Coconut fiber coir (improves drainage and provides good air circulation)
Light Requirements
Although placing an orchid in a window may be ideal from an aesthetic standpoint, keep in mind that light is crucial to the proper development of orchids.
There are several light conditions, and each one affects an orchid plant differently.
Your plant won’t be able to grow healthily in low light, and blooms and flower buds will fall off if you do. Your orchid won’t produce any flowers in low-light settings.
For orchid plants, bright indirect light is the ideal option. That is the amount of light needed for orchids to normally develop under a rainforest canopy.
The ideal place for this type of light is an east-facing window. If you can’t find a spot with perfect light conditions, you can always invest in grow lights for plants.
Temperature Requirements
We already said that these pretty plants are quite sensitive to temperature fluctuations, which can make your orchid droop and wilt. This is why it is important to keep the plant away from cold drafts, air conditioners, and vents; however, you should also keep it far away from radiators, fire places, and other heat sources.
You should also avoid moving it to different places all the time, as it can easily stress the plant. Be extra careful during winter since they are not accustomed to growing in low temperatures.
The best temperatures for most orchid plants are around 75 degrees Fahrenheit during the daytime and 65 degrees Fahrenheit during the night. However, this can vary depending on the species.
Humidity Requirements
These plants definitely like humid environments. Luckily, there are a lot of different ways that you can improve humidity in your home!
We have already mentioned the pebble tray and how it can be made. To ensure healthy development, you could also frequently mist the leaves and roots. Also mist overgrown roots in the pot because they store enough water to be helpful if the humidity level drops.
Because they dry out the air and lower humidity levels, keep the plant away from air conditioners and vents. You can also keep your orchids in a bathroom or kitchen since these rooms have higher humidity levels.
The simplest solution would be investing in a humidifier. You can now find cheap ones on Amazon or etsy!
Make sure that the humidity is not too high because it can also lead to overwatering. Humidity levels from 40 to 70% are the best for the majority of orchid plants.
Fertilizer Requirements
Your orchid needs a lot of plant food in order to produce those lovely flowers!
Every two weeks, you should fertilize your orchids. Orchids can’t be fertilized with regular fertilizer used for houseplants.
While fertilizing, avoid watering.
There are specialized fertilizers for orchids that have reduced potassium, nitrogen, and phosphorus concentrations, which won’t harm the plant when combined with water.
If you don’t use an adequate amount of fertilizer, or if you are using the wrong type of fertilizer, it will most likely lead to overfertilization. This results in stunted growth, wilting, browning, and eventually death.
Follow these steps if you see scorched and discolored roots caused by overfertilizing:
• Remove the plant from its container.
• Clean any scissors or pruners you have.
• Get rid of the damaged roots.
• Repot in a fresh potting media to ensure that potentially harmful fertilizer components, such as mineral salt, won’t be transferred to the new pot.
• Soak the orchid well.
Homemade Orchid Fertilizer
Egg shells and tea bags are two common DIY fertilizers used by orchid growers.
Egg shells should be broken up and added to the potting soil. They are fantastic because they contain high levels of calcium, which is a crucial component for orchids.
This fertilizer can be used once per week.
Tea bags must be opened and added to the fertilizer in order to be used. They contain a lot of phosphorus, which is a crucial nutrient for orchid growth.
During the warmer months, you can apply this fertilizer once a month.
Some growers even water their plants with tea. If you want to learn more, then check out this helpful article: Is Watering Plants With Tea Such A Good Idea? Find Out Here!
Repotting
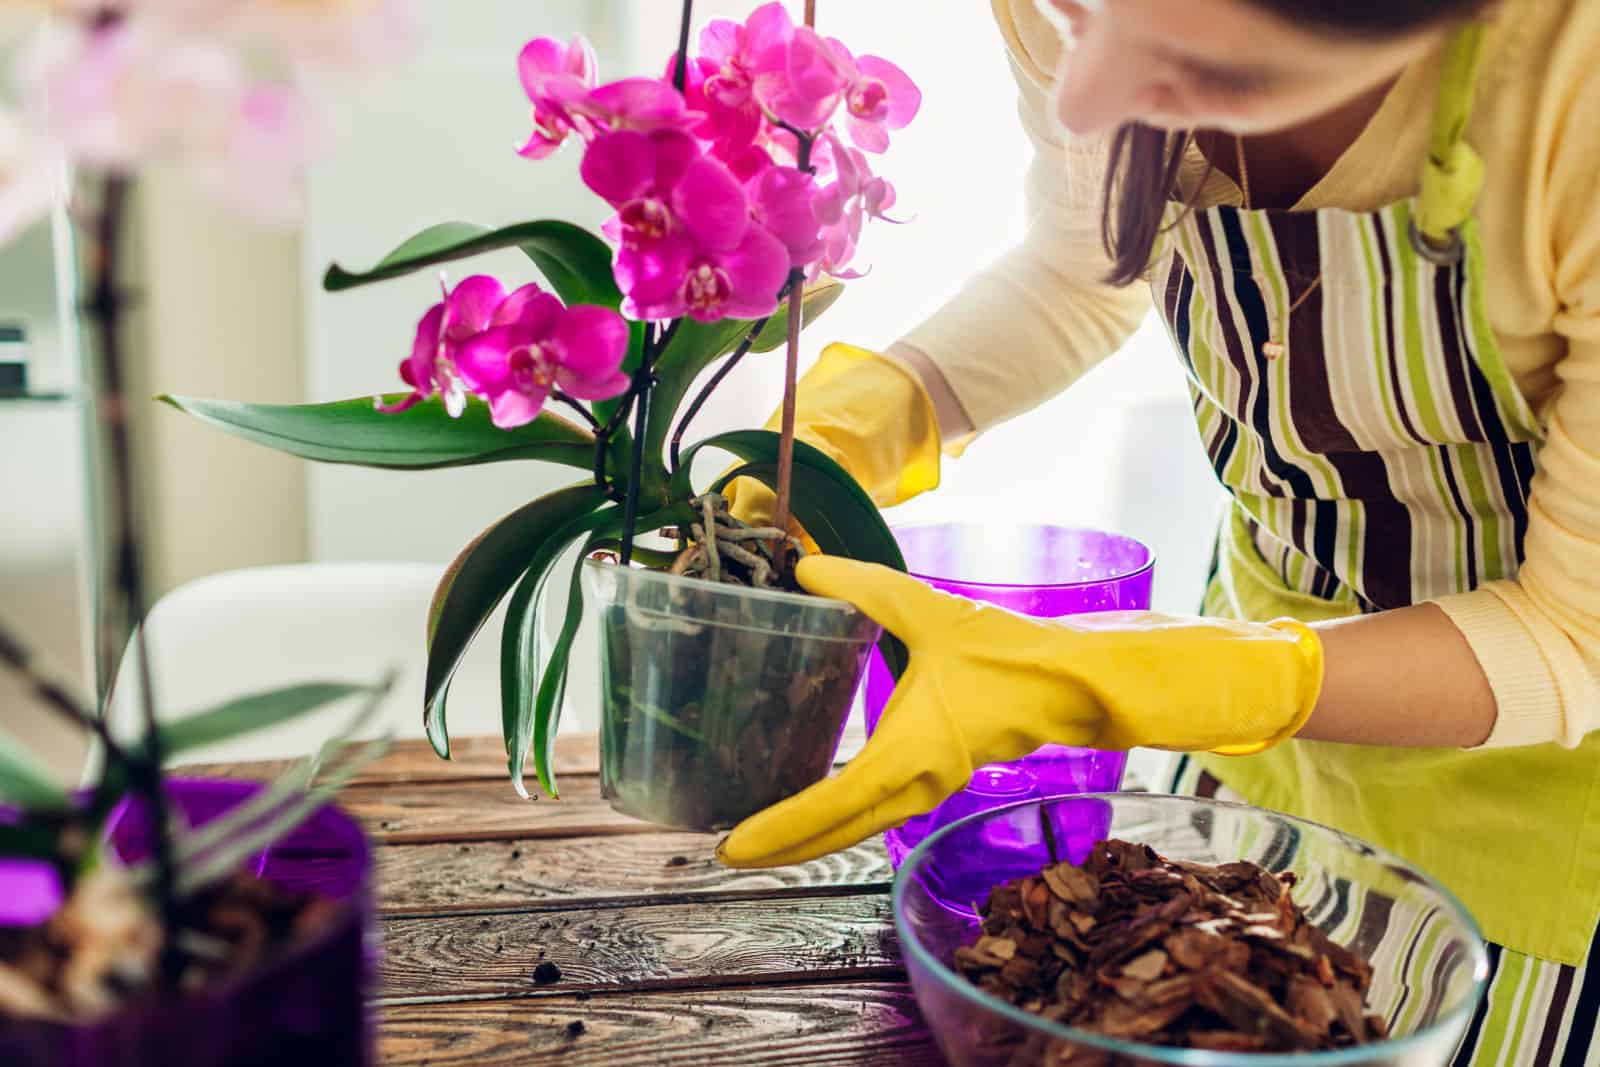
Repotting is something that orchid growers want to avoid as much as they can, yet it is sometimes necessary.
The potting mixture degrades and loses structure over time, preventing optimum airflow and oxygen levels for the roots of the orchid.
Your plant might die if you don’t repot it, especially if it is suffering from root rot.
Repotting orchids is not a scary process. Once you spot roots coming out of the pot, it is time for repotting!
Pick a new pot that is one to two sizes larger than the previous one, fill it with orchid potting soil, and give it plenty of water. If you are dealing with root rot, you should trim off any brown, mushy, or rotting roots, and use fresh potting soil.
Though you can use the same container if you are only repotting to get rid of root rot, I would always recommend buying a new one that has not been contaminated with fungus.
You should select a container with drainage holes in the bottom and ventilation holes on the side since orchids also require great airflow.
Pruning
Although it is not necessary to prune orchids on a regular basis, it might encourage flowering. When the plant is healthy, look for little eyes on the stems; cut the plant off a half-inch above them because that is where the next spike will develop.
You should repot the orchid into a larger container if the roots have begun to show after pruning (1-2 sizes larger than the previous one to prevent waterlogging).
After that, take care of your plant as usual by placing it close to an east-facing window, watering it if the medium is dry, and feeding it.
Propagation
Orchids can be propagated with a few methods, including by seeds, stem cuttings, splitting pseudobulbs, and tissue culture, though the last process is best left to the pros.
For instance, if you want to divide an orchid into two mature plants, you need to make sure it has eight or more pseudobulbs you can divide.
Cut it in half, with the first piece beginning behind the newest vegetative development. Repeat the process on the opposite side, and if it doesn’t have enough roots, you can cut off the stems to leave only the most recent growth.
After that, place both plants in different containers, water them as needed, and provide them with bright light.
The orchid can also be propagated using stem cuttings. Simply cut off the top of the orchid, leaving a few leaves intact, and plant it in sphagnum moss. Water it regularly.
It will soon start to grow roots if you expose it to some indirect sunshine.
Common Issues With Orchids
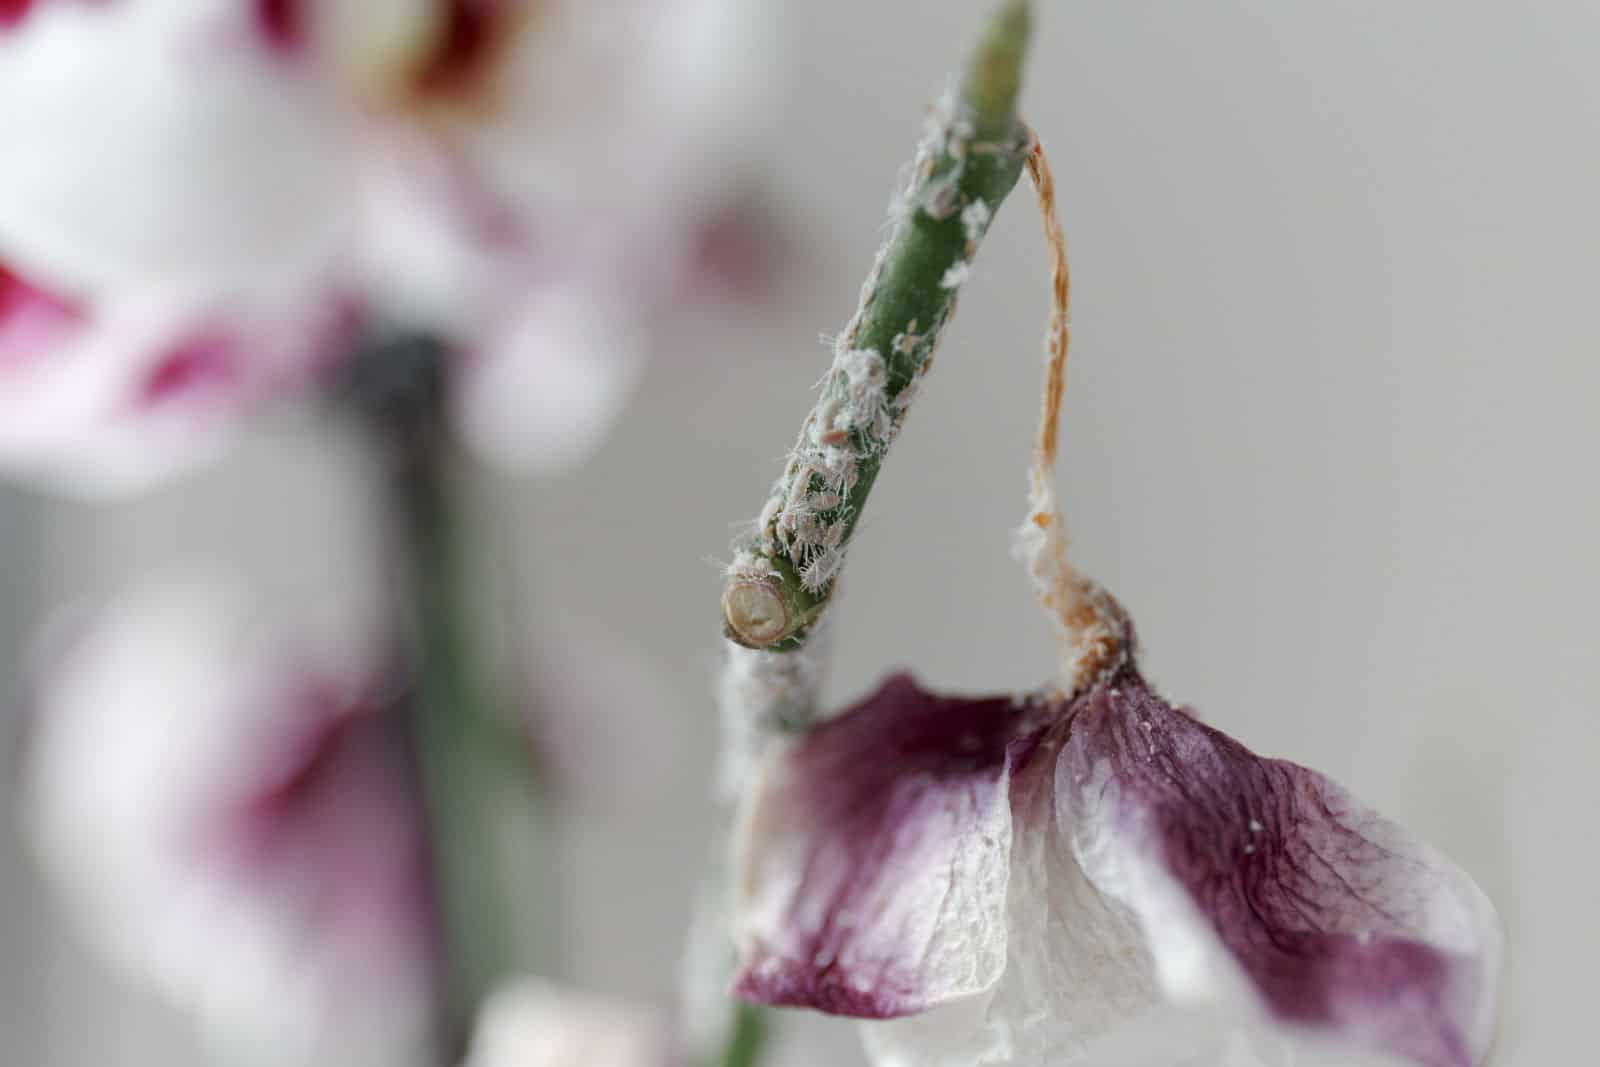
We have already mentioned that these plants are sensitive. They can change their entire appearance if they are only slightly cold.
If you don’t take good care of your plants, then you will probably end up seeing them yellowing, wilting, and dying. Unhealthy plants are more susceptible to disease and pests. These pesky pests are just waiting for you to forget about watering!
Let’s look closer.
Pest Infestation
The most frequent pests that infest orchids are mealybugs, aphids, whiteflies, and spider mites. These little annoyances primarily suck the sap of your plant and steal all of its nutrients!
Spider mites even leave tiny webbing on the leaves and stems, while aphids leave sticky honeydew all over the plant.
Luckily, it is relatively easy to get rid of them, especially if you catch the infestation in the early stages.
Introducing some ladybugs to devour these pests is one of my favorite natural pest control strategies. There are also alternative options if you don’t like bugs and insects flying around your house.
For instance, you can always use a cotton swab soaked in rubbing alcohol or neem oil to get rid of pests if the infestation is not severe.
Larger swarms of mites and mealybugs, however, cannot be eliminated that effectively or conveniently.
You can also try putting the plant under a faucet with slowly flowing water to get rid of pests.
Some of you may not like to hear this, but you might have to apply pesticides to get rid of destructive insects before they do serious harm to your plants. Though this is not organic, pesticides work effectively if you carefully follow the instructions.
Plant Disease
In the watering section, we discussed overwatering. If you keep overwatering your plant, it will most likely end up with root rot.
Examining the plant will allow you to identify this disease. Your plant is likely afflicted with this fungal disease if you see yellow leaves, reduced growth, a droopy appearance, black or brown spots on the leaves, and/or browning of the stem.
If you don’t address root rot quickly, it could possibly cause the death of your orchid.
Naturally, there are many possible causes for these symptoms, including inadequate lighting, underwatering, improper fertilization, and more, so you should always examine the potting mix before acting.
Take the orchid plant out of its container, and begin treating it for root rot if the mixture is soaking wet and you notice a foul, rotten smell emanating from the pot.
Orchid Not Flowering
Imagine buying orchids to add some color to your room, and just ending up with a flowerless orchid! This is also a common issue that many growers come across.
The main reasons for orchids not flowering include inadequate temperature, low humidity, too much or too little light, overwatering or underwatering, and nutrient deficiency.
If you follow a proper care guide, then your orchid will reward you with those beautiful flowers.
Yellow Leaves
We mentioned yellow leaves a couple of times. One of the main reasons that your houseplants have yellow leaves is overwatering and root rot.
However, other things should also be taken into consideration. For instance, your plant might have yellow leaves due to natural causes. However, overfertilization and inadequate light conditions can also lead to yellowing of the leaves.
Again, if you follow a proper care guide, you can avoid these issues.
Yellow Stem
The last issue that you might encounter is the orchid stem turning yellow. The reasons are pretty much the same: overwatering, underwatering, temperature fluctuations, pest infestation, too much light, nutrient deficiency, and low humidity.
In addition, the stem might be yellowing because it is the end of a blooming cycle.
After flowering, remove the dried-out and dead stems so that the plant can focus all of its efforts on growing new roots and stems that will produce new orchid flowers.
To Sum Up
As you can see, taking care of an orchid plant is not a big deal. Sure, mistakes can happen anytime, but if you follow the steps in this article, I am sure that you will end up with a happy orchid!
Orchid care for beginners is quite easy, especially if you are growing moth orchids.
Don’t worry if you run into some issues – just figure out the cause and fix the issue accordingly. I’m sure that you will become an orchid expert in no time!
I really hope this article was helpful.
Until next time!