Why Lavender Suddenly Looks Wilted After Summer Heat (And What To Do)
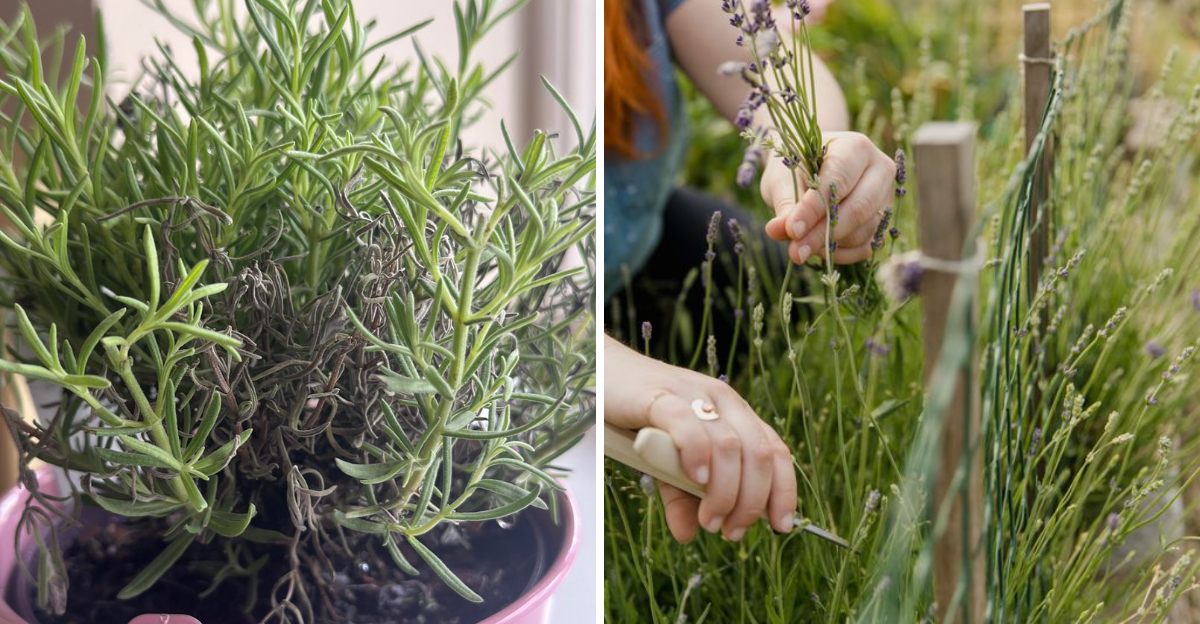
Lavender looked completely flawless yesterday, yet today it hangs low. Heat alone rarely explains what your plant feels.
Wind alone exposes root stress you cannot see. Soil holding too much water weakens roots quietly.
Containers heat roots faster than garden beds ever will. Warm sun convinces you to blame heat, not roots.
Roots, soil, water, and airflow shape your plant’s story. Gray-green stems and drooping blooms are never random.
Each symptom points toward a cause you can fix. Across your garden, you might blame yourself before checking drainage. Drainage, humidity, and root stress deserve equal suspicion.
Nobody wants you to lose a plant this hardy. Understanding the real cause changes everything about your next move. Instincts rarely lie when a plant looks this tired.
Patience matters more than panic when leaves droop. Purple blooms need your attention, not your worry. What you do next could decide whether this plant pulls through.
Heat Stress Slowed It Down
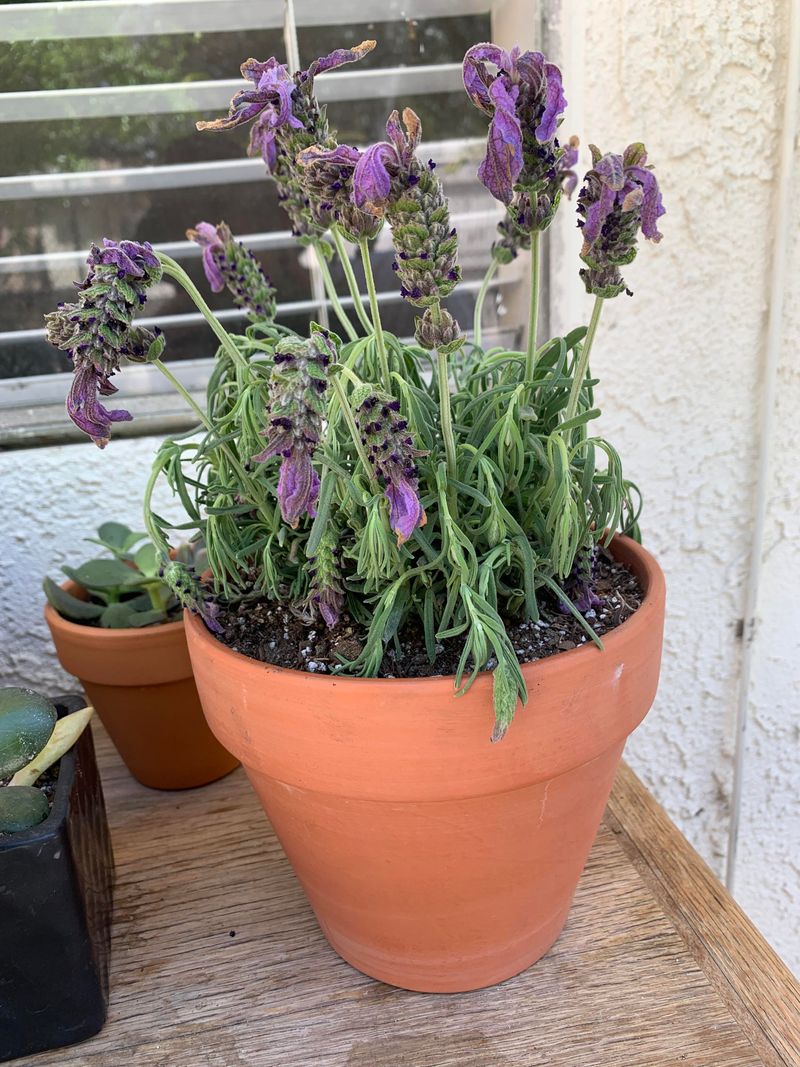
Even sun-loving plants can struggle once temperatures climb into extreme ranges, though the exact threshold varies by variety. Lavender adores warmth, but extreme heat triggers a survival response that looks a lot like wilting.
The plant essentially shuts down to protect itself. It slows water movement, closes its pores, and stops growing until conditions cool down.
This is not a sign that your lavender is failing. It is actually doing exactly what it should do when summer heat spikes hard and fast.
The wilting from heat stress usually appears in the hottest part of the afternoon. Stems droop, flowers sag, and the plant looks genuinely exhausted.
By evening, when temperatures drop, the plant often perks back up on its own. That bounce-back is a strong clue that heat stress, not disease, is the culprit.
There are a few things you can do to help during an intense heat wave. Provide afternoon shade using a light shade cloth stretched above the plant.
Avoid watering in the midday heat, as water can evaporate before reaching the roots. Water early in the morning so moisture soaks in before the sun peaks.
Mulching around the base of the plant helps keep soil temperatures lower. Use gravel or sand rather than wood chips, since lavender prefers a drier, more mineral-based environment.
Give your plant a few cool nights, and you will likely see it standing tall again. Patience is genuinely your best tool here.
Poor Drainage Weakened The Roots
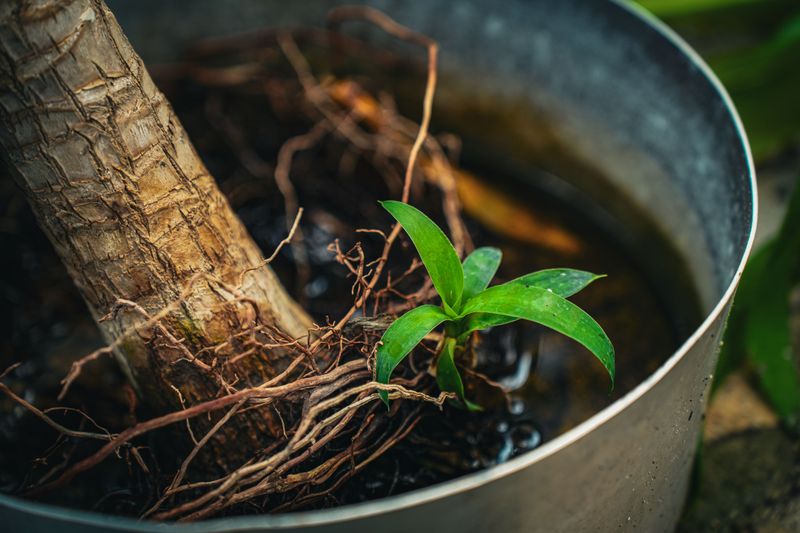
Drainage is everything when it comes to growing healthy lavender. The plant evolved in rocky, sandy Mediterranean hillsides where water drains almost instantly after rain.
When you plant lavender in heavy clay soil or a low spot, water sits around the roots for hours or days. That standing moisture becomes a slow problem.
Poor drainage differs from overwatering, though the end result looks similar. Even if you water sparingly, bad soil can trap enough moisture to cause root damage.
Look at your garden after a rainstorm. If water pools near your lavender for more than thirty minutes, drainage is the issue that needs fixing.
Raised beds are one of the easiest solutions for poor drainage. Building the planting area up by six to eight inches dramatically improves how fast water moves away from roots.
Amending soil with coarse sand or pea gravel also helps. Mix it into the top twelve inches of soil before planting or when transplanting struggling lavender.
Avoid adding compost or rich organic matter. Lavender prefers lean, slightly sandy soil over the nutrient-rich blends other plants love.
If you have potted lavender, make sure drainage holes at the bottom are not blocked. Lift the pot slightly using pot feet or a few flat stones.
Better drainage creates a foundation for a thriving plant, and the difference shows fast. Roots that can breathe grow strong and steady.
Overwatering Damaged The Roots
Lavender and soggy soil are a terrible match. Most gardeners water lavender the same way they water tomatoes or roses, and that is where the trouble starts.
Lavender roots need to breathe. When soil stays wet for too long, the roots begin to break down and can no longer pull nutrients or moisture up into the plant.
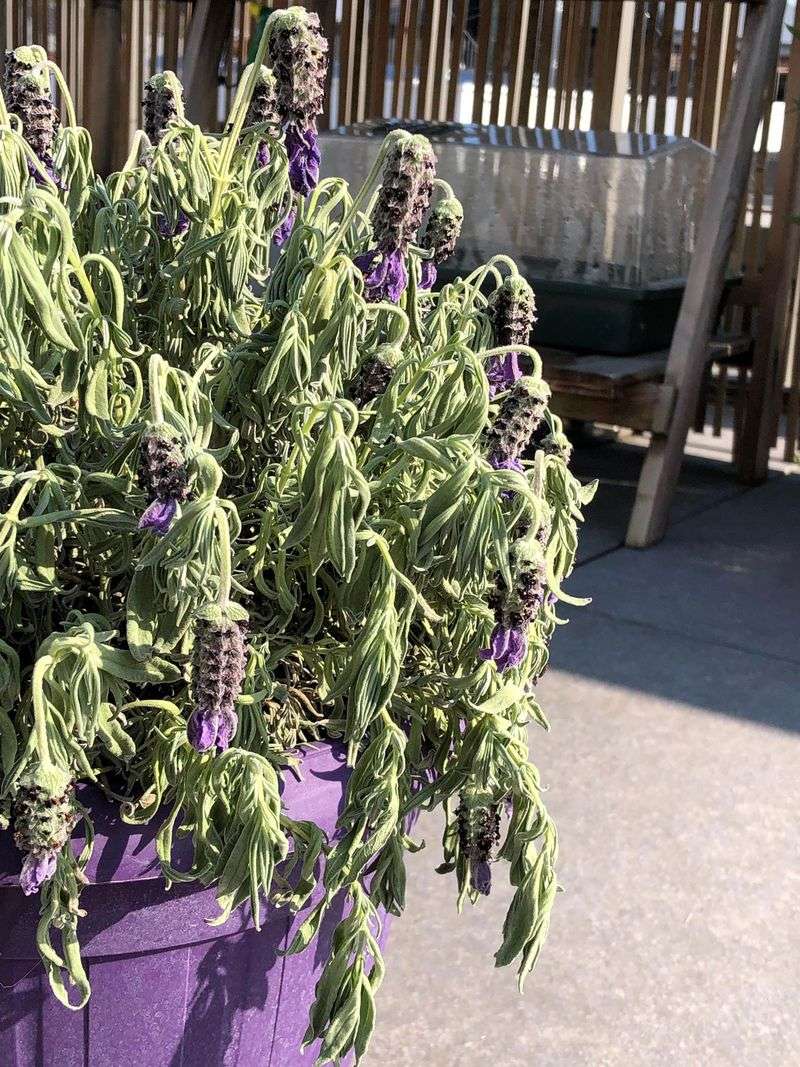
Ironically, overwatered lavender looks exactly like thirsty lavender. The stems go limp, the leaves pale out, and the plant shows visible stress.
But adding more water makes things much worse. The roots are already compromised, and flooding them again speeds up the damage significantly.
Check the soil before you water again. Push your finger two inches into the ground near the base of the plant.
If the soil feels damp at all, step away from the hose. Lavender prefers dry conditions between waterings, especially in hot weather when evaporation is fast.
Established lavender plants in dry, well-suited climates often need little to no supplemental watering during summer. Potted lavender may need water once a week at most.
Pull the plant from the pot or gently dig around the roots. Healthy roots are white and firm, while rotted roots are brown, mushy, and smell unpleasant.
Trim away any damaged roots with clean scissors and repot in fresh, dry, well-draining soil. Your plant has a real shot at bouncing back.
Fungus Spread In Damp Soil
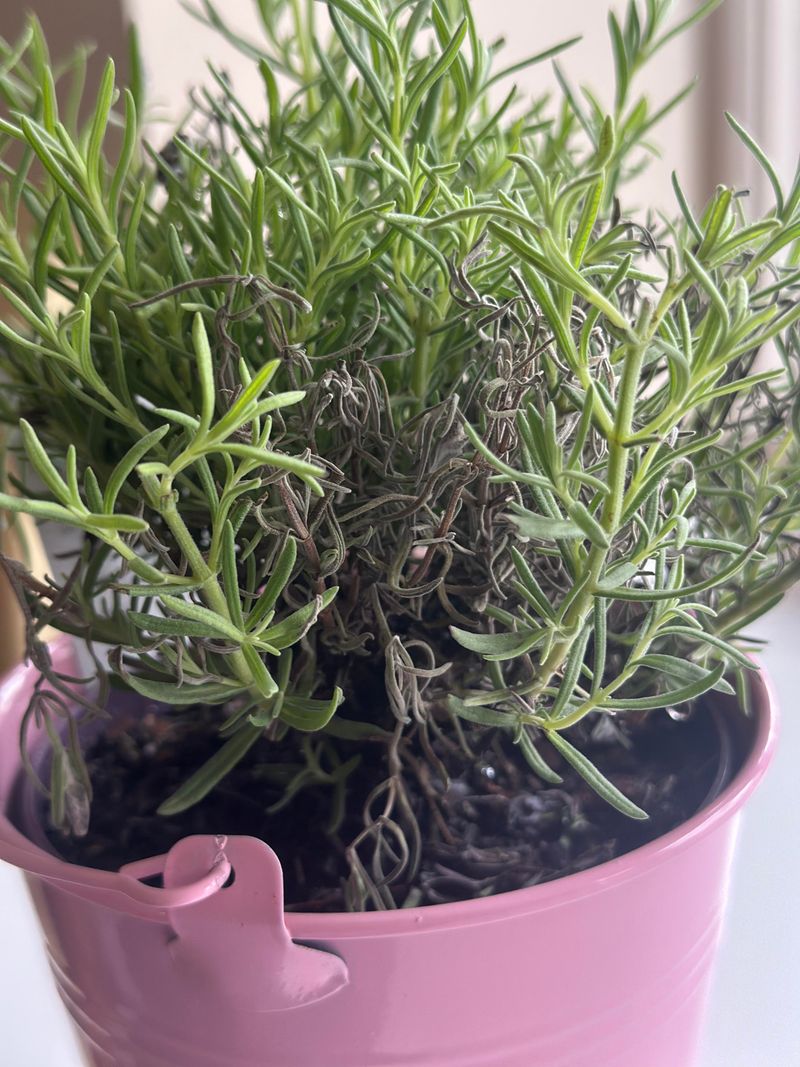
Damp soil does not just weaken roots, it also invites fungal pathogens that affect lavender from below. Phytophthora root rot and Botrytis gray mold are two of the most common culprits.
Fungal problems in lavender often start underground, which means you do not notice anything until the plant is already struggling. By the time stems wilt, the fungal issue has progressed.
One telltale sign of fungal root rot is discoloration at the base of the stems. The wood near the soil line may look dark brown or almost black.
Another sign is a grayish, powdery coating on the leaves or stems. That fuzzy texture is actually fungal spores, and it spreads quickly in humid, airless conditions.
Pull the plant and inspect the roots carefully. Fungus-damaged roots look dark, slimy, or become fragile and break apart easily.
Trim away all infected roots with clean, sterilized pruning shears. Wipe the blades with rubbing alcohol between each cut to avoid spreading spores.
Repot or replant the lavender in completely fresh soil away from the infected area. Do not reuse old soil, even if it looks fine on the surface.
Treat the remaining roots with a diluted copper fungicide before replanting. Follow package directions carefully and avoid over-applying, which can harm the roots further.
Keeping soil dry between waterings is your best long-term defense. Fungus cannot thrive where moisture is controlled and airflow is strong.
Stagnant Air Caused Mildew
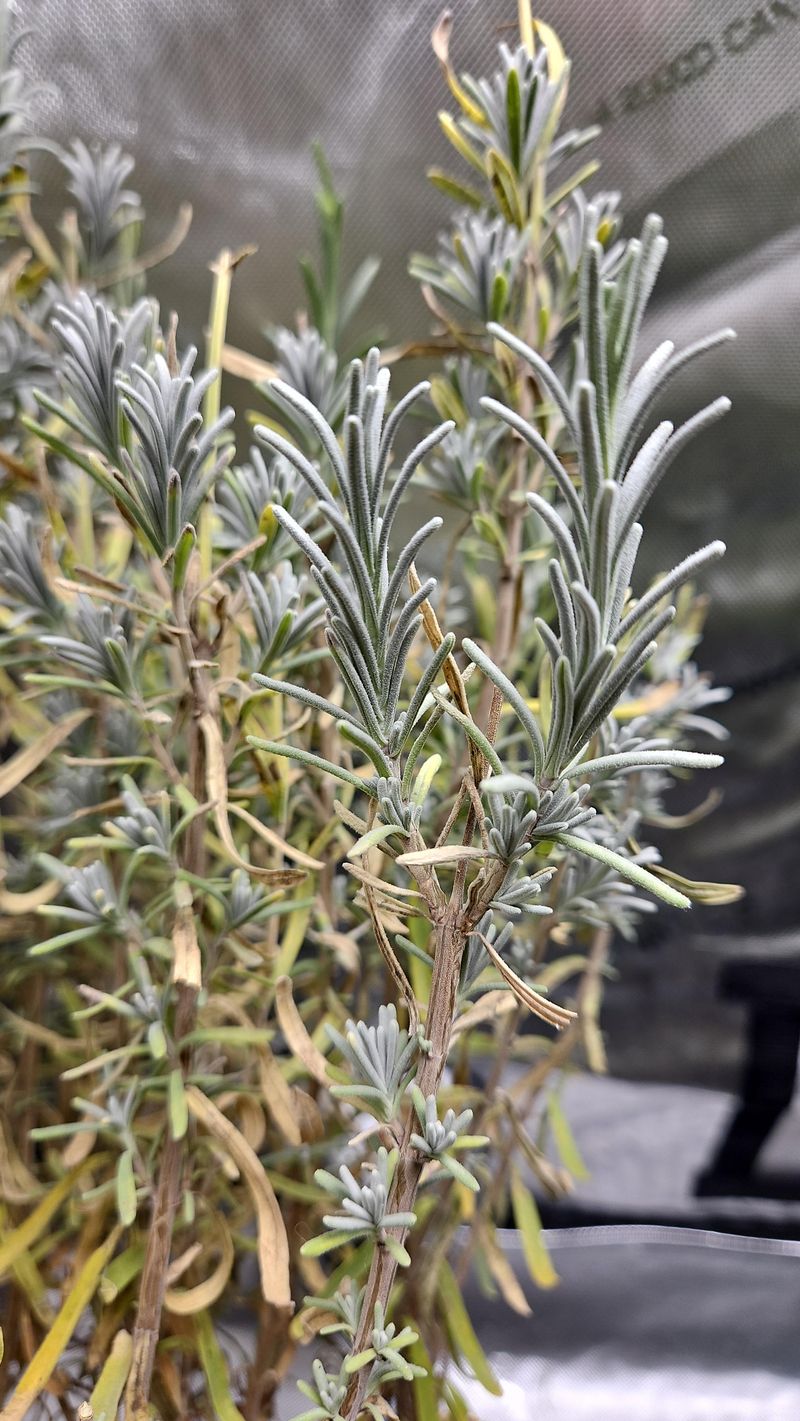
Lavender loves a breeze. It grows naturally on open hillsides where wind moves constantly through the foliage and keeps moisture from settling on leaves.
When you plant lavender in a sheltered corner, against a wall, or surrounded by dense shrubs, air stops moving. That stillness creates the perfect setup for powdery mildew.
Mildew starts as a faint white dusting on the leaves. It looks almost like someone sprinkled flour on the plant, and it spreads surprisingly fast in stagnant conditions.
The affected leaves curl slightly and begin to lose their silvery-green color. Stems weaken, and the overall plant starts to look deflated and tired rather than upright and aromatic.
Mildew does not need rain to spread. It actually thrives in warm, humid air with no wind to disrupt spore movement.
Pruning back nearby plants to open up space is one of the first steps you should take. Even a foot of extra clearance makes a meaningful difference in airflow.
Thin out the lavender itself if the center has become dense and woody. Good air circulation inside the plant is just as important as airflow around it.
A light spray of diluted neem oil can slow mildew spread without harming the plant. Apply it in the early morning so leaves dry before the hottest part of the day.
Mildew-free lavender smells stronger, blooms fuller, and stands taller. Open air is not a luxury for this plant – it is a necessity.
Cut Back Watering Immediately
The moment you notice wilting after summer heat, your first instinct might be to water. Pause before doing this. That instinct can worsen the problem.
Lavender wilting from root rot, fungal issues, or overwatering does not need more moisture. Adding water to an already saturated root zone can increase existing root stress.
Before you touch the hose, check the soil. Push a finger or a wooden skewer two inches into the ground near the base of the plant.
If the soil feels cool and damp, hold off on watering completely. Give the soil at least three to four days to dry before reassessing the situation.
For potted lavender, lift the pot. A heavy pot almost always means wet soil, while a light pot signals it is time for water.
Cutting back watering immediately is one of the fastest, easiest interventions you can make. It costs nothing and gives the roots a chance to recover and stabilize.
If you have been watering on a schedule, abandon that schedule now. Lavender does not run on a calendar – it runs on soil moisture levels and weather conditions.
During a heat wave, evaporation is fast and soil dries quickly. But root damage from earlier overwatering can linger even after the surface feels dry.
Let the plant tell you when it needs water. Wilted lavender after summer heat usually needs less water, not more, and that shift in thinking saves plants every season.
Improve Soil Drainage Now
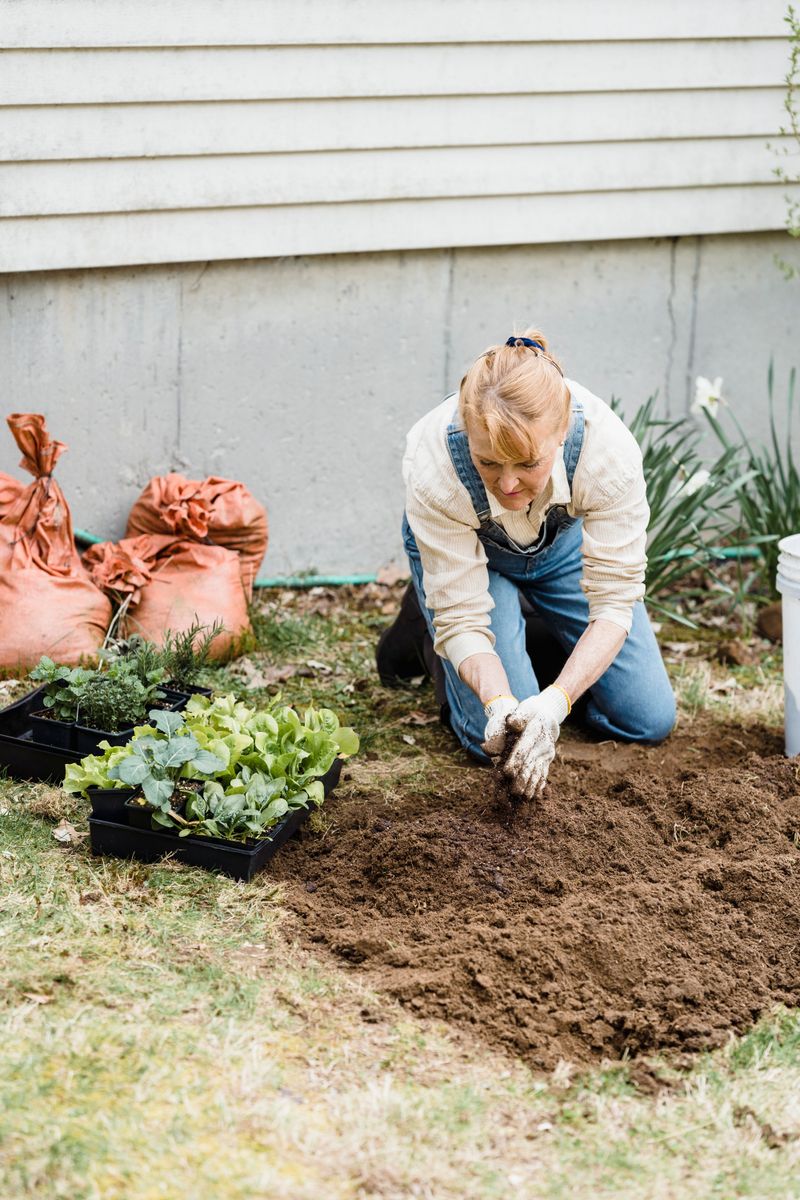
Fixing drainage is not glamorous work, but it pays off for years. Lavender planted in fast-draining soil almost never develops root rot.
Start by testing what you have. Dig a hole about twelve inches deep near your lavender and fill it with water. If it drains within thirty minutes, you are in decent shape.
If water still sits there an hour later, your soil needs help. Clay-heavy ground holds moisture like a sponge, and lavender roots struggle in that environment.
The most effective amendment is coarse horticultural sand or fine pea gravel. Work it into the top twelve inches of soil at roughly one part sand to two parts existing soil.
Avoid fine beach sand or play sand, which can compact over time and worsen drainage. Coarser materials create the air pockets roots need to stay healthy.
Raised beds solve drainage problems almost instantly. Build a simple frame from untreated wood or stone, fill it with a sandy, lean mix, and plant your lavender up high.
For potted plants, swap the potting mix for one labeled for cacti or succulents. These mixes drain fast and stay airy, exactly what lavender roots prefer.
Add a layer of gravel or small stones at the bottom of the pot before adding soil. This prevents drainage holes from clogging with fine particles.
Better drainage is the single best long-term investment for wilted lavender. Get this right, and most other problems fade away.
Trim Spent Stems Away
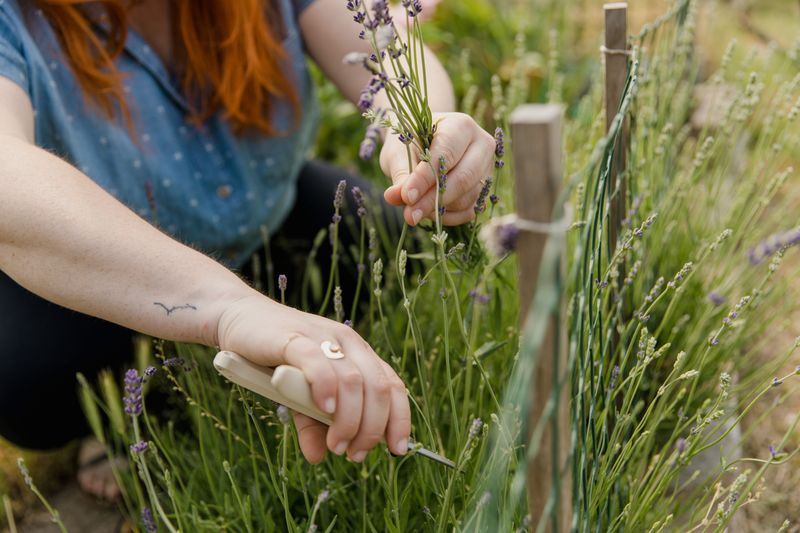
Spent stems are a burden on a plant trying to recover. Lavender wastes energy on stems that contribute nothing, slowing the healing process.
Grab clean, sharp pruning shears before cutting. Dull blades crush stems rather than cutting cleanly, creating entry points for infection.
Look for stems that are gray, brittle, or hollow. These are done and will not produce new growth no matter how much you water or fertilize.
Cut back to just above a point where you see green growth or fresh buds. That green zone is where the plant still has life and energy.
Avoid cutting into the woody base unless you are certain that wood is no longer living. Lavender does not regenerate well from old wood cut too aggressively.
A good rule is removing no more than one-third of the plant at a time. This prevents shock and gives remaining stems enough leaf surface to keep producing energy.
After trimming, step back and check the shape. Lavender responds well to a rounded, mounded form that lets air move freely through the center.
Dispose of trimmed material away from the garden. Do not compost stems from a plant showing signs of disease or fungal damage.
Fresh cuts signal to the plant that it is time to grow again. Within weeks, new green shoots should push up from the base, a genuinely satisfying sight.
Move Pots To Better Airflow
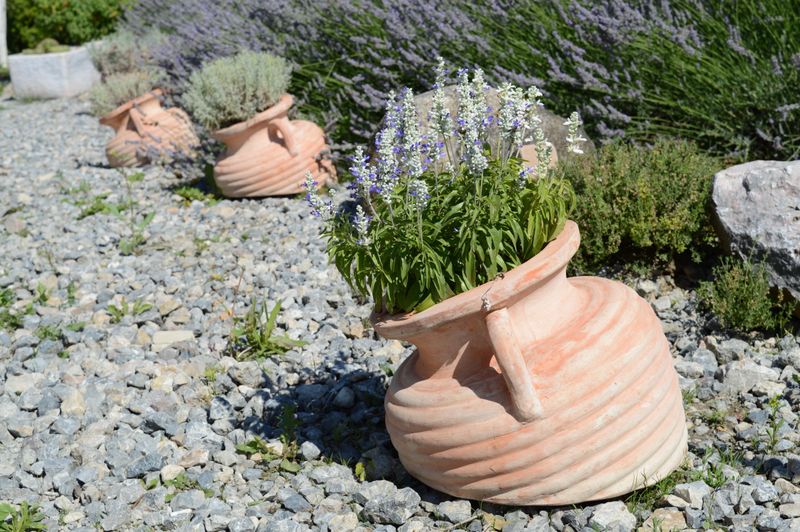
Potted lavender has one major advantage over garden lavender, you can move it. When airflow is the problem, picking up the pot and walking often works.
Spots against walls, in corners, or tucked under eaves trap heat and block wind. That combination creates conditions lavender struggles most to survive in.
Look for a location with a few hours of open sky above it. Areas where you feel a natural breeze even on calm days work best.
South-facing or west-facing spots work well in many warm, sunny climates, though this varies by region.
Avoid placing pots directly on concrete or asphalt during peak summer. These surfaces absorb and radiate heat, pushing temperatures around the pot above air temperature.
Elevating the pot slightly also helps. Pot feet or a simple plant stand let air circulate beneath the container, keeping roots cooler and preventing moisture buildup.
If you have multiple pots clustered together, spread them out. Grouping pots looks charming, but it reduces airflow and creates humid microclimates that invite mildew.
Once you move the pot, give the plant a few days to adjust. Avoid fertilizing right after moving, since the plant needs to stabilize first.
The right spot turns a struggling plant into a thriving one. Wilted lavender often just needs a change of scenery to stand tall again.