Why Some California Peace Lily Leaves Turn Black Instead Of Brown
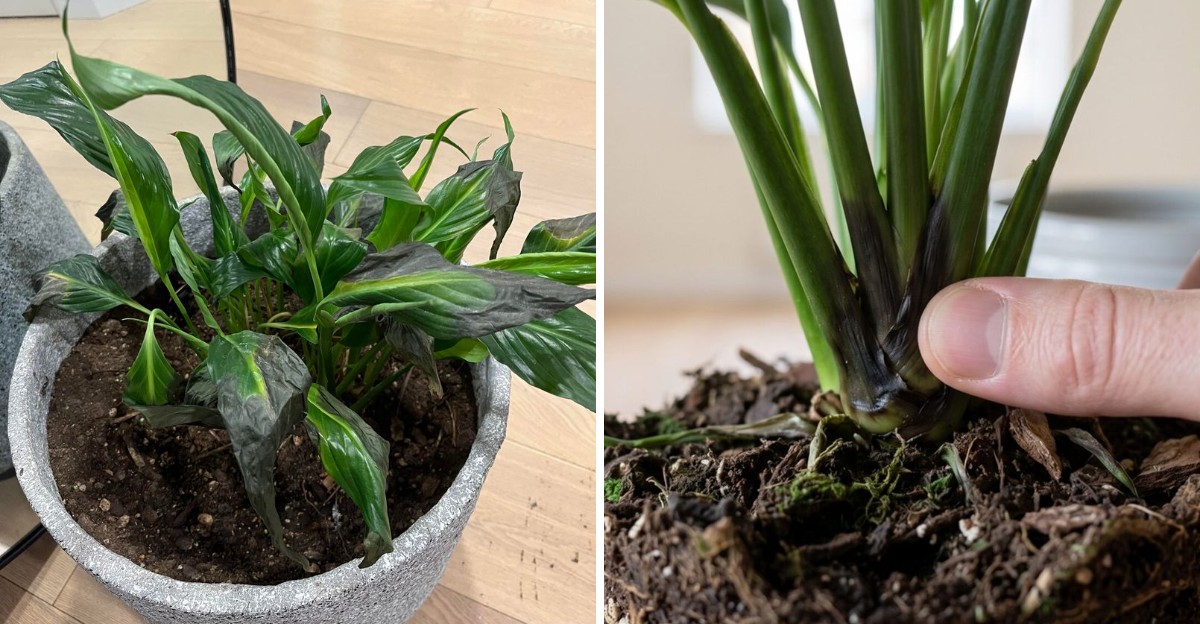
Cold air around 45 degrees can turn a tropical houseplant leaf as dark as wet charcoal within days. That inky color tells a different story than the papery tan of a leaf that simply ran dry.
Black tissue often means cells burst from cold or rotted from soggy roots sitting in heavy soil. Brown tissue usually points to slower drying, though the two colors can overlap more than you expect.
I have to admit my first California houseplant scared me silly when its leaf tips turned black overnight. You might notice the same thing after a chilly California night near a drafty window or open door.
The darker shade is actually a helpful clue, because each cause leaves its own fingerprint on the foliage. So which culprit is hiding in your pot, and how fast can you turn things around?
1. Cold Drafts Turn Peace Lily Leaves Black Overnight
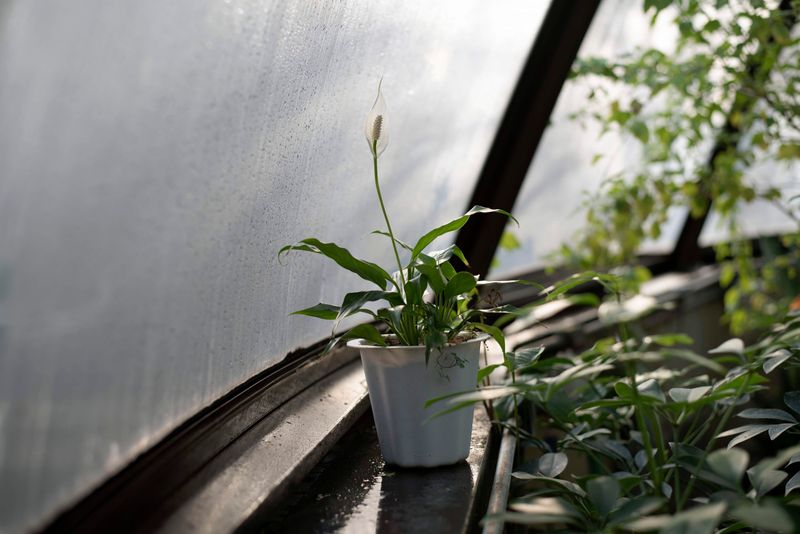
Spathiphyllum comes mostly from warm rainforests of Central and South America, so chilly air feels like a rude shock. I love how forgiving these plants are, yet cold is the one mistake they rarely shrug off.
Temperatures below about 45 degrees Fahrenheit can rupture leaf cells, leaving dark, water-soaked patches that soon turn black. The damage often shows up a day or two later, which makes the cause easy to miss.
Coastal California homes may feel mild, yet single-pane windows can drop much colder than the room overnight in winter. Leaves pressed against the glass usually blacken first, while the center of the plant stays perfectly green.
You can feel the difference, because cold-damaged spots are usually soft and slick rather than dry and crispy. That mushy texture separates chill injury from the slow tan browning caused by low humidity or thirst.
Keep your plant somewhere between 65 and 80 degrees, and pull it a foot or two from winter glass. Heater vents cause trouble too, since blasts of hot dry air stress leaves almost as much as drafts.
Trim blackened leaves at the base with clean scissors once you confirm the crown still feels firm. Healthy crowns usually push out fresh leaves within a few weeks after the plant warms back up.
Personally, I check thermometers near my windowsills each winter, and the readings surprise me every single year. A cheap digital thermometer costs little and can save you a lot of heartbreak during cold snaps.
2. Soggy Peace Lily Soil Smothers Roots And Darkens Leaves
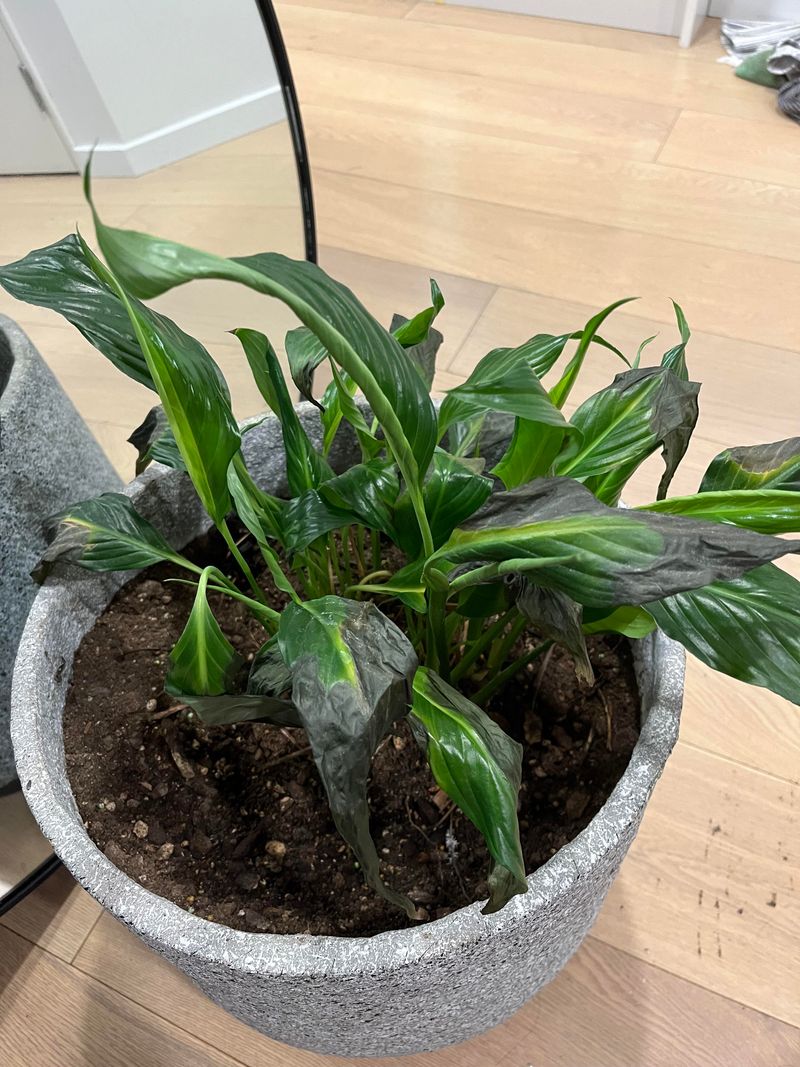
Roots need air as much as water, and a pot that stays soaked for days slowly suffocates them. Personally, I think more peace lilies suffer from too much love than from too little attention.
Waterlogged soil pushes out oxygen, so roots turn soft and dark instead of staying white and firm. Damaged roots cannot move water upward, which oddly makes the leaves droop as if the plant were thirsty.
Leaves on an overwatered plant often yellow first, then develop black blotches that spread from the base upward. You might notice a sour smell drifting from the pot, which is a strong sign something is rotting below.
Before watering, push a finger into the mix and wait until the top inch feels dry. Peace lilies like steady moisture, but they do not enjoy sitting in a puddle like a pond plant.
Drainage holes matter more than pretty pots, so tuck a plastic nursery pot inside any decorative cover. Empty the saucer or cachepot about thirty minutes after watering so roots are not left soaking.
During cooler months, plants drink much less, so stretch the time between waterings and check more often. Many California homes stay mild indoors, yet growth still slows when daylight shrinks in late fall.
If the soil smells foul, slide the plant out and look closely at the root ball. Snip away mushy roots, repot in fresh airy mix, and water lightly until new growth appears.
3. Root Rot Fungi Hide Beneath Blackened Peace Lily Leaves
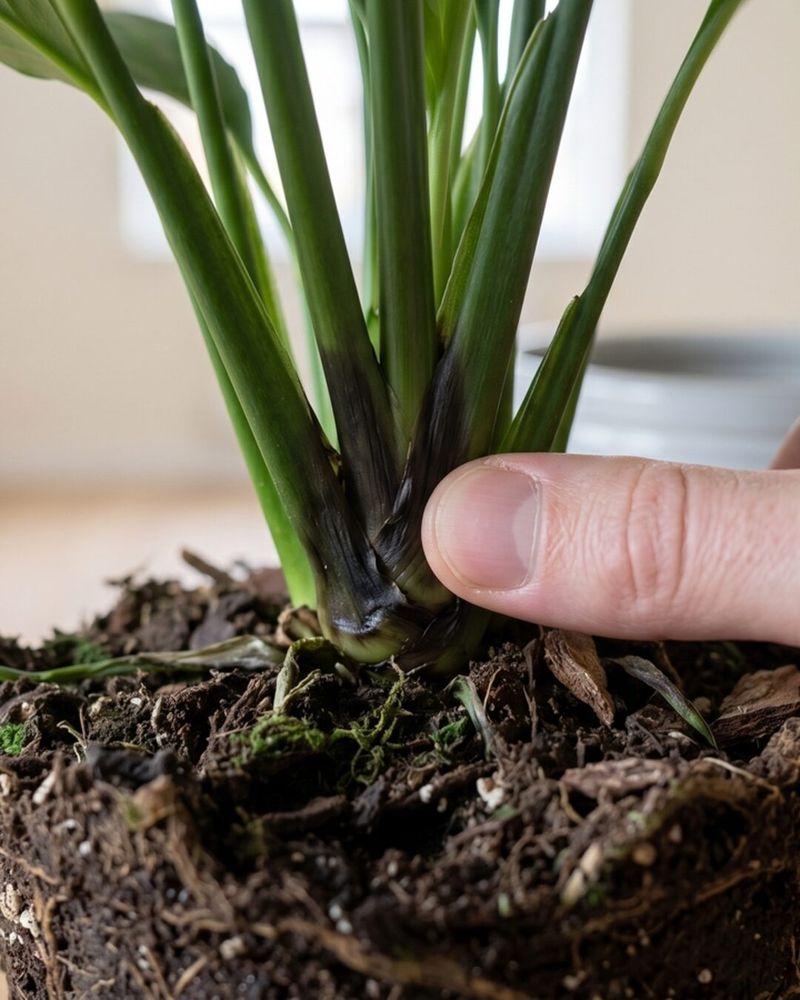
Some of the worst peace lily trouble starts underground, where water molds and fungi quietly feast on the roots. Personally, I find it sneaky how the leaves give the first warning while the real battle stays hidden.
University of Florida researchers list Cylindrocladium root rot as one of the most serious diseases of Spathiphyllum. Infected roots turn dark brown to black, and lower leaves often yellow before their edges begin darkening.
Pythium and Phytophthora, two water molds, also attack peace lilies when soil stays wet and warm for long stretches. These organisms swim through soggy potting mix, so overwatering basically rolls out a welcome mat for them.
Healthy roots look white or cream and feel springy, while diseased ones look dark and slip apart easily. You can gently tug a root, and if the outer skin slides off, rot has likely set in.
Act quickly by trimming every soft root with scissors sanitized using a household disinfectant between each cut. Repot into fresh sterile potting mix, and avoid reusing old soil that may still carry the pathogens.
Scrub the original pot with hot soapy water, or simply switch to a new container for peace of mind. If most of the root system has rotted, dividing healthy crown sections may give you the best chance.
Prevention mostly comes down to fast-draining soil and patient watering rather than following a strict calendar. I like buying plants from reputable nurseries, since healthy starter roots make a huge difference later on.
4. Bacterial Leaf Spots Leave Inky Marks On Peace Lilies
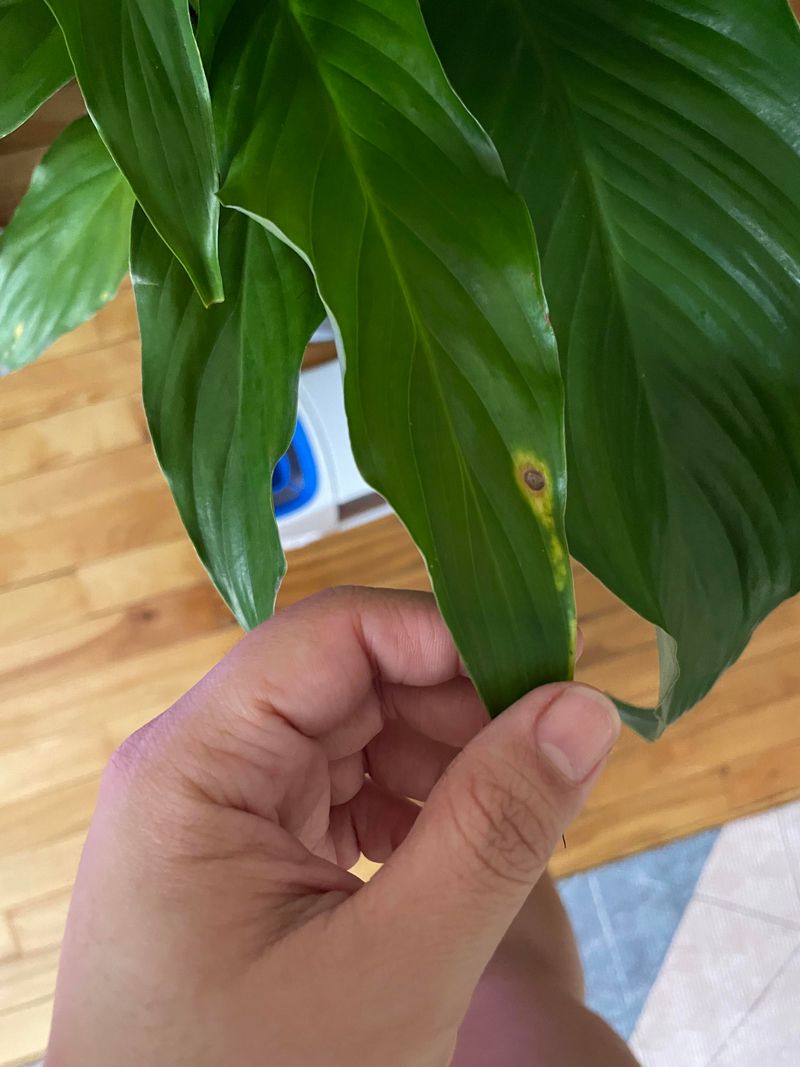
Tiny water-soaked dots that suddenly turn black often point to bacteria rather than a simple watering slip. I have to admit these spots fooled me once, because they look almost like ink splatters on the leaves.
Bacterial leaf spots usually start small and translucent, then darken quickly and may develop a yellow halo. Spots often follow the leaf edges or merge into larger blotches when the foliage stays wet for long.
Bacteria travel in splashing water, so overhead watering and crowded pots give them an easy ride between leaves. Warm, humid rooms with still air help them multiply, especially when droplets sit on foliage overnight.
Soft rot bacteria can also invade stems near the soil line, turning tissue dark and slimy with an unpleasant odor. That stem collapse can spread fast, so check the base of any plant showing sudden black patches.
Remove spotted leaves with clean shears, and toss them in the trash instead of the compost pile. Water at the soil line with a narrow spout so leaves stay dry and splashing stays minimal.
Spacing plants a few inches apart lets air move freely, which helps leaf surfaces dry out sooner. A small fan on low setting in a stuffy room can make a surprising difference for humid corners.
Copper sprays offer limited help indoors, so most experts lean on sanitation and better watering habits first. If the infection reaches the crown, isolating the plant protects nearby houseplants from catching the same bacteria.
5. Fluoride In Tap Water Burns Peace Lily Leaf Tips
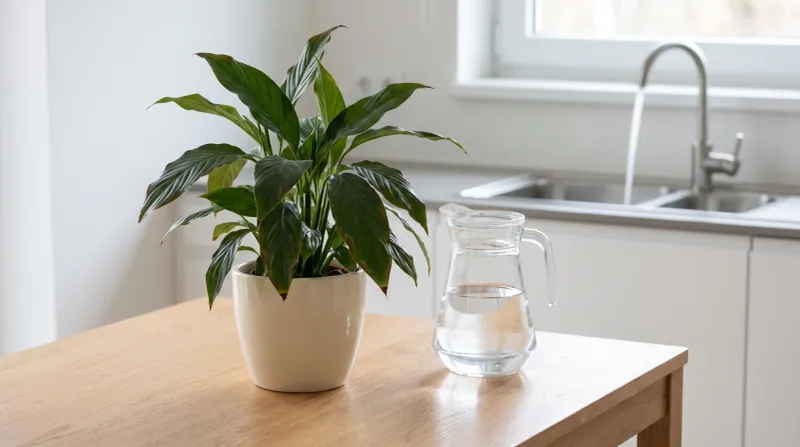
Water straight from the kitchen faucet may carry tiny amounts of fluoride and dissolved minerals that peace lilies notice. I believe tap water is the sneakiest culprit, because it looks perfectly clean while slowly scorching leaf tips.
Peace lilies are often listed among foliage plants sensitive to fluoride, which collects at leaf tips and margins. Damage typically begins as tan tips that darken over time, sometimes turning nearly black and crispy.
Many California cities add fluoride to drinking water, and Southern California supplies often carry high mineral levels too. Water drawn from the Colorado River tends to be hard, leaving white crust on pots and soil surfaces.
Unlike cold damage, this kind of blackening feels dry and brittle, creeping inward slowly over weeks or months. You might notice the oldest leaves suffer most, since they have collected minerals for the longest time.
Switching to rainwater, distilled water, or reverse osmosis water often stops new tip damage within a season. Letting tap water sit overnight helps chlorine escape, yet it does nothing for fluoride or dissolved salts.
Every few months, flush the pot with plenty of clean water until it pours freely from the drainage holes. Flushing carries built-up minerals away, and it also gives you a chance to check drainage.
Avoid perlite with high fluoride content and superphosphate fertilizers, since both can add more fluoride to the mix. Trim crispy tips at an angle following the natural leaf shape, and the plant will look tidy again.
6. Too Much Fertilizer Scorches Peace Lily Leaf Edges
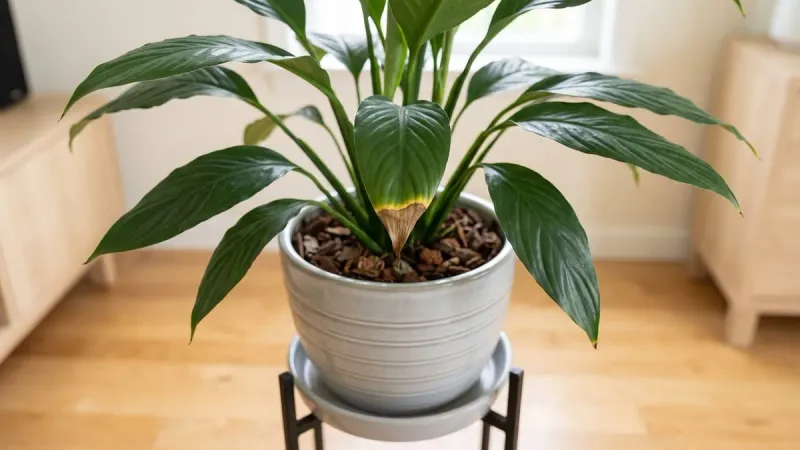
More food sounds generous, yet peace lilies are light feeders that rarely need much fertilizer at all. Personally, I learned this lesson after an eager spring feeding left dark crispy edges across my favorite plant.
Fertilizers are salts, and too much pulls moisture away from roots, burning their delicate tips and slowing uptake. Leaf margins then turn brown and may deepen to black, often with a thin yellow band nearby.
A white crust on the soil or pot rim is a classic hint that salts are building up. You may also see slow growth and wilting even when the soil feels moist to your finger.
Feed with a balanced liquid houseplant fertilizer diluted to half strength, roughly every six to eight weeks. Spring and summer are the main growing seasons, so skip feeding when growth slows in late fall.
If you suspect overfeeding, flush the pot slowly with about twice its volume of clean, filtered water. Let it drain fully, then wait at least a month before offering any more fertilizer to the plant.
Damaged leaf edges will not turn green again, but you can trim them neatly with sharp scissors. New leaves usually emerge healthy once the salt level drops, which feels like a small victory every time.
Slow-release pellets can be easy to overdo, since gardeners often add more without realizing old ones remain. Read the label carefully and measure with a spoon instead of guessing, because a little goes a long way.
7. Mealybugs And Sooty Mold Coat Peace Lily Leaves Black
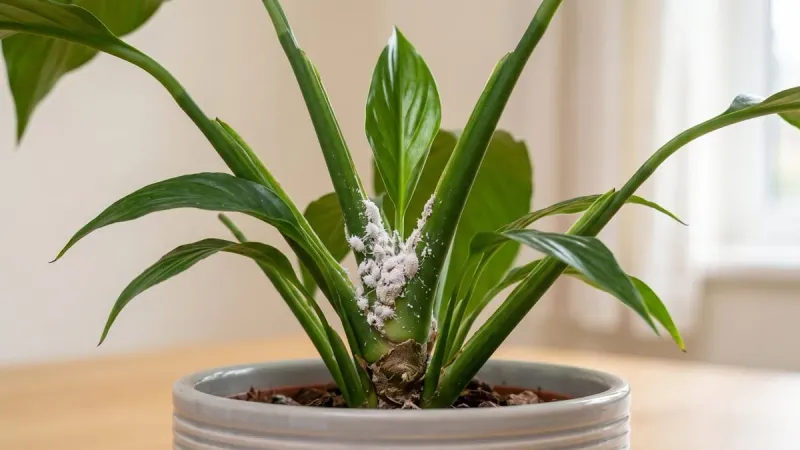
Sometimes the black on your leaves is not damaged tissue at all, but a sooty coating sitting on top. I love the moment a gardener wipes a leaf and realizes the problem rubs right off with a damp cloth.
Mealybugs and scale insects suck plant sap and drip a sugary liquid called honeydew onto the leaves below. Sooty mold fungi grow on that sticky film, creating a dusty black layer that blocks sunlight from reaching leaves.
The mold itself does not infect the plant, yet heavy coatings can reduce photosynthesis and weaken growth. You might notice shiny, tacky spots on furniture or the floor, which is a clear clue to honeydew.
Mealybugs look like small cottony tufts hiding in leaf joints, while scale resembles tiny brown bumps on stems. Spider mites cause fine speckling and webbing, though they produce little honeydew compared with these sap-sipping cousins.
Wipe pests away with a cotton swab dipped in soapy water, or rinse the plant gently in the shower. Insecticidal soap or horticultural oil sprays help with larger infestations when you follow label directions closely.
Once the insects are under control, wash the sooty mold off with a soft cloth and lukewarm water. Support each leaf from below while wiping so you avoid creasing or tearing the tender foliage.
Check new plants carefully before bringing them home, since mealybugs often hitch a ride from crowded store shelves. A quick weekly look under leaves takes a minute and catches trouble before honeydew starts piling up.
8. Harsh Afternoon Sun Scorches Peace Lily Leaves Dark
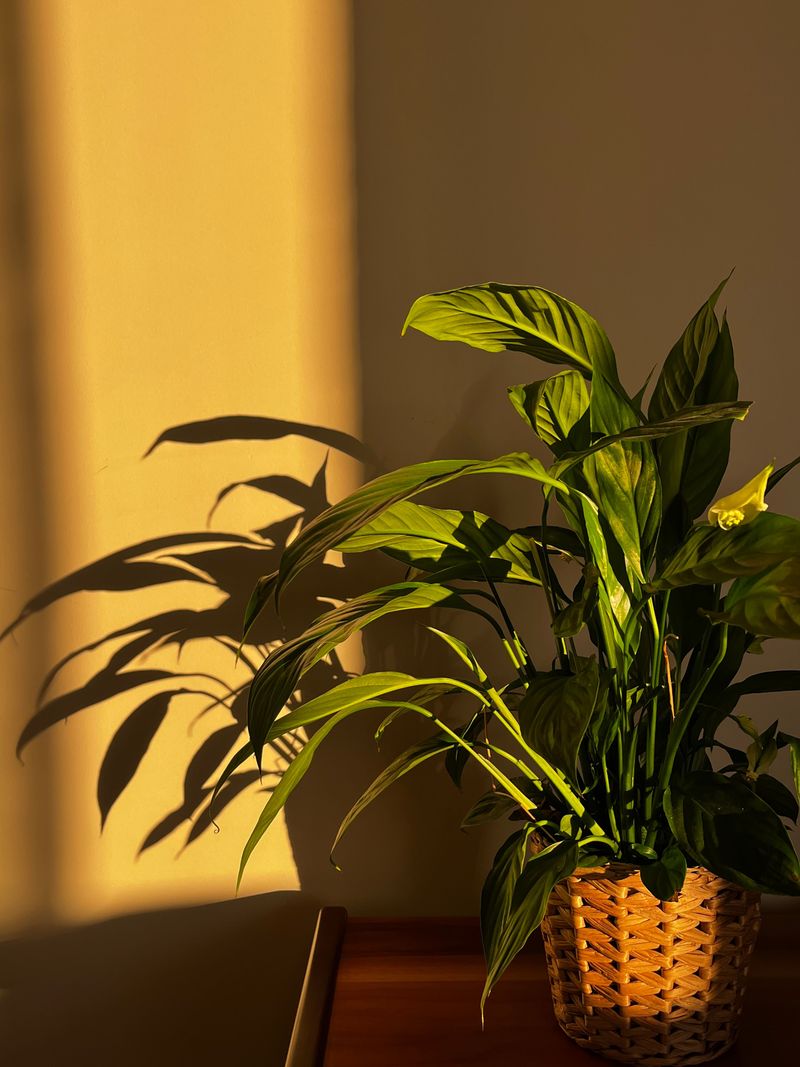
Peace lilies grow naturally on shady rainforest floors, where tall trees filter bright sunlight into soft dappled patches. I can’t imagine them enjoying a hot west window, and their leaves make that opinion quite clear.
Direct sun can bleach leaves pale first, then leave dry scorched patches that darken toward brown or black. Unlike mushy cold spots, sunburned areas feel papery and thin, often with sharp edges between damaged and healthy tissue.
Inland California valleys bring intense summer light, and a south or west window can magnify that heat considerably. Glass also traps warmth, so a leaf touching the pane can overheat surprisingly fast on bright afternoons.
Bright, indirect light is the sweet spot, such as near an east window or behind a sheer curtain. Plants in that kind of glow usually bloom more, too, rewarding you with those classic white spathes.
Moving a plant outdoors for summer works in shaded patios, but introduce it gradually over about a week. Sudden full sun after months indoors is like stepping out of a dark room onto a bright beach.
Scorched patches will not heal, but you can trim them or leave them until new leaves fill in. Removing too many leaves at once can stress the plant, so trim gradually over a few weeks.
Watch for leaves leaning away from light or curling, since both signal the spot is simply too intense. You need to treat the shadow cast by your hand as a guide, aiming for soft fuzzy edges.