Why Your Jack-O’-Lantern Is Rotting So Fast In New York, And How To Make It Last
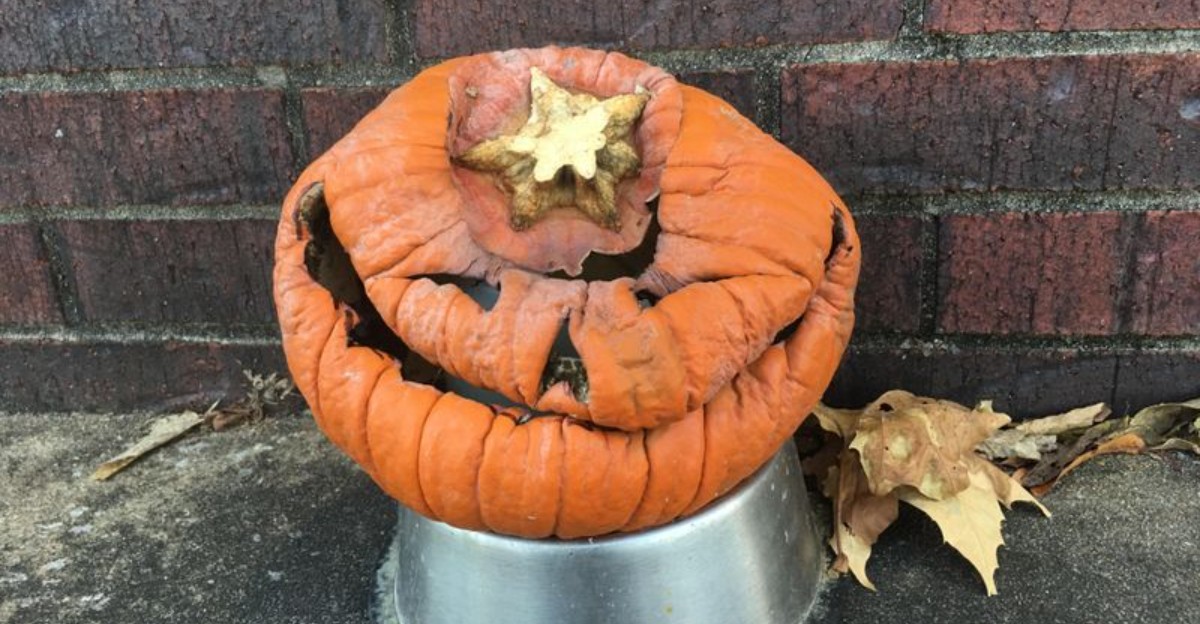
One morning your pumpkin is grinning proudly. The next, it looks like it lost a fight with the weather.
Plenty of New York families have watched a jack-o’-lantern sag, slump, and grow fuzzy before Halloween even arrives. That sad fate isn’t just bad luck.
Several sneaky culprits are working against your pumpkin, from tiny mold spores to wild swings in fall weather. Some start the moment your knife touches the skin.
Others creep in overnight while you sleep. Once you know what’s really going on, a few easy tricks can help you fight back.
Smart choices at the pumpkin patch matter, and so does how you light and store your creation. That spooky smile can stay sharp until the trick-or-treaters show up.
1. Carving Opens The Door To Mold And Bacteria
Picture your pumpkin as a sealed treasure chest before you carve it. The hard orange skin works like armor, keeping germs outside where they belong.
Once you cut a face, that armor gets broken in several places at once. The soft, wet flesh inside suddenly meets the open air.
Mold spores float around us all the time, even on a clean front porch. They are tiny and light, so a gentle breeze carries them everywhere.
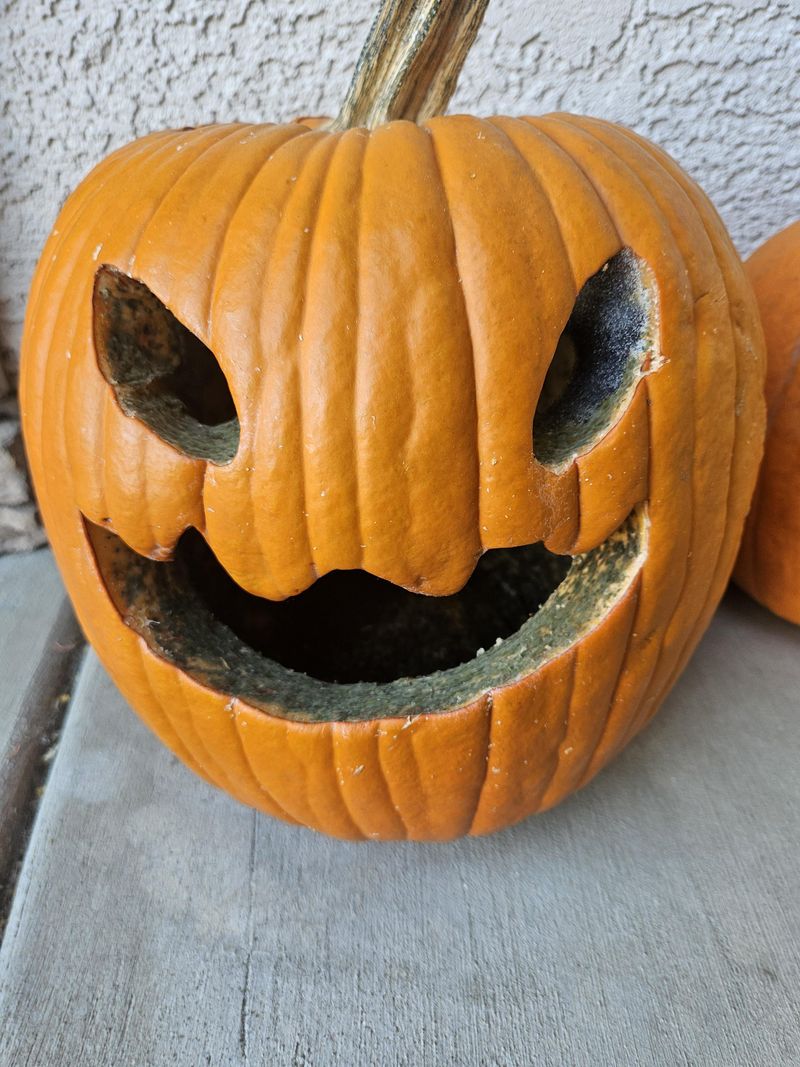
When spores land on damp pumpkin flesh, they find the perfect meal. Within days, they start growing into fuzzy white, green, or black patches.
Scientists have names for the usual troublemakers on pumpkins. Penicillium, Aspergillus, Rhizopus, Alternaria, and Cladosporium often show up first.
Bacteria join the party too, breaking down the flesh from the inside. Together, these tiny workers make your jack-o’-lantern soft, wrinkly, and smelly.
Fun fact: Penicillium is a relative of the mold used to make penicillin. On your pumpkin, though, it is purely a pest.
So what can you do about these invisible invaders? A quick spray of diluted bleach water helps a lot, about one tablespoon per quart.
Spray the inside and all the cut edges right after carving. Let it dry, then repeat every day or two for steady protection.
Wear gloves and keep pets and kids away while spraying. A little care at this stage can add several days of life to your carved creation.
2. Warm Days Speed Up The Rot
October in New York can feel like a weather mood ring. One afternoon you need a jacket, and the next you are sweating in a T-shirt.
Daytime highs in the city often land between 60 and 70 degrees. Some years bring surprise warm spells that climb even higher.
Those balmy days might feel lovely for apple picking. For your carved pumpkin, though, they act like a slow oven.
Warmth speeds up nearly everything that mold and bacteria do. They grow faster, eat faster, and spread faster when the air heats up.
Experts say carved pumpkins do best between 50 and 60 degrees. Anything warmer pushes the decay process into high gear.
Direct sunlight makes things even worse on a south-facing stoop. The skin heats up, moisture escapes, and the face starts caving inward.
Your New York Garden Changes Every Week. Your Plan Should Too.
Gardening in New York changes quickly throughout the season. Every Friday you’ll receive a simple weekly plan showing exactly what to plant, prune, fertilize, harvest, and protect so you never miss the right timing.
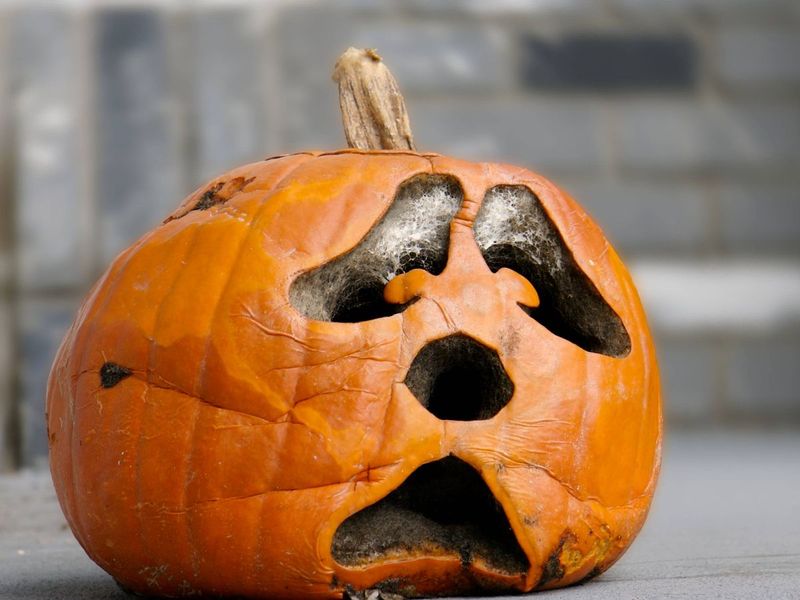
Have you noticed a jack-o’-lantern that looks like it is frowning? Heat often pulls the carved features downward as the walls soften.
Here is a handy trick for sunny homes. Move your pumpkin into the shade during the warmest part of the day.
A spot under an awning, porch roof, or tree works nicely. Even a few degrees cooler can slow the softening in a noticeable way.
Check the forecast each morning during Halloween week. If a heat wave is coming, bring your pumpkin indoors to a cool room until it passes.
3. Freezing Nights Turn Pumpkins To Mush
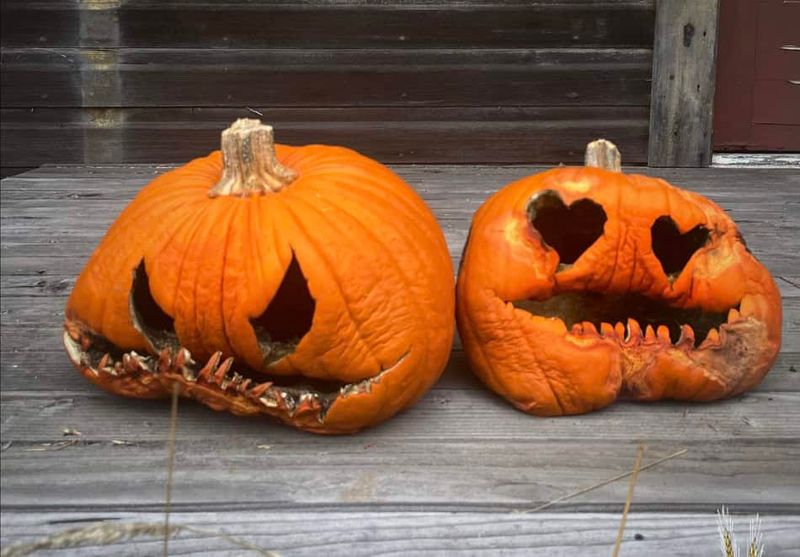
Ever squeezed a frozen grape after it thawed? It turns soft and squishy, and pumpkins react in a very similar way.
Pumpkins are about 90 percent water, which surprises many people. All that water sits inside tiny cells that hold the flesh firm.
When temperatures drop below freezing, the water inside those cells turns to ice. Ice takes up more space than liquid water, so the cells burst.
The damage stays hidden while everything is frozen solid. Once the sun warms things up, the broken tissue collapses into mush.
Upstate New York sees frosty nights well before Halloween in many years. Even near the city, a late October cold snap can sneak in.
A frozen and thawed pumpkin also becomes a buffet for mold. Broken cells leak juices that germs gobble up quickly.
Luckily, protecting your jack-o’-lantern from frost is pretty simple. Keep an eye on the nightly low in your weather app.
If the forecast dips near 32 degrees, bring your pumpkin inside. A garage, mudroom, or enclosed porch usually stays warm enough.
No room indoors? Drape an old blanket or towel over it overnight to trap a little ground warmth.
Remove the cover in the morning so moisture does not build up. A few minutes of effort each evening can keep that grin firm instead of floppy.
4. Carve No More Than A Few Days Before Halloween
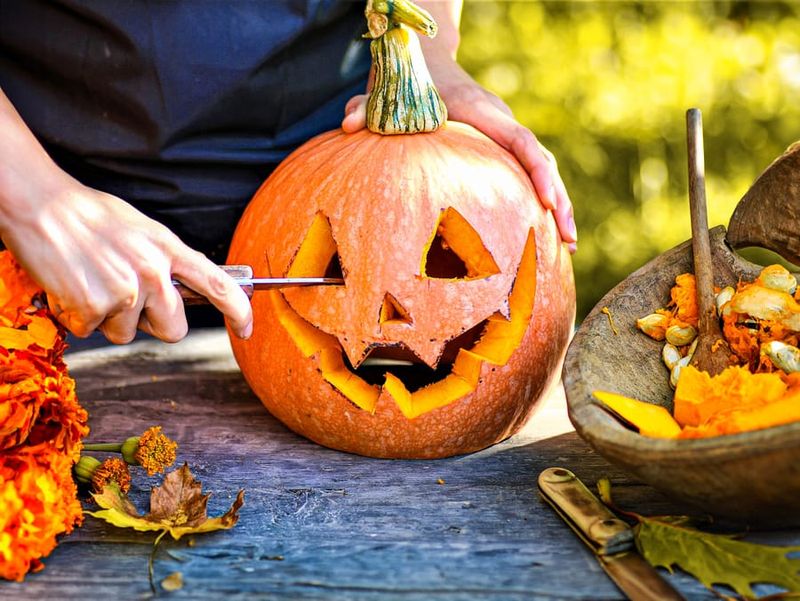
We all know the excitement of carving pumpkins on the first chilly weekend of October. Sadly, an early carving often means a saggy face by the big night.
Once the skin is cut, the countdown clock starts ticking. Most carved pumpkins begin softening within three to seven days.
Weather, pumpkin quality, and care all change that timeline a bit. Still, a week is a stretch for most jack-o’-lanterns.
The sweet spot is carving just two or three days before Halloween. Your design stays crisp, bright, and ready for trick-or-treaters.
Waiting is extra smart in New York, where fall weather swings wildly. A warm spell or hard frost can shorten a pumpkin’s life without warning.
So how do you enjoy pumpkins all month long? Decorate with whole, uncarved pumpkins until Halloween week arrives.
An uncut pumpkin can last two to three months in good conditions. Paint them, stack them, or surround them with mums for early festive cheer.
Then plan a carving night around October 28 or 29. Turn it into a fun family event with snacks and music.
Want to sketch ideas early? Draw designs on paper ahead of time so carving goes quickly.
You can even tape your pattern to the pumpkin and trace it with a pushpin. Planning ahead lets you wait without losing any of the fun.
5. Pick A Firm Pumpkin With A Green Stem
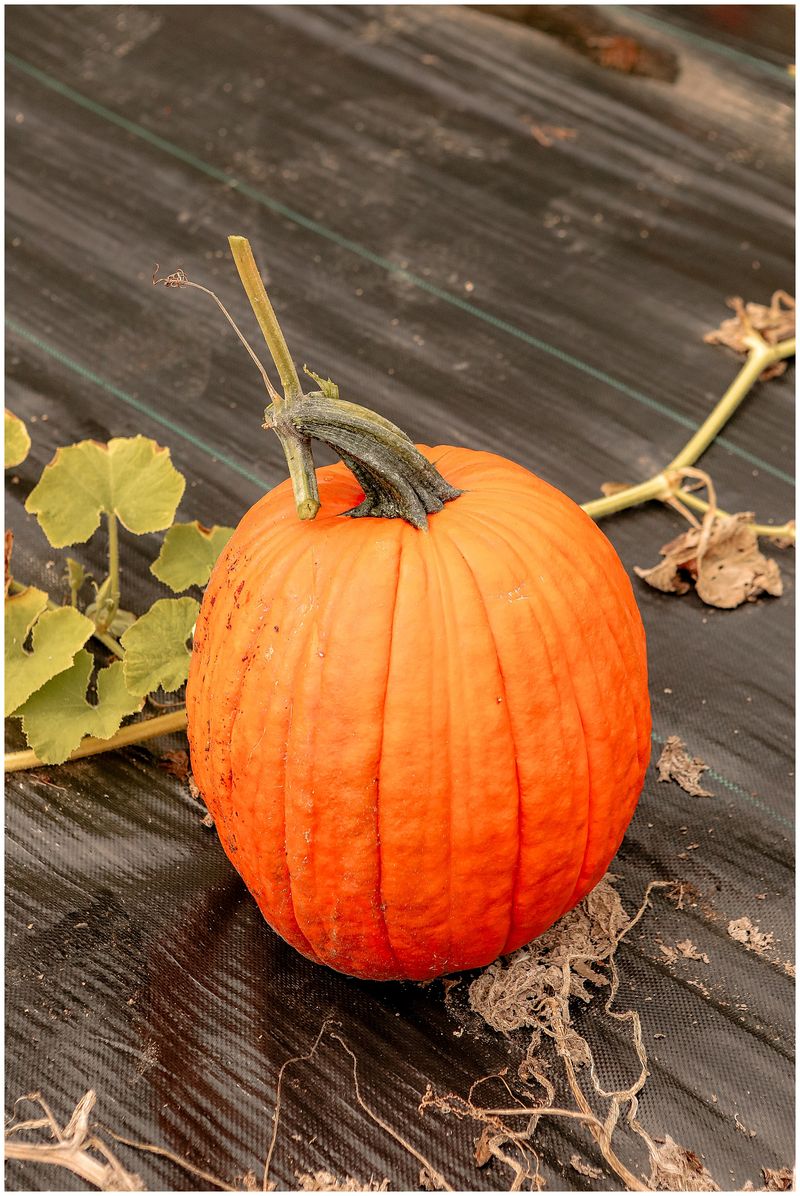
A great jack-o’-lantern starts long before the knife comes out. It begins at the pumpkin patch, grocery store, or farm stand.
Think of choosing a pumpkin like picking a ripe watermelon. You want one that feels healthy, solid, and fresh.
Start by checking the stem first. A sturdy, green stem usually means the pumpkin was picked recently.
Dry, brown, or shriveled stems often signal an older pumpkin. It may have been sitting around for weeks already.
Next, run your hands over the whole surface. Press gently on the skin, especially around the bottom.
Any soft spots, bruises, or cuts are warning signs. Rot often hides on the underside where you might not look.
Lift the pumpkin to feel its weight. A heavy one for its size tends to have thick, dense walls.
Thicker walls hold up better after carving. They also give you more room for fancy shading designs.
Tap on it lightly too. A hollow, firm sound is a good sign of ripeness.
New Yorkers are lucky to have farms in the Hudson Valley and Long Island nearby. Buying straight from a farm usually means fresher pumpkins than big store bins.
Bonus tip: pick a pumpkin with a flat bottom. It will sit steady on your stoop and resist tipping in gusty fall winds.
6. Never Carry It By The Stem
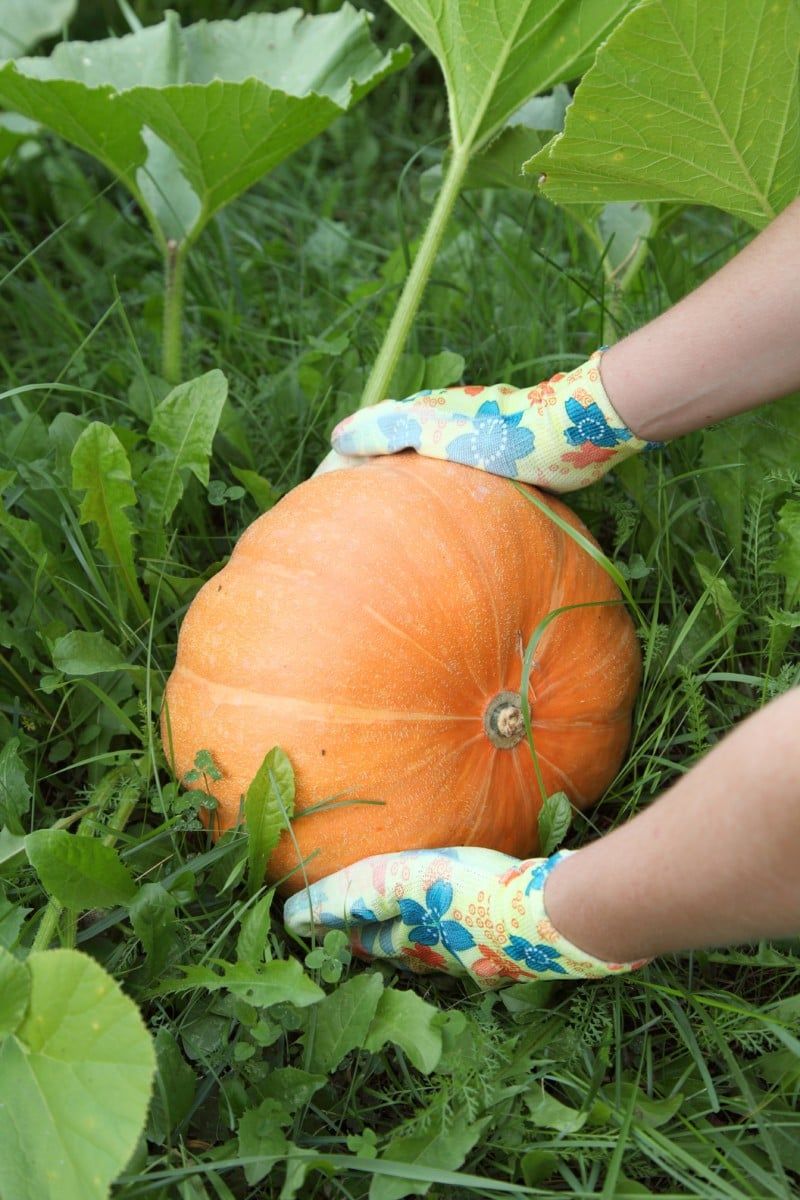
Grabbing a pumpkin by its stem looks so easy and natural. After all, it seems like nature’s built-in handle.
Unfortunately, that handle is not made to hold the pumpkin’s weight. A big pumpkin can weigh 15 pounds or more.
Stems snap off surprisingly easily under that strain. When it breaks, it leaves an open wound right on top.
That wound acts like an unlocked front door for germs. Bacteria and fungi slip inside and start breaking down the flesh.
Even a cracked stem that stays attached can cause trouble. Tiny splits let moisture and mold creep in over time.
The better way is to use both hands. Slide one under the bottom and steady the side with the other.
For larger pumpkins, hug them close to your chest. Bend your knees when lifting so your back stays happy too.
Hauling pumpkins home on the subway or a city bus? A sturdy tote bag or small wagon keeps them secure.
Many farm stands offer wheelbarrows for heavy picks. Using one saves your pumpkin and your arms.
Here is a fun bit of trivia for your next patch visit. Pumpkin stems are woody and tough, yet the connection point is weak.
So treat that stem like decoration, not a grip. Your jack-o’-lantern will thank you by staying fresh longer.
7. Scrape The Inside Walls Thoroughly
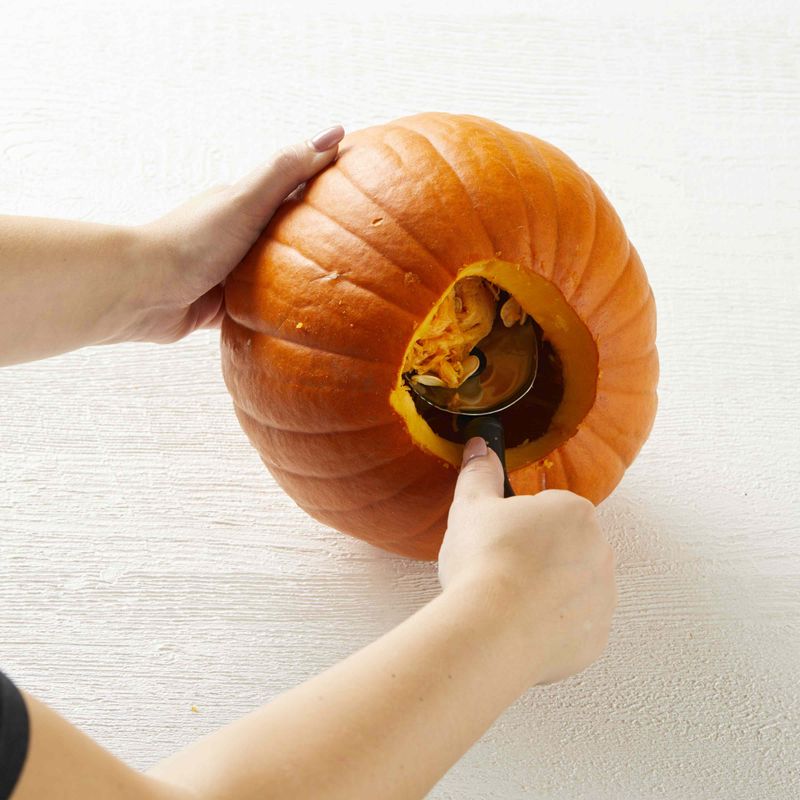
Scooping pumpkin guts is gooey, slimy, and kind of gross. It is also one of the most important steps for a long-lasting jack-o’-lantern.
Those stringy strands and seeds hold lots of moisture. Mold and bacteria love damp, sugary places to grow.
Leftover pulp gives germs a cozy home inside your pumpkin. They often start there and spread to the walls.
Grab a large metal spoon or an ice cream scoop. Scrape the walls until they look smooth and clean.
Aim to thin the front wall to about one inch thick. Thinner walls make carving easier and let more light shine through.
Do not forget the bottom and underside of the lid. Pulp tends to hide in those spots.
After scraping, wipe the inside with paper towels. Let the pumpkin air dry for an hour before carving.
A dry interior gives mold far fewer places to settle. Less surface moisture means slower decay.
Some people cut the opening in the bottom instead of the top. The pumpkin then sits over its light, and the stem stays untouched.
Save those seeds for a tasty treat. Rinse, season, and roast them at 350 degrees for about 20 minutes.
You get a crunchy snack and a cleaner pumpkin at the same time. Not bad for a messy job.
8. Battery Lights Beat Hot Candles
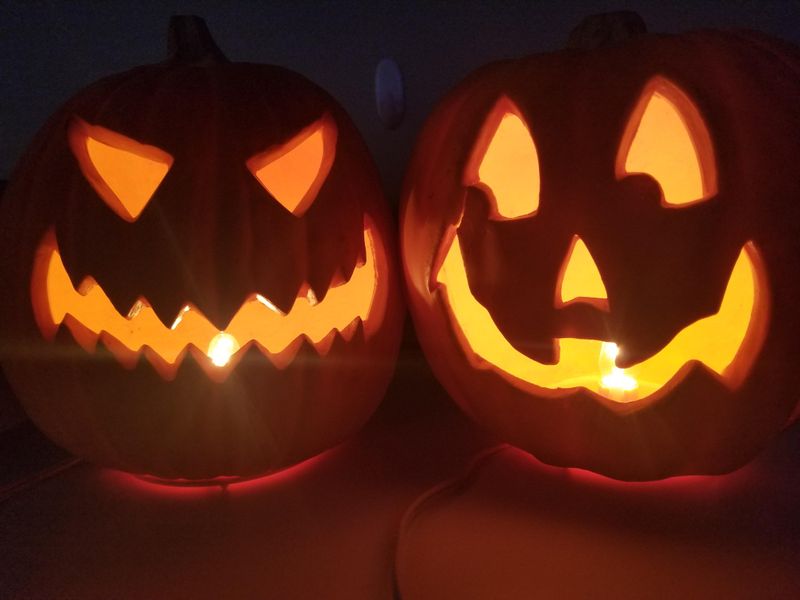
There is something magical about a flickering candle inside a pumpkin. The glow feels classic, cozy, and a little spooky.
Sadly, that tiny flame creates real heat in a closed space. It slowly cooks the pumpkin from the inside out.
Cooked flesh softens fast and attracts even more mold. You might notice dark, shriveled spots right above the flame.
Battery-powered LED lights solve this problem nicely. They give off almost no heat at all.
Many LED tea lights even flicker like real candles. Some come with remote controls and timers for easy use.
Glow sticks are another fun, budget-friendly choice. Kids love cracking them and picking colors.
Safety matters too, especially in busy places. Crowded stoops and apartment hallways are no place for open flames.
Costumes, dry leaves, and curious pets can catch fire quickly. LED lights remove that worry so you can relax.
Want a brighter glow? Place two or three LED lights inside a larger pumpkin.
A string of fairy lights also makes a stunning effect. Coil them inside for an even, warm shine.
Fun fact: early Irish jack-o’-lanterns were carved from turnips and lit with coal embers. Today’s battery lights are a much cooler upgrade, in more ways than one.
9. A Cool Spot Overnight Buys Extra Days
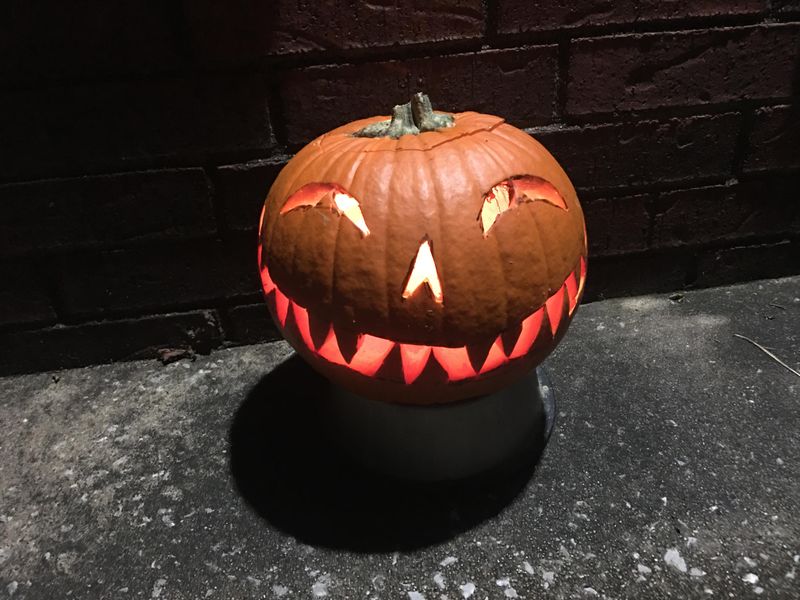
Here is a secret that pumpkin pros swear by. Giving your jack-o’-lantern a nightly rest indoors can stretch its life noticeably.
Overnight, outdoor temperatures in New York can swing from mild to freezing. Bringing your pumpkin in protects it from both extremes.
The ideal resting temperature sits between 50 and 60 degrees. A cool garage, basement, or mudroom often fits that range.
Steer clear of warm kitchens or rooms near heaters. Too much warmth speeds up softening instead of slowing it.
Good airflow matters as much as temperature does. Trapped moisture lets mold settle in and grow quickly.
Set the pumpkin on a wire rack or folded newspaper. Air can then move around the bottom where rot loves to start.
Some people even pop small carved pumpkins in the fridge overnight. Wrap them loosely in plastic to hold in a bit of moisture.
If your pumpkin looks shriveled in the morning, try a refreshing soak. Dunk it in cold water for one to eight hours to plump it back up.
Dry it well afterward so extra water does not invite mold. Then return it to its spot for another evening of glowing.
Squirrels also love snacking on outdoor pumpkins at night. Bringing yours inside keeps those furry neighbors from nibbling your masterpiece.