20 Zero Dollar Garden Hacks That Actually Work

Take a walk around any garden center and you’ll notice tools and supplies for every malady, from pest and weed control to planting.
But did you know that you can make most of those gadgets and gizmos in your own home?
And the best part is that these fixes are nearly free and they really work.
Let’s check them out!
1. Build Your Own Trellis

Trellises will transform your garden and keep your veggies healthy at the same time. Beans, cucumbers, and even squash benefit from trellising as it improves airflow and keeps them safe from fungal diseases.
And the best part is that you can assemble your own stakes from old branches, saplings you don’t want, and other materials you find on your property without spending a dollar.
Place them into a ladder, grid, or fan shape on the ground, tie them with a heavy-duty twine, and straighten them up.
You’ll reduce your garden waste, keep your plants happy, and save a good buck.
2. Companion Planting Hack

Companion planting has many benefits and reduces your work tremendously.
For instance, corn acts as a natural trellis for pole beans while pumpkins make an excellent ground cover and conserve moisture, resulting in less frequent watering.
And if you look at the companion planting chart for herbs, you’ll see there are many varieties that can make their growing buddies tastier!
Finally, marigolds are the ultimate companion as they go well with almost any plant, keep them safe from pests and nematodes, and attract pollinators.
3. Destroying Grass With Cardboard

If you have a large lawn, a part of which you want to turn into a garden, you don’t have to start with back-breaking digging.
Simply cover it with cardboard so that the grass cannot get sunlight. The next step is to layer a thick layer of compost, no less than 4-6 inches, and wait.
The cardboard will start breaking down due to moisture and the entire area will acquire a soil-like structure and fertility in about two months. That’s when you can start planting your flowers or veggies.
4. DIY Drip Irrigation System
Keeping your plants hydrated throughout the hot sultry summer days requires you to work around the clock.
And that’s where this hack can be of service.
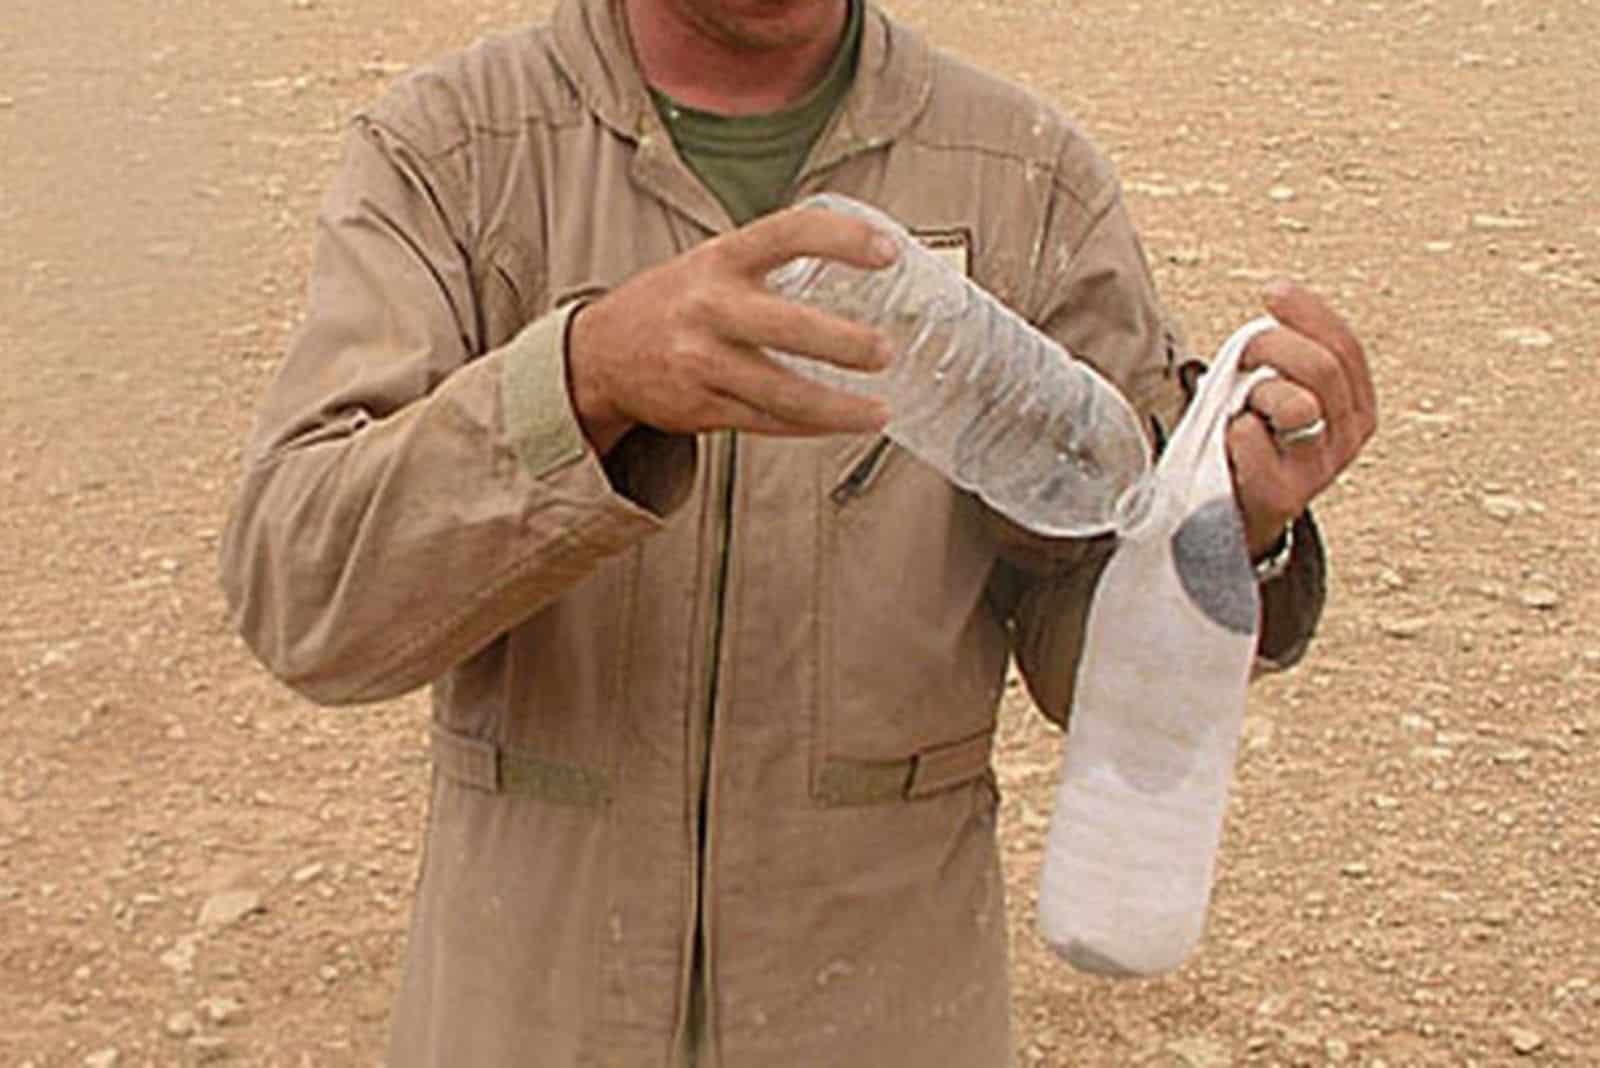
You’ll need a plastic bottle and a single sock. Puncture holes all over the bottle, place the sock in it, and put the bottle in the ground. The sock will absorb moisture and release it over time, keeping your veggies watered.
This method mimics a drip irrigation system and delivers moisture directly to the plant roots. And once the bottle empties, unscrew the top and fill it right back up.
5. DIY Seed Tape
Seed tapes are a great way to quickly put down seeds at a perfect spacing. However, they’re not that cost-effective as they’re more expensive than regular seed.
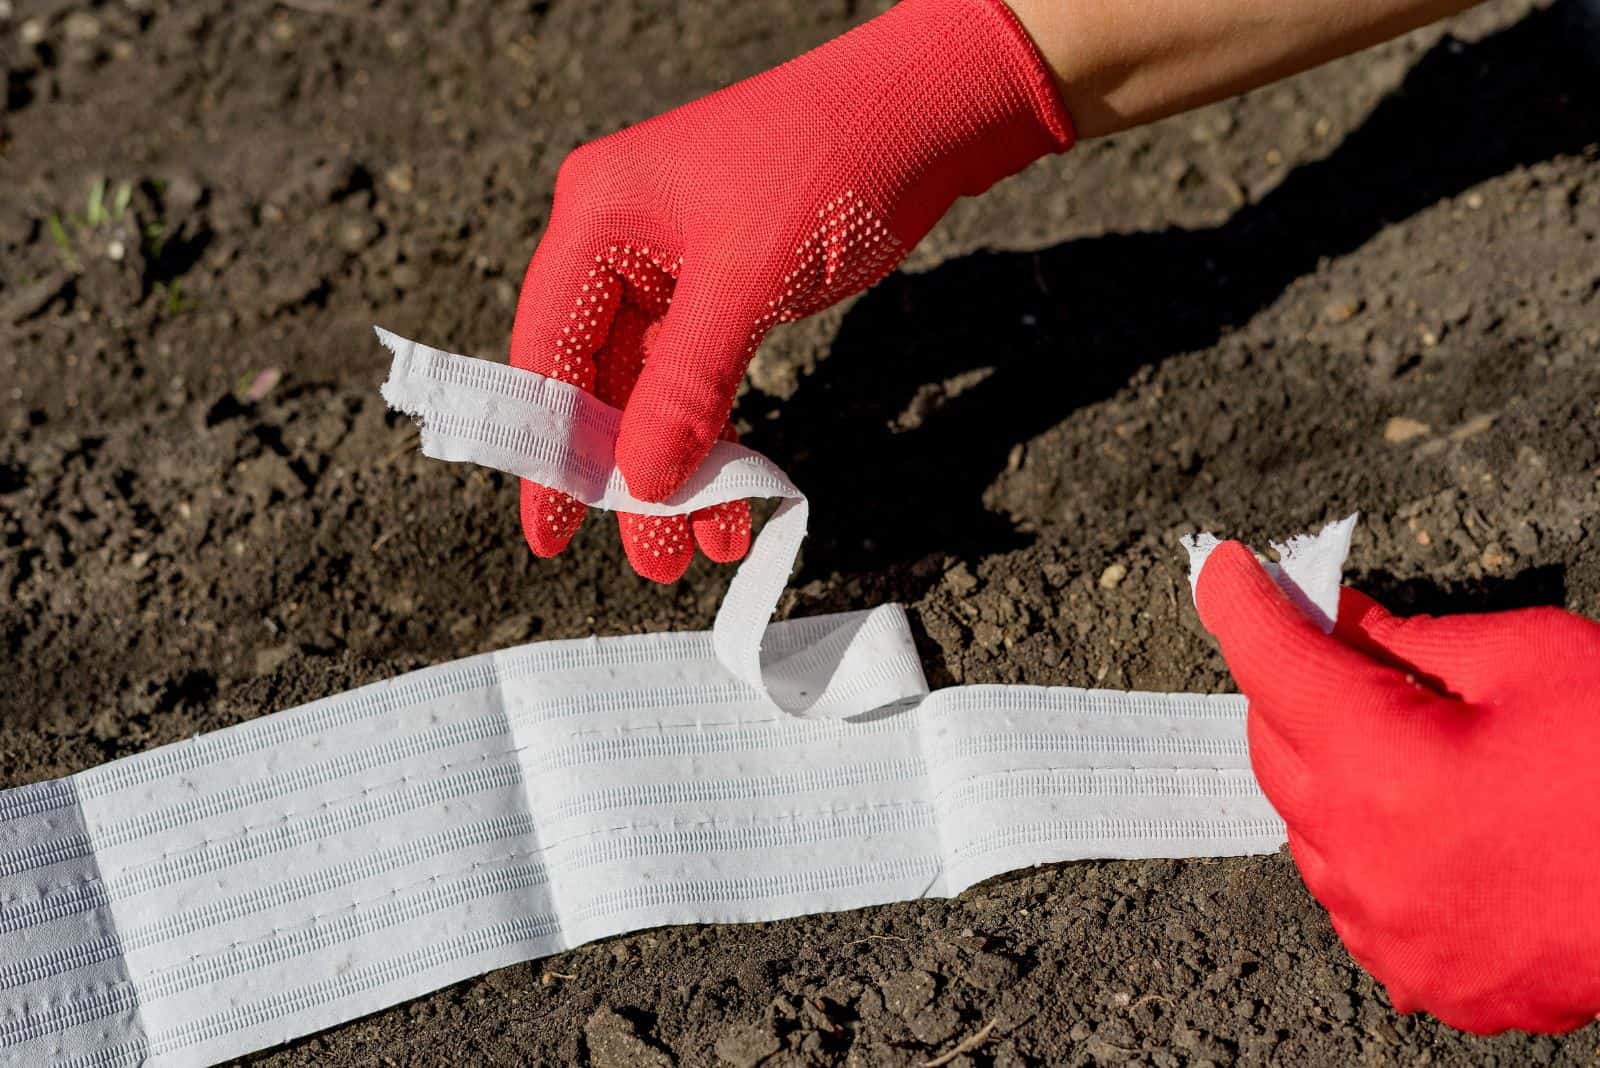
Luckily, you can make your own biodegradable seed tapes by rolling some toilet paper and spraying it with water.
Space the desired seeds in a line based on their requirements, fold the toilet paper over them, and slightly moisten it so that you can stick it together. Fold it again from the opposite side, spray it with water to adhere it and your job is done.
Pro tip: If you’re not ready to plant the seeds yet, you can roll the DIY tape in a toilet paper tube and store it until sowing time.
6. Garden In A Bag
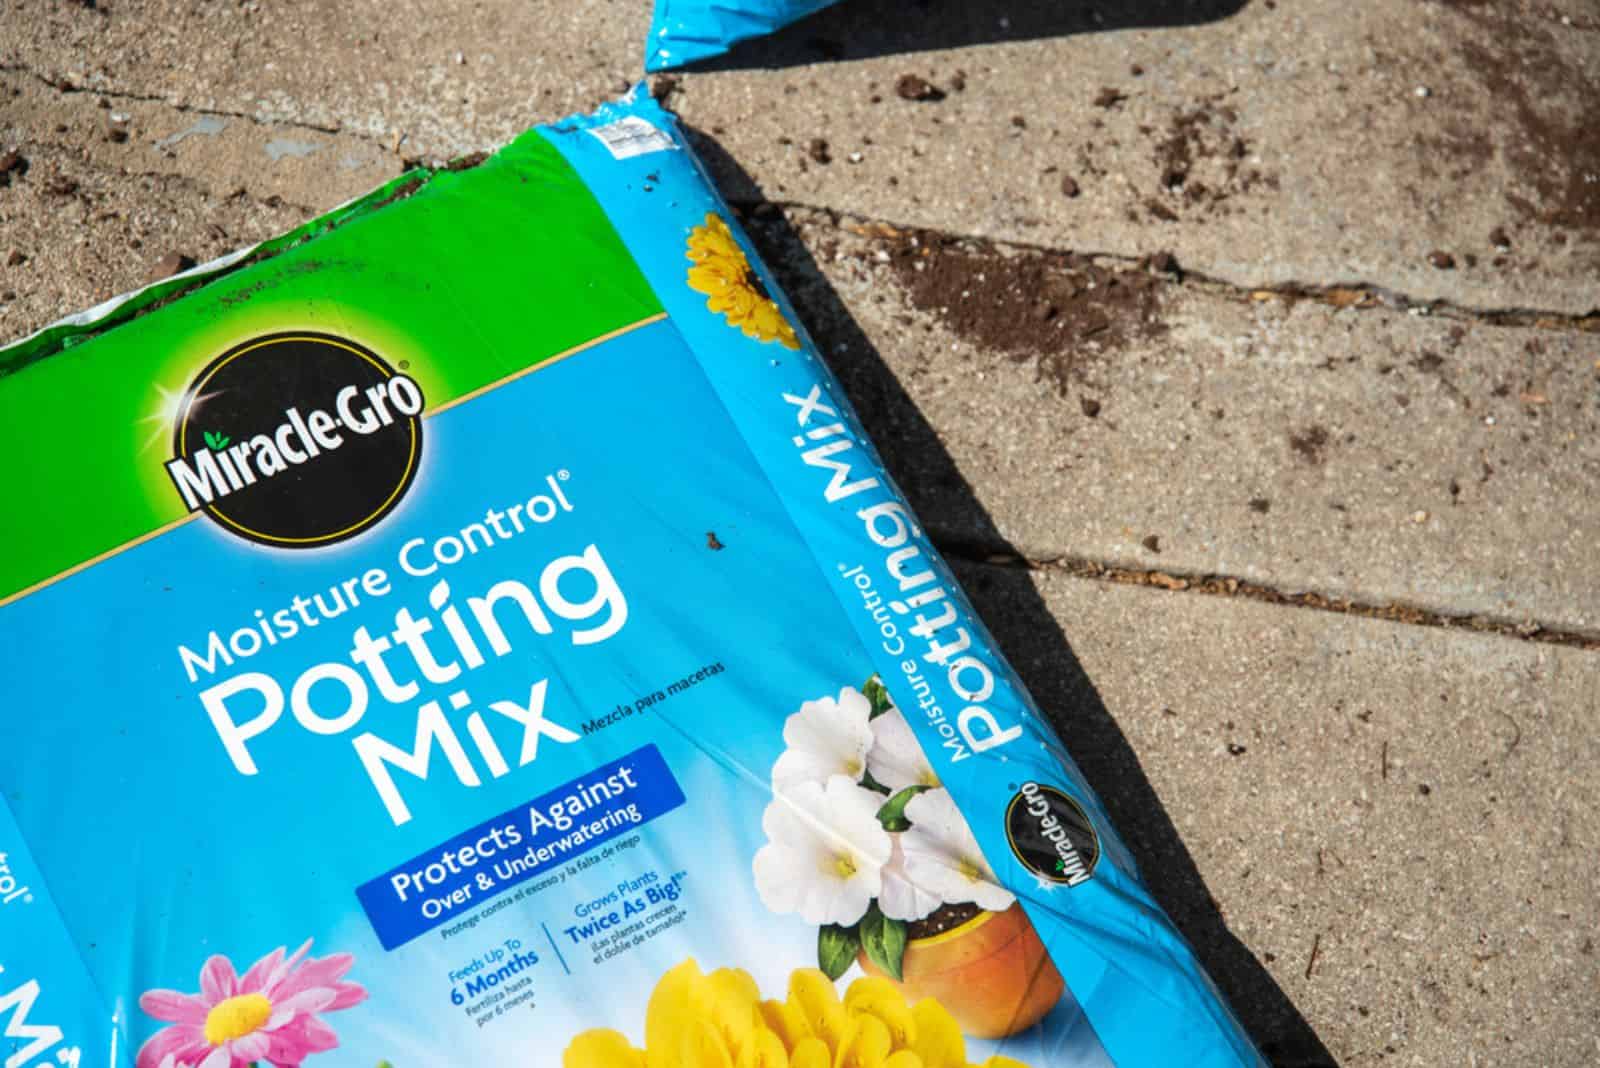
No, you don’t have to get a grow bag for this method. Simply plant your shallow-rooted veggies in a bag of soil you just bought.
This method will eliminate the need for tilling, weeding, and soil amending, saving you hours of tedious garden work.
Note: Plants with deep root systems won’t grow well in this setting, so plant them in large planters or raised garden beds instead.
7. Getting Rid Of Slugs

It’s not a great sight seeing slugs crawling all over your plants and wreaking havoc among their leaves.
They’ll feed on your lettuce, cabbage, and even peppers, leaving your table poor and plates empty.
Luckily, you can get rid of them using ingredients in your kitchen. Spreading crushed eggshells around your plants will prevent these pests from reaching their leaves.
And filling an empty can with beer will attract these pests because they love the smell of yeast. (1)
Once you collect them, you can feed them to the chickens or melt them in a vinegar-water solution.
8. Growing Plants In Straw Bales
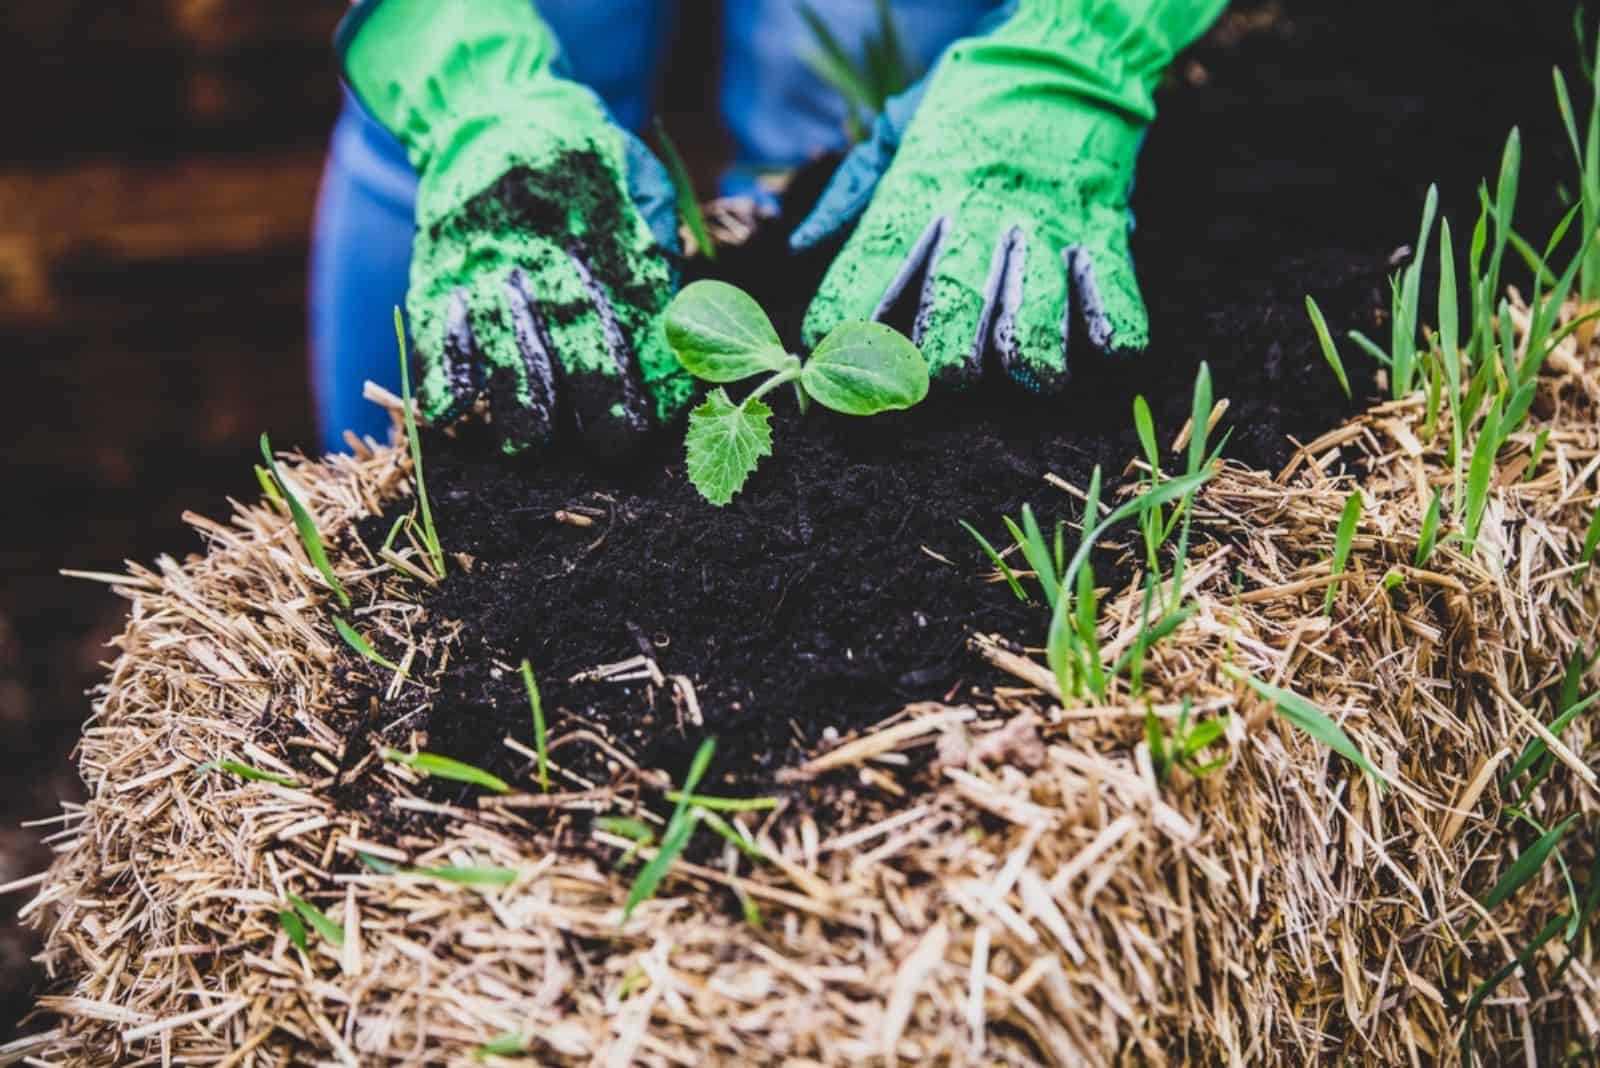
If your soil is too heavy, infertile, sandy, or inappropriate for planting in any other sense, you don’t have to spend hundreds of dollars on amending it.
A straw bale, costing between $2 and $8, is an excellent alternative that decomposes over time and enriches the plants. Fill it with compost and topsoil and it will ensure all the nutrients your plants need.
Straw bales usually don’t contain weeds, but you have to get straw, not hay. They require less watering and are ideal for growing all sorts of plants, from herbs to peppers.
9. Make A DIY Insecticidal Soap

Insecticidal soap is a great way to treat pest infestations without introducing toxic chemicals to your backyard.
Simply dilute a tablespoon of castile soap and a few drops of your favorite essential oil in 4 cups of water.
Put it in a spray bottle and mist the pesky pests away.
Note: Don’t use dish soap as it may contain substances that hurt your plants and be inefficient when it comes to pest control.
10. Propagate The Cuttings
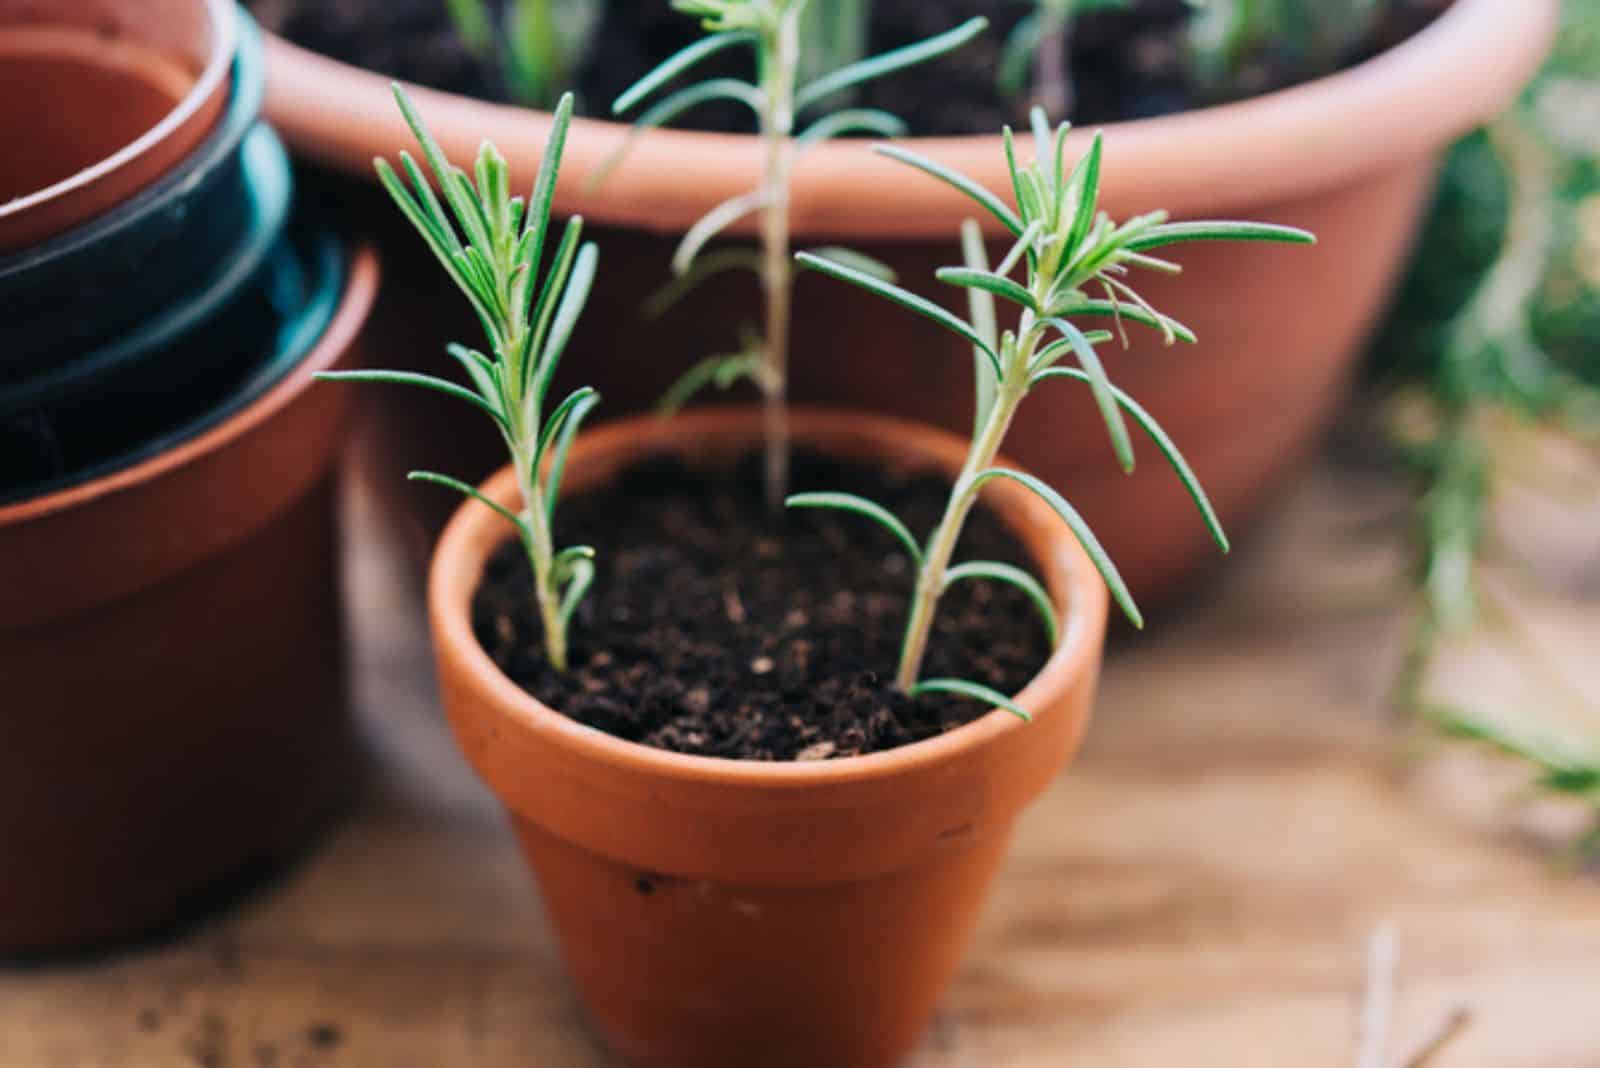
Plants and herbs you can propagate from cuttings are the best way to ensure a lively garden without spending a lot of money.
Just take their cuttings, place them in water or soil, and wait for their roots to appear. Lavender, rosemary, lilacs, boxwoods, hydrangeas, and roses are just some of the varieties you can propagate this way.
Take a 6-8 inch long cutting and remove the bottom foliage so that it doesn’t rot and contaminate the water or soil.
It will take a couple of weeks for your green buddy to grow roots and it will establish by next season.
11. Protecting Plants With Plastic Forks

Did you know that you can use plastic forks to keep animals away? Simply stick them into the ground where deer, rabbits, and squirrels like to visit.
The sharp edges will prevent these creatures from munching on your plants and keep them safe and healthy.
12. Recycled Containers For Seed Starting

The cheapest way to start a garden is to buy a couple of seed packets and go from there. But it won’t last long if you wait until mid-to-late spring to plant the seeds outside.
That’s why sowing the seeds indoors in late winter or early spring is a great way to jumpstart the season. And one way to save money is to recycle old things and turn them into nursery pots.
Empty milk jugs, plastic bottles, cups, and even eggshells are all great options. Cut them in half, drill some drainage holes in the bottom, and fill them with your seed starting mix of choice.
Moisten the growing medium, plant the seeds, and cover them with plastic bags or clingfoil for easy germination. Once they sprout, grow 2nd and 3rd sets of true leaves, and the weather gets warm enough, you can transplant them outdoors.
13. Removing Weeds And Unwanted Plants

Did you know that you can remove unwanted plants with pliers by grabbing them at the base and pulling them out?
You just have to wait until it rains or water the soil to soften it and make the method more effective.
You can remove unwanted saplings and deep-rooted weeds this way and keep your garden healthy.
14. Reusing Water
Did you know that you can irrigate your plants with pasta water? Of course, you shouldn’t add salt to it, but that’s an amendment I’m willing to make.
You can also upcycle water you use to boil eggs, rice, or wash veggies, which is especially important for arid areas with frequent restrictions.
Just let it cool down until it’s lukewarm before using it.
15. Rotate Your Plants Easily
This hack will help you quickly replace plantings without using a single heavy tool.
Place the plastic pots in garden beds and plant your flowers and veggies into them, not directly into the ground.
Once they’re done for the season, you can replace them with other plants by removing the old planter and placing in a new one.
Just make sure to use containers with drainage holes so that your green buddies can flourish.
Give your beds filled with perennials and these pot-grown annuals a finished look by mulching them with gravel or wood chips.
16. Seed Spacing Hack
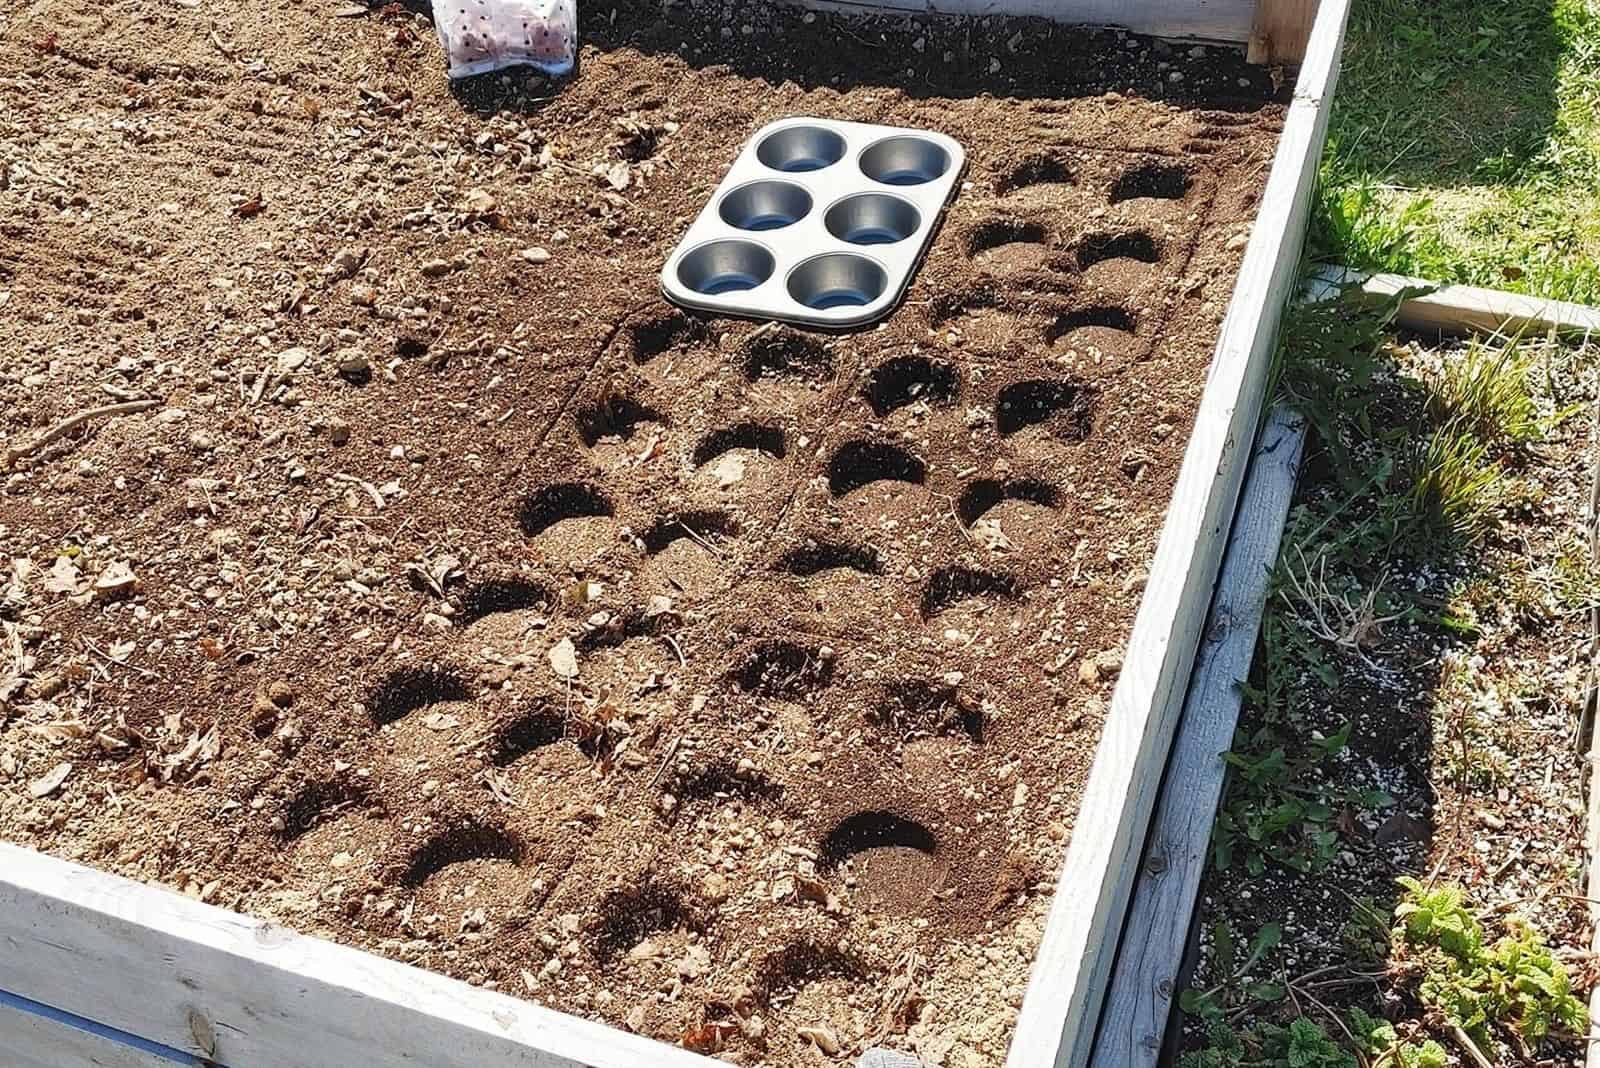
Spacing your plants is crucial if you want them to have enough airflow and develop healthily.
It may be tiresome, but not with this muffin tin trick!
All you have to do is push it into the soil and it will leave depressions to plant the seeds. Cover them with soil, irrigate them, and you’re done sowing!
17. Seedling Protection Tip
Not checking the forecast at least a week before planting, and also on the day itself, is one of the common planting mistakes beginner gardeners make.
Even if the last frost date is long gone, a sudden cold spell could hurt the delicate seedlings.
Luckily, you can protect them by covering them with upside-down terracotta pots until the danger is over. These planters serve as great insulators and will increase the chances of your young plants surviving frost and harsh winds.
Just remember to take the pots away once the weather calms down.
18. Unique Pest Control For Fruits

Worms in my figs and hornets munching on my apples are some of the worst (and scariest) things I can see.
I simply put plastic bags or organza mesh around them to keep them safe from these nuisances.
Seal the bag closely around the branch and let your fruit be. As it grows and turns downwards, the bag will follow, and you’ll end up with worm and hornet-free fruits.
19. Use Compostable Pots
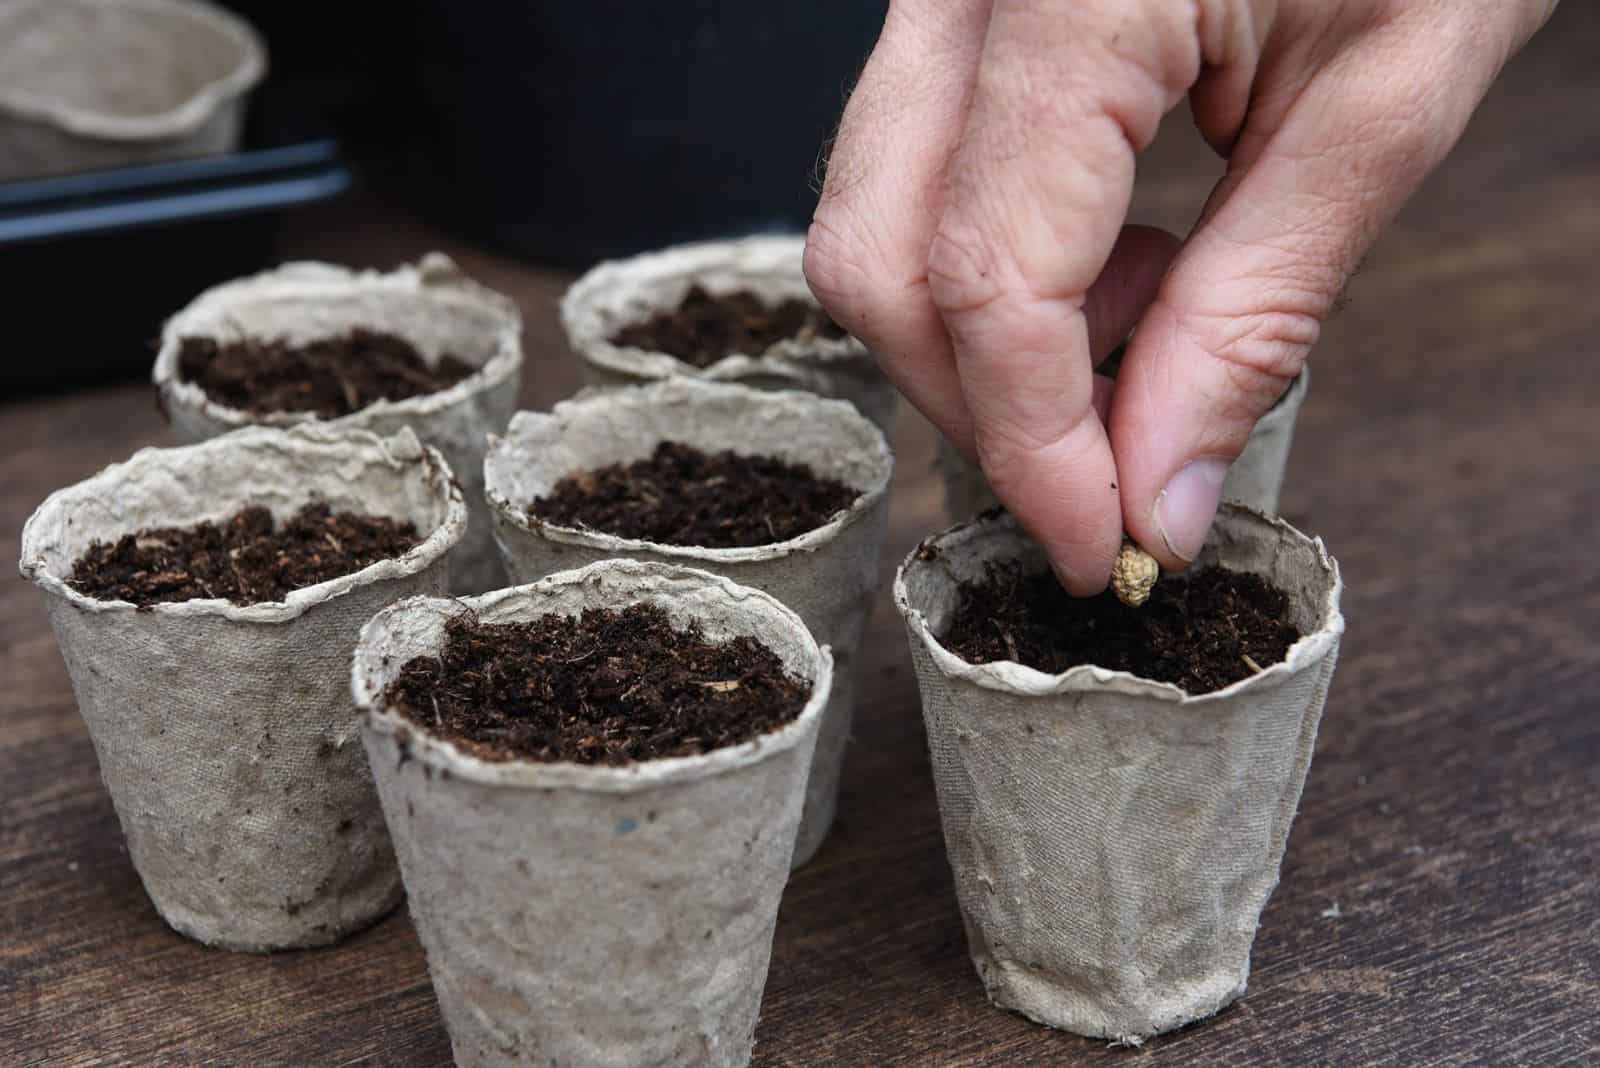
You can reduce your garden waste by using planters that will degrade over time.
For instance, you can upcycle toilet paper rolls and use them as nursery pots for growing plants from seeds. Make some cuts on the side at the bottom of the roll to create a bottom and fill it with a growing medium.
Plant the seeds and spray them with water to prevent them from drying out. Once the seedlings develop some true leaves, you can plant them outside.
Simply pop the bottom open so that the roots can spread and bury the entire improvised planter in the ground.
You can do the same with eggshells!
20. Using Corks For Easier Sowing
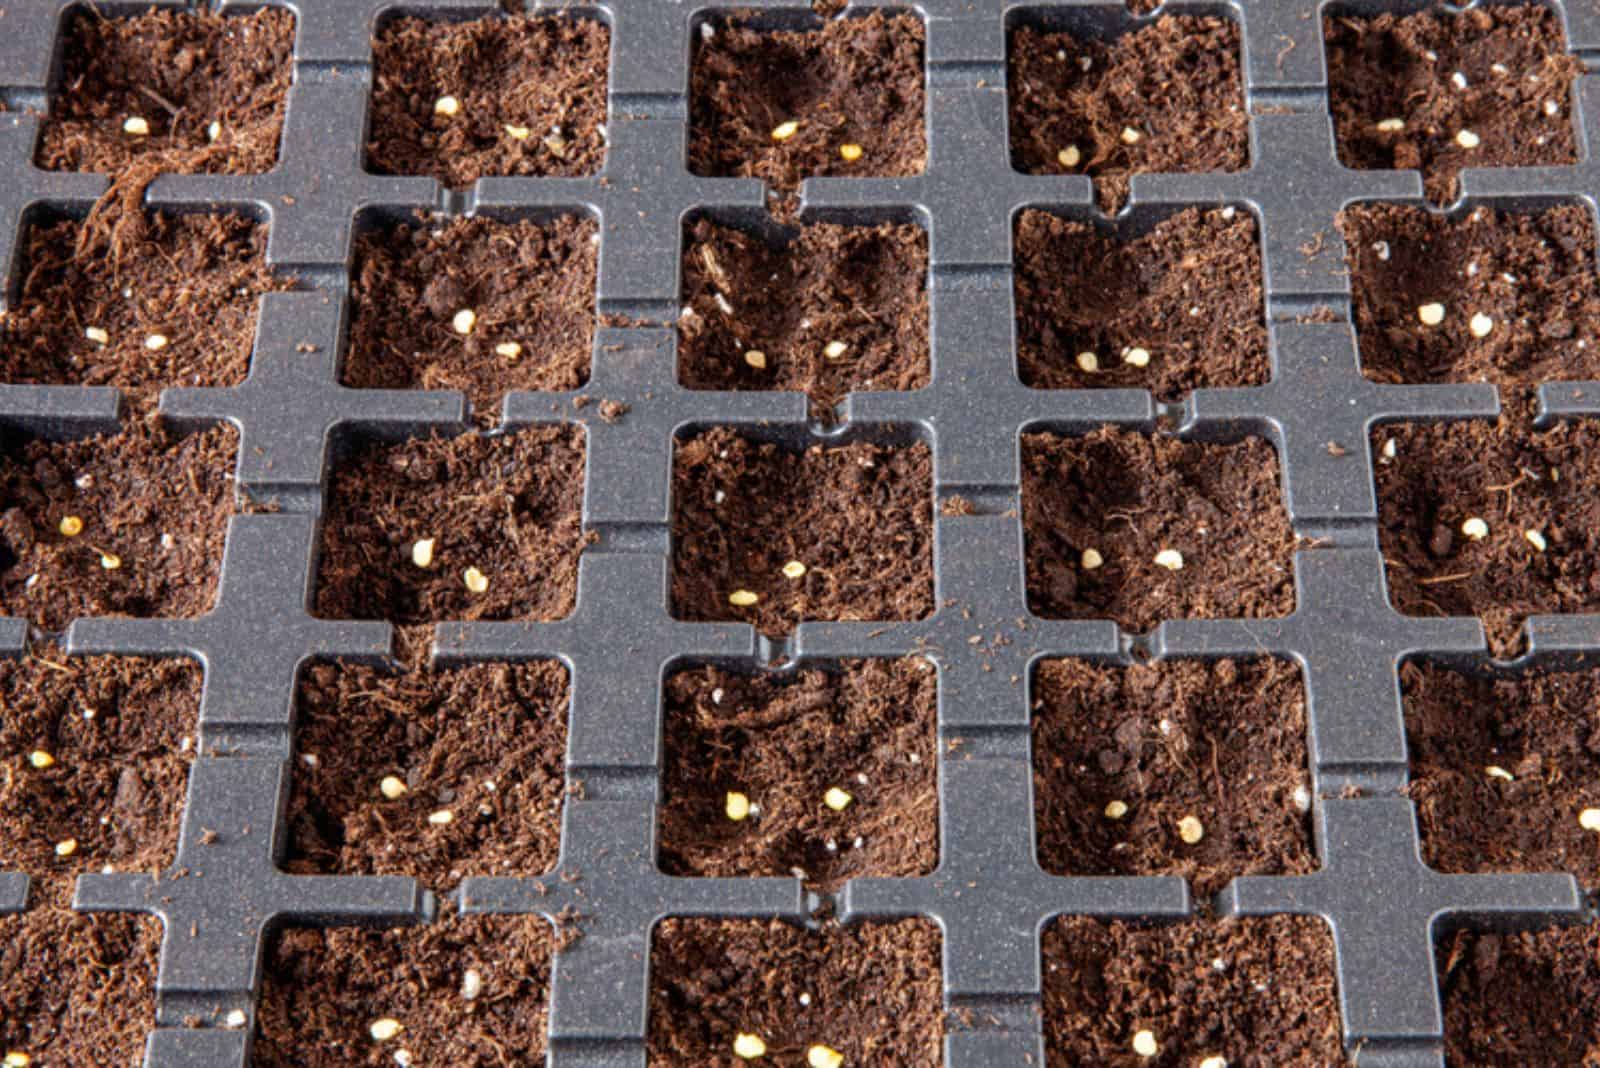
Making seed holes with your fingers may be time-consuming sometimes, so I have a trick to make it easier.
Use a garden rake and place wine corks onto the prongs. Don’t press them all the way through since they determine how deep the holes will be.
Once you prepare this, push the rake into the ground and pull it back up. You’ll end up with 10 or more seed holes instead of one!
References:1. Long, B. (1996). Coping with slugs and snails. Journal of Pesticide Reform.

