10 Habits Of Highly Successful Georgia Gardeners
Georgia’s famous red clay gets its rusty color from iron oxides, much like an old nail left in the rain. I love how that soil stains every pair of gloves I own, no matter how often I wash them.
Clay holds nutrients well, yet it can turn rock hard after a summer drought or soggy after a storm. Down near the coast, many gardeners face the opposite puzzle, with sandy soil that drains water almost instantly.
I have to admit my first tomato patch struggled, and I blamed the weather for weeks before learning better.
The best gardeners I know rarely rely on luck, because their small daily choices stack up over time.
You might notice that the greenest yards on your street belong to people who seem relaxed about it. Their gardens might look effortless, but the habits behind that success could surprise you.
1. Collecting Soil Samples Before Planting Anything
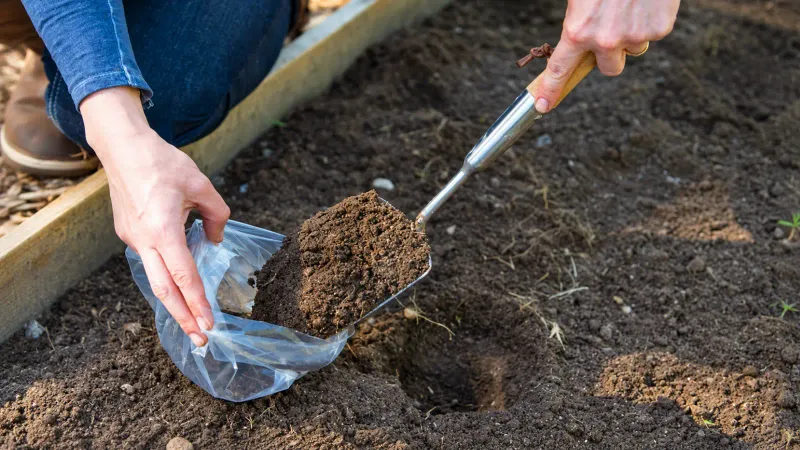
A small bag of dirt mailed to Athens can reveal more about your garden than years of guessing ever could.
The UGA Extension lab checks pH along with nutrients like phosphorus, potassium, calcium, magnesium, and zinc.
Personally, I think pH is the sneakiest number on that report, because it controls how well roots absorb food.
Many native soils here lean acidic, so plants that prefer neutral ground can look hungry despite heavy fertilizing.
When a test calls for lime, extension experts often suggest dolomitic lime applied three to six months before planting. That early timing gives the lime a chance to react with the soil and nudge the pH upward.
Gathering a good sample is simple, and you only need a clean trowel plus a plastic bucket. Dig small slices from several spots across the bed, then mix them together before filling the sample bag.
Your county extension office can mail the sample for a modest fee and help you read the results. I love how the report spells out exact fertilizer amounts, which saves money on products your soil did not need.
One more tip from hard experience is to leave wet clay alone until it dries out a bit. Working soggy clay squeezes out air pockets and leaves you with lumps that bake into bricks by July.
2. Turning Kitchen Scraps Into Dark Crumbly Compost
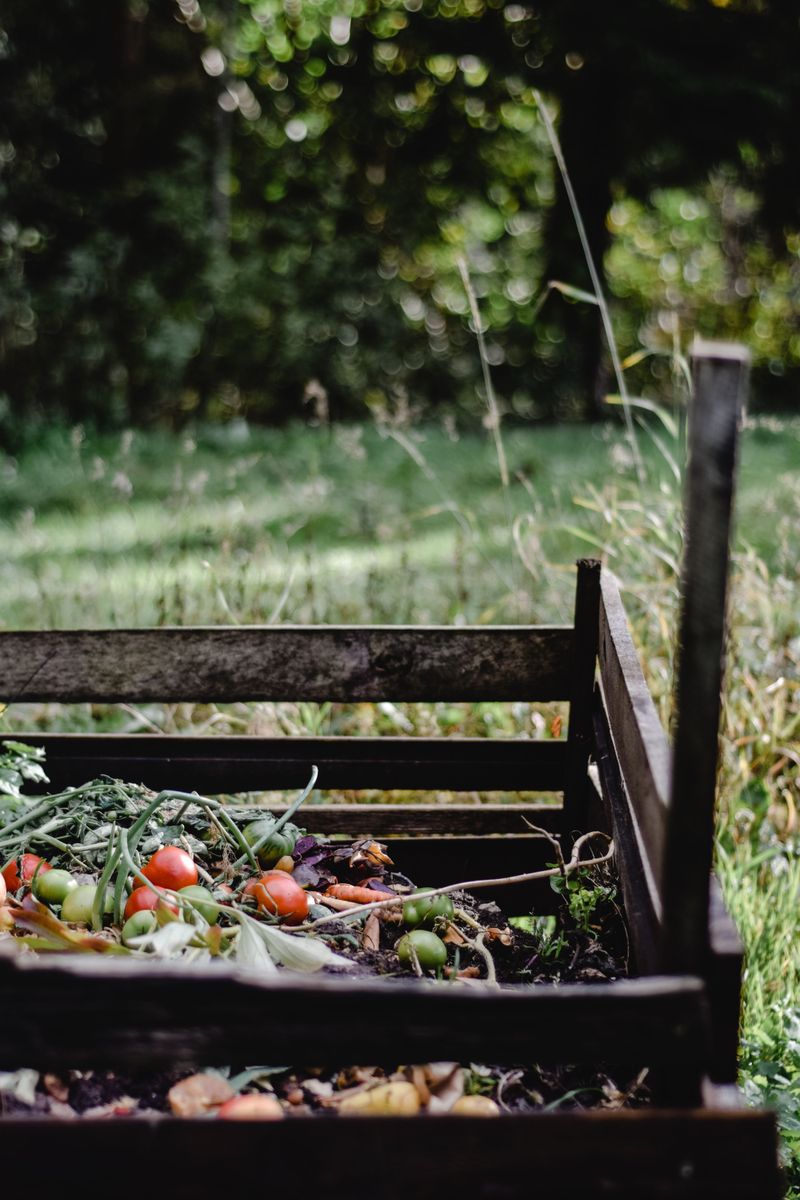
Banana peels and coffee grounds feel like trash on Monday, yet a few months later they smell like a forest floor.
I still grin every time I scoop that dark, crumbly compost out of my bin.
Good compost depends on balancing greens and browns, which sounds fancy but is really easy to remember. Greens are nitrogen-rich scraps like vegetable peels and fresh grass clippings from your weekly mowing.
Browns supply carbon, and dry leaves are the easiest source for most of us each autumn. Shredded paper and wood chips work well too, especially when your leaf pile runs low by midsummer.
Keep the pile about as damp as a wrung-out sponge, since soggy heaps turn smelly and slow. Turning it with a pitchfork every week or two adds oxygen and speeds up the whole process nicely.
Some items belong in the trash instead, including meat, dairy, greasy foods, and pet waste.
Diseased plants and seedy weeds should stay out as well, because a backyard pile may not heat enough to stop them.
Finished compost improves sandy soil and heavy clay alike, helping each hold moisture and nutrients more evenly. I like to spread an inch or two over my beds before planting, then gently work it in.
Your trash can will feel lighter too, which is a nice bonus on pickup day.
3. Spreading Pine Straw Mulch Around Thirsty Shrubs
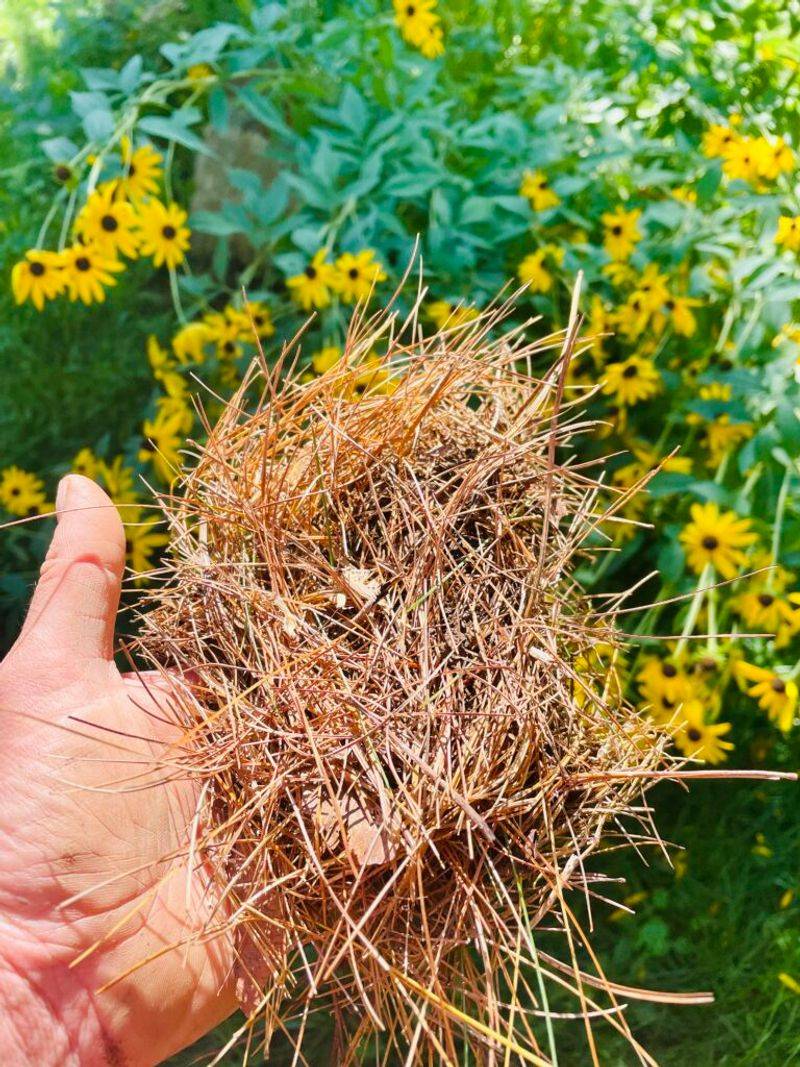
Walk through almost any Southern neighborhood in spring and you will spot golden pine straw tucked around shrubs.
That tidy look hides a hardworking secret, since mulch can cut soil evaporation by roughly 25 to 70 percent.
On a scorching August afternoon, that moisture savings can mean the difference between perky plants and limp ones.
Mulch also acts like a cozy blanket, keeping roots cooler in summer and a bit warmer in winter.
Weeds hate it too, because a good layer blocks the sunlight their seeds need to sprout. I would much rather spread mulch once than spend every Saturday pulling crabgrass on my hands and knees.
Pine straw and pine bark are favorite choices across Georgia, and aged wood chips work nicely as well. Each one breaks down slowly and feeds the soil, gradually improving structure in both clay and sandy beds.
Most experts suggest a layer two to four inches deep, depending on the material you choose. Keep mulch a few inches away from tree trunks and stems, since piling it high invites rot and insects.
Late winter through early spring is a smart window for refreshing mulch before new growth takes off.
A lighter top-up in October or November helps protect roots as cooler weather settles across the yard.
4. Watering Deeply With Soaker Hoses And Drip Lines
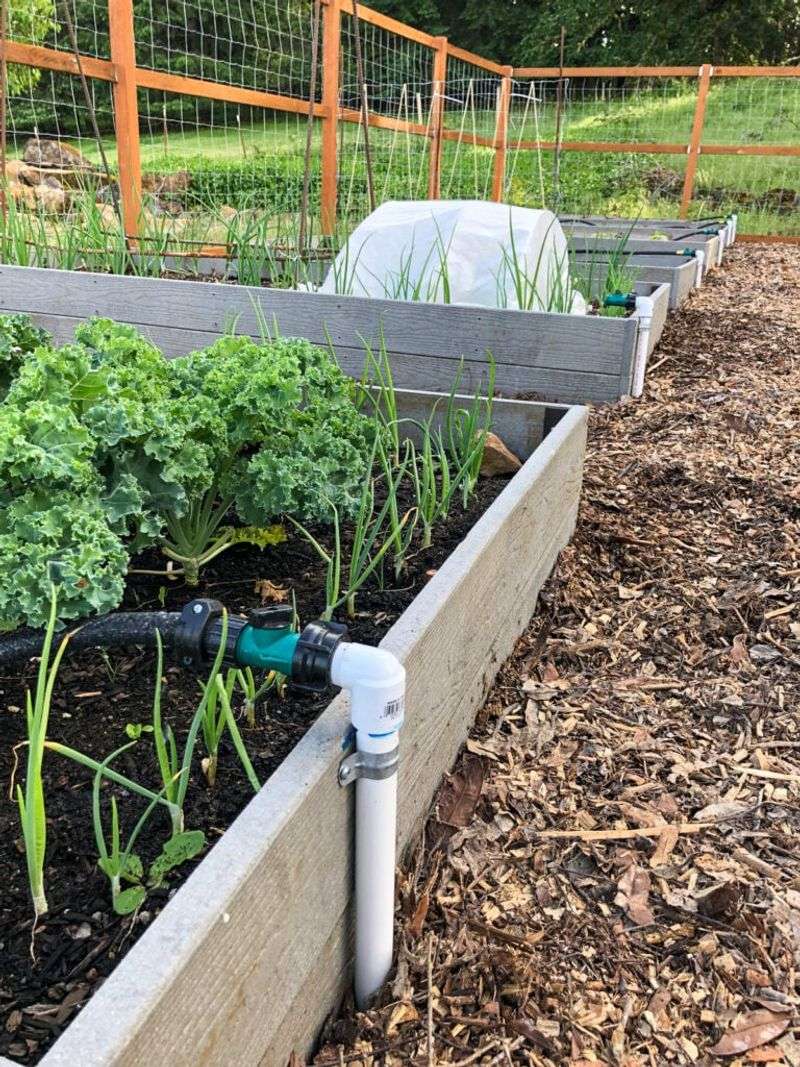
A quick evening sprinkle feels generous, but shallow watering mostly teaches roots to stay lazy near the surface.
Deep, less frequent soakings coax those roots downward, where the soil stays cooler and moist much longer.
Most lawns here need about one to two inches of water weekly when rain is scarce.
Shrubs and many other landscape plants usually get by on roughly one inch each week during the growing season.
A tuna can set on the lawn makes a handy rain gauge, and I still use one today. Once it fills about an inch, you know your sprinkler has delivered a solid weekly drink.
Timing matters as much as amount, so try watering in the early morning before about ten o’clock. Less water evaporates in the cool air, and leaves dry by midday, which helps limit fungal problems.
Drip irrigation and soaker hoses send water straight to the roots instead of spraying sidewalks and driveways. I snake a soaker hose through my vegetable rows and cover it with mulch for a neat look.
Watch your plants closely rather than following a rigid calendar, because they will tell you when they are thirsty. Leaves that stay droopy into evening or turn a dull gray-green color often signal real stress.
Water restrictions sometimes apply during droughts, so check with your local water provider before planning a big project.
5. Choosing Native Piedmont Azaleas And Carolina Jessamine
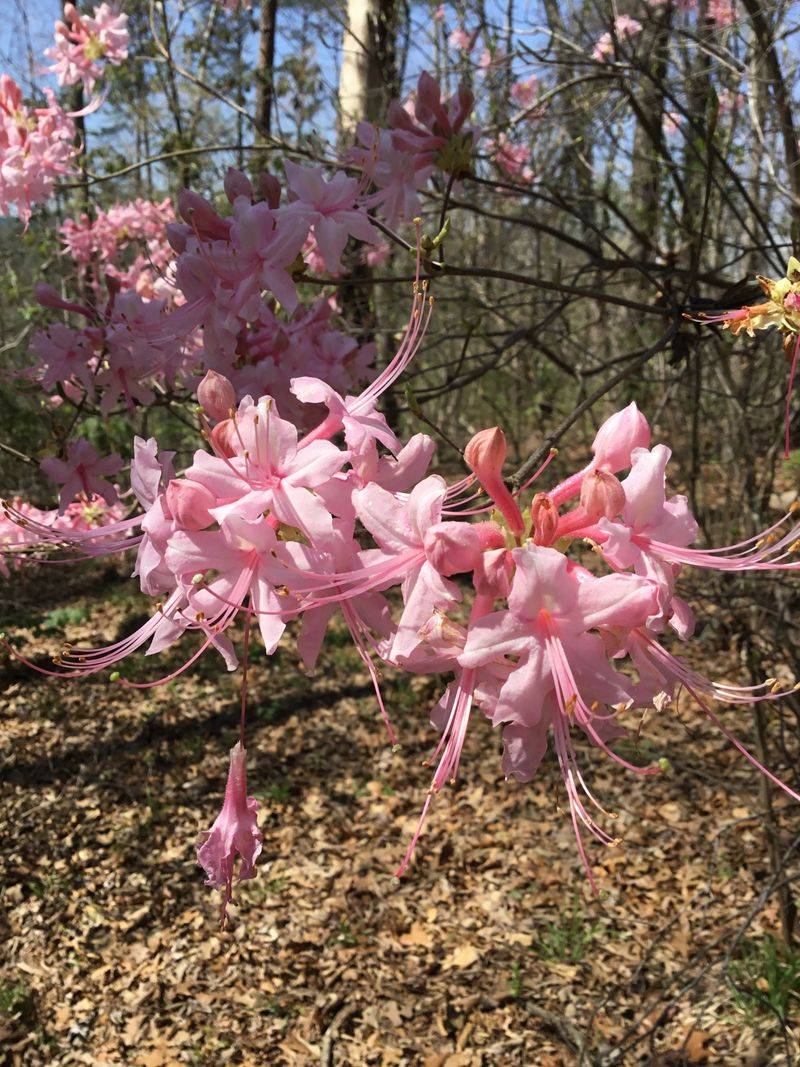
Piedmont azaleas bloom in soft pink clouds each spring, and their sweet fragrance can stop you mid-stride on a woodland path.
They evolved right here, so they handle local heat and rain with impressive ease.
Carolina jessamine drapes fences with bright yellow trumpets in late winter and early spring, often before most plants wake up.
Be aware that all parts of jessamine are toxic if eaten, so plant it thoughtfully around kids and pets.
Native plants usually need less water and fussing once established, because they match local soils and seasons. Many also resist regional pests better than imported plants, which keeps your spray bottle on the shelf more often.
Before shopping, look up your USDA hardiness zone, which ranges from about zone 6 in the mountains to 9 near the coast. A shrub that thrives in Savannah might sulk through a chilly winter up near Blairsville.
Wildlife loves these choices too, and I enjoy watching butterflies work my native beds each summer.
Golden Alexanders feed black swallowtail caterpillars, while white wood asters offer late nectar for hungry pollinators in fall.
Some gardeners focus on keystone species, which support a large share of local moths and butterflies. Native oaks are a famous example, hosting hundreds of caterpillar species that songbirds feed to their hungry chicks.
Bottlebrush buckeye is another favorite of mine, with fluffy white flower spikes that light up shady corners in early summer. Swapping just a few exotic shrubs for natives can make your yard noticeably livelier.
6. Scouting Tomato Leaves For Hornworms And Other Pests
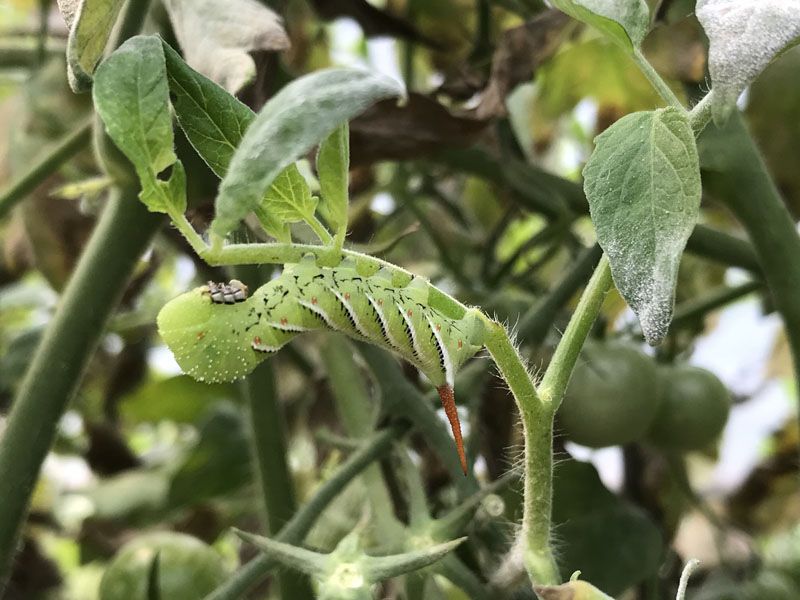
A single tomato hornworm can strip a surprising amount of foliage overnight, yet its green body blends in almost perfectly.
I once found three on one plant only after spotting their dark droppings on the leaves below.
Humid Southern summers give insects and fungal diseases plenty of chances to multiply quickly. Integrated Pest Management, often called IPM, helps you respond with the gentlest effective tool before reaching for anything stronger.
Scouting is the heart of IPM, so walk your garden every few days and flip a few leaves. Catching aphids or leaf spots early makes them far easier to manage than a full-blown infestation.
Correct identification matters because yellow leaves might come from bugs, disease, overwatering, or a nutrient shortage.
Your county extension agent can help identify mystery problems, often from a clear photo or a bagged sample.
Cultural fixes come next, like spacing plants for airflow and clearing away infected leaves promptly.
Some gardeners plant marigolds or basil near tomatoes, though results vary and research support is mixed.
Ladybugs and parasitic wasps are wonderful allies, so go easy on broad sprays that harm them too. Hornworms covered in small white cocoons have been parasitized by wasps, so leave those caterpillars right where they are.
7. Rotating Tomato And Bean Beds Each Season
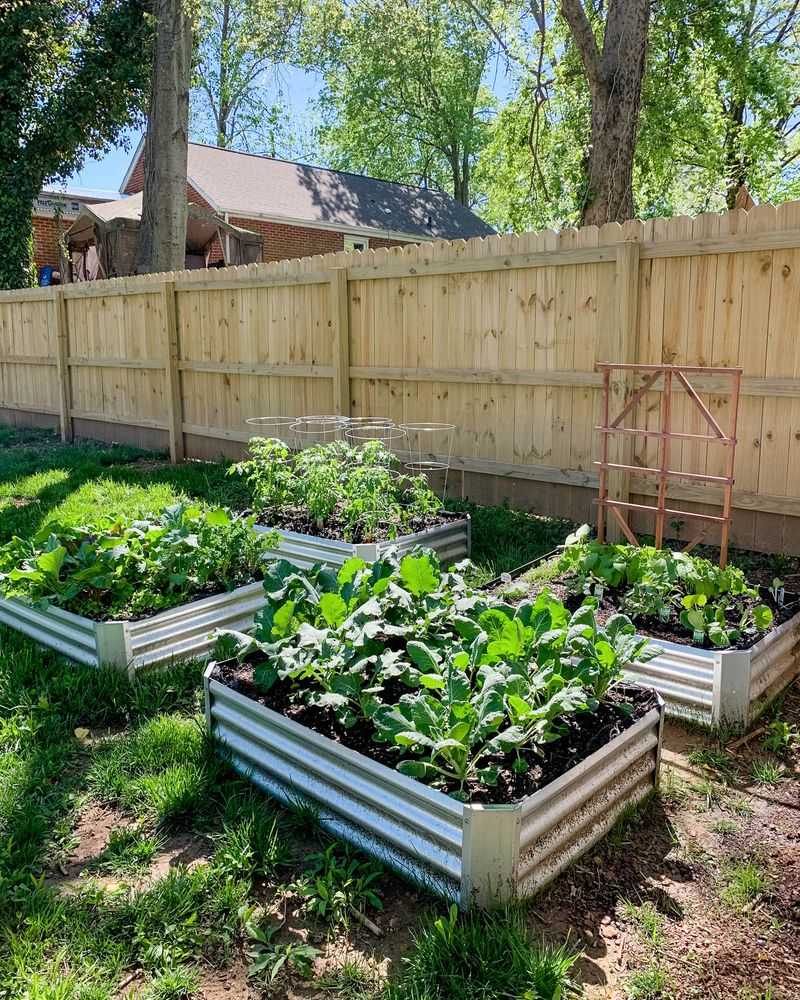
Farmers have shuffled crops around their fields for centuries, and backyard growers can borrow that clever trick easily.
Moving plant families to new spots each year confuses pests and soilborne diseases that wait in the ground.
Tomatoes and peppers belong to the same family, so avoid planting them in the same bed back to back.
Waiting two or three years before returning gives problems like early blight fewer chances to build up.
Different crops also pull different nutrients from the soil, so rotation helps prevent one element from running low. Heavy feeders like corn can wear out a bed quickly if they stay put year after year.
Beans and peas are wonderful teammates here, because their roots partner with bacteria that capture nitrogen from the air. I like to follow a bean patch with leafy greens, which seem to enjoy that natural boost.
Deep-rooted crops can reach nutrients stored lower in the soil, and their leftover roots leave channels for water.
Sketching a simple map in a notebook each season keeps track of where everything grew.
Empty beds benefit from cover crops like crimson clover or cereal rye during the cooler months. Crimson clover blooms in a striking red that bees adore, and it adds organic matter when turned under in spring.
8. Building Raised Vegetable Beds In Full Sun
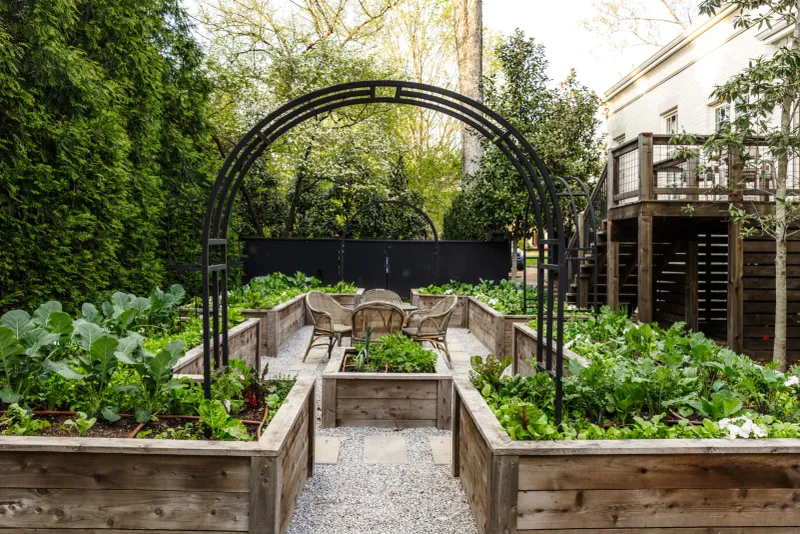
Most vegetables crave at least six to eight hours of direct sun, and they sulk noticeably when they get less.
Before buying a single seed, I spend a day tracking how shadows move across my yard.
Leafy crops like collards and spinach handle partial shade better than tomatoes or peppers do. No vegetables really enjoy deep shade, though, so save those darker corners for hostas or ferns instead.
Large trees and hedges make tricky neighbors, because their roots compete fiercely for water and nutrients.
A bed placed well beyond a tree’s drip line often performs much better than one tucked underneath.
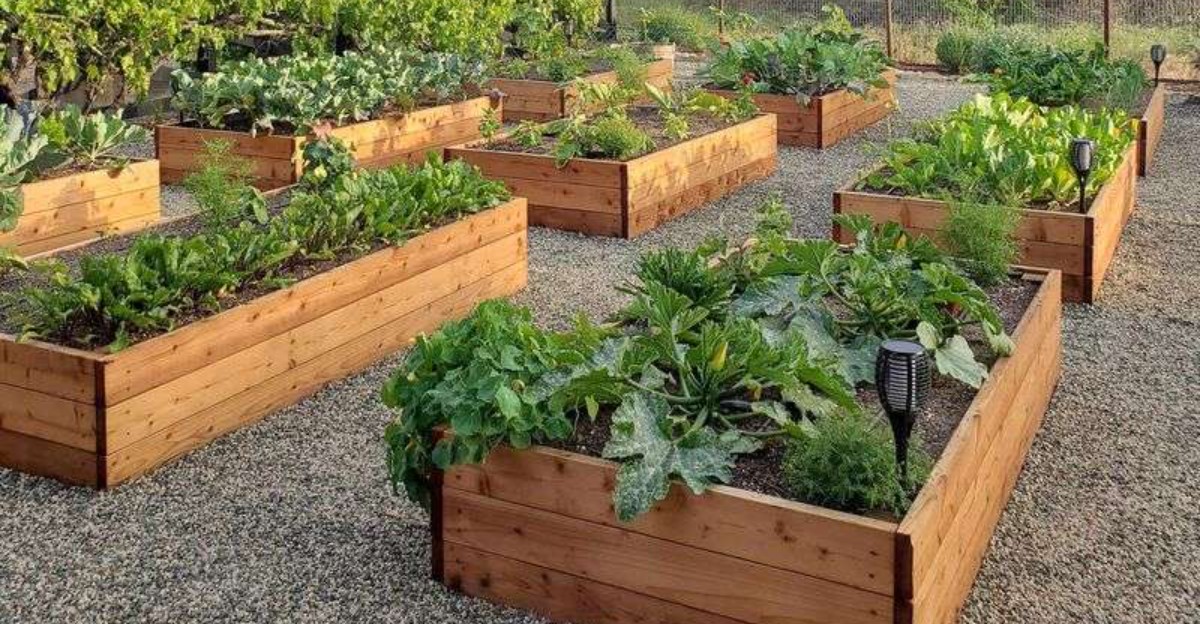
Raised beds are a lifesaver for anyone battling heavy clay, since they drain faster and warm up sooner in spring. Filling them with a blend of topsoil and compost gives roots loose, airy room to stretch.
Spacing matters more than many beginners expect, especially in muggy weather that encourages fungal leaf diseases. Giving each plant room for airflow helps leaves dry faster after rain or heavy morning dew.
Intercropping squeezes extra food from small spaces by tucking quick crops between slower ones.
Radishes sown between young cabbage plants are usually harvested long before the cabbages need that extra room.
Succession planting keeps harvests rolling, so sow a short row of beans every few weeks instead of all at once.
9. Timing Spring And Fall Plantings Around Frost Dates
Atlanta’s average last spring frost lands around late March, while the first fall frost usually arrives in early November.
That leaves metro gardeners a growing window of roughly 220 days, which is generous by national standards.
Planting dates shift as you travel, so a calendar from one county may not fit another. South Georgia can often plant two to three weeks earlier in spring, while mountain counties may wait up to three weeks longer.
Fall plantings follow a similar pattern, starting about two weeks earlier up north and up to two weeks later down south. Your county extension office publishes vegetable planting charts that make this timing much easier to follow.
Summer heat here favors tough crops like okra and southern peas, which shrug off temperatures that make lettuce bolt.
Sweet potatoes and many peppers also thrive in the long, sticky days of July and August.
Cool-season favorites such as collards and cabbage shine in fall, and frost even sweetens the flavor of collards. I love how a crisp November morning turns those leaves tender and almost sugary.
January and February are perfect for curling up with seed catalogs and sketching next season’s beds. Those quiet weeks also give you time to order soil tests and gather supplies before the spring rush begins.
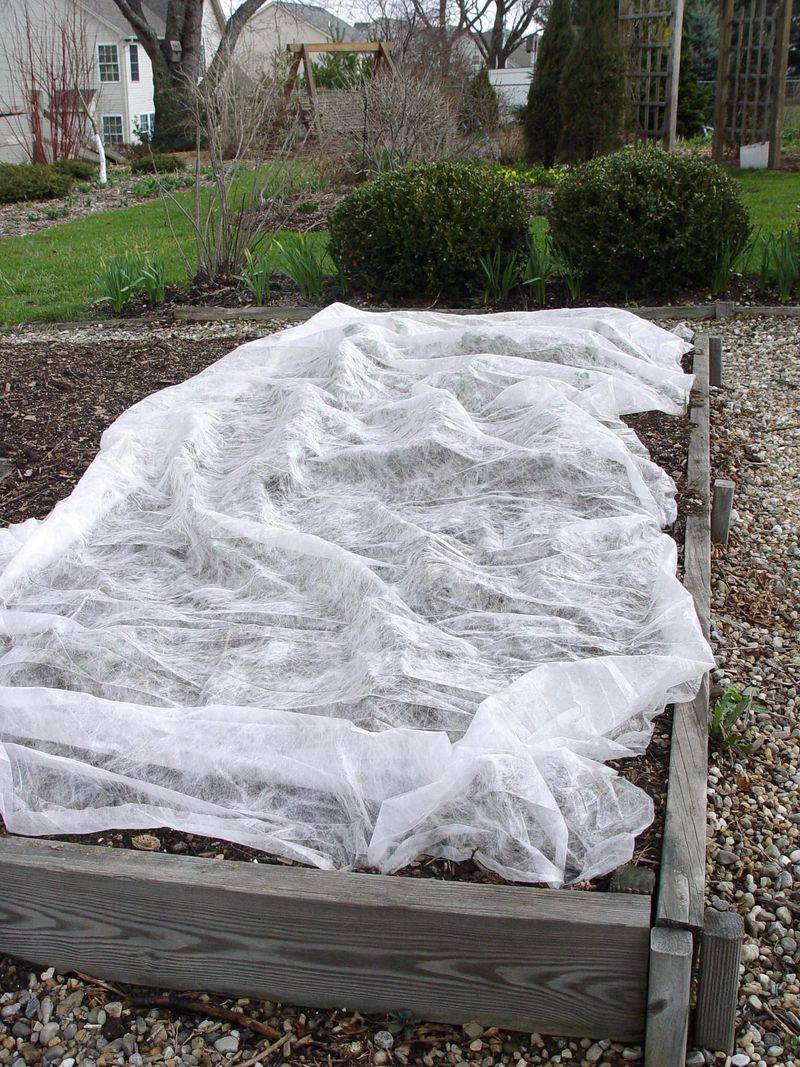
Weather does not read calendars, so keep frost cloth or old bedsheets handy for surprise cold snaps.
10. Keeping A Garden Journal Beside The Vegetable Beds
Ask a seasoned gardener for their favorite tool, and you might be surprised when they point to a battered notebook.
Jotting down planting dates and pest sightings turns scattered memories into useful patterns you can follow.
Successful growers watch their gardens closely, much like a parent noticing a child seems a little off. Yellowing or chewed leaves are early clues, and catching them quickly makes problems easier to fix.
Weather swings demand flexibility, so adjust watering when a dry spell drags on or storms soak the yard.
I check soil moisture with a finger before reaching for the hose, which prevents plenty of overwatering mistakes.
Humidity and rainfall vary across the state, and even your own yard has unique quirks worth learning. A low corner might stay soggy after storms, while a sunny slope near the driveway dries out by noon.
Photos make a wonderful partner to written notes, especially when you compare the same bed across several years. Scrolling back through my phone often reveals exactly when a problem first crept in last season.
Trying new varieties keeps things exciting, but test a few plants before committing your whole garden to them. If a tomato variety struggles with summer heat, swap it for a heat-tolerant type next year.
Mistakes are part of the fun, and every gardener I admire has a list of spectacular flops.