7 Things You Should Never Do When Caring For An Orchid In Ohio (What To Do Instead)
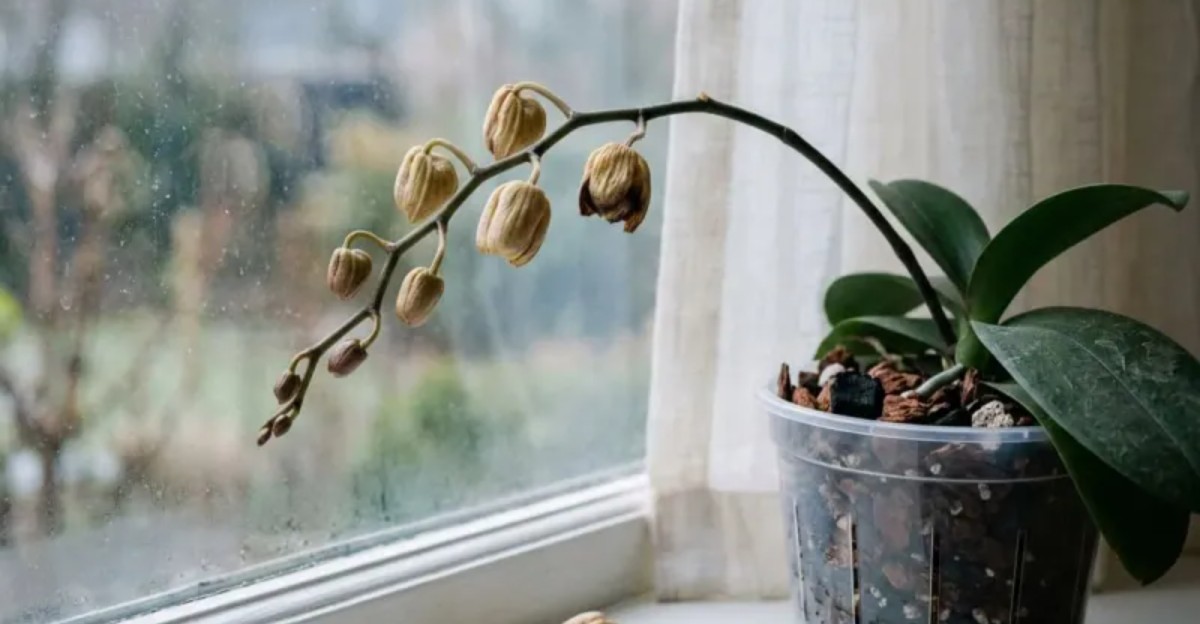
The vanilla flavor in your favorite ice cream comes from the seed pod of a climbing tropical flower. That same flower family includes the elegant plant sitting on countless kitchen windowsills across Ohio right now.
Believe it or not, dozens of wild cousins grow naturally in Ohio forests and wet meadows every summer. Our indoor beauties come from much warmer places, so they expect very different treatment than our tough winters offer.
I’ll admit I judged my first one as just another houseplant, parked it on my desk, and watched it struggle. You might notice the same warning signs, like wrinkled leaves or flower buds dropping before they ever open.
Most of those problems trace back to a handful of simple habits that feel helpful but quietly backfire. Swap out just one or two of them, and your plant might finally show off the way it was meant to.
1. Soggy Orchid Roots Sitting In Standing Water
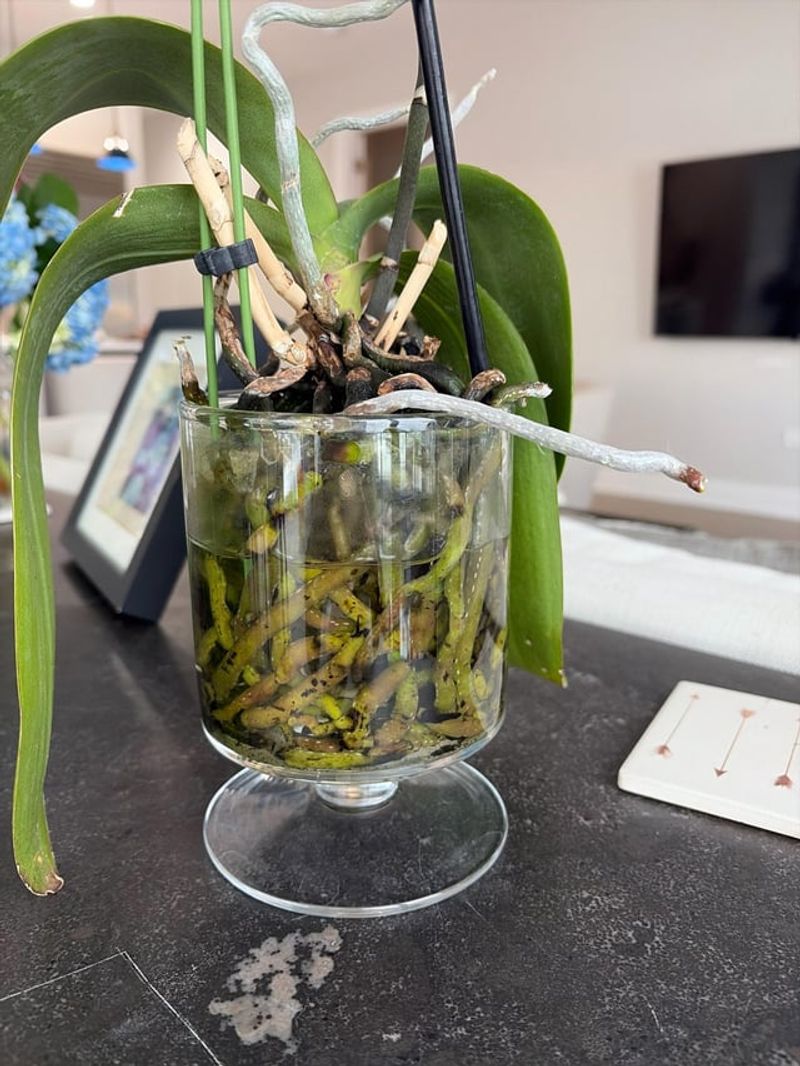
Orchid roots actually need air almost as badly as they need water, which surprises most new plant owners. Those chubby roots evolved clinging to tree bark in rainforests, where showers drain away within minutes.
When roots sit in a puddle for days, they lose oxygen and slowly turn brown and mushy. Personally, I learned this the hard way after hiding extra water inside a pretty ceramic cover pot.
Going too far the other direction causes trouble as well, so try not to forget your plant for weeks. Thirsty roots turn gray and shriveled, while the leaves become limp, leathery, and wrinkled like old paper.
A better plan is watering thoroughly once the potting mix feels nearly dry about an inch down. Let every drop drain out the bottom, then empty any saucer or decorative pot within a few minutes.
Root color makes a handy gauge, since silvery roots ask for a drink and green roots look satisfied. You can also lift the pot, because a light pot usually means the bark has dried out.
Green Circle Growers, an Ohio company, popularized the Just Add Ice method for moth orchids grown in bark. Their suggestion is three ice cubes a week, melting slowly so the roots get a measured amount.
Many hobby growers simply prefer lukewarm water from the tap, poured gently over the mix in the sink. Either way, a steady rhythm beats guessing, and your plant will reward you with plump, healthy roots.
2. Regular Potting Soil Smothers Orchid Roots
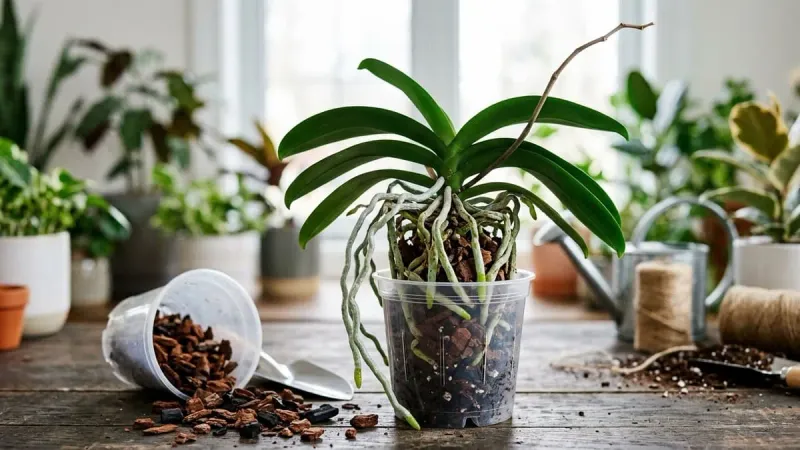
Scooping regular garden soil into an orchid pot feels natural, yet it creates one of the quickest routes to trouble. Most popular orchids are epiphytes, meaning they grow on trees rather than in the ground below.
Their roots wear a spongy silver coating called velamen, which soaks up moisture and then dries quickly. Dense potting soil packs around that coating and holds water for days, leaving little room for air.
I can’t imagine wearing a wet wool sweater all week, and that is roughly how those roots feel. Before long, fungal problems move in, and the roots soften into a brown mess that smells sour.
What works far better is a chunky orchid mix with big pieces that leave plenty of gaps. Fir bark is the classic base, often blended with charcoal, perlite, or a little sphagnum moss.
For moth orchids, many growers like roughly eighty percent bark with about twenty percent sphagnum moss mixed in. That combination drains fast but still keeps a gentle bit of moisture near the roots between waterings.
Bagged orchid mixes are easy to find at garden centers, and they usually cost only a few dollars. Look for labels that mention bark or moss, and skip anything that looks like fine black dirt.
You might also notice some orchids sold in pure moss, which holds water longer than bark does. Those plants simply need less frequent watering, so feel the moss carefully before reaching for the watering can.
3. Harsh Sunlight Scorches Orchid Leaves On The Windowsill
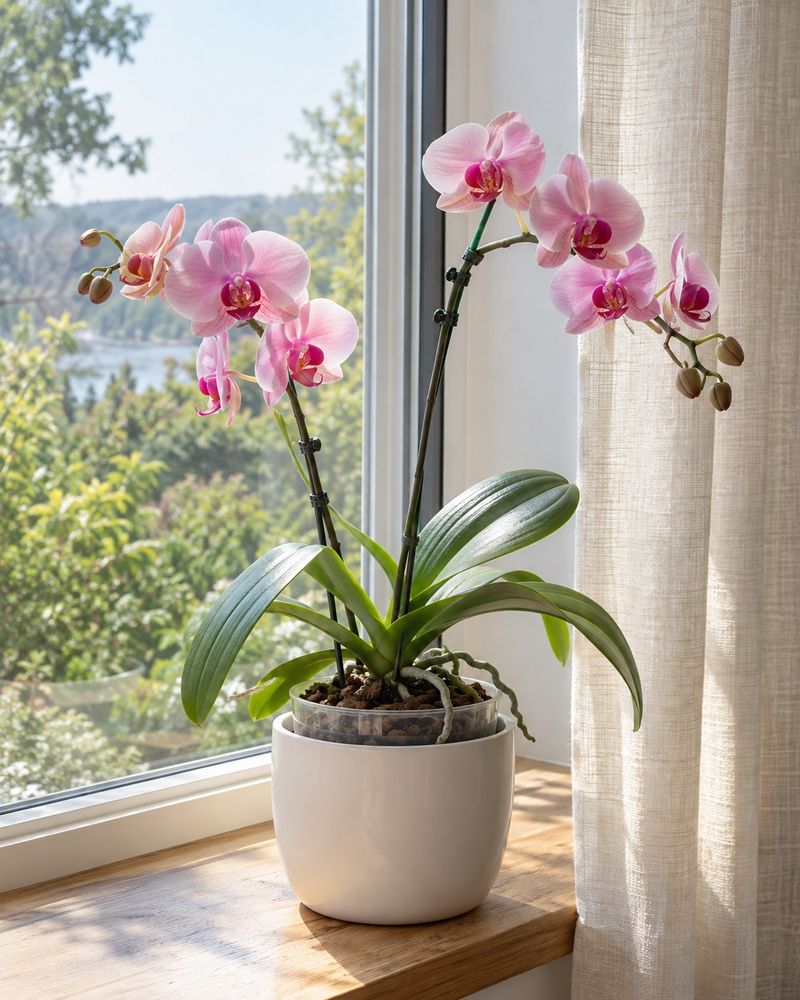
Orchid leaves can actually sunburn, developing pale yellow patches or reddish blotches after a few hours of harsh light. In the wild, many grow under a leafy canopy that filters sunlight into a soft, dappled glow.
A south window in midsummer can roast them, especially when the afternoon sun bounces right off the glass. Yet a dark corner causes the opposite headache, with deep green leaves and no flower spikes in sight.
Bright, indirect light is the sweet spot, and an east or west window often delivers it nicely. Morning sun from the east feels especially kind, since it warms the leaves without baking them by noon.
I love how the leaves themselves tell you whether the light is right, almost like a built-in meter. A medium green or slightly olive color usually means happy conditions, while very dark green suggests too little.
Try keeping your plant within about three feet of a suitable window for the best results year round. A sheer curtain makes a great buffer if a south window is your only bright option.
Ohio winters bring short, gray days, and many homes simply lack enough natural light from November through February. Fluorescent or LED grow lights can fill that gap when you run them about twelve to fourteen hours daily.
Inexpensive clip-on LED fixtures work well for a single plant sitting on a shelf or kitchen counter. Pair one with a simple outlet timer, and you will not have to remember switching it every morning.
4. Dry Winter Air And Stuffy Rooms Stress Orchids
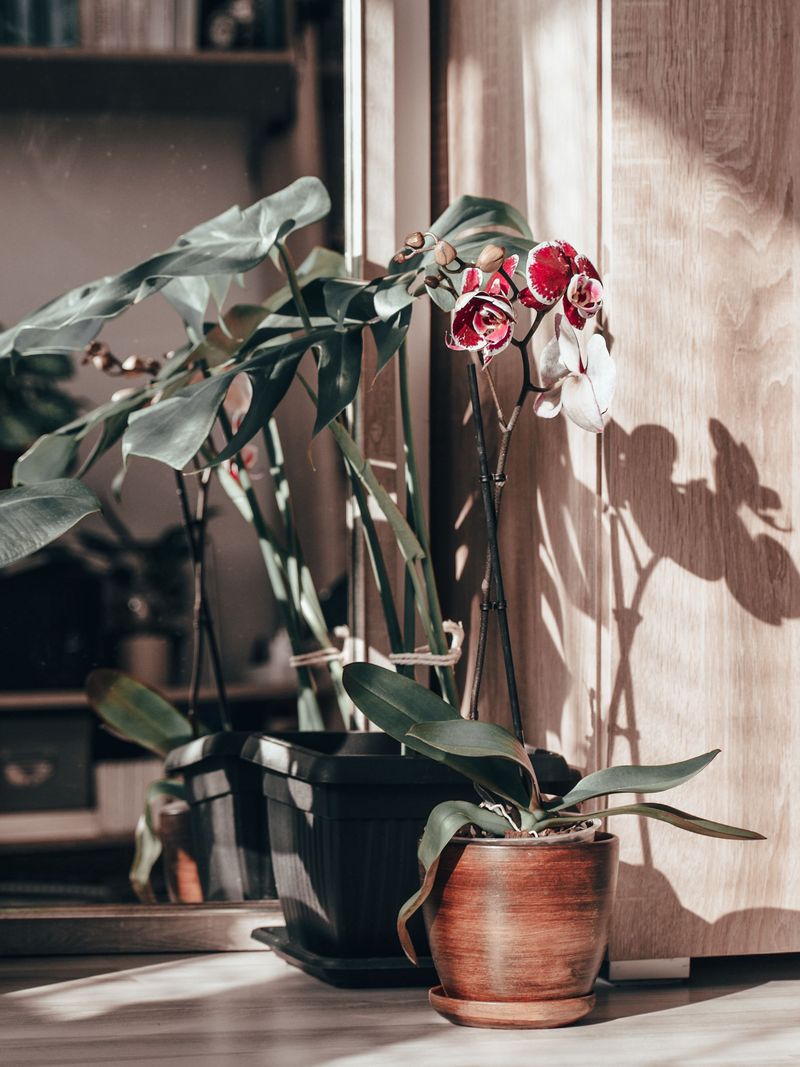
Furnaces are wonderful for people in January, but they can make indoor air as dry as a desert. Moth orchids prefer humidity somewhere between fifty and seventy-five percent, which most heated Ohio homes rarely reach.
Dry air often shows up as wrinkled leaves or a frustrating problem growers call bud blast. Plump buds suddenly shrivel, turn yellow, and drop before opening, which feels heartbreaking after weeks of waiting.
A humidity tray offers an easy fix, using a shallow dish filled with pebbles and a little water. Set the pot on top so the bottom stays above the waterline instead of soaking in it.
Light misting a few times a week can help too, as long as you keep the spray off the blooms. Avoid letting water settle in the crown overnight, since that center spot is prone to crown rot.
Plenty of people slip up at this point, because moisture without moving air creates a stuffy, stagnant pocket. Fungal and bacterial infections love those still, damp conditions, especially around crowded plants on a chilly windowsill.
A small fan on its lowest setting keeps air drifting gently around the leaves without blasting them. Personally, I point mine toward the wall so the breeze bounces softly instead of hitting plants directly.
Grouping several houseplants together also raises the moisture level a bit, since leaves release water as they breathe. A cheap digital hygrometer shows the actual humidity, so you can stop guessing and start adjusting with confidence.
5. Too Much Fertilizer Burns Delicate Orchid Roots
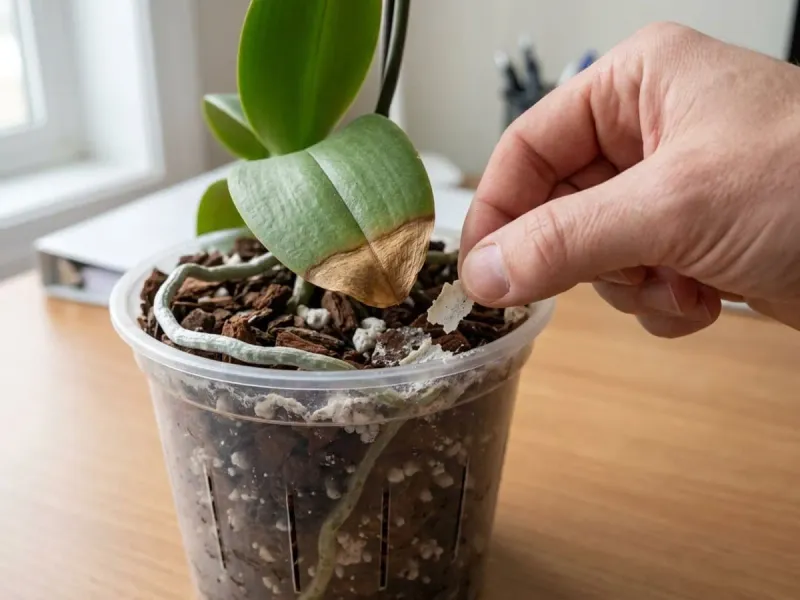
Orchids are surprisingly light eaters, so extra plant food often does more harm than good for their roots. Strong fertilizer leaves salts behind, which can burn root tips and turn leaf edges brown or yellow.
Many standard fertilizers also rely on urea, a nitrogen form that orchids have a harder time using well. That means you might pour money into a bottle that your plant barely notices at all.
Experienced growers love the saying weekly, weakly, which sums up the smartest approach in just two words. Mix a balanced liquid fertilizer at one quarter to one half the strength listed on the label.
Look for orchid formulas or products labeled urea-free, since nitrate nitrogen is easier for those roots to absorb. I like how many orchid fertilizers now print simple dilution charts right on the bottle for beginners.
Water your plant thoroughly first, then feed it, because dry roots soak up salts too quickly and burn. A quick drink beforehand protects tender root tips and helps the nutrients spread evenly through the potting mix.
Feeding matters most while the orchid is putting out new leaves, roots, or a fresh flower spike. During slower periods in fall and winter, cut back or pause unless your plant is clearly growing.
Once a month, flush the pot with plain water to rinse away any leftover salts building up inside. White crust on the bark or pot rim is a hint that this rinse is overdue for your plant.
6. Repotting A Blooming Orchid Into A Huge Pot
Nothing tempts a new owner more than moving a gorgeous blooming orchid from its plastic pot into something fancy. Unfortunately, disturbing the roots during flowering can shock the plant and send buds or blossoms tumbling early.
Patience pays off here, since those flowers can last for weeks or even a couple of months indoors. Enjoy the show first, and save the repotting project for later once the final blossom has faded.
Most orchids need fresh mix every one to two years, because old bark breaks down and starts holding water. Early spring is often ideal, especially when you spot new roots or leaves beginning to emerge.
Choosing a giant pot feels generous, but extra mix around small roots stays wet far too long. Orchids actually prefer a snug fit, with just a little room for the next year of growth.
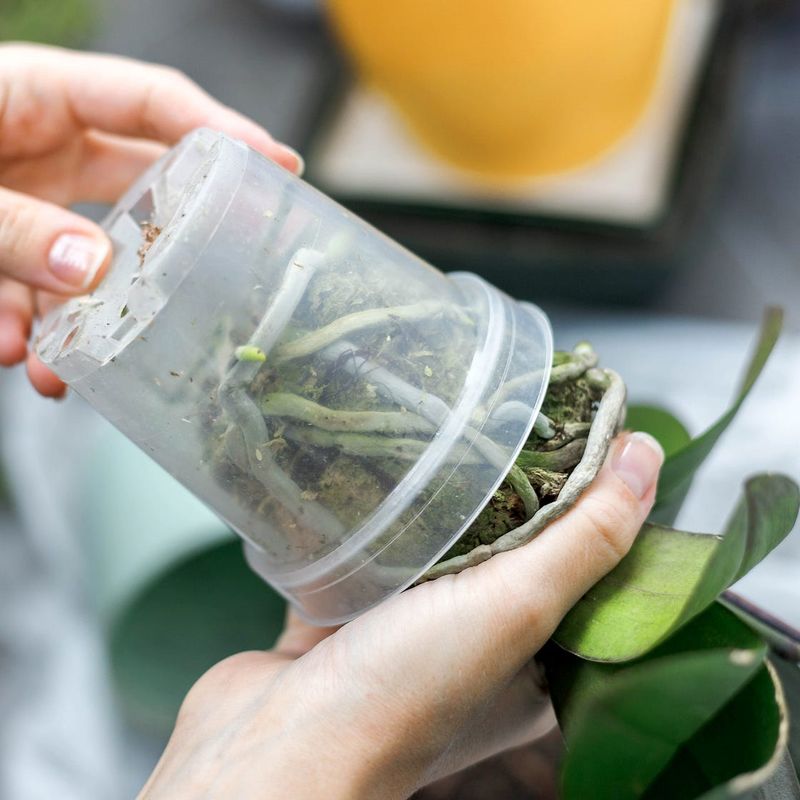
Clear plastic orchid pots with plenty of drainage holes are popular because you can watch the roots easily. Some even have slits along the sides, which lets air reach the center of the root ball.
When repotting, gently pull away the old mix and trim soft, brown, or hollow roots with clean scissors. Firm green or silver roots should stay, so take your time and work slowly around the base.
Many growers let the roots air dry for a few days before watering lightly in the new pot. What surprises me most is how quickly a freshly potted orchid perks up once its roots can breathe.
7. Cold Window Drafts Chill Orchid Flower Buds
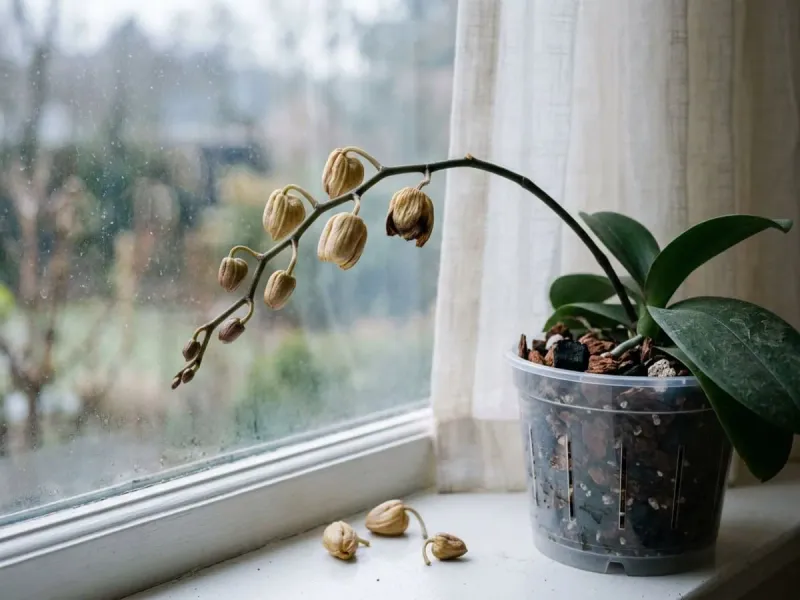
Moth orchids come from warm tropical forests in Asia, so a sudden icy breeze feels like a rude shock. Cold drafts can trigger bud blast, and chilled leaves sometimes develop dark, watery patches within a day or two.
Ohio weather swings wildly, and a sunny forty degree afternoon can drop into the teens overnight. Plants pressed against frosty glass or near a leaky door feel those swings much more than you do.
Heat vents cause trouble as well, blowing hot, dry air that can yellow leaves and dry out buds. Air conditioning registers in summer create similar stress, so check where the airflow lands before choosing a spot.
Daytime temperatures between seventy and eighty degrees suit most moth orchids, keeping them comfortable and actively growing. A nighttime dip of ten to fifteen degrees actually helps, because it encourages the plant to form flower spikes.
I believe fall is the perfect season to take advantage of that natural cooling trick in many homes. Cooler nights near, but not touching, a bright window often nudge reluctant plants into producing new spikes.
If you summer your orchid on a shady porch, bring it inside once nights fall below sixty degrees. Here in Ohio, that usually happens sometime in September, though timing varies from north to south.
Before winter, run your hand along the window frame to feel for chilly leaks around your plant. Moving it just a foot or two away from cold glass can make a surprising difference by spring.