Homegrown potatoes taste heavenly but the growing process isn’t that easy. You should put a lot of effort into meeting all potato requirements and digging seems to be one of the hardest tasks.
But what if I told you there’s one way to grow potatoes that doesn’t include all this fuss? We call it no dig potatoes and it will help you get a huge harvest without all of the work.
In this article, I’ll show you 3 methods for growing no dig potatoes and give you some tried-and-true tips on potato cultivation.
Let’s get started!
Methods For Growing No Dig Potatoes
I have to mention that this isn’t some new way of growing these veggies, but it has become popular for its various benefits. The most obvious one is that it doesn’t include hard work and lots of time.
It also aids in conserving the health of your soil and decreases the possibility of compaction.
All 3 methods have many steps in common and the main difference is the way of planting.
The first step in each method is to hoe off a small planting site and irrigate it well before planting your potatoes.
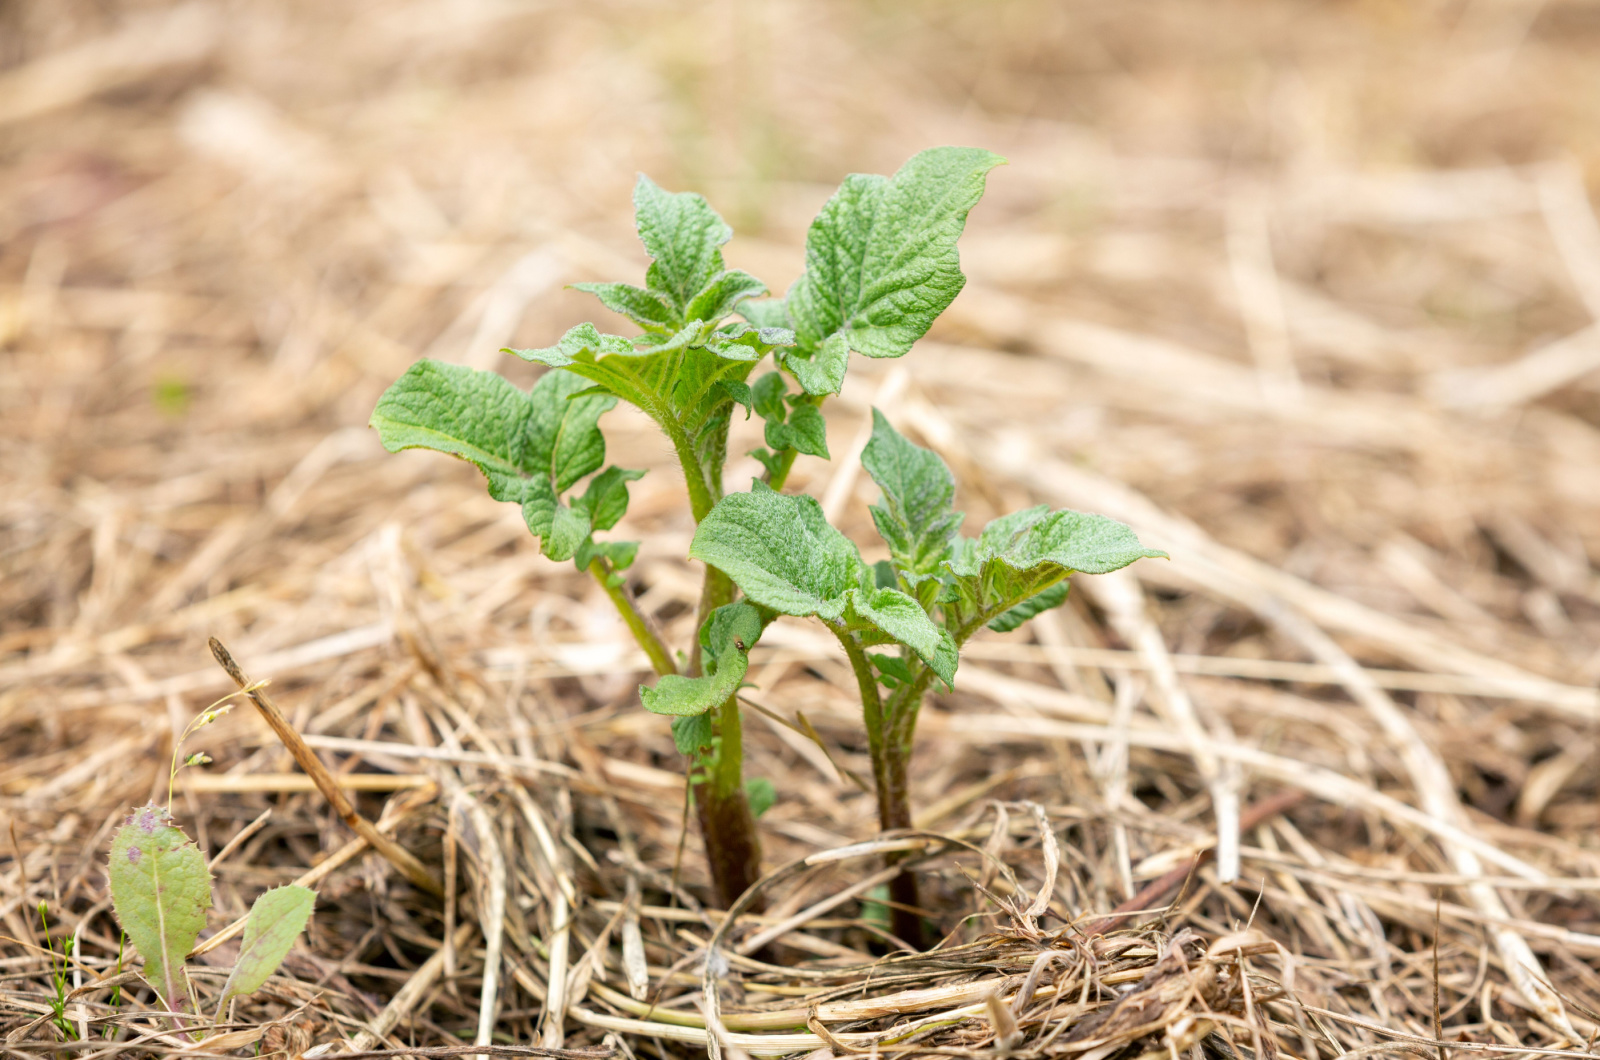
Then, put down a layer of straw or hay, making sure the entire site is well covered. Mulch will help the soil retain moisture, which will result in a bountiful harvest.
Now let’s see the planting methods.
Method #1
For this way of planting, you first need to move aside some mulch and dig a shallow hole in the ground (remember, no standard digging included).
Take some compost and add it to the holes you made. Now simply lay your potatoes on the layer of compost and cover them with some of the mulch you set aside.
You’ll use the rest of the mulch for topping your potatoes as they develop further.
Method #2
The second method is to move some mulch aside using your hands (put on gardening gloves) and put your potato in the spot.
Then, take approximately 2 gallons of compost and put it over your potatoes. Cover the compost with mulch you moved aside.
Method #3
The third, and easiest method, is to move some straw mulch aside, place the potatoes, and put the mulch back.
Here’s a video that includes information on all three methods:
Care Tips For No Dig Potatoes
As your potatoes develop further, you can boost the nutrient levels by topping them with a layer of compost.
Additionally, you should hill them; so, no digging, no rototilling, or any similar hard work.
You’ll also need to regularly inspect your no dig potatoes for pests and diseases. Early treatment gives good results, so make sure to react immediately if you spot any issues.
If there are weeds on your planting site, make sure to remove them because they can compete for nutrients and inhibit potato growth.
When harvesting, pay close attention not to damage the tubers because they’re more sensitive than the ones grown in the standard way.
I highly recommend using your hands when harvesting no dig potatoes because it helps you avoid all damage.
And just like all other veggies, potatoes need to be stored in a cool and dark spot with good air circulation.
Can You Plant Potatoes That Have Sprouted?
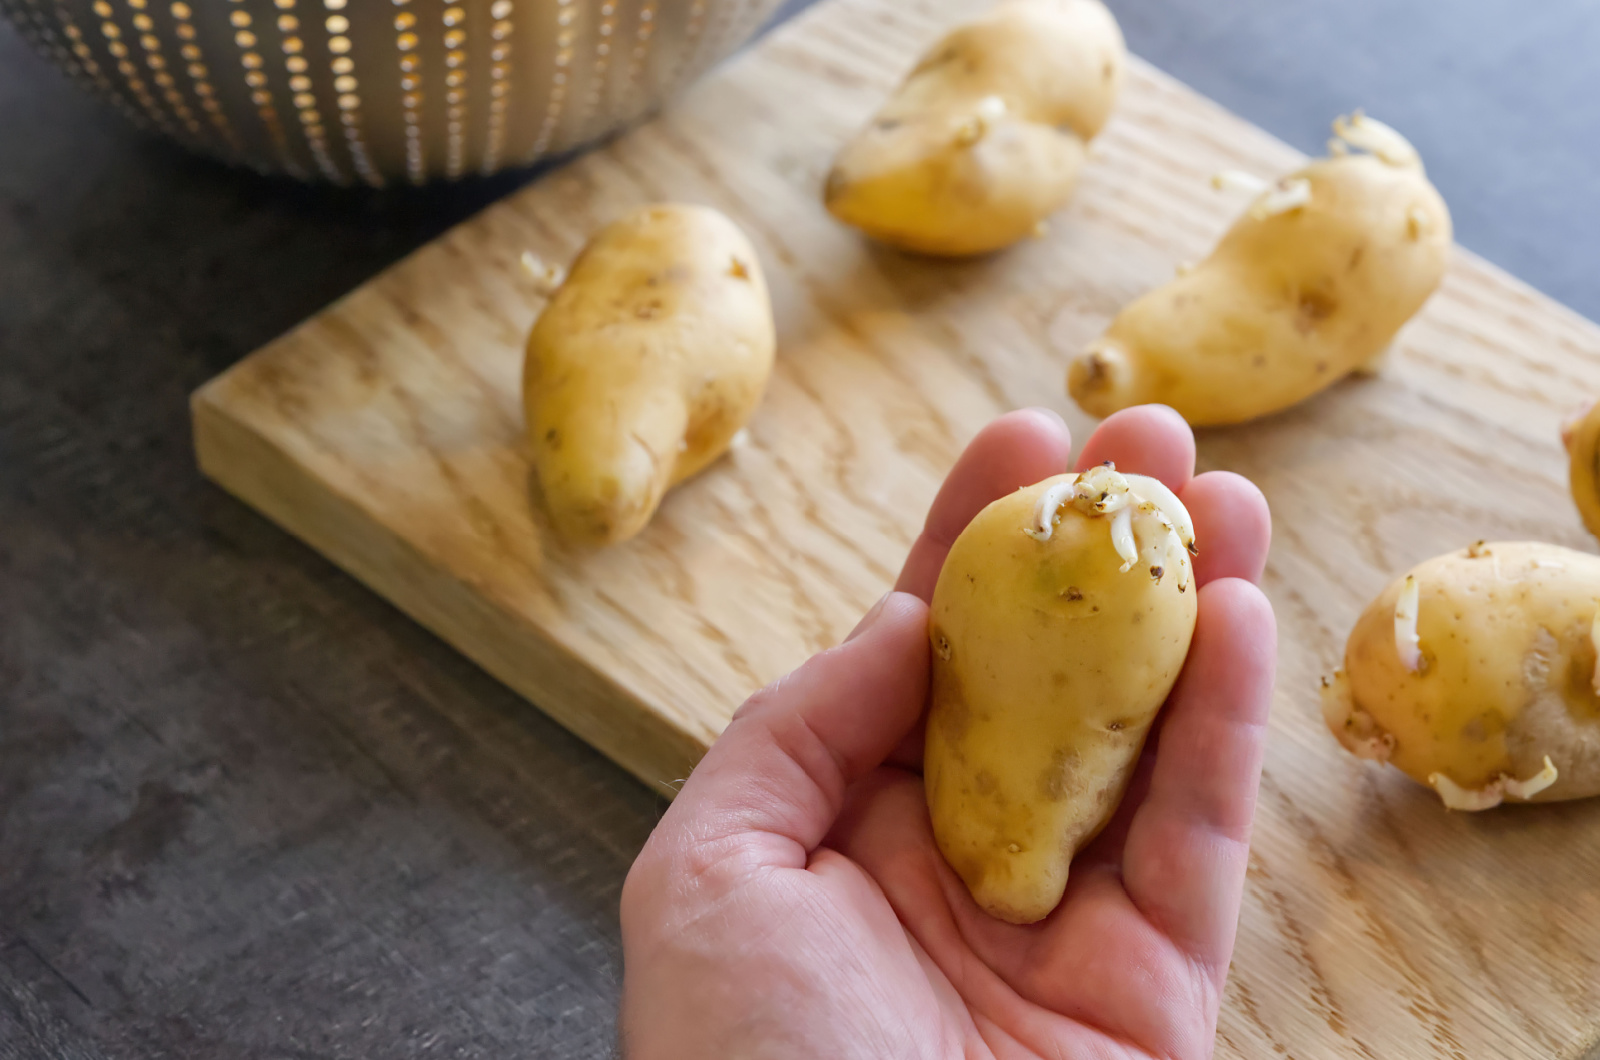
The name for the potatoes we buy in nurseries for planting is seed potatoes. If you have sprouted potatoes in your storage, you can plant them in your garden and get a high yield.
You first need to cut them into pieces, making sure each piece has at least one eye. Standard planting requires about 8 inch deep holes and spacing of 12-16 inches. You should always place the seed potatoes so that the eyes face upward.
Your potatoes can sprout faster if you chit them, i.e., put them in light in a cool room.
Remember that potatoes need a lot of space to grow no matter which planting method you use.
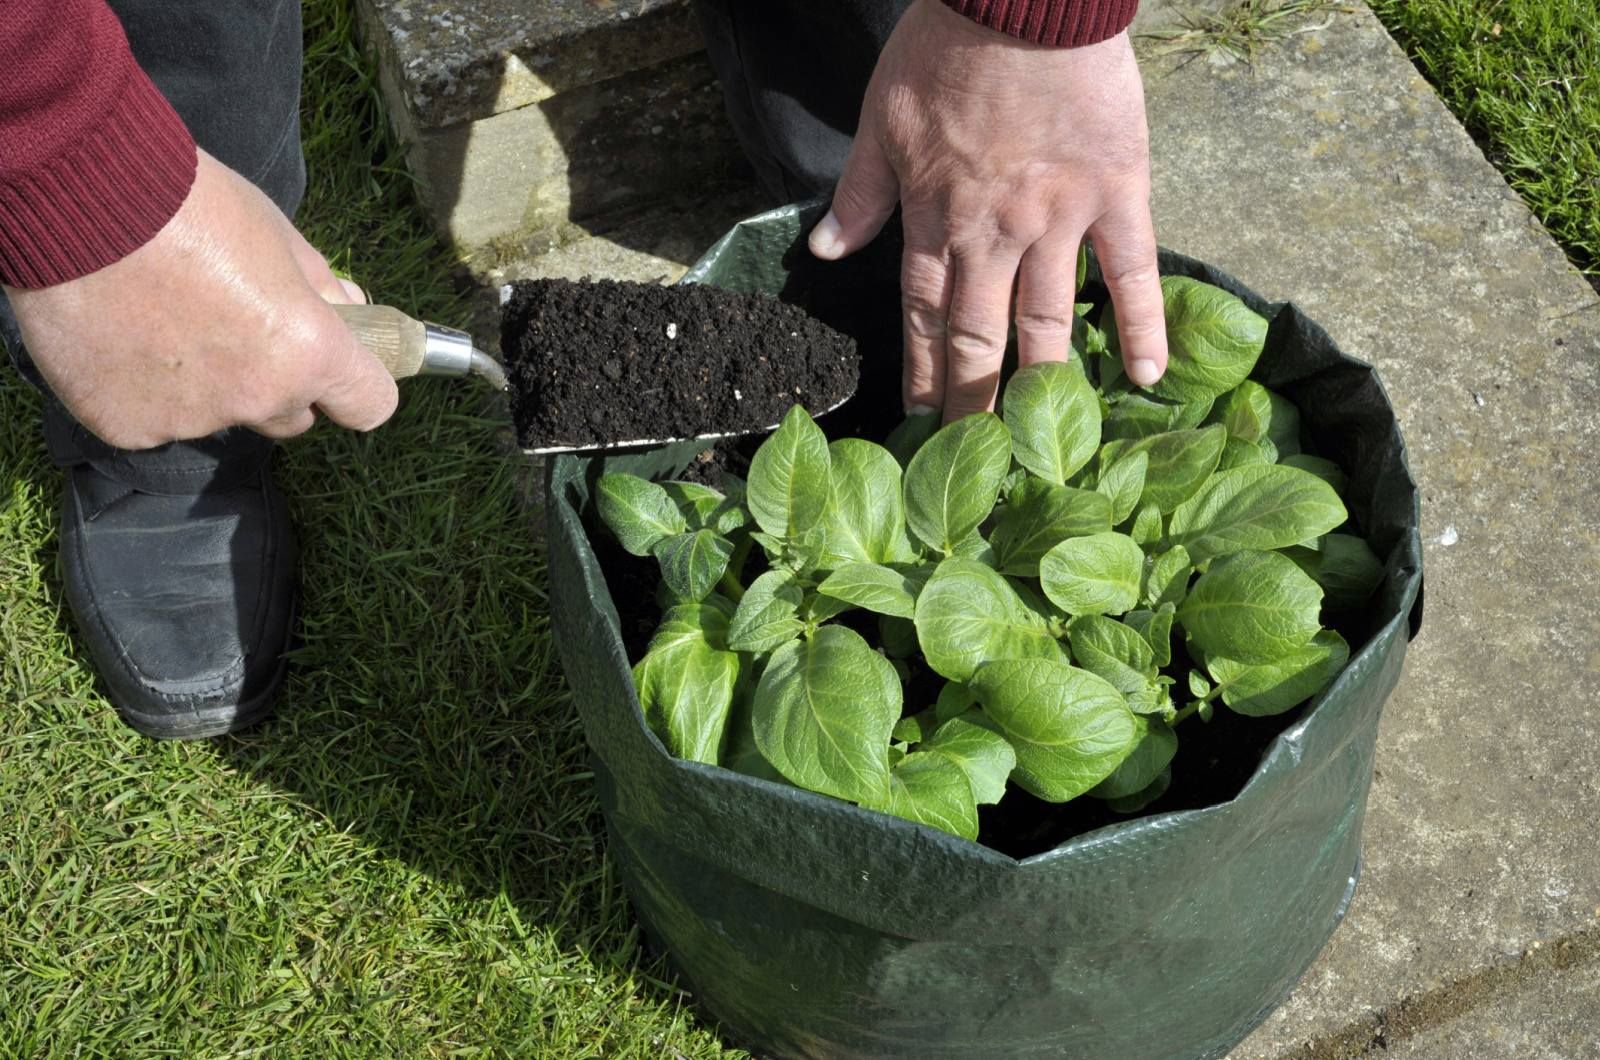
You can grow these veggies in the ground, containers, and even bags of soil can give you a bountiful potato harvest.
How Many Potatoes Per Plant?
One of the most common questions I get about these veggies is to do with the number of potatoes per single plant. Well, I wish I could give a more precise answer to that question because it depends on so many factors.
The factors include the potato variety, conditions you ensure, quality of seed potatoes, and overall care during potato growth.
The number of crops per plant typically doesn’t exceed 5 but I repeat, so many things can affect it.
The more eyes the seed potato has, the more crops you can expect from one plant. The soil must be fast-draining and the planting site should be exposed to full sun.
You can also use hilling and mounding techniques to increase the yield. It will protect the plants from freezing temperatures and enhance root growth.
Another way to encourage your potatoes to produce more crops is to feed them. Remember that plants spend a lot of nutrients on new growth and crop production.
You can feed these veggies with nitrogen-rich fertilizer for the first two months and then switch to fertilizers rich in potassium and phosphorus.
There are various potato varieties to choose from but for the highest yield, go with Kennebec or Red Pontiac. You can grow them in the ground, use the no dig technique, and they even do well in containers.
Container vs In-ground Potato Cultivation
Some gardeners don’t have much space to grow potatoes. Luckily, the majority of potato varieties grow well in containers.
However, if you decide to grow potatoes in containers, there are some things to consider. First, make sure the container has enough drainage holes because potatoes, just like most other veggies, are susceptible to root rot.
Porous containers, such as heavy burlap bags, are perfect for potato cultivation. Make sure to give your potted potatoes enough light and water, and don’t forget to fertilize them.
Various techniques are used for potato cultivation but no-dig is definitely one of my favorites.
I’m not a lazy gardener but there is really too much work included in standard cultivation. Now that you know this easy way, there’s no reason why you shouldn’t have numerous potatoes in your storage!


