What Are The Potato Growing Stages? All The Answers And More
Almost every culture has some sort of potato dish in their cuisine, and for good reason! They are as versatile as they are delicious.
Scientifically known as Solanum tuberosum, potatoes are widely cultivated and many cultivars have been developed to adapt to the harshest conditions.
Potato growers know that it can take longer to get potato crops in comparison to other common vegetables. However, both growers and consumers also know that there are few things better than a fresh potato.
In this article, you will find out about the potato growing stages and the factors that influence their growth. You will also learn how to plant, grow, harvest, and store potatoes. I also covered all the common issues, so you’ll be well equipped to deal with any problems that may arise.
Let’s start with the potato growth cycle.
What Are The Potato Growing Stages?
The potato growth cycle lasts for about three months and includes five main growing stages. However, we can’t see the development as it occurs underground.
Let’s find out more.
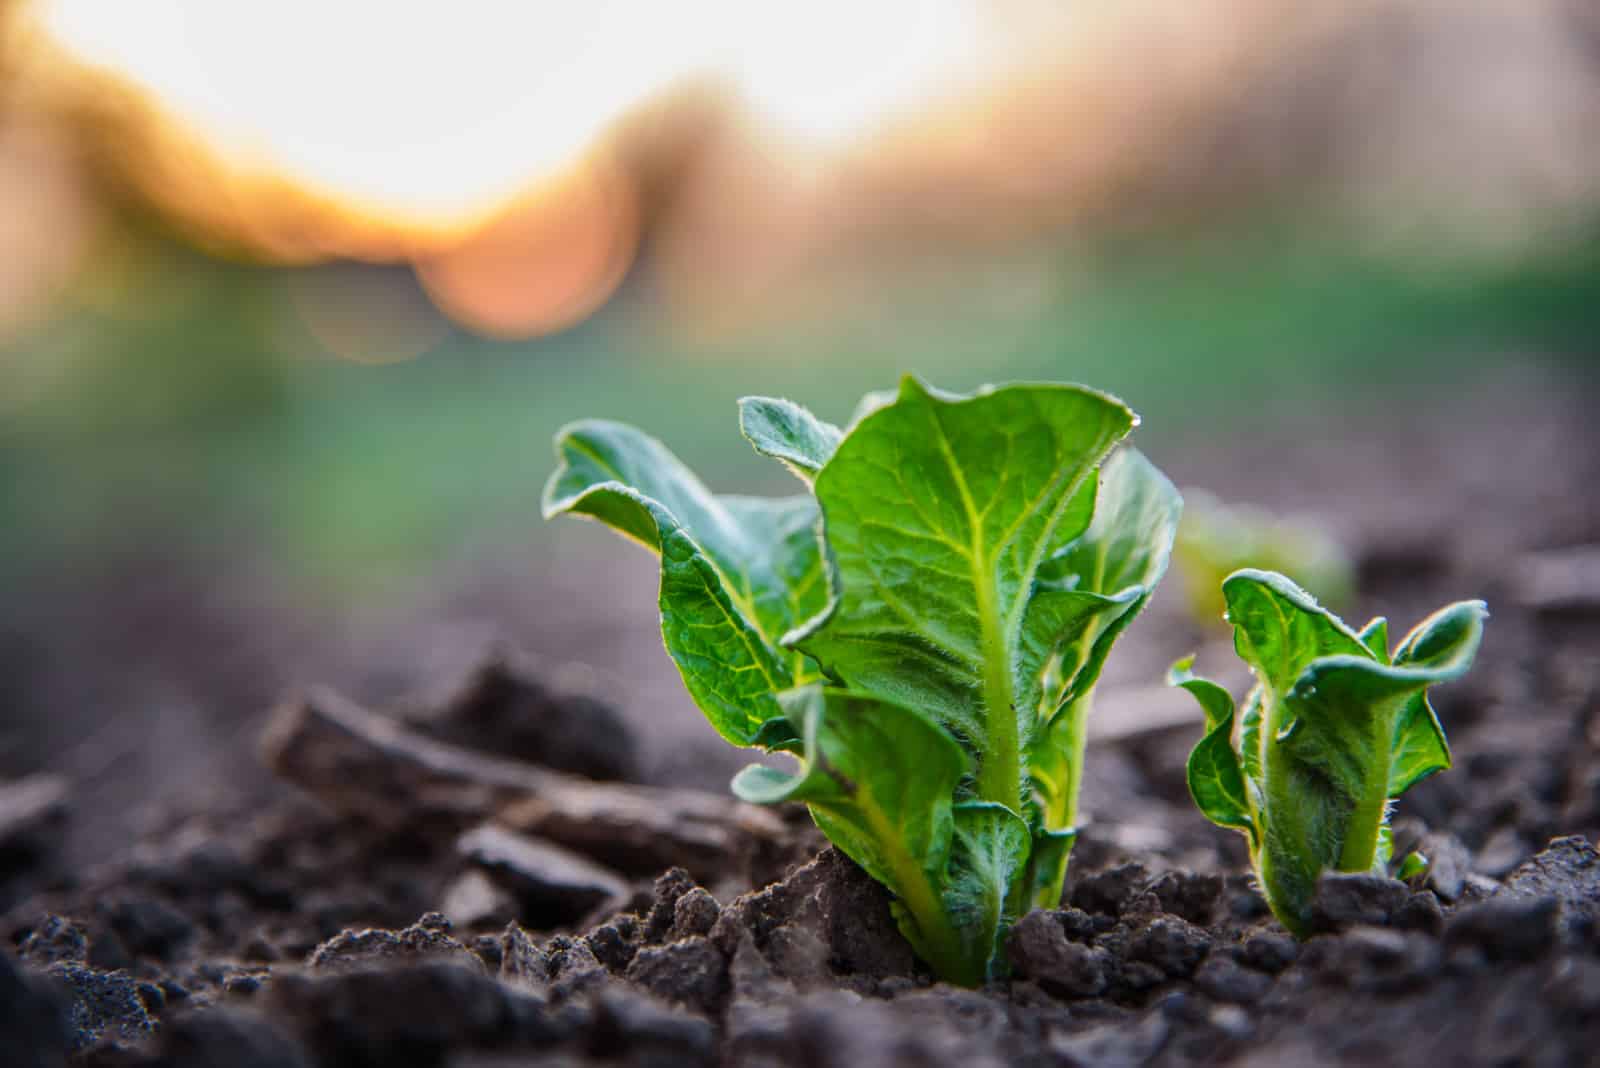
Sprout Development
After planting, the first thing you’ll see is potato eyes emerging out of the ground and developing sprouts.
The sprouts will develop into the vegetative sections of the plant, otherwise known as the stems and leaves.
It’s worth mentioning that the only source of food at this stage is the tubers’ starch content. The essential thing for the sprouting stage is soil temperature. The lower the temperature, the longer it takes for the sprouting to occur.
The time needed for sprouting depends on the variety of the potato and the conditions you provide, but it is possible to speed up potato sprouting.
Vegetative Growth
The second stage of potato growth is the vegetative stage. The sprouts are now visible and the stems, leaves, and roots start developing.
The important thing about this particular stage is that the plant starts performing photosynthesis to allow it to use light, water, and carbon dioxide for further development.
Potatoes need warmer temperatures, at least 77 degrees Fahrenheit, for successful vegetative growth.
Additionally, the developing plant needs full sun exposure for at least 8 hours per day.
It will take about 30 to 70 days for the sprouting and vegetative stages to finish.
Tuber Initiation
Underground stems are called stolons and tuber formation begins at the stolon tips. Stolons grow approximately 18-23 inches below the topsoil.
The tubers won’t get larger at this stage, and the shallow tuber section needs watering so the plant can produce healthy and delicious crops.
Both water and photosynthesis play a crucial role in plant development as they provide food and nutrient uptake.
Initiation usually occurs before flowering, and pollinated flowers produce tiny fruits that contain seeds. However, these fruits aren’t edible and are mainly used to create hybrids, so you shouldn’t use these fruits for cultivation.
Early tubers contain the nutrients essential for the next growth stage, which is tuber bulking. This stage of tuber development takes about two weeks.
Tuber Bulking
Tuber bulking is the fourth stage in potato plant development. The tubers’ cells swell and start water, sugar, carbohydrate, and nutrient build-up. Most of the dry matter accumulates during this stage.
This tuber growth stage lasts the longest and can take up to three months. The time needed for tuber growth depends on the conditions you provide and the potato variety.
Unlike the sprouting stage, this tuber growth stage requires cooler temperatures.
Maturation
The last potato growing stage is maturation, and at this stage photosynthesis slows down.
The vegetative section of the plant, which is the one above ground, will slowly perish. At the same time, the potato tuber continues to deposit starch. Next year, the sugar converts to starch and will be a perfect food source for new plants. Additionally, starch is essential for high-quality potato crops.
On the other hand, if you grow cultivars with a longer life cycle than the growing season, the maturation stage may not be completed before harvest.
Tuber skin toughens as the plant progresses through this stage, making it more storage-friendly.
What Plays A Vital Role In The Potato Growth Stages?
Potato growth is influenced by both biotic and abiotic factors.
Each plant has its own unique physiological mechanisms that function better when the ideal conditions are met because the enzyme operates at a faster rate, which aids the various physiological mechanisms.
When the plant’s physiological processes are operating at maximum efficiency, the growth rate is also maximized. The plant’s physiological mechanism is influenced by both genetic and environmental variables.
Let’s see the genetic and environmental factors that influence plant growth.
Environment
The plant’s environment plays a vital role in the different developmental stages.
If the right environmental conditions aren’t in place, the genes can’t do anything. In order to achieve optimal growth, you must provide the best possible environment for your Solanum tuberosum.
The environmental component of growth stages includes natural and cultural practices as they both affect the plant’s growth.
One of the environmental factors important for the growth is growing degree days.
Let’s find out more!
Growing Degree Days
Growing degree units indicate the average daily temperature certain plants require. Each potato growth stage requires different temperatures, which is why GDD matters.
You will get GDD by adding the highest and minimum temperatures, dividing the number by two, and subtracting a base temperature on a daily basis. The base temperature is actually the lowest temperature at which potato development is inhibited.
Why is GDD so important? Each growth stage extends if the temperatures are lower than required.
On the other hand, if the temperatures rise above the optimum it will increase the growth rate, and all the developmental stages will be completed earlier.
However, this affects the quality of potato crops and causes temperature stress, and the plant moves to the reproductive stage and struggles to survive. If it manages to produce crops, they’ll be of lower quality.
Genetics
Genetic factors play a crucial role in potato development. The time needed for the potato to complete all its growth stages depends on the potato variety.
There are three primary potato varieties:
• First earlies
• Second earlies
• Main Crops
As the name suggests, first earlies produce their crops early, mainly in June and July, and they will need about two to three months to mature.
The best time to plant earlies is in spring, March is best. The most common earlies varieties are Lady Christl, Red Duke of York, Rocket, and Orla.
Second earlies need about three and a half to four months to mature. The best time to plant second earlies is in spring, but with frost protection. The most common second earlies varieties are Maris Peer, Ratte, and Charlotte.
Main Crops need about 16-22 weeks to mature, and the best time to plant them is in mid to late April. The most common Main Crop varieties are Purple Majesty, Kennebec, King Edward, and Pink Fir Apple.
Planting

Of course, successful planting will result in the best harvest, so it’s essential to know what to do before you start planting.
Two things matter most when it comes to the planting; soil preparation and seed preparation.
Let’s get into details!
When To Plant Potatoes
The best time to plant garden potatoes depends on your area’s climate.
For example, in many areas, potatoes grow well when planted about two weeks after the last frost.
The best way to know when to plant potatoes is by checking the soil. If the soil is excessively damp, it will ruin the early crops because the potato seeds will rot. When it comes to planting season, pay more attention to the soil than the calendar.
The problem with damp soil is that it clumps together and is challenging to work with, so I suggest you allow it to dry before planting.
Planting Potatoes In Different Areas
If you live in an area with a late, rainy spring, I recommend planting potatoes in late April or waiting until June if the spring is too rainy.
If you live in a cooler climate, you can plant ‘earlies’ varieties in early to mid-April, approximately 6 to 8 weeks before the last expected frost date. Luckily, earlies are frost tolerant.
On the other hand, if you live in a warmer climate you can produce potatoes as a winter crop. The planting dates range from September to February, depending on the area.
For example, you can sow an autumn crop in September in areas with moderate winters. Gardeners in central Florida, for example, can plant potatoes in January to get fall crops, while gardeners in Georgia start planting in February.
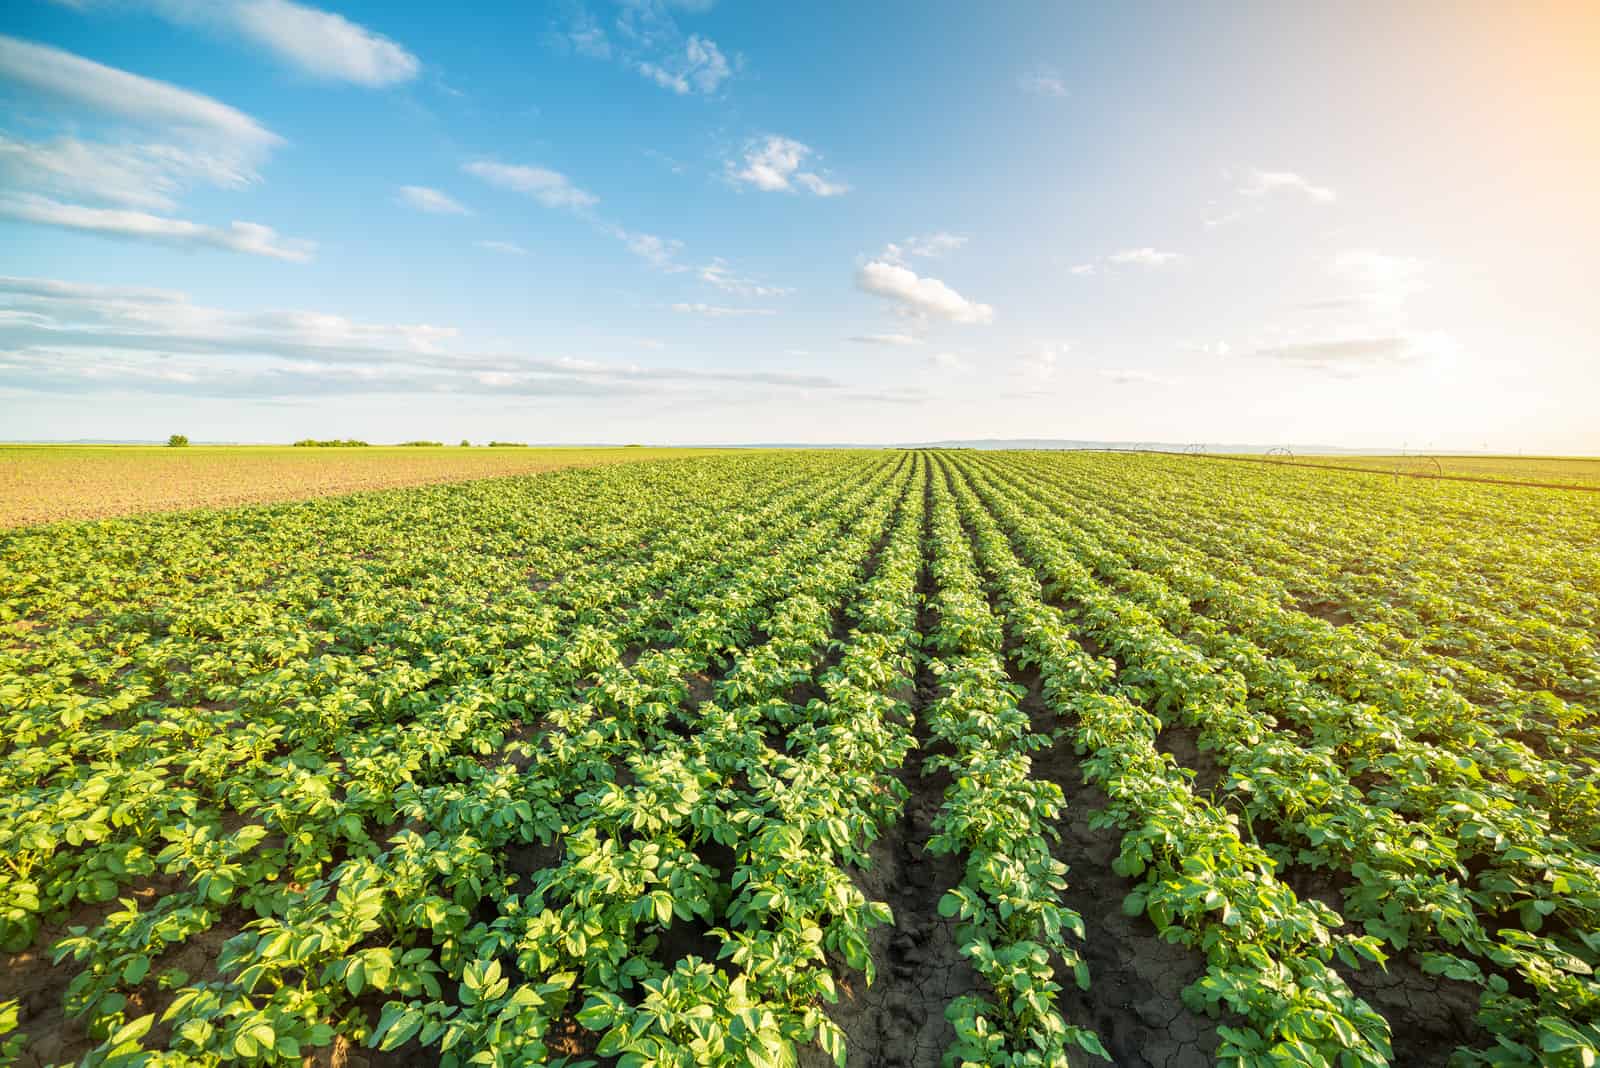
Soil Requirements
Potato tubers grow underground, so if the soil conditions are suitable and the soil temperature is at the right level, the growth rate will be accelerated. You will get potatoes at the appropriate time.
If the soil and temperature don’t meet potato plant requirements, the growth rate and success of each stage significantly decrease, as does the overall potato growth.
Before planting any vegetable, I suggest you perform a soil test. You can find soil tests in local plant stores, but they are also available online. They are a great method of checking the pH and nutrient content of soil.
Type Of Soil
For successful potato growth, ensure the following conditions are met:
• Porous soil to promote oxygen flow for the root system.
• Well-draining soil to prevent the excess water from remaining in the soil.
• Slightly acidic soil with a pH ranging from 5 to 6.
The soil will need some amendments to meet the requirements above. Soil differs from area to area, For example, if you live in Florida the soil won’t need any amendments. On the other hand, in areas with a tendency to flood, you will need to add certain materials to improve drainage.
Your potatoes won’t grow well in waterlogged soil, so for successful growth you’ll need to ensure proper water drainage to prevent waterlogging.
Fertilization
Potatoes need higher concentrations of Nitrogen and Potassium, so if the soil test results show a lack of these two nutrients you will need to add a fertilizer that contains a higher content of Nitrogen and Potassium. Nitrogen and Potassium are the first and third numbers in the “NPK” ratio.
For example, 10 0 10 fertilizer contains higher percentages of Nitrogen and Potassium, so it is a perfect choice for your potatoes.
You can apply half the fertilizer when planting and the rest during the growing season.
If the soil lacks any other nutrients, you can add them when planting.
Here is a list of some good organic fertilizers you can use for potatoes:
• Composted chicken manure
• Steer manure
• Bone meal
Till the soil And Prepare The Rows
Now it’s time to put the nutrients into the soil by tilling and turning it over a few times.
Remove any stones or debris and rake the potato bed.
Potato roots need space, so make sure to dig deep. You can use a rototiller or spade to turn over the soil completely. Never till wet soil as it may become rough.
To ensure proper drainage, you should now elevate the bed at least 10 inches above the soil surface. By elevating the beds, you prevent the water from pooling around the potatoes.
Prepare A Seed Piece
Planting a potato tuber is the first step in cultivating potatoes. When it is planted, the tuber is referred to as a seed potato.
The essential thing you need to remember is that you should always use certified seed potatoes. This is because only certified seed potatoes are disease-free. Don’t worry, there are many reliable garden stores that sell certified seed potatoes.
Planting potatoes from the grocery store in your home garden isn’t a good idea because they could have certain diseases that can stunt your crop’s growth.
Many grocery stores sell tubers that are treated with sprout inhibitors, which will prevent the plant from developing in your garden. Furthermore, supermarket stores stock a wide range of potato cultivars.
Once you find the cultivar you like, there’s no guarantee that it will be available the next season.
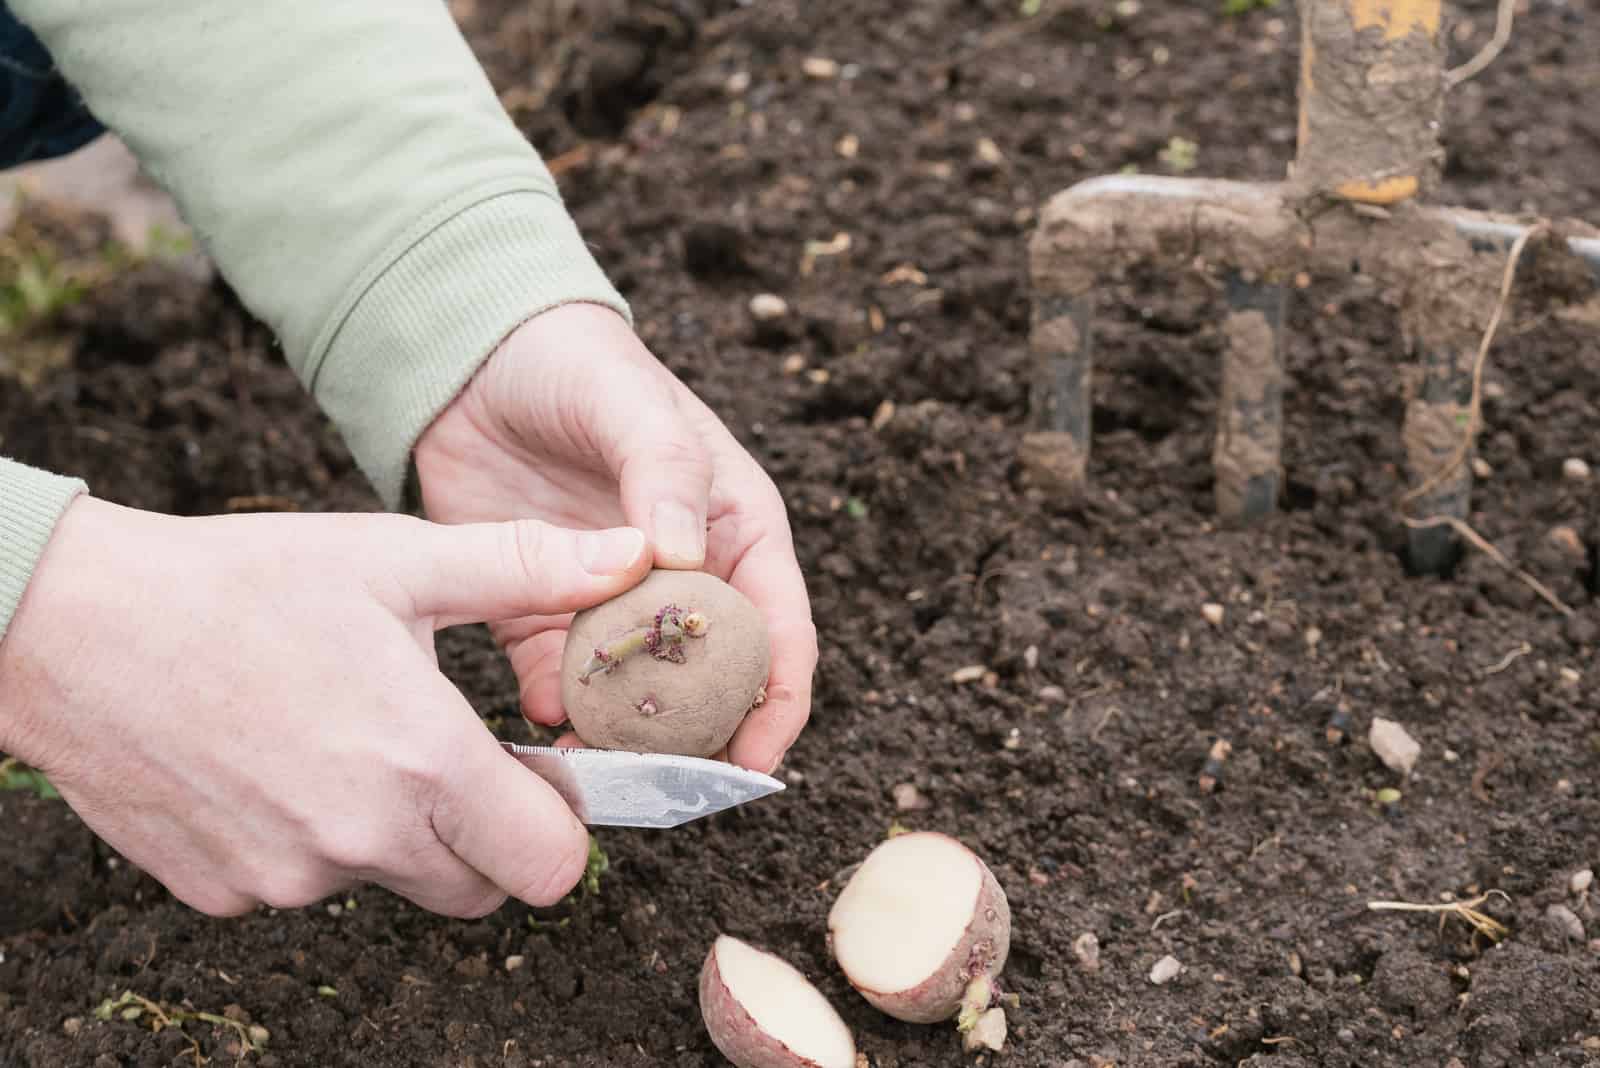
When And How To Cut Tubers
New potatoes sprout on tuber skin, and tubers are ready to cut into seed pieces when at least one of the eyes begins to sprout.
Cut the tubers before the buds sprout. Cutting into seed pieces is important because more eyes on the seed will sprout if the potato is cut into seed pieces.
Each seed potato piece should be roughly the size of an egg and have at least one eye per seed tuber. You shouldn’t cut into too many pieces; you should get about 6 to 8 pieces from one pound of potatoes. One pound of potatoes will yield approximately six to eight seed pieces.
Healing
Now comes a very important stage of preparing seed potatoes – healing. Healing is actually leaving the cut tubers in a humid and well-ventilated place where the seeds won’t receive any light.
The temperature should be between 60 to 65 degrees Fahrenheit and the cutting should be left for about two days to heal.
You can plant the seeds immediately after cutting, but I have to warn you that you increase the chances of tuber rot if you do.
After two days (or more) of healing, transfer the cuttings to a place with a higher temperature (70 degrees Fahrenheit) to allow them to sprout and be ready for planting.
Plant The Cuttings
After you choose the type of soil, fertilize it, till it and make rows, and prepare the cuttings, it’s finally time to plant your potatoes!
Here is how:
• Dig a trench row approximately 6 inches wide and 8 inches deep using a hoe. The bottom should be around 3 inches wide. Add compost or aged manure.
• Put a seed potato in each trench every 14 inches and then cover the trench with 3 to 4 inches of soil. Make sure that the cut side is down.
There you have it! Now your potatoes are successfully planted. Simply wait until the sprouts show up, which is the first stage of potato growth.
How To Grow Potato Plants
Although potatoes aren’t fussy, they do need attention from time to time. Don’t worry, you’ll be handsomely rewarded for every second you spend caring for your potatoes!
You can expect potato tubers to sprout about two weeks after planting.
Let’s see what to do during the other stages of potato growth!
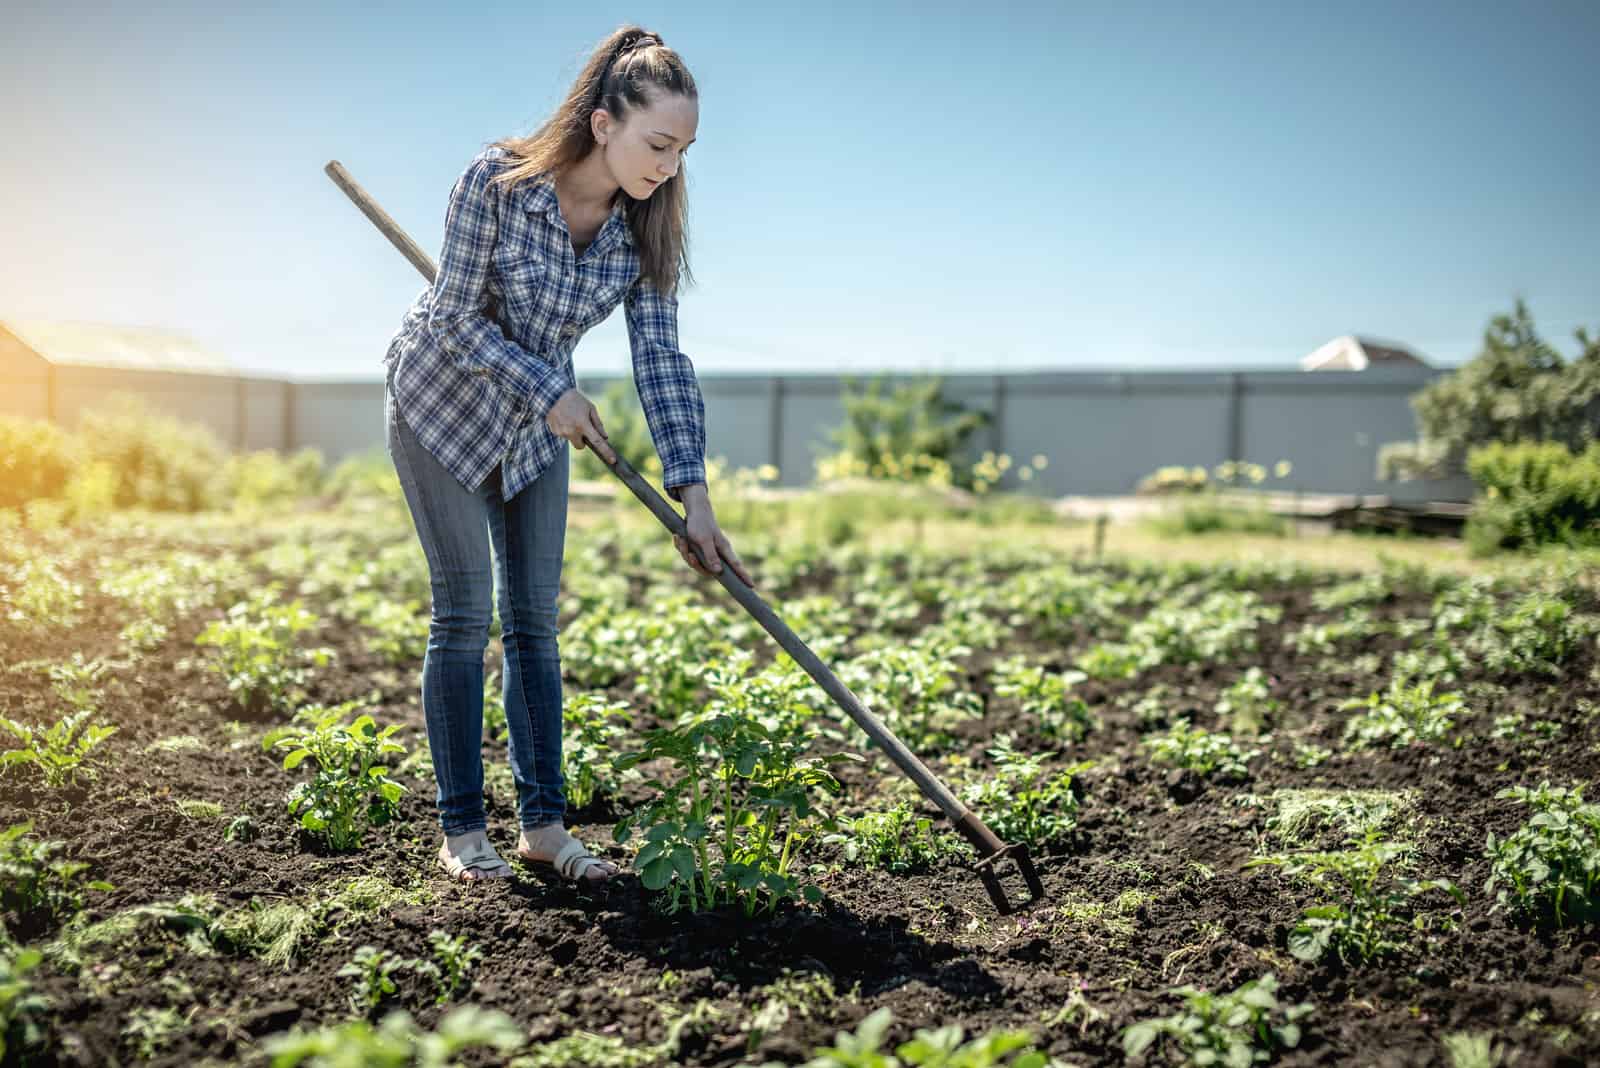
Hilling
Why is hilling important for potatoes? Gardeners hill their potatoes to protect them from different weather conditions.
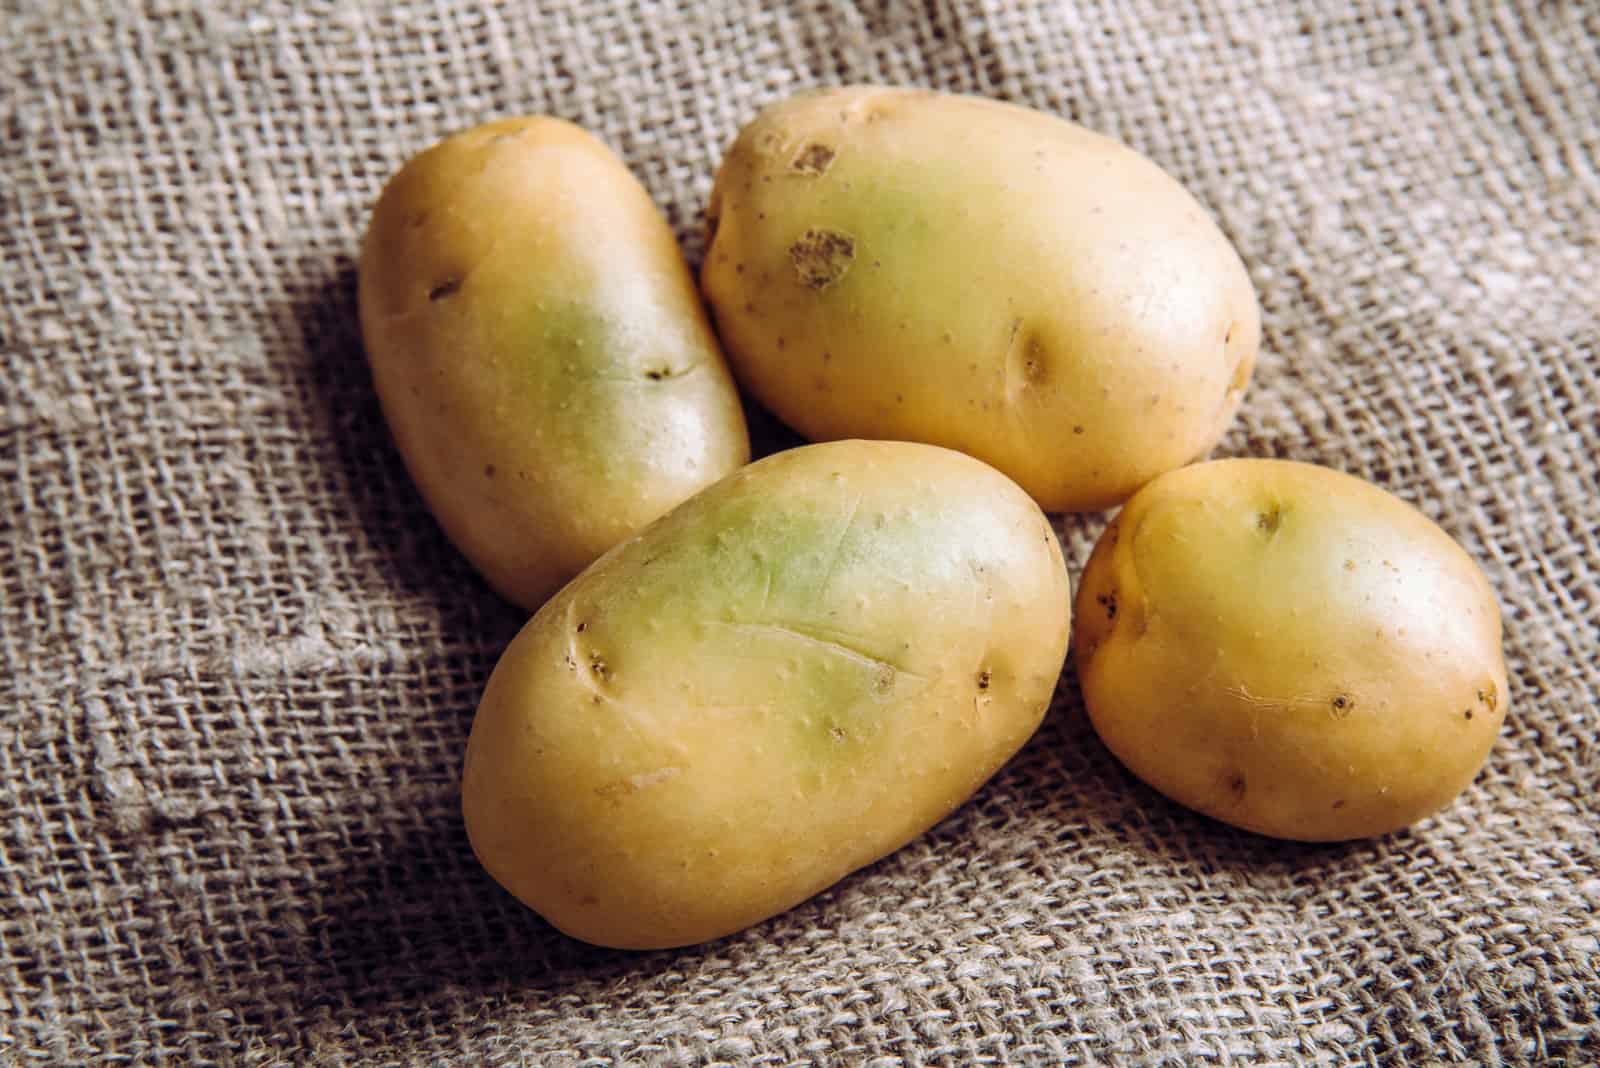
If the tubers push up above the soil, they are exposed to the sun and immediately turn green. Green tubers are not edible.
Hilling is piling the soil up around the potato plant base.
Fertilizing
Wait for about a month after planting and apply the other half of the fertilizer (the first half we used before planting).
You should bury the fertilizer approximately two inches deep.
Watering
When moisture within the soil suddenly increases or decreases, tubers can develop rough skin.
As mentioned, potatoes won’t grow in wet growing conditions so it’s important to adjust watering according to the needs of the potato.
If you add too much water to the soil it will wash out the fertilizer in the root system and they won’t be able to take in any of the nutrients, and the tubers and roots may rot as a result.
The smaller the plant, the less water it needs, so make sure it gets enough water at each stage.
Weeds
Weeds need light, water, and nutrients to spread, and they will try to take everything away from your plants. Weeds are actually a major concern for potatoes.
They can also serve as a breeding ground for insects and diseases.
Weeds can be suppressed with mulches, either plastic or organic.
Hand cultivation is the most common de-weeding approach for potatoes in vegetable gardens.
Be gentle and try not to damage the shallow root system of the potato plant.
If you decide on herbicides, be sure they are appropriate for potatoes. Always follow the instructions written on the package.
Potato Growth Stages: Common Problems
Each growing stage can be affected by either insects or diseases.
Let’s find out more!
Pests
Pests can be lethal for potatoes if left untreated.
The most common potato pests are Colorado potato beetles, wireworms, and aphids.
The best thing you can do to fight these pests is use the crop rotation method. Change the planting spot every three years and remove weeds because the pests often inhabit them.
You can remove pests using your hands if your potatoes are still small. If the potatoes are larger, you should use pesticides.
Diseases
There are a large number of diseases that can affect your potatoes, so you’ll have to be very careful and inspect them regularly to make sure they are completely healthy.
Here are the most common potato diseases.
Common Scab
If you spot any dark brown, round, and irregular lesions on potato skin, they are most likely common scab.
You can wash it off with soap and water, but be gentle as rubbing may irritate the scab.
Rhizoctonia
If there are black spots on the tubers, your potato is likely affected by the Rhizoctonia fungus.
Early And Late Blight
This disease is caused by overwatering and affects every part of the plant. If you spot lesions on the leaves and stems, your potato may be suffering from early or late blight.
Corky Ringspot
This disease causes discoloration and lesions on the tubers.
Leafroll And Mosaic Viruses
If your potatoes show stunted growth, leaf curl, or turn yellow, they may be suffering from the leafroll or mosaic viruses. Any plants suffering from this virus should be removed from your garden.
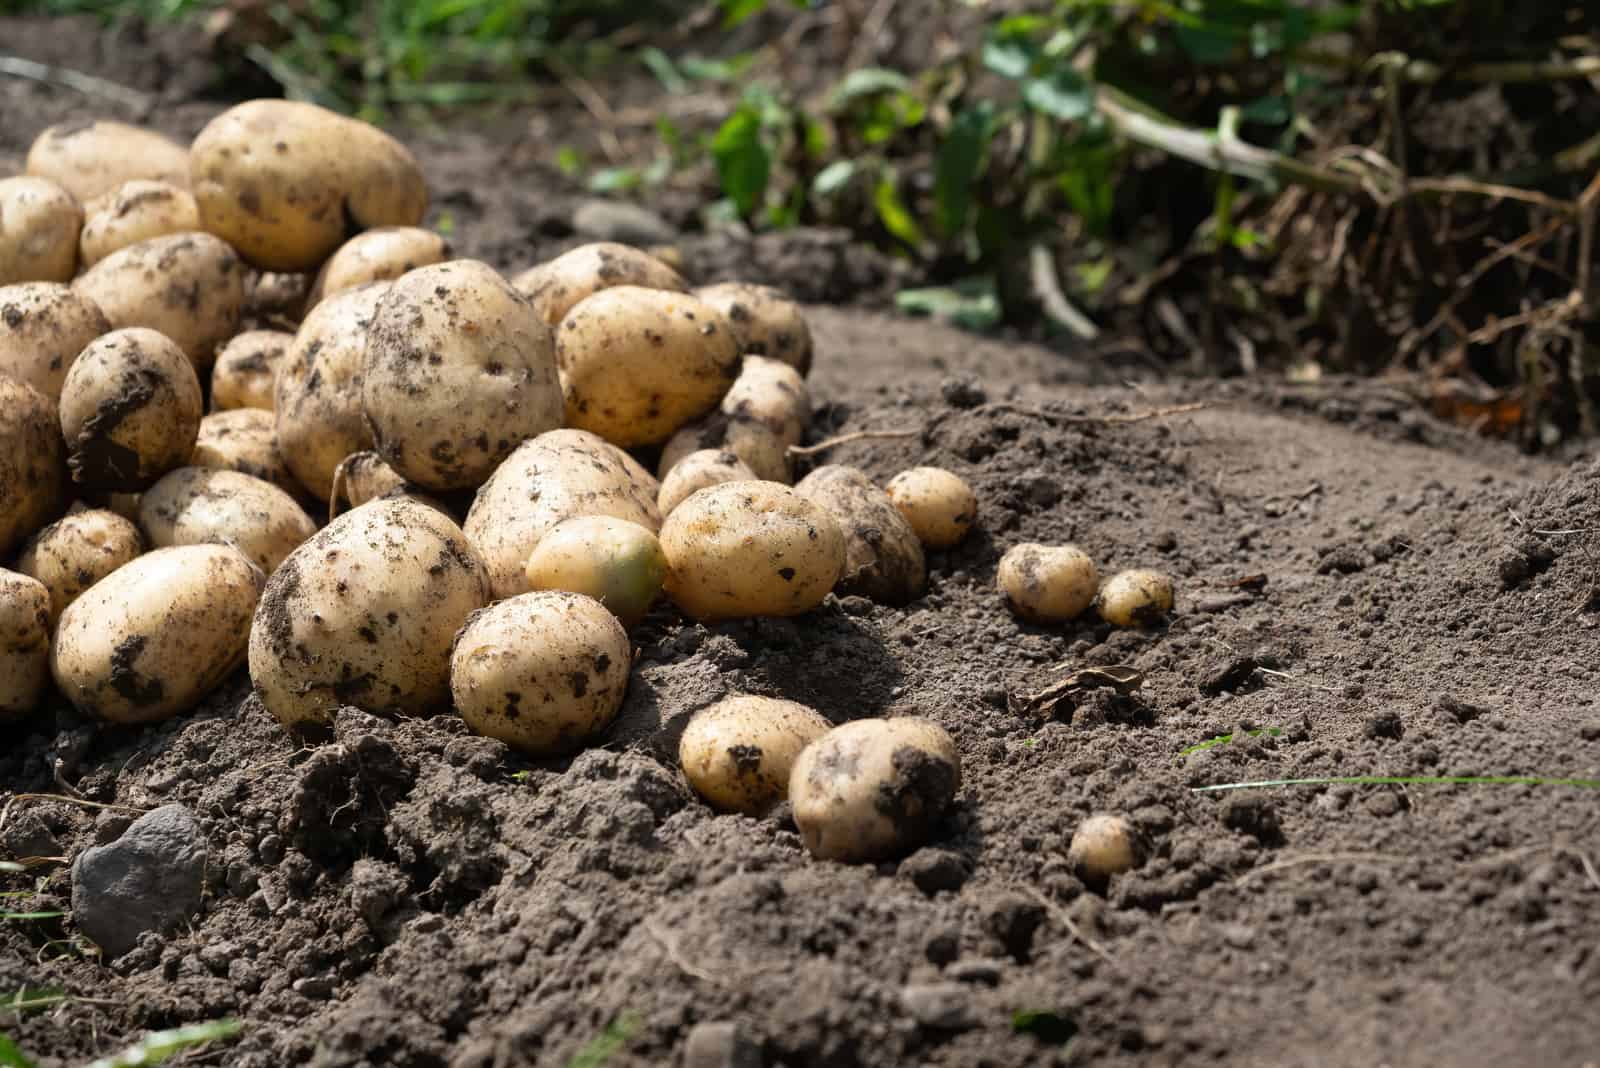
When And How To Harvest Potatoes
Your potatoes should be ready for harvest in about three months. If you plan to store them, you should leave them to die (mature).
You can speed up maturation if you kill the plant tops. After the plant matures, leave it for about two weeks before digging your potatoes.
Make sure to dig below the potatoes to avoid damaging the tubers.
How To Store Potatoes
After the harvest, transfer your potatoes to a final storage area with moderate to high humidity. Ensure they get enough aeration and a cooler temperature ranging from 38 to 40 degrees Fahrenheit.
You should remove rotten or damaged potatoes as they have a foul odor and can reduce the life of stored crops.
If you wash the potatoes, make sure they are completely dry before storing them.
If you ensure the right conditions, you can keep your potatoes in storage for three to six months.
Best Potato Varieties
Here are some great potato varieties to grow in your garden.
• Russet or Idaho potatoes: These are the most common potato cultivars grown in America. They are cool-season crops and great for french fries.
• Yukon Gold: These potatoes have yellow flesh and are great for mashing, grilling, and frying.
• Rooster: If you want some fresh potatoes for Christmas, Rooster cultivars are the best. They won’t fall apart when cooking so they are suitable for every meal.
Wrapping Up
Growing plants can sometimes be more challenging than it looks, but I’m sure you’ll agree when I say that it’s definitely worth it!
Potatoes are delicious and healthy vegetables, which is why they are widely cultivated.
We have learned all about the potato growing stages, and also how and when to plant potatoes, harvest, and store them.
I hope you enjoy growing potatoes as much as I do!
Until next time!
Like this post? Share or pin it for later!