Trigger Your Peace Lily To Bloom By Following These 12 Easy Steps
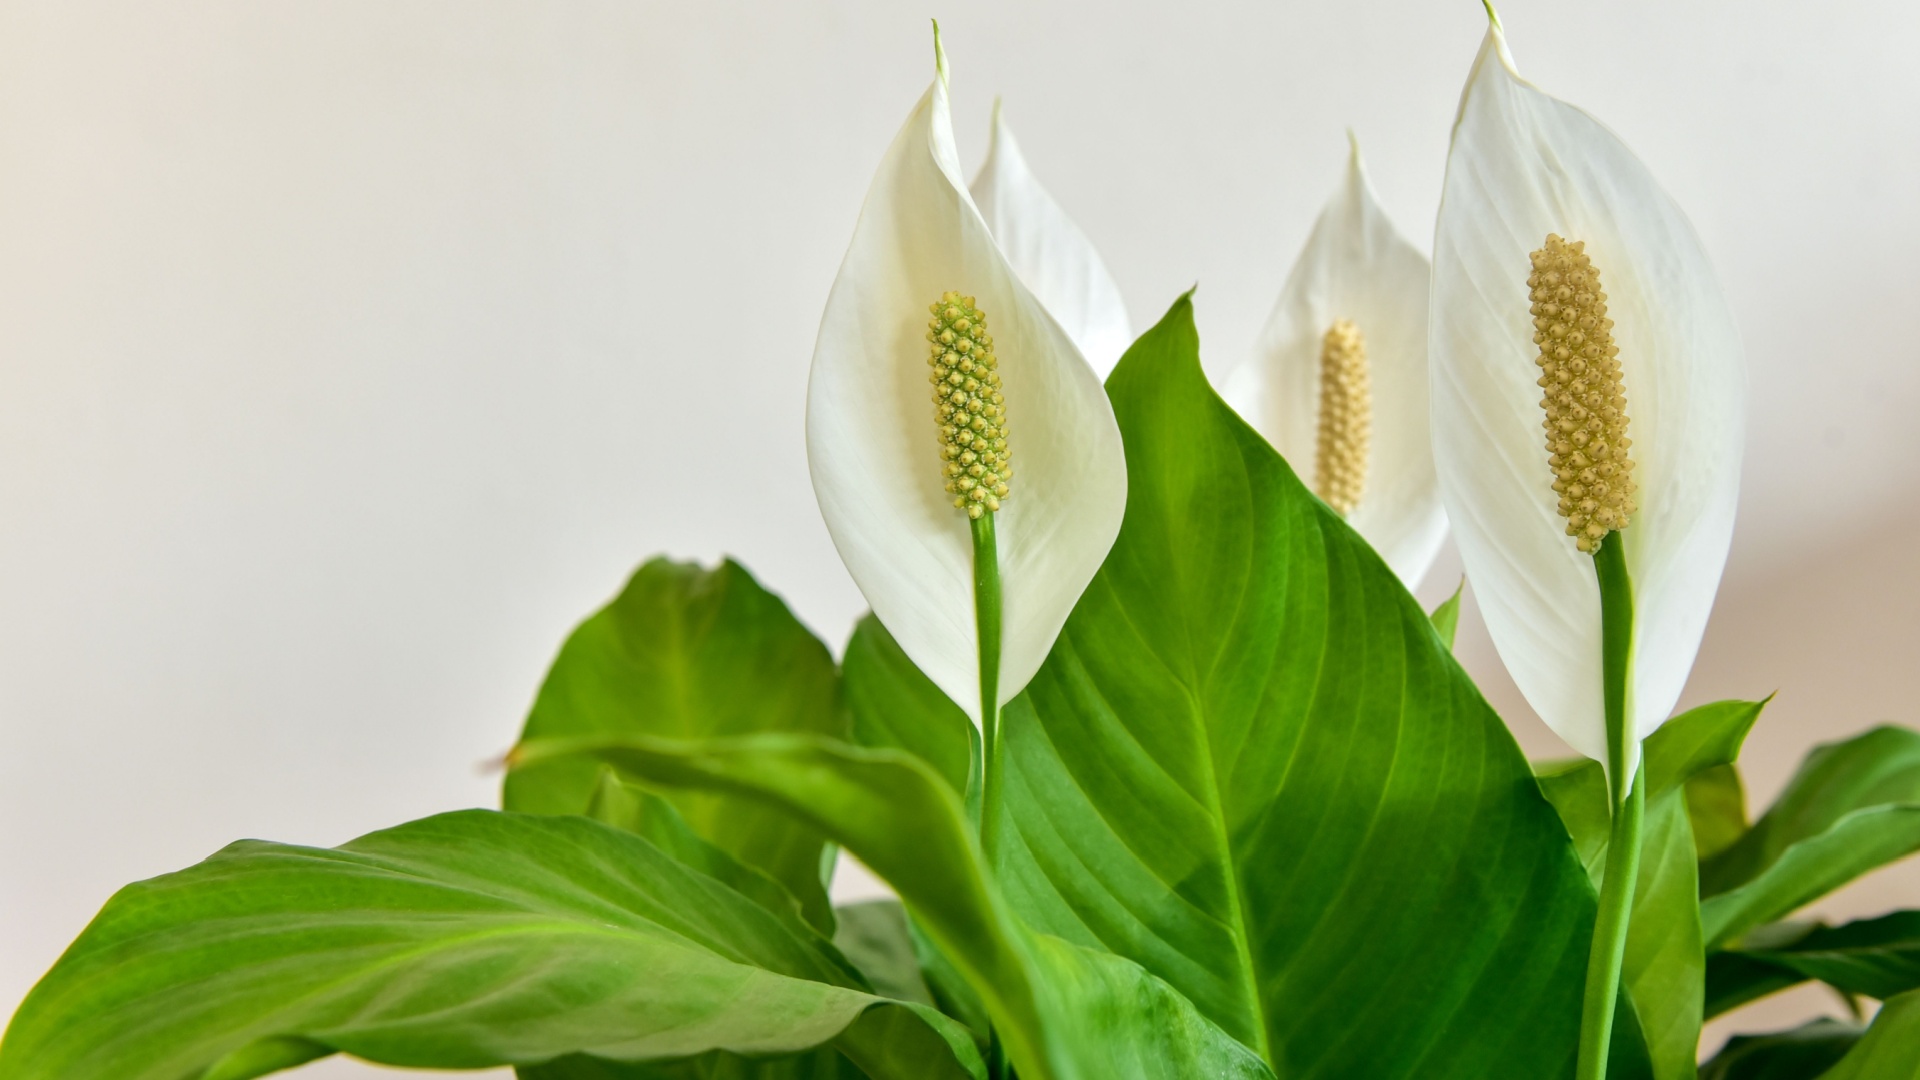
If your Peace lily’s giving you leaves but no flowers, don’t fret—we’re here to help it bloom where it’s planted!
Too much water, too little light, pests, or poor feeding might be the culprits.
Read on for simple, effective tips to turn things around and get those gorgeous white blooms popping in no time!
1. Correct Light Settings
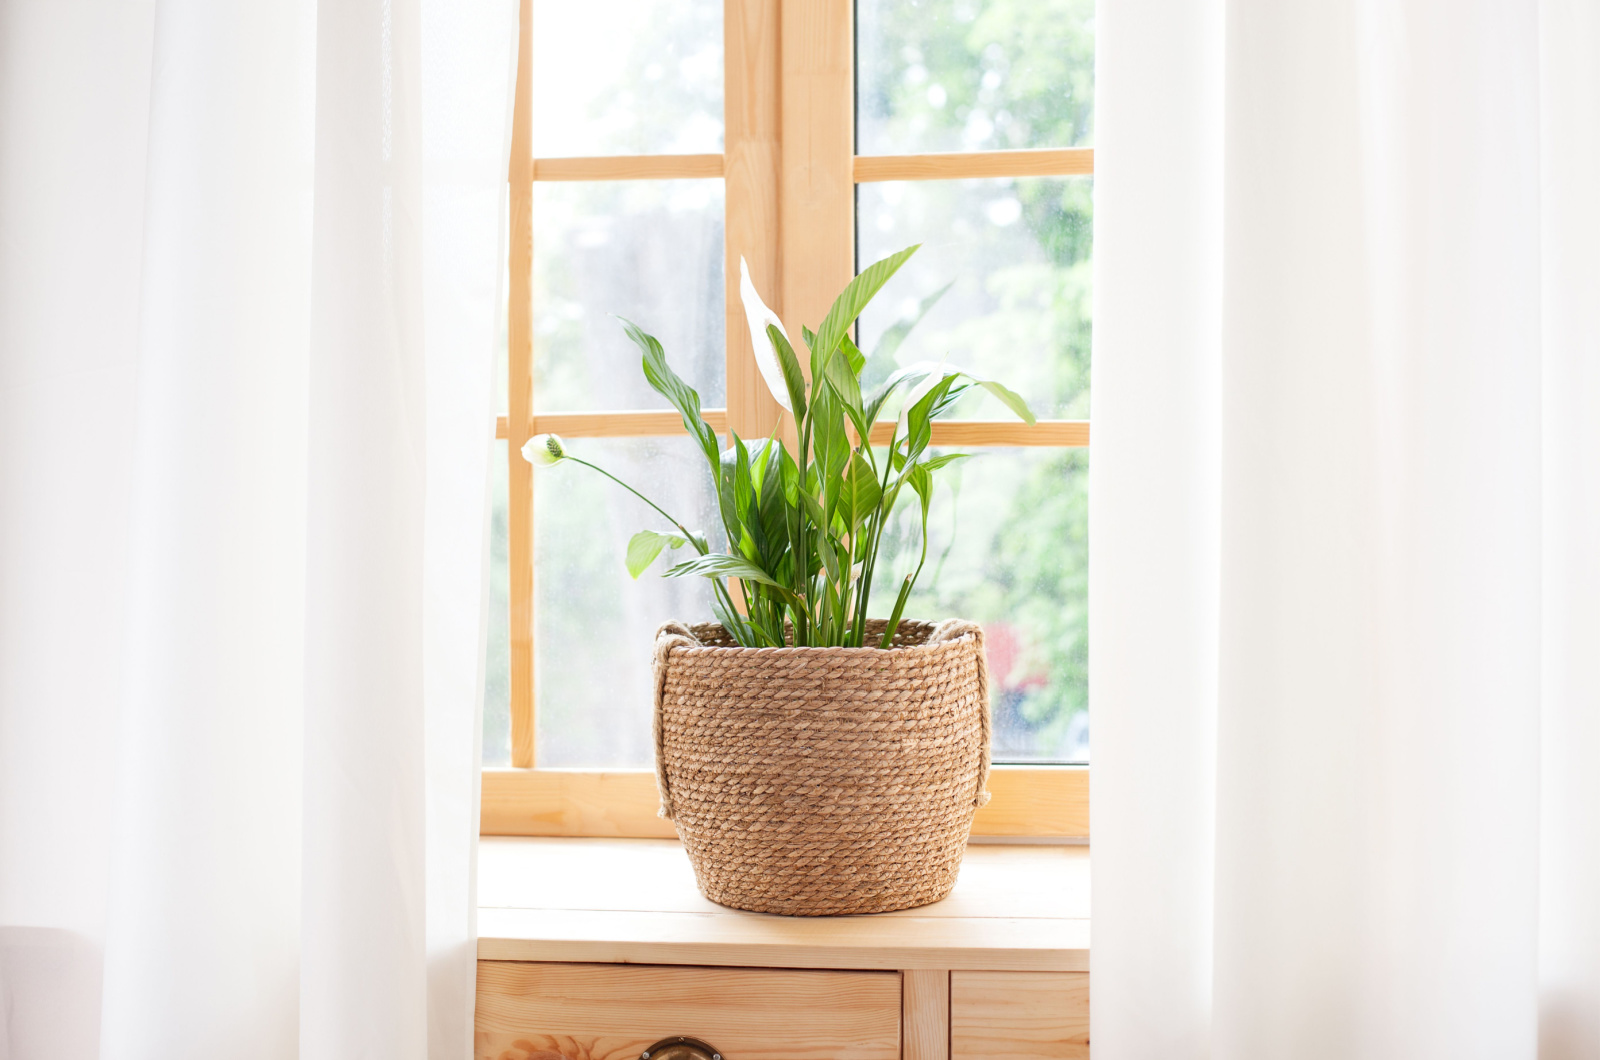
Peace lilies are a type of plant that can adapt to low light conditions, so keeping them in too bright locations might lead to wilting and yellowing of the leaves.
These lovely plants generally do well in bright, indirect light. Avoid putting them in direct sunlight as it can burn their delicate leaves.
It’s best to keep your Peace lily in an east-facing window with sheer curtains. Or, put it several feet away from a south-facing window where it will receive diffused sunlight.
If you can’t find the perfect location, Peace lilies will do well in artificial lighting as well – use LED or fluorescent bulbs and place them no more than 12 inches away from the plant.
Related: Why Is My Peace Lily Drooping? Find Out Causes And Solutions
2. Adjust Watering
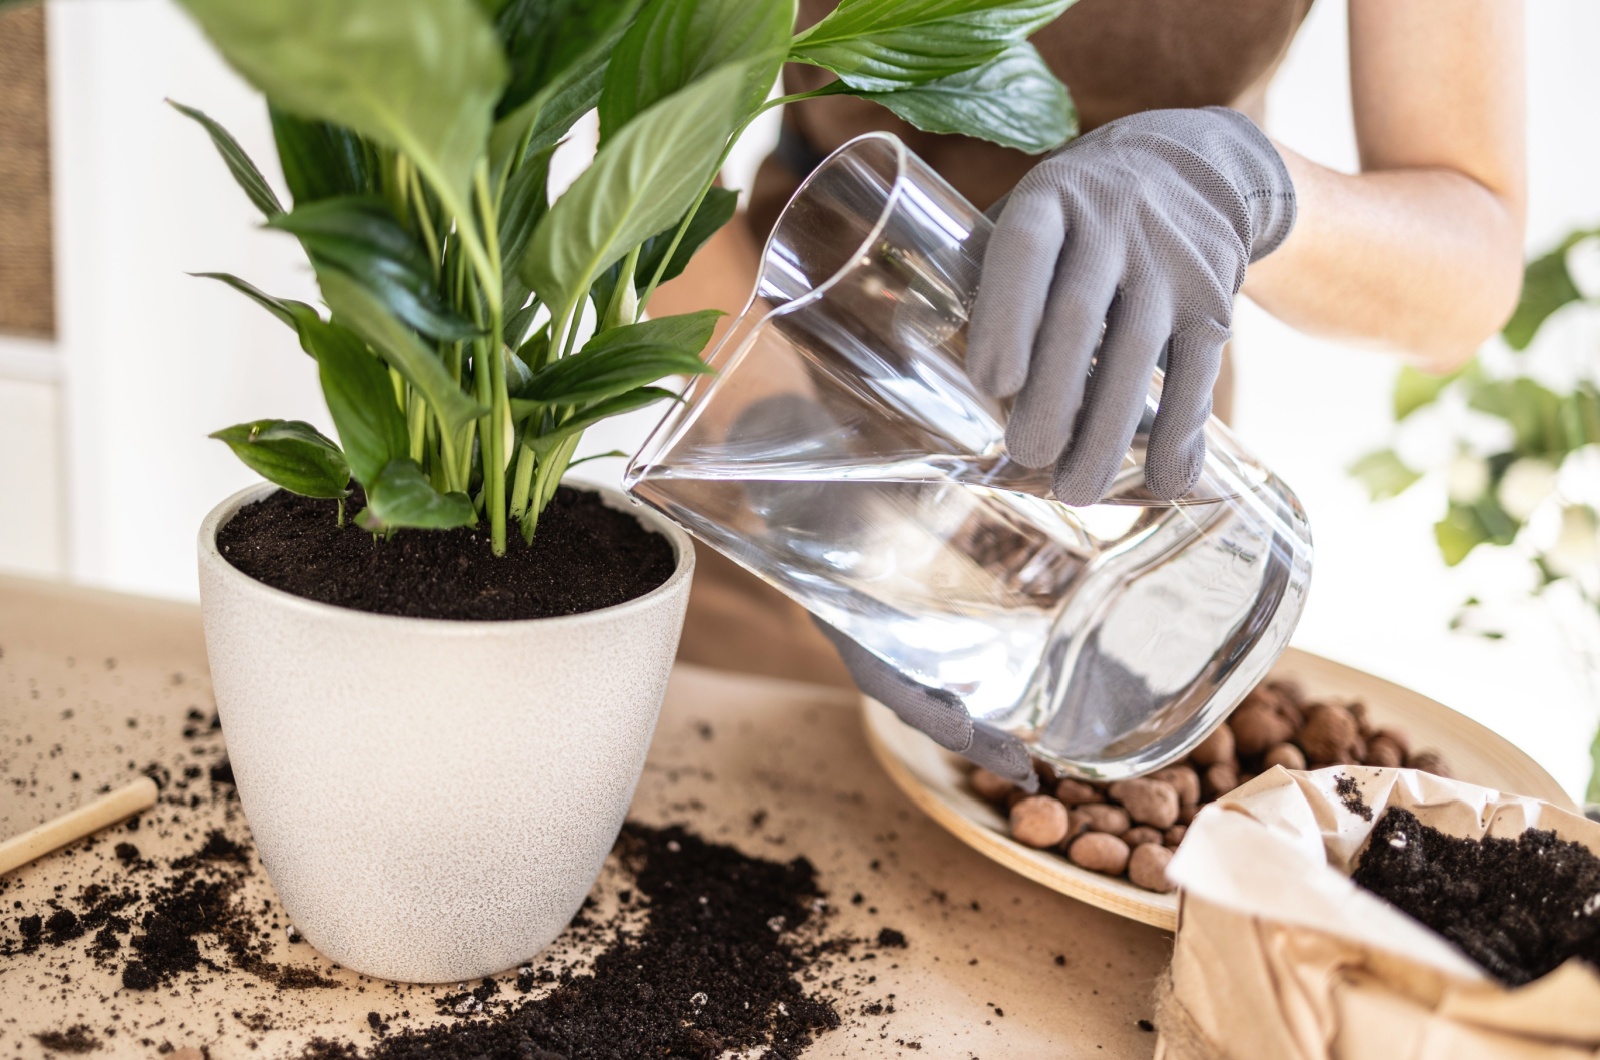
Watering Peace lilies can sometimes be tricky. They don’t like too much water as they are susceptible to root rot; on the other hand, they don’t like to be kept bone-dry for too long.
Water these beauties more frequently during their growing season – at least once a week. In the winter, you should reduce watering to every other week. Use lukewarm water when watering them and make sure that the soil is not soggy.
It’s best to check the soil before the watering session – if it is dry, go ahead and water your Peace lily. If not, postpone watering for a couple of days.
Water your peace lily in a sink or other container to allow any excess water to run off easily. Maintain the healthy and vibrant appearance of the leaves by spraying the plant once or twice a week with room temperature water.
This might be useful: 10 Symptoms And Solutions For An Overwatered Peace Lily
3. Provide Proper Soil
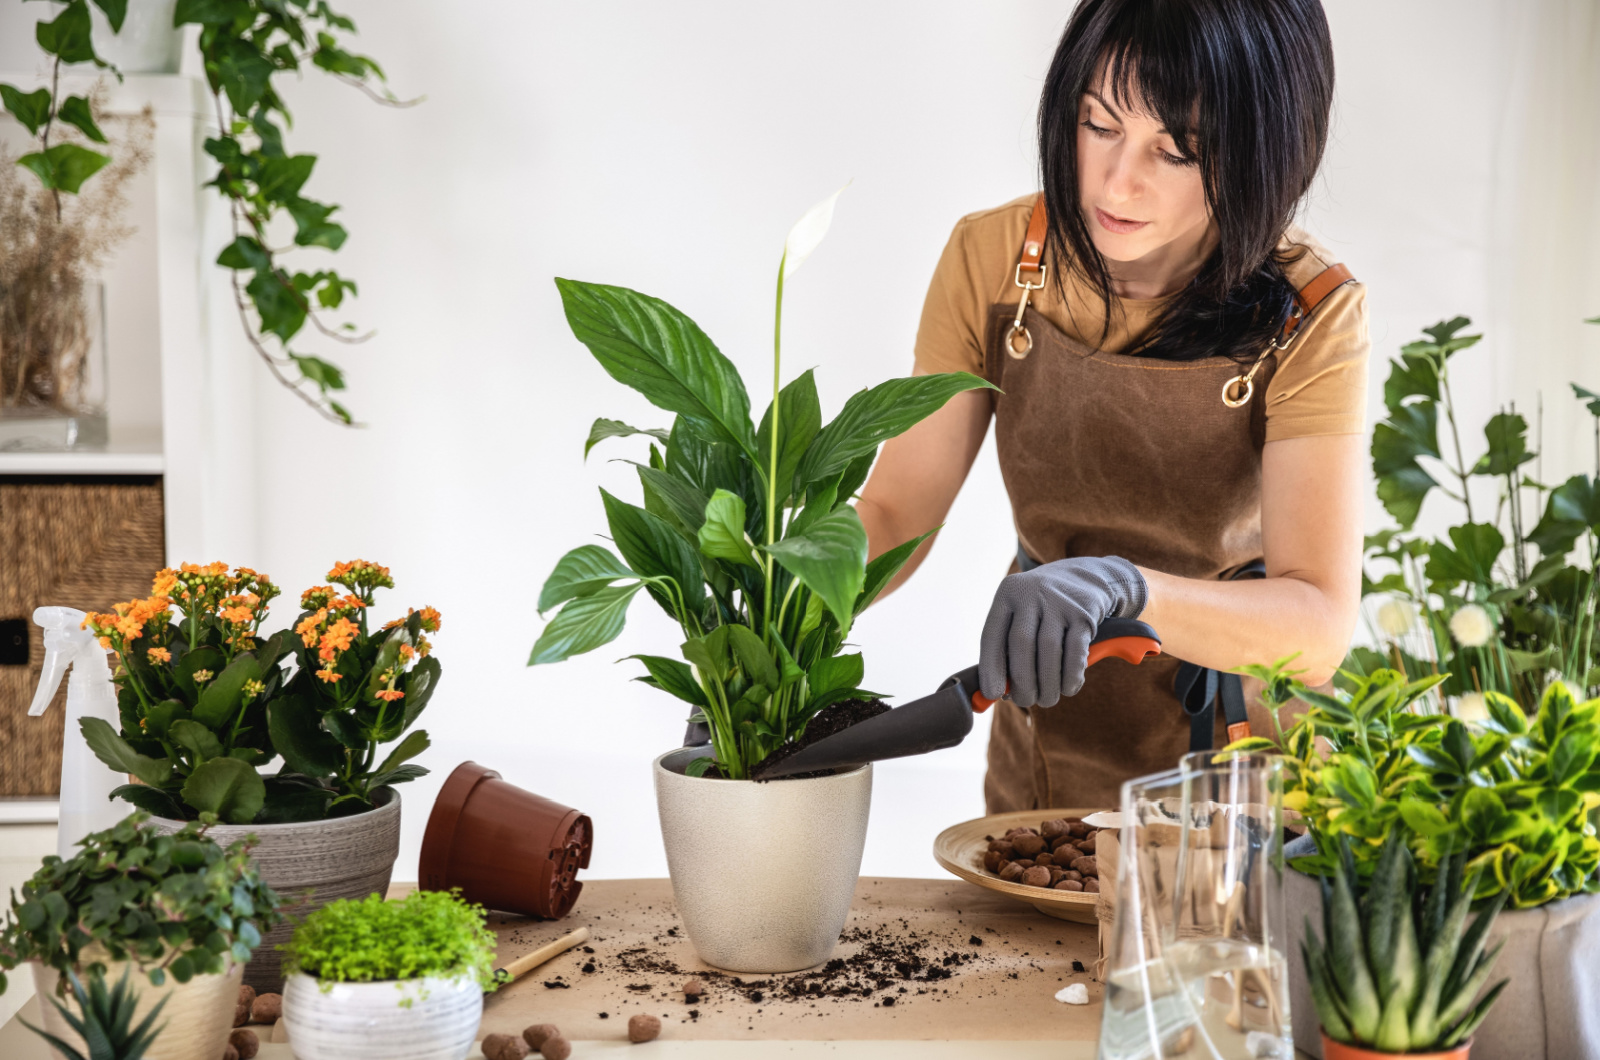
Inadequate soil can make your Peace lily uncomfortable, which deprives you of those beautiful, white flowers!
So, in order to encourage your lovely plant to bloom and thrive, make sure to provide it with a peat-based potting mix that is also lightweight and well-draining. You can add vermiculite or perlite for extra drainage.
The pH levels of the soil should be between 5.5 to 6.5, so slightly acidic soil is perfect for your Peace lily!
You can use a potting mix made specifically for tropical plants or houseplants as it will provide your lovely plant with all the nutrients it needs to produce those wonderful blooms!
In case you are using an all-purpose potting soil, be sure to add some fertilizer every few weeks so that your plant gets enough nutrients.
Additionally, you can add mulch on top of the soil to help retain moisture – use shredded bark or composted leaves.
4. Use The Right Fertilizer
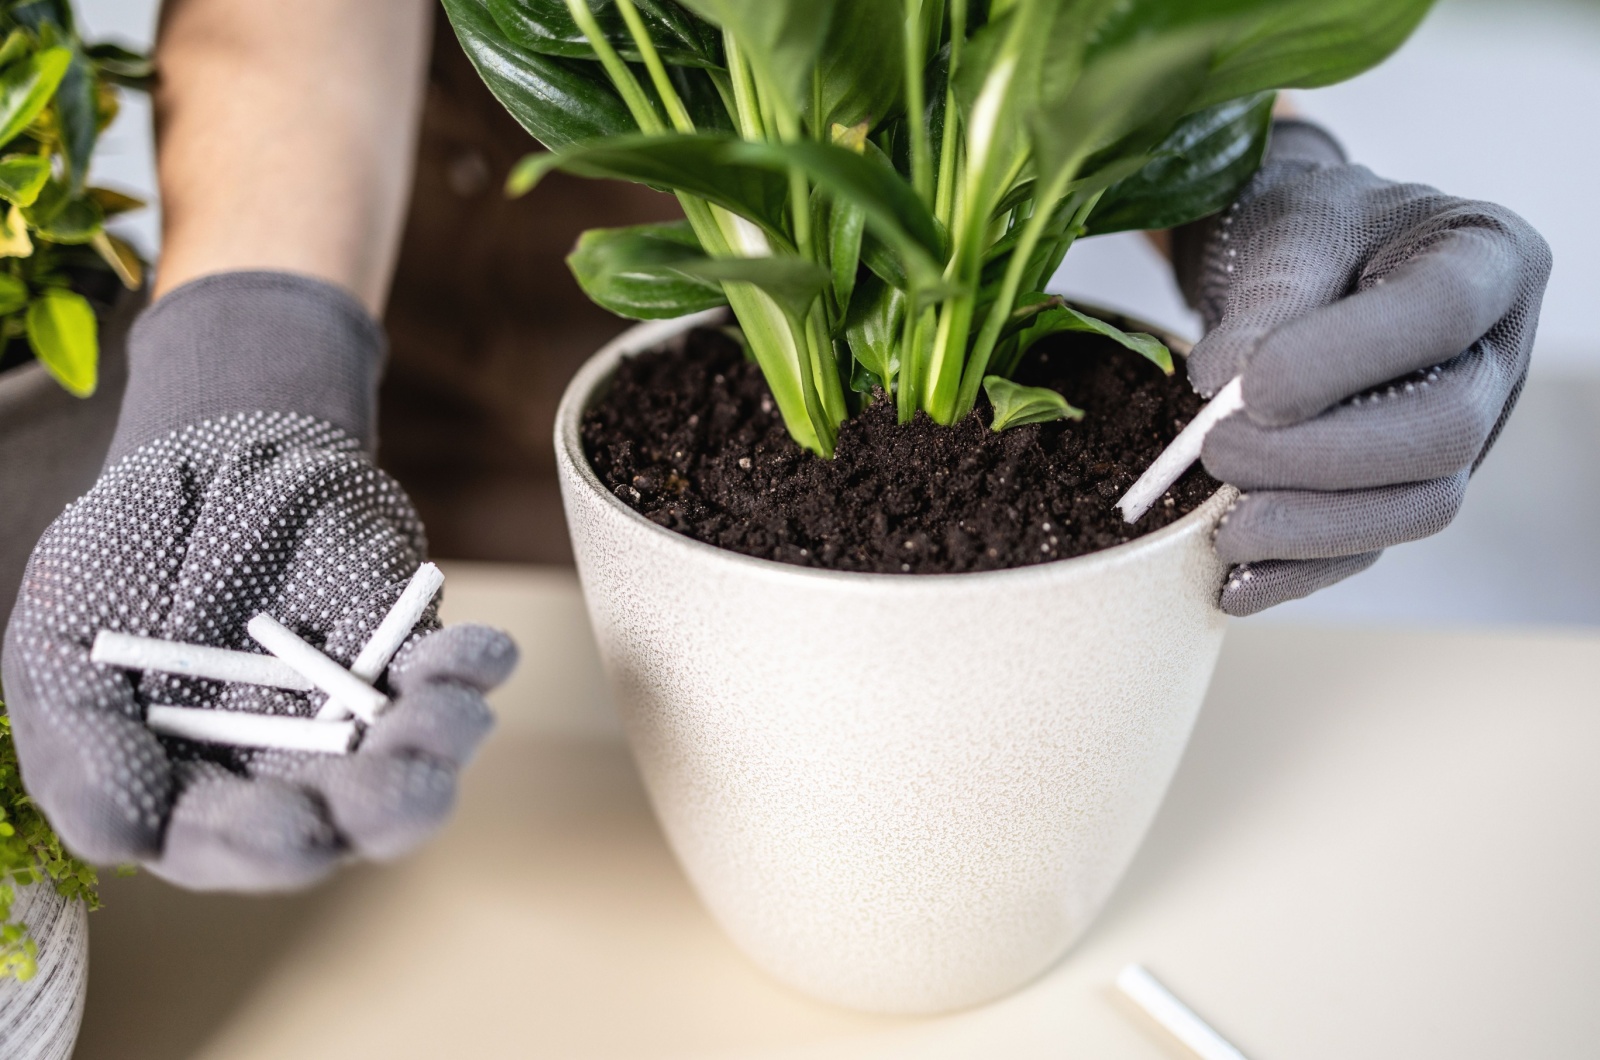
Providing your Peace lily with all the right nutrients it needs for bloom production is very important.
It’s best to use a balanced, slow-release fertilizer with an equal NPK formula. Therefore, you should opt for a 8-8-8 or 10-10-10 fertilizer for your Peace lily. Use a mild fertilizer because these plants are known to have sensitive roots. Avoid those with high salts or urea content.
Make sure to fertilize only during the growing season because they go dormant during the winter months, so they don’t need many nutrients.
Apply half the suggested strength of fertilizer to the potting soil when adding fertilizer to your Peace lily, and then water the soil well. This will help to avoid burning or overfeeding the plant.
You should also occasionally run water through the soil and let it drain completely in order to get rid of any excess soil. By doing this, you can guarantee that your plant will stay happy and healthy throughout the year!
Related: Peace Lily Leaves Turning Black: Reasons & Solutions
5. The Container Material Matters Too
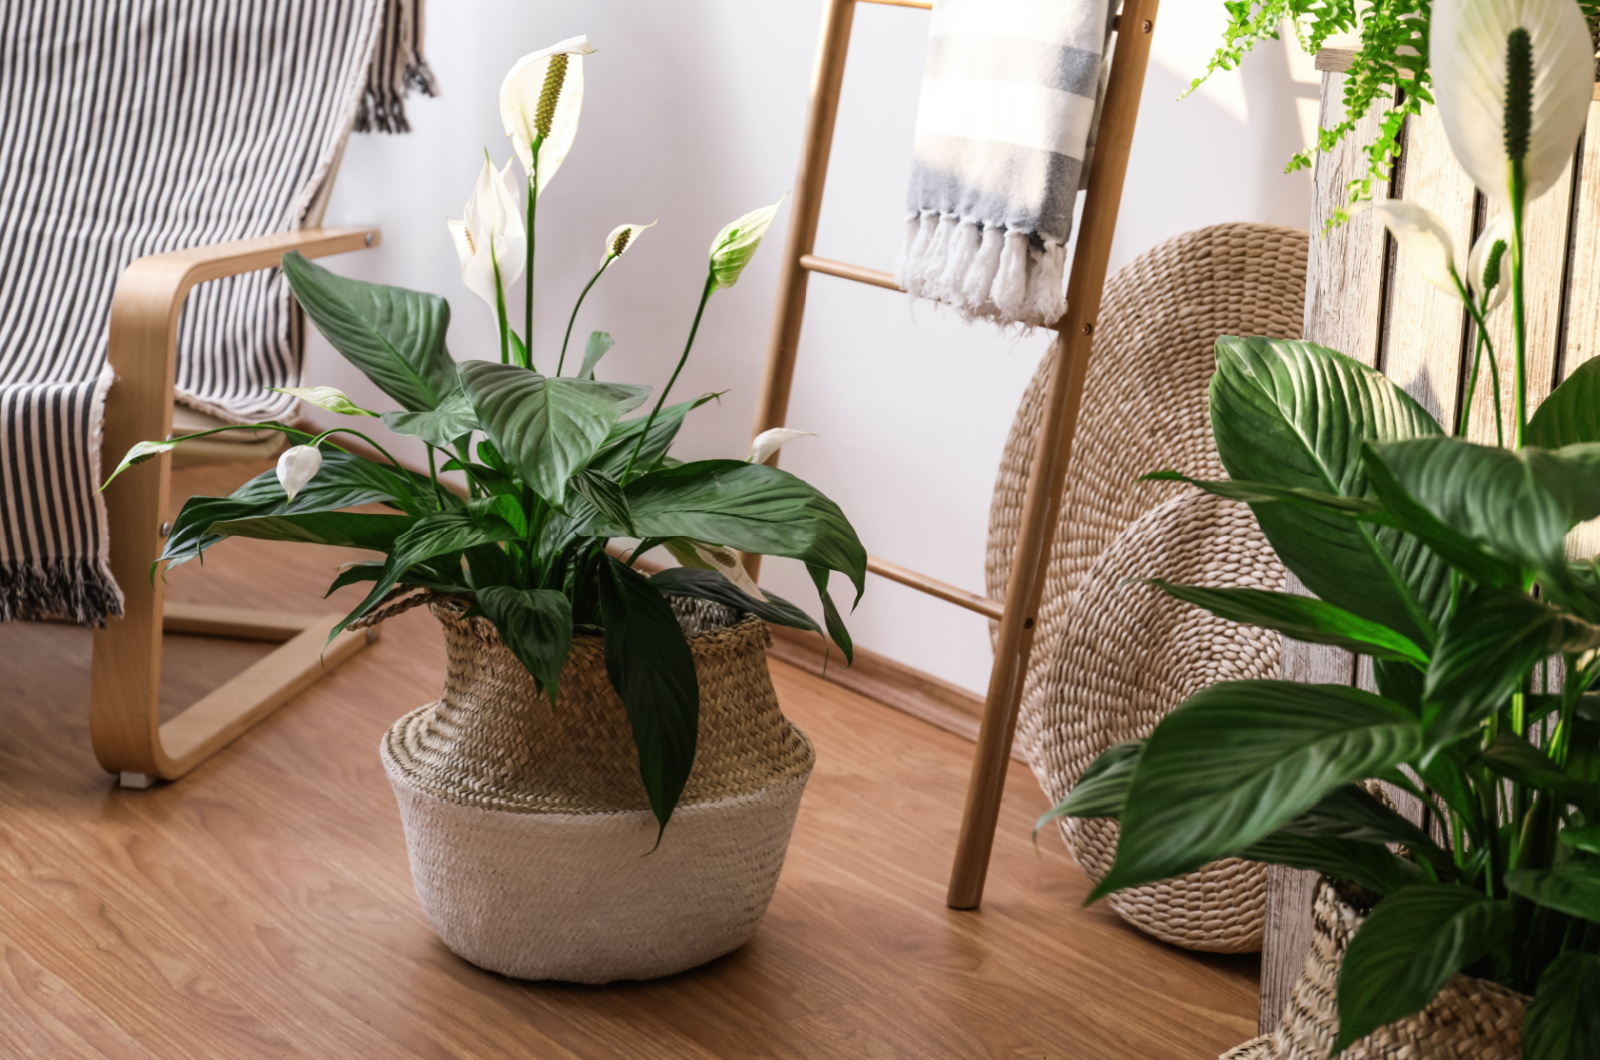
The size and the container material also play an important role when growing Peace lilies. For starters, you should get a container that is slightly larger than the current size of your plant.
Opt for plastic, ceramic, or terracotta pots that will provide adequate drainage and proper aeration. Don’t forget to buy a pot with drainage holes in the bottom!
Select a container with enough depth and width so that the plant’s roots can develop comfortably. You can also use containers with saucers to make it look more aesthetic and also manage water spill.
6. Maybe You Need To Repot
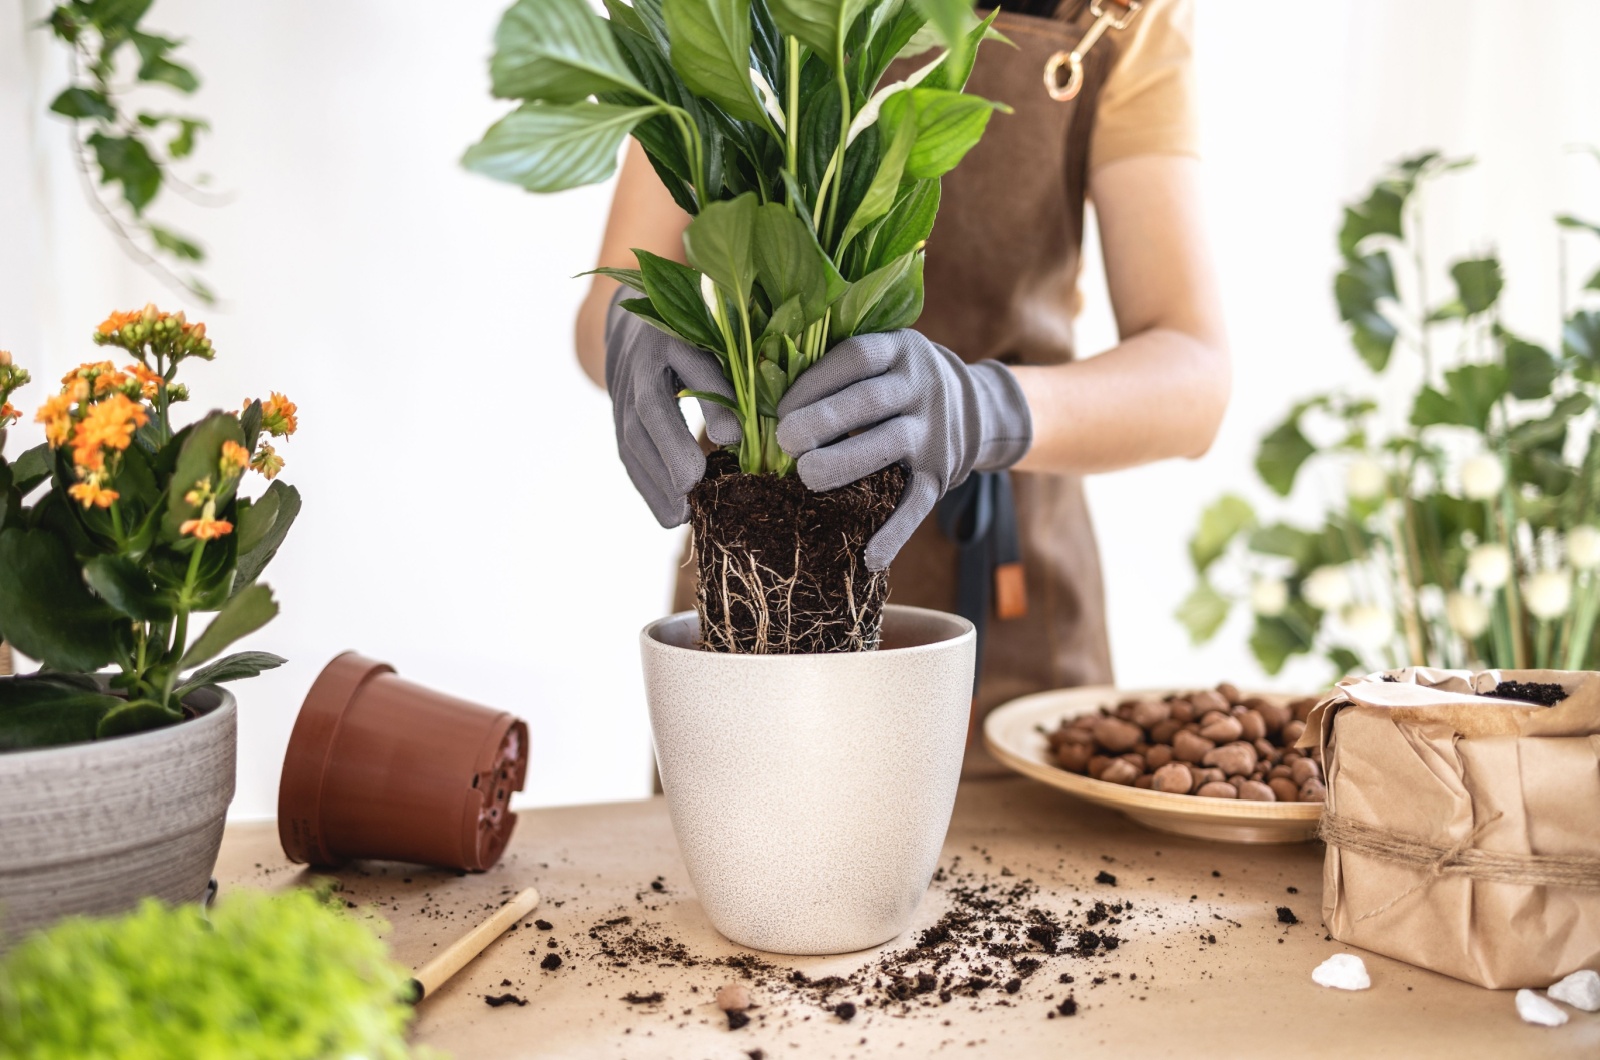
Stunted growth, no blooms, and overall drooping might be signs that your Peace lily needs repotting.
First, choose a pot that is slightly larger than the current one because the roots need more space to grow and spread. High quality potting soil and pots with drainage holes are a necessity when repotting.
Once repotted, put your Peace lily in bright, indirect light and water thoroughly. You should get rid of any dead or damaged leaves and stems, but also check the roots for root rot. If you spot any rotting roots, trim them away and remove the soil completely.
Related: 5 Easy Steps For Repotting A Peace Lily
7. Be Aware Of Pests
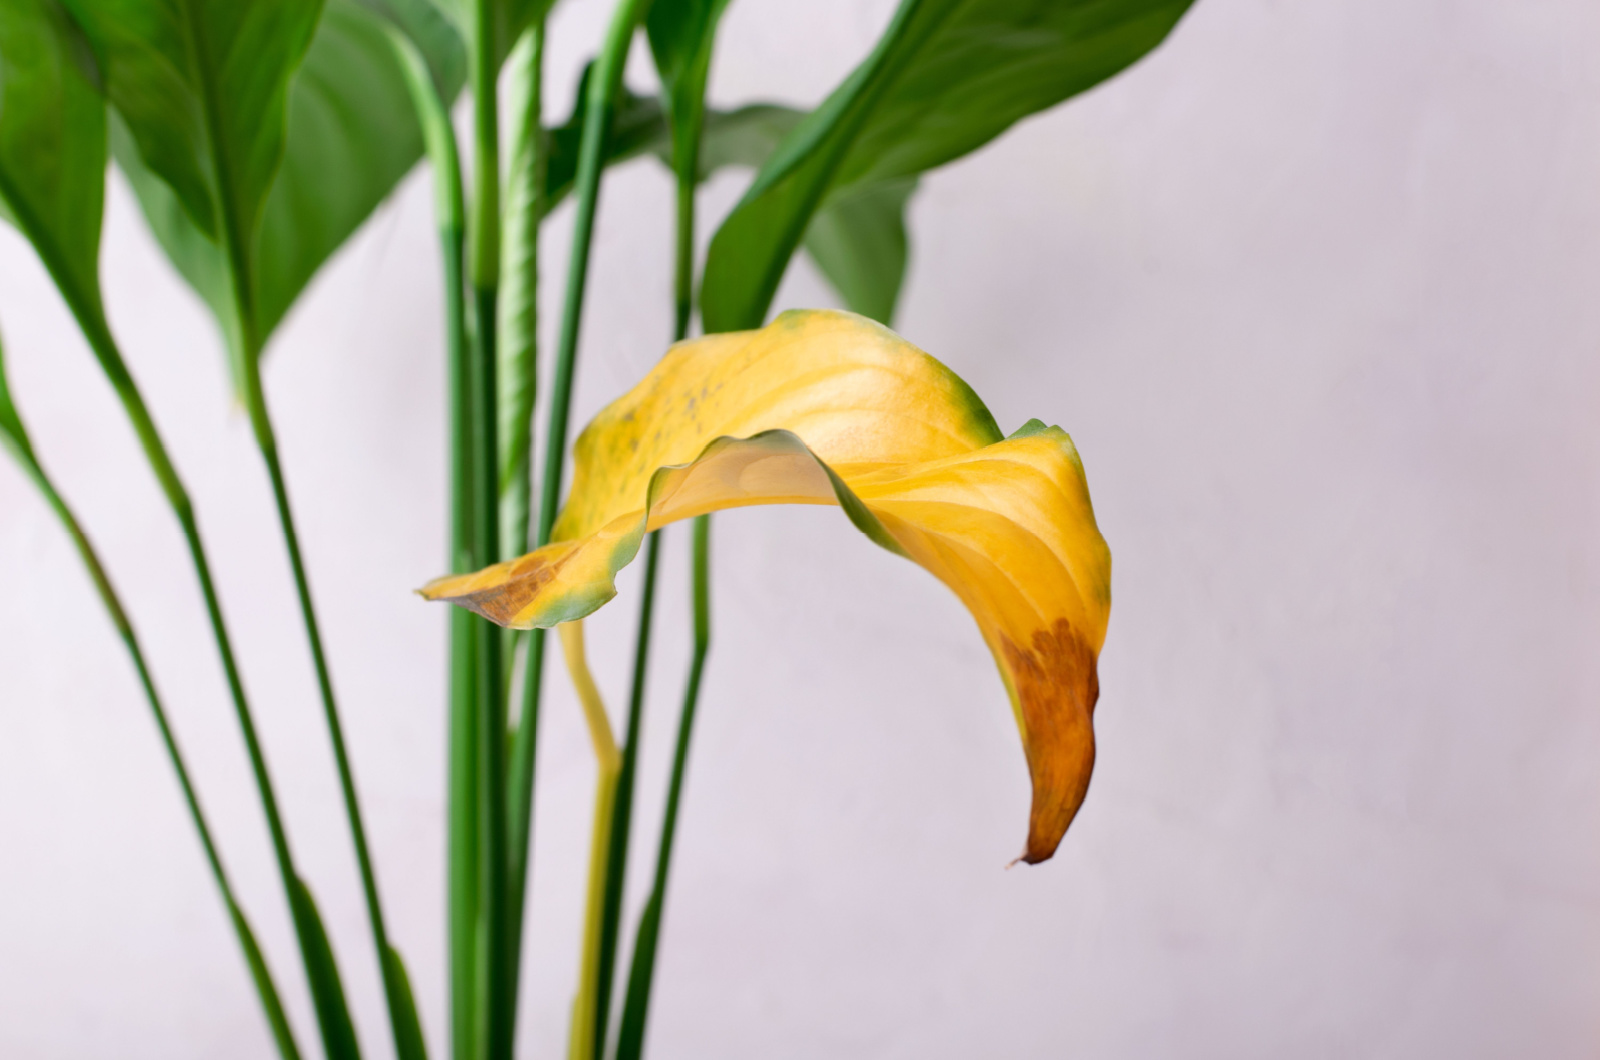
Although the Peace lily is a sturdy plant that is relatively resistant to pests and diseases, there can still be some pesky insects that sneak in and attack your plant. Those pests are mealybugs, spider mites, thrips, scales, and aphids.
Leaf discoloration and wilting are often signs of pest infestation. You might even spot some crawling all over the plant, leaving webbing or sticky residue behind.
Diseases like powdery mildew, bacterial leaf spot, and root rot can also affect your Peace lily. White spots, wilting, and yellowing of the leaves usually occur due to these plant diseases.
Proper plant care and occasionally cleaning the leaves with a damp cloth can help prevent pests and diseases. In case of an infection, treat your plants with neem oil, pesticides, or insecticides.
This might be useful: Watch Out For These 15 Common Garden Pests!
8. Keep The Temperature And Humidity Just Right
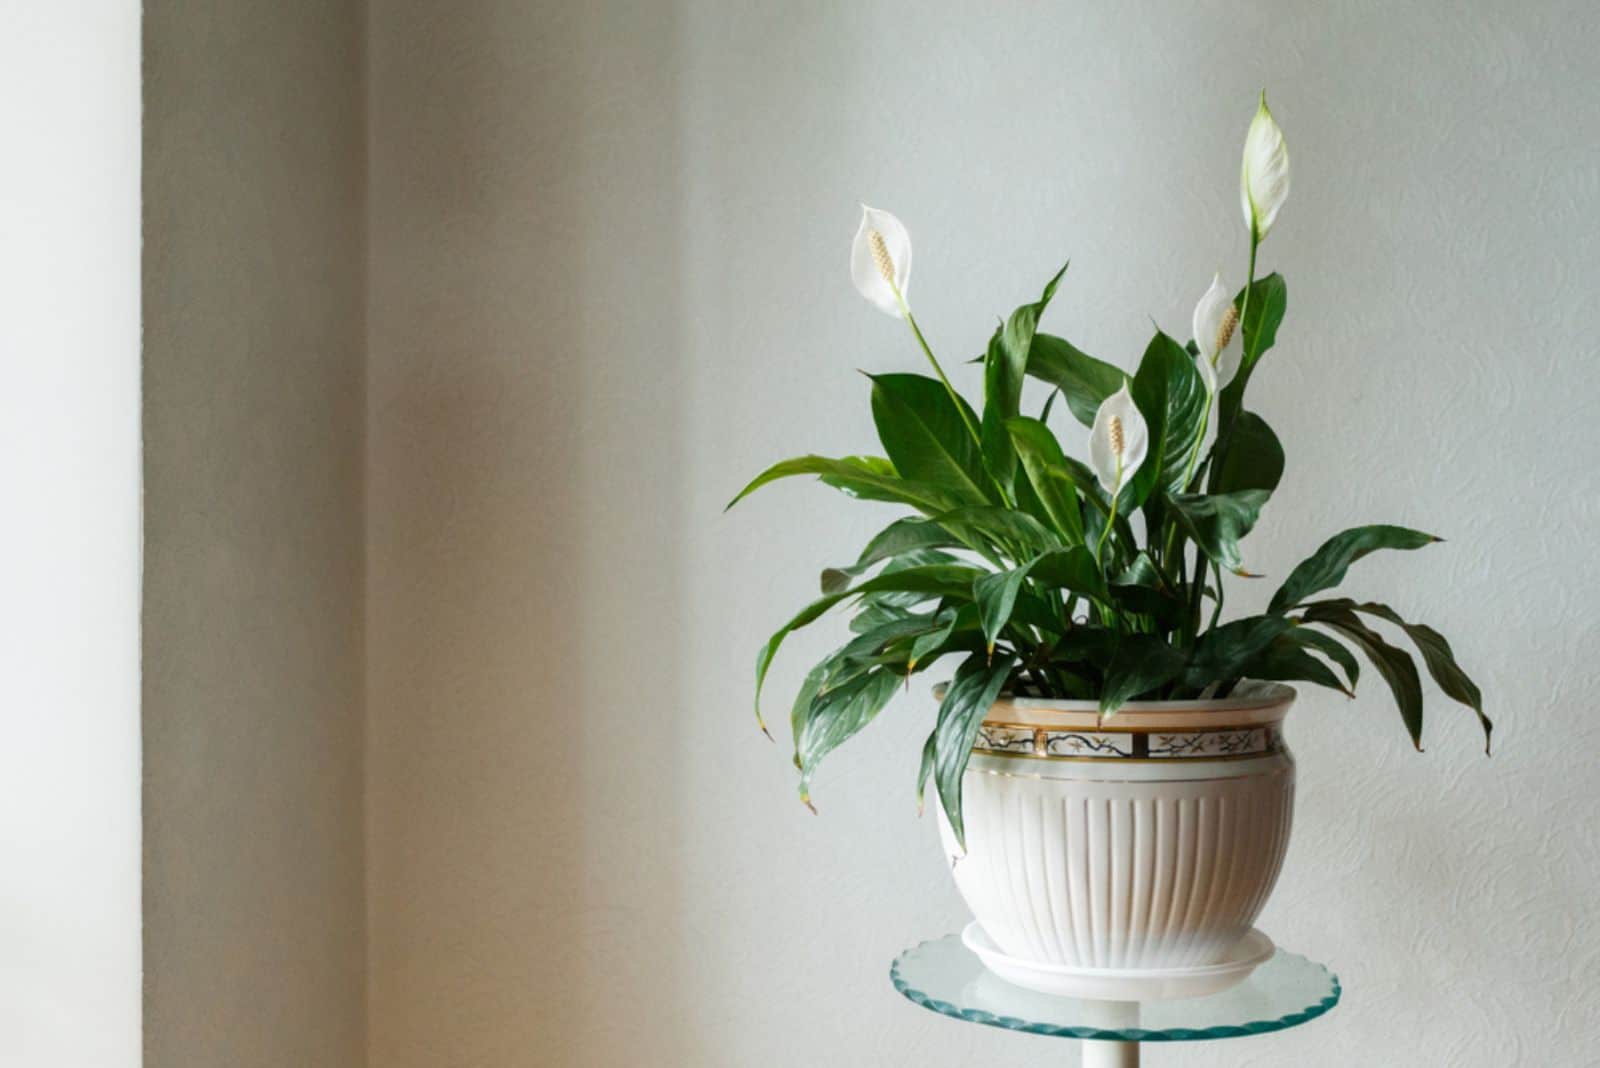
If your Peace lily isn’t blooming, temperature and humidity could be the missing puzzle pieces. These tropical plants thrive in warm, humid environments, and if conditions aren’t ideal, flowering may be delayed or completely halted.
Peace lilies prefer temperatures between 65-80°F (18-27°C). Avoid placing them near air conditioners, heaters, or cold drafts, as sudden temperature fluctuations can stress the plant.
If the temperature dips below 55°F (13°C), your Peace lily may stop growing altogether.
Humidity is just as important! If the air in your home is dry, mist your plant a couple of times a week or place a tray of water and pebbles nearby to increase moisture.
A humidity level of 50-60% will encourage healthy growth and vibrant blooms. If you live in an arid climate, a humidifier can also help keep conditions just right.
9. Give It A Period Of Rest
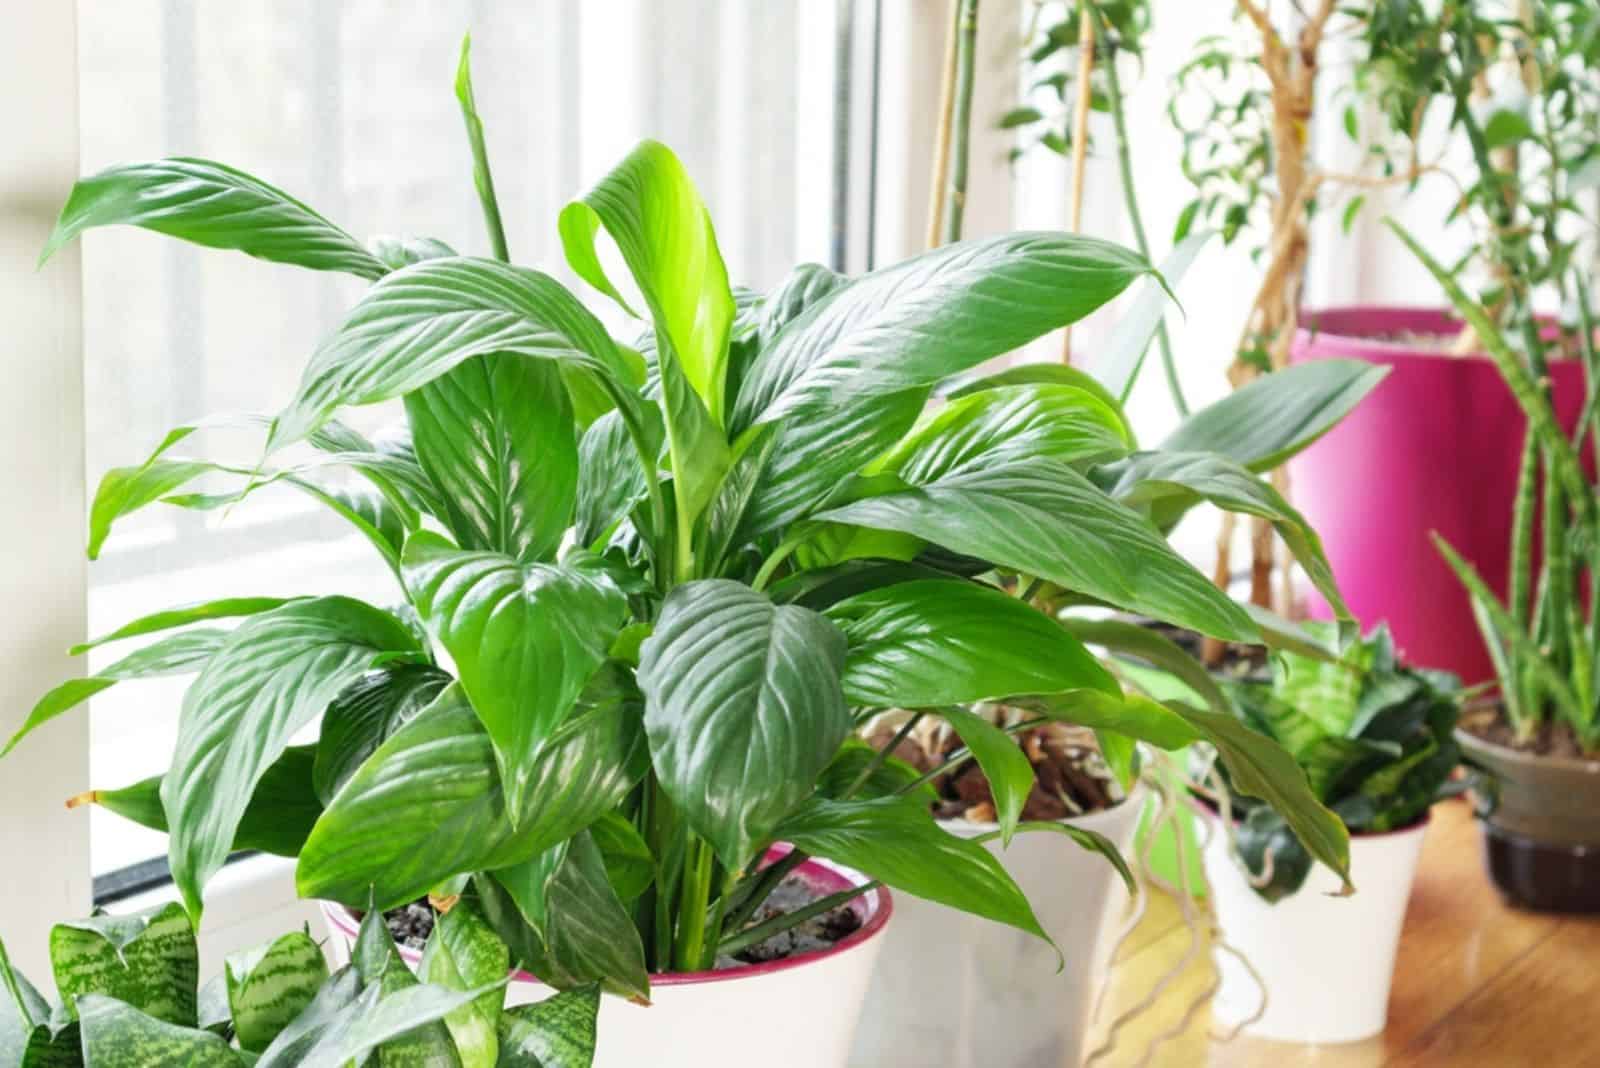
Just like people, Peace lilies need some downtime to gather energy before blooming again. If your plant has been growing well but still isn’t flowering, it may need a short rest period to reset.
During fall and winter, reduce watering slightly and stop fertilizing altogether. This encourages the plant to store energy instead of continuously pushing out new leaves.
While it’s tempting to keep feeding it in hopes of flowers, over-fertilization during the dormant period can actually do more harm than good.
Once spring arrives, gradually increase watering and start feeding it with a diluted fertilizer. The plant will naturally respond to the seasonal change, and before you know it, fresh blooms will appear!
10. Prune For Healthier Growth And More Blooms
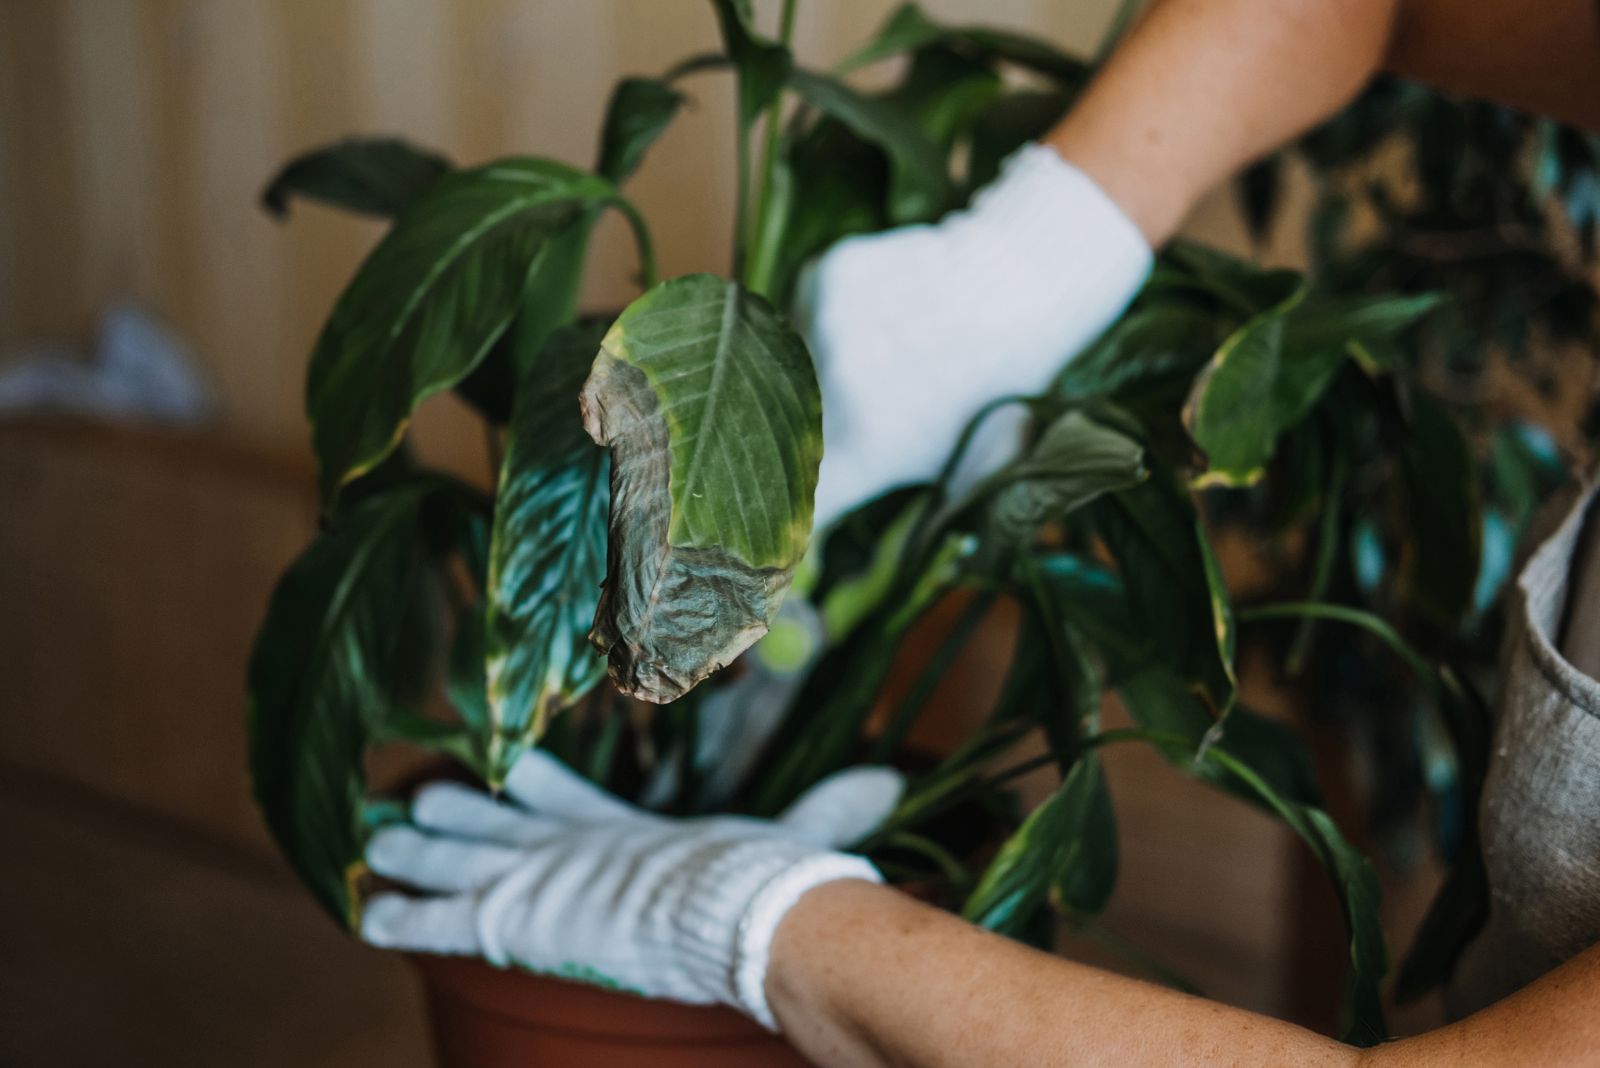
If your Peace lily isn’t blooming, it might need a little pruning to redirect its energy toward flower production. Trimming away old, yellowing leaves and spent blooms allows the plant to focus on new, healthy growth.
Use clean, sharp scissors or pruning shears to remove any damaged, discolored, or drooping leaves at the base. If your Peace lily has had flowers in the past, but they’ve turned brown, snip them off at the stem to encourage fresh blooms.
Regular pruning not only keeps your plant looking neat but also improves air circulation, reducing the risk of pests and diseases.
A well-maintained Peace lily will reward you with healthier foliage and, eventually, those stunning white blooms!
11. Don’t Skip Cleaning The Leaves
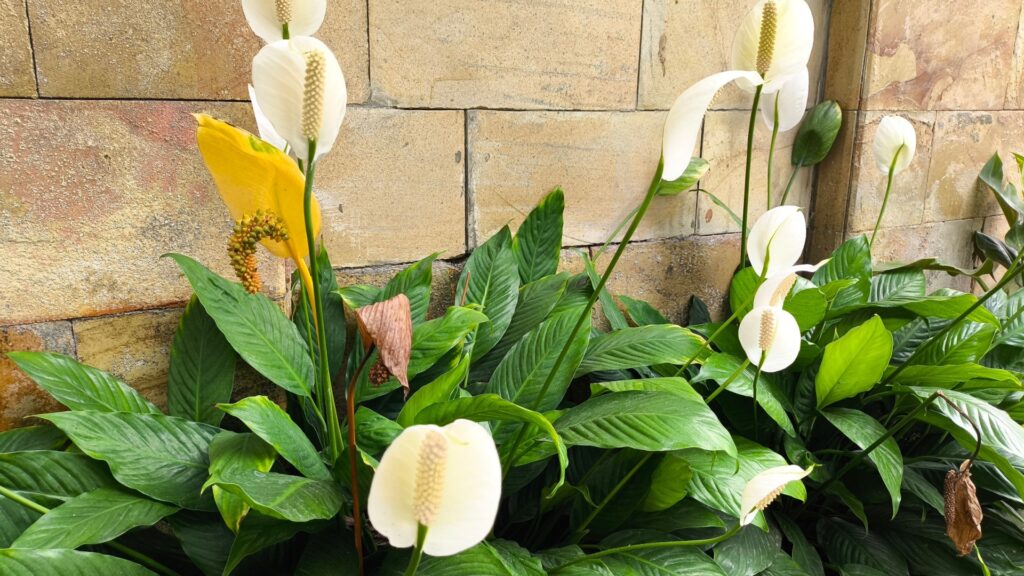
Over time, dust and grime can accumulate on your Peace lily’s leaves, blocking sunlight and hindering photosynthesis—both of which are crucial for healthy growth and blooming.
Use a soft, damp cloth to gently wipe down the leaves once every couple of weeks. This simple act not only improves the plant’s ability to absorb light but also keeps it looking glossy and fresh.
Avoid using commercial leaf shiners, as these can clog the pores of the leaves. Instead, stick to plain lukewarm water or a diluted mix of water and a drop of mild dish soap if needed.
Clean leaves are healthy leaves, and healthy leaves lead to those beautiful white flowers you’re hoping to see!
12. Be Patient—Peace Lilies Bloom On Their Own Time
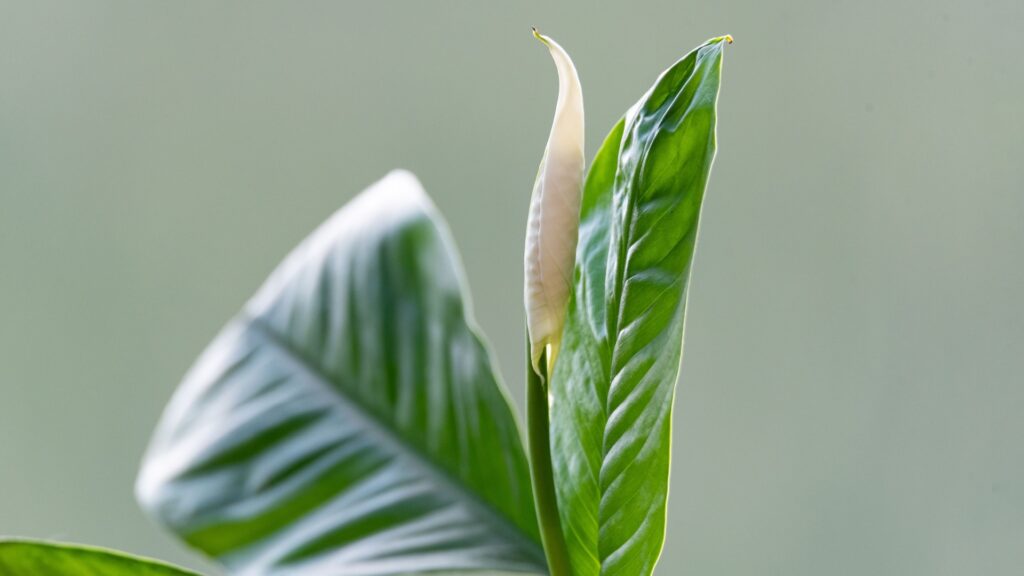
Sometimes, even when all conditions are right, Peace lilies simply take their time to bloom. These plants don’t always follow a strict schedule, especially if they’ve experienced a recent change in environment or were recently repotted.
If your plant is healthy, growing steadily, and shows no signs of distress, it may just need more time to adjust and build up energy for blooming.
Keep up with consistent care—don’t change too many things at once, and resist the urge to over-fertilize or overwater in the hopes of speeding things up. A watched lily never blooms, as they say!
Trust the process, and soon enough, your patience will be rewarded with those elegant white flowers.


