You Should Never Make These 7 Mistakes If You Want Your Orchids To Stay Healthy
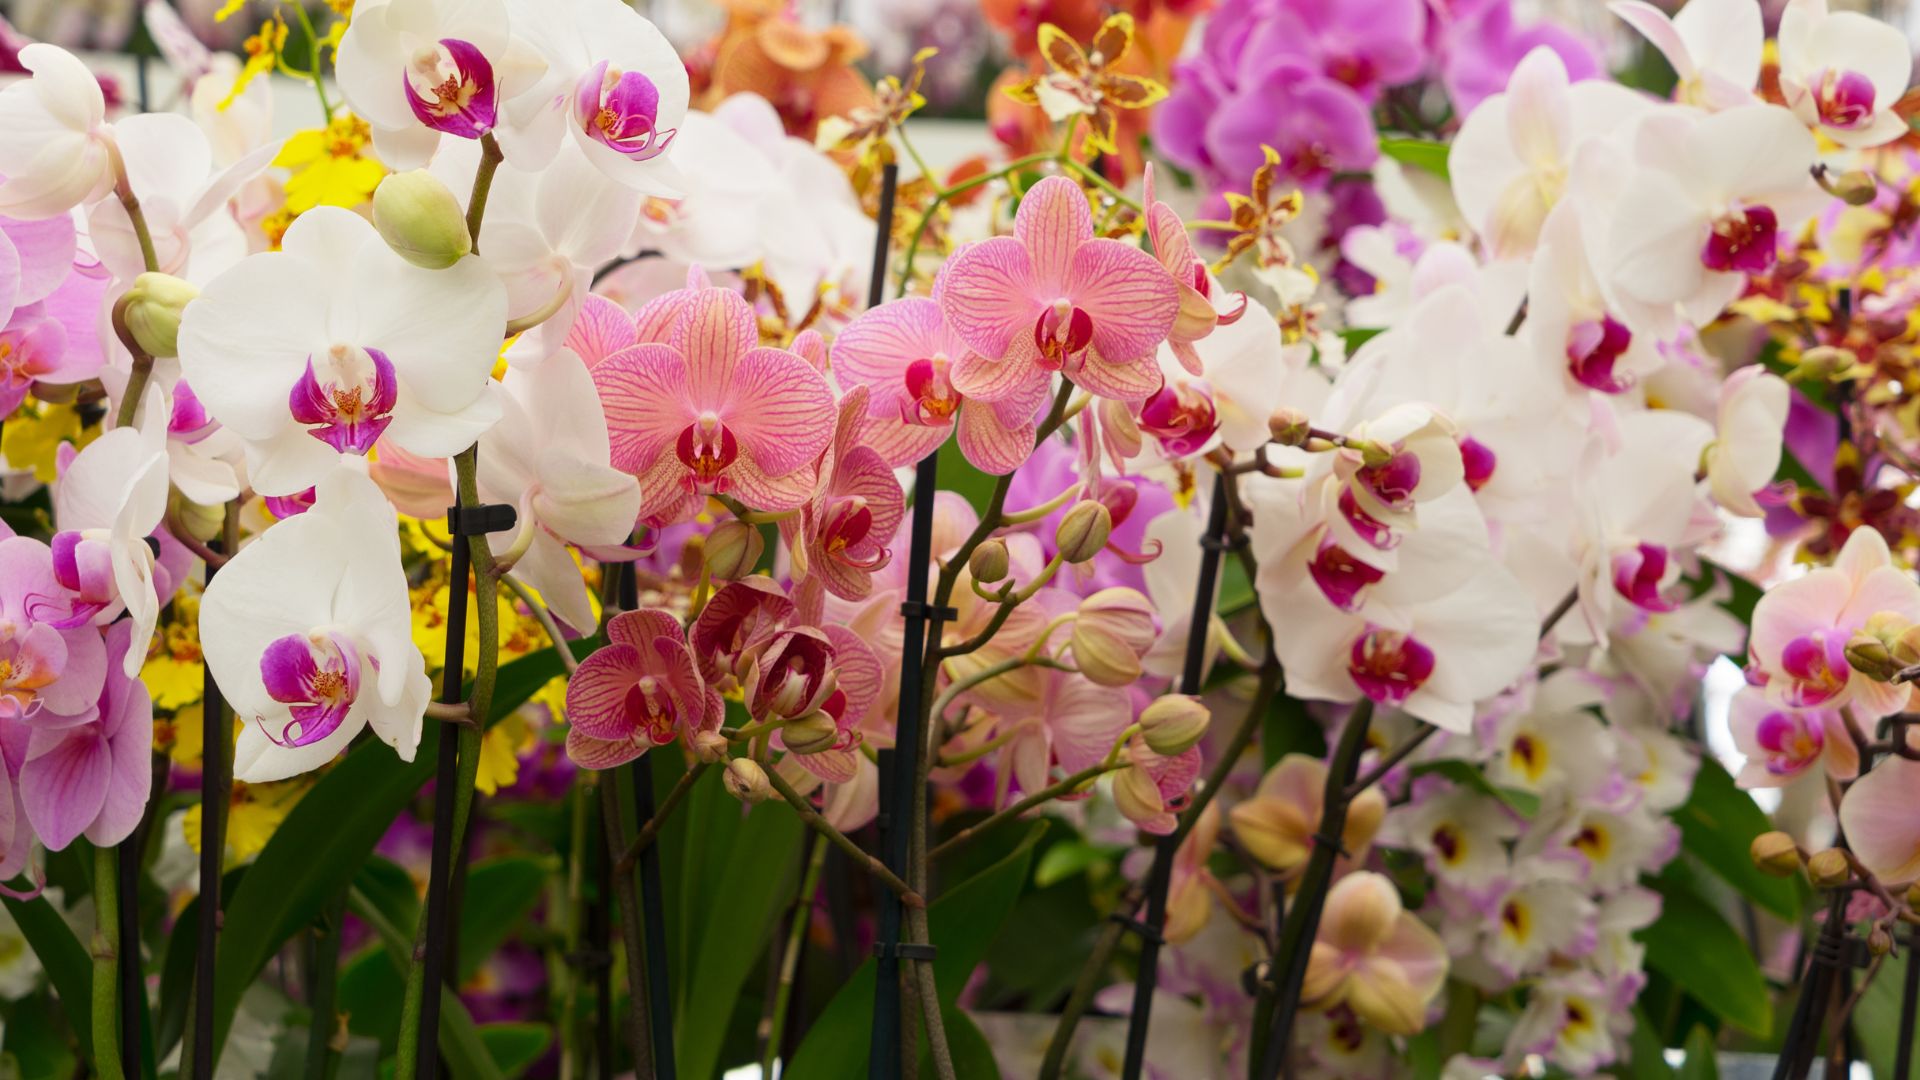
Ahh, orchids… so beautiful, yet so hard to maintain!
When I first dipped my toe into gardening, I was clueless. I decided to start with an orchid because, well, they’re gorgeous. Little did I know, it was a big leap for a beginner like me.
I thought taking care of it would be a breeze, but oh boy, was I mistaken!
My poor orchid didn’t make it (may she rest in peace). But from her demise, I learned a valuable lesson – orchids are not something to mess with.
So, after my heartbreaking experience, I’ve compiled a list of things you should never do with an orchid. These are lessons I learned the hard way so you don’t have to go through the same struggles as I did!
Stick around to learn from my mistakes and keep your orchids thriving!
#1 Never Give Your Orchids More Water Than They Need
When I first got orchids, I thought I needed to water them everyday – but that couldn’t be further from the truth.
These delicate flowers are highly susceptible to root rot, which is a fungal disease that completely destroyed my first orchid.
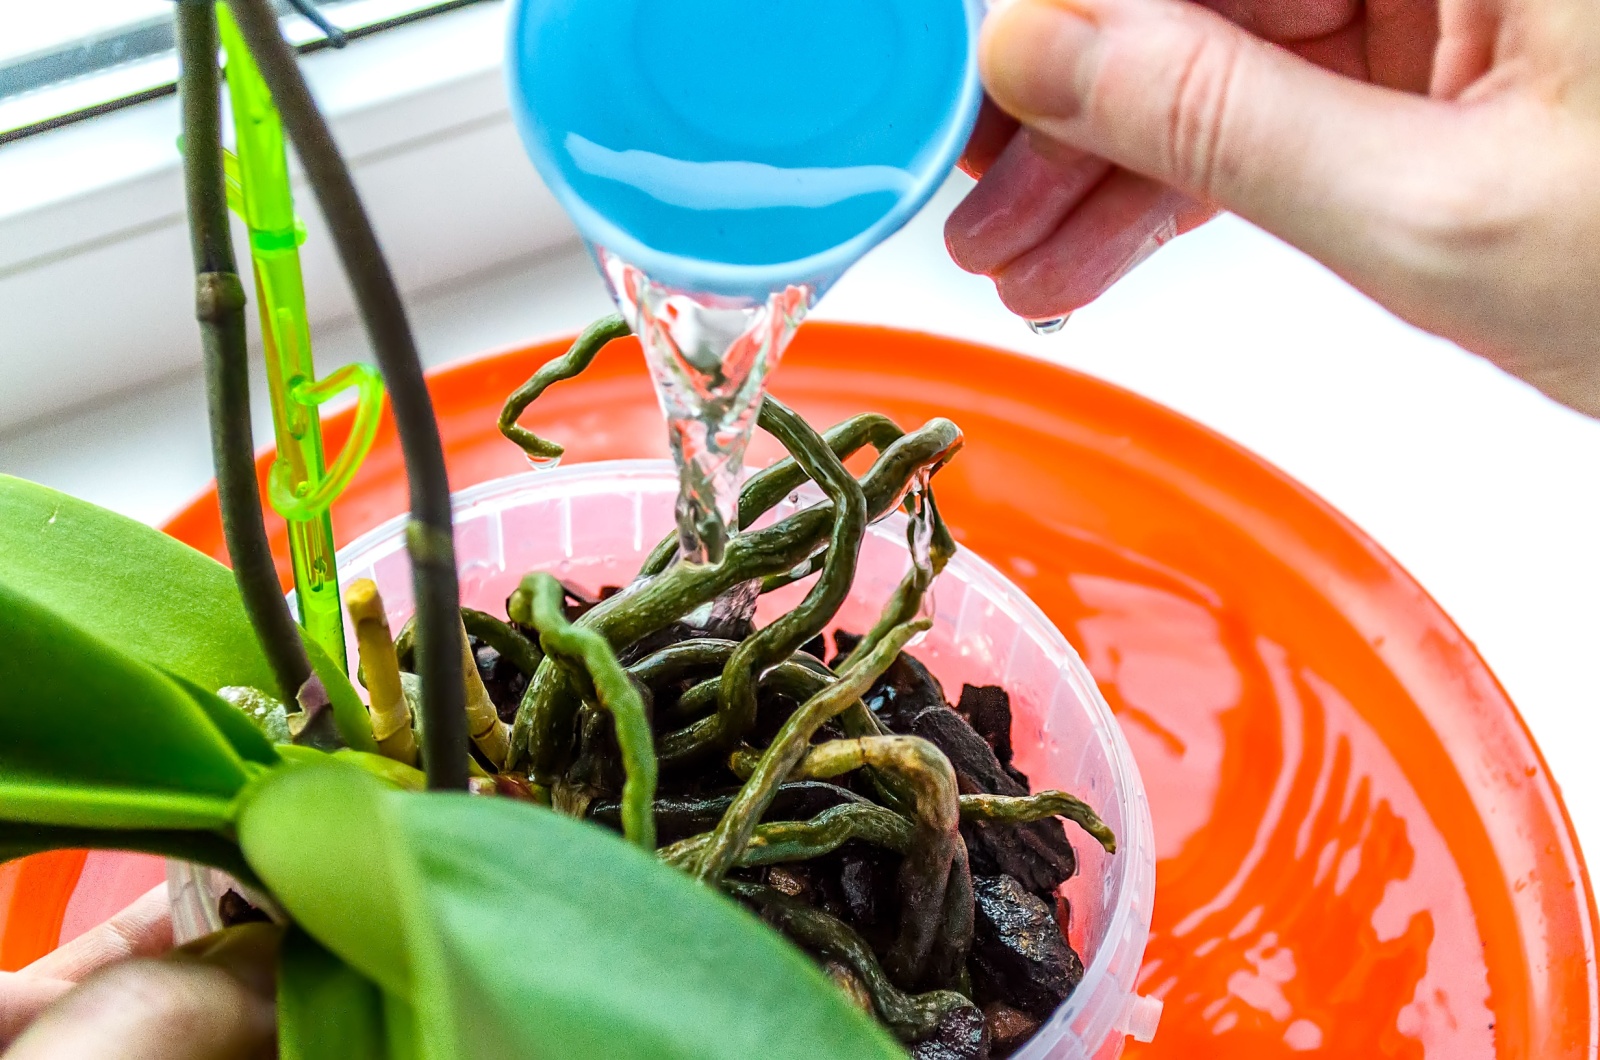
To avoid this issue, make sure to provide your orchid with proper drainage and let the top layer of the growing substrate dry out between watering sessions.
I can’t tell you to water your orchids once or twice a week because the water requirements depend on different conditions, such as temperature and humidity.
It’s best to always check the growing substrate before watering – if it is dry, then go ahead and give your orchid some refreshment. If not, then wait for a couple of days to water the plant.
No one told me this one before, but you need to thoroughly water orchids and wait for the water to run freely through the drainage holes. Once I started doing that, my plants started to flourish!
Please don’t forget to get rid of any excess water from the container because orchids don’t like sitting in water.
Their water requirements might be slightly different during the winter, which is why you should also read: How To Water Orchids During Winter
#2 Don’t Keep Your Orchids In The Wrong Light Settings
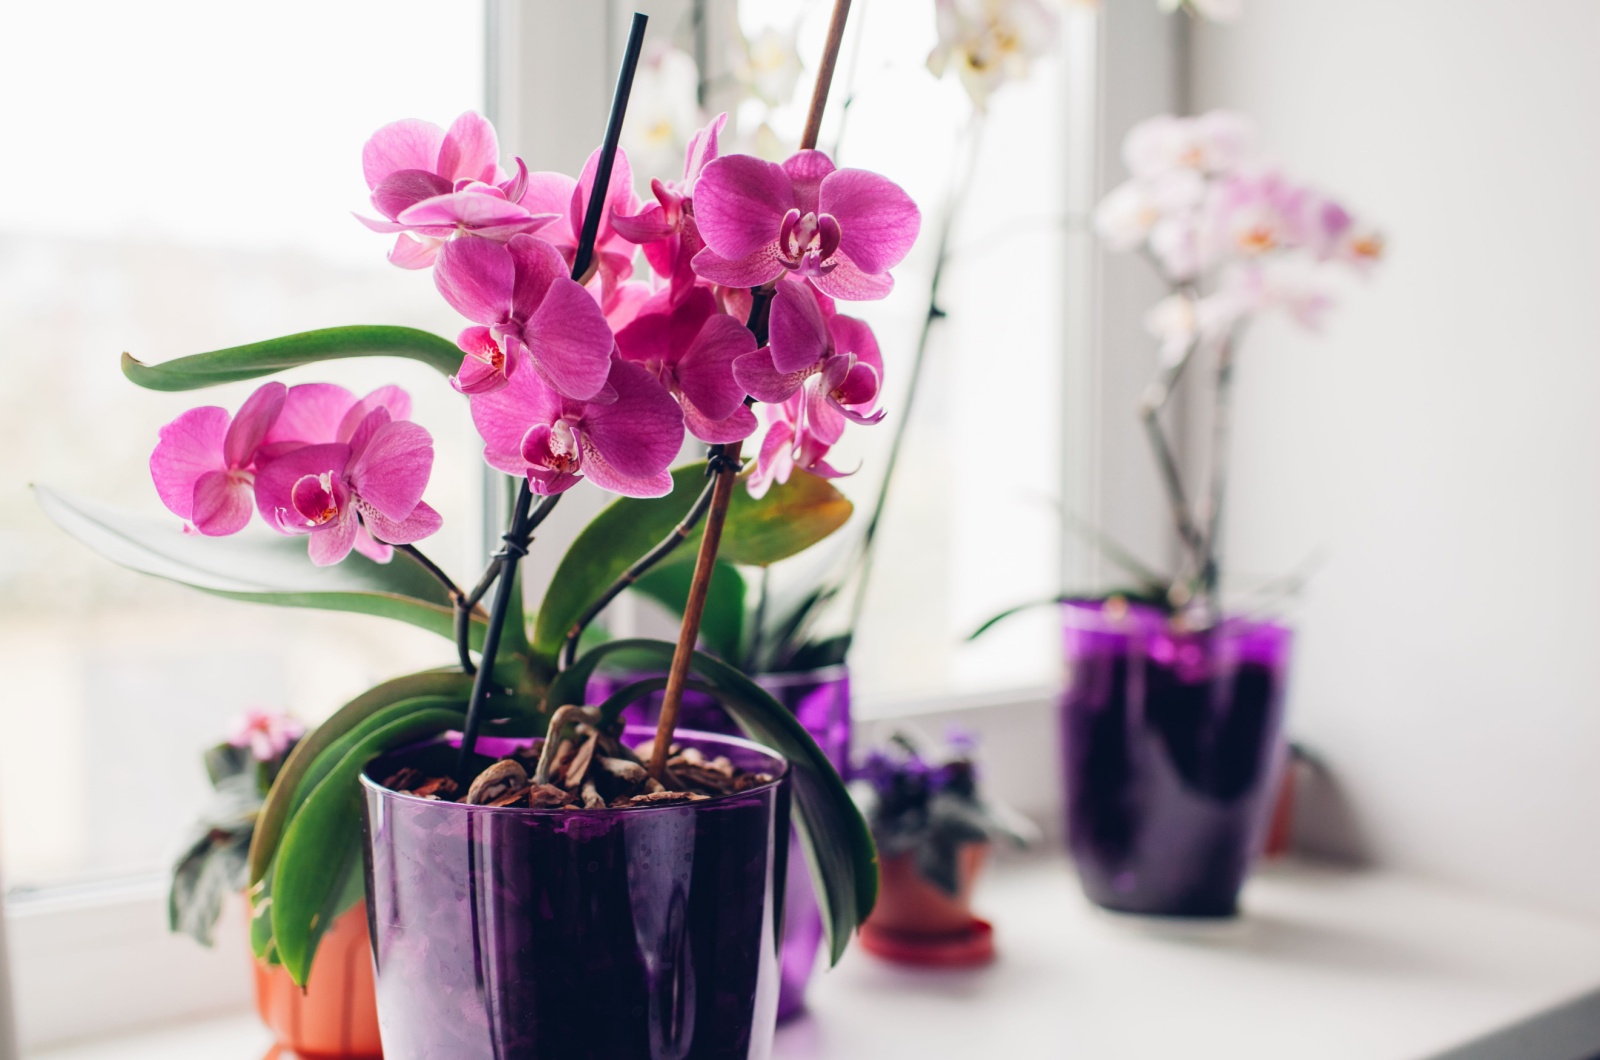
This is where it gets tricky: orchids need specific light settings in order to grow and thrive.
Incorrect light settings is something else I did wrong; I kept my orchid in direct sunlight for the whole summer and it got scorched leaves (duh!).
So, I decided to put it in low light settings, which was also wrong because not enough sunlight might reduce flower production.
Can’t keep them in direct sunlight and can’t keep them in low light – what’s the right answer?
Well, balance is everything. While orchids can’t survive in the dark or direct sunlight, they can adapt to bright, indirect sunlight exposure.
Now I keep my orchids in a place where they can receive at least 6 hours of bright light throughout the day. South- or east-facing windows are ideal for orchids!
But if you don’t have enough sunlight, then look into buying fluorescent grow lights for your orchids (you can find really cheap ones on Amazon).
#3 Wrong Potting Mix Is A Big No-No
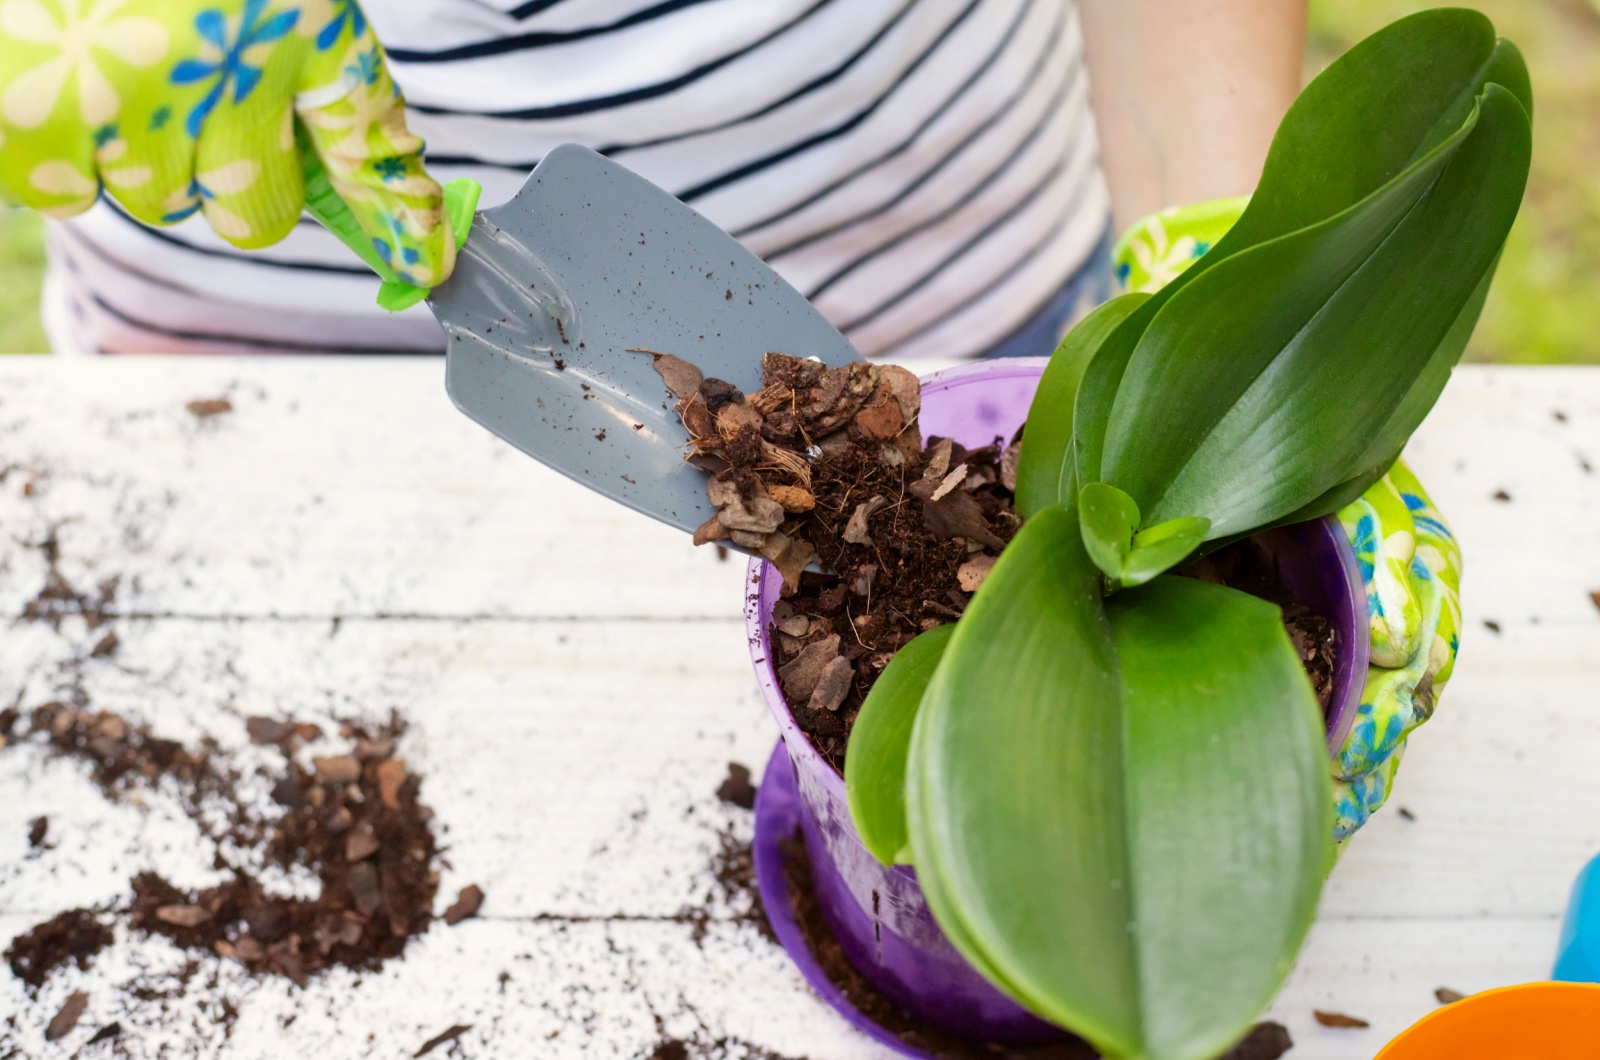
I’ve already mentioned you need proper drainage; well, that includes getting the right pot with drainage holes, but also growing your orchid in a well-draining substrate.
Nowadays, you can find tons of prepared orchid mix that contains all amendments necessary for the proper growth of your orchids. For instance, they contain bark that creates air pockets, perfect for orchid aerial roots.
I started making my own substrate for orchids: I simply mix one part perlite, one part charcoal, two parts coco coir, and two parts bark.
What you can also add to your indoor plants are cleaned eggshells – they provide calcium most indoor plants need.
Learn from my mistakes and don’t use regular soil for your orchids because they can easily get waterlogged.
This might be helpful: Orchid Care For Beginners In Detail (Easy To Follow)
#4 Don’t Forget About The Orchid’s Humidity Requirements
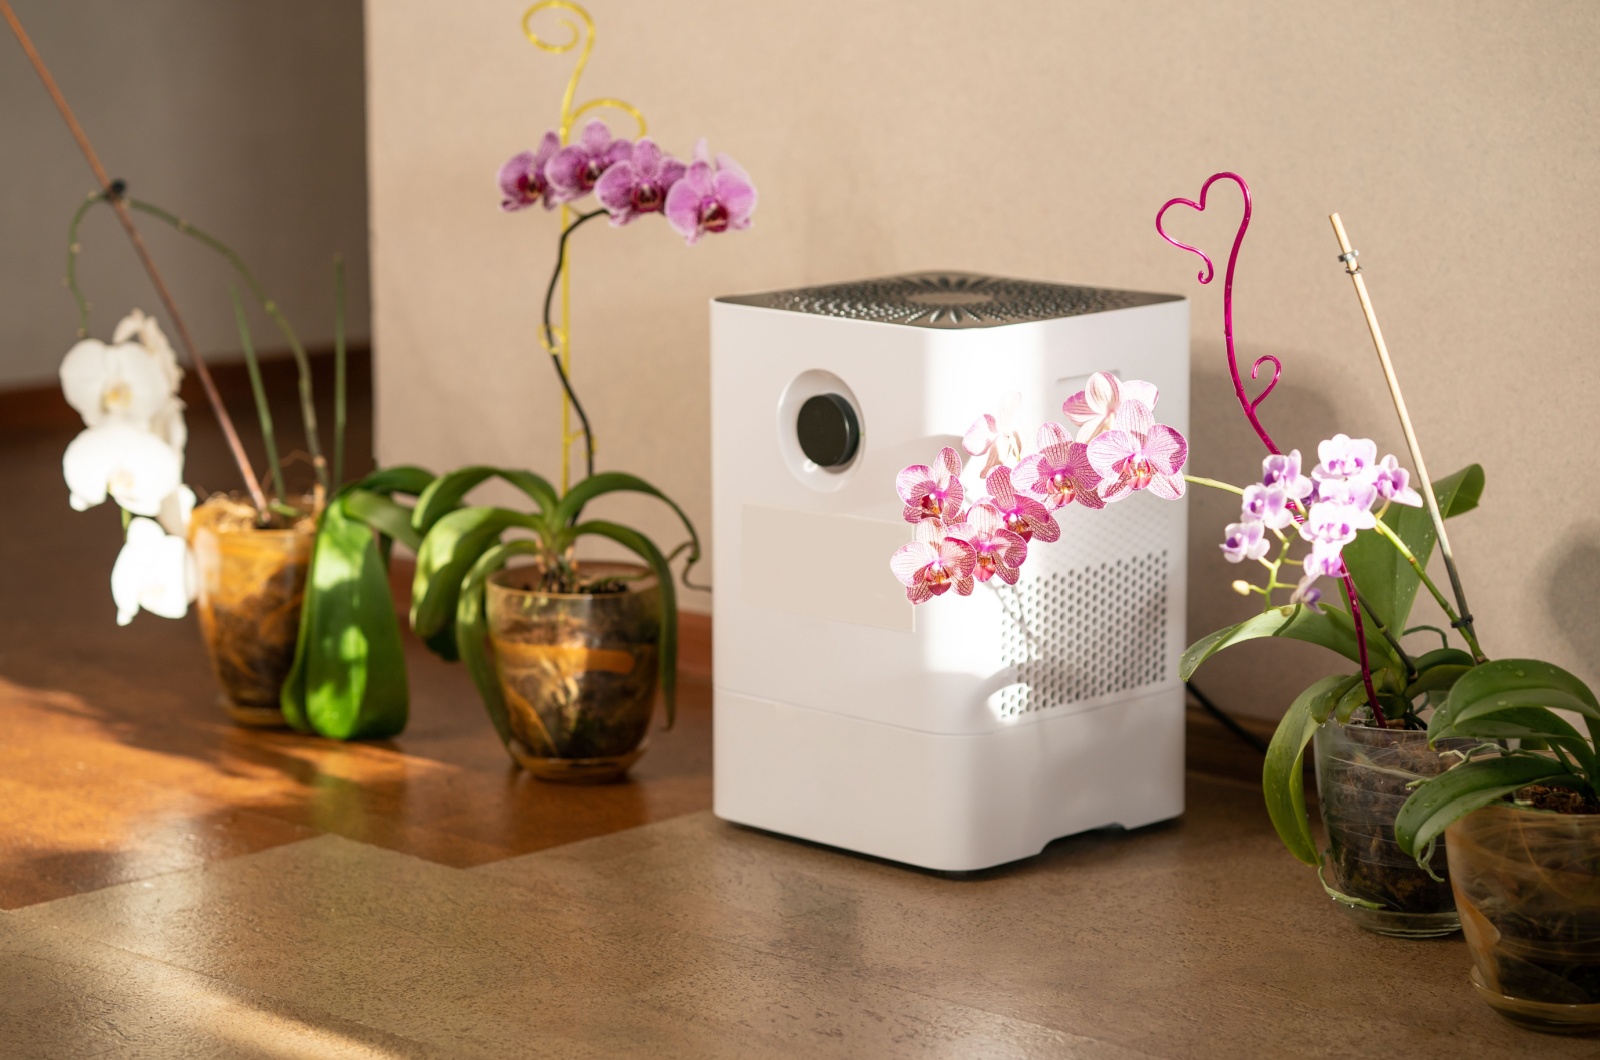
When I first started cultivating orchids, I thought humidity didn’t matter (boy I was wrong!).
I didn’t realize that these are tropical plants that are used to growing in humid environments. Once I found that out, I tried to mimic their natural growing conditions and boost humidity levels.
So, I bought a humidifier and placed it right next to my orchids. But if you don’t want a machine ruining your home decor, you can also place a tray of water nearby – as the water evaporates, it will boost humidity around your orchids.
#5 Avoid Putting Too Many Orchids In One Spot
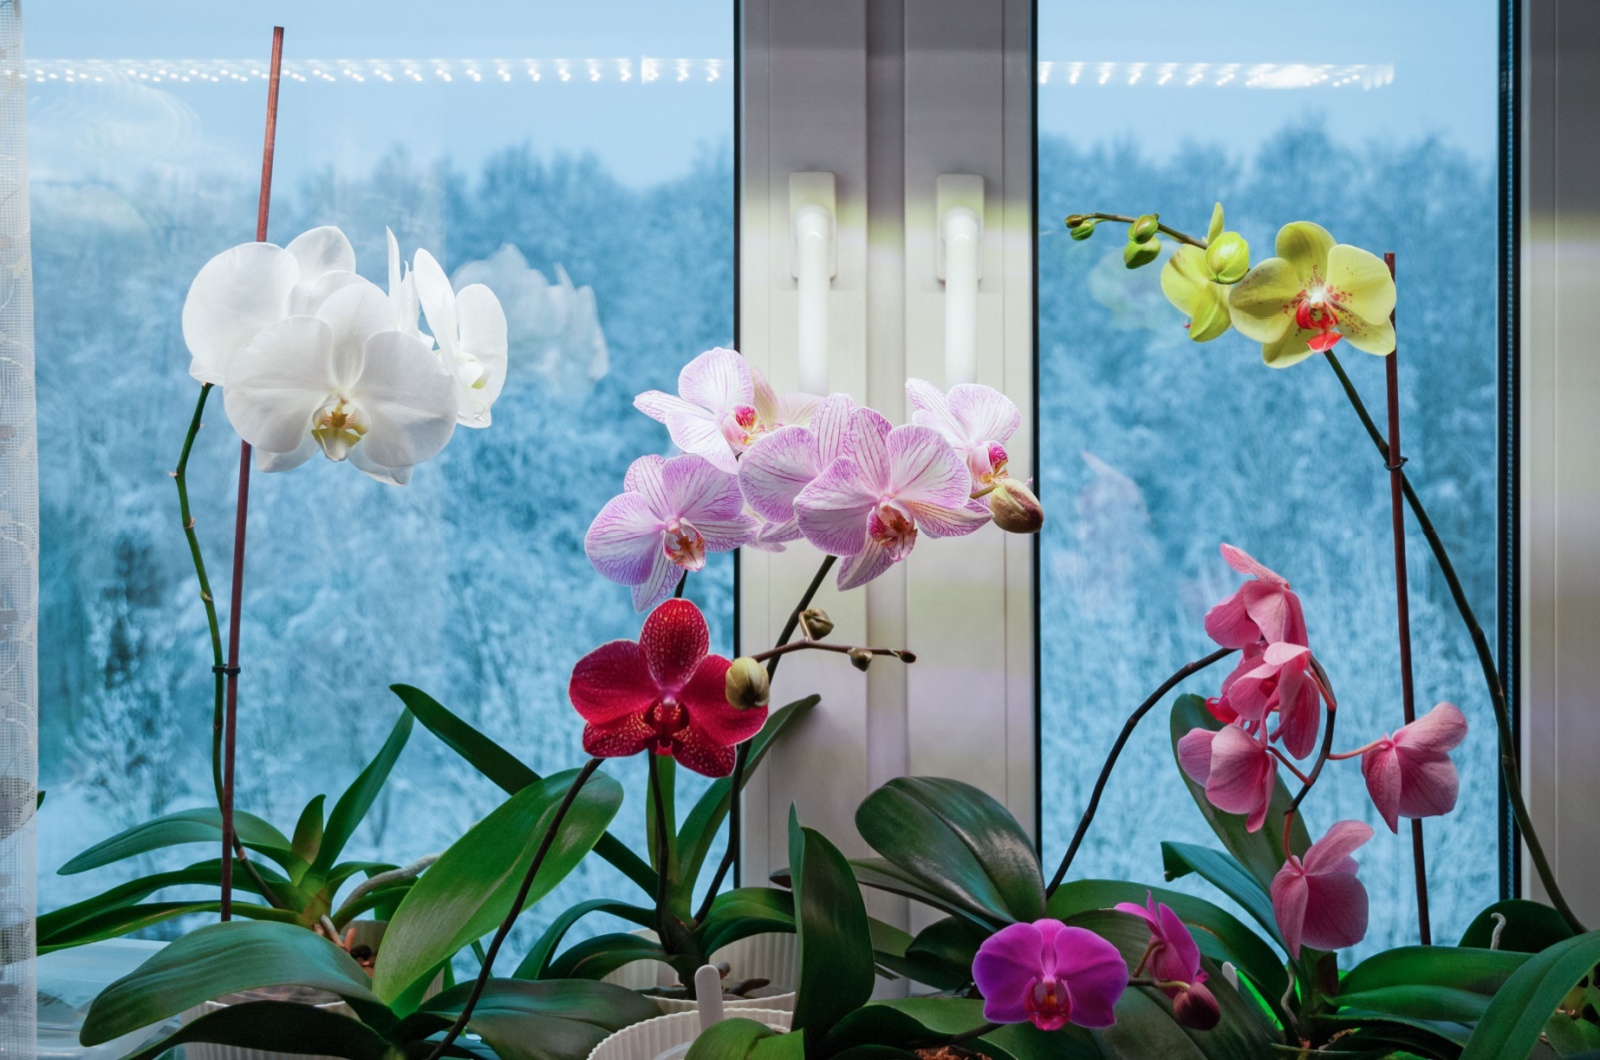
Don’t place all your beginner orchids in the same pot as it might lead to overcrowding.
Overcrowding leads to improper air circulation, increased humidity around the roots, and eventually numerous fungal diseases.
What you can do instead is divide larger plants into smaller pots – this will stimulate root and shoot development.
When dividing, don’t forget to sterilize your cutting tools before slicing your orchid.
PS. you can repot the extra parts: Step-By-Step Guide To Repotting Orchids (Best Tips)
#6 Don’t Ever Use Too Much Fertilizer
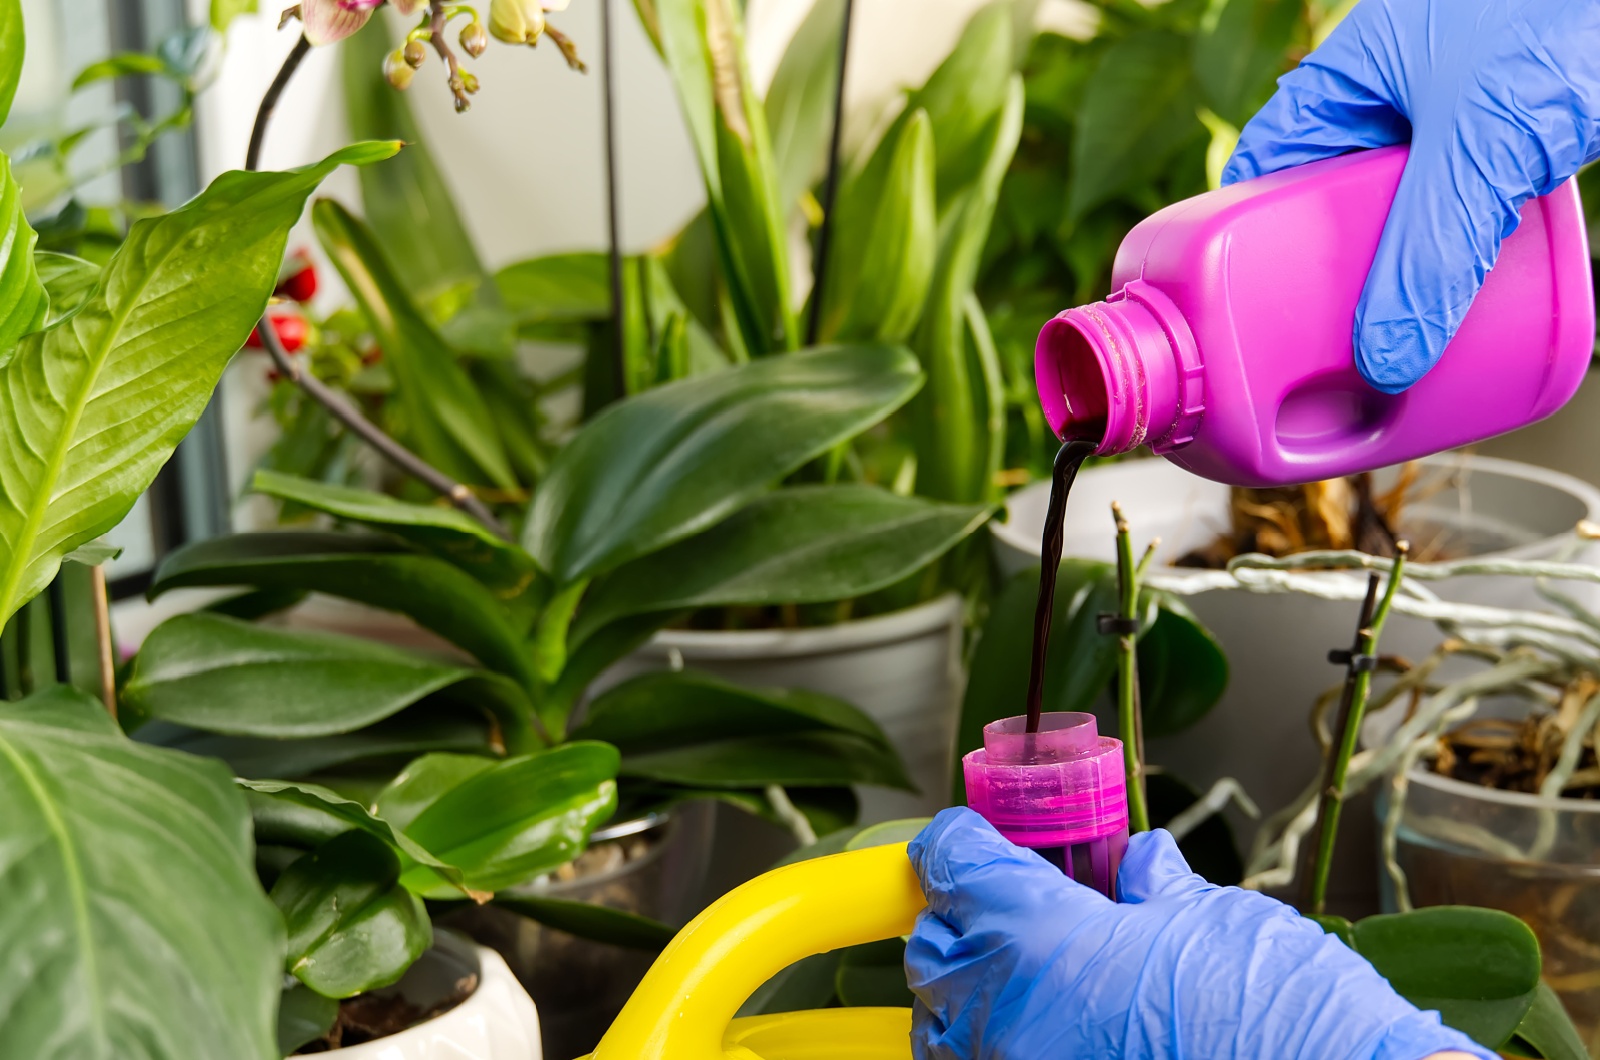
When fertilizing orchids, less is more.
A common mistake most plant enthusiasts make is overfertilizing their orchids. They think that more fertilizer will lead to more flowers and better plants, but that’s simply not true.
I tried following a balanced fertilizing schedule and diluting the fertilizer, and my orchids have never been better!
Balanced fertilizer will provide all the essential nutrients orchids need. Just make sure to water them before fertilizing because the growing substrate needs to be moist to absorb the fertilizer.
I would suggest you apply a diluted, quarter-strength fertilizer when watering instead of doing a full dose once a month.
Alternatively, use natural fertilizers like banana fertilizer (contains potassium) or coffee grounds (high in acidity).
When the winter arrives, you should reduce fertilizing.
Related: How And When To Fertilize Orchids
#7 Expose Your Orchids To Cold Drafts
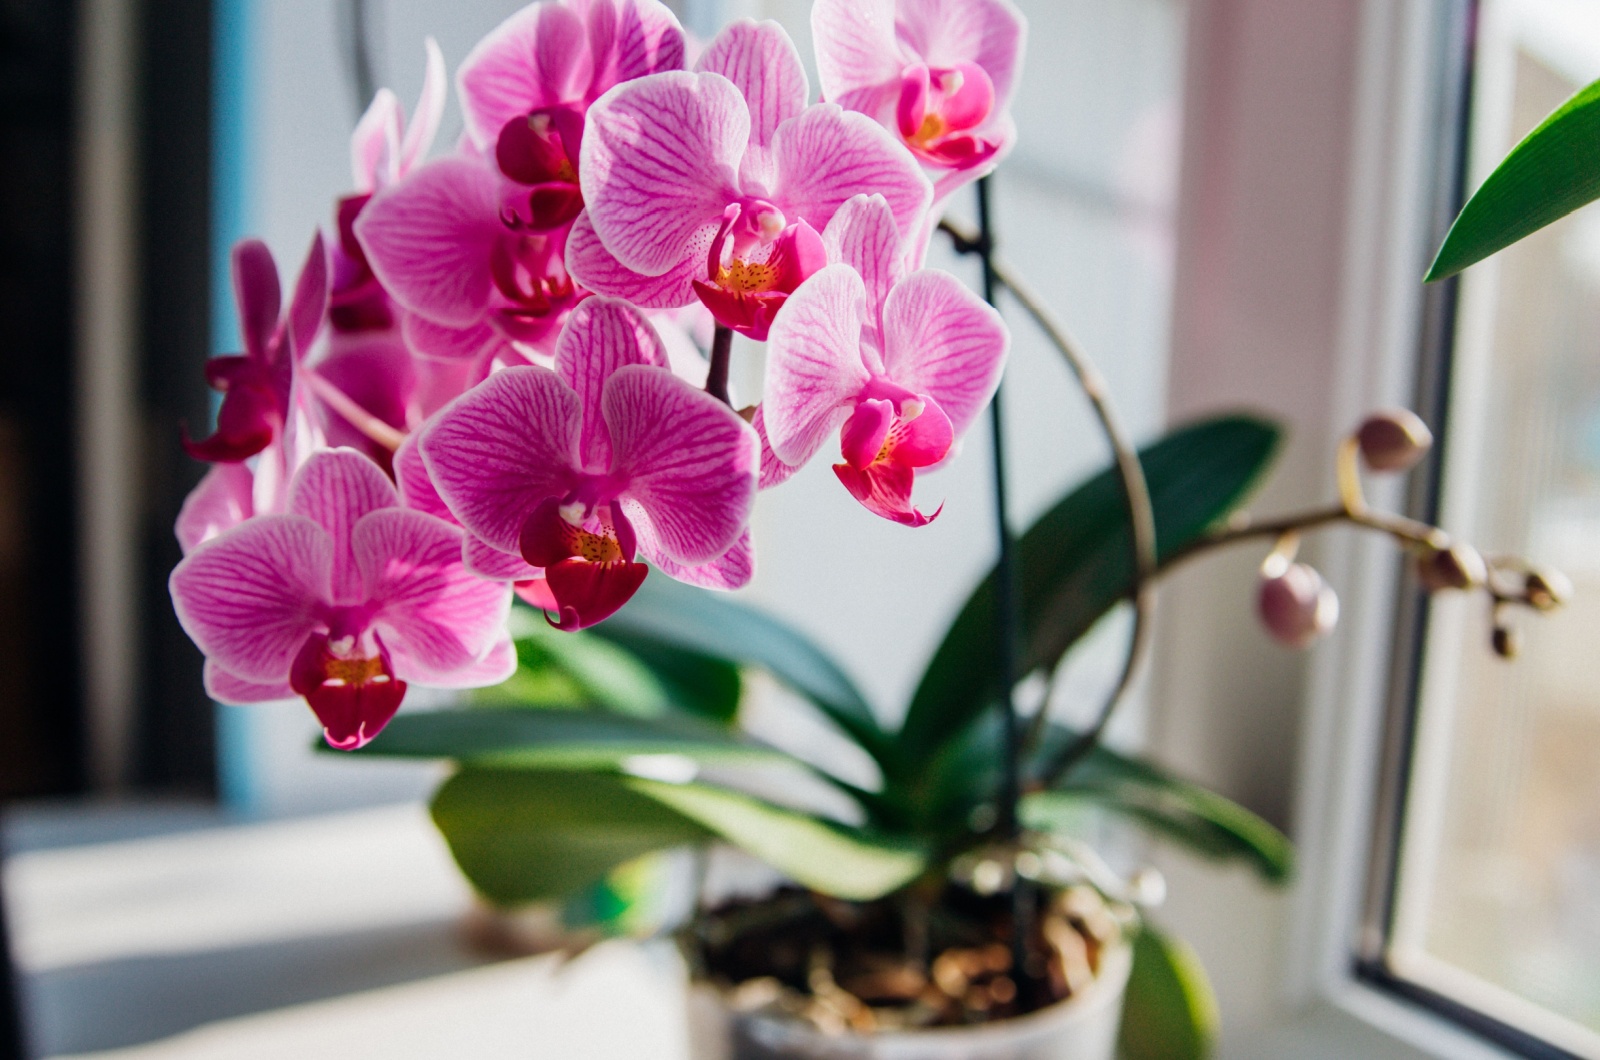
Of course, these delicate plants are sensitive to sudden temperature changes. So, keeping them close to drafty areas like windows or doors sounds like a bad idea.
These sudden temperature changes might stress the plants and damage their lovely blooms.
However, you shouldn’t keep them far away from the windows otherwise they won’t get any light!
As you can tell, my orchid journey has been quite the rollercoaster ride – from struggling with dying plants to cultivating a flourishing orchid paradise!
There were lots of ups and downs. And now, I’ve figured out what they need to grow well.
Have you faced the same struggles with your orchids? Don’t worry! With a little care, your orchids will be back to their best in no time!
Also read: How Long Do Orchids Live? Let’s Unveil The Lifespan Of These Exotic Blooms!

