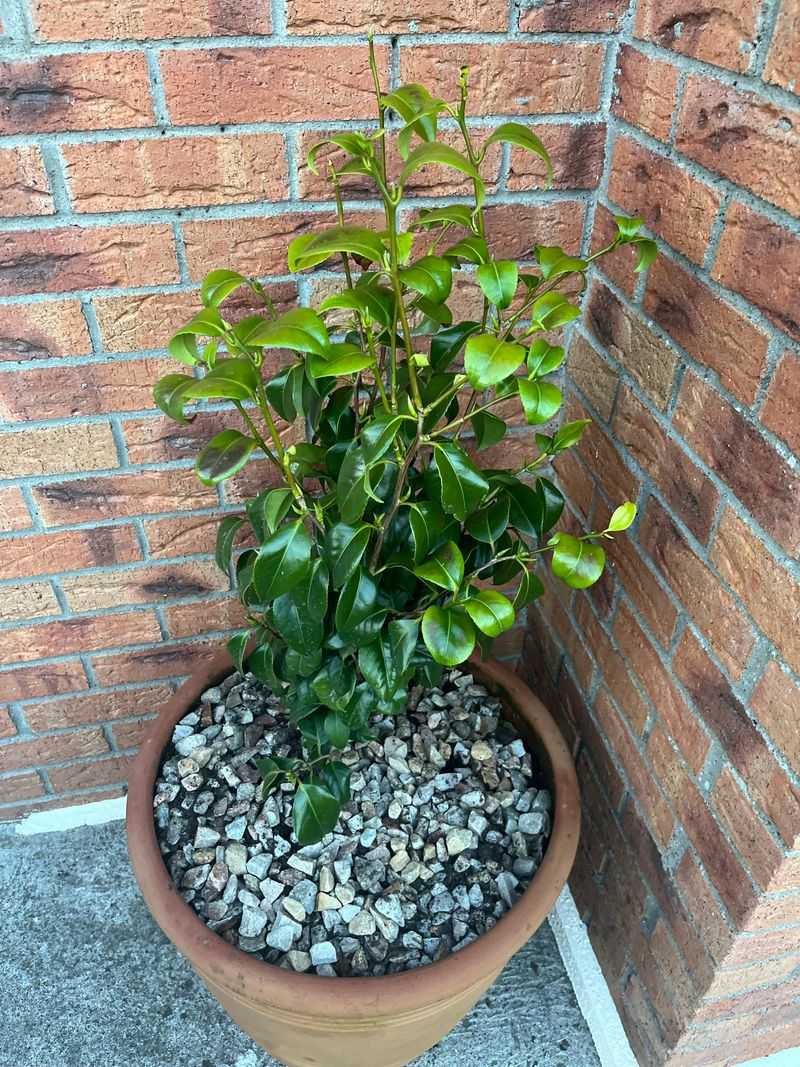
What Florida Camellias Need After Flowering Ends
What happens right after those last camellia blooms drop in Florida yards? Most people admire the flowers, then walk away, thinking the job is done.
That quiet moment right after blooming actually sets the tone for everything next season brings. Miss it, and plants can lose shape, skip buds, or look tired long before summer heat rolls in.
Camellias have their own rhythm here. They bloom, they rest, then they get ready again, all before most gardeners even notice the shift.
That short window right after flowering is where the real work begins. Timing matters, and small moves make a big difference.
Think of it like catching a wave at just the right second. Too early or too late, and the ride falls flat.
Nail it, and those same shrubs come back fuller, stronger, and loaded with blooms next time around.
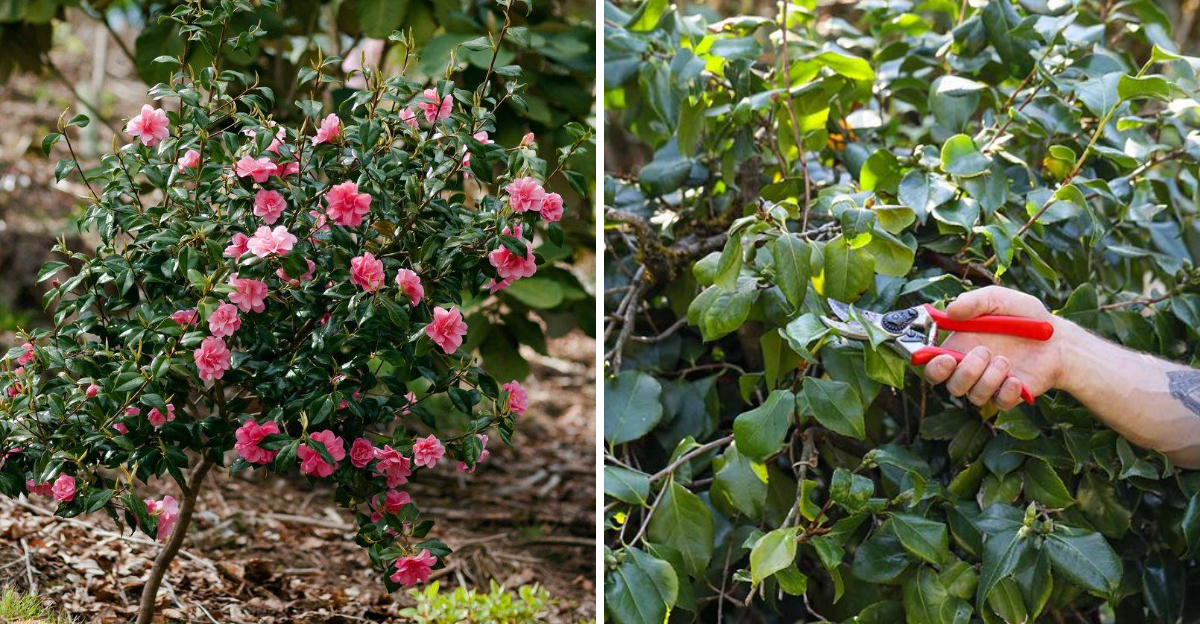
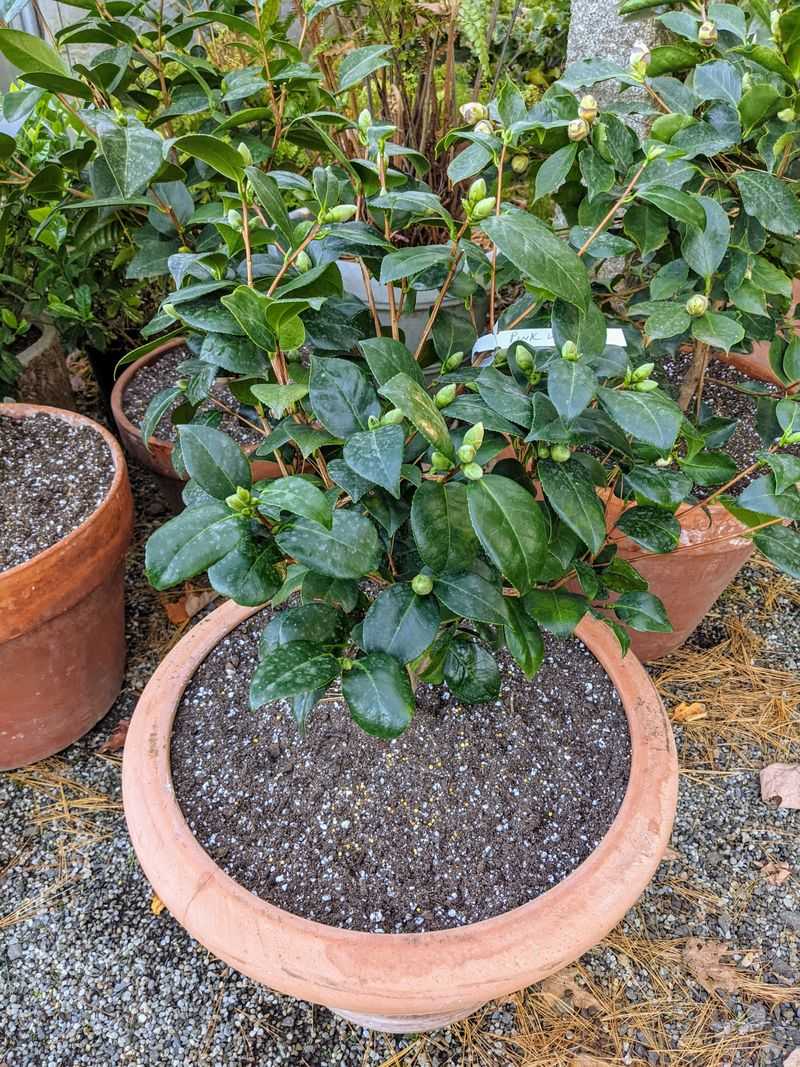
1. Prune Now Or Lose Next Year’s Blooms
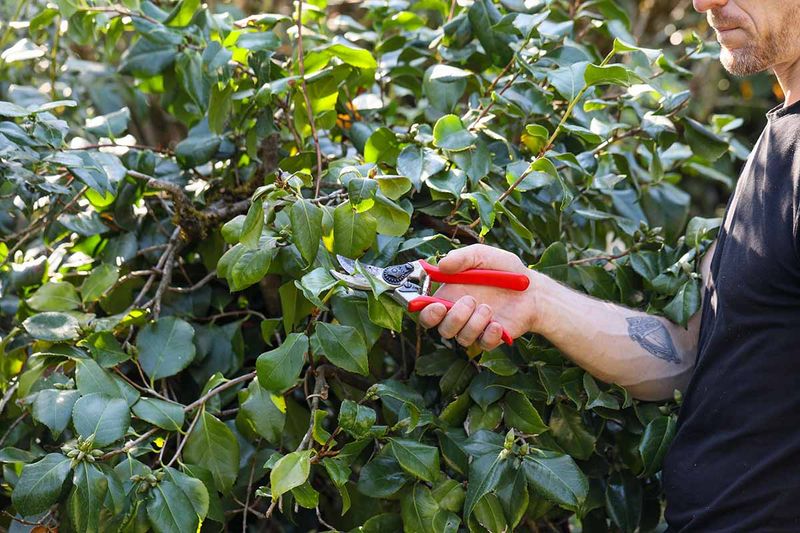
Timing is everything when it comes to pruning camellias in Florida, and the window closes faster than most gardeners expect. Once your camellias finish flowering, the plant almost immediately begins the internal process of setting next year’s flower buds.
That means every week you wait is a week you risk cutting off the very buds that will become next spring’s blooms.
In North Florida, where camellias often bloom from late fall through early spring, you want to finish any pruning by late March at the absolute latest.
Central Florida gardeners should aim to wrap up pruning by early spring, while South Florida gardeners, dealing with an earlier and sometimes more compressed bloom cycle, should move even faster after the last flower drops.
Light thinning is almost always the right call. Focus on removing branches that rub against each other, stems growing toward the center of the plant, and any wood that looks weak or spindly.
You are not trying to reshape the whole shrub in one session. Heavy cuts made too late in the season remove developing buds and stress the plant heading into summer heat.
A clean pair of bypass pruners, wiped down with rubbing alcohol between cuts, keeps disease from spreading while you work.
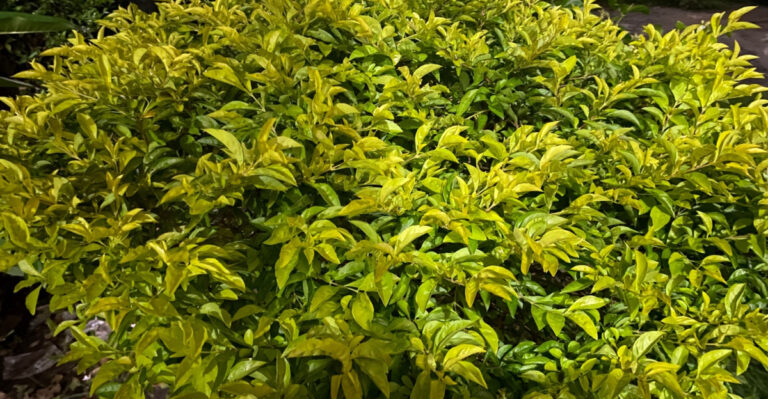
2. Clean Out Crowded Growth For Better Airflow
Florida’s humidity is beautiful in its own way, but it is relentless when it comes to plant diseases. Camellias growing in tight, crowded canopies trap moisture against leaves and stems, creating exactly the conditions that fungal problems love.
Cleaning out the interior of your camellia right after bloom ends is one of the most practical things you can do before the rainy season arrives.
Start by looking into the center of the plant. Branches that cross over each other create wounds where they rub, and those wounds become entry points for pathogens.
Weak, pencil-thin stems growing inward rarely produce flowers and mostly just crowd the plant. Removing them opens up the canopy and lets air move through freely, which helps foliage dry faster after rain or irrigation.
Petal blight is a real concern in Florida, especially during humid winters and springs. Fallen petals left on the ground or trapped inside dense growth can harbor the spores that cause this disease.
Cleaning up dropped flowers as part of your post-bloom routine, combined with thinning interior growth, reduces the chances of petal blight carrying over from one season to the next. Good airflow is not just about aesthetics.
In Florida’s climate, it is a genuine line of defense against the fungal pressure that builds every summer.
3. Light Feeding Starts The Next Flower Cycle
Spring fertilizing after bloom is one of those camellia care steps that pays off quietly in the background. You will not see immediate results, but by the time cooler weather rolls back around and buds begin to swell, that early feeding will have done its job.
The key is choosing the right product and applying it in the right place.
Camellias prefer slightly acidic soil, and the fertilizers formulated for azaleas and camellias are designed with that in mind. These acid-forming blends lower soil pH over time, which helps camellias absorb nutrients more efficiently.
Slow-release granular options are a smart choice in Florida because they feed steadily over several months rather than all at once, which reduces the risk of pushing too much soft, fast growth during the heat of summer.
Placement matters more than most people realize. Spread the fertilizer under the drip line of the shrub, which is roughly the outer edge of the canopy where rain naturally falls off the leaves.
Piling fertilizer against the trunk does not help the roots and can cause bark issues over time. A light application in early spring, and possibly a second light feeding in early summer if the plant looks like it needs a boost, is generally enough.
Always water the fertilizer in well after applying.
4. Skip Late Season Fertilizer Mistakes
Late summer in Florida feels like the right time to do something in the garden, especially if your camellias look a little tired after months of heat.
The instinct to reach for fertilizer is understandable, but applying it too late in the season is one of the most common mistakes Florida camellia growers make, and the consequences show up months later when bloom count drops.
Fertilizing in late summer or fall pushes the plant to produce new, tender vegetative growth. That soft new growth does not have time to harden off before cooler temperatures arrive in North and Central Florida.
More importantly, that energy going into new leaves is energy not going into flower bud development. Camellias need a period of slower growth and shifting conditions to properly set buds, and a late fertilizer application disrupts that process.
UF/IFAS Extension guidance consistently recommends stopping fertilizer applications by mid to late summer for camellias in Florida. For most of the state, that means no feeding after the end of July or early August at the latest.
South Florida gardeners with a longer warm season can stretch the window slightly, but even there, pushing fertilizer into fall is not worth the risk. Put the fertilizer bag away, trust the earlier spring feeding, and let the plant do what it naturally wants to do as the seasons shift.
5. Reset Your Watering As Heat Builds
Once the last camellia bloom falls and Florida’s temperatures start climbing toward summer, watering habits that worked through winter need a reset.
Camellias are not as thirsty as some flowering shrubs, but they are also not foolproof when it comes to drought stress, especially as the heat builds before the rainy season kicks in.
The root system on a camellia is relatively shallow compared to many trees and large shrubs. That means the top few inches of soil, which dry out fastest in Florida’s sandy conditions, are exactly where most of the feeder roots are working.
Sandy soil drains quickly, which is great for preventing waterlogging but also means moisture disappears fast between rains. Watering deeply and consistently, roughly once or twice a week during dry stretches, keeps the root zone from swinging between wet and bone dry.
Mulch is genuinely one of the most useful tools available to Florida camellia growers during this transition period.
A two to three inch layer of pine bark or wood chips around the base of the plant slows moisture evaporation dramatically, moderates soil temperature, and adds organic matter as it breaks down over time.
Keep the mulch a few inches away from the trunk itself to allow air circulation at the base. Once the summer rainy season arrives, check drainage and make sure water is not pooling around the root zone for extended periods.
6. Open The Canopy To Prevent Pest Problems
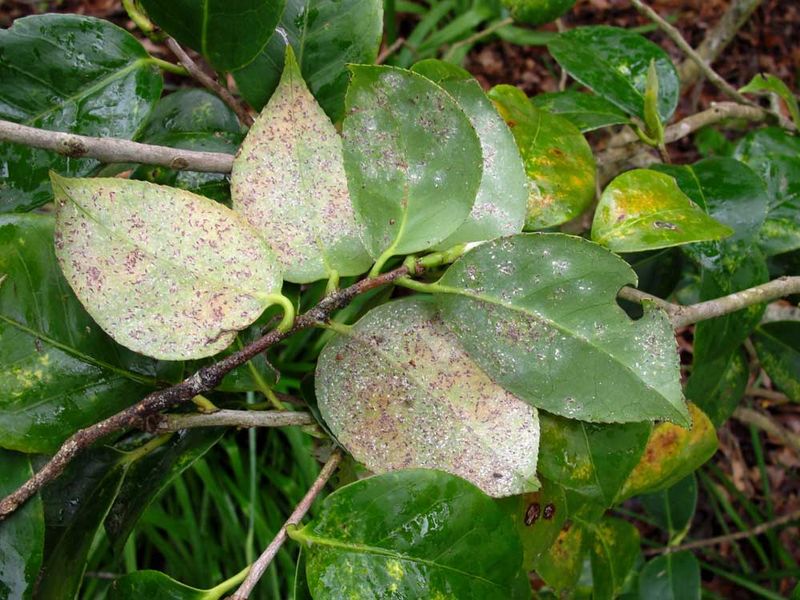
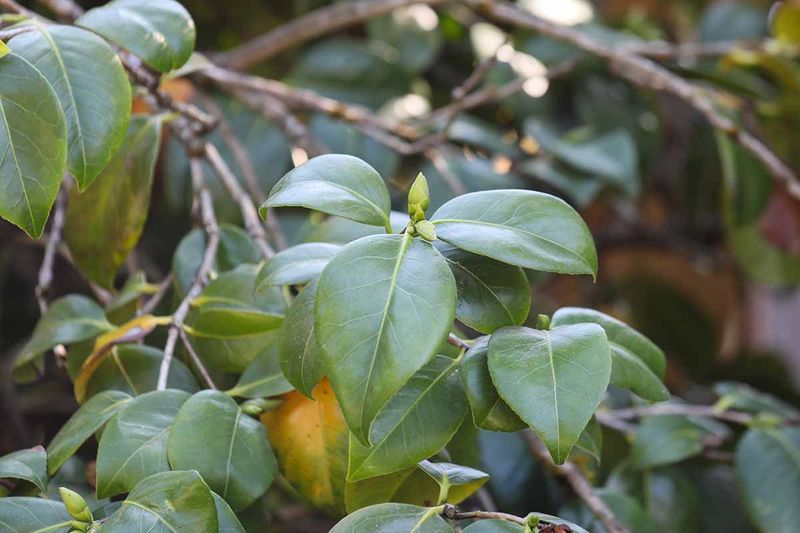
Tea scale is the pest that Florida camellia growers eventually encounter, usually when they flip a leaf over and find the underside covered in tiny white and brown bumps that look almost like someone sprinkled ash on the surface.
By the time tea scale is visible enough to notice easily, the infestation has often been building for weeks.
Opening the canopy after bloom ends is one of the most effective ways to reduce conditions that let these pests thrive.
Scale insects favor dense, shaded growth where air movement is low and natural predators have a harder time reaching them. When you remove crossing branches and thin interior growth, you let light and air into spots that were previously dark and stagnant.
That alone makes the environment less hospitable for tea scale and other common camellia pests like aphids and mites.
Early detection is the other half of the equation. After your post-bloom pruning session, take a few minutes to check the undersides of leaves throughout the plant.
Look for the characteristic crusty white coating of tea scale or any unusual stippling, sticky residue, or distorted new growth. Catching an infestation early gives you options.
Horticultural oil sprays applied in late winter or early spring, when temperatures are still mild, are effective against tea scale and are much easier to manage than a full-blown summer infestation during Florida’s peak heat.
7. Fix Soil Conditions Before Summer Stress Hits
Florida’s sandy soils have a reputation for being difficult, and with camellias, that reputation is earned. Sand drains fast, holds very little organic matter, and tends to run slightly alkaline in many parts of the state, which is the opposite of what camellias prefer.
Addressing soil conditions right after bloom ends, before summer heat and heavy rains arrive, gives any amendments you add time to start working.
Camellias grow best in slightly acidic soil, generally in the pH range of 5.5 to 6.5. A simple soil test, available through your local UF/IFAS Extension office or with an inexpensive home kit, tells you where your soil actually stands.
If the pH is too high, incorporating sulfur or using an acid-forming fertilizer over time can help bring it down gradually. Do not expect overnight results.
Soil pH shifts slowly, and patience is part of the process.
Organic matter is the other piece of the puzzle. Working compost or aged pine bark fines into the top few inches of soil around the drip line improves moisture retention, supports beneficial soil microbes, and adds a slow trickle of nutrients over time.
Avoid digging deeply near the trunk, since camellia roots sit close to the surface and are easy to disturb. Consistent annual additions of organic matter make a real difference in Florida’s challenging sandy soils over the course of several growing seasons.
8. Shape Gently Without Ruining Natural Form
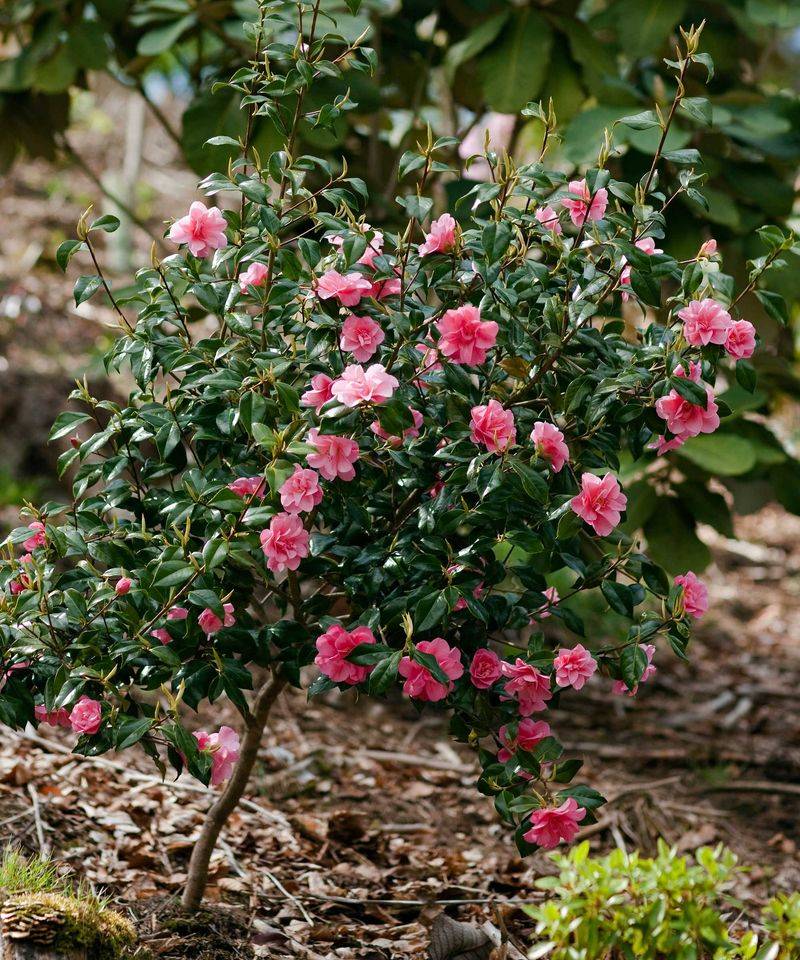
Camellias have a naturally graceful form that most gardeners appreciate, but it is surprisingly easy to ruin that form with a few overly enthusiastic cuts.
The post-bloom window is the right time to do any shaping you have in mind, but the goal should always be to enhance what is already there, not to impose a completely different silhouette on the plant.
Shearing camellias into tight geometric shapes, the way you might trim a boxwood hedge, is one of the most common mistakes made in Florida landscapes.
Shearing cuts off branch tips indiscriminately, which removes flower buds and encourages a dense flush of new growth right at the outer edge of the plant.
That dense outer layer shades the interior, reduces airflow, and ironically makes the plant look less attractive over time as the interior becomes bare and woody.
Instead, use hand pruners to make selective cuts just above a leaf node or side branch. Step back frequently and look at the overall shape as you work.
The natural rounded or upright form of most camellia varieties is actually quite attractive on its own and requires very little intervention to maintain.
Removing a few wayward branches that are sticking out awkwardly, along with any withered or damaged wood, is usually all the shaping a well-established camellia needs.
Aggressive reshaping after bloom reduces the following season’s flower count noticeably, so restraint is genuinely the better strategy here.