Follow These 5 Simple Steps To Prune Your Lavender Like A Pro
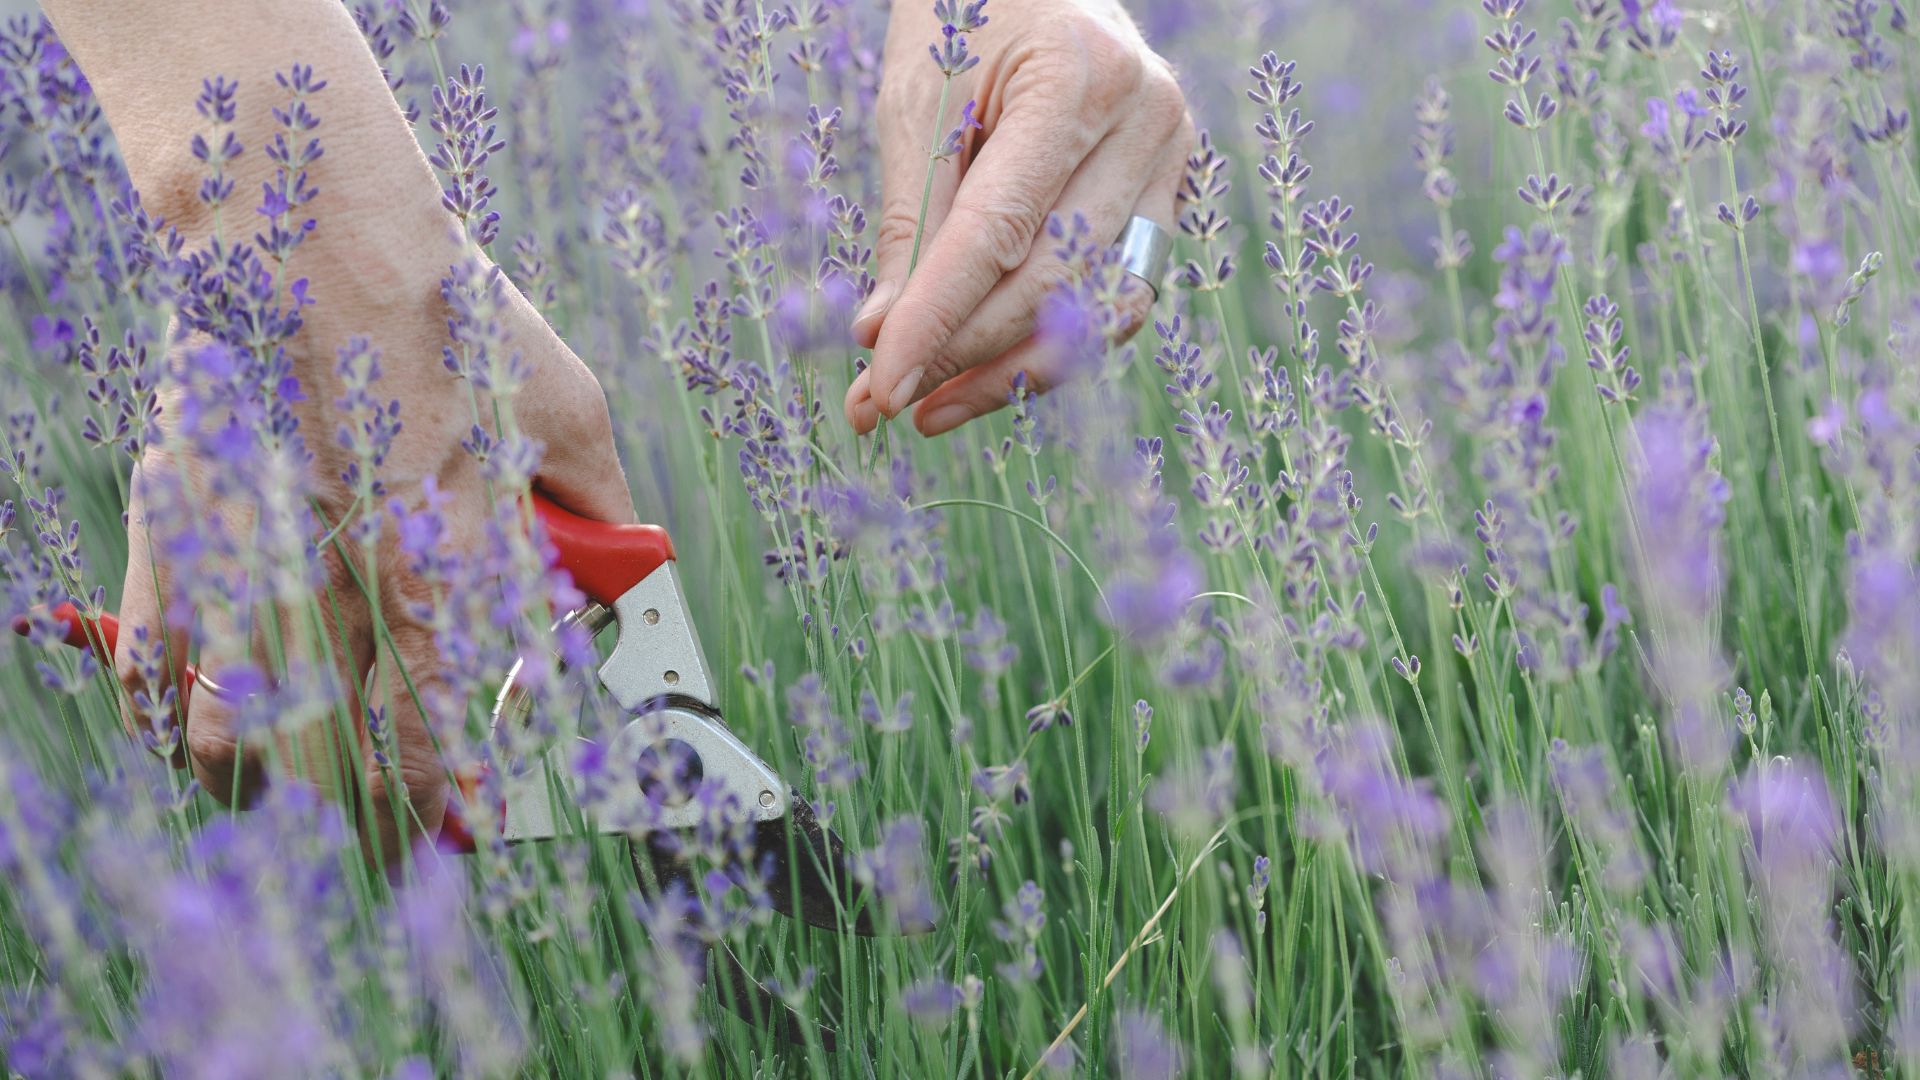
All I ever heard about lavender was how easy it is to grow and how many benefits it brings. So, when I started growing it, I thought, “How hard can trimming be?“
I had no clue what I was doing and just snipped away at random, thinking I was helping the plant. And of course, I wasn’t.
After a few tries (and a couple of mistakes), I figured out how to trim it the right way. It’s actually super easy, and your lavender will grow better and smell even more amazing!
If you’re a beginner with no clue where to start (just like I was!), let me save you the hassle – here are the essential steps to prune lavender like a pro:
1. Pick The Perfect Time To Snip
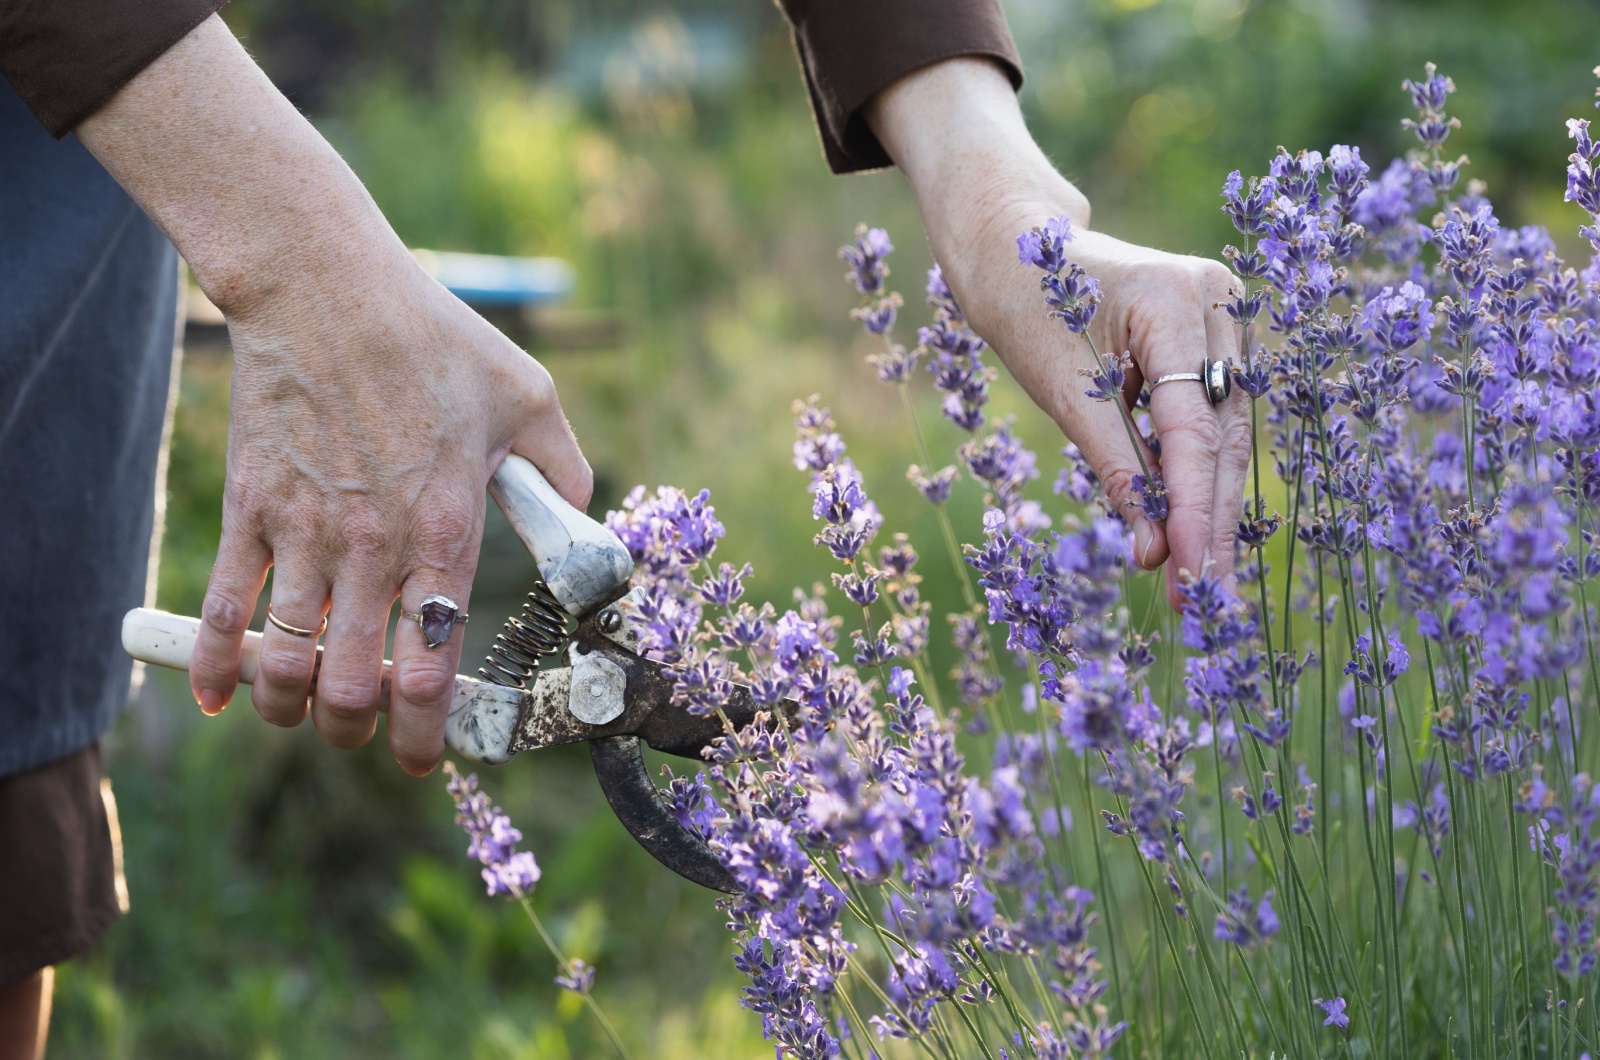
The first thing you need to take into consideration is timing – you can’t just prune your plants whenever you want because each plant has its own pruning window, including these beauties.
The ideal time to give your lavender a little trimming is right after it’s done blooming (around late summer to early fall). Though I would recommend avoiding pruning too late in the season, as doing it right before a frost can leave your plants vulnerable to cold damage.
For better results, aim for a dry morning when you’re trimming. The cuts will heal faster and it’s less likely for any plant diseases to take advantage of the situation.
And honestly, it’s also a great great excuse to enjoy some early morning gardening vibes (even if you are not a morning person!).
Related: What’s The Best Time For Pruning Lavender?
2. Keep Those Tools Squeaky Clean
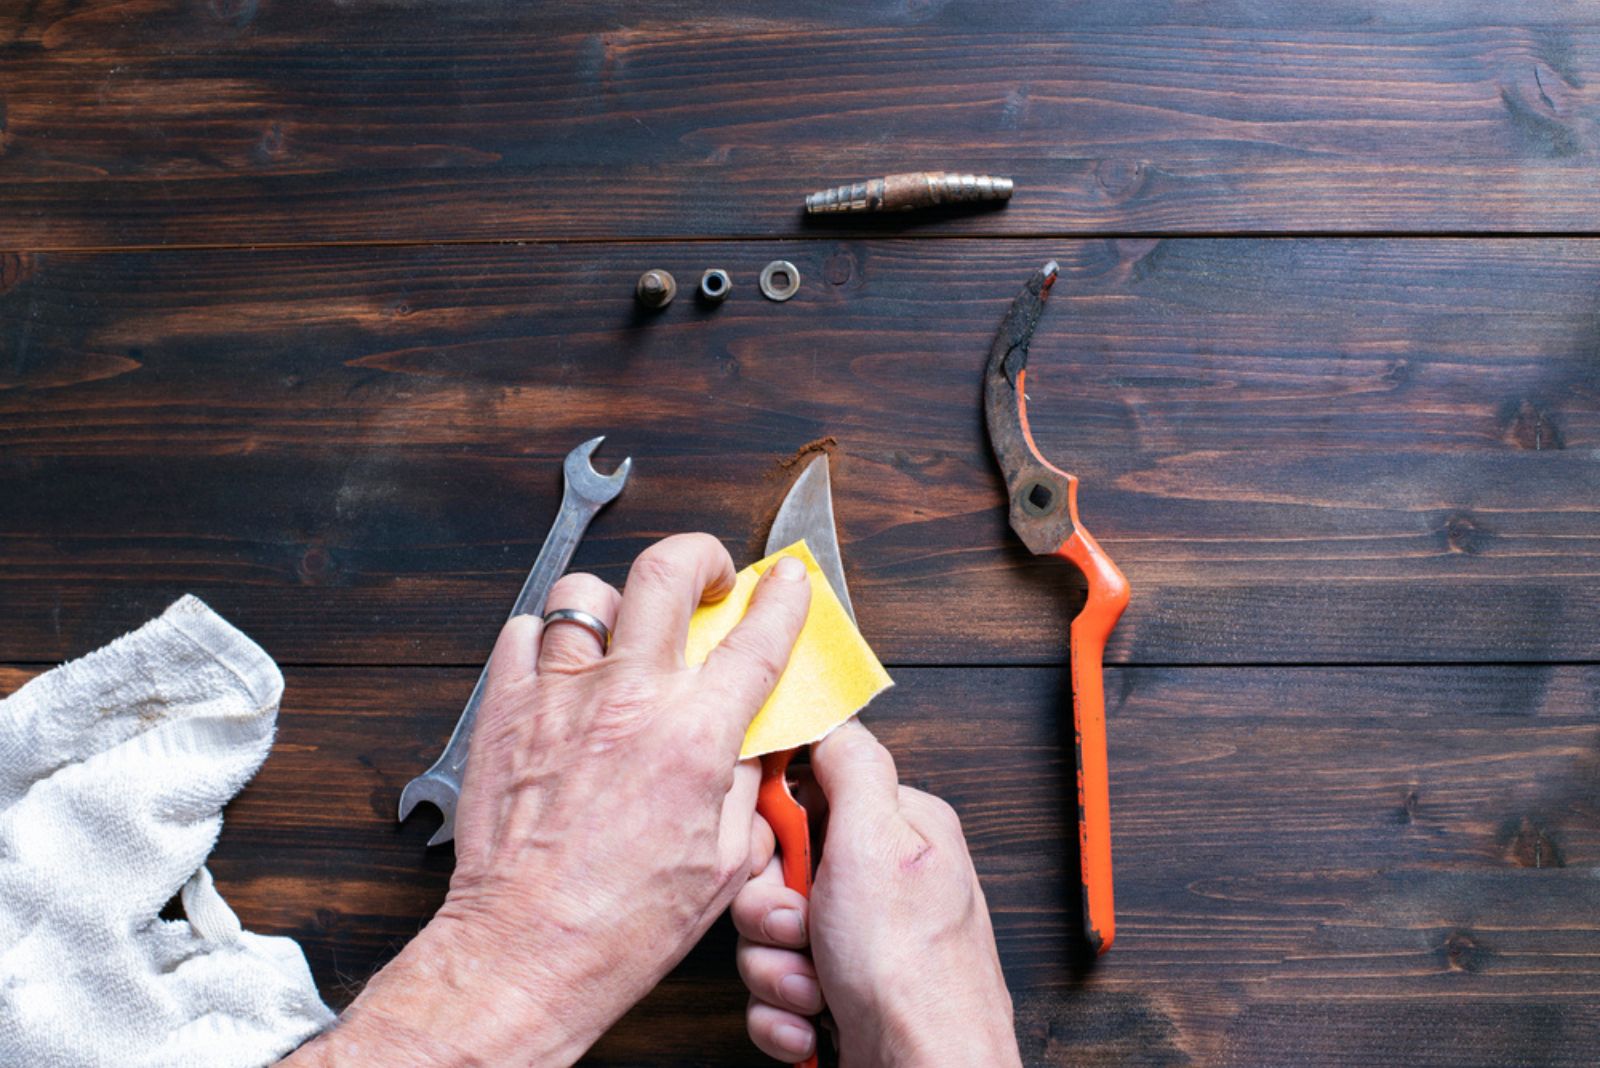
Before you start trimming your lavender, make sure to give your tools a quick rub down with some rubbing alcohol – this will help to keep plant diseases and pests from spreading from one plant to another.
If you want to make your pruning experience even smoother, you should sharpen those blades (cuts will be cleaner and the whole process is a whole lot easier). Keep ‘em sharp, baby!
Related: Watch Out For These 4 Mistakes When Growing Lavender
3. Snip The Green, Skip The Woody
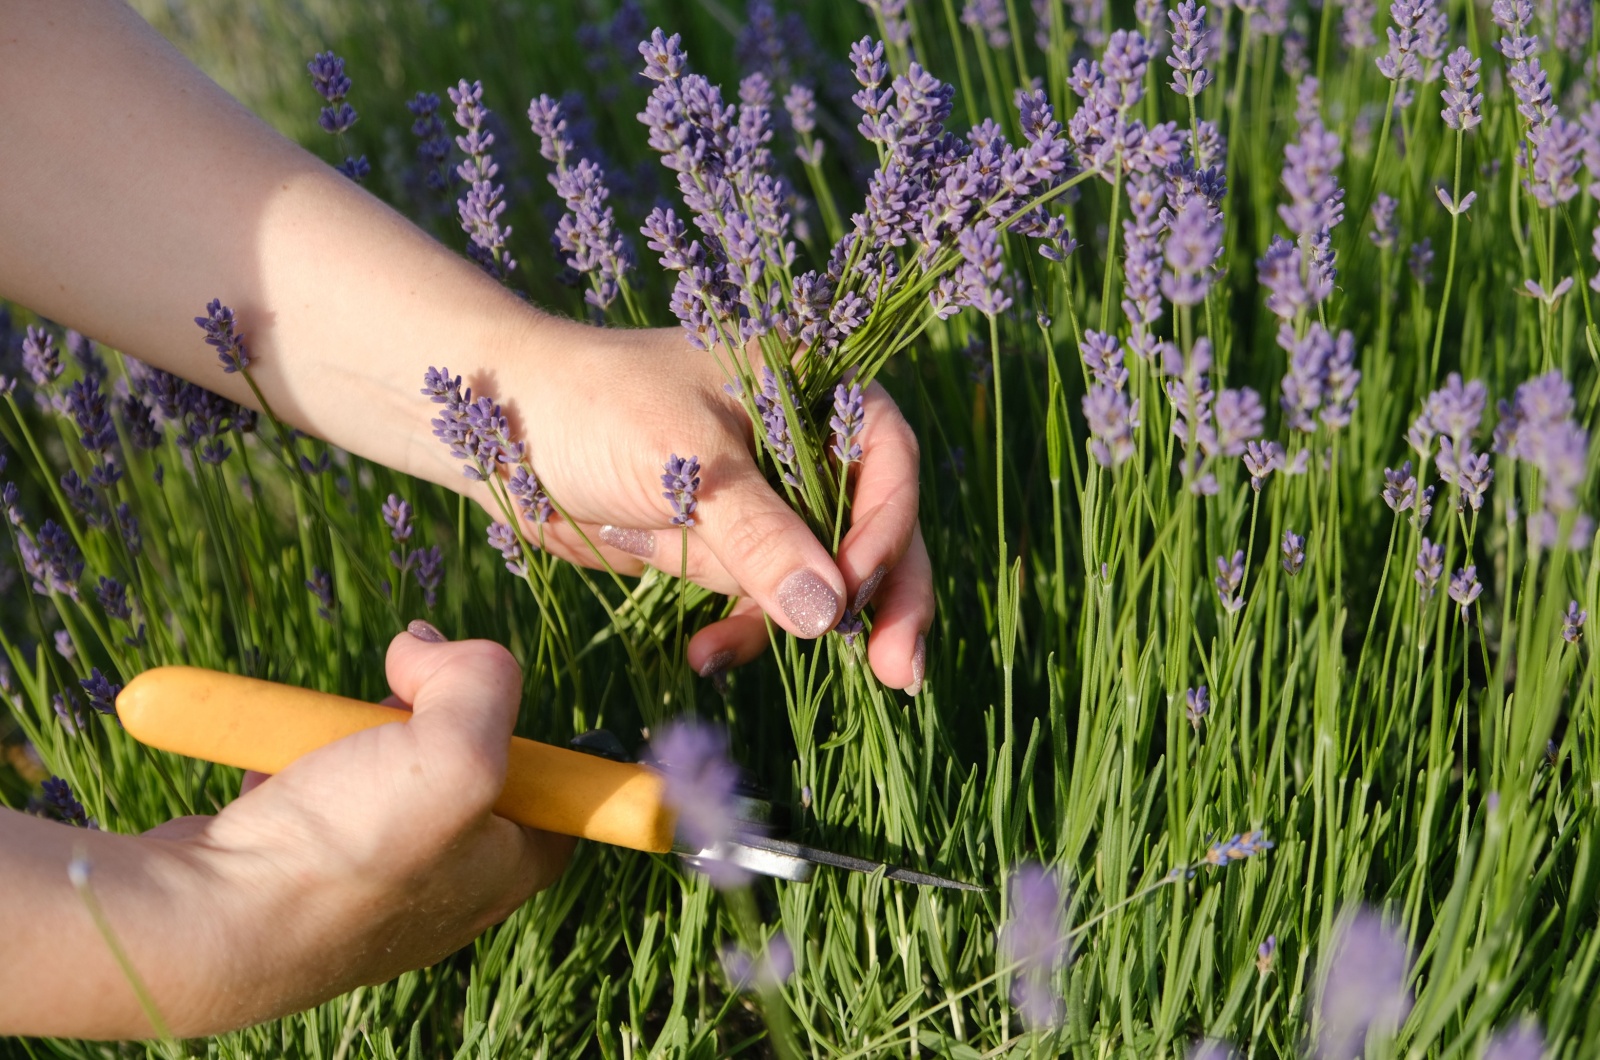
Grab a bunch of lavender stems in one hand and snip them about 2 to 3 inches above the woody base using pruners. Repeat this process until you’ve trimmed down the plant by about a third.
For smaller plants, pruners are perfect, but if you’re dealing with a large lavender shrub or hedge, you might want to switch to shears for quicker work.
Remember, only cut the green, leafy part – avoid trimming into the woody section unless it’s damaged or messing with the plant’s shape.
If you cut too deep into the woody part, the lavender might not grow back, so be careful!
Related: If Your Lavender Is Going Woody, Follow These 4 Steps To Stop It
4. Give Your Lavender A Nice New Shape
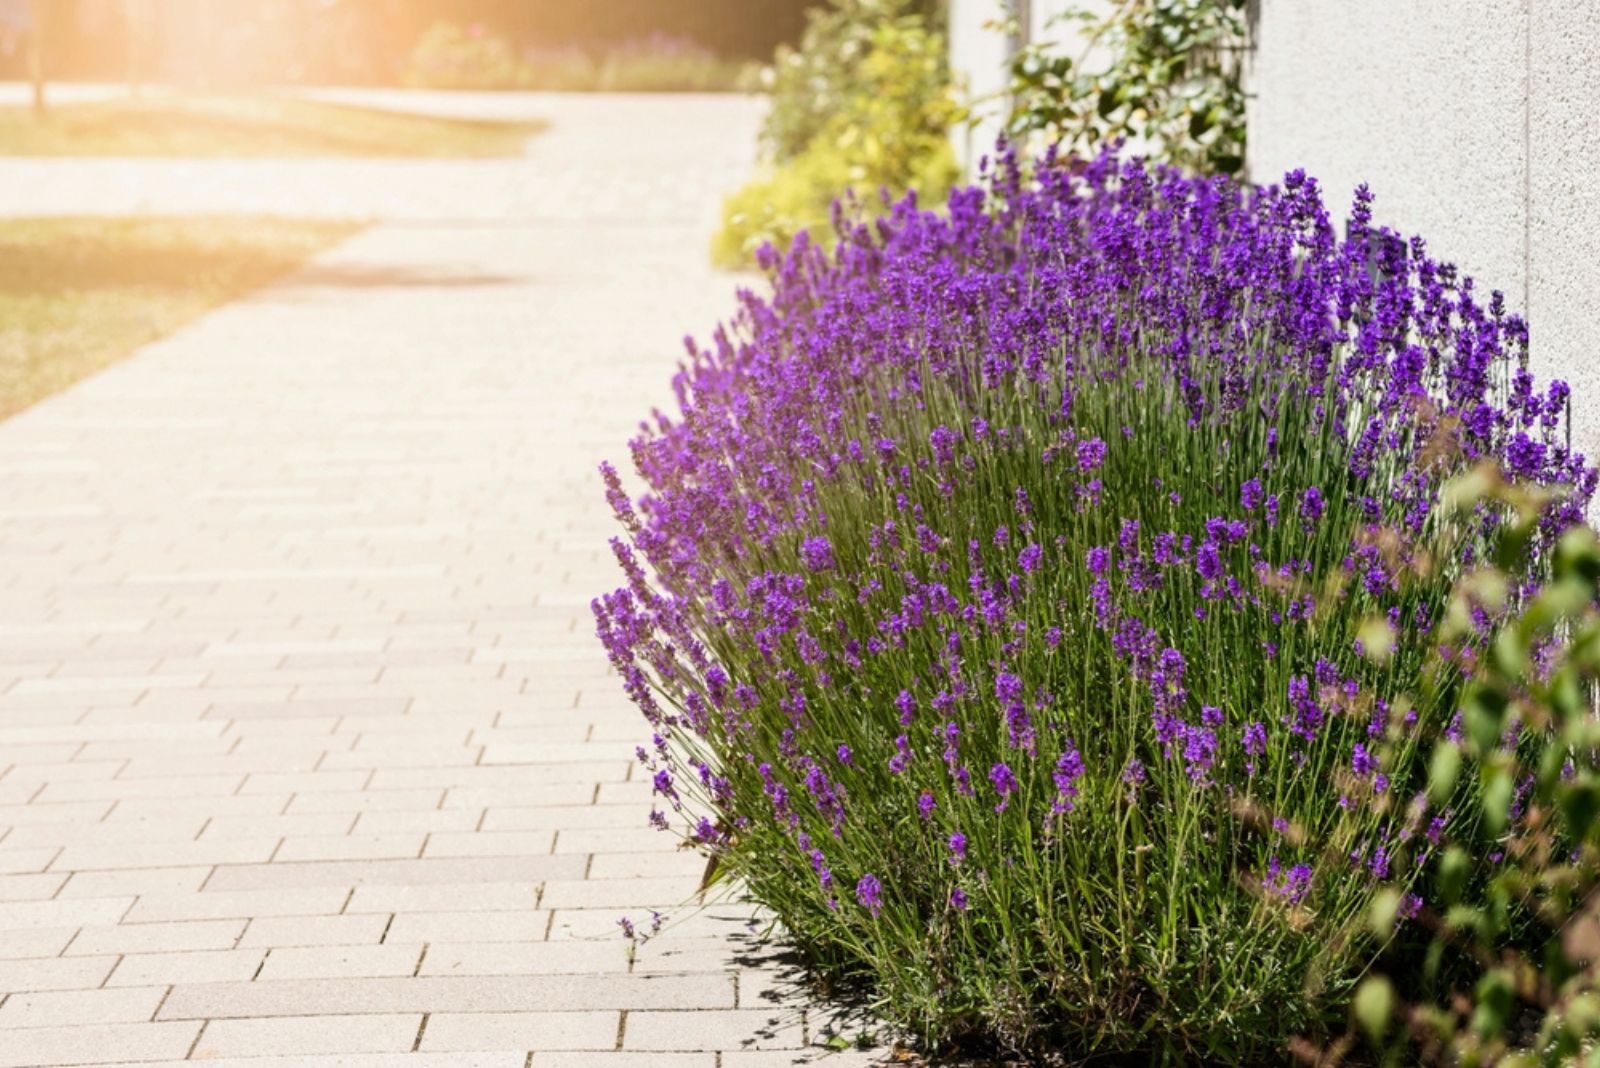
I always aim for that classic, rounder lavender look by cutting the outer stems a little shorter and leaving the center ones slightly longer. This helps create a nice, mounded shape.
But don’t stress about perfection because lavender is pretty forgiving, and the goal is more about keeping it nice and clean than getting every cut just right.
Also read: Bring Your Lavender Back To Life With These Top-Notch Tips No One Told You About
5. Don’t Forget About The Follow-Up Trim
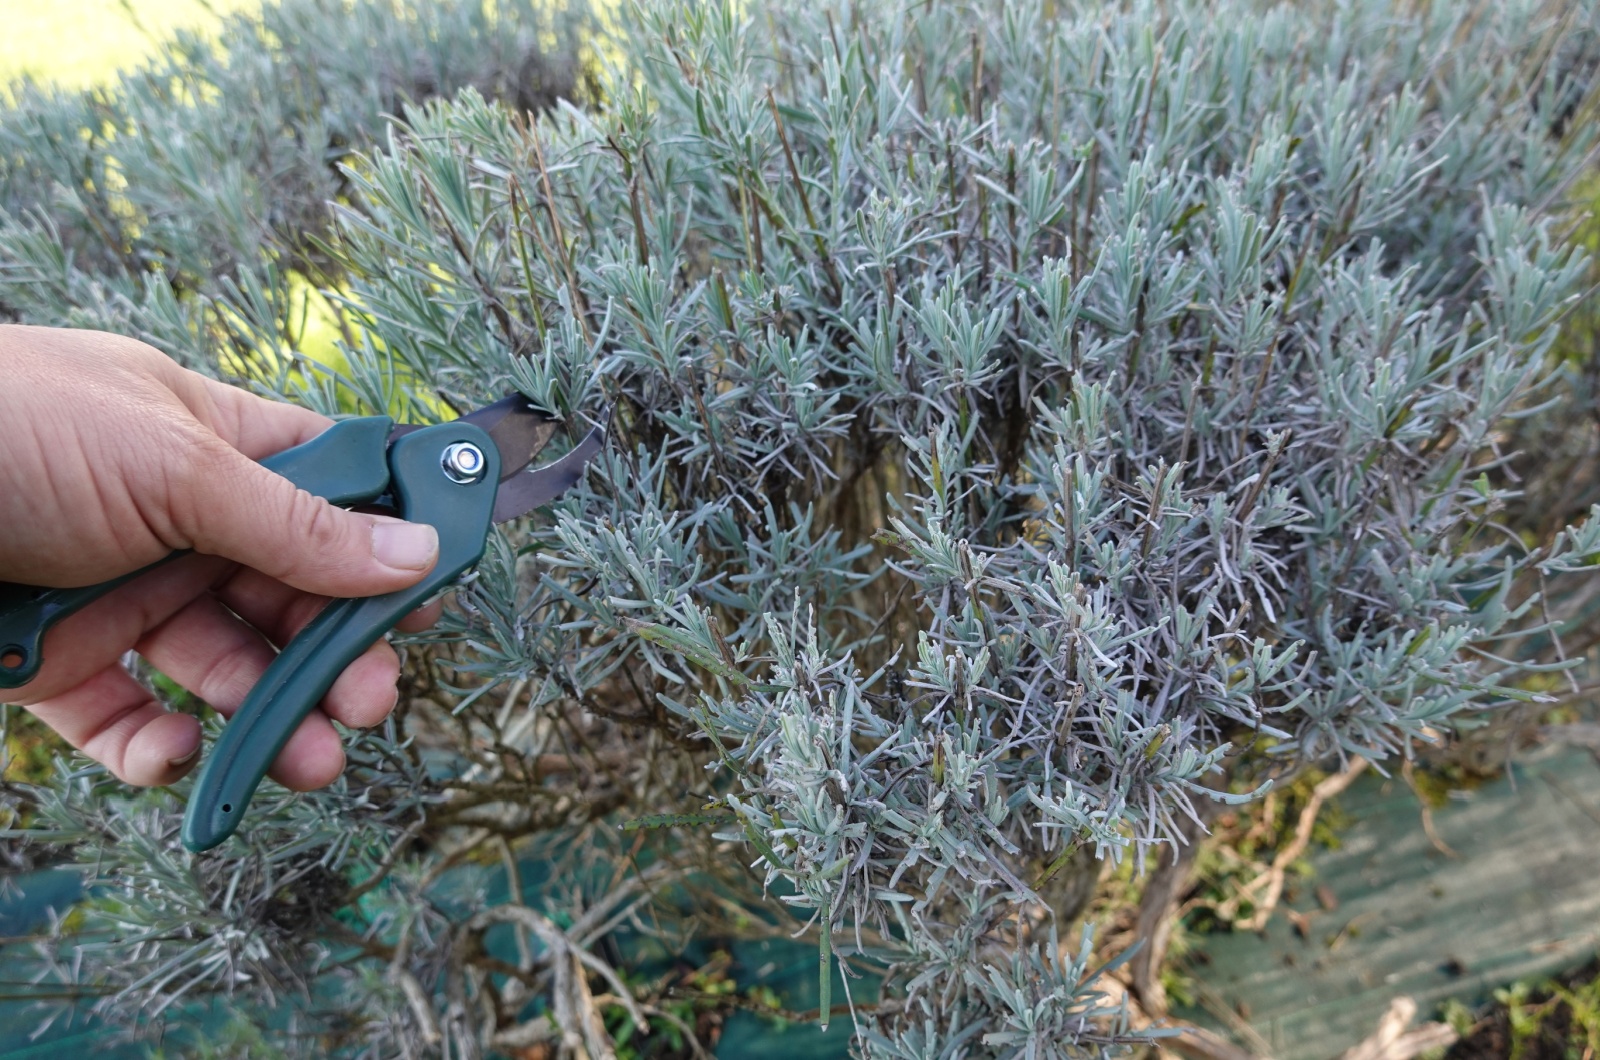
Though not absolutely required, if you prune your lavender in the fall, it can be helpful to give it a light trim in the spring to tidy up its shape and remove any winter-damaged stems.
Just a heads-up: spring pruning might reduce the number of flowers, so it’s best to do it early, before buds start forming.
Only prune once you see fresh leaves sprouting. If you try to prune before the plant begins to leaf out, it’s tricky and you might accidentally cut into the woody parts, which can be damaging.
I honestly get it if you’re scared. I was a mess back then!
Just follow this care guide and you’ll see that it is not that scary. Enjoy your freshly trimmed lavender afterwards and share some pics!

