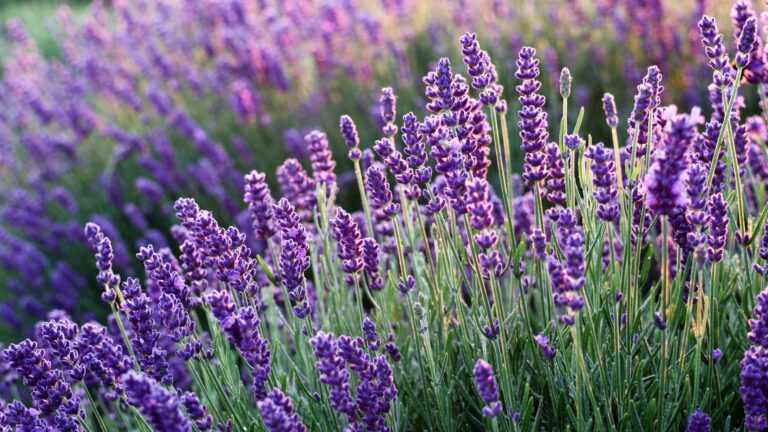
Propagate Your Lavender From Cuttings In These 6 Easy Steps And Expand Your Lavender Collection For Free
Once lavender displays its first fragrant blossoms in your garden, it will make you want more and more of these plants.
Luckily this isn’t hard to achieve, and the best thing is that it’s cost-effective.
Welcome to the world of lavender propagation!
I’ll show you how to propagate lavender from cuttings in the easiest possible way. Let’s see how to unlock the potential of a single cutting and get a good harvest of lavender plants!
1. Prepare A Rooting Medium
The first thing that guarantees successful lavender propagation is choosing the right type of growing medium.
You can either use soil or water to root lavender cuttings. Let’s first discuss which type of soil is the best for this purpose.
The easiest thing might seem like taking some garden soil and putting it in a container. Well, this is actually the worst thing a grower can do when propagating! Never use garden soil for your lavender cuttings.
There are 2 reasons for this; first, this soil type can be contaminated. The situation is different outdoors because we can’t control or observe the soil in the way that we would in container gardening.
Second, this soil type retains too much moisture, and lavender cuttings can quickly rot due to excess water.
What your lavender cutting needs is a soilless, free-draining, and porous growing substrate.
Perfect Growing Substrate For Lavender Cuttings
Some of the best materials to use for rooting lavender cuttings include peat moss, perlite, vermiculite, sand, coco coir, and pumice. All these materials enhance drainage and lower the risk of water accumulation.
You can combine these materials into a perfect rooting medium by mixing 1 part vermiculite, 1 part perlite, and 2 parts peat moss.
Another excellent combination is 1 part coco coir and 1 part horticultural sand. Coco coir will retain enough moisture for your lavender cutting and sand will prevent water accumulation.
Water As A Rooting Medium
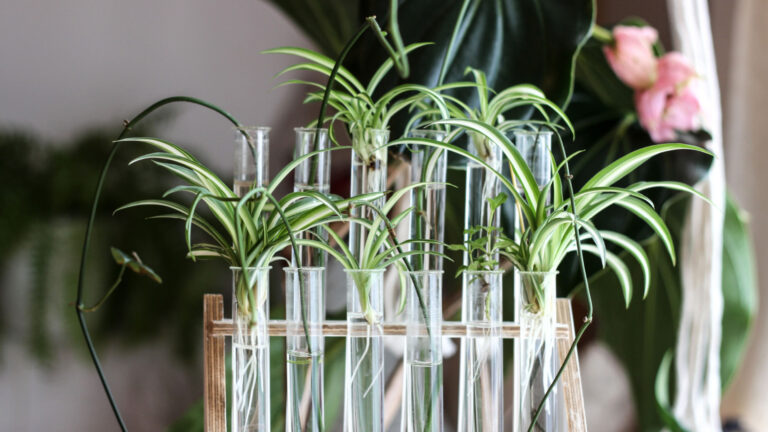
Many growers use water as a rooting medium and this technique works great for many plant species.
However, it doesn’t make a lot of difference for lavender cuttings. It does require less equipment but once the roots form, they are not as strong as they would be if rooted in soil.
Still, if you decide on this method, make sure to use a transparent jar or glass and clean room-temperature water.
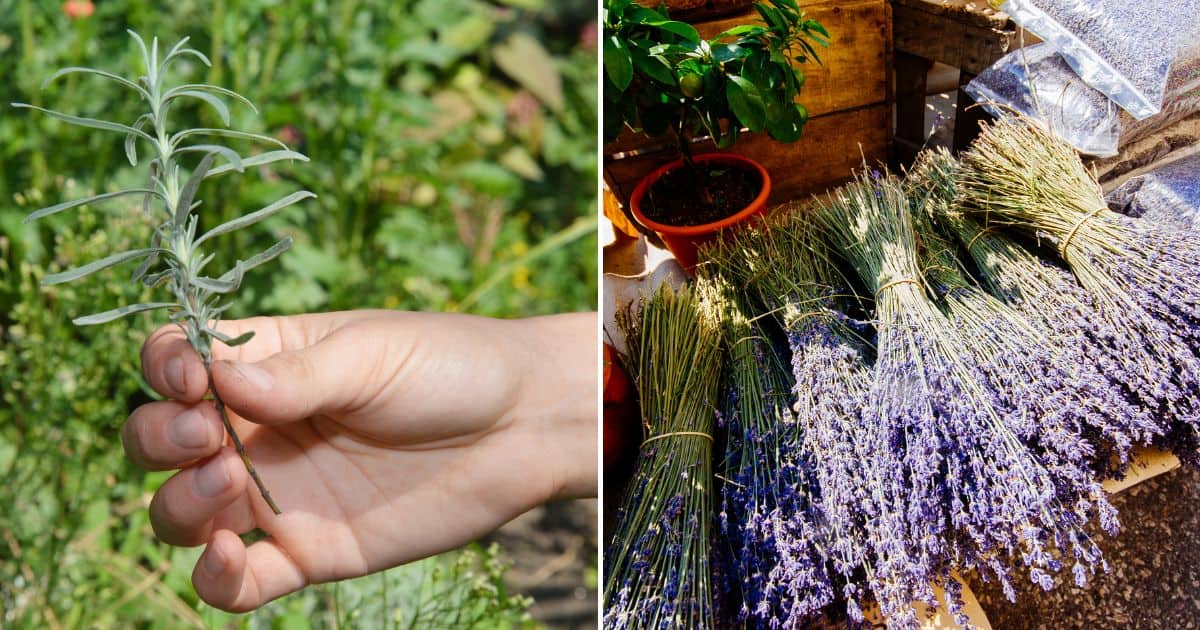
2. Take The Cutting
Lavender is one of the easiest plants to propagate from cuttings. You can use hardwood and softwood cuttings.
From my experience, softwood cuttings are a better choice because, in the case of lavender, they root faster and have a higher success rate.
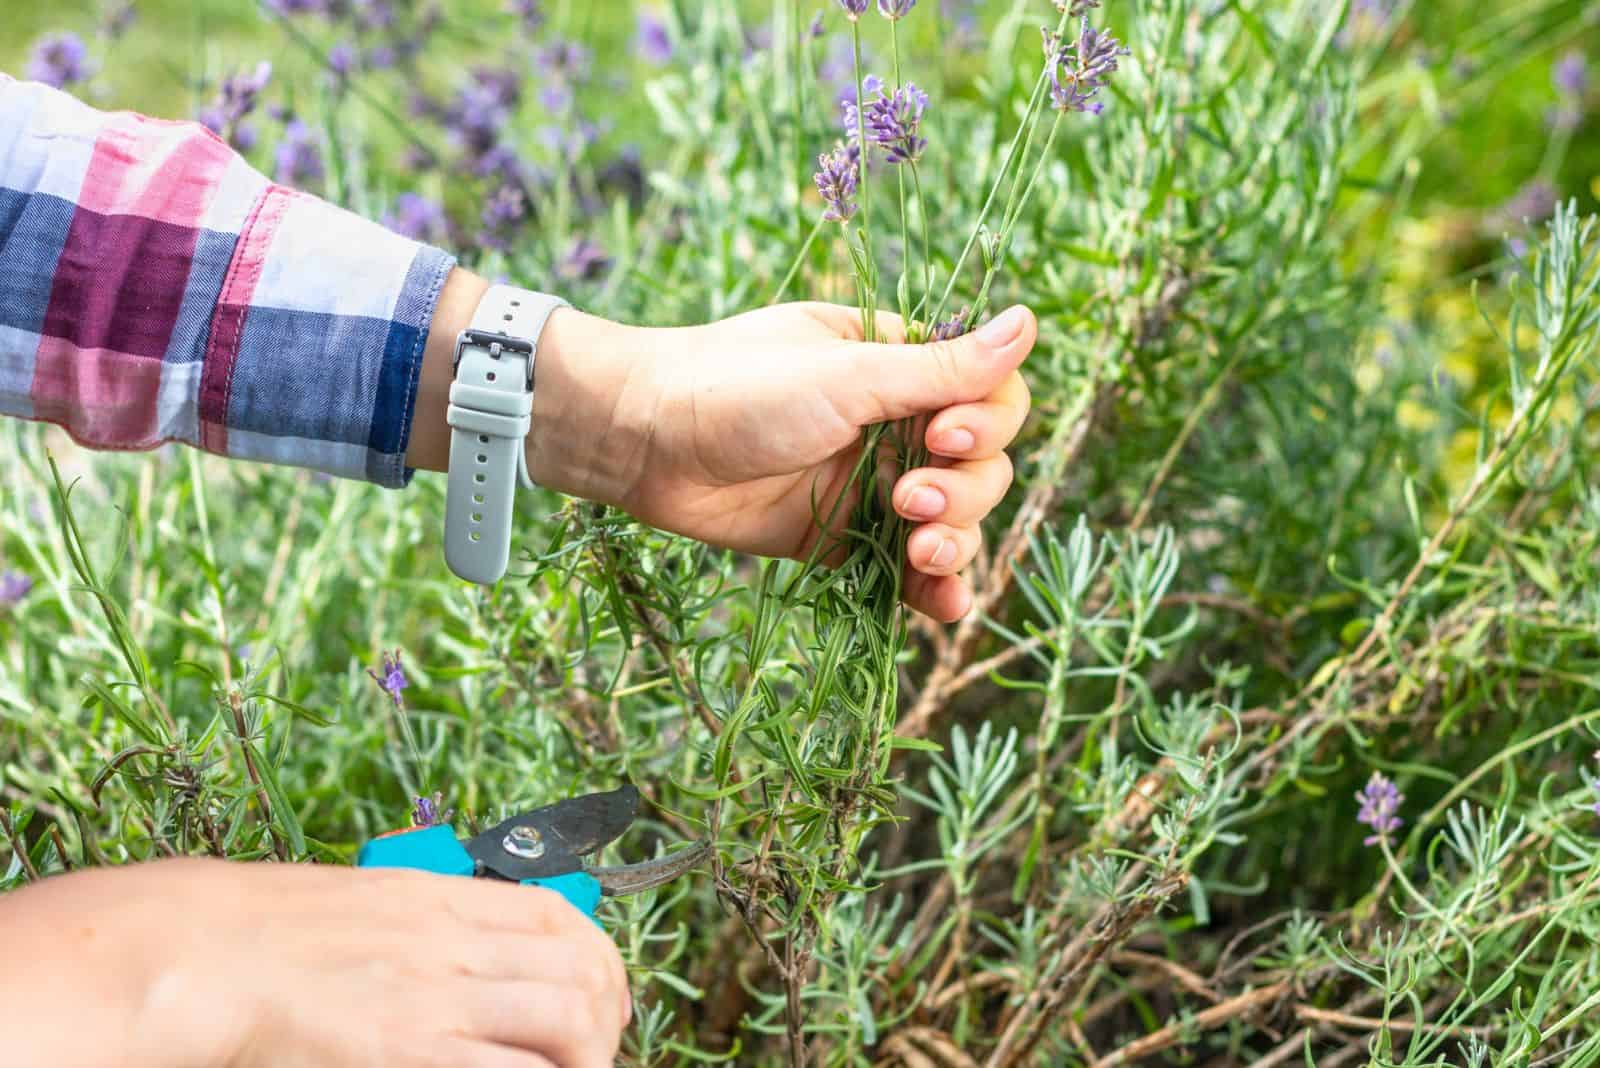
Take a pair of shears or scissors and clean them with bleach or rubbing alcohol to prevent infection.
Cut your lavender plant at the base and make sure the cutting is about 4 inches long. It would be best to take a cutting from the stem that hasn’t generated flowers. This way, you’ll help the cutting focus its energy on root production.
Alternatively, select a stem with flowers and remove them before rooting.
Remember that you can take as many lavender cuttings as you want, as long as they meet all the criteria mentioned above.
3. Cut Off Lower Leaves
Your cutting must have a few leaves attached to perform photosynthesis, which is essential for plant growth.
However, you need to trim the lower leaves on the cutting to enhance root growth and avoid rotting. Leaves rot quickly when they’re below the soil or water line.
If you take a cutting that is longer than 4 inches, you can also cut off some top leaves. This can enhance root development, especially if you selected a stem that was about to generate blossoms.
Another technique that can help your cutting root faster is cutting off woody portions on the lower part of the stem. This way, the cutting will only contain softwood and also root faster.
4. Apply Rooting Hormone
If this isn’t your first time propagating plants, you may have heard that rooting hormone isn’t necessary and that softwood cuttings will root successfully without it.
This is generally true, but rooting hormone enhances root development and makes the roots more robust, so why not give it a try?
There are many root hormones on the market; it’s up to you which type to use. I typically use powdered types for my lavender cuttings.
Take two small dishes, add a little bit of rooting powder to one and some water to the other. Now take your lavender cutting and dip the cut end in water first, and then in rooting powder. Dispose of any leftover hormone!
If you propagate lavender cuttings in water, don’t use rooting hormone because water will wash it away and it won’t have any effect.
5. Root The Cutting
Once you prepare the growing medium and lavender cutting, it’s time to root it!
Luckily this is a simple procedure and the chances that something goes wrong are really low.
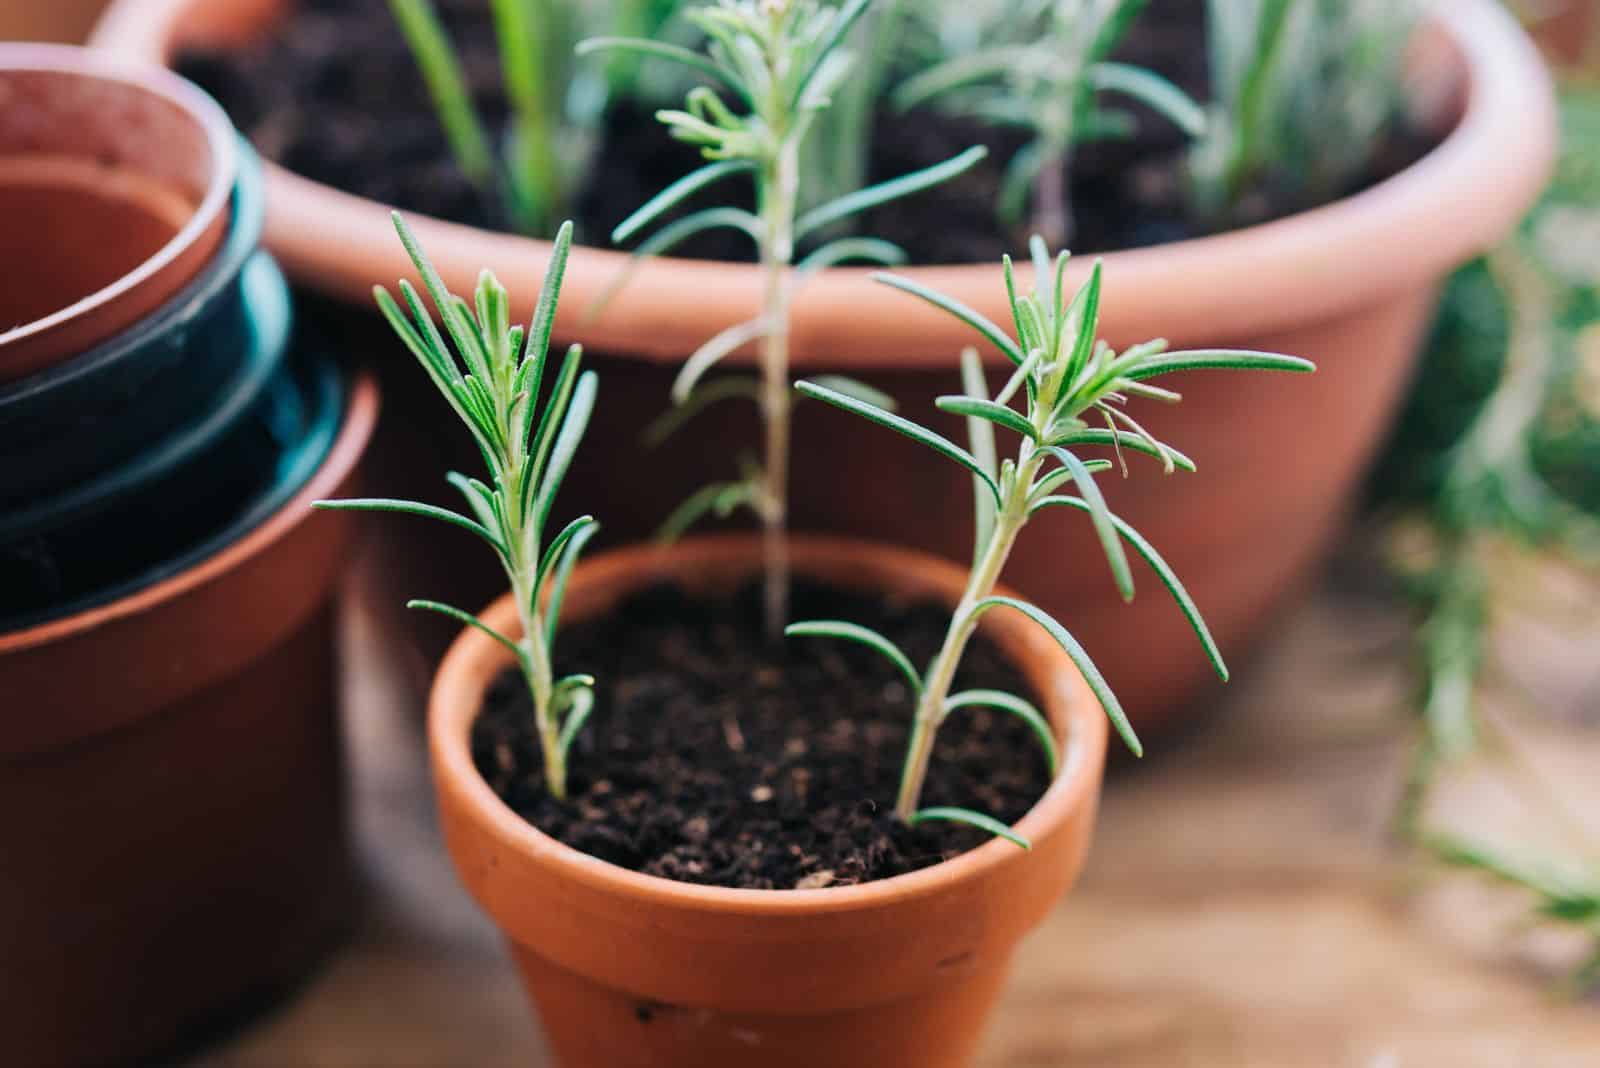
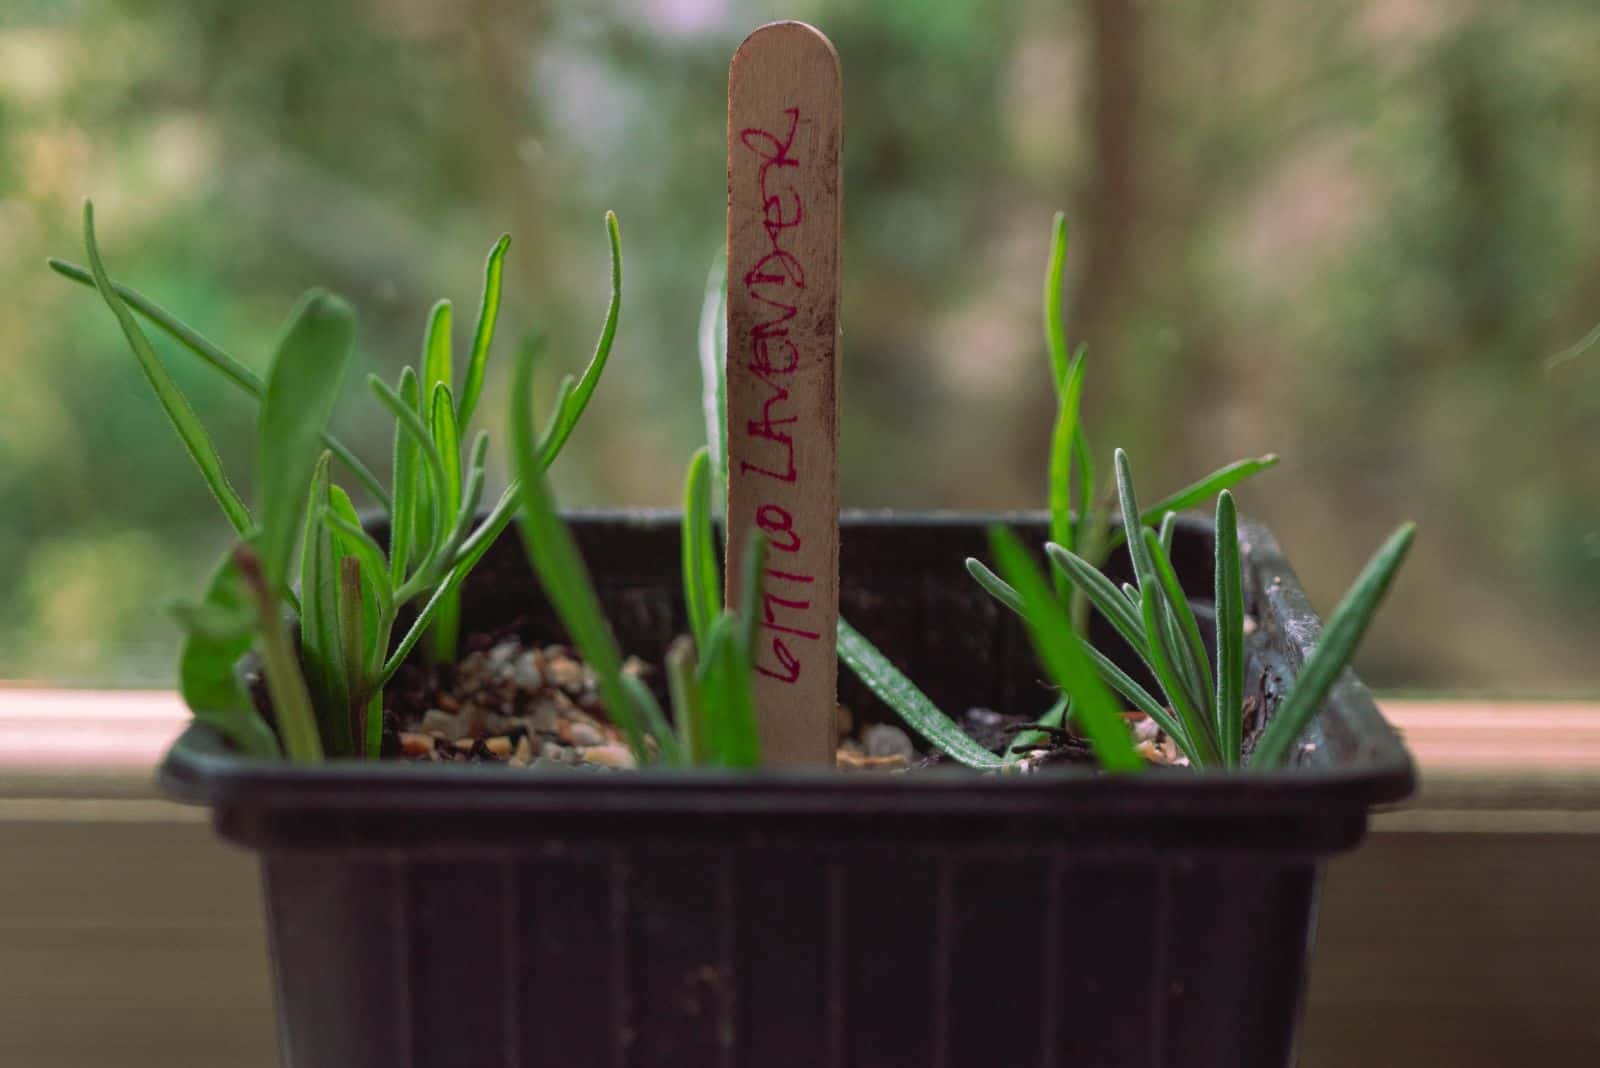
If using soil for propagation, make a small hole in the center using a wooden stick and put your lavender cutting in it.
If you have more cuttings, you can plant them in the same container. When using this technique, you should plant each cutting into separate pots after they’ve developed roots.
Secure the cuttings and keep them in place by gently pressing the soil down around them.
If using water as a rooting medium, simply submerge the cut end.
6. Cover The Cutting
Now your main goal is to create the conditions found in a greenhouse. The essential thing is to moisten the soil to create a humid environment.
A plastic bag will help you get this effect, and you also need some wooden sticks to hold the bag over the cuttings.
Take the wooden sticks and put them around the container’s edge. Carefully put the plastic bag over the sticks. This will create humidity and prevent the bag from touching the cuttings. This is essential because your lavender cuttings can rot if they’re in contact with the bag.
To maintain suitable humidity levels, put the pot(s) in a warm spot with bright indirect light. Regularly check on your cuttings and if the soil dries out too much, mist it to prevent dehydration.
After misting, put back the plastic bag and return the container to the same spot.
Once your lavender cuttings show resistance when you gently pull them, it’s a telltale sign they’ve developed roots.
Lavender cuttings typically don’t need more than a month to generate their first roots. Sometimes it may take longer, but if all conditions are suitable and there are no signs of rotting, there’s no need to worry.
Tips For Water Propagation
If you’ve been propagating in water, make sure to freshen the water every couple of days to prevent fungal growth.
The roots of lavender cuttings propagated in water should be a few inches long before potting.
There’s one technique that can help these cuttings adapt to soil easier; once you notice the roots on your lavender cutting, add some coco coir to the water every day or two. This is the best way to avoid shock after the lavender cuttings are planted in the soil.
When To Transplant Lavender Cuttings
Now the part we’ve all been looking forward to! It’s time to adorn your garden with lavender. Once the roots are a few inches long, you should transplant your lavender. You have 2 options, to pot the lavender or plant it directly in the ground.
No matter where you plant your lavender, the essential thing is to ensure a lot of drainage. Remember that the natural habitat of this plant species is the Mediterranean, and the soil there is rocky and sandy.
Mimicking a plant’s natural environment is the best way to keep it healthy and happy.
Your lavender will need regular watering before it fully establishes. As soon as the plant displays new growth, reduce watering because lavender isn’t a fan of constantly wet soil.
Another important part of lavender plant care is providing the plant with a lot of light.
There are so many things you can do with lavender. You can use it for hedges, train it into a tree, grow it as a companion plant, or use it as a focal point in your flower bed, so why not use the opportunity and get more of these plants through propagation?
Good luck and until next time!