8 Common Additions Can Make Illinois Clay Soil Worse, Not Better
Clay soil wins again, unless you stop doing this. If you have ever tried to grow anything in Illinois clay soil, you already know the struggle is very much real.
That dense, sticky, boot-grabbing ground has humbled even the most enthusiastic gardeners. One wrong step and you might find yourself practically sculpting pottery with your shoes.
But here is the plot twist that does not get talked about enough: many gardeners are not losing the battle because of the clay itself. They may actually be losing it because of what they keep piling on top of it.
Some of the products lining the shelves at your local garden center, the ones that promise big results, could be quietly working against your soil over time. Before you haul home another bag of good intentions, it might be worth slowing down.
Some common soil fixes can make things harder than they need to be. Let’s dig in.
1. Adding Lime Without Testing Your Soil First

Blindly adding lime to your garden is one of the fastest ways to wreck your clay soil’s chemistry.Illinois clay is naturally alkaline in many regions, sitting comfortably between a pH of 7.0 and 8.0.
Adding lime to already alkaline soil pushes that number even higher, locking out nutrients your plants desperately need.
Calcium and magnesium become unavailable when pH climbs too high.Iron and manganese essentially vanish from the plant’s reach.
You end up with yellowing leaves, stunted growth, and a garden that looks sick no matter how much effort you put in.
Lime is not a universal fix. It is a targeted tool, and using it without data is like taking medicine for a condition you were never diagnosed with.
Soil tests from your local cooperative extension office cost very little and give you a full picture of what your ground actually needs.
Once you have your test results, you can make smart decisions.If your pH is already high, your clay might benefit more from sulfur to bring it down than from any additional lime.
Knowing your numbers before you act saves you money, time, and a lot of gardening heartbreak.
The test also tells you about nutrient levels, organic matter, and texture.That one piece of paper can completely change your gardening game.
Skip the guesswork and let the science do the heavy lifting for you.
2. Skipping The Research Before Fertilizing

Grabbing a bag of all-purpose fertilizer and scattering it across your clay beds feels productive.
It feels like you are doing something. But here is the uncomfortable truth: you might be quietly damaging your own garden.
Clay soil holds nutrients tightly because of its dense particle structure.
Unlike sandy ground, it does not let excess nutrients drain away.
When you keep adding fertilizer on top of what is already there, you build up harmful buildups of nitrogen, phosphorus, and potassium that can stress plant roots over time.
Phosphorus buildup is a particularly sneaky problem in Illinois clay.
Your Illinois Garden Changes Every Week. Your Plan Should Too.
Gardening in Illinois changes quickly throughout the season. Every Friday you’ll receive a simple weekly plan showing exactly what to plant, prune, fertilize, harvest, and protect so you never miss the right timing.
Too much of it blocks plants from absorbing zinc and iron, two minerals they absolutely need for healthy growth.
You end up fertilizing more to fix problems that the fertilizer itself caused.
A soil test tells you exactly what is missing and what is already in excess.
Maybe your nitrogen is fine but your potassium is low.
Maybe you need nothing at all and your clay is already sitting on a nutrient goldmine.
Fertilizer is not cheap, and applying it without a test is essentially throwing money into the ground for no benefit.
The extension offices across the state offer affordable testing, often for under fifteen dollars.
For that small investment, you get a personalized prescription for your specific plot of ground.
Stop treating fertilizer like a multivitamin you take just in case.
Treat it like medication: only use it when you know your soil actually needs it.
3. Using Raw Or Fresh Manure On An Edible Garden

Fresh manure smells like a solution.It is free, it is natural, and it sounds like exactly the kind of amendment clay soil needs.
But spreading raw manure on a vegetable bed is a food safety gamble you do not want to take.
Raw manure carries pathogens like E. coli and Salmonella.These bacteria can survive in soil for weeks, sometimes months, and they transfer directly to produce you pull from the ground.
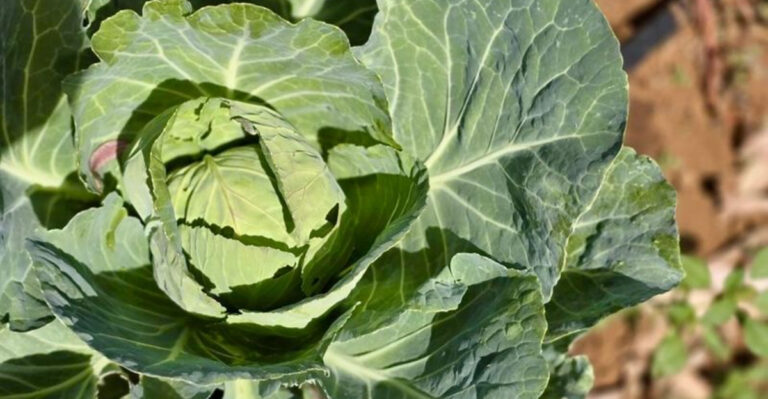
Leafy greens and root vegetables are especially vulnerable because they grow close to or in the soil itself.
Clay soil makes this even riskier because it does not drain well.Pathogens stay wet, stay active, and stay dangerous longer in dense, slow-draining ground.
What might flush out of sandy soil in a rain lingers in clay like an unwelcome guest.
The fix is composted manure, not fresh.Properly composted manure reaches internal temperatures high enough to neutralize harmful bacteria.
It also breaks down into a form that clay soil can actually absorb and benefit from without the health risk.
Look for bags labeled “composted” or “aged” at your local garden center.Better yet, make your own compost pile and let fresh manure hot-compost for at least 90 days before it touches any food-growing bed.
Your garden will thank you, and so will your stomach.
Fresh is not always better. In this case, patience is the ingredient that makes manure safe and effective.
4. Applying Manure During The Active Growing Season

Timing matters. More than you think.
Applying manure mid-season seems like a solid move. It’s not.
Plants in active growth are sensitive. Their roots, their systems, all of it.
Too much nitrogen at the wrong moment does more harm than good. Fresh or even partially composted manure releases nitrogen rapidly.
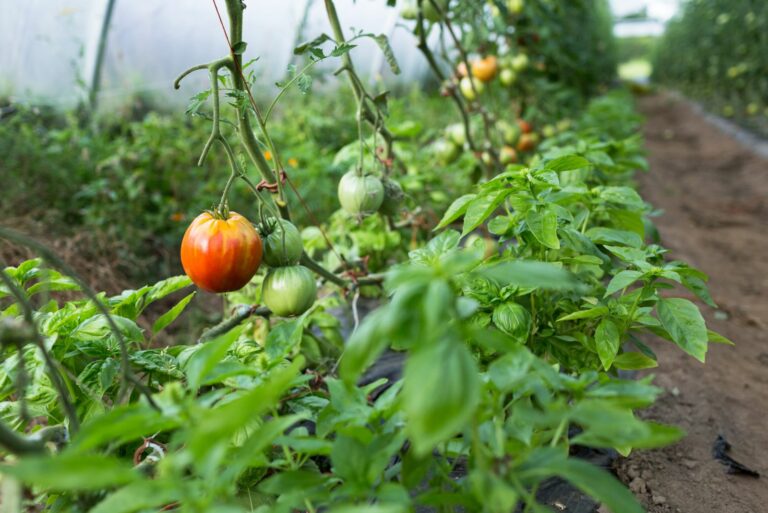
In the middle of summer, that nitrogen surge pushes plants into aggressive leafy growth at the exact moment they should be putting energy into fruit, flowers, or roots. Tomatoes grow massive vines.
Peppers forget to produce. Root vegetables fork and twist trying to navigate the chemical surge.
Clay soil amplifies this problem. Because it holds nutrients so effectively, that nitrogen does not dilute or drain.
It sits there, concentrated, around your plant roots for weeks. The result can be fertilizer burn, leaf scorch, and poor yields in beds that looked perfectly fine before you added anything.
The right time to apply manure is in fall, after harvest. Spread it across empty beds and let the winter work for you.
Freezing and thawing cycles break down the material, and by spring, it has mellowed into something your clay can use without the shock. Early spring application is a second option, as long as you allow at least two weeks before planting.
Give the amendment time to settle into the soil before roots arrive. Patience between application and planting is what separates a thriving garden from a struggling one.
5. Using Manure Within Three To Four Months Of Harvest

Image Credit: © Suhas Hanjar / Pexels
Picture this: your tomatoes are almost ready, your lettuce is lush, and you decide to give everything one last boost with a scoop of manure.It seems like solid gardening instinct.
It is actually a food safety mistake that the USDA takes very seriously.
Federal food safety guidelines recommend a minimum of 90 days between manure application and harvest for crops that do not touch the soil.For crops that do touch the soil, like lettuce, carrots, radishes, and strawberries, that window extends to 120 days.
Applying manure close to harvest leaves pathogens present in the soil at the exact moment you are pulling food out of it.
Illinois clay soil retains moisture, which keeps bacterial activity going longer than in lighter soils.A pathogen that might break down in two weeks in a sandy garden can linger for six weeks or more in dense, wet clay.
The closer you are to harvest, the higher the risk sitting in that soil.
Mark your planting dates on a calendar and count backward from your expected harvest window.If you cannot hit the 90 to 120-day buffer, skip the manure entirely for that season.
Compost from plant-based materials is a safer alternative when the timeline is tight.
Food safety is not just a restaurant concern.It starts right in your backyard beds.
Knowing when NOT to apply something is just as important as knowing what to apply.
6. Skipping The Compost Application

Here is the single best thing you can do for Illinois clay soil, and most gardeners either do too little of it or skip it entirely.
Compost is not optional. It is the foundation of everything that makes it workable, drainable, and productive.
Clay particles clump together in tight sheets that block water, suffocate roots, and make tilling feel like breaking concrete.
Compost introduces organic matter that physically wedges between those particles.
It creates pore spaces where air and water can move, and where roots can actually grow without fighting the ground every inch of the way.
Two to four inches sounds like a lot.
But anything less than two inches barely registers in dense clay.
You need enough volume to genuinely change the soil structure, not just sit on top like mulch and disappear after one rain.
Till or fork the compost down at least six to eight inches.
Surface application alone does almost nothing in clay because the tight structure below stays exactly the same.
You have to get it deep enough to matter, down where roots actually live and grow.
Repeat this every fall and spring until your soil structure improves.
One application will not transform your Illinois clay soil overnight.
Consistency over two to three seasons is what finally tips the balance from frustrating to flourishing.
Compost also feeds beneficial soil organisms that further break down clay structure naturally over time.
The more life you build in that soil, the less you have to fight it every season.
7. Adding Sand Alone To Clay Can Backfire

Sand sounds like a perfectly logical fix for clay. Clay is dense and sticky, sand is loose and gritty, and mixing them together seems like it should balance everything out into something workable.
Unfortunately, that is not how soil physics actually works, and this particular myth has frustrated countless gardeners who followed it in good faith.
Adding a small amount of sand to clay creates something far closer to a weak concrete than a fluffy, well-draining garden bed. The tiny clay particles fill in around the larger sand grains and lock everything into a rigid structure.
Water movement slows down even further. Root penetration becomes harder.
The bed ends up in worse shape than it started, which is a deeply discouraging outcome after all that effort and expense.
To genuinely shift clay texture using sand, you would need to incorporate it at such a high volume, think 50 percent or more of total soil composition, that it becomes completely impractical for most home gardeners working with existing beds. The math simply does not work in favor of the bag-of-sand approach.
Compost remains the better choice by a wide margin. It improves drainage, feeds soil organisms, and physically opens up clay structure without the risk of backfiring.
If someone at your local garden center or in an online forum suggests adding a few bags of sand to your beds, it is worth politely skipping that recommendation and reaching for the compost pile instead.
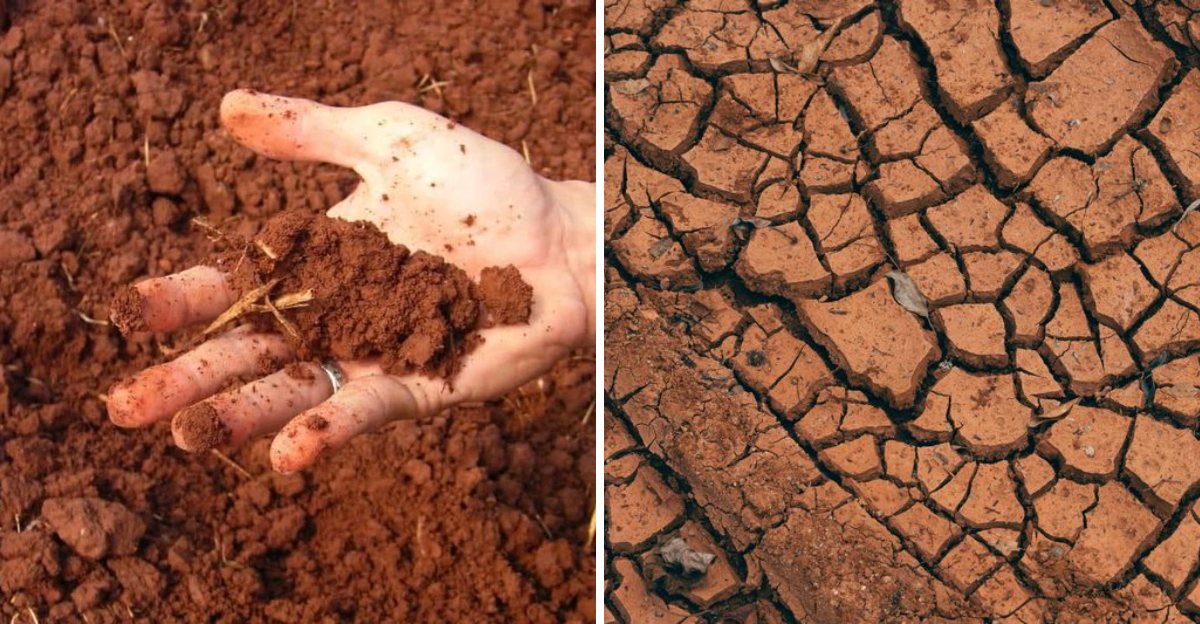
8. Digging Clay Soil While It’s Wet

Timing your garden work around wet weather might feel like an inconvenience, but it matters more than most gardeners ever realize. When you dig, till, or even walk on clay soil while it is saturated, the particles compress together into hard, dense clods.
This process is called puddling, and it can take an entire growing season to reverse. Those clods dry into chunky, concrete-like lumps that roots genuinely struggle to push through, no matter how much you water or fertilize afterward.
The frustrating part is that the damage happens fast. One enthusiastic afternoon of wet-weather digging can undo weeks of careful soil preparation.
Clay that was finally starting to loosen and breathe gets slammed back into a compacted state before your plants even go in the ground.
The good news is that avoiding this problem takes almost no effort at all. Before reaching for a trowel or a tiller, grab a handful of soil and give it a firm squeeze.
If it holds its shape like modeling clay and feels slick between your fingers, put the tools away and come back in a day or two. If it crumbles apart easily when you open your hand, the soil is ready to work.
That one simple test, done consistently, protects everything you have worked so hard to build in your beds across the whole season.