8 Early Steps To Take When Your New Jersey Roses Begin To Bud
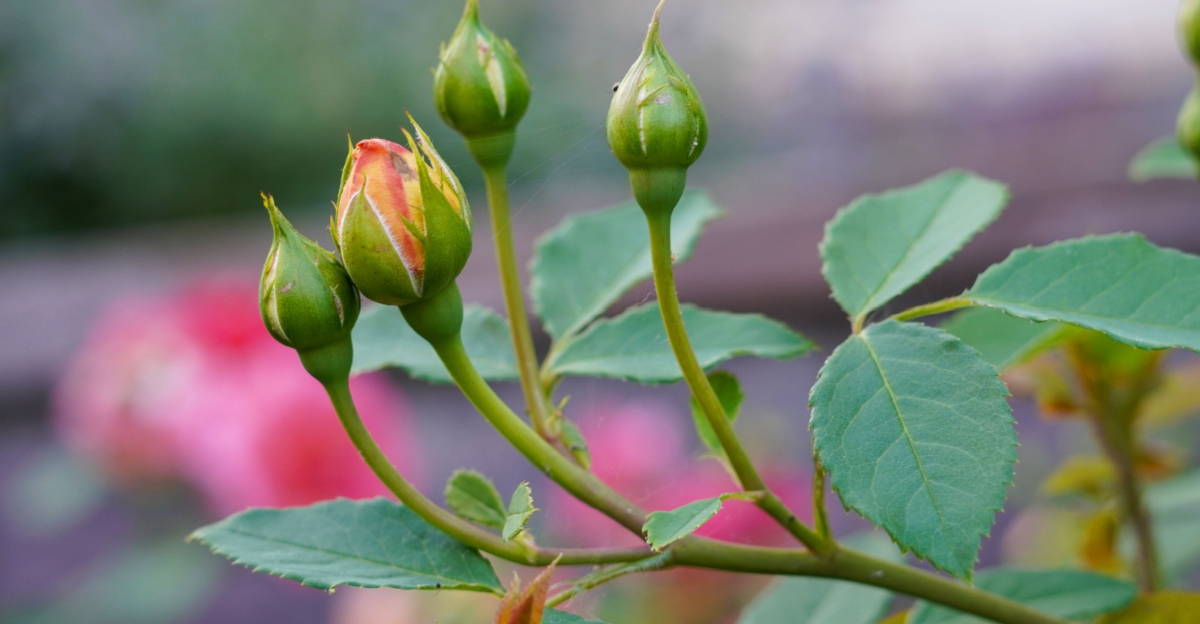
Spring in New Jersey does not announce itself politely. One morning your roses are bare canes, and the next there are tiny green buds pushing through like they have somewhere important to be.
That is your signal. Not tomorrow, not after the weekend.
Now.
Most gardeners see those buds and smile, then go back inside for more coffee. The ones who actually end up with a yard full of gorgeous roses do something different.
They know that bud break is the most important window of the entire growing season, and they treat it that way.
The good news? You do not need to be a master rosarian.
You just need to know what to do and when to do it.
Keep reading and this year your roses get the head start they deserve.
1. Switch To A Bloom Fertilizer When Buds First Appear
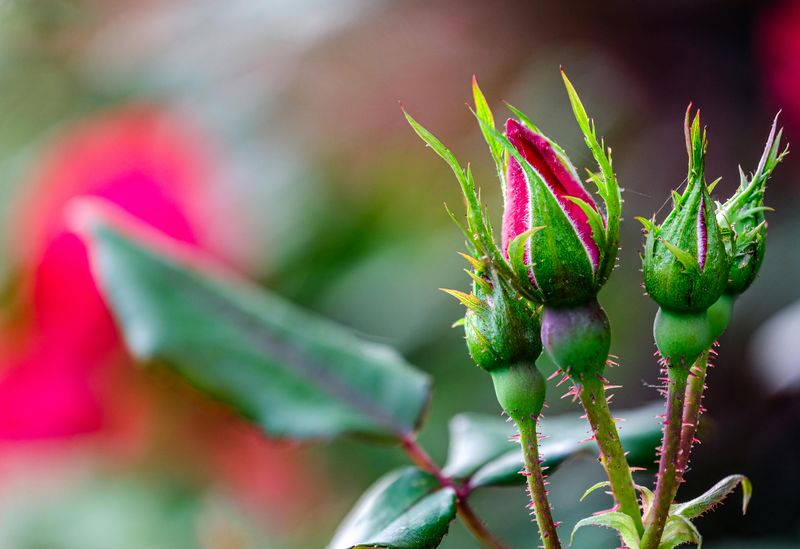
Tiny buds are your roses sending you a message. They are shifting their energy from growing leaves to producing flowers, and your fertilizer needs to match that shift.
A high-nitrogen fertilizer is great for leafy green growth in early spring, but once buds appear, nitrogen takes a back seat. Switch to a bloom-boosting fertilizer with higher phosphorus and potassium numbers.
Look for something like a 5-10-10 or 4-8-8 ratio on the bag. Phosphorus feeds root strength and flower development, while potassium helps the whole plant stay resilient against stress and disease.
Granular formulas work well scratched gently into the soil around the drip line of each bush. Liquid fertilizers are faster-acting if you want quicker results.
Either way, water the area well after applying so nutrients reach the roots where they belong.
Do not over-fertilize thinking more is better. Too much fertilizer can burn roots and actually slow blooming rather than speed it up.
Follow the package directions and feed every four to six weeks through the blooming season.
Roses are surprisingly hungry plants when they are performing at their best. Giving them the right fuel at the right time is one of the smartest moves you can make.
Feed them well now, and they will reward you with color and fragrance all the way into fall.
2. Water Deeply At The Base, Not The Leaves
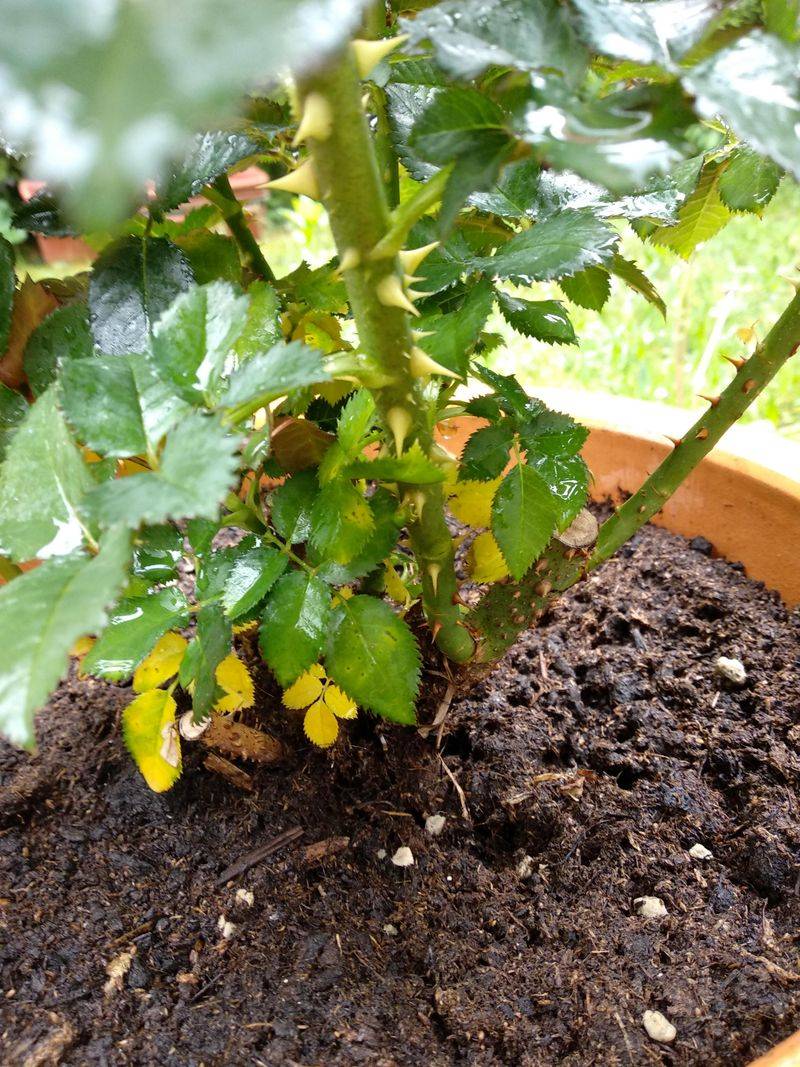
Wet leaves are one of the fastest ways to invite fungal disease into your garden. When water sits on foliage overnight or during humid spring days, it creates the perfect environment for fungal disease to take hold.
Black spot and powdery mildew both love moisture, and giving them a wet leaf to work with is basically rolling out a welcome mat. Water at the base of the plant, right near the soil.
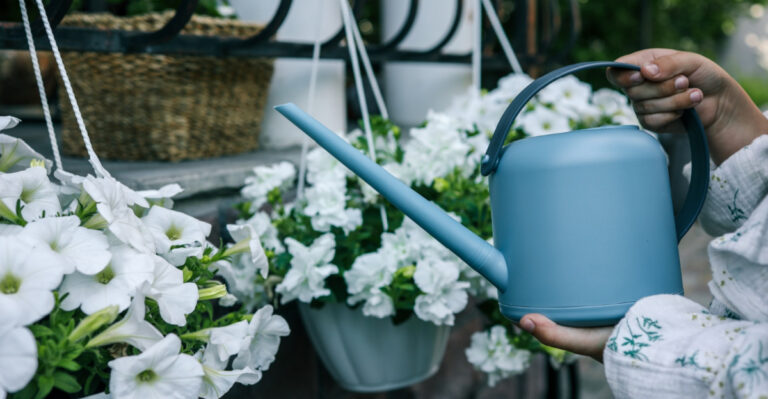
Use a soaker hose, a watering wand with a curved neck, or simply aim your hose low and slow.
The goal is to soak the root zone deeply rather than splash around the stems and leaves.
Deep watering encourages roots to grow downward, which makes the whole plant more drought-tolerant later in the season. Shallow watering keeps roots near the surface where they are more vulnerable to heat and dry spells.
Your New Jersey Garden Changes Every Week. Your Plan Should Too.
Gardening in New Jersey changes quickly throughout the season. Every Friday you’ll receive a simple weekly plan showing exactly what to plant, prune, fertilize, harvest, and protect so you never miss the right timing.
Aim for about one inch of water per week, more during hot or windy stretches.
Morning is the best time to water. If any moisture does splash on the leaves, the sun and breeze will dry it quickly before nightfall.
Evening watering leaves foliage damp all night, which is an open invitation for trouble.
Consistent watering during the budding stage is especially important. Stress from drought or irregular moisture can cause buds to drop before they open.
Keep the schedule steady, and your blooms will follow through beautifully.
3. Scout For Aphids, Black Spot, And Powdery Mildew Early
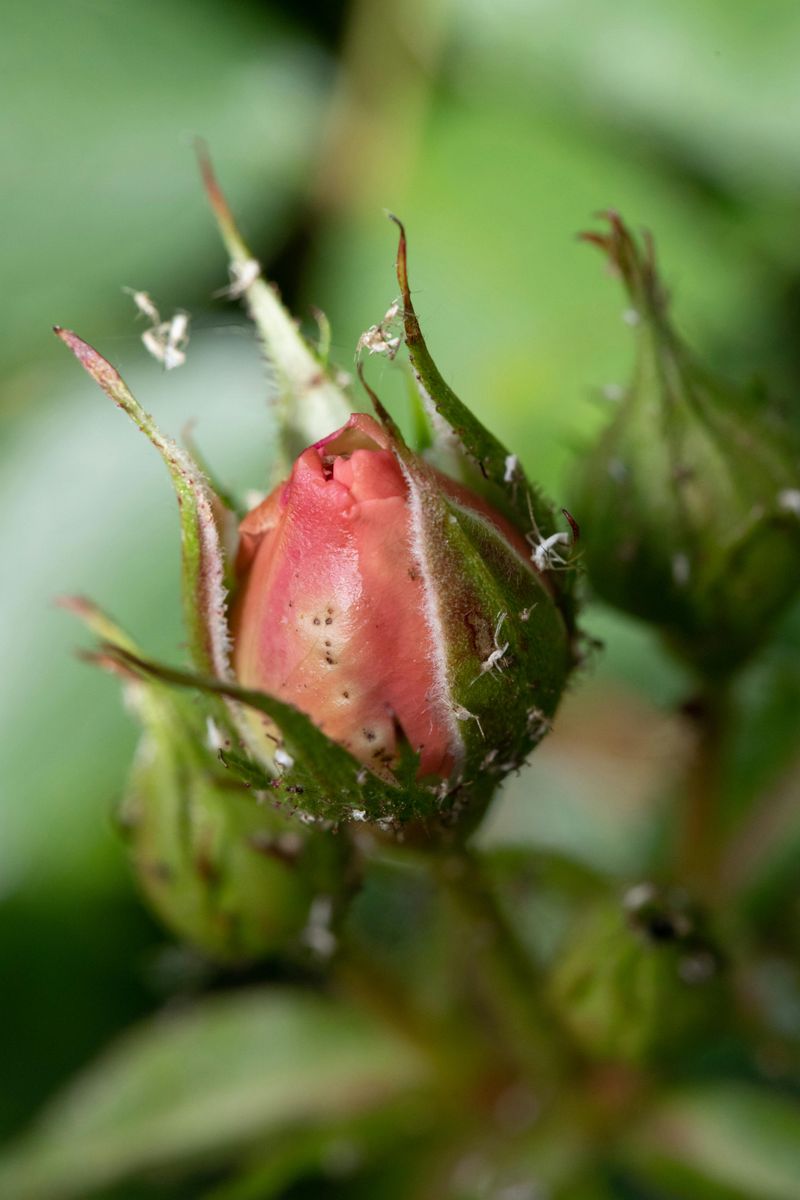
Catching problems early is everything in rose care. A small cluster of aphids on a new bud is easy to handle.
A full-blown infestation two weeks later is a much bigger headache.
Early spring scouting is one of those habits that separates a thriving rose garden from a struggling one. Aphids are tiny, soft-bodied insects that cluster on new growth and buds.
They suck plant sap and can cause distorted leaves and stunted flowers.
Check the undersides of leaves and around new buds every few days. A strong blast of water from the hose can knock them off, or you can use insecticidal soap for heavier problems.
Black spot shows up as dark circular spots on leaves, often with yellow halos. It spreads fast in wet conditions and will defoliate a rose bush if left unchecked.
Remove affected leaves immediately and avoid overhead watering to slow its spread.
Powdery mildew looks exactly like it sounds: a white, chalky coating on leaves and sometimes buds. It tends to appear when days are warm and nights are cool, which is classic New Jersey spring weather.
Good air circulation between plants helps prevent it.
Walk your garden slowly and look closely. Flip leaves over and check tender new growth.
Spotting these issues in week one means you can fix them in a day.
Missing them for a month means you might lose the whole season.
4. Disbud Side Buds If You Want Fewer, Larger Blooms
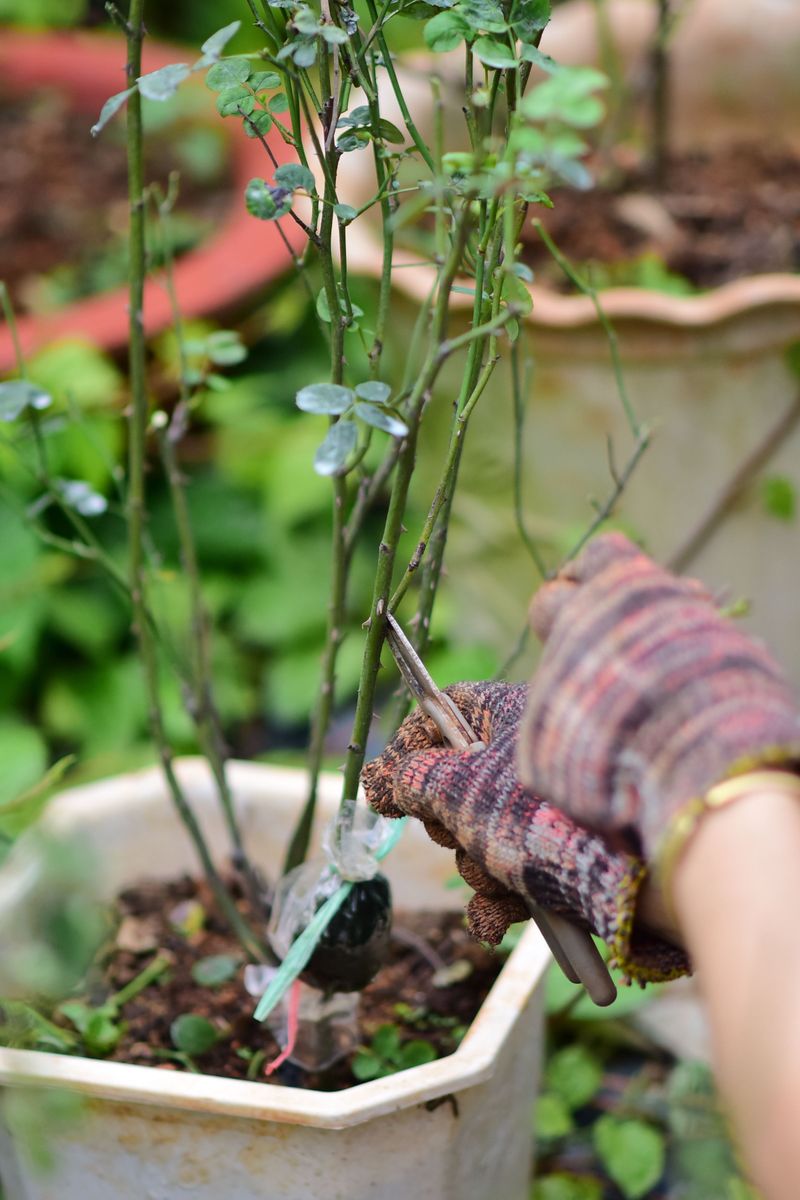
One big showstopper rose or a cluster of smaller blooms? That is actually a choice you get to make.
Disbudding is the practice of removing side buds to direct the plant’s energy into one central bloom. It can produce flowers that look almost too perfect to be real.
When a rose stem produces multiple buds, all of them compete for the same nutrients. If you remove the smaller side buds while they are still tiny, the main bud gets everything.
The result is a larger, fuller flower with stronger color and a longer vase life if you plan to cut them.
Disbudding is especially popular with hybrid tea roses, which are bred to produce single, exhibition-quality blooms.
Floribunda roses, on the other hand, are meant to bloom in clusters, so disbudding those would work against the plant’s natural design. Know your rose type before you start pinching.
The technique is simple. Gently snap off side buds with your fingers or use clean snips.
Do it when the buds are small and soft, before they develop a woody base. Waiting too long makes removal harder and leaves a larger wound on the stem.
Not every gardener wants to disbud. If you love a lush, full look with many flowers, skip it entirely.
But if you are after that one jaw-dropping centerpiece bloom, this small step makes a surprisingly big difference. Try it on a few canes this season and see for yourself.
5. Refresh Your Mulch Layer
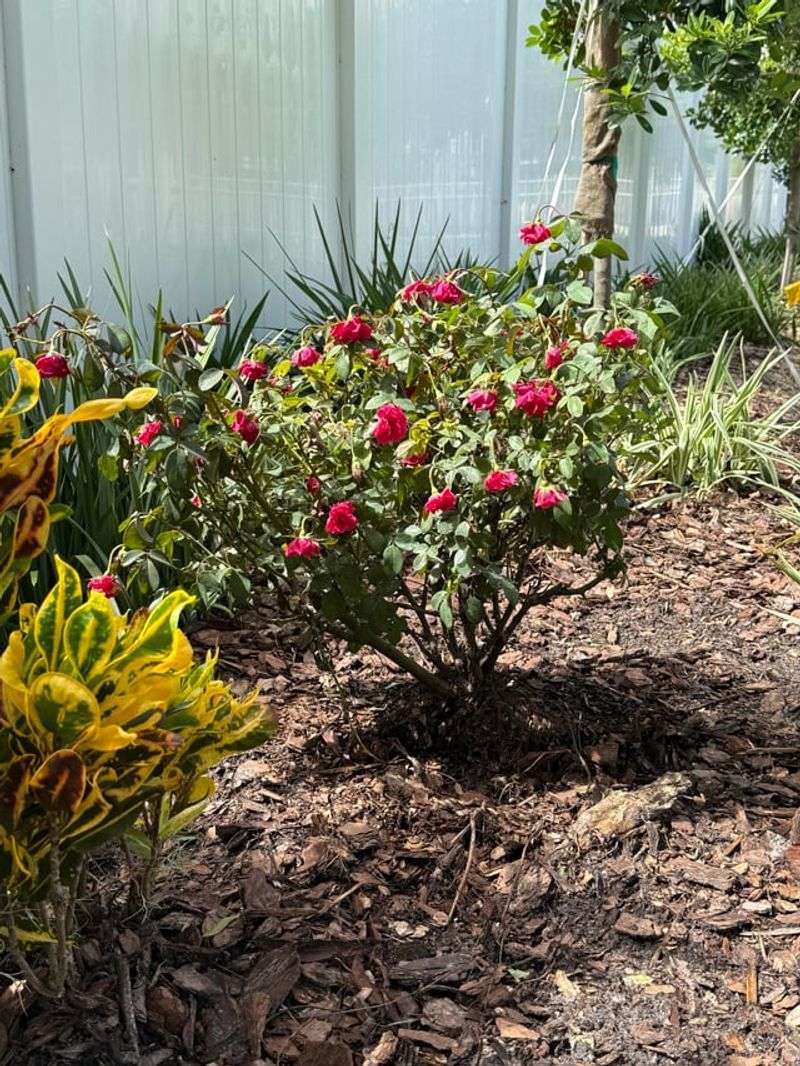
Mulch is one of the most underrated tools in a rose gardener’s kit.
A fresh layer of mulch around your rose bushes holds moisture in the soil. It also keeps roots cool as temperatures climb and blocks weed seeds from sprouting.
All of that means less watering, less weeding, and healthier plants heading into summer. Not bad for a bag of wood chips.
Spring is the perfect time to refresh your mulch layer. Winter can compact and decompose whatever you put down last fall, leaving your soil exposed and vulnerable.
Pull back any old mulch that has turned slimy or started to mat, then add fresh material on top. Aim for two to three inches of mulch around each plant.
Spread it out to the drip line of the bush, which is roughly where the outer branches end. Keep it a couple of inches away from the main canes at the base to prevent rot and discourage pests from nesting right against the stem.
Shredded hardwood, pine bark, and straw all work well for roses. If you are unsure about the source of a dyed mulch, plain shredded hardwood or pine bark is always a safe bet.
Compost mixed into the mulch layer adds a slow nutrient boost as it breaks down over the season. A freshly mulched rose bed also just looks sharp.
It signals that someone is paying attention out there. And your roses will show you the difference.
6. Watch For Late Frost
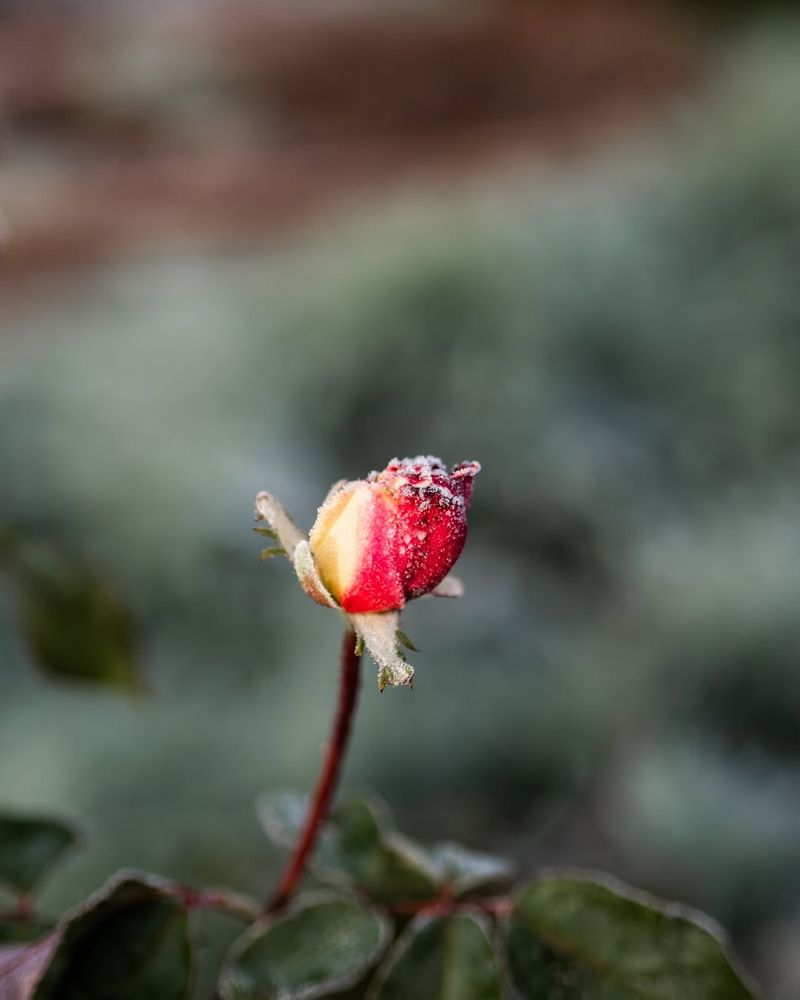
New Jersey springs are sneaky. Three warm weeks in a row can make you forget that late April still has frost up its sleeve.
One cold night is all it takes to wipe out every bud you have been watching grow. It happens more often than you would think.
Once your roses start budding, keep an eye on the five-day forecast. Any time nighttime temperatures are predicted to drop near freezing, take action before the sun goes down.
Waiting until morning is too late. Frost damage happens fast and the results are not pretty.
Cover your rose bushes with frost cloth, old bedsheets, or even burlap. The goal is to trap the warmth radiating from the soil around the plant.
Avoid plastic sheeting directly on the plant. It does not breathe and can actually concentrate cold damage on whatever it touches.
Drape your covering loosely over the entire plant, including the buds.
Anchor the edges with rocks or stakes so wind does not blow it off overnight. Remove the covering the next morning once temps climb back above freezing and the sun is up.
A small investment in a few yards of frost cloth can save an entire season of blooms. Keep it folded in your garage or shed through May so it is always within reach.
Your buds worked hard to get here, and one cold night should not be able to undo all of that.
7. Stop Heavy Pruning Or You Will Cut Off The Buds You Have Been Waiting For
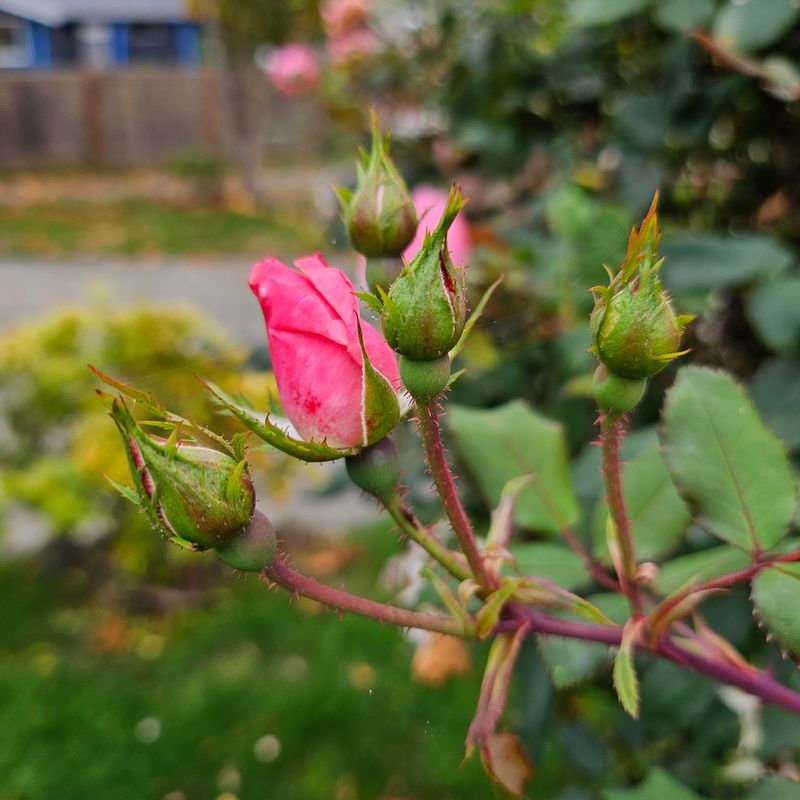
Put the pruning shears down. Seriously.
Once your roses are actively budding, heavy pruning is one of the fastest ways to set yourself back. Those buds represent energy your plant has been storing since late winter, and cutting them off means starting over from scratch.
Major pruning should happen earlier in the season, before bud break. That window is when you remove dead canes, crossing branches, and weak growth.
Once buds are visible and swelling, your job shifts from shaping the plant to protecting what it has already started building. Light deadheading and removing clearly dead wood is still fine at this stage.
If a cane snapped in winter wind or shows no signs of life, go ahead and remove it.
But do not start reshaping the whole plant just because you want a neater silhouette. Healthy canes loaded with buds stay where they are.
Roses are forgiving plants in many ways, but they do not bounce back instantly from a major midsession pruning.
You could easily delay your first blooms by several weeks with one overzealous afternoon in the garden. That is a painful trade-off when you have been patient all winter.
Save the big pruning sessions for after the first flush of blooms. That is when you can shape and clean up with confidence, setting up the next round instead of cutting it short.
8. Stake Tall Canes Before Spring Winds Do The Damage

Spring in the Northeast means wind, and wind means your tallest rose canes are at serious risk. A cane that snaps under a gust just as buds are forming is one of the most frustrating losses in the spring garden.
Staking before the damage happens takes ten minutes and can save weeks of growth. Tall hybrid teas and climbing roses are the most vulnerable.
Their long, upright canes catch wind like sails, and the weight of swelling buds at the tips makes them top-heavy. A strong gust can snap a cane right at the base or create a deep wound that invites disease later in the season.
Use sturdy bamboo or metal garden stakes that are at least as tall as your canes. Drive them into the soil close to the base of the plant without disturbing the root zone.
Tie the cane to the stake using soft garden twine, foam-coated wire, or strips of old pantyhose that will not cut into the bark. Tie loosely enough to allow a little movement.
A cane that moves slightly in the breeze actually builds stronger tissue over time. A cane tied so tight it cannot flex at all is just waiting to snap at the tie point when pressure builds.
Check your stakes and ties every couple of weeks as the canes grow taller and heavier with blooms. Adjust as needed.
A few minutes of attention now keeps your roses upright and healthy all season long. Go check those canes today.