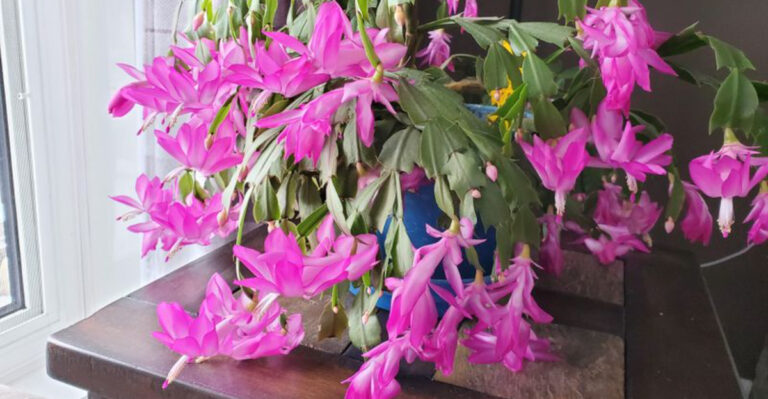
The One Thing You Must Do To Ohio Hostas In June Before The Heat Sets In
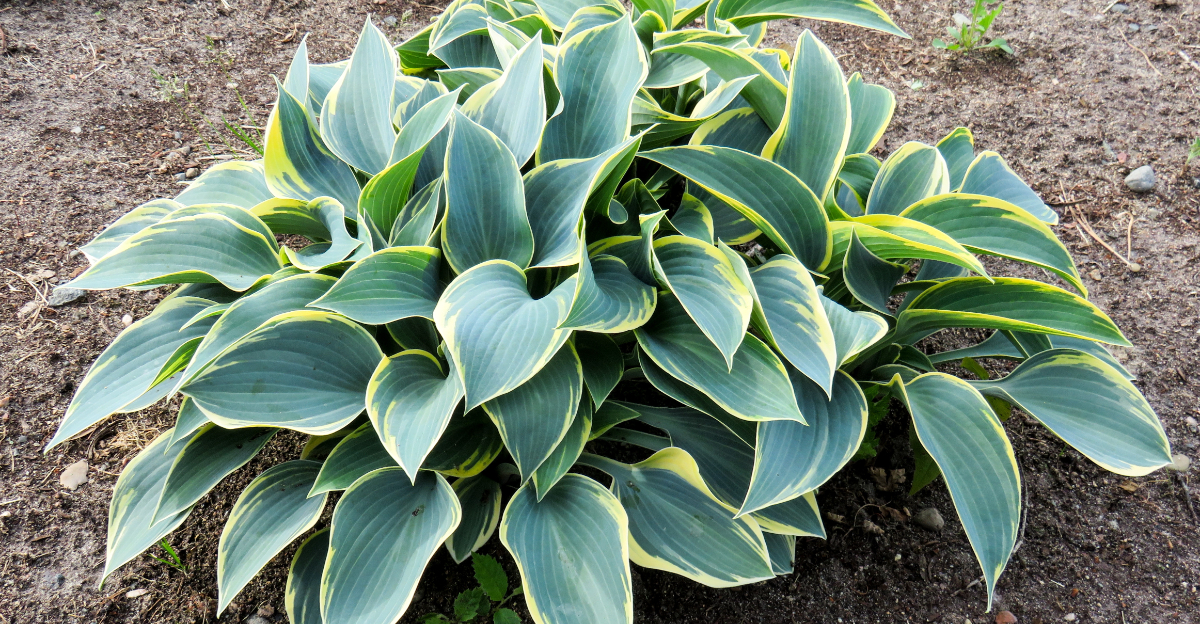
Hostas have a reputation for being bulletproof, and through spring that reputation holds up well. They push out of the ground reliably, fill in fast, and make shady Ohio beds look lush without much effort.
Then June arrives and that easygoing reputation gets tested in ways most hosta growers never saw coming. June is a narrow but important window for hostas in Ohio.
What you do, or skip, in these few weeks before summer heat settles in has a direct effect on how the plants look and perform through July and August. Miss it and the consequences show up on the leaves in ways that stick around for the rest of the season.
Most gardeners treat hostas like they can take care of themselves indefinitely. In spring, that is mostly true.
In June, there is one specific task that separates the hostas that thrive from the ones that just survive.
1. Water Deeply Before Summer Heat Stresses The Roots

A quick splash from the hose on a warm June afternoon does almost nothing for a hosta’s root system. The water barely reaches the surface before it evaporates, and the roots sitting a few inches down stay dry and stressed.
Deep watering changes that by pushing moisture all the way into the zone where hosta roots actually grow and feed.
To water deeply, move slowly along the base of each plant and let the hose run low and steady for several minutes per clump. You want the water to sink several inches into the soil, not puddle on top and run off.
Sticking your finger two or three inches into the soil after watering is a simple way to check if the moisture actually reached the root zone.
Hostas in dry shade, especially under large trees, may need watering more often than you expect. Tree roots are efficient at pulling moisture from the surrounding soil, leaving your hostas competing for what little remains.
Watering once a week during dry stretches in June is a reasonable starting point. Adjust based on rainfall and how quickly your soil dries out between sessions.
Consistency matters more than volume.
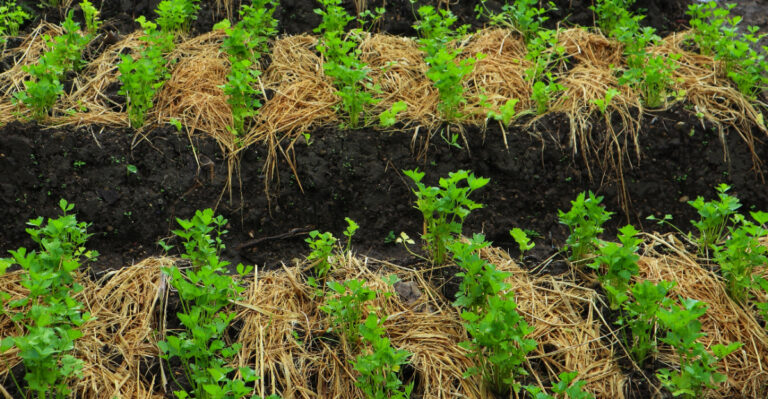
2. Refresh Mulch Before The Soil Starts Drying Fast

June soil can go from damp to bone dry faster than most gardeners expect, especially during a stretch of sunny days. Mulch acts like a slow-release moisture keeper for the root zone.
It slows evaporation, keeps soil temperature from spiking, and gives your hostas a more stable environment to grow through the hottest weeks.
A two to three inch layer of shredded bark, wood chips, or leaf compost works well around hostas. Spread it evenly across the bed, covering the soil between plants without building it up into thick mounds.
Thin spots in older mulch let the soil dry out quickly, so topping off those areas before summer heat builds is worth the effort.
Keep in mind that mulch is a helper, not a replacement for watering. If the soil is already dry when you add mulch, moisten it first.
Then apply the mulch on top to trap that moisture in place. Refreshing mulch in early to mid June gives it time to settle and start working before the hottest days arrive.
Even a modest refresh of an inch or so over existing mulch can make a noticeable difference in how the bed holds up through July and August.
3. Keep Mulch Away From The Hosta Crowns

Piling mulch right up against a hosta’s crown is one of the most common mistakes in the shaded garden. It looks tidy from a distance, but that thick layer of material pressed against the leaf bases and crown can trap moisture in the wrong place.
Over time, that kind of contact can lead to rot and invite pests that thrive in damp, dark spots.
The fix is simple. Pull the mulch back a few inches from the center of the plant so the crown and the base of the leaves stay open to air.
You are not removing the mulch, just creating a small gap between the plant’s center and the surrounding layer. The soil between the plants still gets covered and protected, which is exactly where mulch does its best work.
Think of it like putting a ring of mulch around the plant rather than a blanket over it. The outer root zone stays insulated and moist.
The crown stays dry and healthy. This small adjustment takes about thirty seconds per plant and can spare you a lot of trouble later in the season.
Check the mulch placement whenever you refresh or top off the bed, since it tends to shift and creep inward over time.
4. Check Dry Shade Under Trees First

A shady Ohio bed can fool you into thinking the soil is damp when tree roots have already pulled most of the moisture away. This is one of the most common surprises for gardeners who grow hostas under large maples, oaks, or beeches.
The area looks cool and protected, but the soil a few inches down can be surprisingly dry even after a moderate rain.
Tree roots spread wide and deep, and they are very good at absorbing water before it reaches nearby perennials. Hostas sitting in this kind of dry shade may wilt or look dull even when rainfall seems adequate.
The only reliable way to know what is happening is to check the soil by touch. Push a finger two to three inches into the ground near the plant and feel for moisture.
If the soil feels dry or barely cool at that depth, the hostas need water regardless of recent rain. Beds under trees often need supplemental watering more consistently than open garden areas.
This is especially true during June, when tree canopies are fully leafed out and intercepting rainfall before it even reaches the ground.
Checking these spots first, before any other area of the garden, helps you catch moisture stress early and respond before the plants show visible signs of trouble.
5. Stop Sprinkling Leaves And Soak The Soil Instead

Overhead sprinklers and quick spray sessions feel satisfying, but they mostly wet the foliage without doing much for the roots. Water sitting on hosta leaves in warm weather can also encourage fungal spots, especially when it stays damp into the evening.
The leaves do not absorb water the way roots do, so surface wetting is mostly wasted effort.
Redirecting your watering to the base of the plant makes a real difference. Set the hose to a gentle flow and let it run at the soil level for a few minutes around each clump.
A soaker hose laid through the bed is an even more efficient option, since it delivers moisture directly to the root zone without wetting the foliage at all.
Morning is the best time to water, partly because the cooler air reduces evaporation and partly because any accidental leaf wetting dries off before evening.
Watering in the late afternoon or early evening leaves foliage damp overnight, which creates conditions that some fungal issues prefer.
Getting into a morning watering routine in June sets a good habit for the rest of the growing season. It does not have to be every day.
Consistent, deep sessions every few days during dry stretches do more good than light daily sprinkles.
6. Give Newly-Planted Hostas Extra June Attention

Recently planted or freshly divided hostas are working hard in June. Their root systems are either brand new or still recovering from the stress of being moved, which means they have a much smaller network for pulling in moisture.
Established hostas can handle short dry spells reasonably well. New ones cannot, and June heat can tip them into trouble faster than you might expect.
Check the soil around new plantings every two or three days during dry weather. If the top inch or two feels dry, give them a slow, deep drink.
You are not trying to keep the soil wet all the time. Soggy soil causes its own problems.
The goal is steady, moderate moisture while the roots get settled and start spreading into the surrounding soil.
Mulching around new hostas right after planting is one of the most helpful things you can do. It keeps the soil from drying out too quickly between watering sessions and helps the plant focus its energy on root development rather than moisture stress.
Keep the mulch pulled back from the crown, just as you would with established plants. Most newly-planted hostas settle in well by late summer if they get consistent moisture through their first June and July in the ground.
Patience and regular checking go a long way.
7. Watch For Wilting Before Leaves Turn Crispy

Drooping leaves and a dull, flat color are the first signals a hosta sends when moisture stress is building. Many gardeners miss this early stage because the plant still looks basically intact.
By the time leaf edges start turning brown or papery, the roots have already been dealing with dry conditions for a while. Catching the warning signs earlier gives you more options.
A gentle wilt in the afternoon heat is not always a crisis. Hostas sometimes droop slightly on very hot days and bounce back by morning.
The concern is when the wilting persists into the cooler morning hours or when the leaves look dull and flat even after a cloudy day. That pattern usually means the soil is dry and the plant is struggling to pull in enough moisture.
Before reaching for fertilizer or pruning shears, check the soil. Many gardeners assume a struggling hosta needs feeding, but dry soil is a far more common cause of poor midsummer performance.
Watering a stressed hosta deeply and adding fresh mulch around it often brings it back within a few days. Fertilizing a plant that is already stressed from drought can make things harder on it, not easier.
Soil moisture is the first thing to rule out whenever a hosta starts looking off during the summer months.
8. Use Morning Watering To Beat Afternoon Heat

Early morning is the most productive time to water hostas during the summer months in Ohio. The air is cooler, which means less moisture is lost to evaporation before it reaches the soil.
The roots have the whole morning to absorb and distribute water before the hottest part of the afternoon arrives. That head start matters on days when temperatures climb well into the eighties or beyond.
Morning watering also helps keep foliage dry through the evening. When you water late in the day, any moisture that lands on the leaves or sits in the crown area stays damp overnight.
That kind of prolonged dampness can encourage fungal problems, especially during humid stretches of summer weather that this region sees regularly from July onward.
Setting a simple routine helps. A slow, thorough watering session two or three mornings a week during dry periods is more effective than a quick spray every evening.
You do not need to water every single day if your mulch layer is in good shape and recent rainfall has been reasonable. The goal is to keep the root zone consistently moist, not soaking.
Checking the soil before you water, rather than watering on a fixed schedule, helps you respond to what the garden actually needs rather than what the calendar says.