How To Successfully Grow Potatoes In Your Maryland Backyard
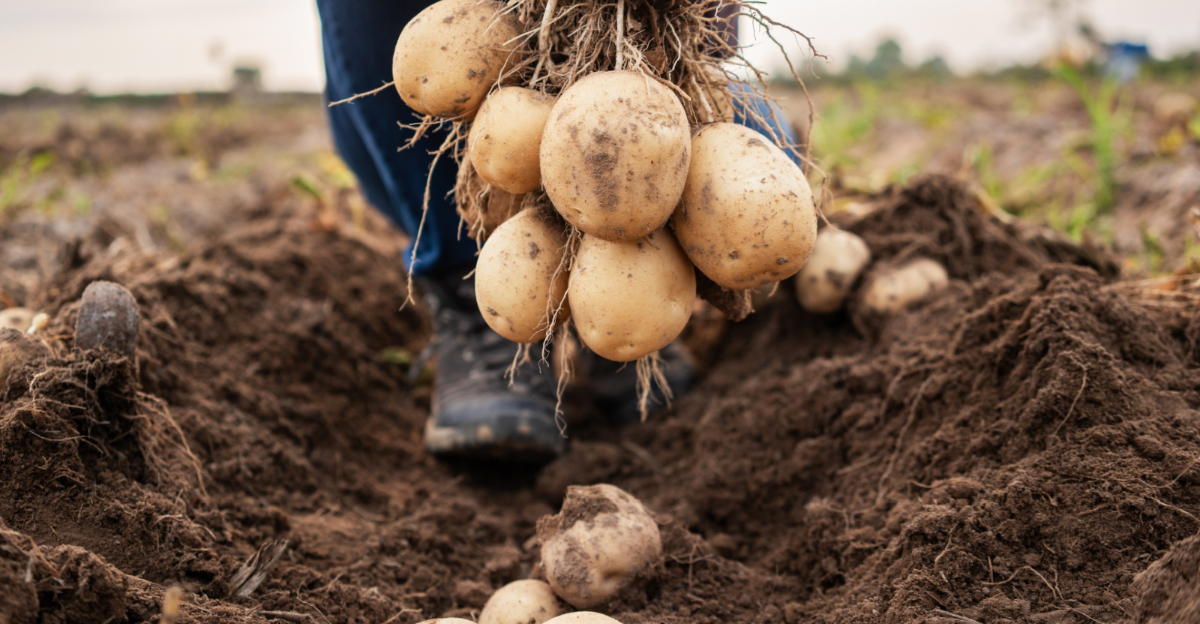
There’s a particular kind of satisfaction that comes from cracking open the earth and finding a cluster of golden potatoes waiting underneath, like treasure you planted yourself and nearly forgot about.
Maryland happens to be one of those rare places where the climate does half the work for you.
Cool spring soil gets the tubers started strong, while long, humid summers push them toward a harvest that outperforms anything from the grocery store.
It doesn’t matter if you’re working with acres of open field or a single raised bed tucked against your porch.
Maryland’s growing season gives backyard gardeners a real shot at pulling off something impressive.
What follows covers everything from choosing seed potatoes that won’t let you down to timing your harvest so you end up with a haul heavy enough to brag about.
By the end, you’ll have a clear plan built specifically for Maryland conditions, ready to turn a patch of dirt into dinner.
1. Choose Certified Seed Potatoes Suited For Maryland’s Climate
Not all potatoes are created equal, and your choice of seed potato can make or break your harvest. Certified seed potatoes are disease-free, tested, and bred to perform in specific climates.
Maryland sits in USDA Hardiness Zones 5b through 8a. That range means your spuds need to handle everything from cool mountain springs to humid, mild coastal summers.
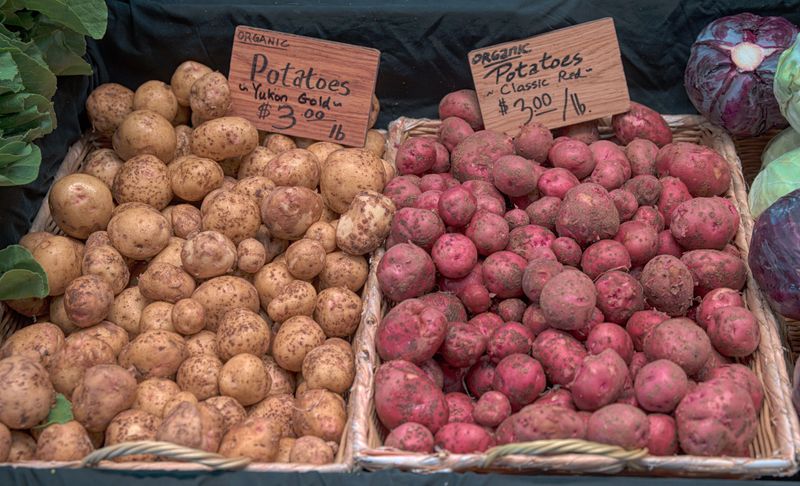
Varieties like Kennebec, Yukon Gold, and Red Pontiac thrive in these exact conditions. Kennebec is a classic white potato that resists blight, which is a big deal in humid mid-Atlantic weather.
Yukon Gold gives you buttery yellow flesh and a reliable yield that backyard growers absolutely love.
Red Pontiac handles Maryland’s clay-heavy soils better than most other varieties. It produces well even when conditions are less than perfect, making it a solid choice for beginners.
Never plant grocery store potatoes as seed stock. They are often treated with sprout inhibitors, and they carry disease risks that can wipe out your whole crop.
Look for certified seed potatoes at local garden centers, farm supply stores, or reputable online retailers. Buying locally means the stock is often already adapted to your regional soil and weather patterns.
Order early in late winter, because good varieties sell out fast. When your seed potatoes arrive, store them in a cool, dark spot until planting day arrives.
2. Select A Sunny Spot With Well-Drained Soil
Potatoes are sun lovers, plain and simple. Pick a spot that gets at least six to eight hours of direct sunlight every single day.
Shade slows growth and cuts your yield significantly. Even a few hours of blocked sun can mean the difference between a bucket of potatoes and a disappointing handful.
Well-drained soil is just as critical as sunlight. Potatoes sitting in waterlogged ground will rot before they ever have a chance to form.
Many Maryland yards have heavy clay soil, which holds too much moisture. Mix in compost, aged manure, or coarse sand to loosen the texture and improve drainage before planting.
Your Maryland Garden Changes Every Week. Your Plan Should Too.
Gardening in Maryland changes quickly throughout the season. Every Friday you’ll receive a simple weekly plan showing exactly what to plant, prune, fertilize, harvest, and protect so you never miss the right timing.
A raised bed is a smart solution if your yard drains poorly. Fill it with a blend of topsoil, compost, and perlite to give your crop the loose, airy environment it craves.
Soil pH matters more than most gardeners realize. Potatoes prefer a slightly acidic range of 5.0 to 6.5, which helps prevent a common disease called scab.
Test your soil with an inexpensive kit from any garden center. Adjust the pH by adding sulfur to lower it or lime to raise it, based on your results.
Avoid spots where tomatoes, peppers, or eggplants grew the previous season. Those crops share diseases with potatoes, and planting in the same space invites trouble you really do not need.
3. Cut Larger Seed Potatoes Into Chunks With Eyes
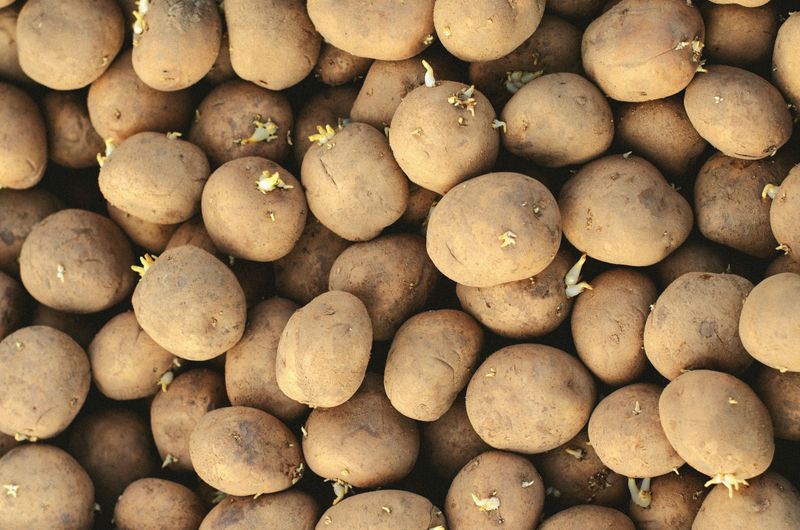
This is a key step in the process. Each potato eye is basically a tiny sleeping plant, waiting for warm soil to wake it up.
Seed potatoes smaller than a golf ball can go into the ground whole. Larger ones should be cut into pieces, each with at least one or two healthy eyes.
Use a clean, sharp knife for cutting. A dull or dirty blade can crush tissue and introduce bacteria that cause rot underground.
Each cut piece should weigh roughly one to two ounces, which is about the size of a large walnut. That size gives the emerging plant enough stored energy to push through the soil.
After cutting, let the pieces sit at room temperature for one to three days. This drying process creates a protective layer called a callus over the cut surface.
The callus dramatically reduces the chance of rot after planting. Skipping this step is one of the most common mistakes new growers make, and it noticeably reduces success rates.
Some gardeners dust cut pieces with powdered sulfur before curing. This adds an extra layer of protection against fungal issues in moist soil conditions.
Lay the cut pieces in a single layer on a clean surface in a warm, airy room. Keep them out of direct sunlight during the curing period, or the skin will dry out too fast and crack.
4. Plant Pieces Two To Three Weeks Before Last Frost
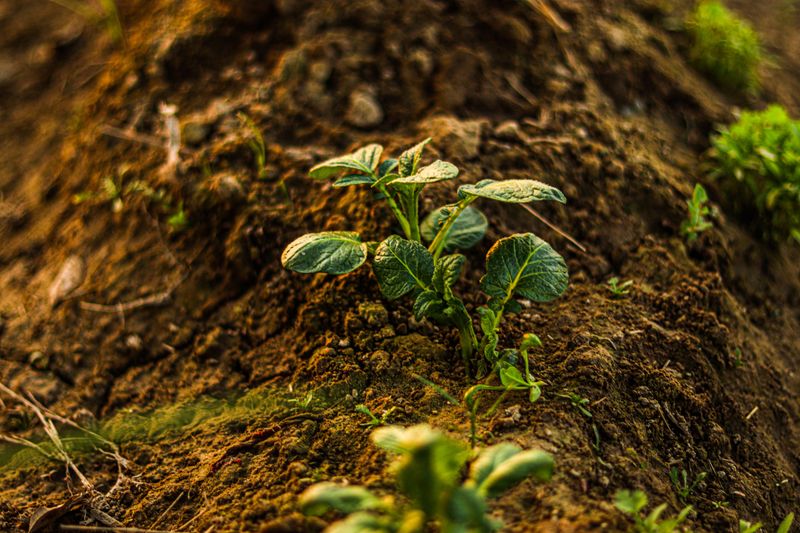
Timing is everything with potatoes, and getting it right separates a great harvest from a mediocre one. Across most of Maryland, the last frost falls between early April and early May.
Coastal and Eastern Shore areas thaw earliest, while western highland counties like Garrett hold frost risk into mid-May.
That means planting typically happens in late March or early April. Potatoes are surprisingly frost-tolerant as tubers underground, but emerging sprouts can be damaged by a hard freeze.
Planting two to three weeks before last frost gives tubers time to establish roots before warm weather kicks in. The cool soil temperatures in that range, around 45 to 55 degrees Fahrenheit, are ideal for early root development.
Check the soil temperature with a simple thermometer before you plant. Soil below 40 degrees will cause seed pieces to stall and rot rather than sprout.
The Old Farmer’s Almanac and local extension services publish reliable last-frost dates for every Maryland county. Bookmark that resource and check it every year, because spring weather can shift.
If a surprise frost threatens after your sprouts emerge, cover the bed with a light frost cloth overnight. Remove the cover the next morning so plants get full sun exposure.
Planting too late pushes your crop into the hottest part of summer, which stresses the plants and shrinks tuber size. Early planting is the single best gift you can give your potato patch.
5. Space Rows About A Foot Apart In Trenches
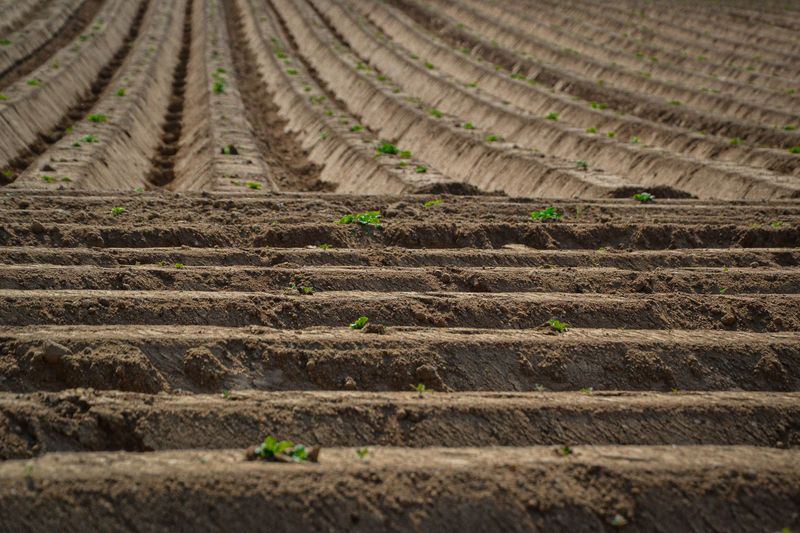
Crowded potatoes are unhappy potatoes. Give each plant enough room to spread its roots and form a full cluster of tubers underground.
Dig trenches about four inches deep and space them roughly twelve inches apart from each other. Within each trench, place seed pieces about twelve inches apart as well.
This spacing gives each plant its own territory without wasting precious garden space. Tighter rows lead to competition for nutrients, and that competition always shows up at harvest time.
Wider spacing, around fifteen inches, works well for larger varieties like Kennebec. More room means bigger individual potatoes and a healthier canopy of leaves above ground.
Trenches make hilling easier later in the season, which is a step that dramatically boosts your yield. Think of the trench as a runway that you will gradually fill in as the plants grow taller.
Place seed pieces cut-side down with the eyes facing up. This simple positioning helps sprouts push toward the surface more efficiently and reduces the energy the plant spends navigating.
Cover the pieces with about three inches of soil after placing them in the trench. Firm the soil gently with the back of your hand to eliminate air pockets around each piece.
Mark each row with a small stake or label so you remember exactly where every variety is planted. Tracking your varieties helps you figure out which ones perform best in your specific backyard conditions.
6. Hill Soil Around Stems As Plants Grow Taller
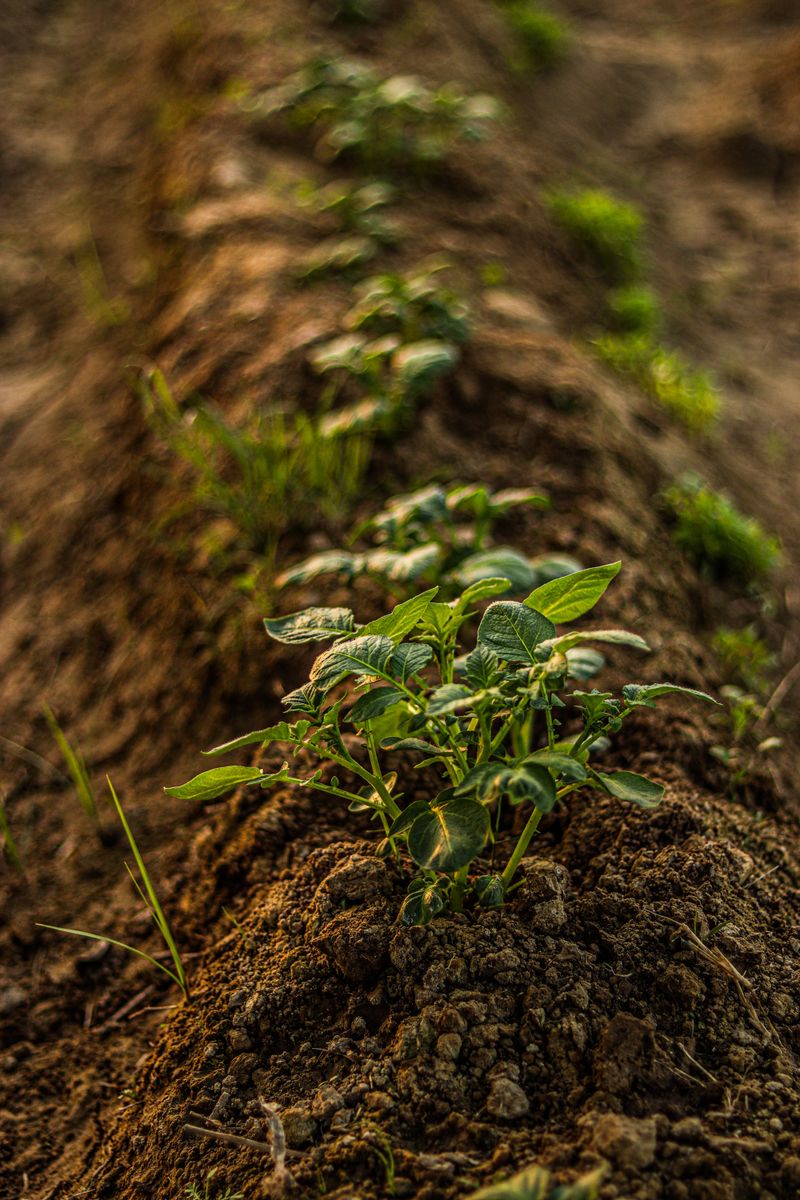
Hilling is the secret weapon of every serious potato grower. It is the practice of mounding soil up around the base of your plants as they grow, and it significantly boosts your yield.
When potato stems are buried, they sprout new roots along their length. Each of those new roots becomes a potential site for new tubers, which means more potatoes per plant.
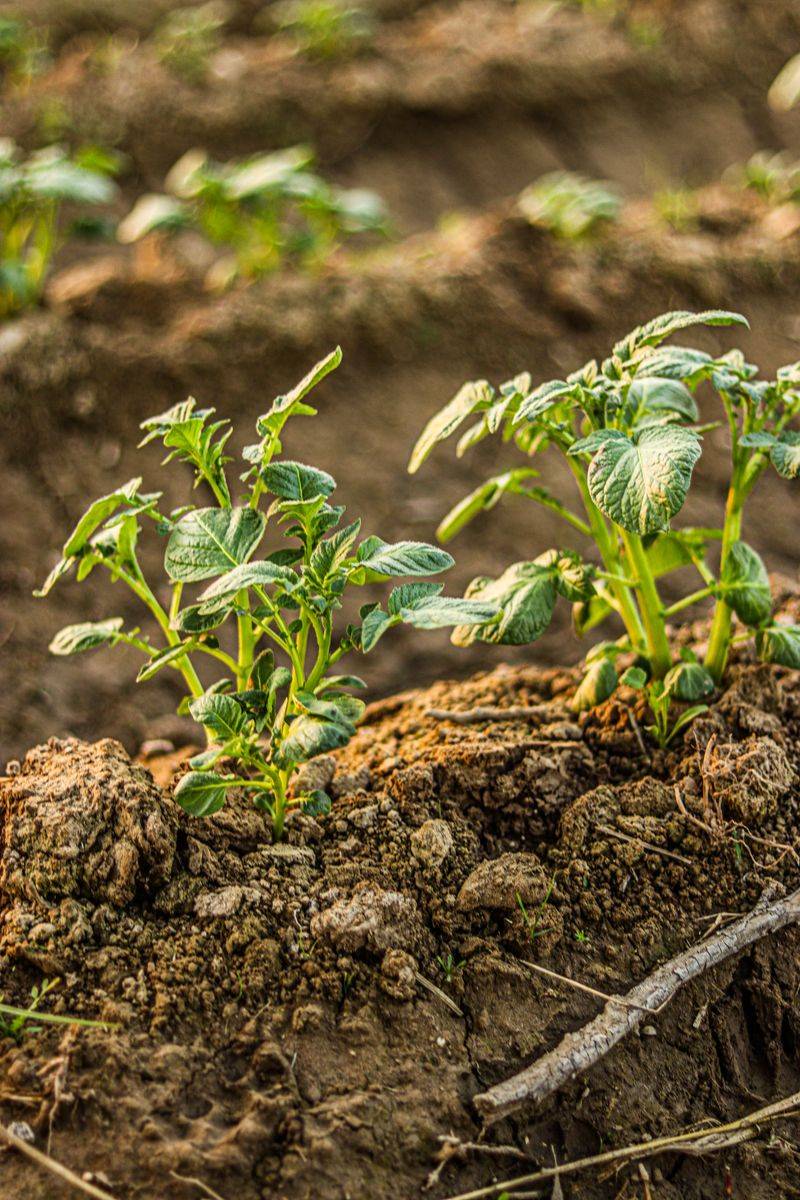
Start hilling when your plants reach about six to eight inches tall. Pull soil from between the rows and mound it up around the stems, leaving only the top few inches of foliage exposed.
Repeat the process every two to three weeks as plants continue to grow. By midsummer, each plant should sit on a mound that is six to eight inches tall.
Hilling also protects developing tubers from sunlight exposure. Potatoes that poke through the soil surface turn green and produce a mildly toxic compound called solanine, which makes them bitter and unsafe to eat.
A green potato is not a gardening badge of honor. Cover any exposed tubers immediately with a fresh layer of soil or straw mulch.
Straw mulch is a fantastic hilling alternative for raised beds. It keeps the soil cool, locks in moisture, and makes harvest day as easy as pulling back a layer of fluff.
Consistent hilling is the move that separates backyard growers who pull up a handful of tiny spuds from those who fill an entire wheelbarrow at harvest time.
7. Water Consistently During Tuber Formation In Summer
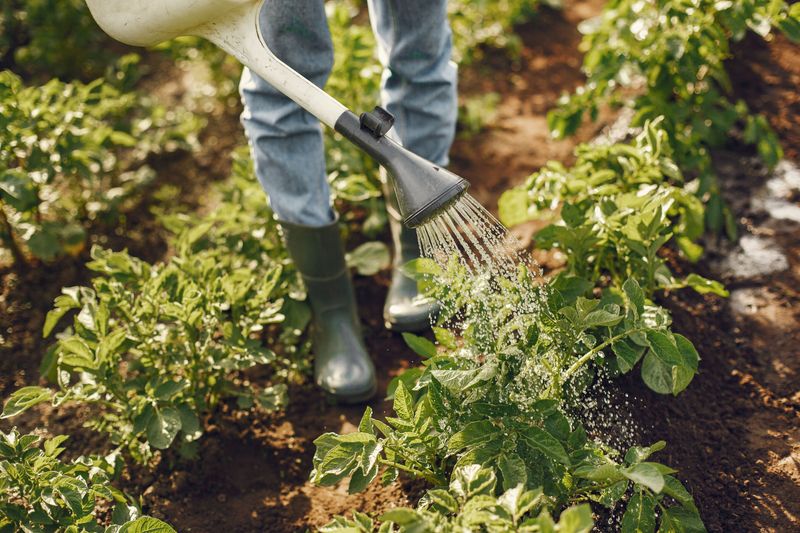
Potatoes are thirsty plants, especially once they start forming tubers underground. Inconsistent watering is one of the top reasons backyard crops underperform.
Aim to give your potato bed about one to two inches of water per week. Spread that moisture evenly across the week rather than dumping it all at once.
Maryland summers can swing between heavy rain and dry stretches with little warning. A rain gauge in your garden helps you track exactly how much water your plants are actually getting.
Tuber formation begins about four to six weeks after planting, often coinciding with the appearance of flower buds. This is the most critical window for consistent soil moisture.
Uneven watering during this phase causes a condition called hollow heart, where the inside of a potato develops an empty cavity. Knobby, misshapen tubers are another symptom of irregular moisture levels.
Soaker hoses and drip irrigation are the gold standard for watering potato beds. They deliver moisture directly to the root zone without wetting the foliage, which reduces disease pressure.
Wet leaves in Maryland’s humid summers are an open invitation for late blight and other fungal problems.
Overhead sprinklers might feel convenient, but they create conditions that pathogens thrive in. Slow down watering about two weeks before your planned harvest date.
Pulling back on moisture at the end of the season helps the skins toughen up, which means your potatoes store longer after you dig them up.
8. Harvest Once Foliage Yellows And Withers Away

The plants will tell you when they are ready, and all you have to do is listen. When the foliage turns yellow, flops over, and starts to wither, your potatoes have reached full maturity underground.
This natural yellowing and wilting signals that the plant has stopped sending energy to the tubers. The skins are now firm and set, which means the potatoes are ready to come out of the ground.
Wait about two weeks after the foliage withers away completely before digging. That extra time allows the skins to cure slightly while still in the soil, boosting storage life significantly.
Use a pitchfork or a broad garden fork to dig, not a shovel. Shovels slice through tubers far too easily, and a cut potato will not store well.
Insert the fork about a foot away from the base of the plant and lift gently. Work your way around each plant before pulling, so you catch every potato hiding in the surrounding soil.
Brush off loose dirt but skip washing until you are ready to cook. Moisture on the skin shortens shelf life and encourages mold during storage.
Cure harvested potatoes in a cool, dark, well-ventilated spot for one to two weeks. A garage, basement, or shaded porch works perfectly for this final step.
Successfully growing potatoes in your Maryland backyard ends with this satisfying moment: a basket full of homegrown spuds ready to roast, mash, or fry all season long.