The Scotch Broom Removal Mistake That Guarantees A Bigger Infestation Next Oregon Season
Scotch broom is the kind of Oregon yard problem that never seems to take a hint. Just when a patch looks handled, it can return next season with even more confidence and a much bigger attitude.
That is what makes removal so frustrating. Homeowners put in the effort, clear space, and expect progress, only to see the same trouble come roaring back later.
The annoying part is that one common misstep can make the whole situation worse without looking wrong in the moment.
It feels productive, maybe even satisfying, but Scotch broom is very good at turning sloppy timing into a comeback story.
Before you tackle another patch, it helps to know why this invasive shrub keeps winning. A cleaner plan now can save your Oregon yard a lot of future frustration.
1. The Mistake Is Waiting Too Long
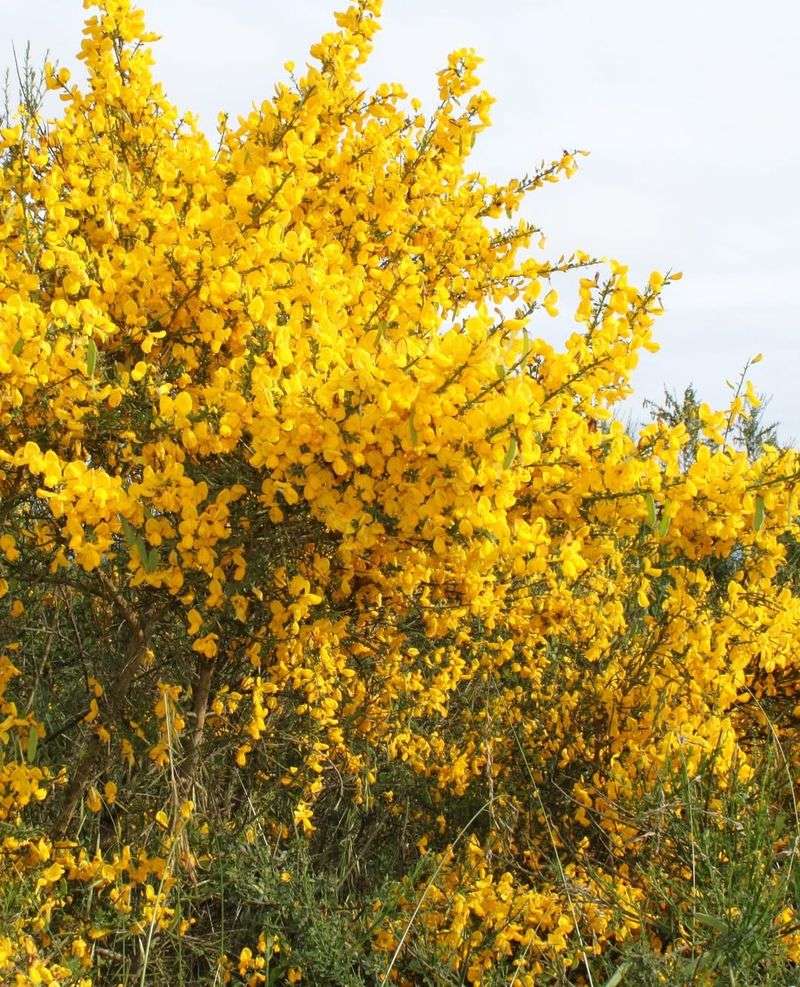
Most people wait until scotch broom is impossible to ignore before they do anything about it. By that point, the shrubs are tall, fully bloomed, and already setting seed.
Waiting too long is the single most common mistake Oregon landowners make, and it costs them an entire season of progress.
When you delay removal until the yellow flowers are fully open and pods are starting to form, you have already missed the safest window for cutting.
The plant has spent months building energy in its root system. It is stronger, harder to pull, and more likely to resprout after cutting.
Early action is always better. The best time to start removal is late winter or very early spring, before flower buds even open.
At that stage, the plant has not yet put energy into seed production. Cutting or pulling at this point weakens the root system significantly and reduces the chance of resprouting.
Waiting also allows neighboring shrubs to mature and add more seeds to your soil seed bank. Every year you delay, the seed bank grows deeper and harder to manage.
A seed bank is the collection of seeds already sitting in your soil, waiting to sprout when conditions are right.
Set a reminder each year to check your property in late February. Getting out early gives you the best chance of removing plants before they contribute more seeds to your land.
2. Seed Pods Turn One Shrub Into Hundreds
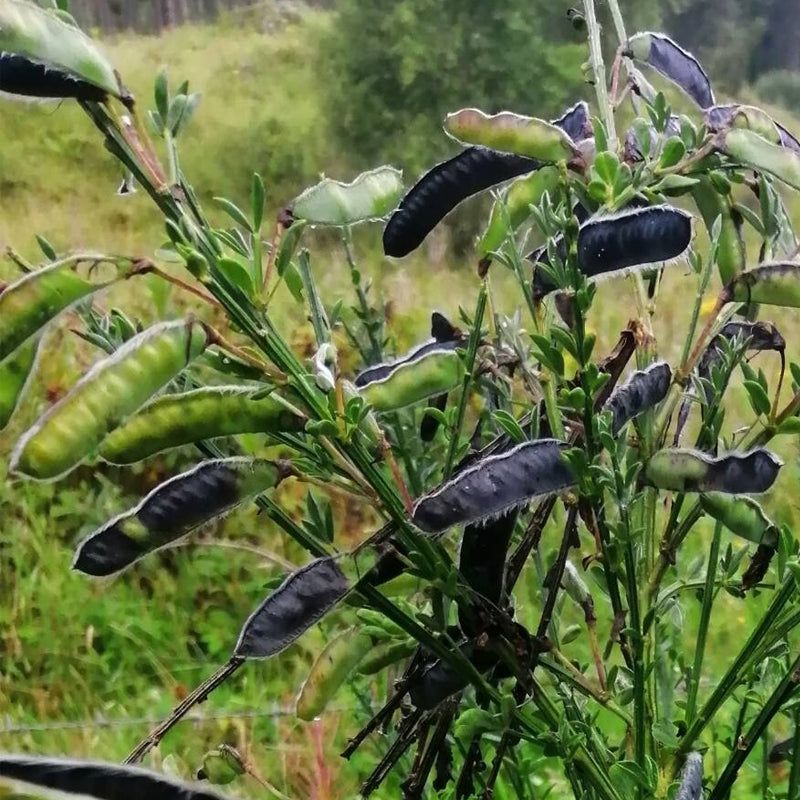
One scotch broom shrub does not stay one shrub for long. A single mature plant can produce up to 12,000 seeds in one growing season.
Those seeds scatter across the ground, get carried by water, and stick to shoes, tires, and animal fur.
The pods themselves are built to spread. When they dry out and ripen, they twist and pop open with enough force to fling seeds several feet away from the parent plant.
This explosive release happens on warm, dry days and can spread seeds across a wide area in just a few hours.
Once those seeds land on bare or disturbed soil, they can stay dormant for up to 80 years. That means even if you remove every adult shrub from your property today, seeds from previous years are still waiting underground.
Your Oregon Garden Changes Every Week. Your Plan Should Too.
Gardening in Oregon changes quickly throughout the season. Every Friday you’ll receive a simple weekly plan showing exactly what to plant, prune, fertilize, harvest, and protect so you never miss the right timing.
They will sprout whenever conditions are right, especially after soil disturbance.
Understanding this seed biology helps you see why removal timing matters so much in Oregon. If you cut a shrub after it has already released its seeds, you have not solved the problem.
You have only removed the visible part while the next generation is already in the ground.
Focus your energy on removing plants before pods form or before pods ripen. That is the most effective way to stop one shrub from turning into a hillside covered in hundreds of new plants by next spring.
3. Cutting After Seed Drop Spreads The Problem
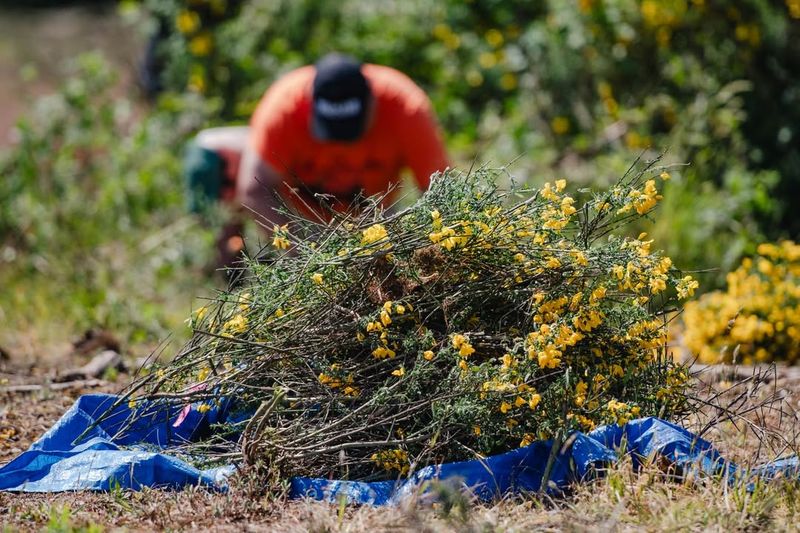
Grabbing your loppers and heading outside to cut scotch broom feels productive. But if the pods on those plants have already opened and dropped their seeds, cutting the stems at that point does very little to stop the infestation from growing.
Worse, cutting mature plants after seed drop can actually spread the problem. The act of cutting and moving branches stirs up seeds that are still clinging to pods or lying on the surface of the soil.
Those seeds get kicked around, carried on clothing, and pushed into cracks in the ground where they can germinate easily.
Dragging cut branches across bare soil is especially problematic. Seeds shake loose from pods as you drag the brush, creating a fresh trail of germination-ready seeds right across the area you just cleared.
This is one of the most frustrating ways a removal effort can backfire.
If you must cut plants that have already dropped seeds, try to minimize movement of the brush. Bag the material on-site if possible, or at least avoid dragging it across large areas of bare ground.
Chips or mulch applied quickly after removal can help reduce seed germination.
The real lesson here is to act earlier in the season. Cut plants before pods form, and you avoid this problem entirely.
Timing your removal right removes the risk of accidentally planting next year’s infestation while trying to clear this year’s growth.
4. Green Pods Mean The Clock Is Ticking
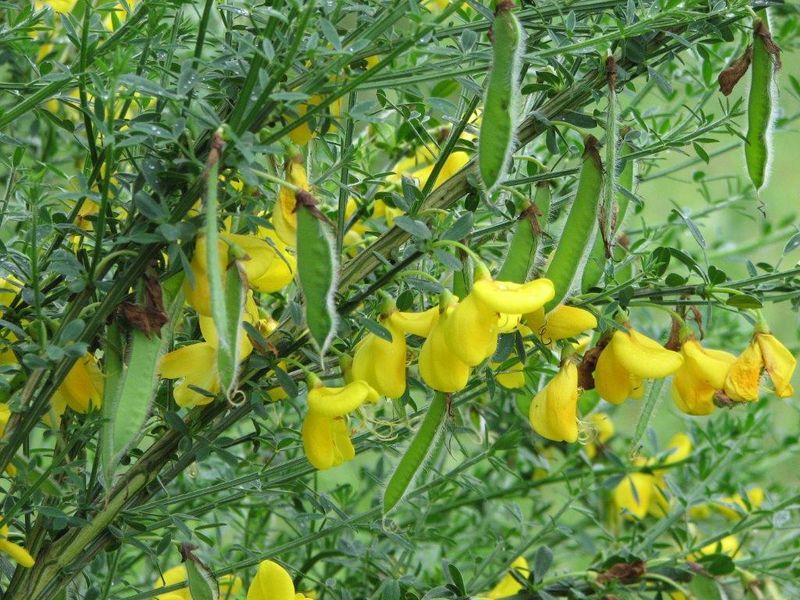
When you spot green pods forming on scotch broom, that is your warning sign. Green pods mean the plant has already been pollinated and seeds are actively developing inside.
You are now in a race against time.
Green pods look harmless because they are still soft and closed. But inside each pod, seeds are maturing quickly.
Depending on the weather, green pods can fully ripen and begin popping open within just a few weeks of forming. Warm, dry conditions speed up this process significantly.
Many people see green pods and think they still have plenty of time to act. That assumption leads to delayed removal, and delayed removal often means seeds drop before you ever get back out to cut.
Once pods start to dry out and turn yellowish-brown, you are very close to the explosive release point.
The safe window for cutting is while pods are still green and firmly attached. At this stage, seeds inside the pods are not yet fully viable.
Cutting now means fewer seeds survive even if pods are disturbed during removal.
Check your property every week once flowering begins in Oregon spring. Green pods can appear quickly after flowers fade.
Mark the date when you first notice pods forming, and plan your removal for within the next week or two. Acting on that schedule makes a real difference in how much of the seed bank grows in your soil over the coming years.
5. Bare Soil Gives Seedlings A Perfect Start
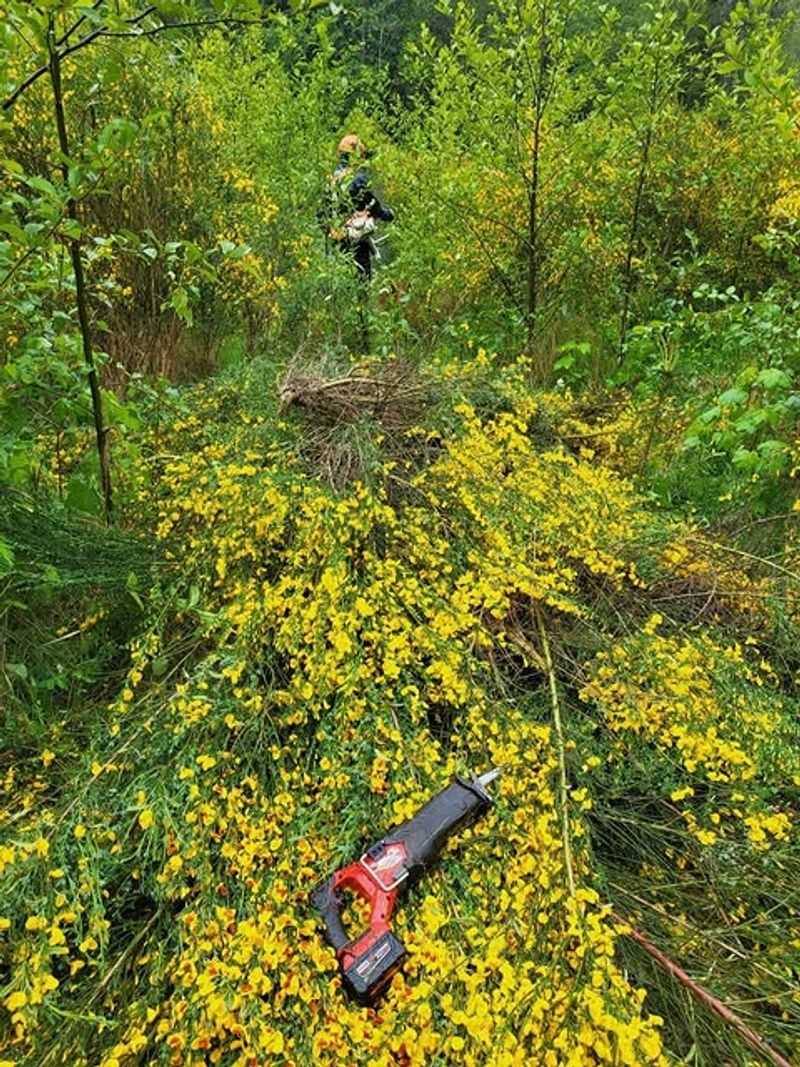
Clearing scotch broom feels like a victory, and it is. But what you do with that bare soil right after removal makes all the difference between winning and losing the long-term battle.
Bare, open soil is exactly what scotch broom seeds need to germinate successfully.
Seeds that have been sitting dormant in the soil for years suddenly get their chance when you remove the existing plants. The disturbance of digging, cutting, and pulling exposes fresh soil, lets in more sunlight, and creates perfect conditions for seedling growth.
Within weeks, you can have hundreds of tiny new plants popping up right where you just cleared.
This is not a reason to avoid removal. It is a reason to plan what comes next.
After you remove scotch broom, cover the bare soil as quickly as possible. Mulch, wood chips, or native groundcover plants all help block sunlight from reaching germinating seeds.
Planting native species right after removal is one of the best strategies available. Dense native plants shade the soil and compete directly with scotch broom seedlings for water and nutrients.
The faster you establish natives, the harder it becomes for broom to re-establish.
Think of bare soil as an open invitation. Every week you leave it exposed after removal, more seeds are germinating.
Having a replanting plan ready before you even start cutting is one of the smartest moves you can make for long-term control of this invasive shrub.
6. Mowing Mature Broom Can Scatter Seeds
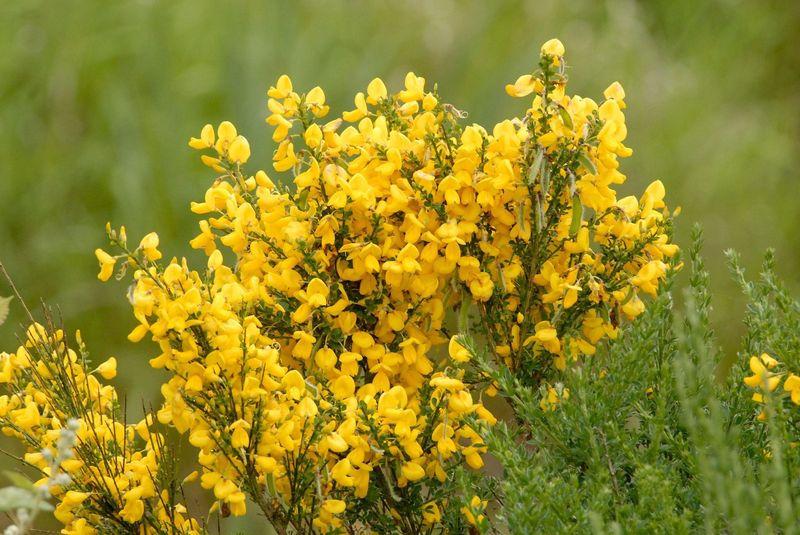
Mowing seems like a fast and efficient way to knock back a scotch broom infestation. Run a mower or brush cutter through a dense patch and you can clear a large area quickly.
But mowing mature plants with developed seed pods is one of the fastest ways to make your infestation dramatically worse.
When mower blades hit dry or semi-dry pods, they shatter them on impact. Seeds fly in every direction, spreading across a much wider area than the pods would have reached on their own.
The mower essentially becomes a seed spreader, launching seeds into the surrounding soil at high speed.
Even mowing plants that still have green pods can cause problems. Blades crush pods and scatter seeds across the freshly cut ground.
The bare soil left behind after mowing is perfectly prepared for those seeds to germinate in the following weeks.
If mowing is your only option for a large area, the timing has to be right. Mow only when plants are in early bud stage, before any pods have formed.
At that point, the plant has not yet set seed, so mowing removes the above-ground growth without spreading seeds.
For most situations, manual cutting with loppers or hand saws gives you much better control.
You can remove individual plants carefully, bag the material, and avoid the widespread seed scattering that mowing causes.
Slower and more careful removal pays off when the goal is stopping re-infestation next season.
7. Pull Small Plants Before They Bloom
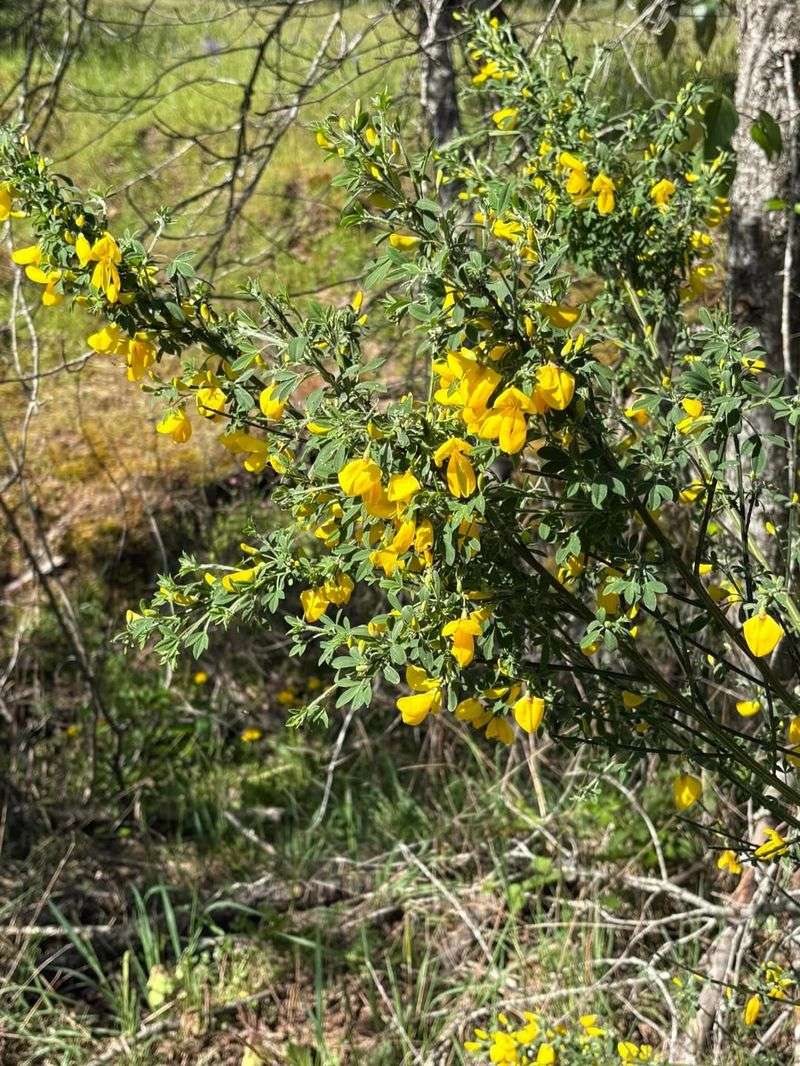
Small scotch broom plants are deceptively easy to overlook. They are not tall, not bright yellow, and not obviously threatening.
But catching them early and pulling them before they ever bloom is one of the most powerful things you can do to stop an infestation from growing.
Young plants that have not yet flowered have not produced seeds. Removing them at this stage means zero new seeds added to your soil.
Every small plant you pull today is potentially thousands of seeds you prevent from ever entering the ground.
Pulling works best when the soil is moist. Wet soil releases roots more easily, and you are more likely to get the whole root system out rather than snapping the stem at the surface.
Leaving roots behind often results in resprouting, especially in older seedlings.
A simple hand tool like a weed wrench or a narrow garden fork makes pulling much easier on hillsides or in rocky soil.
These tools give you leverage to remove the root cleanly without excessive digging that disturbs surrounding soil and triggers more seed germination.
Make pulling small plants a regular habit from late winter through early spring each year. Walk your property every few weeks during that window and pull anything you recognize as scotch broom before it reaches flowering stage.
Consistent early removal over two or three seasons can dramatically reduce the number of mature plants you have to deal with every year in Oregon, making the whole job much more manageable over time.
8. Cut Large Plants Before Pods Ripen
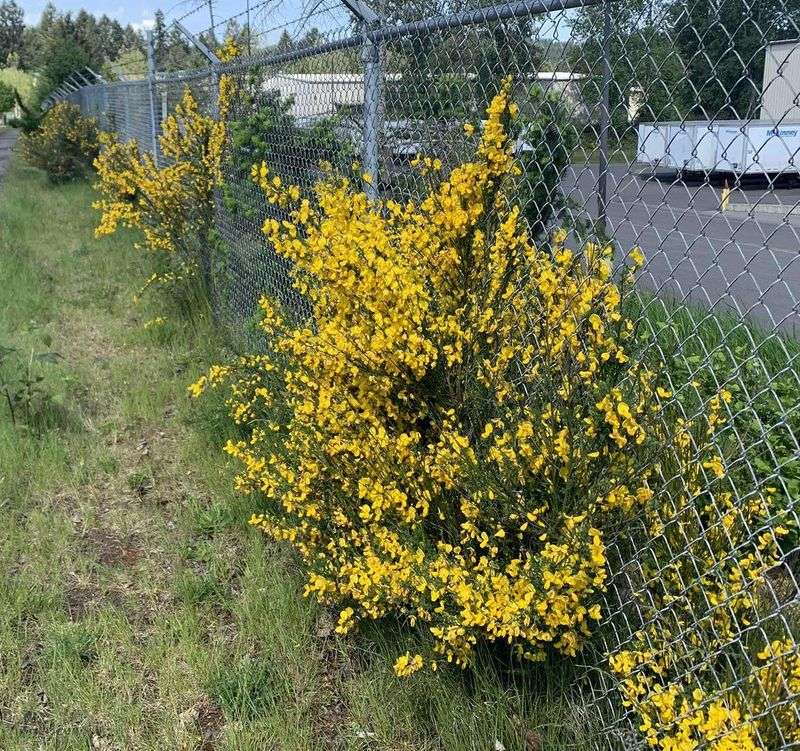
Large, established scotch broom shrubs cannot always be pulled out by hand. Their root systems are deep and woody, and the stems can be as thick as a small tree trunk.
For plants like these, cutting is the most practical removal method, but only if you cut at the right time.
The goal is to cut large plants after flowering but before seed pods ripen. That window is narrow, usually just a few weeks in late spring.
During that time, the plant has used up a lot of stored energy producing flowers, and pods are still green and immature.
Cut as close to the ground as possible. Cutting higher on the stem leaves more stored energy in the root system and makes resprouting more likely.
A clean cut at or just below ground level gives you the best chance of preventing regrowth.
After cutting, watch for resprouting over the following weeks. Scotch broom is persistent and will often send up new shoots from the root crown.
When you see new growth, cut it again immediately. Repeated cutting exhausts the root system over one to two seasons and eventually stops regrowth.
Dispose of cut material carefully. Even green pods contain developing seeds that may still be viable.
Bag the brush or pile it away from bare soil. Do not leave cut branches lying on the ground where pods can continue to ripen and release seeds after the plant has been removed.
Careful disposal is the final step that makes your hard work actually count.