When Virginia Gardeners Should Divide Daylilies For Fuller Clumps Next Summer
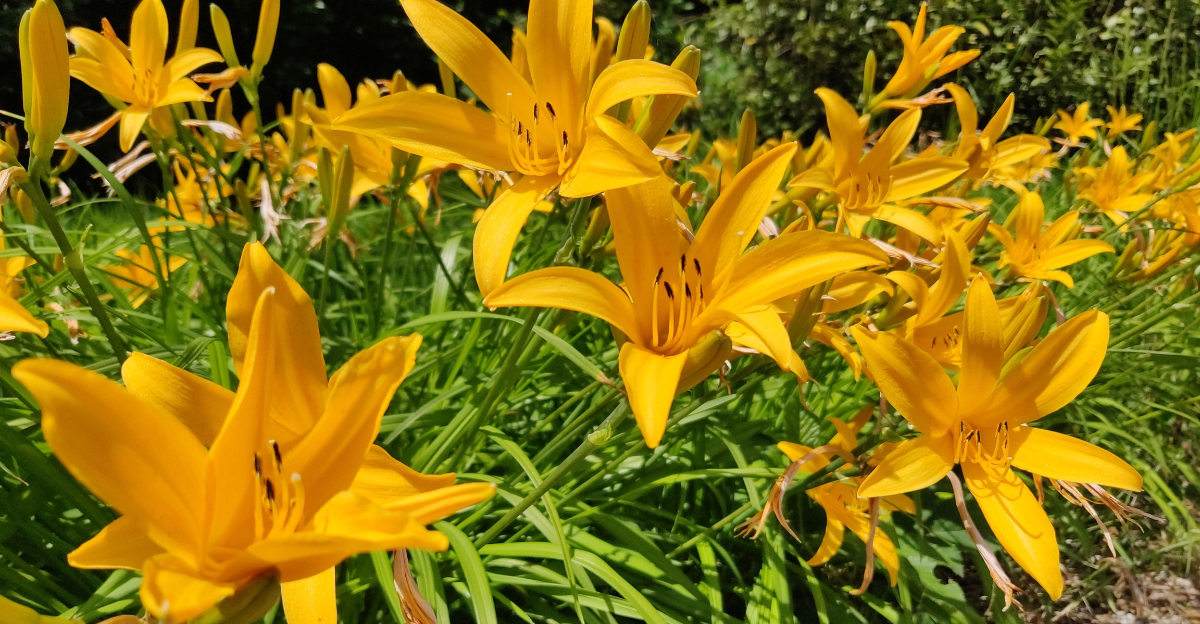
A daylily clump packed shoulder to shoulder stops thriving and starts surviving. Virginia gardeners know the signs well: fewer blooms, smaller flowers, and a center that looks hollowed out compared to the lush ring around it.
That crowding isn’t a sign of failure. It’s a signal the plant has simply outgrown its space and is asking for room to breathe again.
Splitting a congested clump resets the clock, and each division gets fresh access to nutrients, water, and sunlight for stronger stems and richer color next season.
Skip this step too long, and a once-spectacular patch of daylilies starts fading into background noise. Get it right, and that same clump can multiply into several thriving plants that carry the display forward.
Late Summer To Early Fall Marks The Best Window
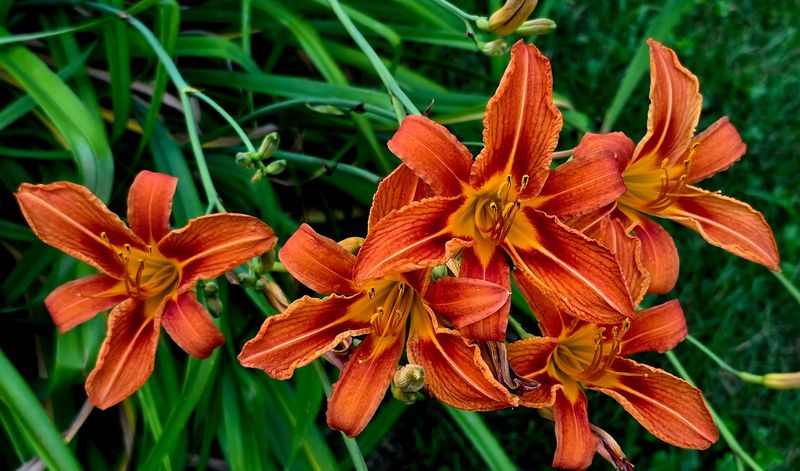
Timing is everything in the garden. When Virginia gardeners divide daylilies in late summer or early fall, the plants get a real head start before winter sets in.
The sweet spot runs from late August through mid-October in most parts of the state. Soil is still warm enough to encourage root growth, but air temperatures have cooled down nicely.
Warm soil matters more than most people realize. Roots grow actively when ground temps stay above 50 degrees, so dividing early in that window gives each new plant weeks of underground progress.
Waiting until spring seems logical, but it actually stresses plants right when they are pushing up new growth. Fall division lets them settle in quietly without competing demands.
Daylilies divided in September often produce noticeably stronger fans by the following spring. That early establishment translates directly into more flower scapes and fuller clumps by midsummer.
Gardeners in the Shenandoah Valley or higher elevations should aim for the earlier end of that window. Coastal and piedmont gardeners can stretch comfortably into early October without worry.
Missing the fall window does not ruin everything, but spring divisions typically bloom less in their first season. Patience becomes your best gardening tool if that happens.
Mark your calendar now so the task does not sneak past you. The best time to divide daylilies is closer than you think, and your clumps will show it next July.
Signs A Daylily Clump Is Ready To Divide
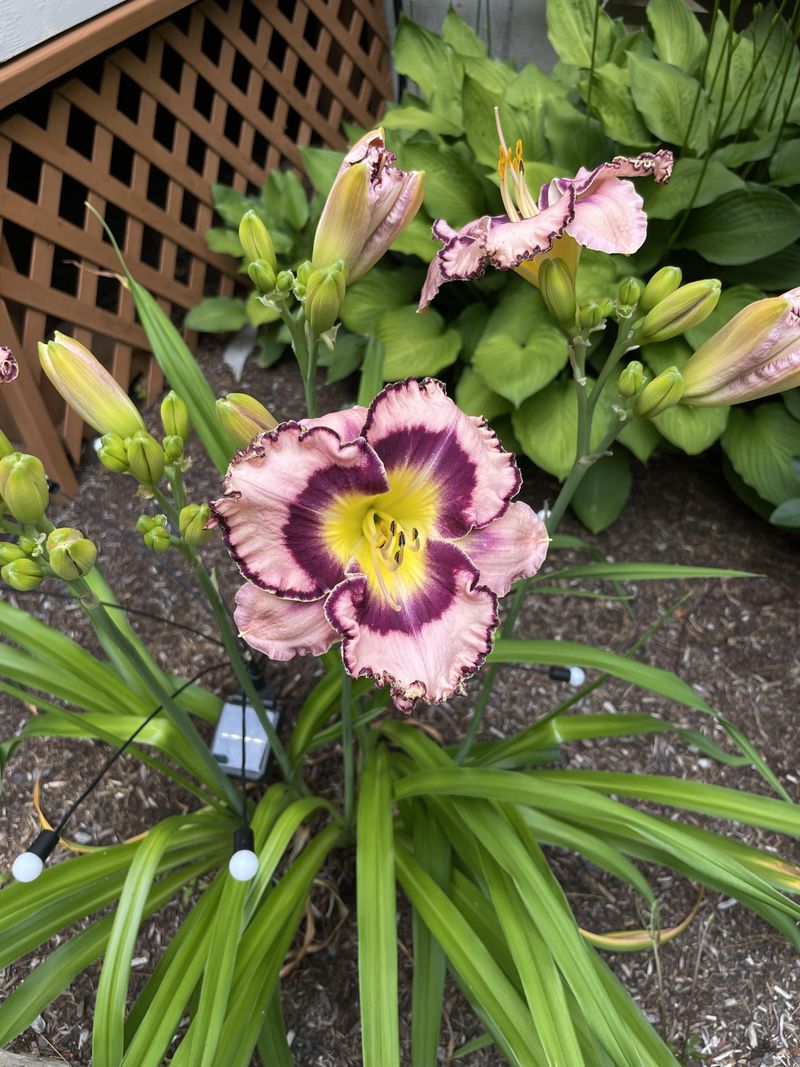
Your daylilies will tell you when they need help, if you know what to look for. Fewer blooms on a clump that used to overflow with flowers is the most obvious signal.
A healthy daylily clump blooms generously every season. When production drops sharply, overcrowding is almost always the reason behind the decline.
Check the center of the clump closely. If the middle looks bare, woody, or hollow while growth pushes only to the outer edges, the plant has outgrown its space.
Crowded roots compete hard for water and nutrients. That underground struggle shows up above ground as smaller flowers, shorter scapes, and leaves that yellow faster than they should.
Another clue is how the clump looks from above. If fans are packed so tightly that you cannot slip a finger between them, division is overdue by at least a season.
Your Virginia Garden Changes Every Week. Your Plan Should Too.
Gardening in Virginia changes quickly throughout the season. Every Friday you’ll receive a simple weekly plan showing exactly what to plant, prune, fertilize, harvest, and protect so you never miss the right timing.
Some varieties signal readiness by producing lots of foliage but almost no blooms. That leafy-but-flowerless look is the plant redirecting energy because roots have nowhere left to expand.
Daylilies generally need dividing every three to five years, depending on variety and growing conditions. Fast-spreading types may need attention even sooner than that general guideline suggests.
Trust what you observe rather than sticking to a rigid schedule. Every garden is different, and a clump screaming for space deserves a response before another whole season slips by.
Tools And Preparation Before You Start Dividing
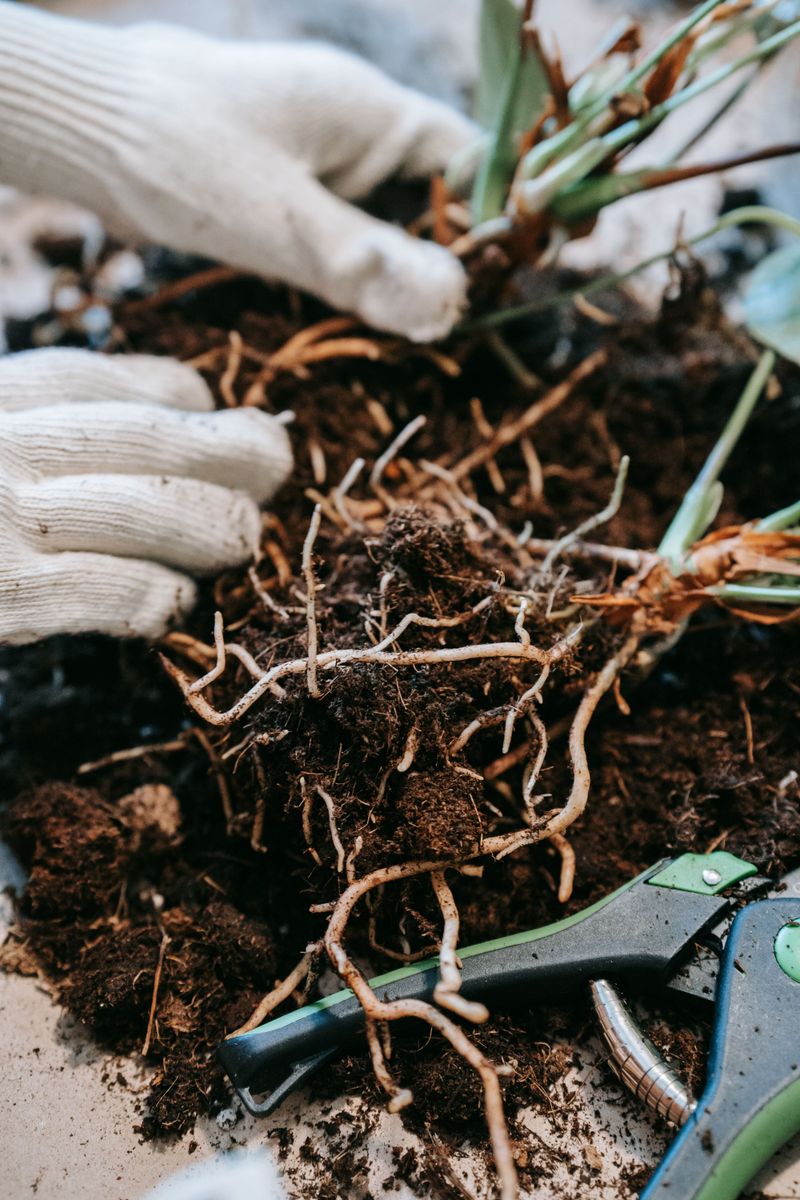
Sharp tools make the whole job easier and cause far less damage to the plant. A dull spade drags and tears roots instead of cutting cleanly through them.
Gather everything before you kneel down in the garden. You will need a sturdy spade or garden fork, sharp pruning shears or a knife, gloves, and a bucket of water.
Sanitizing your cutting tools is a step many Virginia gardeners skip, but it matters a lot. A quick wipe with a horticultural disinfectant prevents spreading fungal issues between plants.
Water the clump deeply one or two days before you plan to divide it. Moist soil clings less stubbornly to roots and makes lifting the entire clump much less of a battle.
Trim the foliage back to about six to eight inches before lifting the plant. Shorter leaves reduce moisture loss from the division and make the whole clump easier to handle.
Lay a tarp or old sheet nearby to set the clump on once it is out of the ground. Working on a flat surface helps you see root structure clearly and divide more accurately.
Have your replanting spots prepped and amended before lifting the clump. Divisions that go straight from ground to ground establish faster than ones left sitting in the sun.
Good preparation turns a potentially messy afternoon into a smooth and satisfying garden project. Starting organized means finishing strong, and your new divisions will reflect that care from day one.
Splitting The Clump Without Damaging The Roots
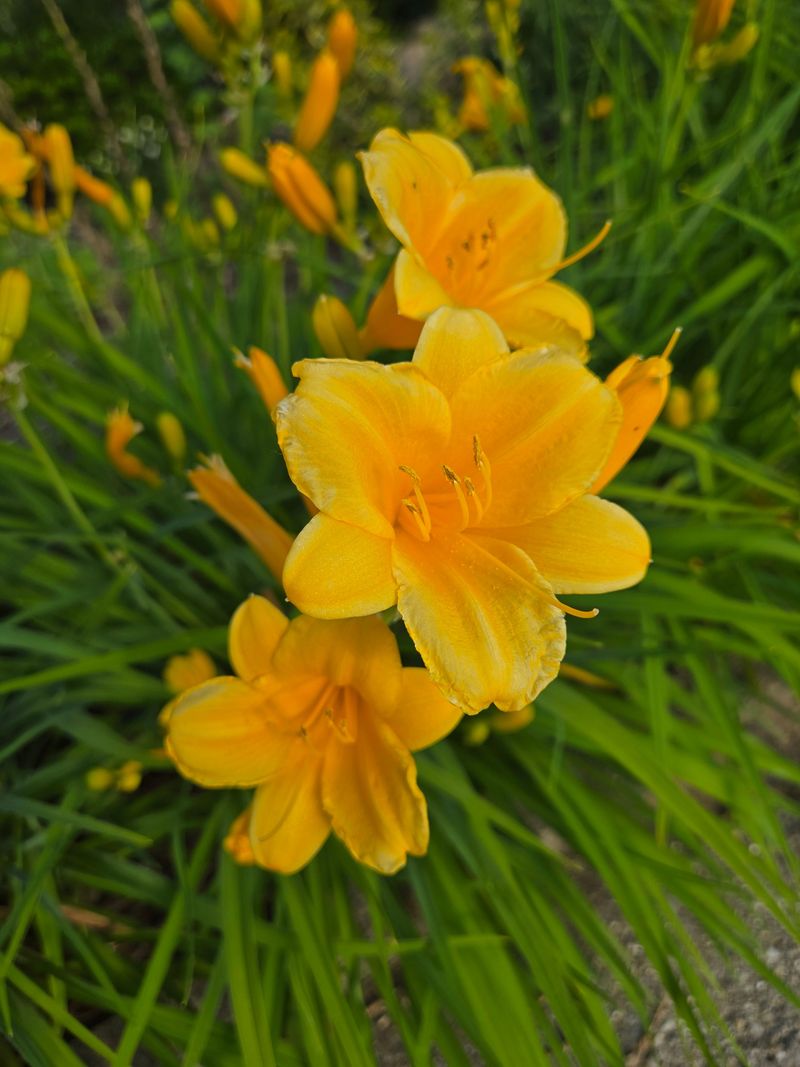
Getting the clump out of the ground is step one, and doing it right protects what matters most. Push your spade or fork straight down about six inches out from the clump edge.
Work all the way around the clump before prying upward. Undercutting from multiple angles loosens the root ball without snapping too many roots in the process.
Once the clump is free, drag it onto your tarp and take a moment to study the structure. You will likely see natural separation points where individual fans pull slightly apart on their own.
Use your hands first to tease apart sections that come apart easily. Forcing divisions where roots resist almost always causes unnecessary damage that slows establishment later.
For tightly bound clumps, two garden forks inserted back-to-back work brilliantly. Push the handles apart like levers, and the clump splits with far less tearing than any cutting method.
Each division should have at least three to five healthy fans attached to a solid root system. Tiny one-fan divisions survive but take much longer to reach a full, impressive size.
Discard any sections that look mushy, discolored, or suspiciously soft. Keeping only vigorous divisions means your new clumps will establish faster and bloom more reliably in their first full season.
Splitting a clump feels a little drastic at first, but daylilies are remarkably resilient. Handle them with reasonable care, and they will reward that attention with stunning results next summer.
Replanting Divisions For Strong Root Establishment
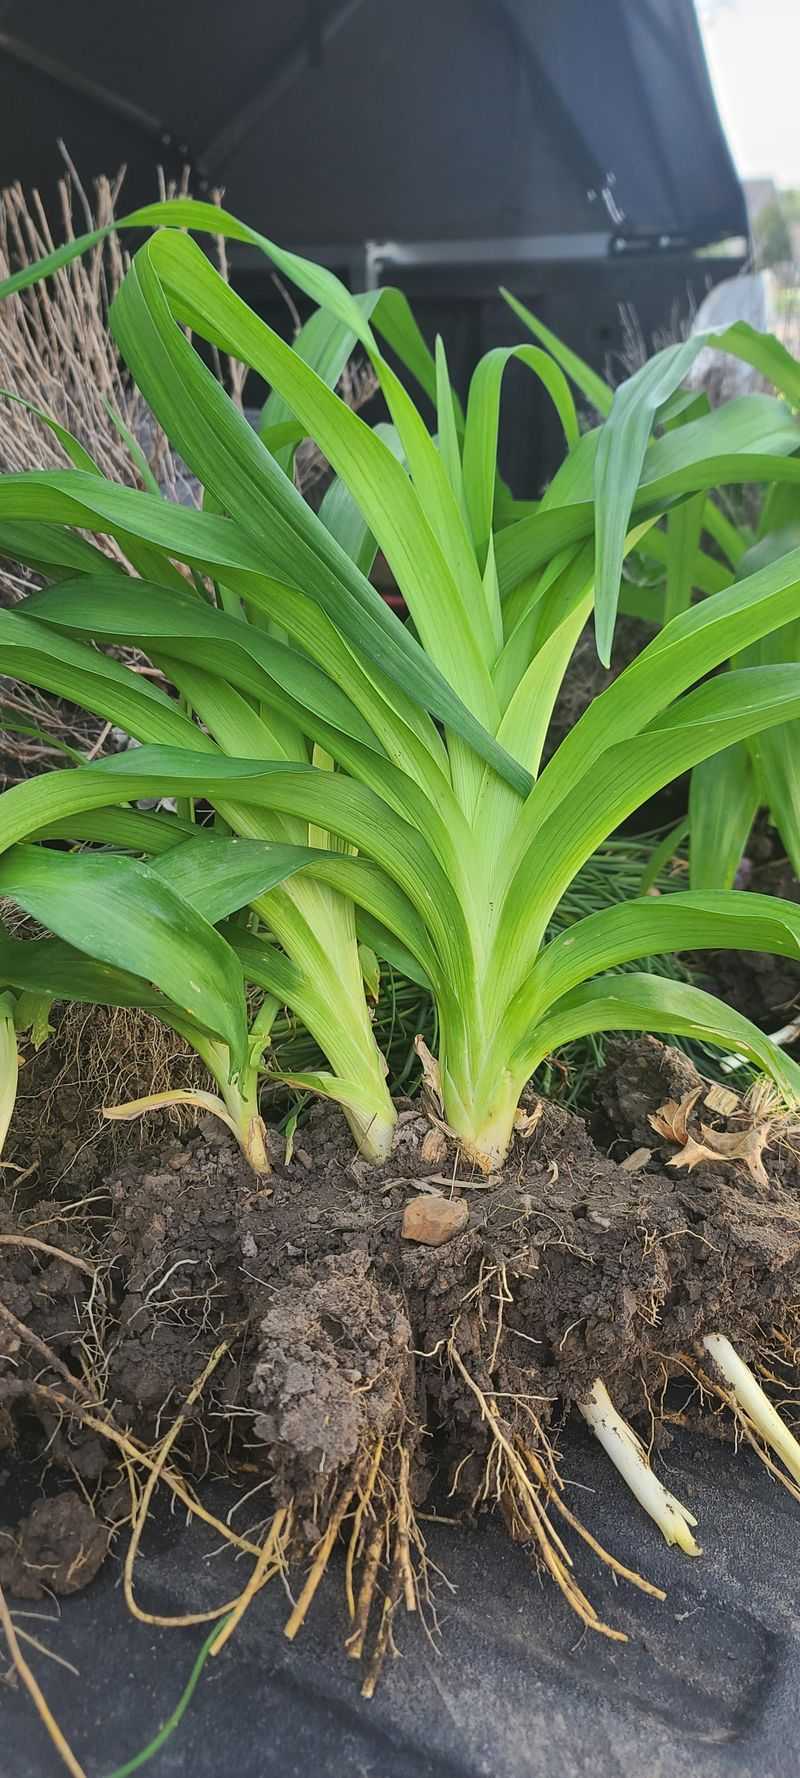
Where and how you replant divisions determines how quickly they take hold. Choose a spot with at least six hours of direct sun daily for the strongest bloom performance.
Amend the soil before dropping in any division. A generous mix of compost worked into the top twelve inches gives roots an immediate nutrient-rich environment to explore.
Set each division so the crown, the point where leaves meet roots, sits about one inch below the soil surface. Planting too deep delays growth; too shallow leaves roots exposed to drying out.
Space divisions at least eighteen to twenty-four inches apart. That spacing feels generous now but allows each clump room to fill in beautifully without crowding again too soon.
Firm the soil gently around each division after planting. Air pockets around roots cause them to dry out and struggle, so light tamping with your hands makes a real difference.
Water each division thoroughly right after planting. Consistent moisture for the first three to four weeks encourages root hairs to spread quickly into surrounding soil.
Mulching around new divisions helps retain soil moisture and regulates temperature as nights cool down. A two-inch layer of shredded bark or straw works perfectly without smothering the crown.
Replanting with intention sets the tone for everything that follows. Divisions planted thoughtfully in well-prepared soil almost always outperform ones dropped in hastily, and the difference shows clearly by next summer.
Care Tips That Lead To Fuller Blooms Next Summer
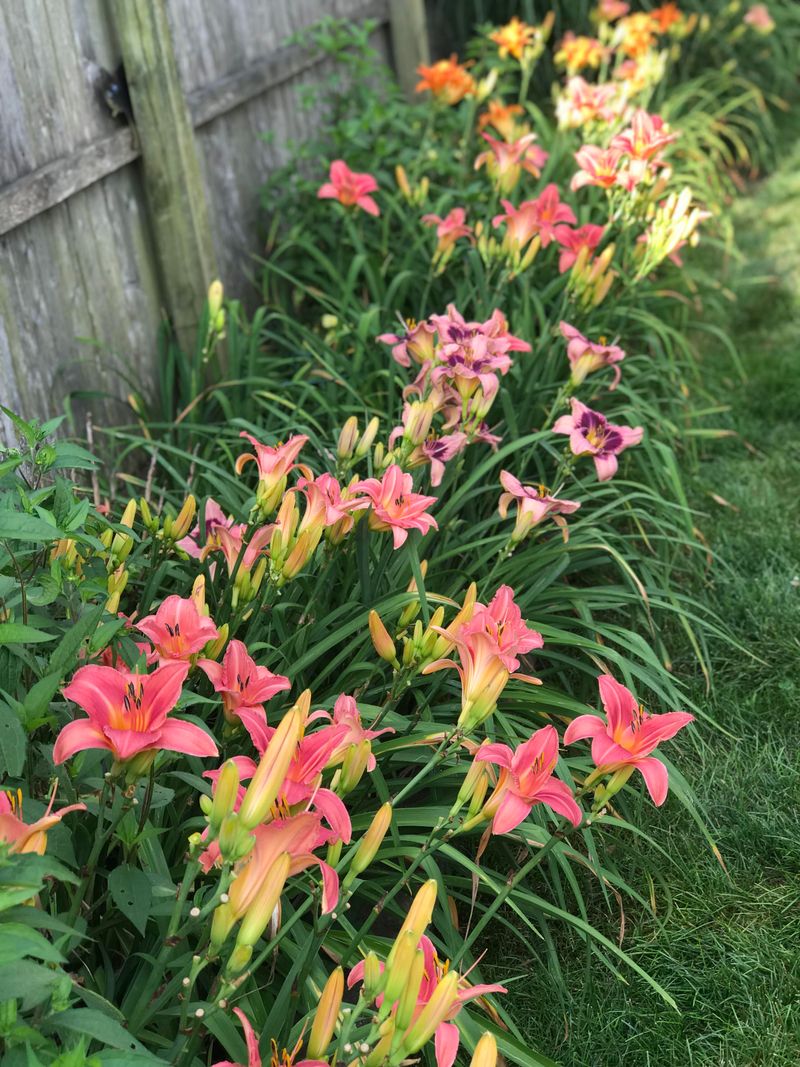
After dividing and replanting, the care you give through fall and into spring shapes everything. Consistent watering in the first month is the single most important thing you can do.
Aim for about one inch of water per week if rain does not provide it naturally. Checking soil moisture an inch below the surface tells you more than guessing from above ever will.
Skip fertilizing right after division. Pushing new root growth with heavy nitrogen can actually backfire, causing soft growth that struggles when cold temperatures arrive.
Wait until early spring to apply a balanced, slow-release fertilizer. That timing feeds the plant exactly when it needs fuel to push up strong scapes and set flower buds.
Remove spent blooms regularly during the growing season to redirect energy toward new flower production. Each flower removed before it sets seed tells the plant to keep blooming instead of stopping.
Watch for aphids or thrips on new growth in spring, as fresh divisions can attract pests more easily than established clumps. A strong blast of water knocks most insects off without chemicals.
Divide daylilies again when clumps show crowding signs, usually within three to five years of the last split. Staying ahead of overcrowding keeps bloom counts high season after season.
Fuller clumps next summer are not luck; they are the direct result of thoughtful fall care. Every small step you take now pays off in a garden that genuinely stops people in their tracks.
Choosing The Right Varieties For Virginia Gardens
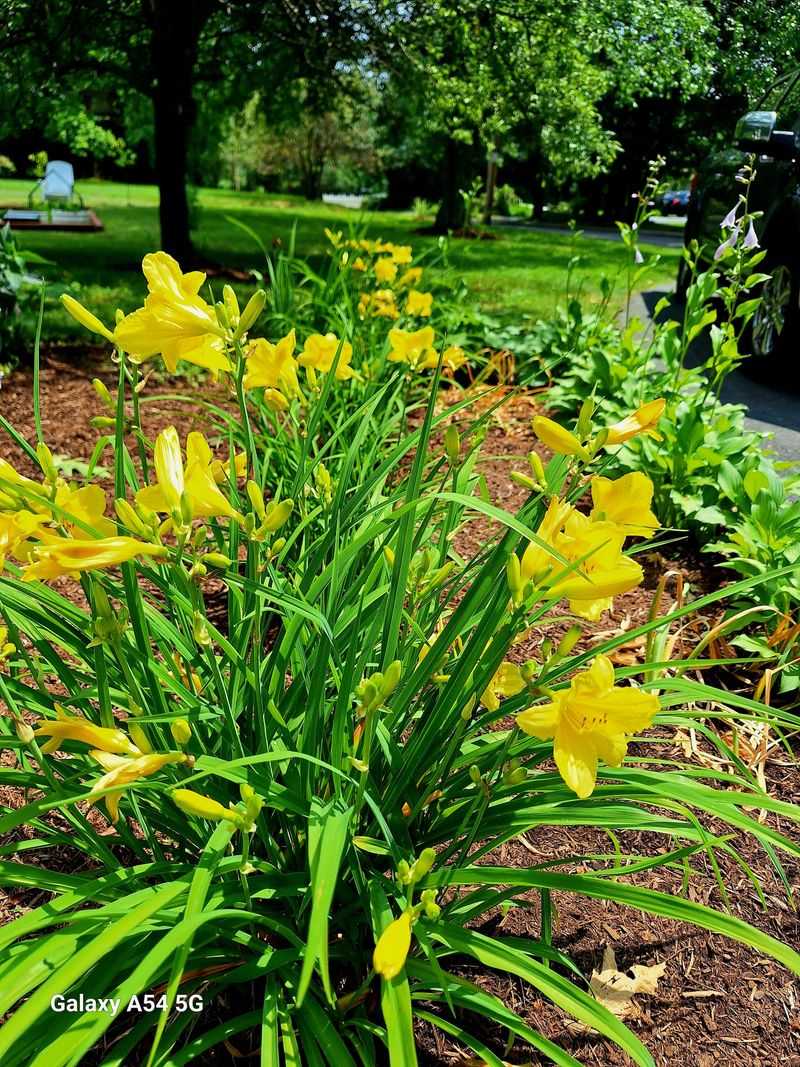
Not all daylilies perform equally well across every part of the state. Picking varieties suited to your specific region means fewer headaches and far more flowers season after season.
Reblooming types are especially worth seeking out for central and northern parts of the state. Varieties like Stella de Oro or Happy Returns produce multiple flushes of blooms across a long season.
Dormant varieties tend to handle Virginia’s cold winters more reliably than evergreen or semi-evergreen types, which can suffer dieback in harsh freezes.
Extended bloom types open their flowers for more than sixteen hours, which means more impact per stem on any given day. Virginia Gardeners who want maximum visual punch should look for that trait on the label.
Fragrant varieties add a sensory layer that makes sitting in the garden genuinely delightful. Look for names like Hyperion or Fragrant Returns if scent matters as much as color to you.
Native plant enthusiasts will be glad to know that some daylily species naturalize beautifully along roadsides and meadow edges. These tough performers need almost no care once established in the right spot.
Mixing early, mid-season, and late-blooming varieties keeps your Virginia garden colorful from June through September. Strategic selection turns one season of blooms into months of rolling, overlapping color.
Choosing the right daylily varieties is where your garden story actually begins. Pair smart selection with proper division timing, and next summer will be your most spectacular daylily season yet.