These Are The Texas Vegetables You Should Start Indoors For A Fall Harvest
Heat lingers well into early fall, testing every gardener’s patience. Your garden faces a shift many gardeners underestimate.
You feel that clock ticking louder each week. Waiting for outdoor soil to cool wastes valuable growing days.
Starting seeds indoors flips that disadvantage entirely in your favor. Seedlings raised inside grow stronger roots before facing intense Texas humidity.
Timing becomes everything when autumn weather refuses to behave predictably. Delay narrows your planting window with each passing week.
Broccoli, kale, and cabbage thrive when started this deliberate way. Every tray you start now becomes tomorrow’s dinner centerpiece.
Guessing wrong now means thin harvests come autumn. This process rewards careful timing over guesswork.
Gardeners across Texas who start early harvest more for longer. Momentum matters here, and it only builds when you act.
Patience alone will not fill your basket this season. The fall planting window is already underway, ready or not.
1. Broccoli
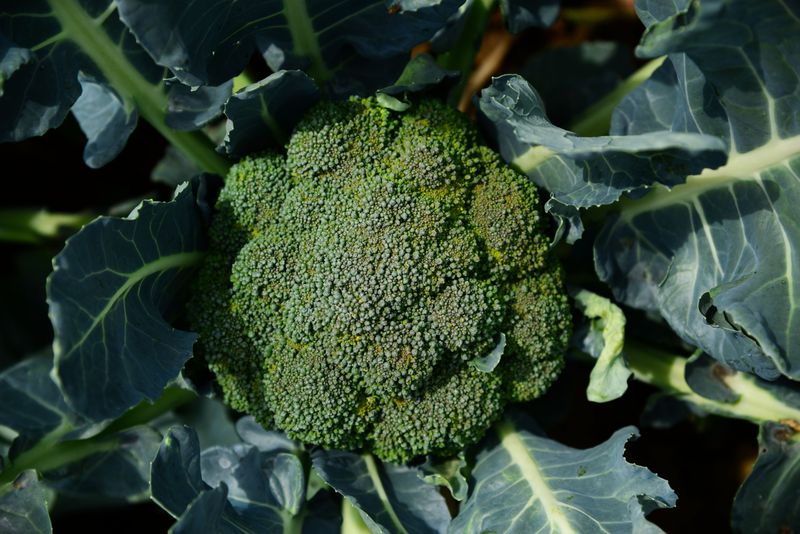
Broccoli rewards gardeners who start it indoors, since it handles cool transitions with ease and produces a cleaner, sturdier transplant.
Seed trays warmed under grow lights speed germination and cut down on shock when moving day arrives. Begin seeds six to eight weeks before your planned outdoor transplant date, giving roots time to develop fully without becoming root bound.
Keep nighttime temperatures cool while running grow lights during the day, since this combination builds strong stems capable of handling sudden heat swings later in the season.
Choose a light, well draining potting mix enriched with compost, since nutrient access early on drives steady, reliable growth.
Once seedlings emerge, thin them down to the strongest performers, clipping extras at soil level so neighboring roots stay undisturbed.
Harden plants off gradually over ten days to two weeks, introducing them to outdoor conditions during mild afternoons only.
Watch the forecast closely and avoid transplanting during extended heat stretches, since sustained high temperatures can trigger premature bolting.
When ready, transplant seedlings into full sun locations with fertile, well drained soil, spacing them generously so each plant can develop without crowding.
Side-dress with compost a few weeks after transplanting to keep heads forming steadily as cooler weather sets in.
Protect young heads from cabbage moths using floating row cover, removing it only once flowers begin to form.
Follow this routine consistently, and you can expect tender crowns to reward you throughout fall and well into mild winter evenings, with minimal effort beyond consistent watering.
2. Cauliflower
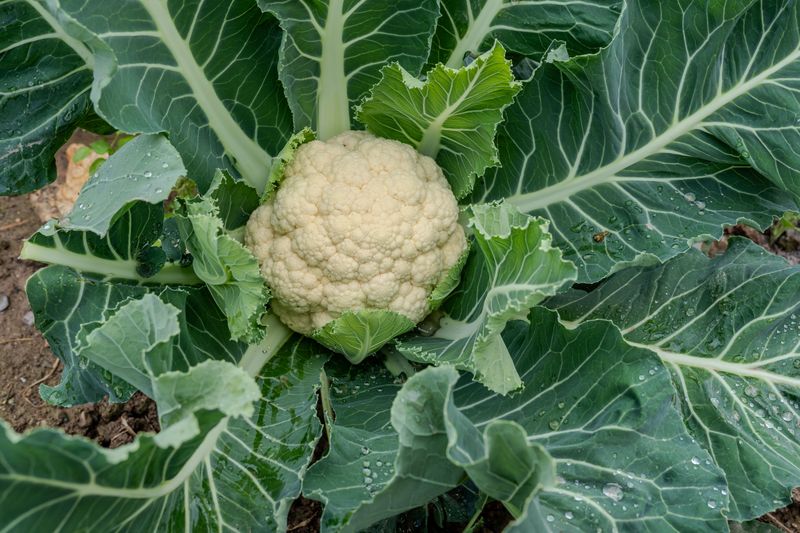
Cauliflower rewards careful indoor starts with bigger, more uniform heads and far fewer scorch issues after transplant.
You should start seeds indoors six to eight weeks before the last expected high heat period ends, giving plants a strong head start.
Pick sturdy seed trays paired with a premium potting mix enriched with added compost, since this combination fuels early vigor and healthy root development.
Keep temperatures steady throughout germination and avoid sudden heat spikes, since consistency stops early bolting and encourages compact, controlled growth.
Thin seedlings early down to the strongest plants, since crowded trays produce shaded, leggy transplants that struggle once moved outdoors.
Your Texas Garden Changes Every Week. Your Plan Should Too.
Gardening in Texas changes quickly throughout the season. Every Friday you’ll receive a simple weekly plan showing exactly what to plant, prune, fertilize, harvest, and protect so you never miss the right timing.
A gentle pinch to remove weaker sprouts helps the remaining seedlings channel energy into thicker, sturdier stems.
Harden off transplants gradually over as much as two weeks, toughening foliage and roots so they handle direct outdoor sun without stress.
Choose a planting location offering consistent moisture and fertile soil, since this supports steady head formation as temperatures continue cooling.
Fertilize with a balanced feed at planting time and again midseason, sustaining the steady development heads need to fill out properly.
If sunlight begins fading late in fall, provide reflective surfaces nearby to keep developing heads white, tender, and free of discoloration.
Cover plants with row fabric whenever temperatures dip unexpectedly, avoiding frost snags while trapping gentle warmth around the base.
This approach consistently yields compact, creamy heads ready for late season meals, with plenty left over for storage through the colder months ahead, rewarding patience.
3. Brussels Sprouts
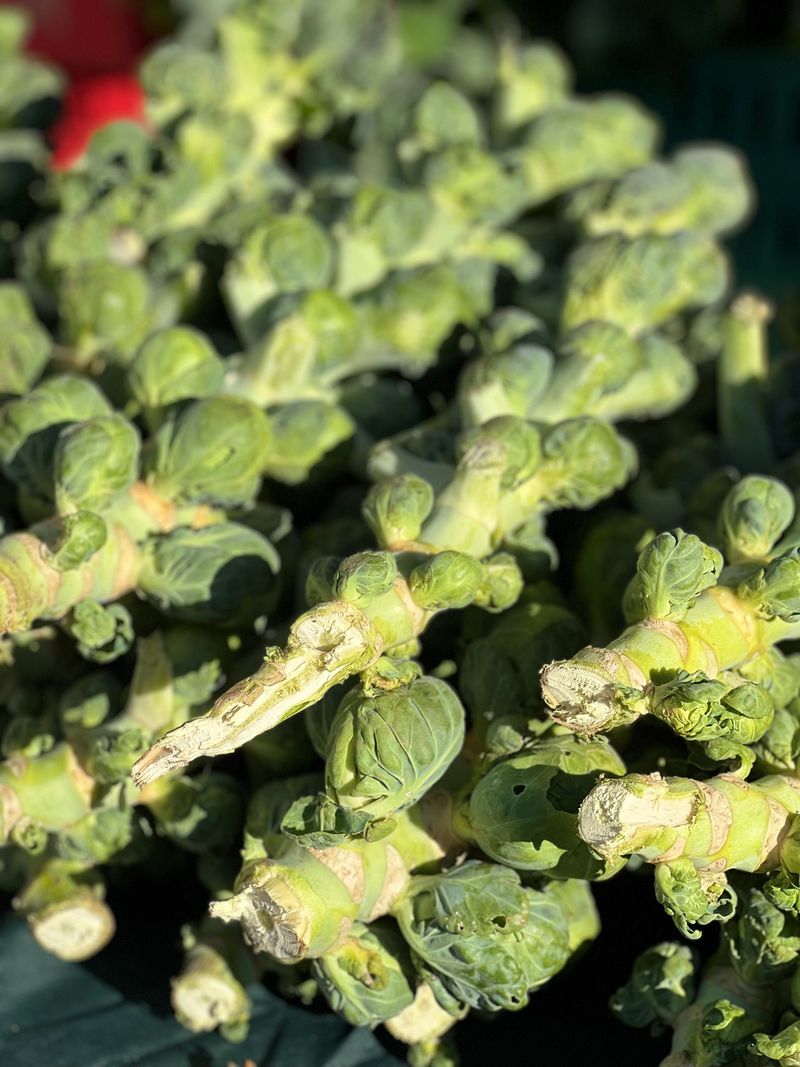
Brussels sprouts need a long season to mature properly, so starting them indoors gives you the extra time required for tight, well formed sprouts in your Texas garden.
You should start seeds indoors eight to ten weeks before transplant, giving plants enough runway to mature before a Texas winter sets in.
Use deep cells paired with a nutrient rich mix, since this combination prevents roots from circling and stressing your plants later in their growth cycle.
Keep seedlings cool while providing consistent light exposure, since this balance prevents stretching and keeps stems from becoming weak and floppy.
When hardening off, expose your plants to light wind gradually, since this builds trunk strength and significantly reduces transplant shock once they move outdoors.
Pick a well drained bed offering full sun and rich organic matter, since Brussels sprouts demand strong soil support throughout their long growing season, especially in Texas heat that lingers into early fall.
Space transplants generously to allow proper air movement, encouraging even sprout development along the entire stem.
Side dress with compost midseason to keep feeding your plants steadily as sprouts begin setting and maturing slowly over time.
Watch closely for pests like cabbage loopers, using row cover early to prevent damage without relying on chemical treatments.
With patient, consistent care, you will enjoy compact, flavorful sprouts well into fall and continuing into early winter months.
Prune lower leaves as sprouts form higher on the stalk, since this improves airflow and redirects energy upward toward developing sprouts.
The payoff for your patience is dense, nutty sprouts that roast beautifully and store exceptionally well in root cellars through the colder months ahead, rewarding every effort you invest.
4. Cabbage
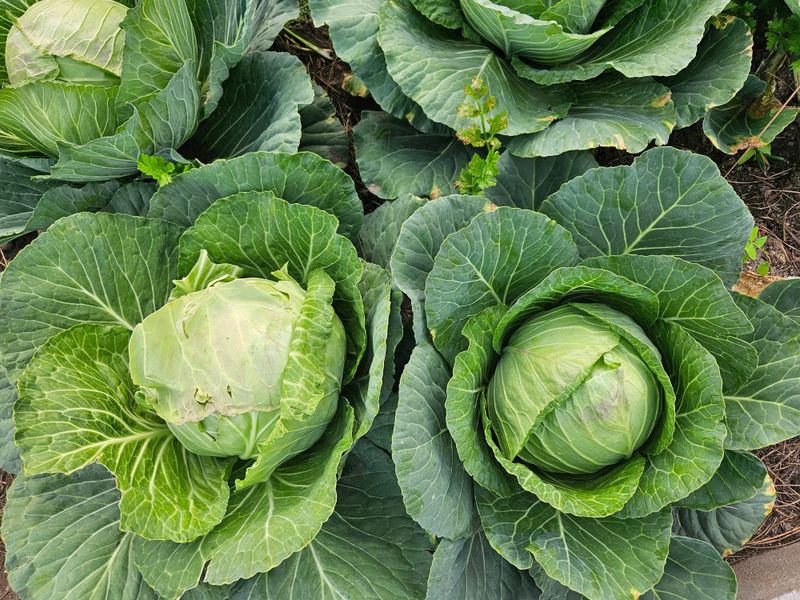
Cabbage started indoors tends to form tighter, more uniform heads and avoids the stress that summer heat often causes early on.
You start seeds six to eight weeks before transplant to ensure firm heads develop during the cooler months ahead.
Choose compact varieties specifically suited to fall planting, since this choice prevents oversized, floppy heads that lack density.
Keep seedlings under consistent light exposure to avoid leggy growth, since steady light promotes short, stocky stems instead.
Harden off plants slowly, avoiding sudden exposure to intense sun, since this careful transition prevents scorched, damaged leaves.
Plant in fertile soil with good drainage and ample mulch, since steady moisture matters greatly during head formation.
Feed transplants with balanced fertilizer at planting time and again as heads begin forming, supporting the density gardeners want to see.
Monitor closely for flea beetles, using floating fabric early to protect tender leaves without turning to chemical treatments.
Rotate beds yearly to keep soil disease risk low, adding compost each season to steadily improve overall soil structure.
When heads feel solid and dense to the touch, harvest promptly to enjoy crisp, sweet cabbage suited for slaws and long storage. Store mature heads in cool, humid conditions to extend both freshness and flavor well into winter months.
This method consistently keeps heads crunchy and ready for soups, kraut, or quick pickles, straight from your own garden, with reliable results season after season, no matter how unpredictable fall weather turns out to be this year.
5. Kale
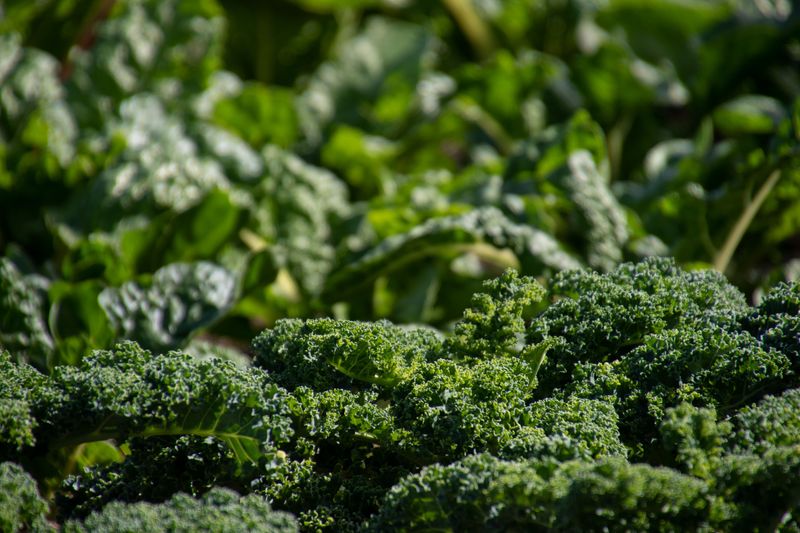
Kale is forgiving and thrives when started indoors for an early fall harvest window. You begin seeds four to six weeks before transplant, giving sturdy seedlings enough time to prepare for outdoor life.
Use shallow trays paired with a light potting mix to prevent overwatering and avoid root issues in these gentle young plants.
Keep leaves dry whenever possible to cut disease risk, while providing strong light to avoid thin, weak stems forming early.
Harden seedlings gradually over about a week, since this careful pace avoids sun scorch and wind stress once transplanting begins.
Find a spot offering steady sun and rich soil, since this combination helps leaves bulk up and stay tender through cooler nights.
Fertilize lightly to encourage steady leaf production without pushing leggy growth, and monitor plants visually for early signs of aphids.
Remove older lower leaves as fresh growth appears, since this maintains airflow and keeps overall plant vigor strong.
Interplant kale with herbs or flowers to attract beneficial insects, reducing pest pressure naturally without extra intervention needed.
With regular harvests of outer leaves, you can enjoy fresh greens continuously from fall straight into winter with minimal fuss.
Store picked leaves unwashed in a cool drawer, since this keeps them crisp and ready until you are ready to cook. This setup makes kale a reliable, lush green presence all season long, perfect for sautés and salads alike.
Few crops reward this little effort with such consistent, satisfying returns throughout the entire cooler stretch of the year, season after season, without fail.
6. Tomatoes
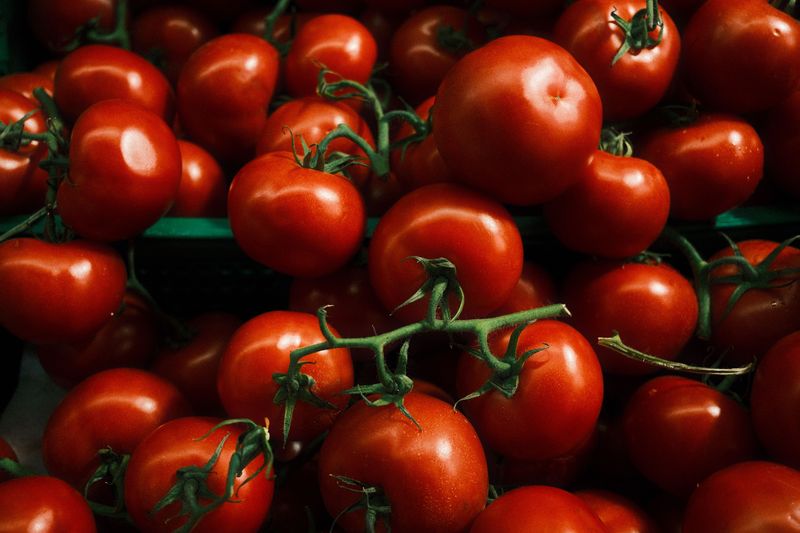
Tomatoes can be tricky in Texas, so starting them indoors gives you real control over early development. You start early-maturing, short-season varieties to set fruit before frost, since this timing ensures the best fall yields possible.
Use deeper pots to develop strong root systems, since this choice significantly reduces transplant shock once plants move outdoors.
Give seedlings steady light exposure and prune lower leaves early, focusing plant energy toward a compact, fruitful canopy above.
Harden off seedlings gradually to prevent sunburn, transplanting on cooler evenings so roots have time to establish without added stress.
Choose heat tolerant varieties specifically, and provide afternoon shade if late summer temperatures spike unexpectedly during the transition period.
Stake or cage plants early to reduce physical stress, improving air flow around both stems and developing fruit clusters.
Mulch generously to conserve soil moisture and keep temperatures stable, supporting consistent fruit set as fall progresses.
Watch closely for blossom drop when nighttime temperatures stay warm, using light irrigation to steady conditions throughout the flowering stage.
With attentive feeding and consistent pruning, late season tomatoes can ripen richly well into the cooler stretch of fall. Harvest fruit once color deepens fully, storing it at room temperature briefly for peak flavor before refrigerating anything extra.
This approach consistently yields sweet, tangy tomatoes that showcase every reward earned through a careful, deliberate indoor start.
Tomatoes demand real attention, but they repay consistent care once the first ripe fruit appears on the vine.
7. Peppers
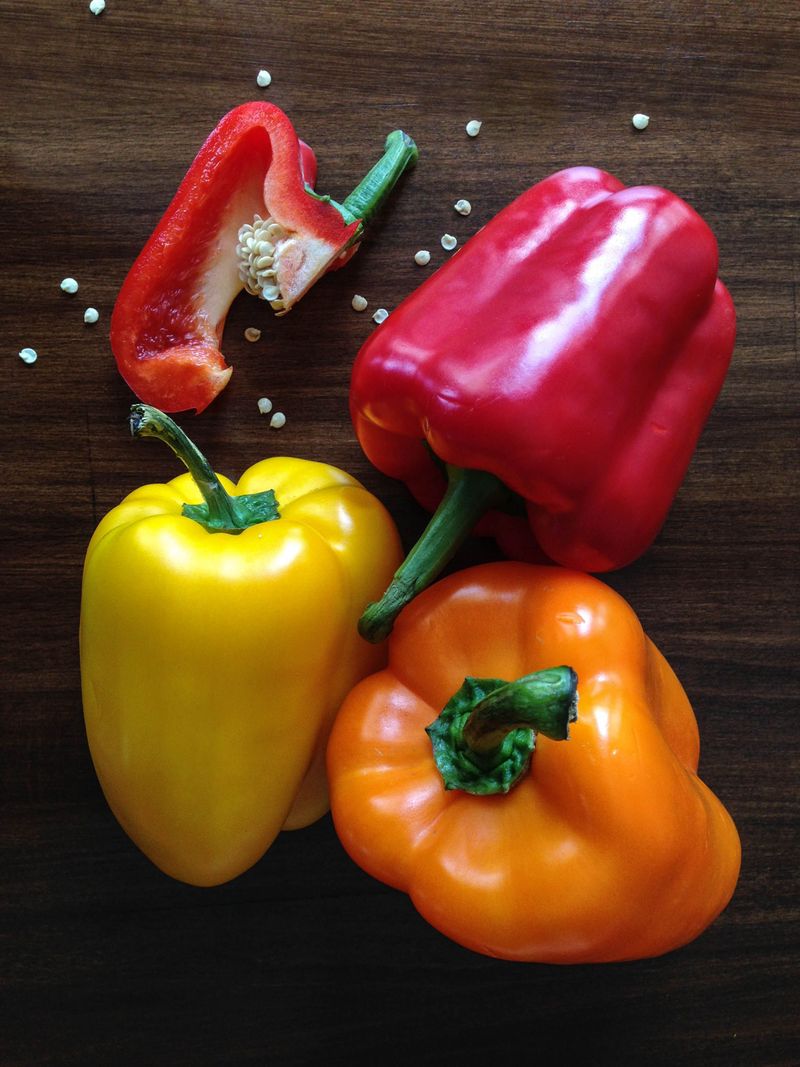
Peppers benefit from early indoor starts, giving them time to build strong root systems before outdoor heat turns erratic.
You start seeds eight to ten weeks ahead so your plants can weather late summer stretches and still set fruit for fall. Keep seed trays warm and provide consistent light exposure, since this prevents weak, leggy seedlings that struggle to thrive later.
Use small pots initially, then repot once into deeper containers, promoting robust taproots without shocking plants during the transition.
Harden off seedlings over about ten days, avoiding transplanting into extreme heat, since this reduces stress on developing blooms significantly.
Plant in well amended soil with generous mulch, keeping soil temperatures moderated and moisture levels consistent throughout the season.
Stake taller varieties early and watch closely for pests like aphids, treating gently to preserve beneficial insects nearby.
Provide even fertilizer during fruit set to drive steady pepper development as plants push toward fall harvests.
Thin fruit early on especially prolific plants, encouraging larger, fuller peppers instead of many smaller, less flavorful ones.
Harvest regularly to promote continuous production, since consistent picking often sweetens flavor as nights begin cooling. Store matured peppers in a cool spot, or roast and freeze them to preserve late season bounty for later.
This plan makes peppers a versatile, productive part of your fall garden table well into the colder months ahead.
Few crops adapt this readily to changing conditions, rewarding consistent care with peppers that keep producing long after other plants slow down for the season.
8. Eggplant
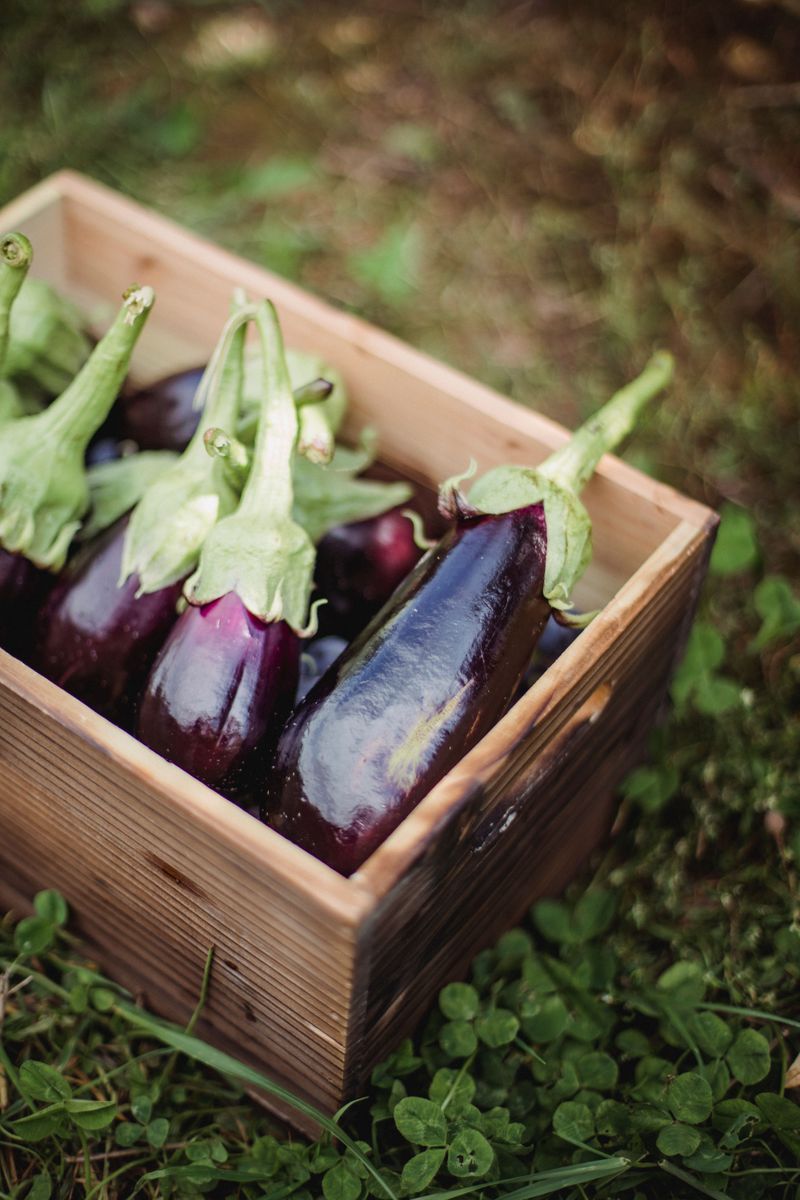
Eggplant loves warmth, so starting it indoors gives this heat loving crop a real head start once summer intensity eases.
You begin seeds eight to ten weeks before moving plants outdoors, building strong stems and root systems early.
Use deeper pots and keep temperatures warm throughout germination, since this consistency drives early vigor and reliable sprouting.
Give seedlings bright light and avoid overwatering, since excess moisture causes weak, floppy growth that stalls plants later on.
Harden plants gradually, but avoid exposing them to chilling nights, since cold triggers slow growth and poor fruit set.
Plant in full sun with rich soil, maintaining even moisture to support glossy fruit development as fall progresses.
Stake upright varieties early to support increasingly heavy fruit, improving airflow around developing branches at the same time.
Feed with balanced fertilizer during flowering, sustaining steady fruiting even as evenings grow noticeably cooler each week.
Thin early fruit deliberately, allowing remaining eggplants to size up properly and sweeten fully while still on the vine.
Harvest once skin turns glossy and texture feels firm, since this timing ensures the best flavor and storage life.
Store picked fruit in a cool, dry place for short term use, or roast and freeze it to preserve summer flavor into winter.
Starting eggplant indoors ultimately rewards patience with richly colored, substantial fruits perfect for fall tables.
Few vegetables deliver this much visual drama and rich flavor from such a modest early investment of time and warmth, especially once the first glossy fruit finally hangs heavy on the vine, ready for harvest at last.