How To Overseed A Florida Lawn In Summer Without Wasting Every Seed
Overseeding a Florida lawn in summer sounds like a recipe for wasted seed and wasted effort.
The heat is serious, the soil dries fast, and the odds of getting new grass to establish during the hardest stretch of the growing season seem stacked against anyone who tries.
The odds shift considerably with the right approach. Summer overseeding in Florida is not the same project as fall overseeding in a cooler climate.
The timing, the seed selection, the prep work, and the follow-through all require adjustments that most generic overseeding guides never account for. Homeowners who have pulled it off successfully are not working harder than the ones who failed.
They are working differently, with a realistic understanding of what Florida summer soil and heat actually demand from a newly seeded lawn. Done right, summer overseeding fills bare patches before fall and sets up a stronger lawn than waiting ever would have.
1. Know Whether Your Grass Can Grow From Seed
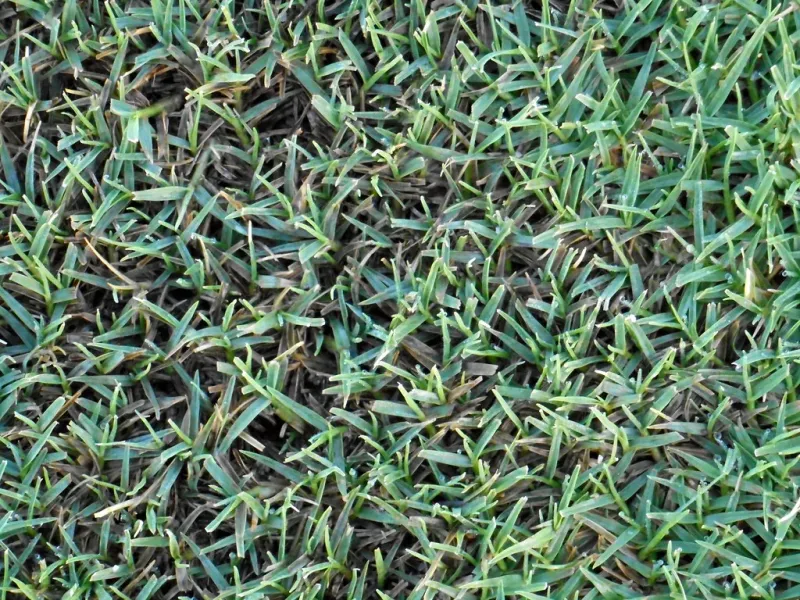
Pulling a bag of seed off the shelf without knowing your turf type is one of the fastest ways to waste money this summer. Before you broadcast anything, walk your yard and figure out exactly what kind of grass you have.
Warm-season grasses are the standard across this state, but they are not all the same, and they do not all grow from seed.
Bahiagrass and bermudagrass are two common warm-season options that can be established from seed under the right conditions. Zoysiagrass can sometimes be seeded, but results vary and establishment is slow.
St. Augustinegrass is a different story entirely, and that is covered in a later section.
Look at blade width, color, growth habit, and texture. County extension offices often have identification guides with photos.
UF/IFAS publications also offer turfgrass identification resources you can use at no cost. Matching your repair seed to your existing turf matters for both appearance and long-term performance.
A Florida lawn patched with the wrong grass type ends up looking uneven, growing at different rates, and requiring different care than the rest of the yard. Getting the identification right first protects your seed investment and keeps the repair from creating a new problem.
Spend ten minutes on identification before spending any money on seed.
2. Seed Warm Season Turf Before Summer Slips Away
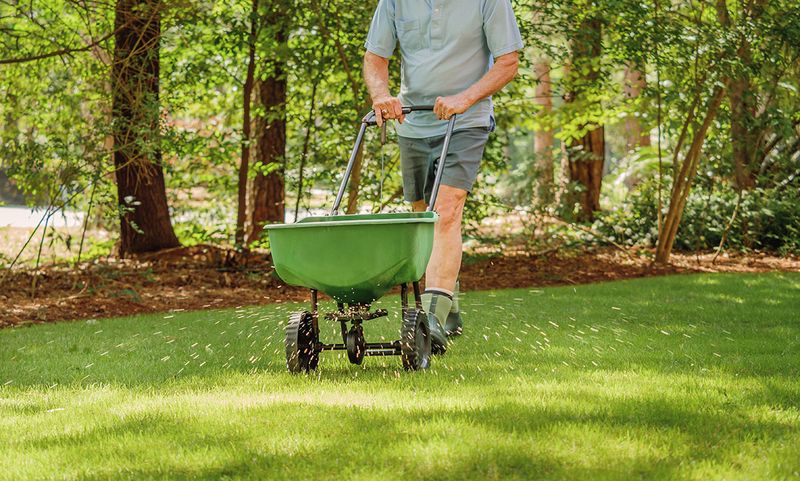
Warm-season grass seed needs warm soil, consistent moisture, and enough growing season ahead to establish before stress arrives. Spring through midsummer is generally the window that UF/IFAS and county extension guidance points to for seeding warm-season grasses in this state.
Seeding too late in summer can leave young seedlings without enough time to develop strong roots before conditions shift.
Timing varies by region and grass type. Panhandle communities tend to have a slightly shorter warm season than southern regions, so earlier seeding matters more there.
Central and southern regions often hold warmth longer, giving seedlings a bit more runway. Still, waiting until August or September to seed warm-season turf is risky in most areas.
Soil temperature matters more than air temperature for germination. Bahiagrass typically germinates better when soil temps are consistently above 65 degrees Fahrenheit.
Your Florida Garden Changes Every Week. Your Plan Should Too.
Gardening in Florida changes quickly throughout the season. Every Friday you’ll receive a simple weekly plan showing exactly what to plant, prune, fertilize, harvest, and protect so you never miss the right timing.
Bermudagrass prefers even warmer soil, ideally above 70 degrees. Many extension resources and local weather services publish soil temperature data you can check before seeding.
Rainfall patterns also play a role. Summer afternoon storms in this state can help keep newly seeded areas moist, but they can also wash seed away if the ground is not properly prepared.
Seed when the season is still on your side, and give those seedlings a real chance to take hold before the calendar turns.
3. Fix Bare Soil Before Broadcasting Anything
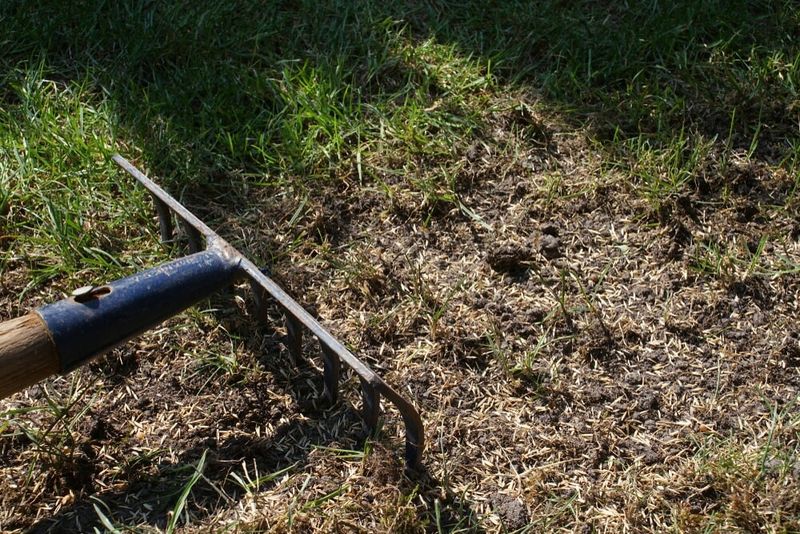
Tossing seed onto a rough, debris-covered surface is a setup for failure. Seed needs direct contact with soil to absorb moisture, anchor itself, and begin germinating.
When seed lands on thatch, dry leaves, thick mulch, or compacted ground, most of it either washes away in a rain shower or dries out before a single root can form.
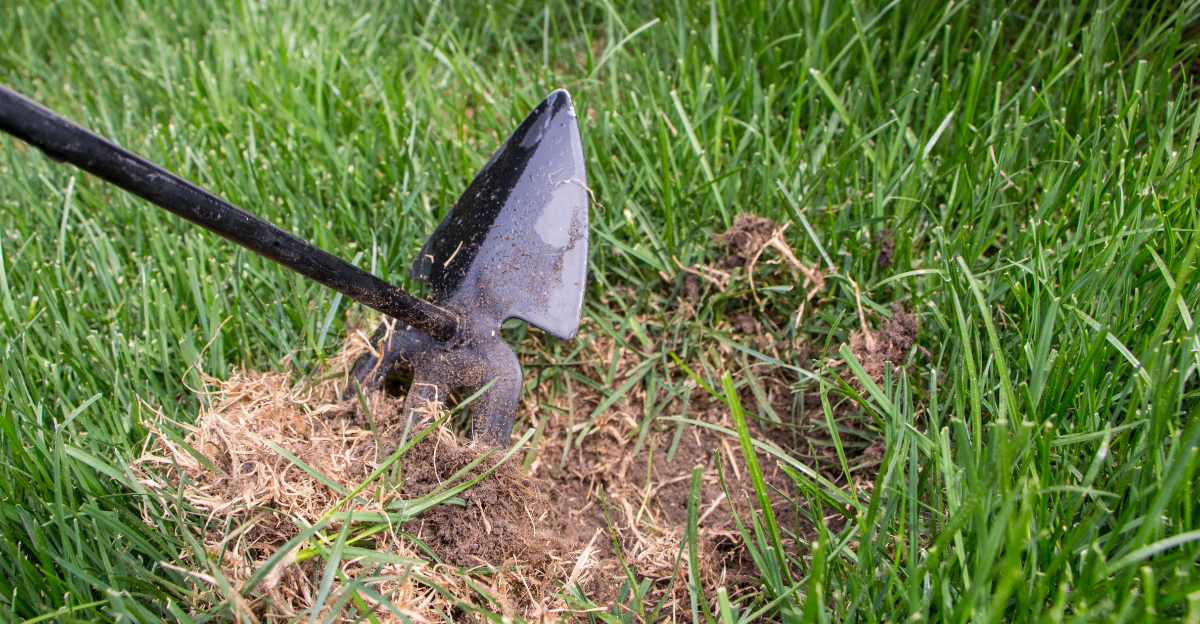
Start by clearing the area of deceased plant material, loose debris, and weeds. Rake the surface lightly to break up the top layer of soil without digging deep.
Avoid disturbing soil near tree roots, irrigation lines, utility areas, or any zone where you are unsure what is underground. A light scratch of the surface is enough to improve seed-to-soil contact.
Smooth out any low spots or uneven areas before seeding. Low spots collect standing water, which can wash seed into clumps or cause it to rot before germination.
Raised areas dry out faster and can leave seedlings struggling. A level, clean surface gives every seed a fair shot at rooting.
If erosion is a concern on slopes or near driveways, consider a light straw cover after seeding to hold moisture and reduce runoff. Avoid heavy mulch layers that can smother seed.
The goal is a firm, clean, lightly loosened seedbed where each seed can settle in and stay put through summer rain and heat.
4. Choose Bahia Or Bermuda For The Right Site
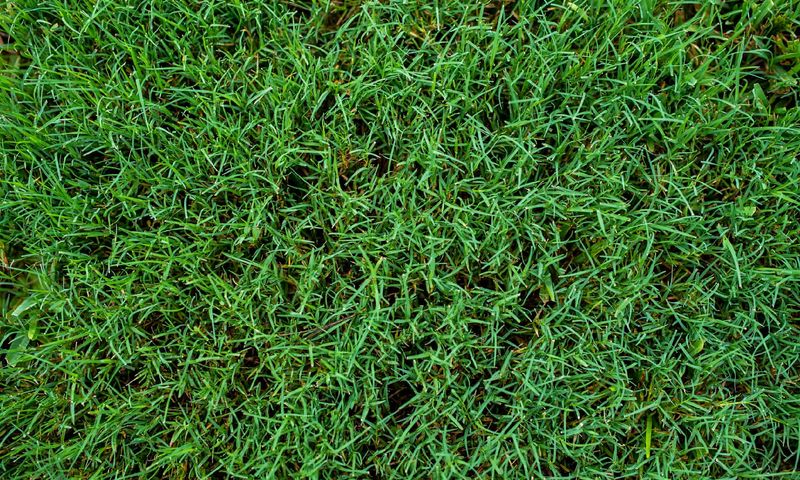
Not every Florida yard suits the same seed. Bahiagrass and bermudagrass are both warm-season options that can be seeded.
Choosing between them depends on your site, maintenance habits, and lawn goals. Picking the wrong one for your conditions is another way to waste seed before you even start.
Bahiagrass tends to work well in lower-input situations. It handles sandy soils, tolerates drought reasonably well once established, and does not demand heavy fertilization or frequent mowing.
It fits open areas, larger properties, and yards where a natural, lower-maintenance look is acceptable. UF/IFAS describes bahiagrass as a practical choice for areas where irrigation may be limited.
Bermudagrass performs best in full sun and responds well to regular feeding and mowing. It creates a denser, finer-textured turf that looks polished and holds up to foot traffic.
However, it requires more maintenance than bahia and can struggle in shaded areas. If your yard has significant tree cover, bermuda is likely a poor match.
Sun exposure, soil type, water availability, and how much time you want to spend on lawn care should all shape your seed choice. Look at both options through the lens of your actual yard, not just the picture on the bag.
County extension offices often have local recommendations that account for regional soil and climate differences across this state.
5. Skip St. Augustine Seed Myths Completely
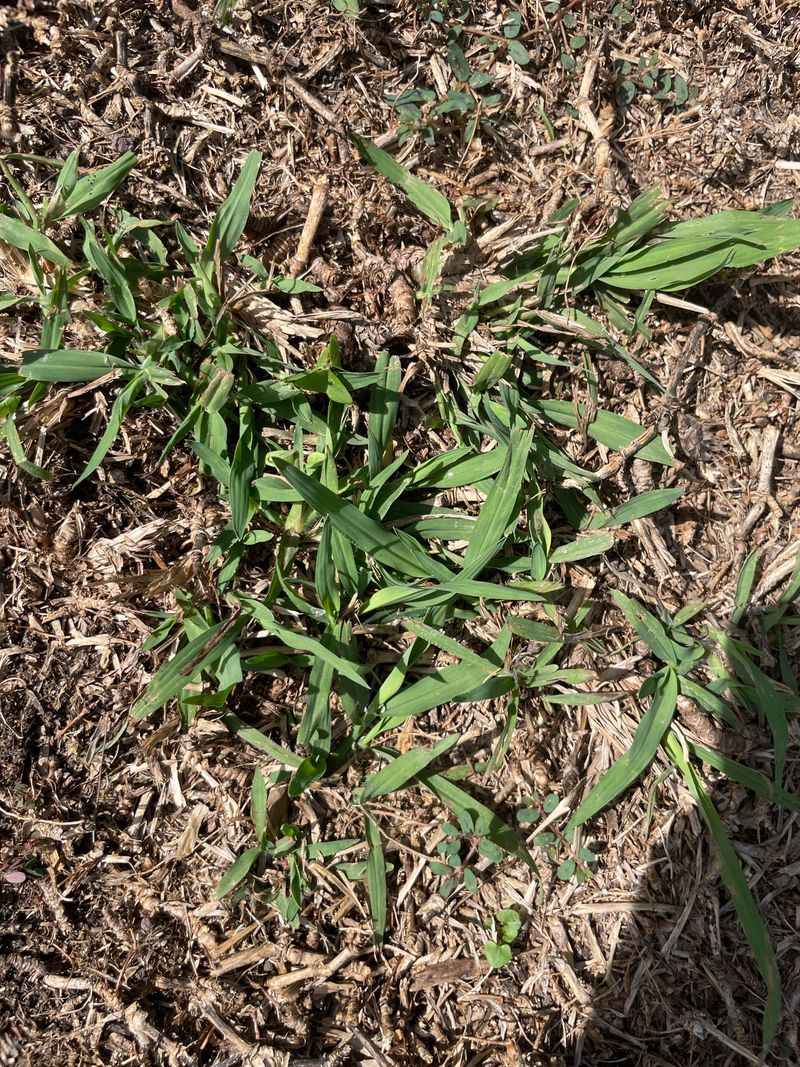
Walk down the lawn-care aisle at almost any home improvement store and you might spot something labeled as St. Augustine seed. Before you add it to your cart, stop.
St. Augustinegrass is not typically established from seed, and what you see on those labels deserves a much closer look before you trust it.
UF/IFAS and most credible turfgrass sources are consistent on this point. St. Augustinegrass is normally established using sod, plugs, or sprigs.
These methods give you actual plant material that roots into your soil and matches the variety already growing in your yard. Seed options for this grass type are extremely limited and not widely available in reliable, variety-matched form for most Florida homeowners.
Spreading a random seed mix into an established St. Augustine lawn can create a patchy, uneven result. Different grasses grow at different rates, develop different textures, and respond differently to mowing and watering.
The repair ends up looking worse than the bare spot you started with.
If you have St. Augustinegrass and need to fill thin or bare areas, contact a local sod supplier or a county extension office for guidance on plugging or sodding. Verify your grass type before buying anything.
Online listings and seed bags can be misleading, and the cost of a wrong purchase adds up quickly when the results do not match what the label promised.
6. Keep Seed Moist Without Flooding The Lawn
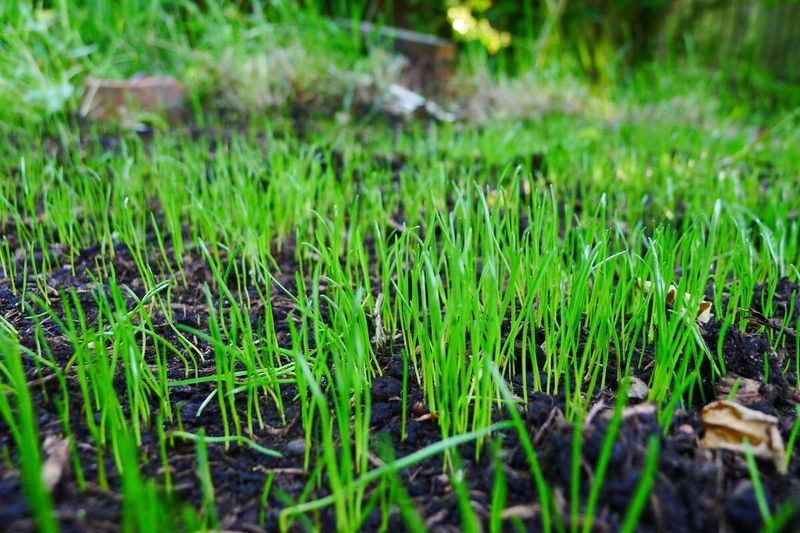
Moisture is the one thing new seed cannot go without, but too much water causes just as many problems as too little. The goal during germination is consistent, light moisture that keeps the soil surface from drying out between waterings.
Flooding the area or running water long enough to create runoff pushes seed off the seedbed and into the street or storm drain.
Light, frequent watering works better during the first week or two after seeding. Short cycles two or three times a day, depending on heat and wind, can keep the soil surface damp without saturating it.
As seedlings begin to emerge and root down, you can gradually shift toward deeper, less frequent watering to encourage roots to grow downward.
Local watering restrictions are a real factor here. Many water management districts and municipalities in this state limit irrigation days and times, especially during summer.
Check with your local utility or water management district before setting up any irrigation schedule. Watering outside of allowed windows can result in fines, and it does not help your seedlings either.
Heavy summer downpours can wash freshly broadcast seed away in minutes. If a storm is forecasted soon after seeding, consider waiting a day or two.
Crusted, dry soil is another barrier to germination. Staying attentive to both extremes, too wet and too dry, is what keeps seed in place and gives it the best chance of sprouting.
7. Protect New Seedlings From Mower Stress
Young seedlings look tougher than they are. The first few weeks after germination are when new grass plants are most vulnerable.
Running a mower over them too soon is one of the most common ways a summer seeding project fails. Weak roots cannot hold against mower wheels or spinning blades, and seedlings that get pulled out before they anchor properly do not come back.
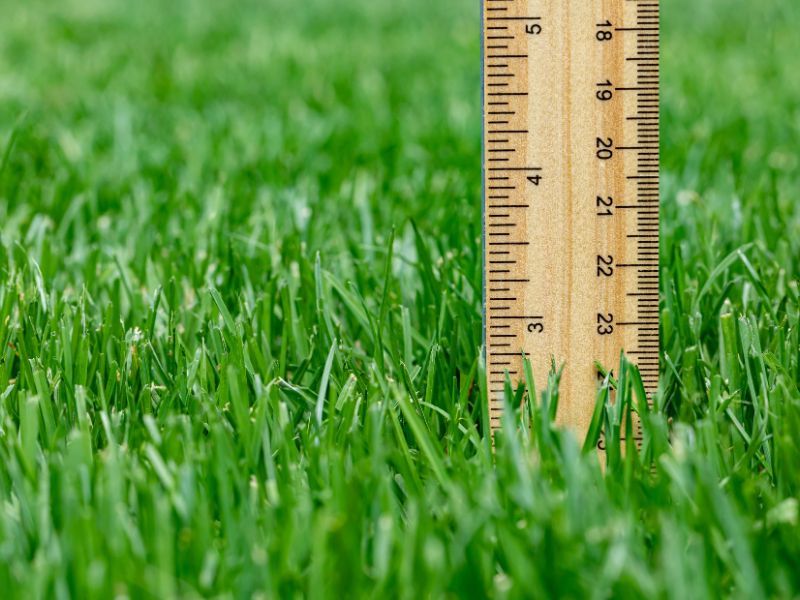
Wait until new seedlings reach a height that matches the recommended mowing height for your grass type before cutting. For bahiagrass, that is generally around three to four inches.
For bermudagrass, the range is lower, but seedlings still need time to anchor before the first mow. UF/IFAS turfgrass publications list appropriate mowing heights for each grass type if you want a specific reference.
Use a sharp mower blade. A dull blade tears at young grass instead of cutting it cleanly, which stresses seedlings and opens them up to disease.
Keep the mowing height up for the first few cuts and avoid removing more than one-third of the blade at once. Scalping new turf sets it back significantly.
Keep foot traffic, pets, and any heavy equipment off newly seeded areas as long as possible. Even a few days of protection can make a meaningful difference in how many seedlings survive.
Rope off the area, use small flags, or put up a simple barrier so family members know to walk around it until the grass is established enough to handle normal use.
8. Patch Small Areas Before Reseeding Everything
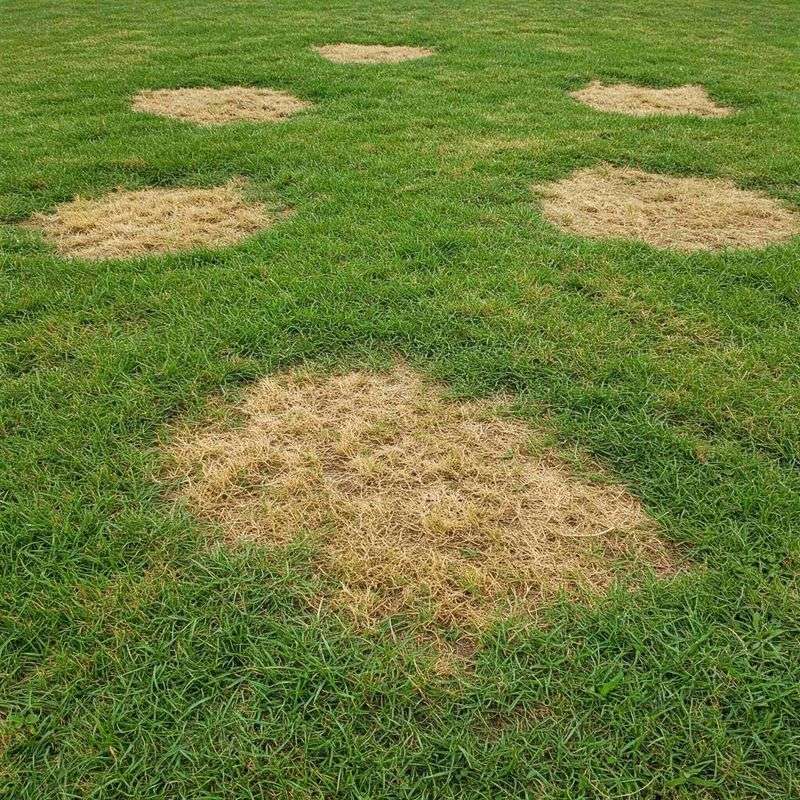
Before you seed the entire yard, take a walk and actually count how many bare or thin spots you are dealing with. A few isolated patches scattered across an otherwise healthy lawn do not call for a full overseeding project.
Reseeding the whole yard when only a handful of spots need attention wastes seed, water, and time, and it can disturb turf that is already growing well.
Targeted repairs make more sense for most summer lawn problems. Small bare areas caused by foot traffic, pest damage, storm washouts, or dry edges can often be repaired in targeted ways.
Depending on your grass type, use plugs, small sod pieces, or spot seeding. Plugs and sod work especially well for grasses that do not establish reliably from seed, like St. Augustinegrass.
Before patching anything, figure out why the bare spot appeared. Compacted soil, poor drainage, shade, irrigation gaps, or pest pressure will keep creating bare spots even after you repair them.
Fixing the underlying cause gives your repair a much better chance of lasting through the rest of summer and into fall.
Matching your repair method to your turf type is the clearest takeaway from every section in this guide. Seed where it makes sense, and use plugs or sod where it does not.
Prepare the soil before planting, and give new growth time to establish before mowing or allowing traffic. A careful, targeted approach saves money and produces results that actually last.