Michigan Gardeners Should Remove Lower Tomato Leaves Before August Nights Turn Damp
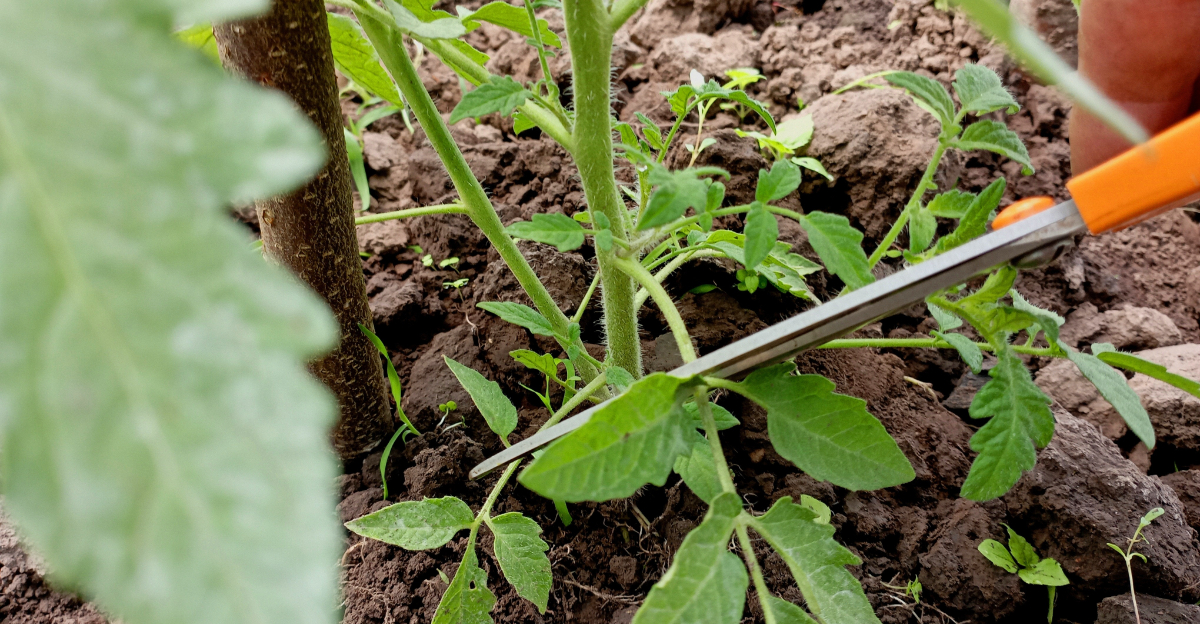
Removing lower tomato leaves before August nights get damp is a simple habit that protects plants from common fungal issues.
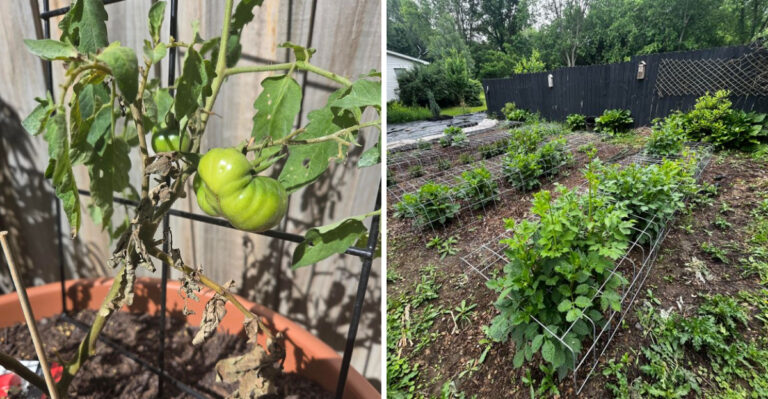
As temperatures cool overnight, increased humidity creates ideal conditions for diseases like early blight to take hold near the soil line.
Lower leaves sit closest to the ground, making them the first to pick up moisture and soil borne spores. Clearing these leaves improves airflow around the base of the plant, helping foliage dry faster after dew or rain.
This process also redirects the plant’s energy toward ripening existing fruit rather than maintaining older growth. Removing just the bottom foot or so of foliage is usually enough to make a difference.
Bagging and disposing of removed leaves, rather than composting them, keeps spores from spreading further. A little cleanup now helps tomatoes stay healthier through the rest of the season.
1. Remove Every Leaf That Touches The Soil
Soil contact is one of the sneakiest ways tomato problems get started. When a lower leaf rests directly on moist garden soil, it creates a perfect bridge for fungi, bacteria, and pathogens that naturally live in the ground.
Rain and overhead irrigation can splash soil particles, along with anything living in them, straight onto that leaf. Once contamination reaches the foliage, it can travel upward through the plant surprisingly fast.
Michigan summers often bring heavy afternoon thunderstorms, and those raindrops hit bare soil with real force. Each splash carries tiny droplets loaded with whatever the soil contains.
Leaves pressed flat against the ground dry much more slowly than elevated foliage, and poor airflow underneath them keeps moisture trapped for hours longer than it should be.
That damp environment encourages problems to develop overnight, especially once August nights start cooling down and dew settles in.
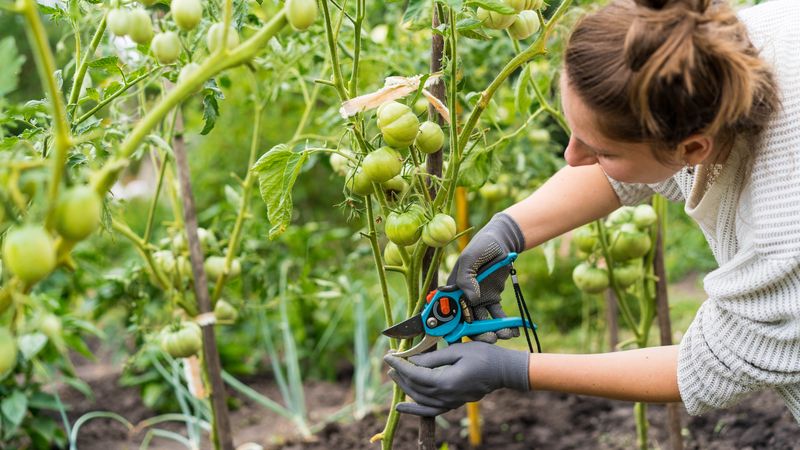
Removing these leaves is straightforward. Use clean, sharp pruners and cut each leaf stem close to the main stem without nicking the bark.
A small stub left behind is fine and heals quickly. Try to make cuts on dry mornings when the plant is not stressed from heat or drought.
Avoid pulling or tearing leaves by hand, since that can damage the stem and leave rough wounds.
Clearing every leaf that contacts the soil will not guarantee a perfectly healthy plant all season, but it removes one of the easiest entry points for trouble. Pair this step with a layer of mulch around the base of each plant to reduce future soil splash even further.
2. Remove Lower Leaves With Small Dark Spots
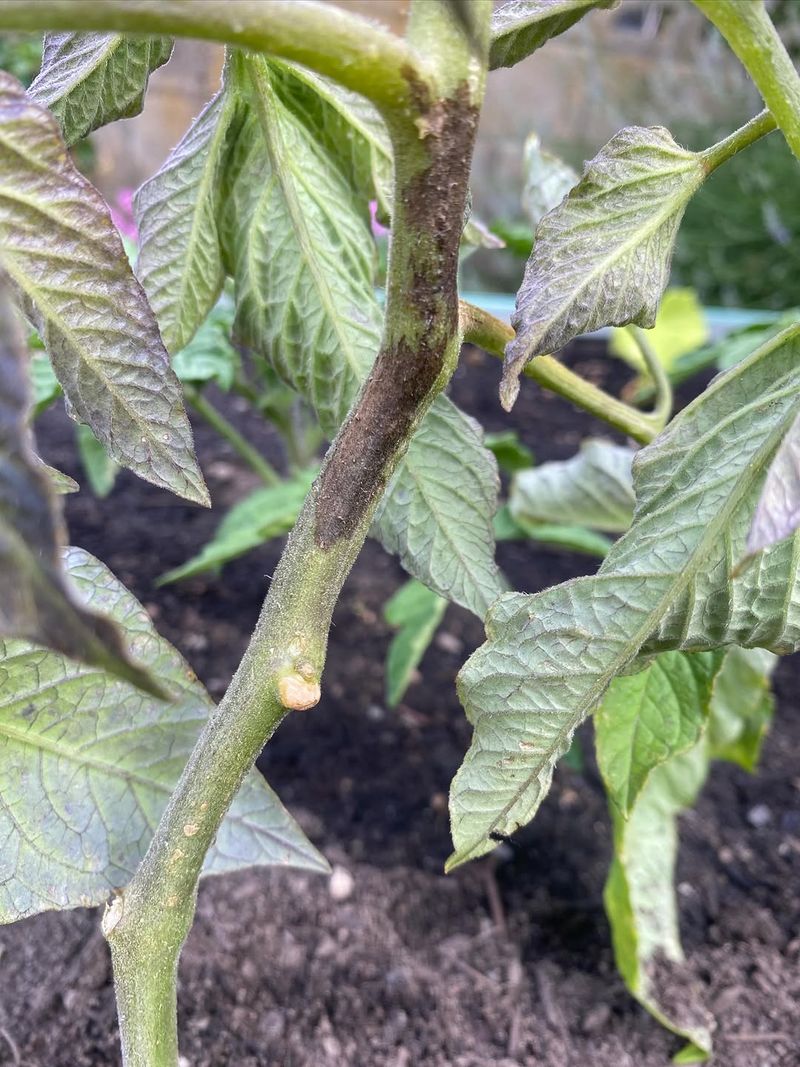
Spotting trouble early on tomato plants is genuinely one of the most valuable skills a Michigan gardener can develop. Small dark spots on the oldest lower leaves are almost always the first sign that something is spreading through your plant.
Septoria leaf spot shows up as tiny circular markings with pale gray centers and dark borders. Early blight tends to produce larger brown areas surrounded by yellow tissue.
Bacterial leaf spot creates water-soaked patches that darken as they age.
The tricky part is that these problems can look very similar during their earliest stages, and even experienced gardeners sometimes struggle to tell them apart without a closer look.
Your Michigan Garden Changes Every Week. Your Plan Should Too.
Gardening in Michigan changes quickly throughout the season. Every Friday you’ll receive a simple weekly plan showing exactly what to plant, prune, fertilize, harvest, and protect so you never miss the right timing.
Yellow halos around spots, pale or papery centers, and dark borders are all useful warning signs worth paying attention to.
Flip the leaf over and check the underside too, since some infections show their earliest symptoms there before the top surface shows anything obvious.
When you spot suspicious leaves, remove them promptly and carry them away from your garden rather than dropping them on the soil nearby. Leaving infected material on the ground gives the problem a place to linger and potentially spread further.
Bag the removed leaves or dispose of them away from your compost pile unless you know your compost reaches high enough temperatures to neutralize pathogens.
If spots spread quickly or look unusual compared to common descriptions, photograph the symptoms and contact your local Michigan State University Extension office or a plant diagnostic service.
Getting a professional opinion early can save the rest of your crop before things escalate.
3. Remove Yellow Leaves That Are No Longer Productive
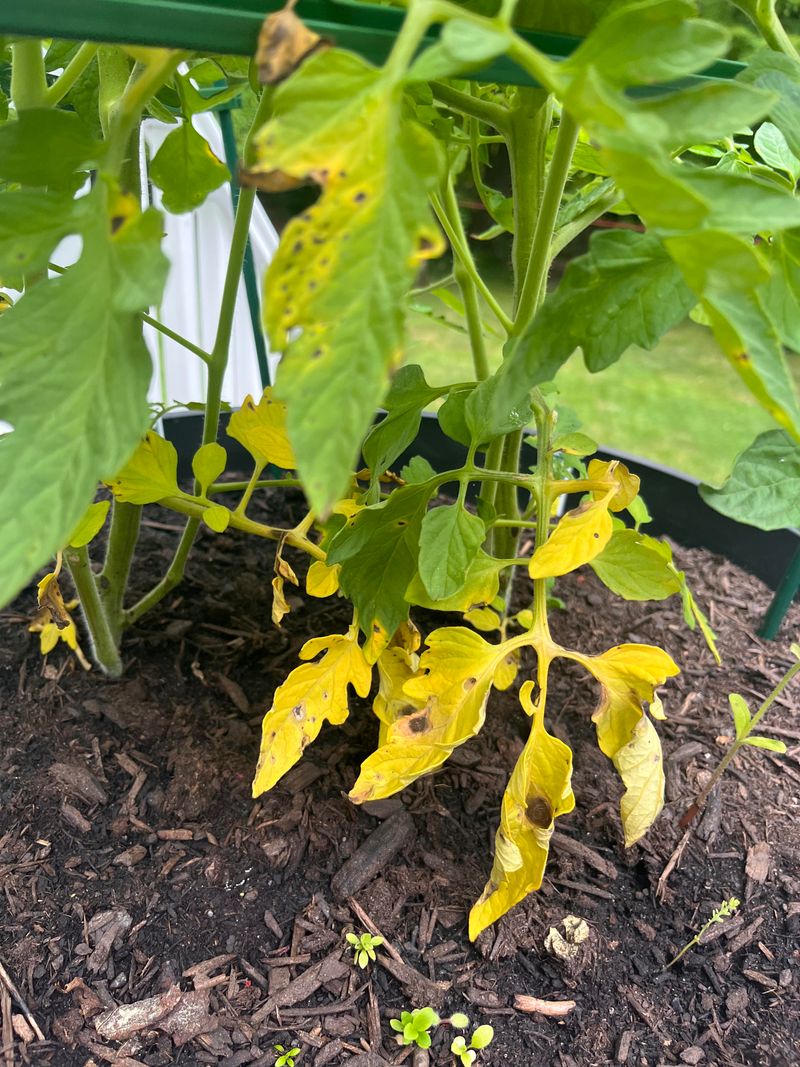
Yellow leaves on a tomato plant send a message, and reading that message correctly matters more than most gardeners realize.
A few older leaves turning yellow near the base of the plant can be completely normal, especially as the season progresses and the plant puts more energy into fruit production.
Those older leaves gradually lose their ability to photosynthesize efficiently and the plant essentially stops investing resources in them.
However, widespread yellowing across multiple levels of the plant tells a different story. Nutrient imbalances, particularly nitrogen or magnesium deficiency, can cause yellowing that follows distinct patterns depending on which nutrient is low.
Overwatering or poor drainage creates root stress that shows up first in the leaves. Certain fungal and bacterial infections also produce yellowing as an early symptom before more obvious spots or lesions appear.
Removing a clearly declining leaf that has become mostly yellow, weak, or withered makes sense because it no longer contributes meaningful energy to the plant. A leaf that is more than halfway yellow is essentially done doing its job.
Snip it cleanly at the stem with sanitized pruners and dispose of it away from the garden area.
The important thing to remember is that pruning alone will not fix an underlying problem. If yellowing is widespread or progressing fast, investigate the root cause before assuming that removing leaves will correct the situation.
Check your watering schedule, test your soil if possible, and look carefully at the roots and soil drainage. Removing the symptoms without addressing the cause will not help your tomatoes thrive through late summer.
4. Remove Crowded Leaves Beneath The Lowest Fruit Cluster
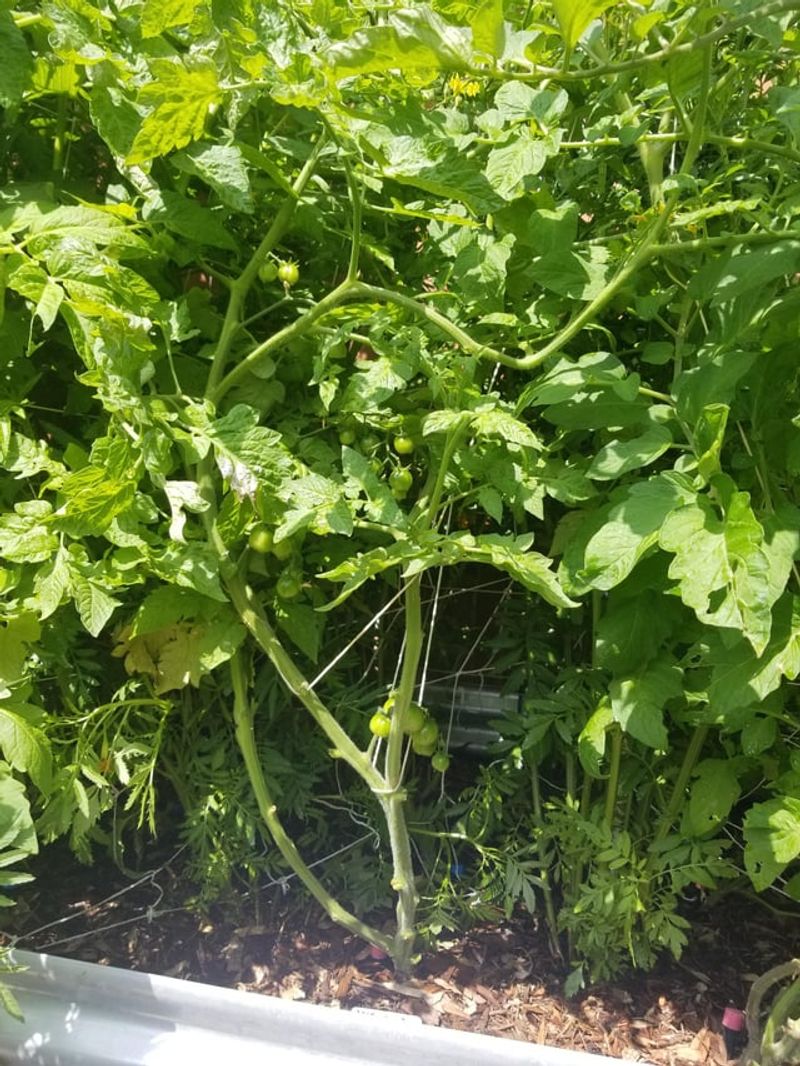
Air circulation around the base of a tomato plant plays a much bigger role in plant health than most people expect.
When leaves overlap and crowd together beneath the lowest fruit cluster, they create pockets where moisture gets trapped after rain, irrigation, or heavy dew.
During Michigan’s late summer, when nights start cooling and morning dew sits longer on foliage, those damp pockets become prime spots for fungal problems to take hold and spread.
Dense lower foliage can also make it harder to spot early warning signs like spots, discoloration, or insect activity hiding deep inside the canopy.
Leaves that point inward toward the main stem or overlap heavily with neighboring leaves are the best candidates for removal.
Thinning a few of these out improves airflow and lets sunlight reach the interior of the plant, helping foliage dry faster after wet weather.
Selective thinning is the key word here. Removing every leaf below the first fruit cluster all at once is too aggressive and can stress the plant.
Healthy foliage still contributes to photosynthesis, which directly fuels fruit development. Take out only the leaves that are clearly blocking airflow or staying wet, and leave the ones that are positioned well and receiving good light.
Work gradually over several sessions rather than stripping the lower plant in one go. A good rule of thumb is to step back and look at the plant from several angles before cutting anything.
You want the base of the plant to feel open and airy without looking bare. That balance keeps your tomatoes productive and better protected heading into the dampest part of Michigan summer nights.
5. Remove Leaves Trapped Inside Supports
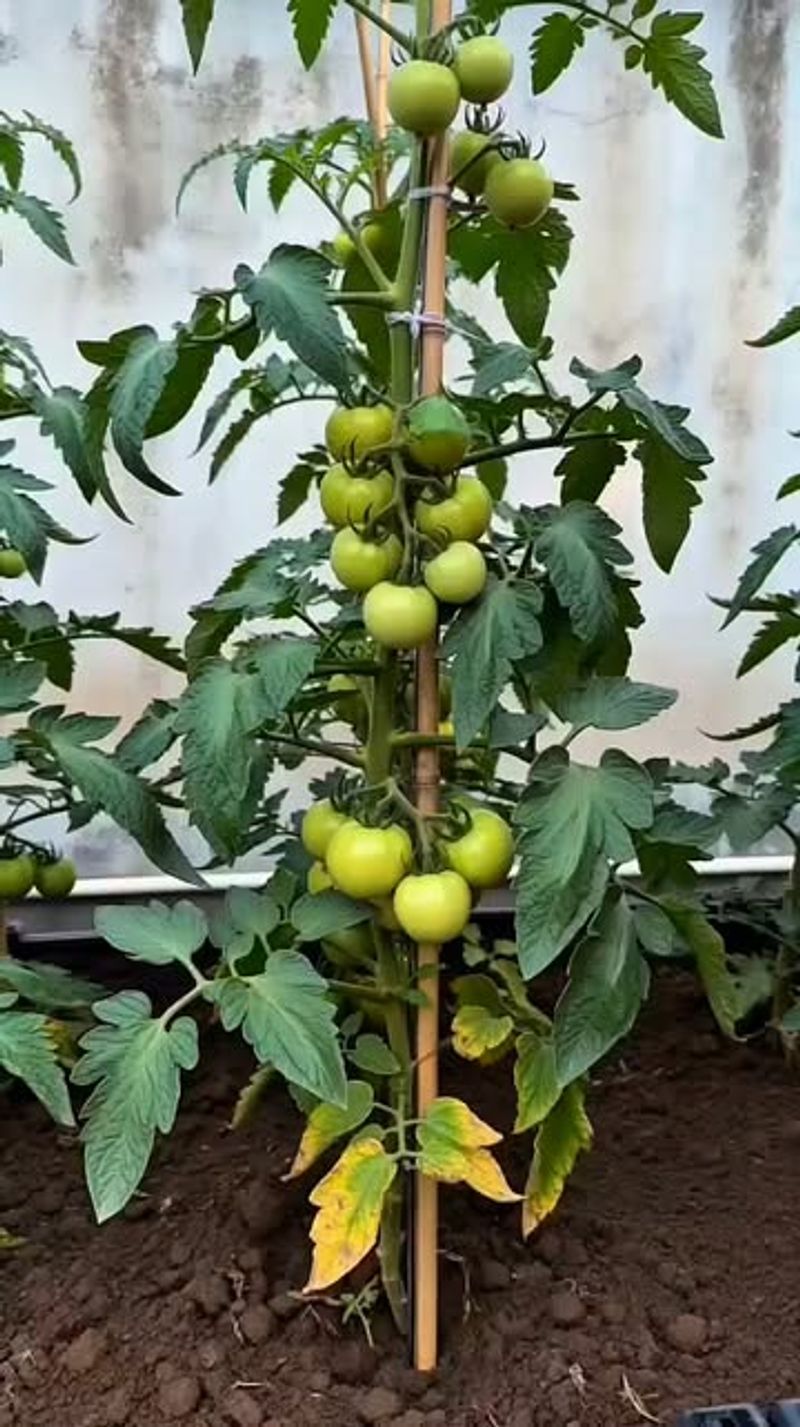
Tomato cages, stakes, and ties are essential tools for keeping plants upright and productive, but they can accidentally create problems when lower leaves get pressed against them.
A leaf crushed between a wire cage and the main stem, or folded against a wooden stake, loses its ability to dry properly after rain or irrigation.
That constant dampness softens the leaf tissue, makes it harder to inspect for spots or insects, and can cause small abrasions where the leaf rubs against the support material.
Before reaching for your pruners, check whether the situation can be fixed without removing the leaf at all. Sometimes a loosened tie or a gently repositioned branch is enough to free a trapped leaf and restore airflow around it.
If the leaf can be guided to a better position where it receives light and dries properly, that is always the better option. Healthy leaves that can still photosynthesize are worth preserving whenever possible.
When a leaf is genuinely stuck, badly damaged from rubbing, or sitting in a spot where it simply cannot dry out no matter how you adjust the support, then removal makes sense. Handle the plant carefully during this process.
Tomato stems can be brittle, especially on warm afternoons, and accidentally snapping a branch or dislodging a developing fruit cluster is easy to do if you rush.
After removing a trapped leaf, take a moment to check how your supports are positioned overall. Adjusting cages and ties so they hold the plant firmly without pinching foliage will reduce this problem going forward.
A well-supported plant with open, unobstructed foliage stays healthier and is far easier to inspect and manage through the rest of the season.
6. Remove Leaves With Large Brown Areas
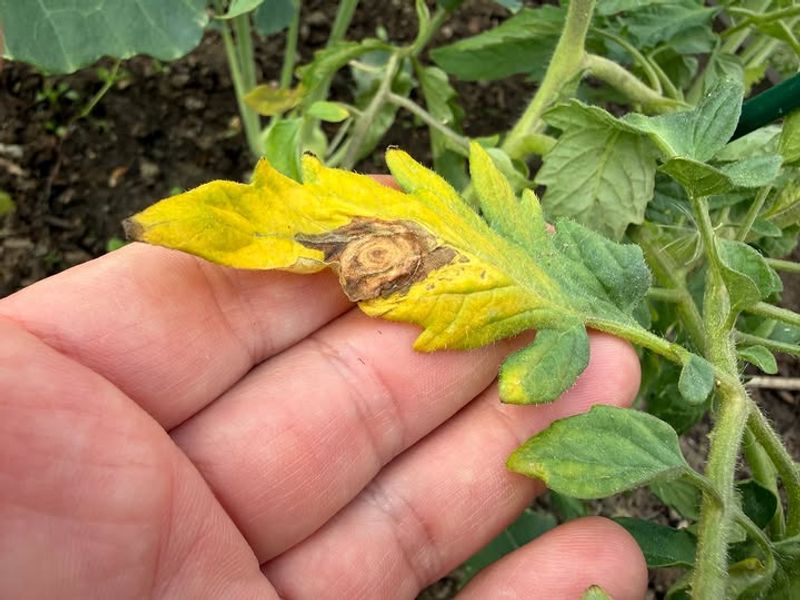
A leaf that has lost most of its green tissue to large brown areas is no longer pulling its weight for the plant.
While small spots in early stages may be worth monitoring, a leaf where the majority of the surface has already browned and dried is essentially finished contributing to photosynthesis.
Keeping it attached to the plant does not help recovery and may create unnecessary clutter in the canopy where moisture can accumulate.
Early blight is one of the most common culprits behind large brown areas on Michigan tomato leaves. It tends to produce roughly circular markings with concentric rings inside them, surrounded by yellow tissue.
That said, several other problems including nutrient deficiencies, bacterial infections, and weather-related stress can also produce significant browning, and they do not all look identical.
Checking both sides of the affected leaf and inspecting nearby stems and fruit for additional symptoms gives you a clearer picture before you start cutting.
Before removing badly damaged leaves, take a photograph of the symptoms. A clear photo showing the pattern, color, and location of the damage on the plant can be incredibly helpful if the problem continues to spread and you need a professional opinion.
Michigan State University Extension offers plant diagnostic services that can identify the specific cause and recommend targeted management options.
Once you have documented the symptoms, remove the affected leaves cleanly with sanitized pruners and dispose of them away from the garden.
Avoid shaking or brushing the damaged leaves against healthy foliage during removal, since that can transfer spores or bacteria to parts of the plant that are still in good condition.
7. Leave Healthy Leaves That Shade Developing Fruit
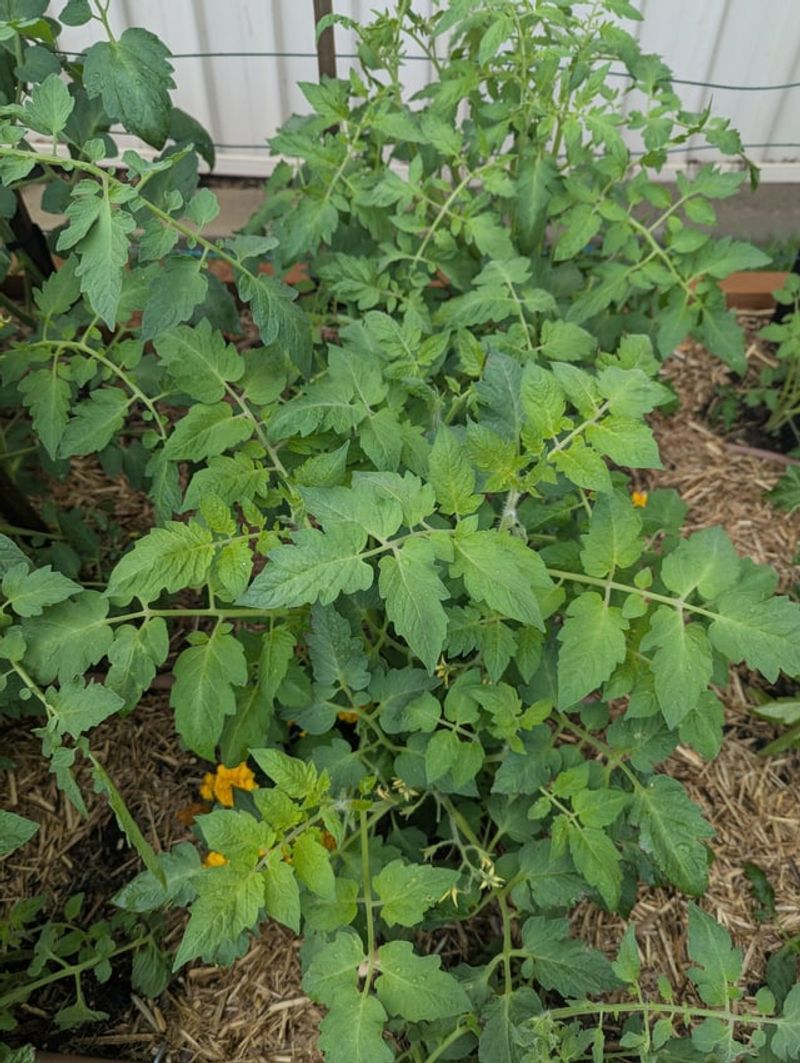
Not every leaf removal decision is the right one, and this point deserves just as much attention as the pruning advice. Healthy green leaves are the engine of the tomato plant.
They capture sunlight, convert it into energy through photosynthesis, and send that energy directly into developing fruit. Removing too many of them at once puts real stress on the plant and can slow fruit development during the most productive weeks of the season.
Sunscald is a real risk that often catches gardeners off guard. When green or ripening tomatoes are suddenly exposed to intense direct sunlight after nearby leaves are removed, pale, leathery patches can develop on the fruit surface.
Michigan summers can bring stretches of hot, bright afternoons, and fruit that has been shaded by foliage throughout its development is not conditioned to handle full sun exposure overnight.
Losing that natural shade too quickly causes visible damage that reduces fruit quality. Determinate tomato varieties, which include many paste and sauce types like Roma, grow to a fixed height and produce all their fruit within a fairly short window.
Their canopy is more limited than indeterminate types, so aggressive pruning can significantly reduce their total harvest.
Indeterminate varieties like Brandywine or Cherokee Purple continue growing and producing all season, giving them more flexibility to handle careful pruning without major setbacks.
A useful mindset when pruning is to always ask whether the leaf you are about to remove is actually causing a problem. If a leaf is healthy, well-positioned, and shading developing fruit, leave it alone.
Focus your pruning energy on the lower leaves that are genuinely creating issues rather than stripping the plant in search of a perfectly open canopy.
8. Prune On A Dry Morning And Clean Up Carefully
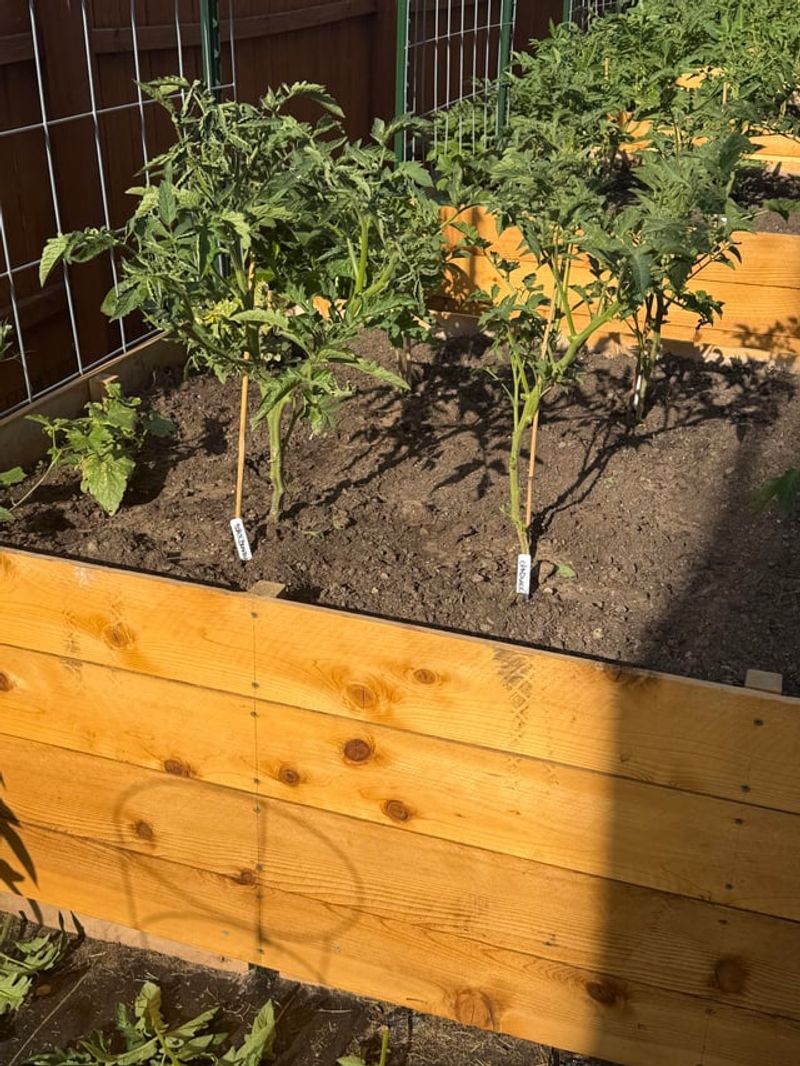
Timing your pruning sessions makes a surprising difference in how well your tomato plants handle the process.
The best window is late morning, after the dew has fully dried from the foliage but before the heat of the afternoon makes the plant more vulnerable to stress.
Cutting into wet plant tissue opens wounds that stay moist longer and can invite the very problems you are trying to prevent. Dry conditions allow cut surfaces to close up quickly and begin healing before evening moisture settles in.
Always start with the healthiest-looking plants and work your way toward any that show suspicious symptoms. This simple sequence reduces the chance of transferring anything from a troubled plant to a healthy one on your pruner blades.
Between plants, wipe your pruner blades with a cloth dampened with rubbing alcohol or a diluted bleach solution. It takes only a few seconds and can protect your entire tomato patch from unnecessary spread.
After pruning, gather all removed foliage and take it out of the garden area. Do not leave leaf piles on the ground near your plants.
Bag the material or dispose of it in a location away from your vegetable beds. If any of the removed leaves showed spots or browning, keep them out of your compost unless you are confident your pile reaches sustained high temperatures.
A few finishing touches go a long way. Add a fresh layer of suitable mulch around the base of each plant to reduce soil splash during future rain events.
Water at soil level during morning hours rather than overhead to keep foliage drier. Avoid removing more than about one third of the plant’s total leaves in a single session, and let the plant recover for at least a week before pruning again.