The Underrated Soil Habit That Keeps Florida Tomatoes Safe From Fungal Blight
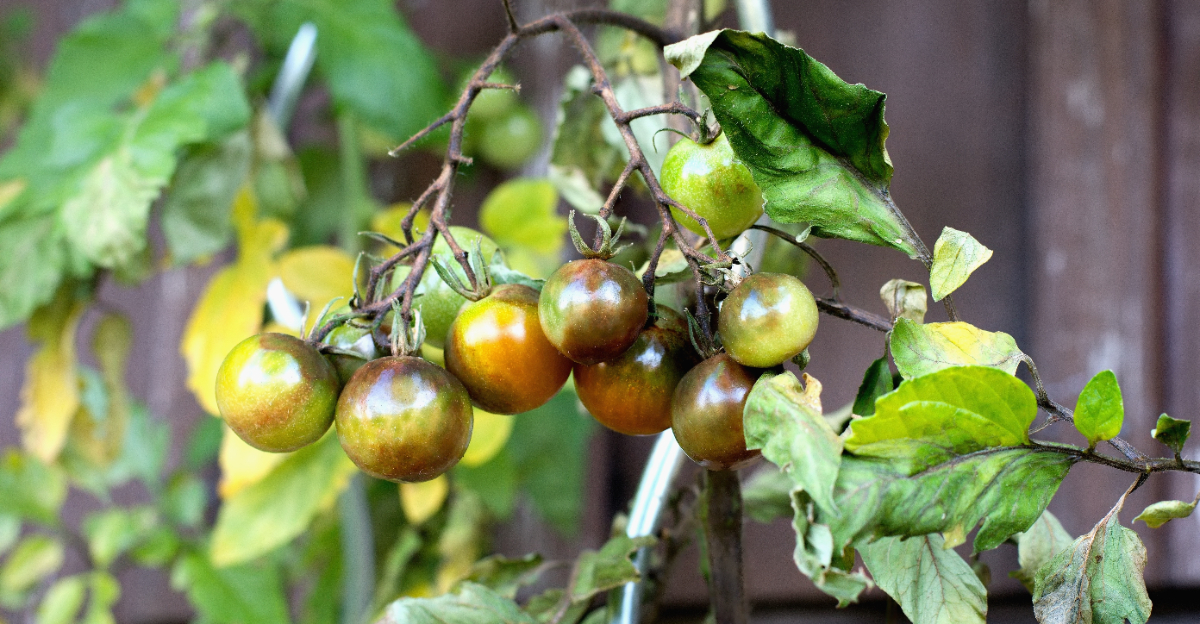
Fungal blight in Florida tomatoes follows a pattern so predictable that experienced growers can almost set a calendar by it. Rain arrives, humidity builds, and the leaves start showing what is coming next.
The spray bottles come out and the battle begins again, the same way it did last season and the season before that. The battle is real.
The approach most Florida yards use to fight it is aimed at the wrong moment. Fungal blight is easier to prevent than reverse.
The window for meaningful intervention sits before the symptoms appear, not after. One soil habit, applied consistently through the growing season, changes what the fungal spores find when they reach the base of the plant.
It does not eliminate blight risk entirely. Nothing does in a Florida summer.
But it shifts the conditions at soil level in ways that matter more than any foliar spray applied after the damage has started.
1. Stop Soil Splash Before It Reaches The Leaves
A single raindrop hitting bare soil can send a tiny spray of particles upward several inches. Those particles carry whatever is living in the top layer of ground, including old plant debris, fungal spores, and certain bacterial cells.
Lower foliage is the first surface those droplets reach, which is why Florida gardeners so often notice early spotting near the base of a plant rather than at the top.
Not every tomato disease begins this way. Late blight, caused by the water mold Phytophthora infestans, spreads mainly through airborne spores and can strike mid-canopy leaves without any soil contact.
Bacterial spot and bacterial speck move on wind-driven rain and through handling. However, early blight, caused by Alternaria lsolani, and Septoria leaf spot, caused by Septoria lycopersici, are strongly associated with soil splashing.
Practical signs of repeated splash include muddy residue on leaf undersides and thin soil streaks along lower stems. Gritty deposits on fruit sitting close to the ground are another sign.
A physical barrier over the soil surface may reduce the height and frequency of those droplets reaching foliage. Keeping lower leaves visually clean between rains makes it easier to catch genuine disease symptoms before they spread upward through the canopy.
2. Lay Down A Clean Mulch Barrier
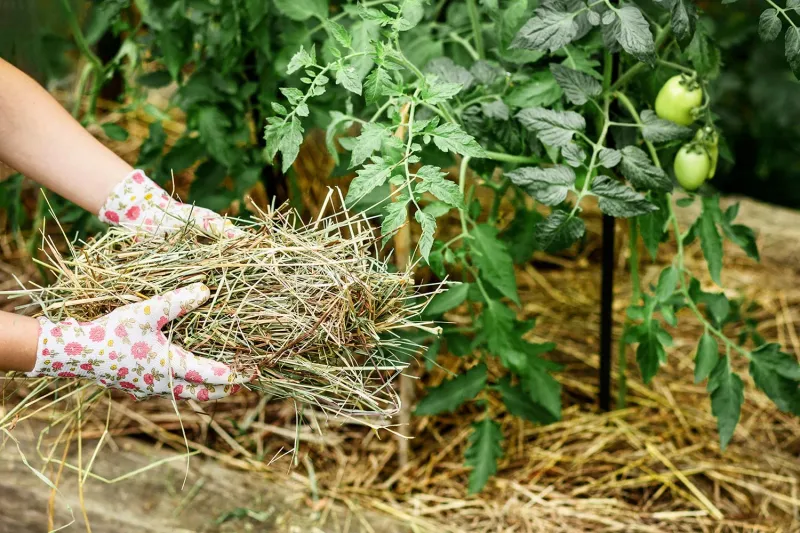
Covering the last strip of bare ground between plants feels like a small finishing step, but it changes what happens every time rain or irrigation water hits the bed.
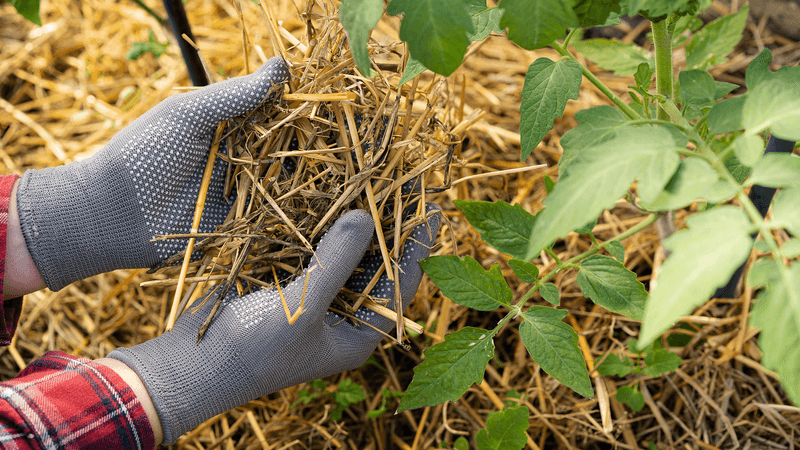
A consistent layer of clean material separates foliage and developing fruit from direct contact with exposed soil.
UF/IFAS guidance for vegetable production recommends organic mulch depths of roughly two to three inches for most Florida garden situations. The right depth may vary slightly by material and bed conditions, though.
Apply mulch after the bed has been prepared and after the soil has had time to warm adequately in spring. Covering wet, compacted, or poorly drained ground with mulch does not fix the drainage problem beneath it.
Water still needs somewhere to go, and standing moisture under a thick layer can create a different set of root-zone problems. Start with a bed that drains reasonably well before adding any surface material.
Your Florida Garden Changes Every Week. Your Plan Should Too.
Gardening in Florida changes quickly throughout the season. Every Friday you’ll receive a simple weekly plan showing exactly what to plant, prune, fertilize, harvest, and protect so you never miss the right timing.
Spread the material so it covers exposed ground between plants rather than sitting only in isolated rings around each stem. Large muddy gaps between rings defeat the purpose of the barrier.
Use clean material that shows no visible mold, no weed seed heads, and no signs of disease. Organic mulch is not sterile.
But starting with uncontaminated material reduces the chance of introducing additional problems to a bed that is already under seasonal disease pressure.
3. Choose Materials That Breathe After Heavy Rain
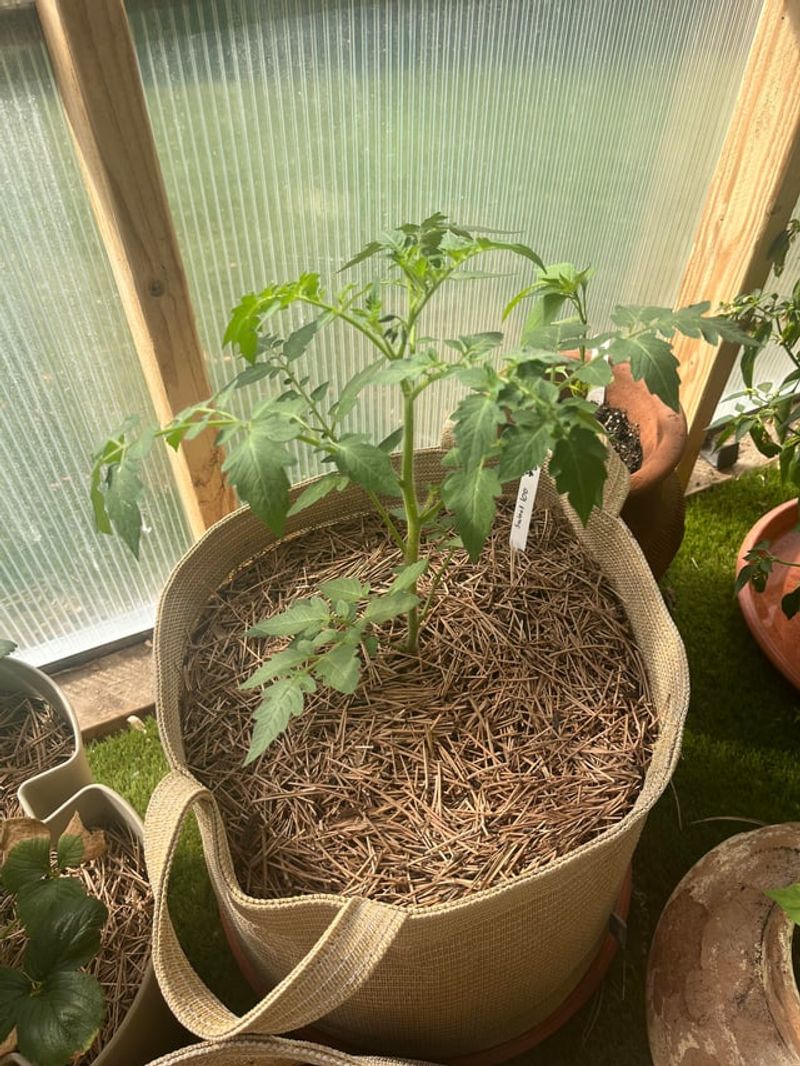
Pine straw and clean wheat straw behave very differently from a thick mat of fresh grass clippings when a Florida summer storm drops two inches of rain in an hour.
Loose, fibrous materials allow water to move through quickly and let air circulate at the soil surface once the rain stops.
That airflow matters in hot, humid conditions because prolonged surface wetness can favor certain pathogens regardless of whether the ground is bare or covered.
Fresh grass clippings present a few concerns worth knowing. They tend to mat into a dense, slow-drying layer that may stay wet for extended periods.
Clippings from lawns treated with certain broadleaf herbicides can also carry residues that affect vegetable crops. If you use clippings, allow them to dry thoroughly first, apply a thinner layer, and confirm they came from an untreated lawn.
Dry leaves, pine needles, and clean straw are generally more forgiving in humid conditions.
Plastic film mulch is widely used in commercial warm-climate tomato production. It changes water movement and soil temperature in ways that differ from organic options.
It sheds rain away from the root zone rather than allowing gradual infiltration. That can be an advantage or a drawback depending on irrigation setup and rainfall frequency.
No single material suits every bed. Rainfall patterns, drainage quality, irrigation type, and how long the crop will grow all influence which option makes the most practical sense for your situation.
4. Keep The Layer Clear Of Tomato Stems
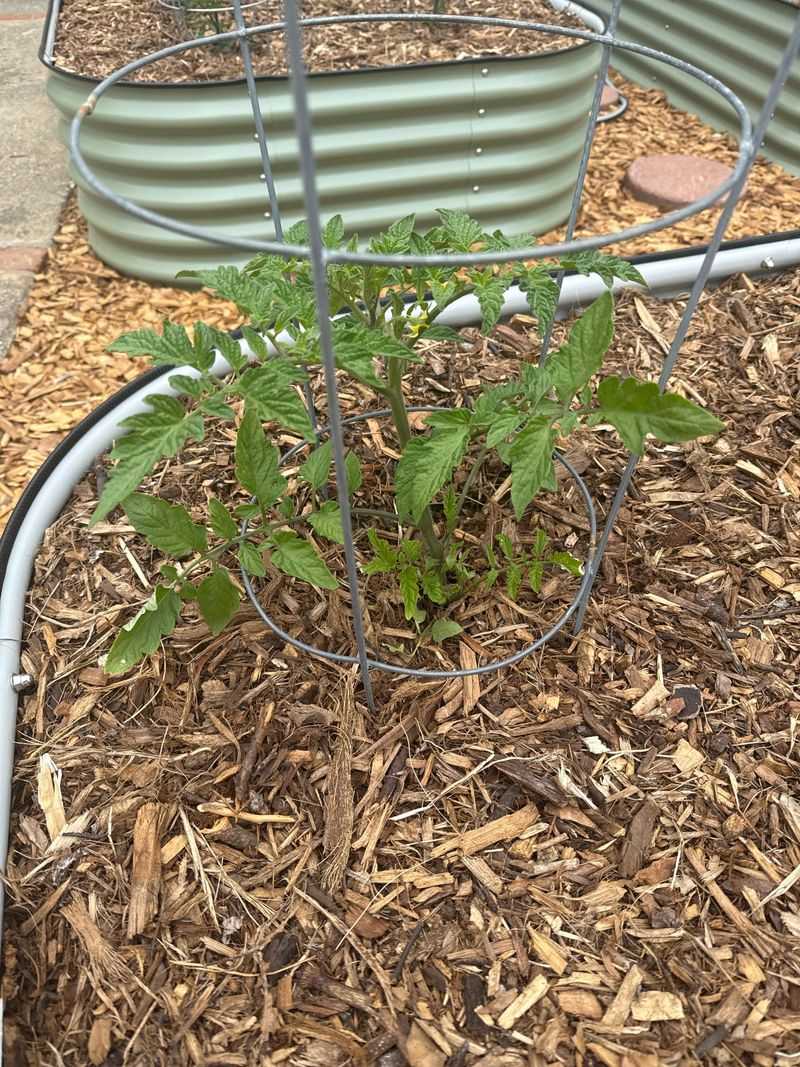
Damp material sitting snugly against the base of a stem creates conditions that differ from what an open soil surface would produce. Constant contact between wet organic matter and plant tissue can soften the outer stem layer.
It can also provide shelter for certain insects and slugs, and in some cases contribute to crown-level decay. The specific risk depends on drainage, weather duration, and the type of material involved.
But the general principle of keeping mulch slightly away from the stem base is supported across multiple university extension resources.
Leave a small open collar around each plant so the immediate base stays exposed and able to dry between waterings and rain events. You do not need a wide gap, just enough space so mulch is not pressing directly against the tissue.
Check periodically, because irrigation, wind, and even foot traffic near the bed can push material back toward the stems over time.
Grafted varieties deserve extra attention. The graft union, which sits just above the root system on a grafted transplant, should remain above both the soil surface and the mulch layer.
Burying the union may allow the scion to develop its own roots, which defeats the purpose of disease-resistant rootstock. Planting a leggy seedling deeply to encourage rooting along the buried stem is a recognized technique.
But that is a deliberate planting decision, not the same as piling wet mulch around an established plant after it is already in the ground.
5. Refresh Bare Spots Before The Next Downpour
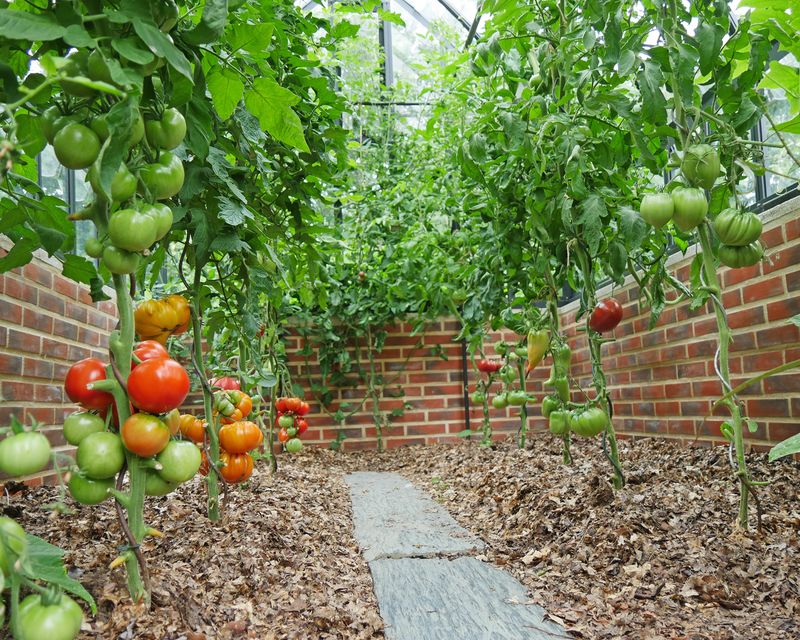
A bare patch appears almost without warning. Wind shifts the material overnight, a deep watering settles it unevenly, or a session of weeding near the base of a plant pulls some of it aside.
Whatever the cause, exposed soil close to lower foliage restores the same splash pathway the barrier was originally placed to reduce. Catching those gaps before a forecast storm makes the upkeep genuinely worthwhile.
Walk the bed before rain is expected and again after a heavy storm passes. Look for thin spots where the ground is visible, areas where material has bunched against stems, and sections where decomposition has thinned the layer noticeably.
Redistribute existing mulch with your hands or a small trowel rather than digging into the root zone. Shallow roots often spread close to the surface in warm beds, so aggressive raking can cause more disruption than the gap itself would have.
Staking, tying up vines, harvesting lower fruit, and moving through rows for inspection all create small disturbances that shift coverage over time. A quick visual check every week or two is usually enough to stay ahead of major gaps.
If decomposed material has thinned significantly, a light top-up with fresh, clean mulch keeps the layer functional. Remove any material that has become visibly contaminated with spotted leaves or rotting debris before adding new material on top of it.
6. Pair Ground Level Watering With Mulch
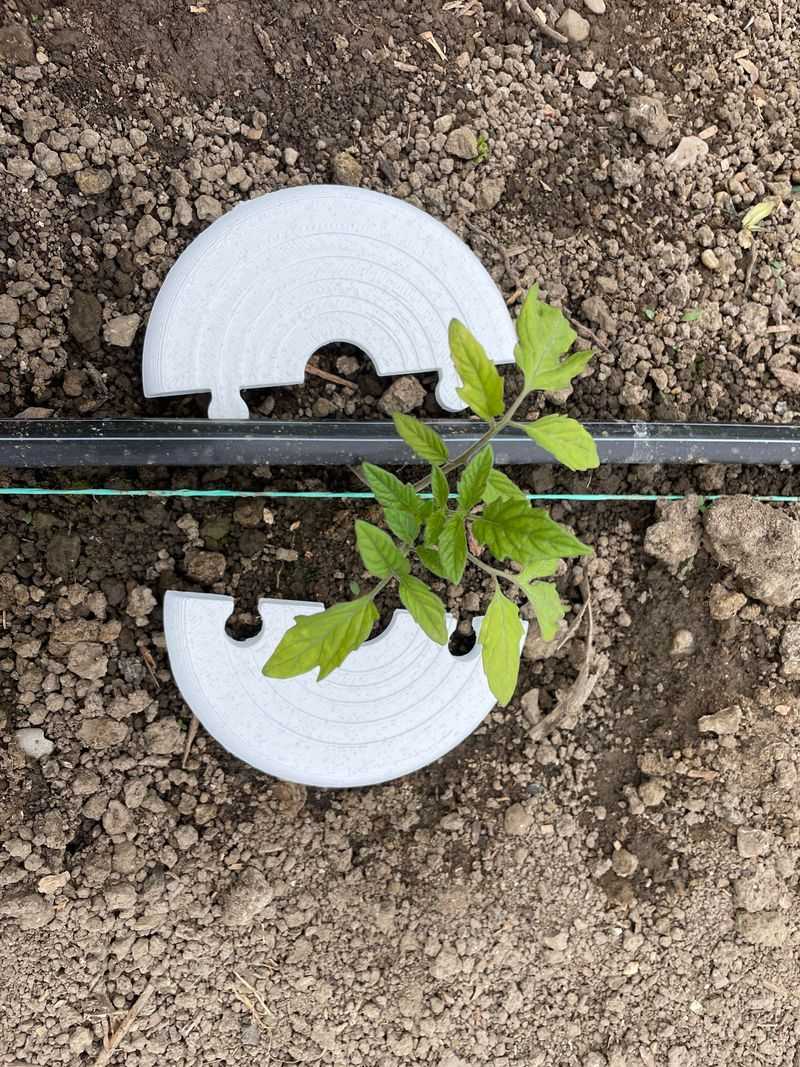
Water moving slowly from a drip emitter beneath a mulch layer reaches the root zone without ever touching the plant above it. That quiet delivery contrasts sharply with overhead sprinklers.
Sprinklers wet every leaf surface in the canopy and can mimic the splash conditions that a rainy afternoon already creates. UF/IFAS vegetable production guidance recommends drip or soaker-hose systems for tomatoes.
Keeping foliage drier this way may reduce conditions favorable to certain leaf diseases.
Rainfall in warm, humid Florida regions will still wet the canopy regardless of how carefully you irrigate on dry days. Ground-level watering does not eliminate disease pressure, but it avoids adding unnecessary leaf wetness on days when the sky stays clear.
Watering early in the day when overhead methods are unavoidable gives leaf surfaces more time to dry before temperatures drop at night. That’s when many foliar pathogens become more active.
Check moisture beneath the mulch layer rather than judging the surface alone. The top of the mulch may feel dry while the soil underneath still holds adequate moisture from the previous rain.
Following a rigid daily schedule during a rainy stretch can lead to overwatering, which stresses roots and may increase susceptibility to certain root and crown problems.
Adjust frequency based on what you find when you push a finger or a small probe into the soil below the mulch, not by what the calendar says.
7. Clear Infected Debris Before Rebuilding The Barrier
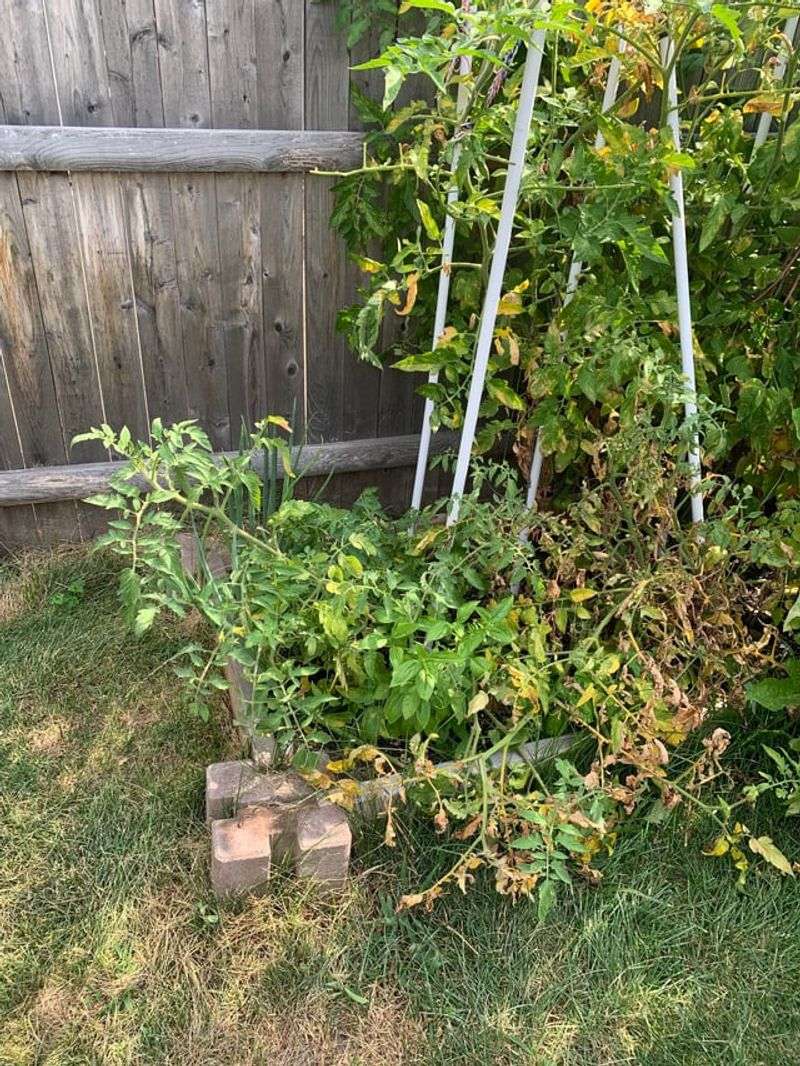
A spotted leaf lying on covered soil is easy to overlook. The mulch makes the bed look tidy, and the leaf blends in with decomposing organic material.
Leaving clearly infected foliage, rotten fruit, or old stem pieces beneath active plants is risky. It may maintain a local source of inoculum close to the very tissue you are trying to protect.
Sanitation and the physical barrier work together, and neither one substitutes for the other.
Before removing material, try to identify what you are dealing with. Early blight produces dark, target-ring-patterned spots often surrounded by yellow halos.
Septoria leaf spot creates small circular spots with lighter centers and dark borders. Bacterial spot and bacterial speck produce water-soaked or greasy-looking lesions that differ from classic fungal patterns.
Misidentifying the problem can lead to removing healthy tissue unnecessarily or missing the actual source. If symptoms are unclear, a local extension office can assist with diagnosis.
Remove clearly affected material carefully, moving it away from healthy growth without shaking it through the upper canopy. Bag or discard the debris rather than leaving it at the Florida garden edge.
Home compost piles do not reliably reach temperatures high enough to neutralize every pathogen, so diseased material is generally safer removed from the property. Adding fresh mulch directly over infected debris hides the source rather than addressing it.
Crop rotation and removing volunteer plants from previous seasons reduce the chance of soil-associated inoculum carrying over to a new planting.
8. Keep The Protection Working All Rainy Season
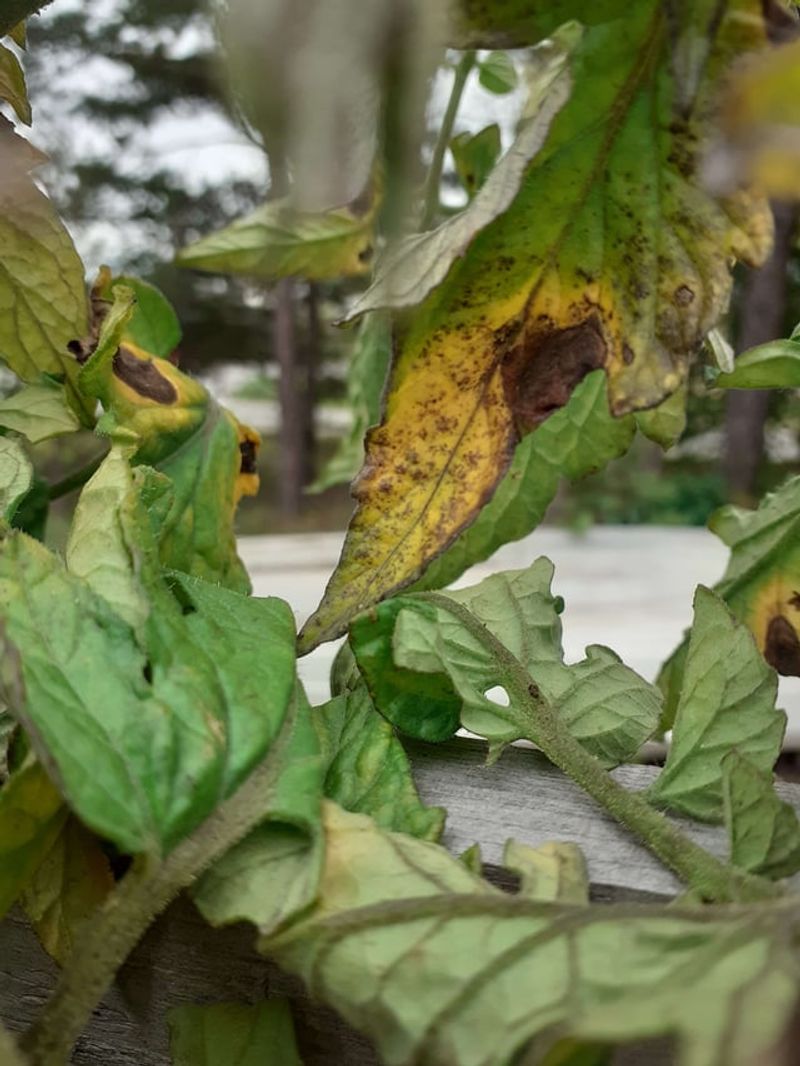
After several wet days in a row, a walk through the bed reveals more than just mulch condition. Shifted coverage, new leaf spots, standing water in low corners, and bent or broken stems all become visible during a focused post-storm inspection.
Catching these details early gives you options. Waiting until symptoms have moved through several tiers of foliage narrows them considerably.
A soil barrier works best when it operates alongside adequate plant spacing, consistent staking, moderate pruning, good drainage, and attentive sanitation.
Removing the lowest leaves that drag close to the wet soil surface may reduce direct contact with contaminated material.
But stripping too much foliage weakens the plant and reduces its ability to photosynthesize and tolerate stress. Limit removal to clearly affected or ground-dragging leaves rather than aggressive defoliation.
Some varieties carry documented resistance to specific diseases, including certain lines with resistance to Verticillium wilt, Fusarium wilt, or Septoria.
Resistance lowers risk for those particular problems but does not make a plant immune to every pathogen present in a humid, rainy environment.
Clean transplants from reputable sources and rotating the bed location each season reduce the chance of starting with already-compromised soil.
Fungicides registered for tomato use may protect healthy tissue when applied preventively during high-pressure periods.
But they do not restore leaves that are already showing symptoms. Follow label directions and check with your local extension service before selecting or applying any product.
A clean ground surface and consistent observation remain the most reliable foundation for getting through a long wet season with your crop intact.