The Morning Glory Removal Mistake That Multiplies It Through Oregon Garden Beds Every Season
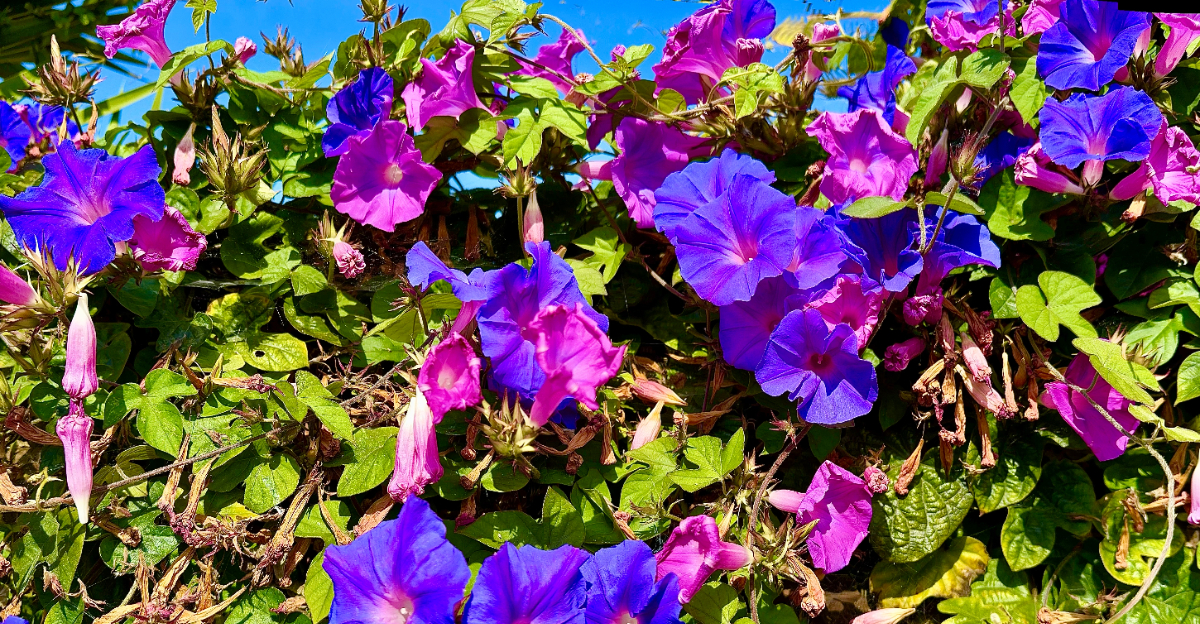
Oregon gardeners know the vine.
It slips through perennials, hugs tomato cages, dives under mulch, and somehow returns after every heroic cleanup session.
You pull. You dig. You swear you got the whole thing. Then the bed looks worse two weeks later, like the soil took your effort as a personal challenge.
That is the maddening trick. And Oregon’s damp spring soil helps sell the illusion beautifully.
The usual spring attack can turn one stubborn patch into a full-bed takeover. Fresh, fluffy soil may look like victory, but under the surface, broken white roots may already be preparing their next move.
This weed does not need much encouragement. A tiny piece can push new growth. A rushed shovel pass can scatter trouble. A rototiller can become the most efficient propagation tool in the garden shed.
So what removal mistake keeps multiplying this vine through Oregon beds every season?
It starts with one satisfying but risky move that feels productive in the moment and creates more work all summer long.
Stop Tilling Bindweed Roots Into Fragments
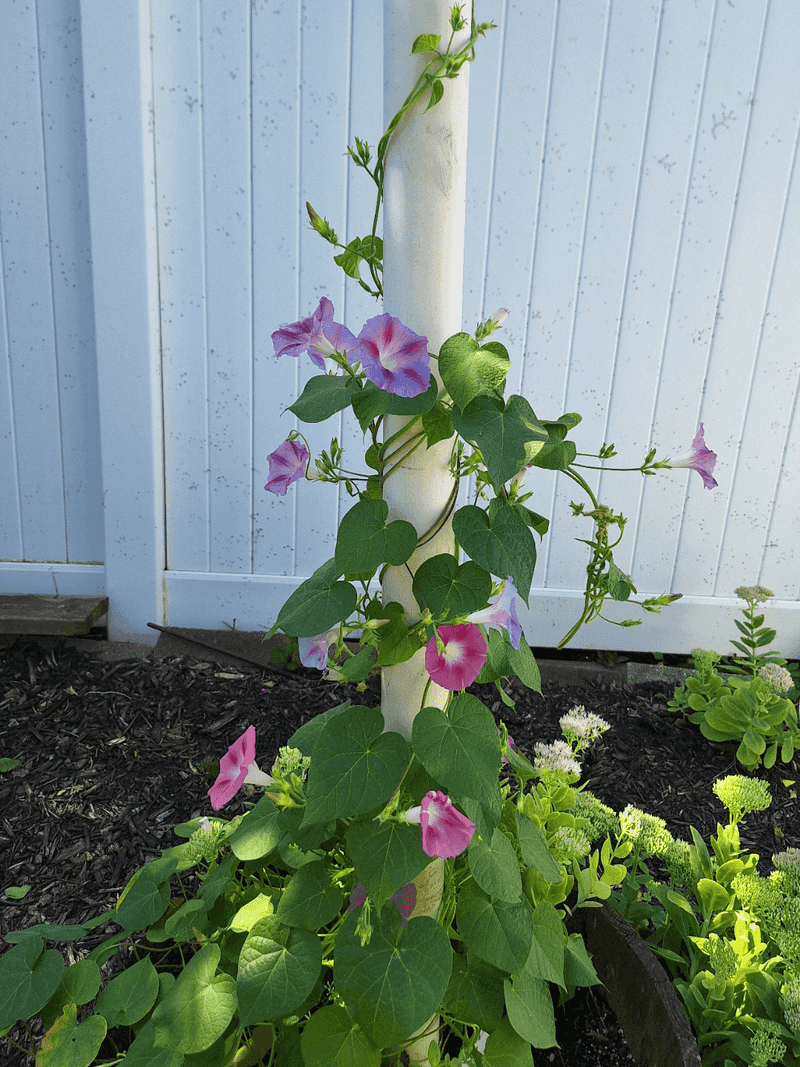
The tiller feels powerful, which is exactly why it causes trouble here.
A bindweed-infested bed looks transformed after one pass. The vines vanish. The soil turns soft. The surface looks clean enough to make any spring gardener feel smug for at least six minutes.
Underneath, the plant just got an upgrade.
Field bindweed and hedge bindweed spread through deep, brittle, fleshy roots and rhizomes. When a rototiller chops those roots into pieces, many fragments can push new shoots.
One tangled patch can turn into dozens of smaller starts spread across the whole bed.
That fresh soil is not a victory lap. It is a distribution system.
Hoes, cultivators, and rushed shovel work can cause the same problem when they slice instead of lift. Even aggressive hand digging can backfire if broken roots get scattered through loose soil.
Use slower tools instead. A narrow spade, hori hori, or long-handled fork gives you more control around roots. Push beside the root, loosen the soil, and lift as much of the white root as possible.
This work is less satisfying at first. No roaring engine. No instant fluffy bed. No dramatic before-and-after moment.
The payoff comes later, when fewer shoots return from fewer root pieces.
With bindweed, precision beats power. The garden shed may object, but the bed will thank you.
Confirm Field Bindweed Before Digging
Not every twining vine deserves the same battle plan.
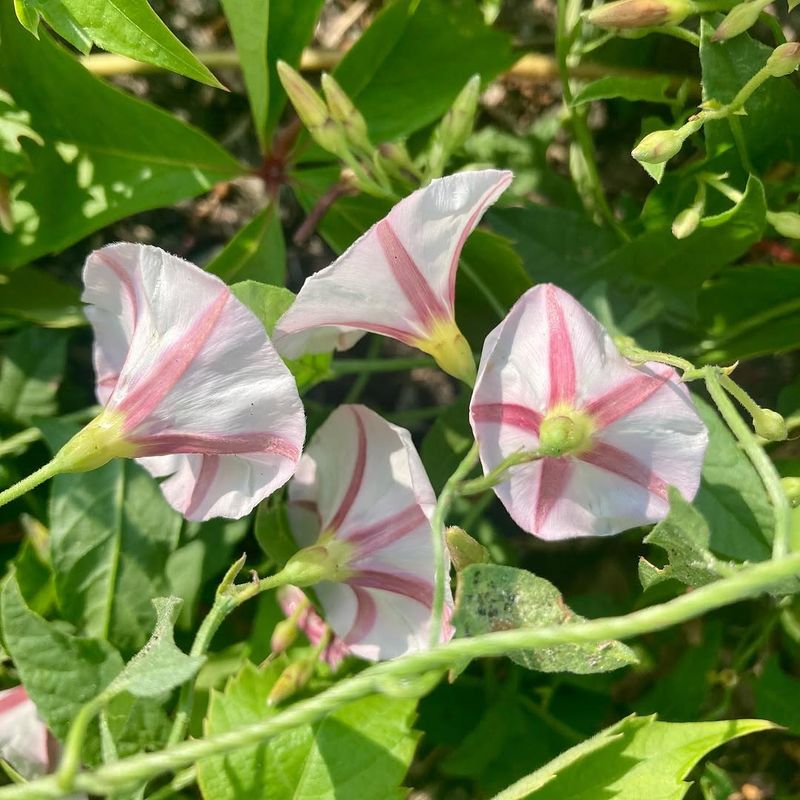
Oregon gardeners often use “morning glory” as a catchall name, but established bed infestations are often field bindweed or hedge bindweed. Ornamental annual morning glory is a different situation, and mixing them up can waste a lot of effort.
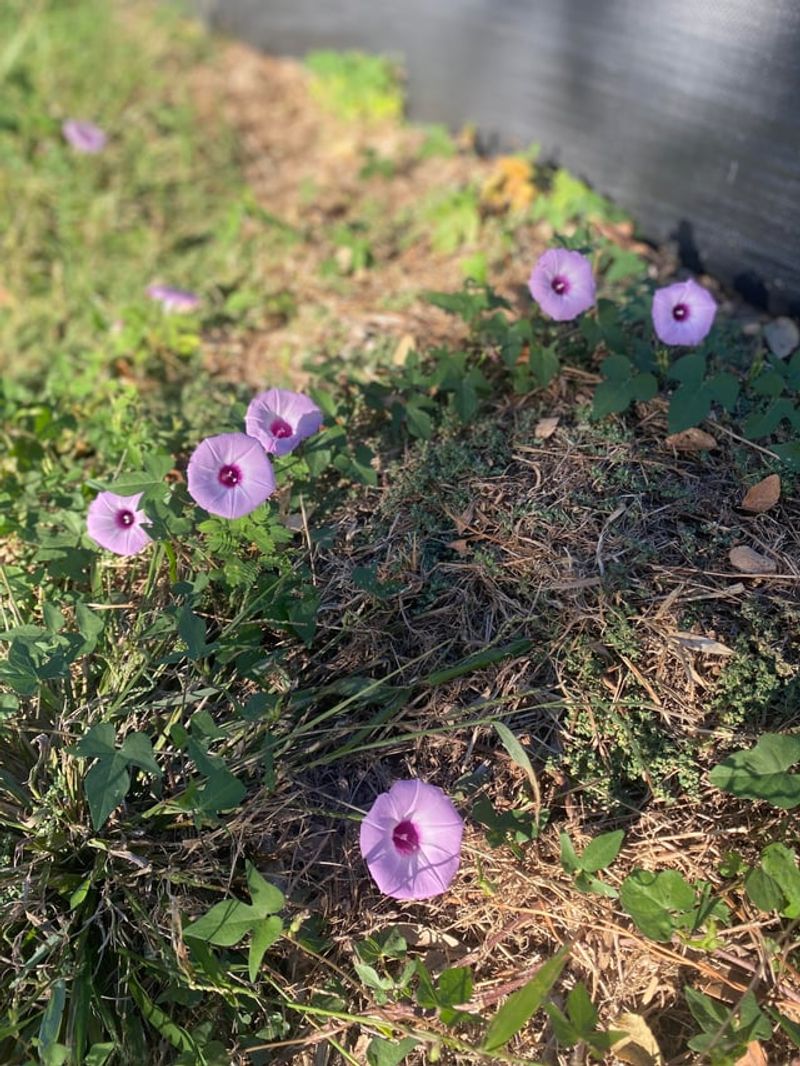
Field bindweed usually has smaller arrow-shaped leaves and white to pale pink flowers. Hedge bindweed tends to have larger leaves and bigger white flowers. Both can return from persistent roots.
Annual morning glory behaves more like a seasonal garden plant. If pulled before seed forms, it usually does not require the same multi-season root campaign.
Your Oregon Garden Changes Every Week. Your Plan Should Too.
Gardening in Oregon changes quickly throughout the season. Every Friday you’ll receive a simple weekly plan showing exactly what to plant, prune, fertilize, harvest, and protect so you never miss the right timing.
That distinction saves sanity.
Look at leaves first. Field bindweed leaves often look narrow and arrow-like. Hedge bindweed leaves look broader and more heart-shaped.
Flowers help too. Small pale blooms point one direction. Larger white trumpets point another.
Roots give the strongest clue. Perennial bindweed roots are white, rubbery, and longer than expected. They thread through soil like they have somewhere important to be.
Identify before you start digging hard. The wrong plan can make a small problem feel endless.
Take photos of the leaves, flowers, and roots if the plant feels confusing. Compare them with a reliable weed guide or ask a local plant expert.
A few minutes of identification can save weeks of unnecessary wrestling.
Loosen Moist Soil Before Pulling
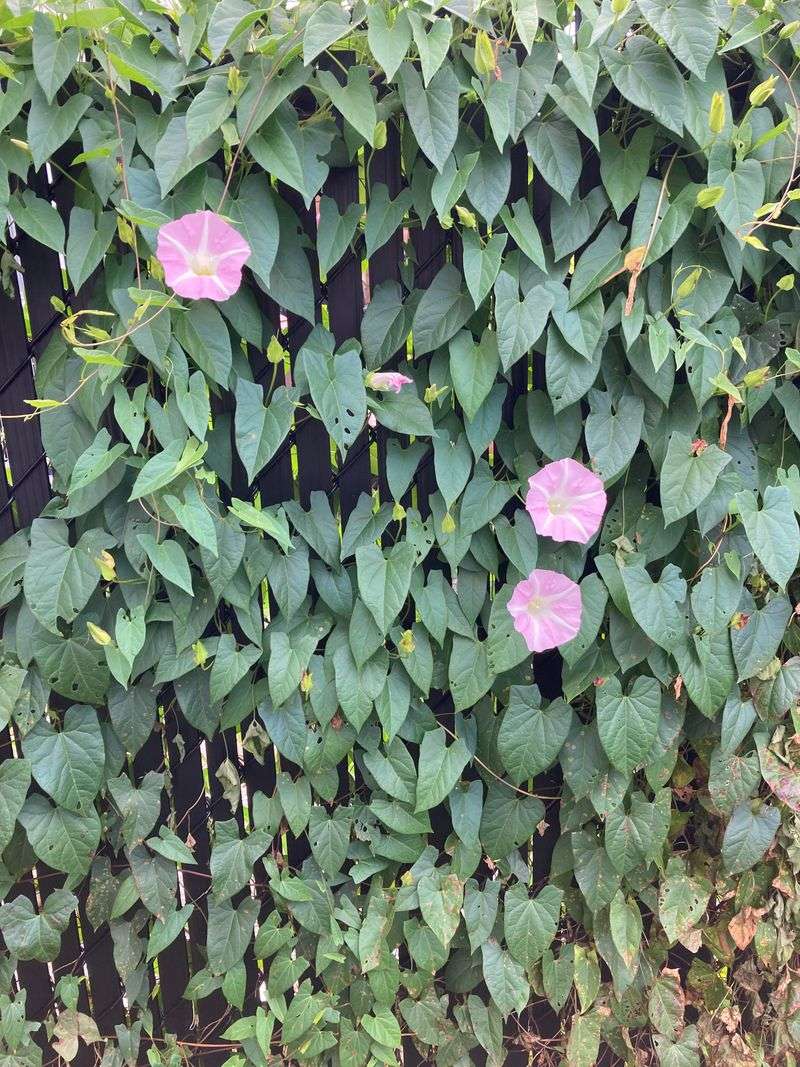
Dry soil turns bindweed removal into root-snapping theater.
Pull a vine from hard Oregon soil, and the top often breaks while the root stays tucked below the surface. The plant may look gone for the day, then send up another shoot as if nothing meaningful happened.
Moist soil changes the odds.
Aim for soil that feels damp enough to loosen, but not so wet that it smears into sticky clay. It should hold together when squeezed and crumble with a little pressure.
Western Oregon gardeners often need timing more than muscle. After heavy rain, clay soil can close around roots and make careful lifting nearly impossible. Wait a day or two, then try while the bed is damp but workable.
In drier parts of Oregon, a light watering the evening before removal can help. The goal is not mud. The goal is cooperation.
Use a narrow spade or long-handled fork. Slide the tool beside the root, not through it. Lift gently, follow the root, and work slowly around nearby perennials.
A sharp yank feels satisfying, but steady pressure usually removes more root.
Keep a bucket nearby for every piece you lift. Do not leave fragments on the bed while you keep working.
This is slow gardening, yes. It is also smarter gardening.
Bindweed rewards haste with more bindweed. Moist soil gives you a better chance to take the root, not just the evidence.
Remove Every Root Piece You Can Find
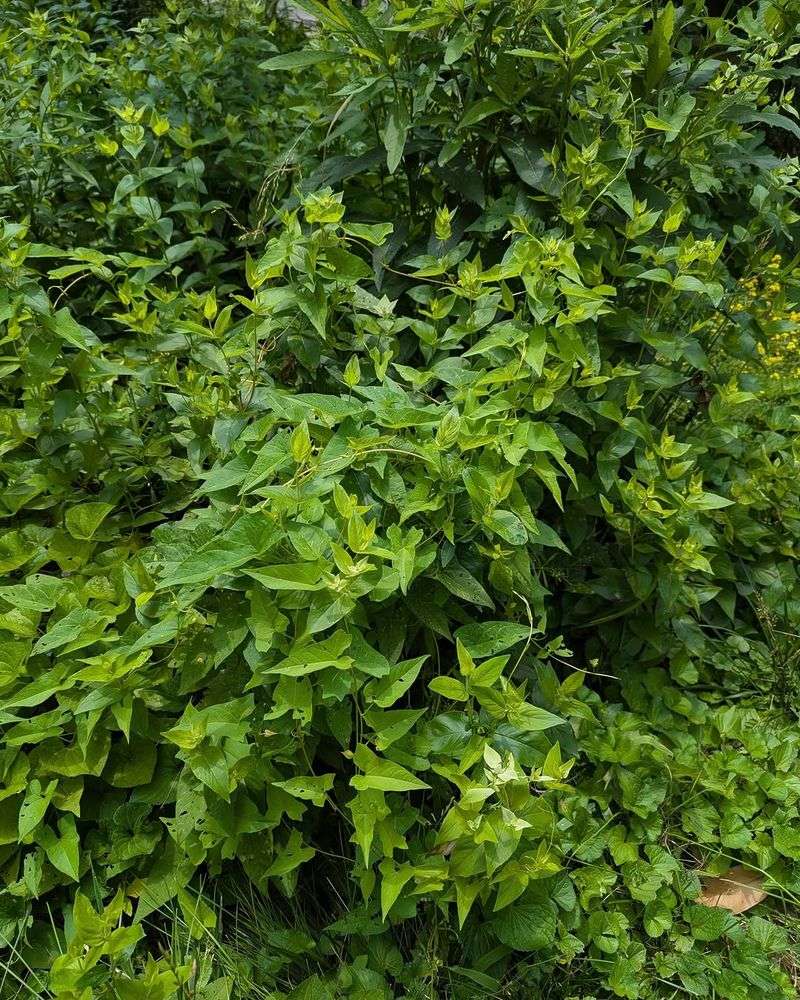
Bindweed roots look almost too harmless.
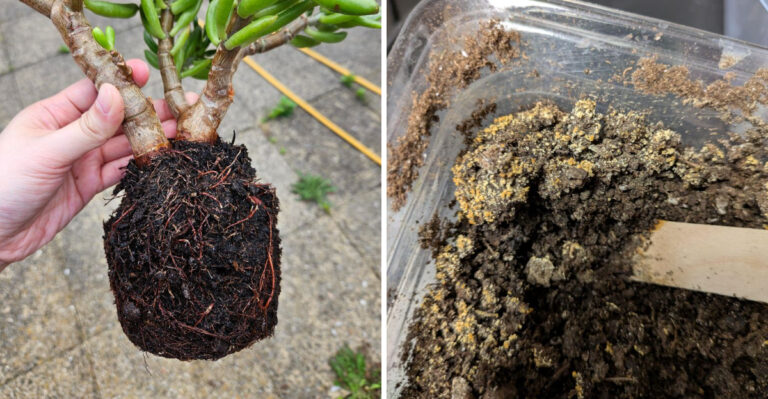
They are pale, fleshy, and rubbery, with a strange ability to keep going long after you expected the end. One root may run under mulch, past a perennial crown, around a rock, and into the next bed like it has a floor plan.
Follow as much as you can.
Each piece you remove may mean one fewer fragment with a chance to restart. That does not mean you will get the whole underground network in one session.
Established bindweed can run deep and wide, especially in beds that have been tilled or ignored for years.
Still, thorough removal matters.
Drop roots directly into a bucket or bag. Do not set them on the soil “just for a minute.” Oregon rain has a sense of humor, and a forgotten piece can settle back in.
Check loosened soil before smoothing the bed. White fragments are easy to miss when light hits pale clay or compost.
Be careful with imported soil, compost, and shared plant divisions too. Bindweed can hitch a ride in root balls or amended soil, then appear in a bed that looked clean.
Dispose of roots through a safe waste option for your area. Home compost is not the place for viable bindweed crowns and roots.
This job rewards the gardener who acts picky.
The tiniest white strand may not look important, but bindweed has built a whole career on being underestimated.
Pull New Shoots Every Two Weeks
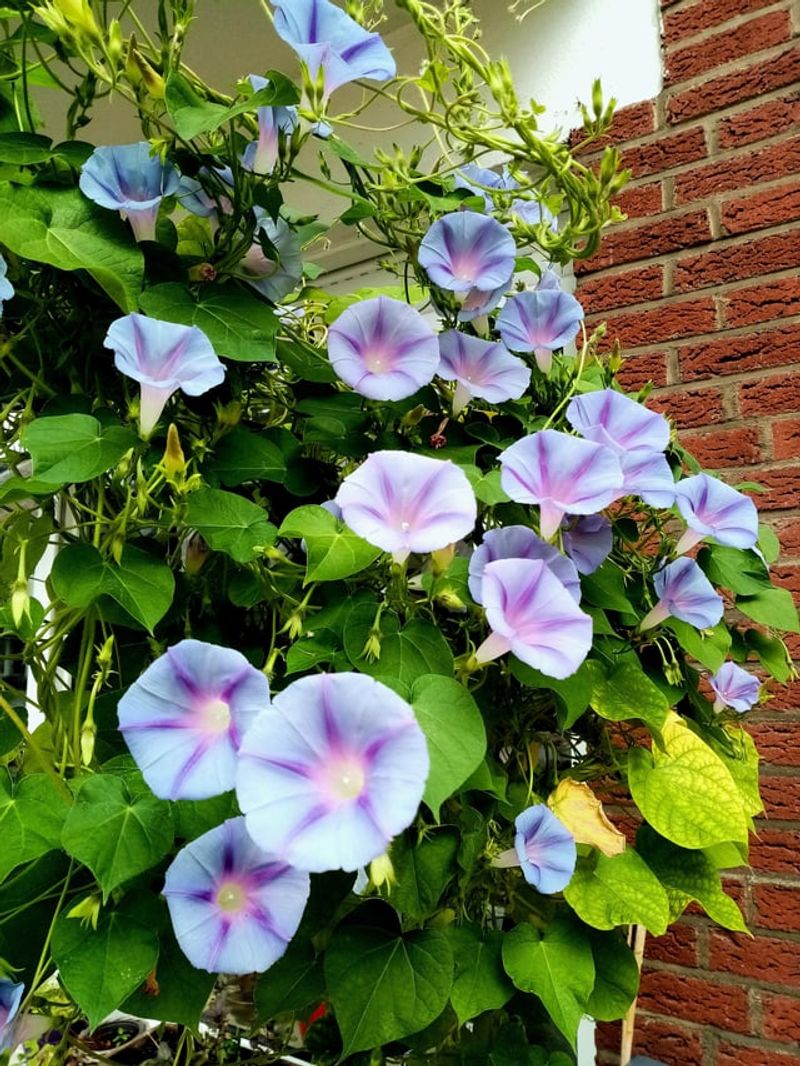
Bindweed roots are stubborn, but they still have limits.
Every new shoot costs stored energy. When leaves grow large enough to soak up sunlight, the plant starts paying itself back. Your job is to interrupt that cycle before the shoot can refill the root’s reserves.
That is why timing matters.
Check infested beds about every two weeks through the growing season. Pull shoots while they are small, soft, and easy to spot.
Long vines wrapped through dahlias, tomatoes, roses, or shrubs take far more patience and usually leave more pieces behind.
Morning patrol works well. Leaves and vines are easier to see before the bed gets busy with heat, glare, and general garden chaos.
Grip the shoot low and pull with steady pressure. If the soil is dry, loosen it first. A quick snap at the surface may make the bed look clean without costing the root much energy.
Consistency matters more than perfection. Missing one round is not a disaster. Ignoring the patch for a month gives the vine a chance to rebuild strength.
Mark the calendar if needed. Bindweed removal is less like one big cleanup and more like brushing your teeth, except with more muttering near the tomatoes.
Over time, repeated top-growth removal can reduce shoot density.
The plant may not vanish quickly, but it can start showing less confidence. That is progress worth taking.
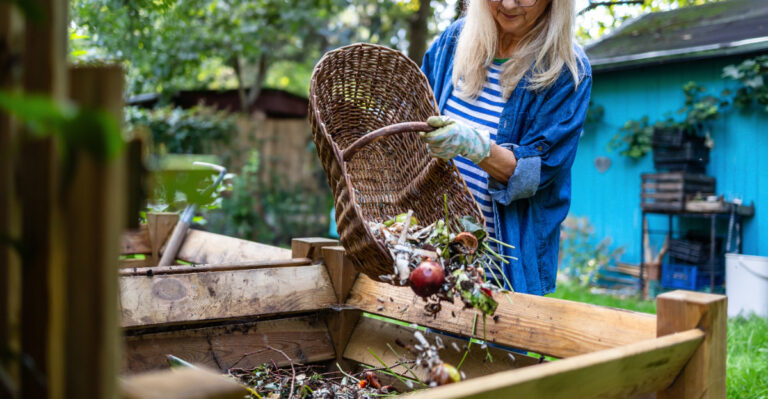
Keep Rooted Vines Out Of Compost
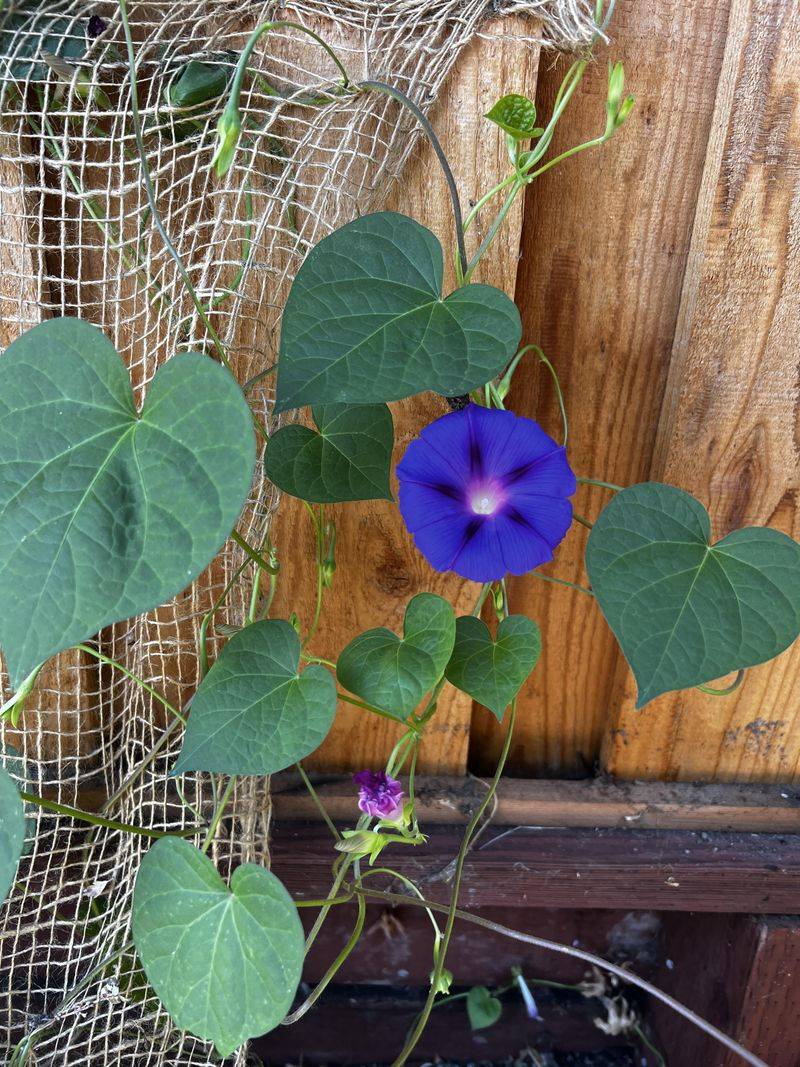
Compost piles are wonderful until they become bindweed nurseries.
The green tops may look harmless after pulling, but rooted pieces and crowns carry real risk. Most home compost piles do not stay hot enough, evenly enough, for long enough to reliably break down aggressive perennial weed roots.
That means today’s cleanup can become next spring’s surprise.
The risky parts are the white roots, crowns, and any vines with mature seed. Those should not go into casual backyard compost. Bag them, bin them, or use the disposal method allowed by your local waste program.
Some municipal yard debris systems use hotter, managed composting than home piles. Rules vary across Oregon, so check before adding bindweed material to a yard cart.
Do not assume “green waste” means every weed is welcome. A little caution here can prevent a lot of future crawling around on hands and knees.
Nonrooted young tops are lower risk, but many gardeners choose to keep all bindweed out of compost for simplicity. That is not overdramatic. That is the voice of someone who has met this vine before.
Clean tools after working in a heavy patch. Root bits stuck to a fork, boot tread, or soil clump can travel to another bed.
Compost should feed your garden, not reintroduce the problem with a smug little flourish.
With bindweed, disposal is part of control.
Monitor The Same Bed For Several Seasons
Bindweed removal is not a one-week redemption story.
It is a slow campaign, especially in Oregon beds where roots have had years to move under perennials, edging, fences, and paths.
Even careful digging can miss deeper pieces. That does not mean the effort failed. It means the plant had a head start.
Watch the same bed for several seasons.
Map patches before you begin. A quick sketch in a garden notebook can show where shoots appear, where they thin out, and where the vine keeps sneaking in from an edge.
Edges matter. Bindweed often creeps under fences, along paths, and through shared borders before it climbs where you can see it.
Mulch can help slow new shoots. Use a coarse organic layer deep enough to shade the soil, but do not rely on mulch alone. Bindweed can still push through when roots hold enough stored energy.
Prevent flowers and seed whenever possible. Seed can linger in soil for many years, so letting vines bloom only adds another layer to the problem.
Inspect new soil and plant divisions before they enter the bed. One gifted perennial with a hidden white root can restart the whole headache.
Persistence is the part that works.
A cleaner bed may come from many small sessions, not one heroic weekend. Less vine this year, fewer shoots next year, and finally a garden that feels less like a rematch.