How And When To Harvest Coneflower Seeds In Montana For A Bigger Bloom Next Year
Coneflower seeds hold a secret you probably overlook. Montana’s short growing season leaves you little room to wait.
Frost can arrive weeks before you expect it here. Timing decides whether you harvest genuine abundance or bitter disappointment.
Waiting a single extra day can cost your batch. Seeds ripen fast, then fade quickly before your eyes. Patience helps, yet hesitation costs you everything. Every seed head carries countless blooms for you.
Skill protects your harvest once frost arrives. You need a strategy, not vague good intentions. Color, momentum, and abundance start with your single move. Nothing rewards your procrastination, guesswork, or careless timing.
Across Montana, careless timing can weaken your entire harvest. Knowledge turns your garden from sparse into brilliant.
Confidence, not blind luck, determines your results this year. Precision now shapes your abundance later, without exception. This is the moment your entire gardening future finally comes into sharp, undeniable focus.
Cut Whole Seed Heads With Scissors
Cutting the seed head is the first major step. Cutting whole seed heads with scissors is the cleanest, most reliable way to harvest coneflower seeds without losing half of them on the ground.
Sharp scissors or garden snips make a clean cut right below the cone. A clean cut protects the plant and keeps your seed head fully intact for processing later.
Leave a couple of inches of stem attached when you cut, as a general guideline. That little handle makes it easier to hold while you work with the cone indoors.
Do not squeeze or crush the cone as you cut. Rough handling can knock seeds loose before you even get them inside.
Grab a small paper bag and drop each cut seed head straight in. This keeps everything tidy and prevents seeds from scattering across your garden path.
Some gardeners like to cut several seed heads at once and sort them later. Batch cutting saves time, especially if you have a large coneflower patch to work through.
Scissors beat pulling by hand every single time. Pulling risks tearing the stem and disturbing nearby seed heads that are not quite ready yet.
Make sure your scissors are clean before you start. Dirty blades can spread plant disease from one stem to the next without you realizing it.
Once you have a full bag, label it with the date and variety. Good labeling now saves a lot of guessing when planting season rolls back around next spring.
Crush Dried Cones To Release Seeds
This step is straightforward. Crushing dried cones to release seeds is hands-on, oddly fun, and one of the most rewarding steps you’ll encounter.
Wait until the cone feels completely dry and brittle before you start crushing. A cone that still has any moisture will not release seeds cleanly, and damp seeds can mold in storage.
Hold the cone over a clean bowl and press it firmly between your fingers. You will feel it crumble apart and see tiny dark seeds falling into the bowl below.
Some cones need a little more pressure than others. Older, fully dried cones practically fall apart on their own, while fresher ones need a firmer squeeze to open up.
Work over a light-colored surface so you can clearly spot the seeds. Dark seeds on a white bowl are easy to see and separate from the brown chaff pieces.
You can also roll the cone between your palms like you are making a snowball. This method loosens seeds quickly without requiring as much finger strength.
Do not rush this step, even if it feels tedious. Seeds that are still attached to the cone will not germinate as reliably as fully separated ones.
Wear gloves if the spiny cone tips bother your skin. Some people find the prickly texture irritating after handling several cones in a row.
When the bowl is full of seeds and debris, you are ready to move on to separating the good stuff from the chaff.
Store Seeds In A Paper Envelope
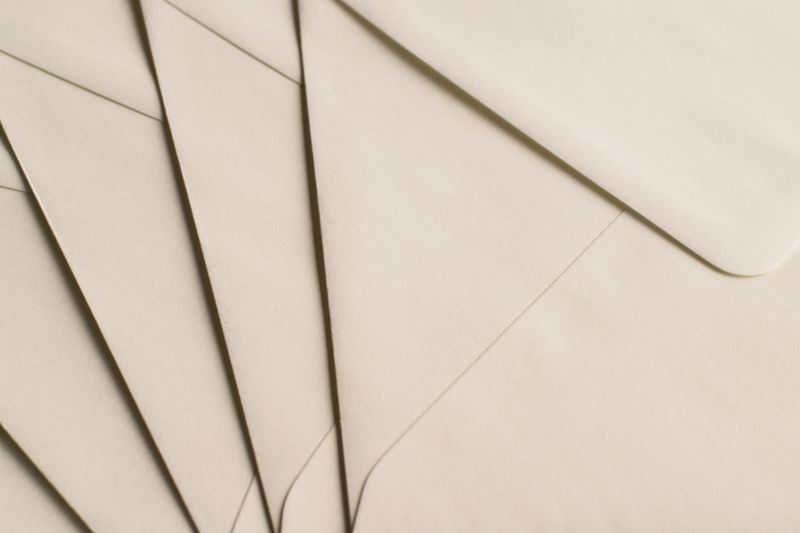
Paper envelopes are an effective storage option. Storing coneflower seeds in a paper envelope keeps them dry, breathable, and safe until planting time arrives next spring.
Plastic bags trap moisture, which leads to mold and seed rot fast. Paper breathes naturally and pulls excess humidity away from your seeds over time.
Use small coin envelopes or fold your own from scrap paper. Either option works well, and homemade envelopes cost you nothing at all.
Write the seed variety, harvest date, and location right on the outside of the envelope. Clear labels save confusion when you are sorting through a stack of envelopes in March.
Add a small silica gel packet inside the envelope for extra protection. Silica gel absorbs residual moisture and keeps seeds crisp through the long Montana winter ahead.
Place your labeled envelopes inside a sealed glass jar for an extra layer of protection. The jar shields against humidity spikes and keeps curious critters out of your seed stash.
Store the jar in a cool, dark location like a basement shelf or the back of a closet. Consistent cool temperatures slow the aging process and keep germination rates higher longer.
Avoid storing seeds near a heat vent, sunny window, or kitchen stove. Temperature swings are one of the fastest ways to ruin a perfectly good seed collection.
Properly stored coneflower seeds can often stay viable for two to three years, depending on storage conditions and initial seed quality. That gives you a built-in backup supply if next year’s planting does not go as planned.
Separate Chaff From Viable Seeds
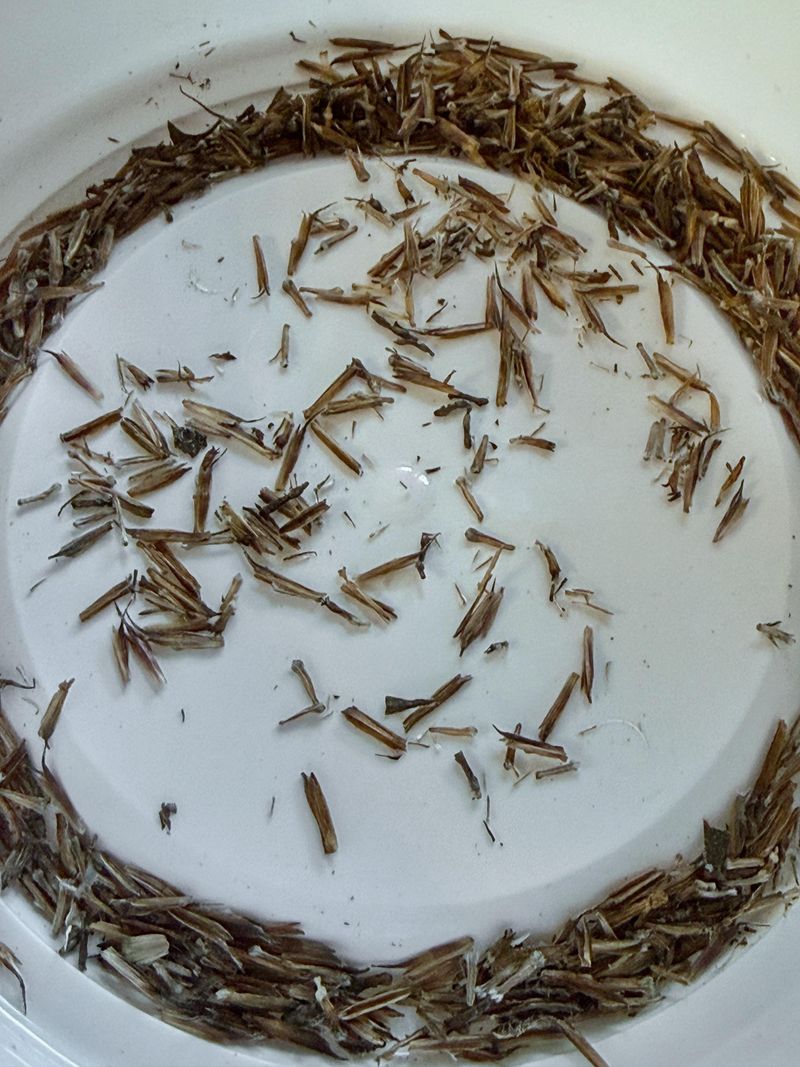
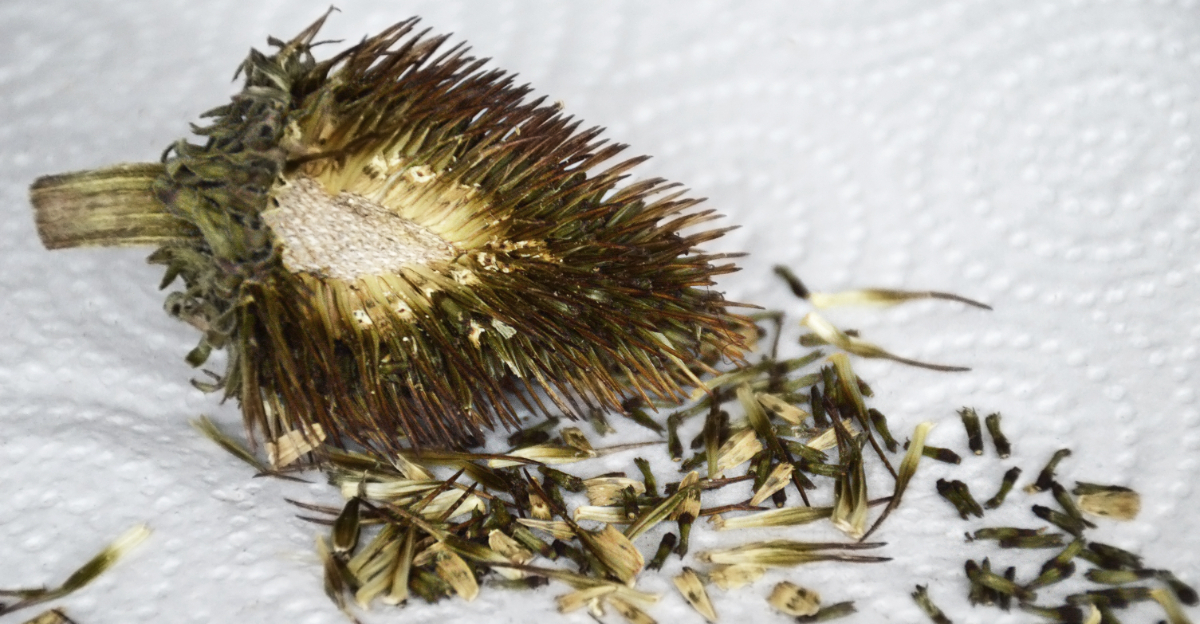
Not everything that falls out of a cone is a seed worth keeping. Separating chaff from viable seeds is a simple but important step that makes your final seed collection much more reliable.
Chaff includes the dry, spiky bits of the cone that break apart during crushing. These pieces are lighter than seeds and can crowd out the real thing if left mixed in.
The easiest method is blowing gently across a flat plate or tray. Chaff floats away on your breath while the heavier, viable seeds stay put right where you need them.
You can also use two plates and pour seeds back and forth in a light breeze. Outdoor winnowing like this works surprisingly well on a calm fall afternoon in the yard.
Look for seeds that are plump, dark brown or black, and slightly pointed at one end. Flat, pale, or hollow-looking seeds are likely empty and will not sprout come spring.
A fine mesh strainer can also help speed up the process. Pour your seed and chaff mix through the strainer and shake gently to let the small debris fall through.
Do not skip this step thinking it does not matter much. Planting chaff-heavy seeds wastes space in your garden beds and leads to disappointing germination results.
Once separated, your clean seeds should look uniform in color and size. A tidy, consistent batch is a good sign that you have collected strong, healthy material worth planting.
Clean seeds give you a head start on a bigger, bolder bloom when warm weather finally returns to your garden beds.
Wait Until Petals Fully Drop Off
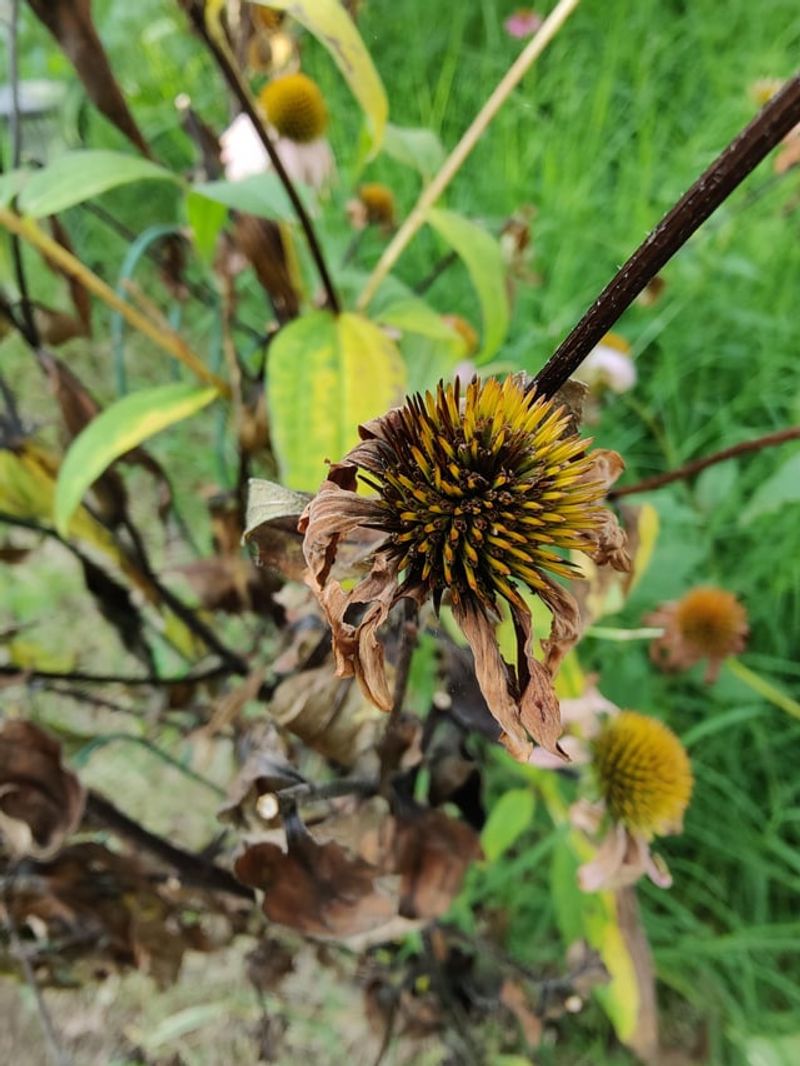
Patience pays off big here. Waiting until petals fully drop off is the clearest sign that a coneflower cone is ready for harvest without any guesswork involved.
Fresh petals mean the plant is still moving energy into the flower. Harvesting too early pulls seeds that have not finished developing and will not sprout reliably next season.
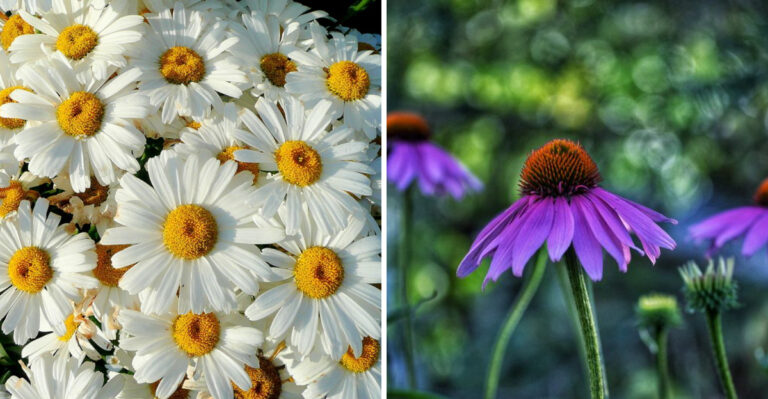
Watch the petals droop downward first, then fade from purple to tan. Once they start falling off on their own, the cone has reached full maturity and is ready for you.
Some cones drop all petals cleanly and quickly. Others hold onto a few stubborn ones that need a gentle tug before you can confirm the cone is truly finished blooming.
Do not pull off petals to speed things up. Forcing early harvest disrupts seed development and can reduce the germination rate of your entire seed batch.
Check your plants every few days once you notice petals loosening. The window between full petal drop and seed scatter can be short, especially on windy fall days in open gardens.
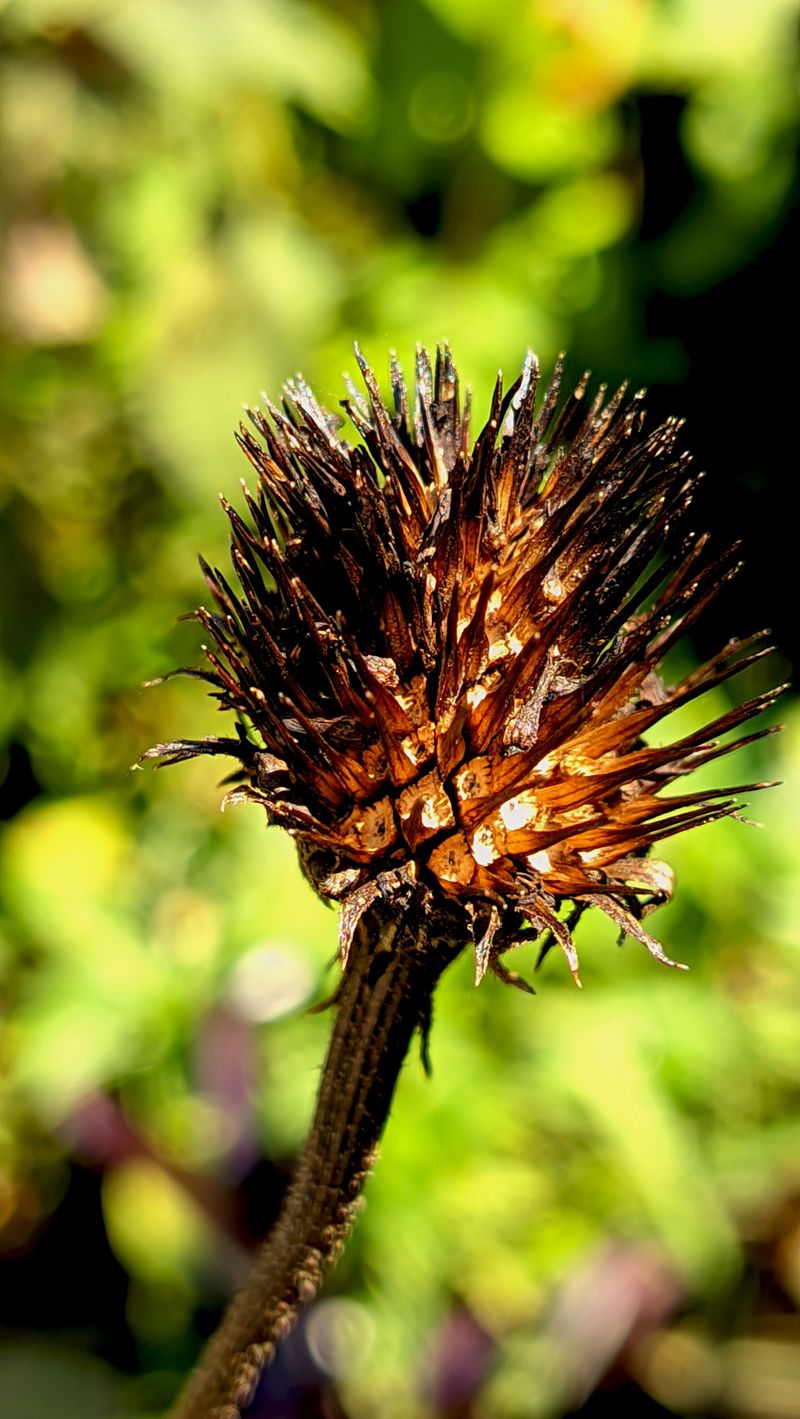
A fully petal-free cone looks like a small spiky brown ball on top of a dry stalk. That visual is your green light to grab your scissors and get to work.
Mark cones you are watching by tying a small piece of yarn around the stem. This trick helps you track which ones are almost ready without disturbing the rest of the plant.
Timing this step right sets the tone for everything that follows in your coneflower seed harvest routine.
Check For A Dark, Dry Cone
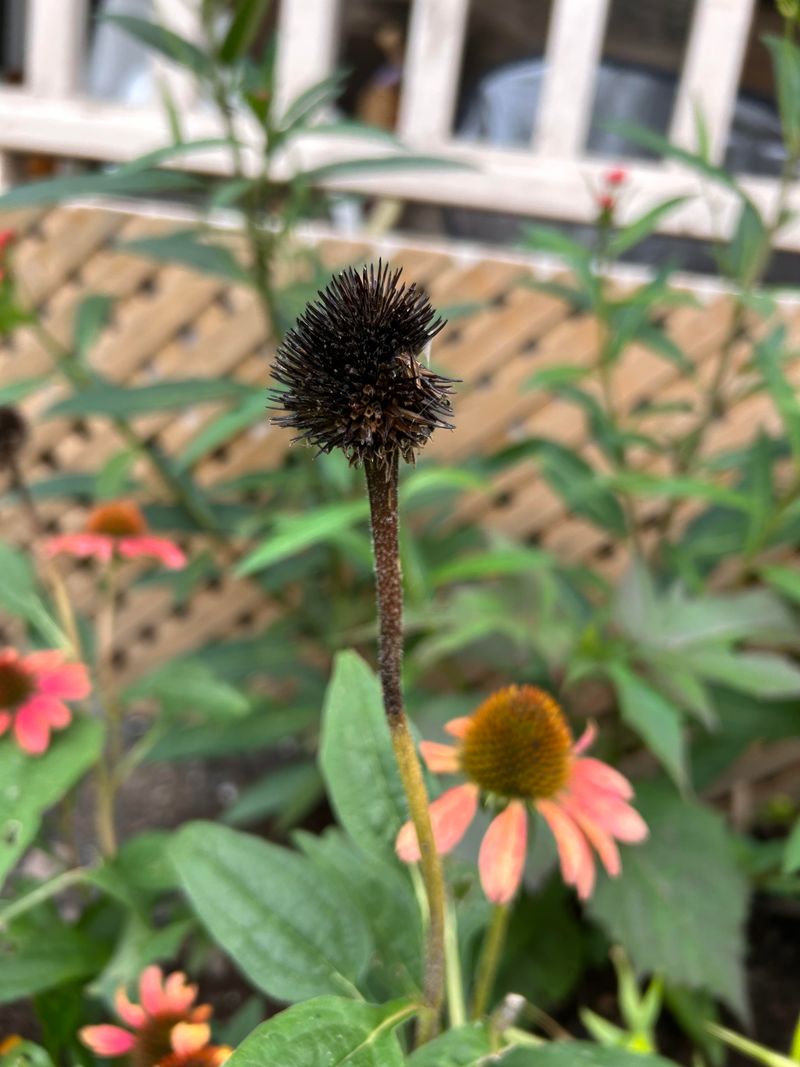
Color is a key indicator. Checking for a dark, dry cone is one of the fastest ways to know whether your coneflower seeds are ready to harvest or still need more time.
A green or light brown cone is not ready yet. Seeds inside an immature cone are still soft and underdeveloped, meaning they will not survive storage or germinate well in spring.
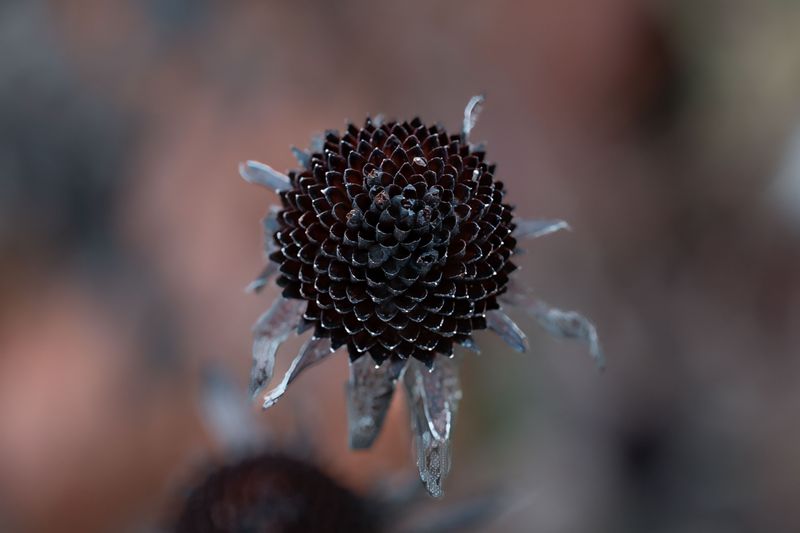
A fully ripe cone turns deep brown or almost black on the outside. The surface feels rough and bristly, and the whole structure has a noticeably dry, papery texture when touched.
Press your thumb gently against the side of the cone. If it feels firm and dry all the way through, the seeds inside are likely mature and ready to be freed.
A soft or spongy cone means moisture is still present. Give it another week or two on the plant before you make your move with the scissors.
Look at the base of the cone where it meets the stem. That area should look completely dry and slightly shrunken when the cone has finished its ripening process fully.
On cloudy or rainy days, it can be harder to judge cone color accurately. Check your plants on a bright, sunny afternoon for the most reliable visual read of cone readiness.
Experienced gardeners can spot a ready cone from several feet away. That deep, dark color stands out clearly against the lighter tan tones of dried stems and foliage around it. A dark, dry cone is a reliable sign that the harvest window has opened.
Harvest Before Montana’s First Fall Frost
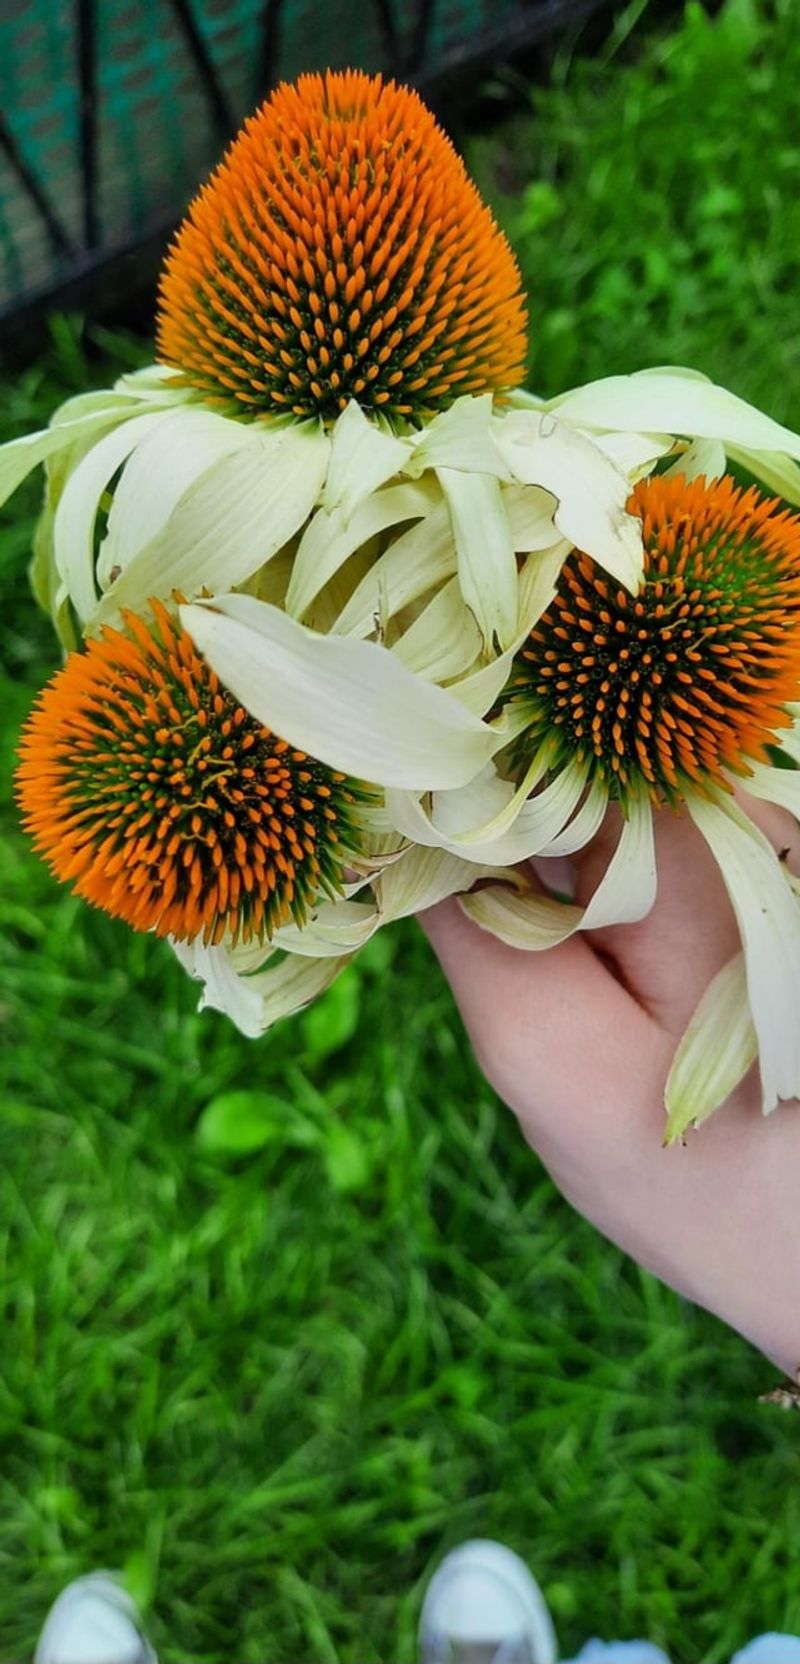
Frost timing is unpredictable. Harvesting coneflower seeds before the first fall frost in Montana is one of the most time-sensitive parts of the entire process.
In higher elevations, Montana’s first frost can sometimes arrive as early as mid-September, though timing varies by year and location.
Frost does not necessarily destroy the seeds, but it can damage cone structure. A frozen and thawed cone often falls apart messily and makes clean harvesting much harder to pull off.
Check the National Weather Service forecast for your specific county regularly. Mountain valleys and flatland areas can have frost dates that differ by several weeks from each other.
Keep a garden journal with your local frost dates from past years. Patterns repeat often enough that last year’s first frost date gives you a solid target for this year’s harvest timing.
If frost is predicted and your cones are not quite dark enough yet, cut them anyway. Bringing semi-ripe cones indoors to finish drying is far better than losing them to an overnight freeze.
Lay cut cones on a dry paper towel in a warm room, typically for one to two weeks depending on conditions. Indoor drying finishes the ripening process and still gives you usable seeds at the end.
Never leave harvest timing to chance in a place with such a short season. A single surprise frost can significantly reduce an entire season’s coneflower seed harvest. Harvesting before frost helps protect your seed collection.
Collect Seed Heads On A Dry Day
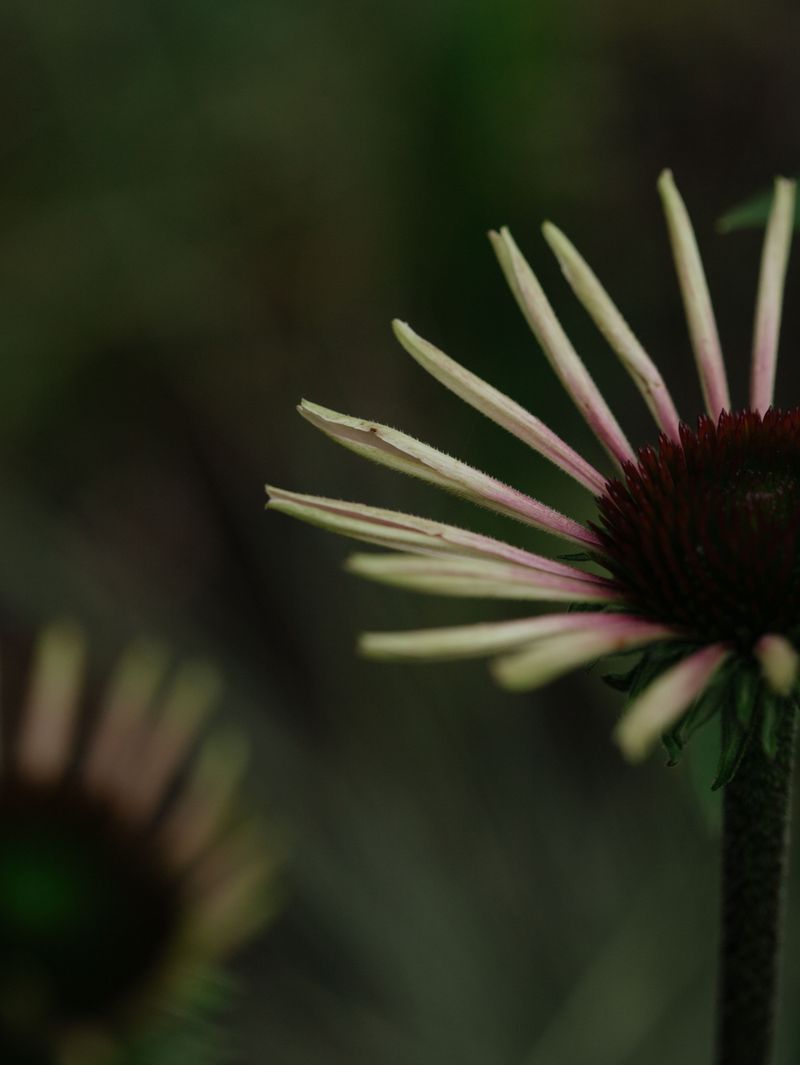
Dry weather improves seed quality. Collecting coneflower seed heads on a dry day is a small detail that makes a surprisingly big difference in the quality of what you store.
Moisture is the enemy of long-term seed storage. Seeds collected on a wet or dewy morning carry surface moisture that encourages mold growth inside your storage envelopes over time.
Wait until at least midday on a clear day before you head out with your scissors. Morning dew needs time to fully evaporate from stems and cone surfaces before you start cutting.
Even after recent rain, give your garden a full day of dry weather before harvesting. One sunny afternoon is usually enough to pull residual moisture out of the cone’s outer layers.
Run your fingers across the cone surface before cutting to test for dampness. A cone that feels even slightly cool or moist to the touch needs more drying time on the plant.
Dry days also make harvesting more pleasant for you. Muddy garden beds and wet stems make for a frustrating experience when you are trying to work efficiently.
Aim for a few dry days in a row before you harvest, if possible. Consecutive dry days mean the cones have had maximum time to shed any lingering moisture naturally.
Once collected on a dry day, your seed heads will need far less indoor drying time before storage. Less prep work means you get your seeds safely stored faster and with less effort overall.
Dry day harvesting is one of those simple habits that separates a good seed collection from a great one when you harvest coneflower seeds the right way next fall.