How To Start Fall Tomato Seeds Indoors In Arizona’s August Heat
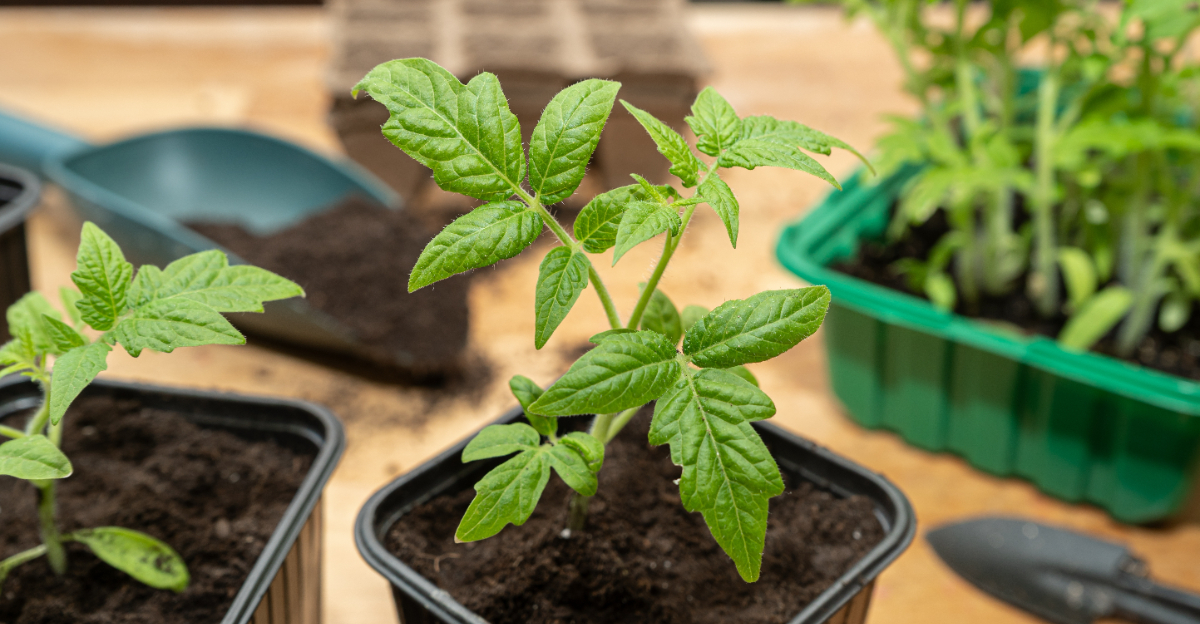
Your fall tomato season is already taking shape, even if the summer heat says otherwise. Waiting for cooler weather feels like the safe choice, but it can quietly put you behind.
Strong tomato plants are not built overnight. They need enough time to grow before transplanting day finally arrives.
Many successful fall harvests begin while the hottest days are still hanging around. That timing surprises more people than you might expect.
Getting an early start is especially important in Arizona, where the growing season follows a different rhythm than much of the country.
Do not let today’s temperature decide when you begin.
A few weeks can make a remarkable difference between plants that simply survive and plants that reward you with baskets of fresh tomatoes later in the season.
1. Choose Tomato Varieties That Mature Before Winter
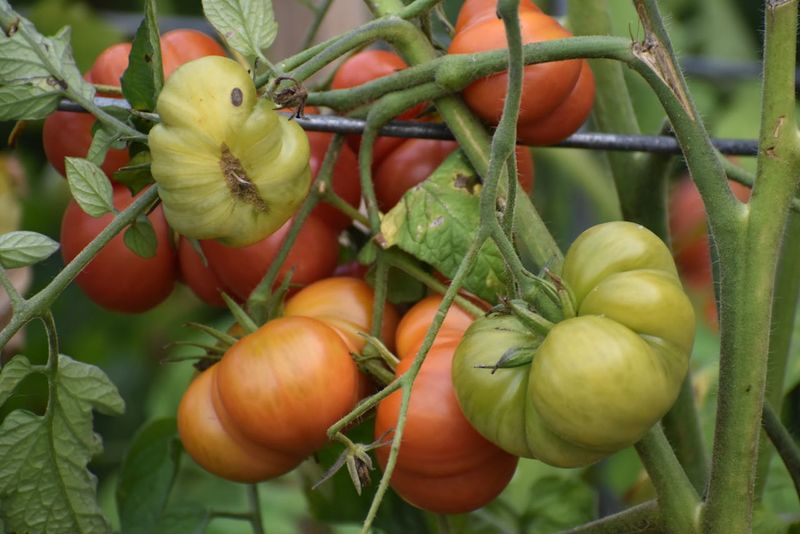
Not every tomato can beat the clock before frost arrives. In Arizona’s fall season, you need varieties that reach full maturity in 70 days or fewer from transplant.
Short-season types like Roma, Celebrity, and Early Girl are solid choices. Paste tomatoes and smaller-fruited varieties tend to ripen faster than large beefsteak types.
Cherry tomatoes are worth considering too. Varieties like Sweet 100 or Sun Gold can produce fruit quickly and handle mild temperature swings well.
Check the seed packet for the “days to maturity” number. Count backward from your expected first frost date, which in many low-elevation Arizona areas falls around late November or December.
If your variety needs 80 or more days, you might be cutting it close. Go with something in the 60 to 75 day range to give yourself a reasonable buffer.
Heirloom varieties can be rewarding, but some take longer to mature.
Read descriptions carefully before buying.
Local nurseries and seed suppliers who stock regionally adapted seeds can be a real help.
2. Use A Quality Seed Starting Mix For Strong Germination
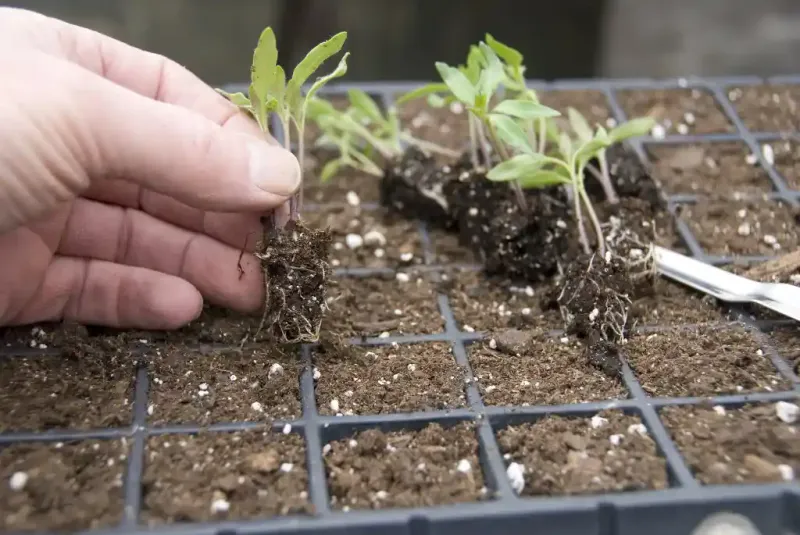
Regular garden soil is not the right choice for seed trays. It compacts easily, holds too much water, and often contains pathogens that can harm young seedlings before they even get started.
A dedicated seed starting mix is lightweight, well-draining, and fine-textured. Those qualities create the ideal environment for roots to push through without resistance.
Look for mixes that contain perlite, vermiculite, or coco coir.
These ingredients improve aeration and help moisture distribute evenly throughout the tray.
Avoid mixes with large bark chunks or heavy compost. Those work better in raised beds, not in small cells where seedlings are just getting established.
Moisten the mix before filling your trays. Dry seed starting mix can be slow to absorb water, and pouring water on top after filling can displace seeds or create air pockets.
Fill each cell firmly but without pressing too hard. You want good contact between the seed and the mix without squeezing out all the air.
Sow two seeds per cell at a depth of about a quarter inch. If both sprout, snip one at the soil line rather than pulling, which can disturb the surviving seedling’s roots.
Your Arizona Garden Changes Every Week. Your Plan Should Too.
Gardening in Arizona changes quickly throughout the season. Every Friday you’ll receive a simple weekly plan showing exactly what to plant, prune, fertilize, harvest, and protect so you never miss the right timing.
Starting with quality materials from the beginning makes every step after this easier.
3. Keep Seed Trays Cool During Extreme August Heat
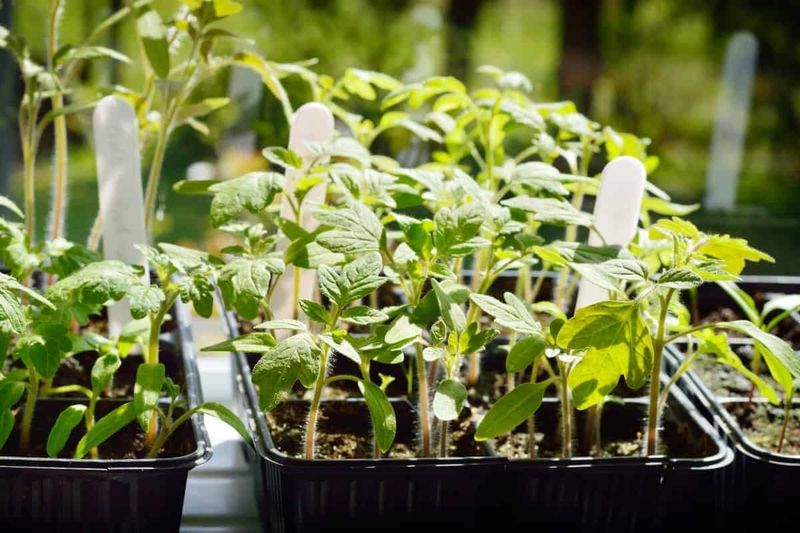
August indoors in Arizona can still feel like a furnace if your home runs warm. Tomato seeds germinate best when soil temperature stays between 70 and 80 degrees Fahrenheit.
Above 90 degrees, germination rates can drop noticeably.
Keeping trays in a consistently cool spot is one of the most important things you can do in this early stage.
A spare bedroom with the AC running works well. Avoid placing trays near windows that get direct sun during germination, since that can spike soil temps fast.
Some gardeners use a seedling heat mat set to a controlled temperature. In August, you likely will not need one, since indoor temps are already warm enough to encourage sprouting.
Check soil temperature with an inexpensive probe thermometer if you want to be precise. Guessing can lead to poor results, especially in a home where temps vary by room.
Air circulation matters too. A small fan on low setting helps prevent mold and keeps the air from feeling stagnant around the trays.
Once seeds sprout, move them closer to your light source. At that point, warmth still matters, but consistent light becomes the bigger priority.
4. Give Seedlings Plenty Of Bright Light After Sprouting
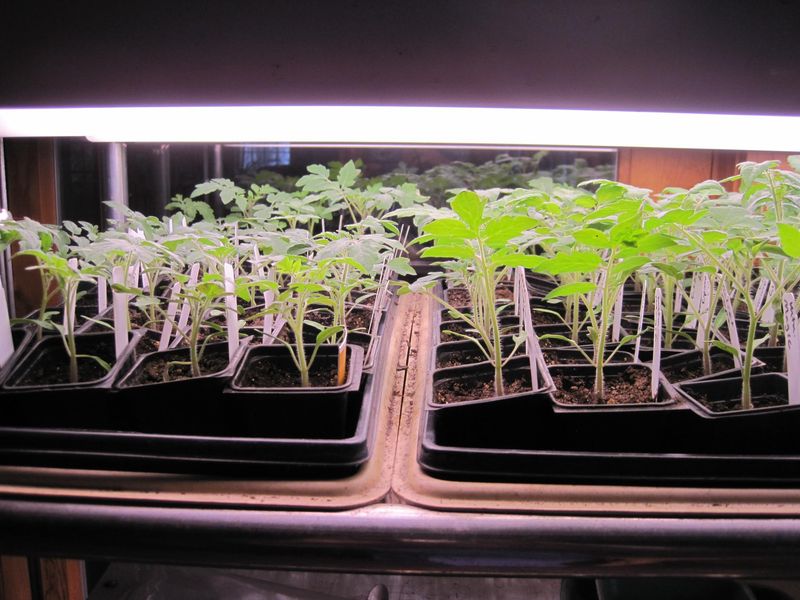
Weak light is one of the fastest ways to end up with leggy, floppy tomato seedlings. Once sprouts break the soil surface, they need strong, consistent light right away.
A south-facing window sounds ideal, but in August the angle of sunlight may not deliver enough intensity through glass. Supplementing with a grow light is often a smarter approach.
Full-spectrum LED grow lights work well for tomatoes.
Position the light about two to four inches above the tops of the seedlings and raise it as they grow.
Aim for 14 to 16 hours of light per day. A simple outlet timer takes the guesswork out of turning the light on and off at consistent times each day.
Seedlings that lean heavily toward a light source are telling you they need more intensity or a repositioned light. Rotate trays every couple of days if you notice uneven growth.
Compact, stocky seedlings with thick stems are a sign of good light exposure. Tall, thin stems with wide spacing between leaf sets usually mean the light is too far away or too weak.
Consistent light from the start builds the kind of sturdy stem structure that will hold up once plants move outside.
5. Water Just Enough To Keep The Soil Evenly Moist
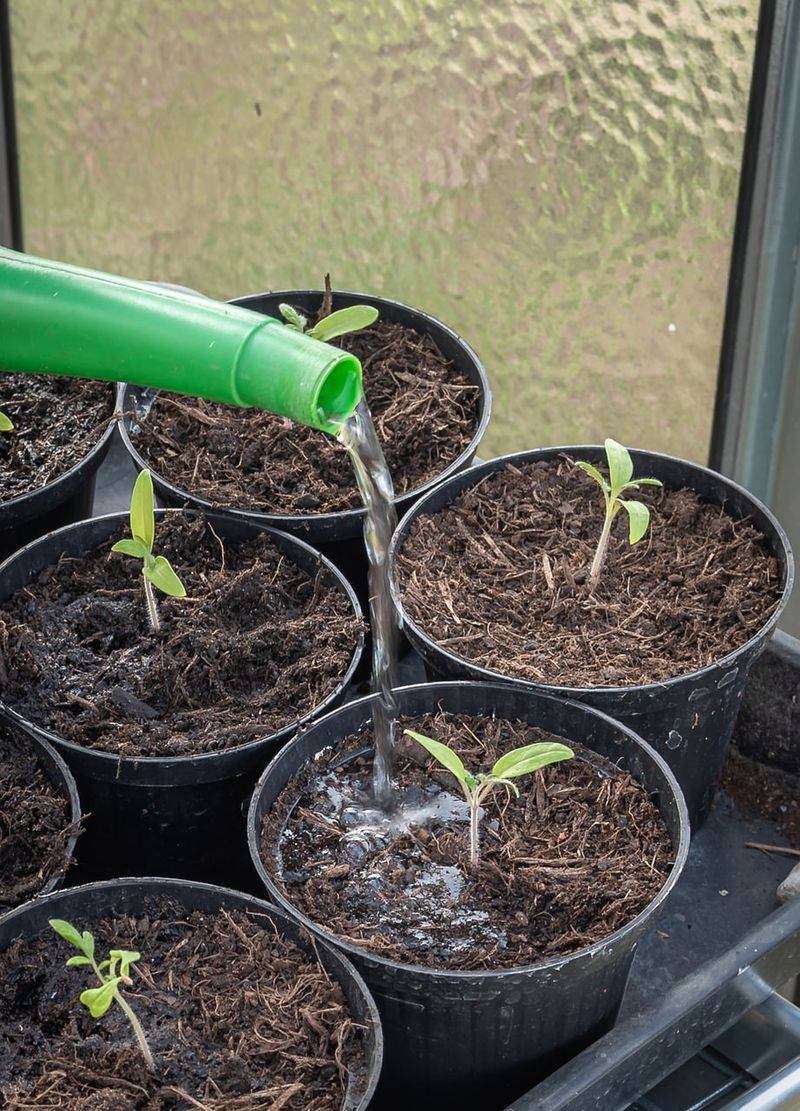
Overwatering is a common mistake with seedlings, and it can cause root rot or fungal problems before plants ever get a real chance. Soggy soil is not the goal.
Evenly moist is the target. Soil should feel damp when you press a finger lightly against the surface, but water should not be pooling or dripping from the bottom constantly.
A spray bottle works well during the first week or two.
Fine misting keeps the surface moist without drenching the mix or disturbing freshly planted seeds.
As seedlings grow, switch to a small watering can with a gentle rose head. Pouring directly from a cup can compact the soil and knock over fragile stems.
Check moisture levels every day, especially in a home with dry air conditioning running. Seed trays dry out faster than you might expect when indoor humidity is low.
Lifting the tray is a quick way to judge moisture. A light tray usually means it needs water.
A heavier tray likely still has enough moisture to hold for another day.
Bottom watering is another useful method. Set the tray in a shallow dish of water and let the mix absorb from below for about 20 minutes, then remove the tray.
This encourages roots to grow downward and keeps the surface from staying too wet.
6. Harden Off Seedlings Before Moving Them Outdoors
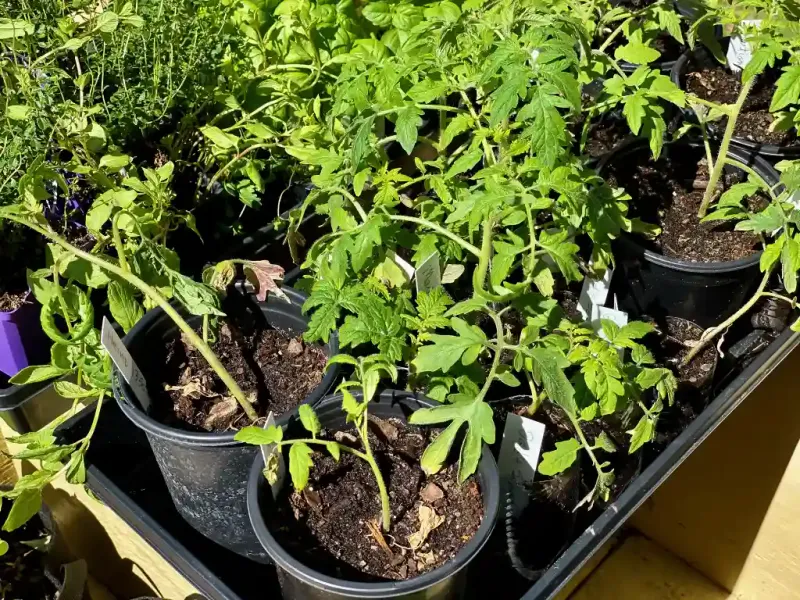
Skipping the hardening off process is a mistake that catches a lot of gardeners off guard. Plants grown indoors are simply not ready for outdoor conditions without a gradual adjustment period.
Outdoor air, wind, direct sun, and temperature swings are all new stressors for indoor-grown seedlings.
Introducing them slowly reduces shock and helps plants build physical strength.
Start by placing seedlings outside in a shaded spot for two to three hours during the cooler part of the day. Morning hours before 10 AM work well in late September.
Bring them back inside before afternoon heat builds. Even as temperatures begin to drop in fall, daytime highs in the desert Southwest can still be intense enough to stress young plants.
Over seven to ten days, gradually increase outdoor time and sun exposure. By the end of the process, seedlings should be spending most of the day outside without issue.
Watch for wilting, sunscald, or leaf curl as warning signs that the transition is happening too fast. Pull back the schedule if you see those signs rather than pushing through.
Wind can dry out small seedlings faster than you might expect. Check soil moisture more frequently during hardening off, since outdoor air tends to pull moisture from pots quickly.
7. Transplant At The Right Time For A Successful Fall Harvest
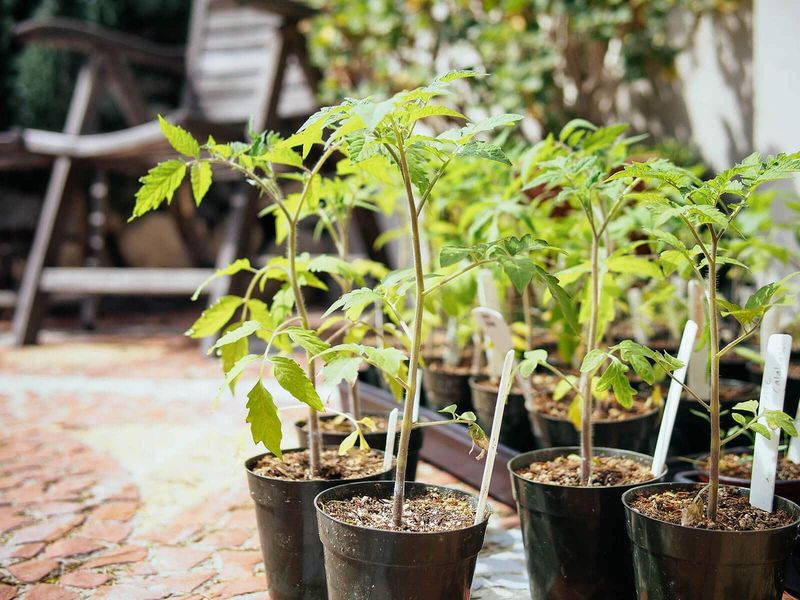
Timing your transplant correctly can make a real difference in how well your fall tomatoes perform. Go too early and plants struggle in lingering heat.
Go too late and fruit may not ripen before cold nights arrive.
In low-elevation parts of Arizona, transplanting between late September and mid-October tends to work well. Daytime temps are still warm enough to support growth, but nights begin to cool down.
Tomatoes need soil temperatures above 60 degrees to grow actively. Check your local forecast and watch for consistent overnight lows that are not dropping below 55 degrees regularly.
Choose a cloudy day or late afternoon for transplanting. This reduces transplant stress by limiting sun exposure during the most vulnerable first hours in the ground.
Dig your planting hole deep enough to bury the stem up to the lowest set of leaves. Tomatoes develop roots along buried stems, which gives the plant a stronger foundation.
Water thoroughly right after transplanting and again the next morning. The goal is to settle the soil around the roots without creating muddy conditions that could cause problems.
Add a layer of mulch around the base of each plant to help retain moisture and keep soil temperatures stable as conditions shift.