Check Your Arizona Drip Irrigation Systems For These Dangerous Summer Clogs
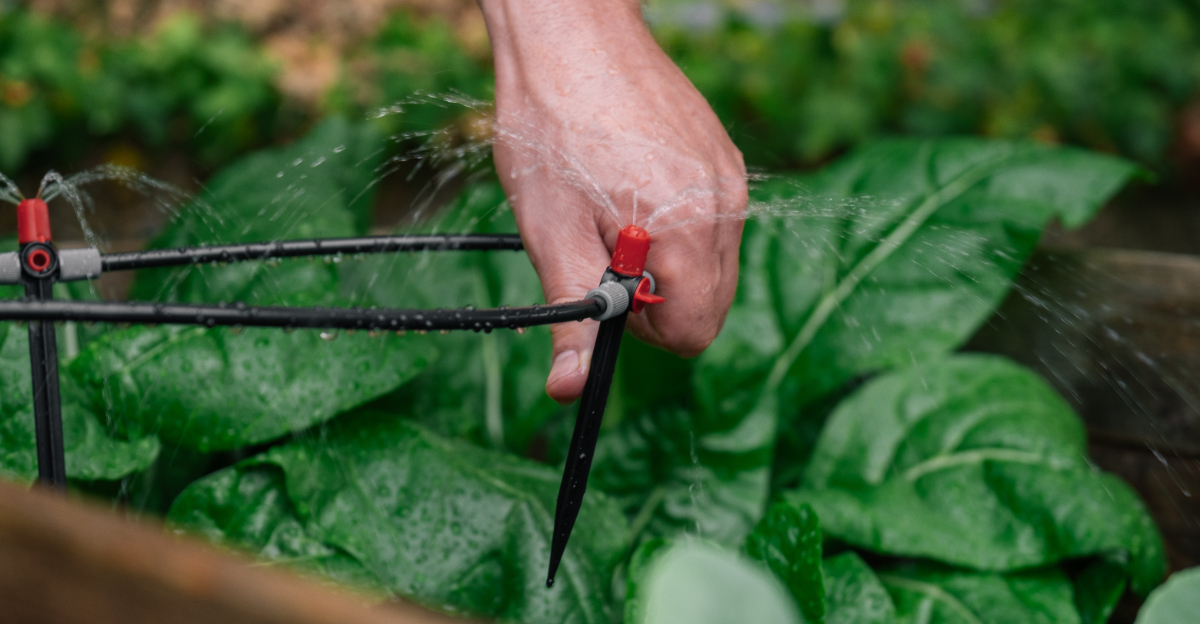
Summer is not the time to assume your drip system is working perfectly. Small clogs can leave healthy plants without enough water before you notice trouble.
Arizona heat makes every missed drop matter even more during long summer days. Walk your yard and inspect emitters, filters, and tubing this week first.
Do not wait until leaves begin curling or soil turns unusually dry again.
Finding one blockage early is much easier than replacing damaged plants later entirely.
Flush the lines and clean filters before problems spread farther across beds quickly. Simple maintenance now saves water, protects roots, and keeps every emitter flowing properly.
Give your irrigation system a careful check before the hottest weather pushes it harder. A few minutes today can protect your landscape from stress all season long.
1. Start With Your Drip Emitters
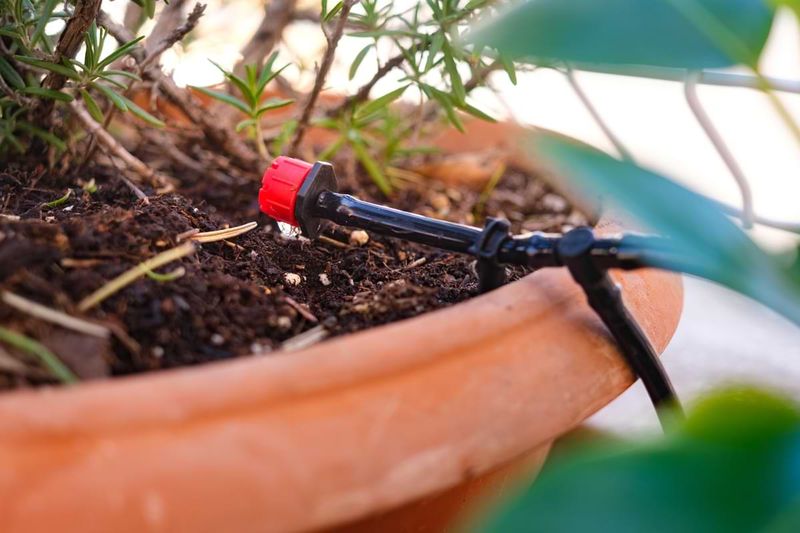
Drip emitters are where clogs show up first. Mineral buildup from hard water is the most common cause, and Arizona water is notoriously high in calcium and magnesium.
Those minerals collect inside the tiny emitter opening over time and eventually slow or block water flow completely.
Pull a few emitters off your lines and hold them up to the light. If you cannot see through the opening, it is blocked.
Even partial blockages cut water delivery enough to stress plants during peak summer heat.
Soaking clogged emitters in a diluted white vinegar solution for a few hours can break down mineral deposits effectively. Rinse them well before reinstalling.
Some gardeners keep a small bucket of vinegar nearby during routine checks for quick cleaning on the spot.
Replace any emitter that looks cracked, brittle, or warped from sun exposure. UV damage is real at this latitude, and plastic emitters can degrade faster than expected when left in direct sun for multiple seasons.
Swapping them out is inexpensive compared to losing established plants.
Check emitter flow rates while the system runs. Place a small cup under each emitter for one minute and compare output across your system.
2. Filters And Screens Trap Hidden Debris
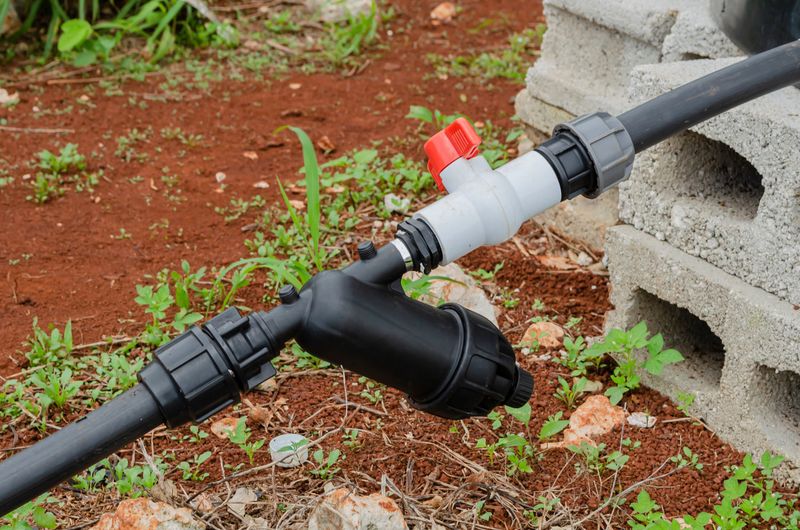
Filters do exactly what their name says, but most people forget they need cleaning too. Screen filters sit at the head of your drip system and catch sand, sediment, and organic particles before they reach your emitters.
When they get full, the whole system suffers.
A clogged filter drops water pressure across every line connected to it. Low pressure means emitters deliver less water than intended, sometimes far less than your plants actually need during a brutal summer stretch.
Check your filter at least once a month during summer. Remove the filter housing, pull out the screen, and rinse it under running water.
Use a soft brush if debris is stuck in the mesh. Inspect the screen carefully for tears or holes that could let particles pass through.
Filters near well water sources or in areas with high dust tend to clog faster. Desert dust storms common across the Southwest push fine particles into any exposed system components.
After a dust event, checking your filter sooner rather than later is a smart habit.
Your Arizona Garden Changes Every Week. Your Plan Should Too.
Gardening in Arizona changes quickly throughout the season. Every Friday you’ll receive a simple weekly plan showing exactly what to plant, prune, fertilize, harvest, and protect so you never miss the right timing.
Most screen filters cost just a few dollars and last for several seasons with proper care. Keeping a spare on hand means you can swap it out quickly without leaving your system offline.
3. Algae Can Build Up Inside Tubing
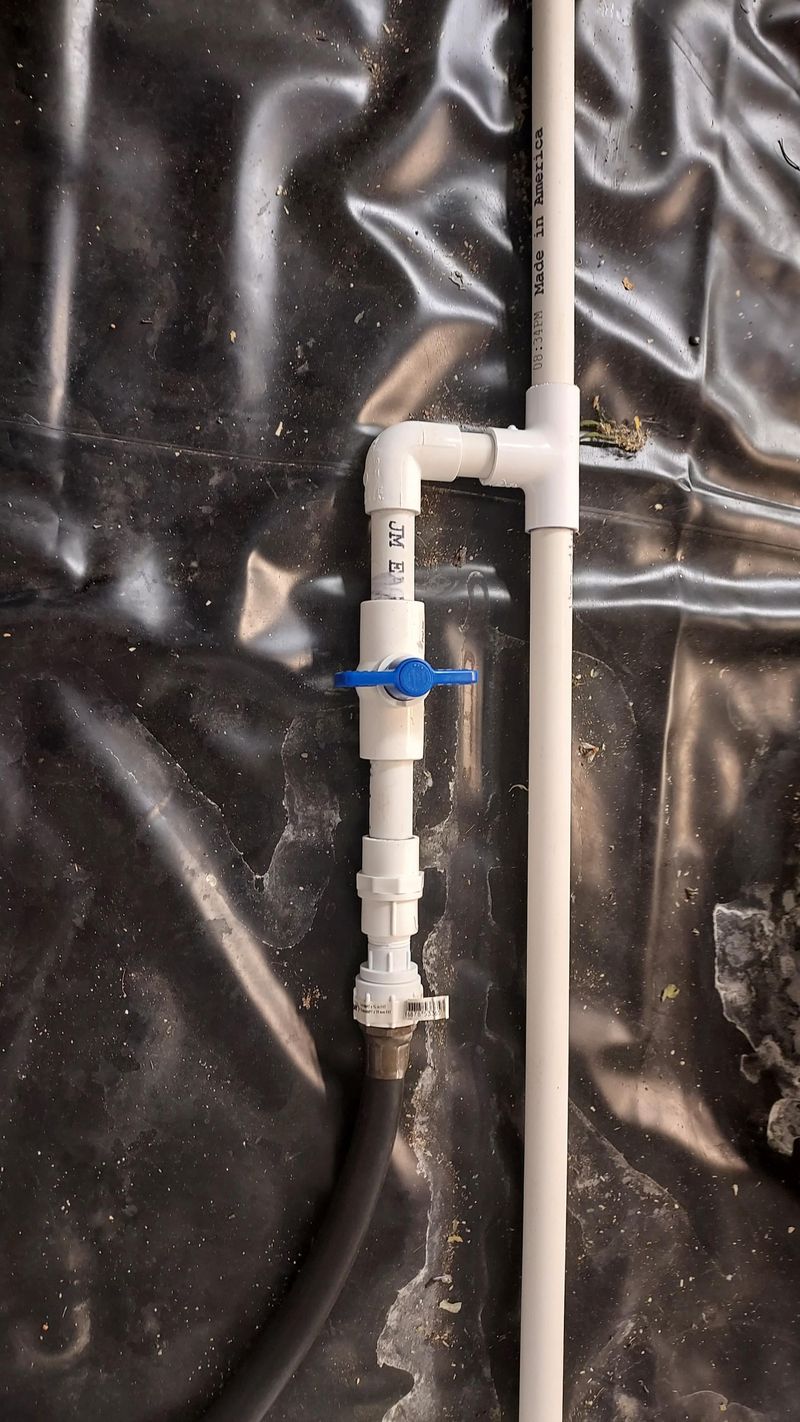
Green slime inside your irrigation lines is not just gross, it is a real problem. Algae grows wherever water, sunlight, and warmth combine, and drip tubing sitting in full sun checks all three boxes.
Once algae establishes inside a line, it can restrict flow and eventually cause blockages near emitter connections.
Clear or light-colored tubing is especially vulnerable because sunlight passes through the walls and feeds algae growth. Black tubing blocks more light and tends to slow algae development, though it is not immune.
Inspect any tubing that runs above ground and feels slimy or has a greenish tint when you hold it up to the light.
Flushing your lines periodically helps reduce algae accumulation. Remove the end caps on your drip lines and run the system for a minute or two.
Water pressure will push out loose debris, algae fragments, and sediment that has settled along the tubing walls.
For heavier algae buildup, some growers use a very diluted hydrogen peroxide flush. This approach can work, but check with your local cooperative extension office first to make sure concentrations are safe for your specific plants and soil conditions.
Burying tubing below a layer of mulch or soil reduces sun exposure significantly. Less sunlight means slower algae growth.
4. Open Emitters Often Hide Insect Nests
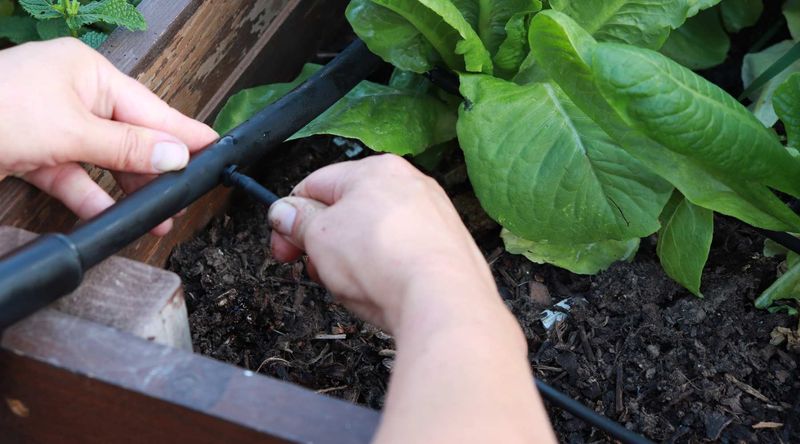
Bugs love drip emitters for the same reason your plants do: moisture. Ants, earwigs, and small beetles are frequently found nesting inside or directly around emitter openings during dry summer months.
Even a small ant colony can pack enough debris into an emitter to block it completely.
Open-style emitters with exposed holes are the most vulnerable. Insects squeeze inside, build material around the opening, and sometimes lay eggs in the moist space near the emitter tip.
You might not notice until you see a plant wilting despite the system running on schedule.
Walk your system during or right after an irrigation cycle. Look for emitters that are not dripping when they should be.
Gently press on the emitter body and check for unusual resistance or visible nest material around the base.
Removing the emitter and flushing the line briefly will clear most insect debris. Use a thin wire or toothpick to clear the emitter opening itself.
Rinse it with clean water before snapping it back onto the line.
Replacing flat, open emitters with pressure-compensating models that have internal diaphragms can reduce insect intrusion. The spring-loaded diaphragm stays closed when the system is off, blocking the entry point insects would otherwise use.
5. Sediment Collects At Flush End Caps
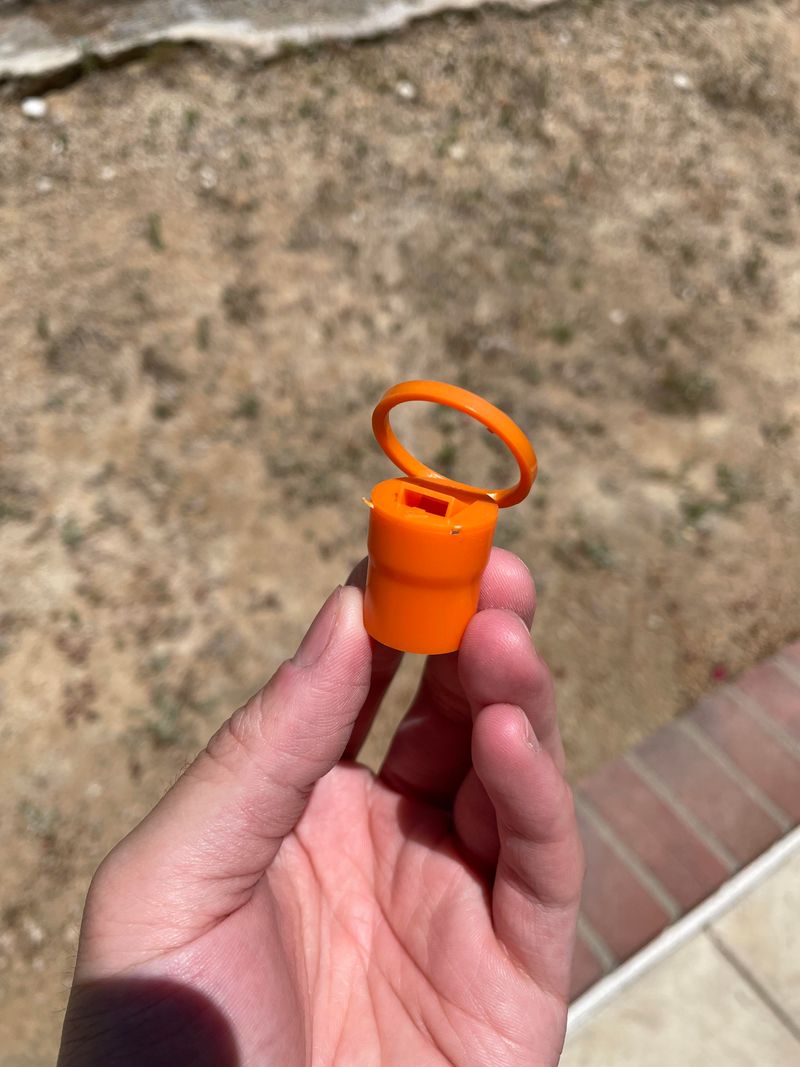
End caps at the far end of your drip lines are sediment magnets. Water carries fine particles through the system, and whatever does not exit through an emitter settles at the lowest or farthest point in the line.
Over time, that settled material packs in tight and starts restricting flow back through the line.
Flush end caps are designed to release this buildup easily. Unscrew the cap, let the system run for thirty to sixty seconds, and watch what comes out.
Sand, silt, mineral flakes, and even algae fragments are all common finds, especially after a monsoon season stirs up soil around buried lines.
If your end caps have not been opened in a full season, expect a significant amount of material to flush out. Heavily silted lines sometimes require multiple flush cycles before water runs clear.
That is completely normal for systems in areas with sandy or loamy desert soils.
Check the threads on your end caps while you have them off. Cracked or stripped caps can leak, and leaks near the end of a line pull soil and debris back into the tubing when pressure drops after the system shuts off.
Replace damaged caps right away.
Flushing end caps at the start of summer, mid-season, and after each monsoon storm is a reasonable maintenance schedule.
6. Uneven Water Flow Signals A Blockage
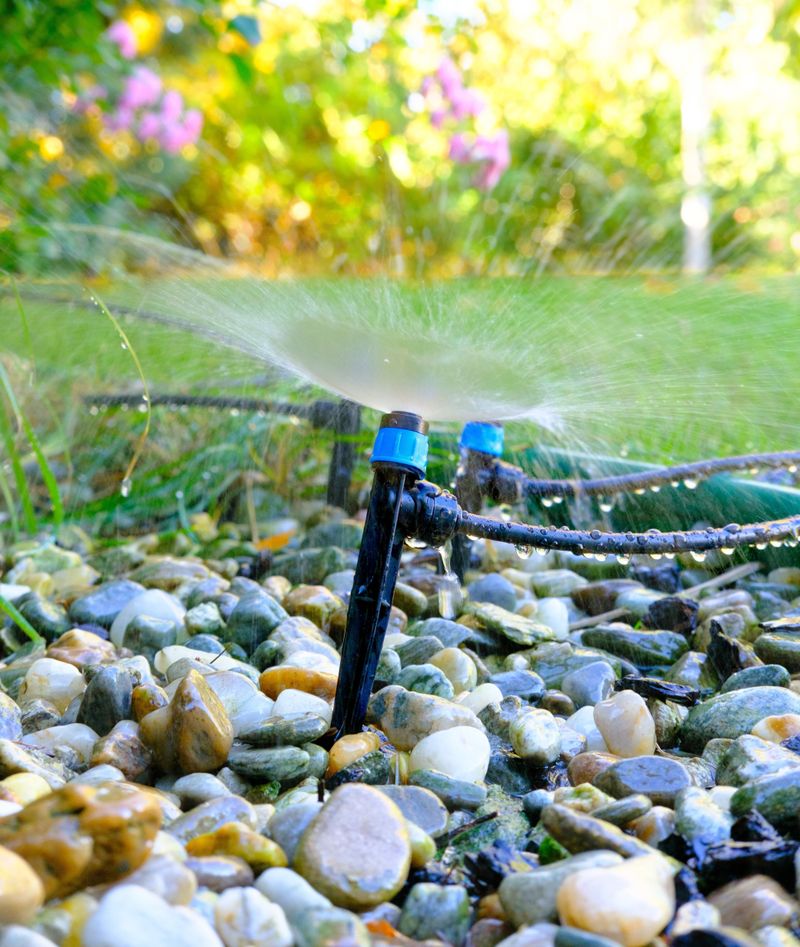
Spotty watering is one of the clearest signs something is wrong inside your system. When one plant looks crisp and green while its neighbor looks stressed, the problem is usually not the plant.
Uneven flow between emitters on the same line points directly to a partial or full blockage somewhere upstream.
Walk your system zone by zone while it runs. Watch each emitter for steady, consistent dripping.
Compare output between emitters that should be delivering the same rate. Big differences in drip speed or volume are worth investigating immediately.
Pressure issues can also cause uneven flow without an obvious clog. A kinked line, a partially closed valve, or a failing pressure regulator can all reduce water delivery unevenly across a zone.
Ruling these out before assuming a clog saves time during troubleshooting.
In hot desert climates, water pressure can fluctuate significantly during peak daytime demand hours.
Running your system early in the morning reduces pressure variation and gives you a more accurate read on whether flow problems are consistent or time-dependent.
Mapping your system on paper sounds old-fashioned, but it works. Sketching out which emitters are on each line and noting their flow rates during checks makes it easier to spot patterns.
7. Leaking Connections Pull Dirt Into The System
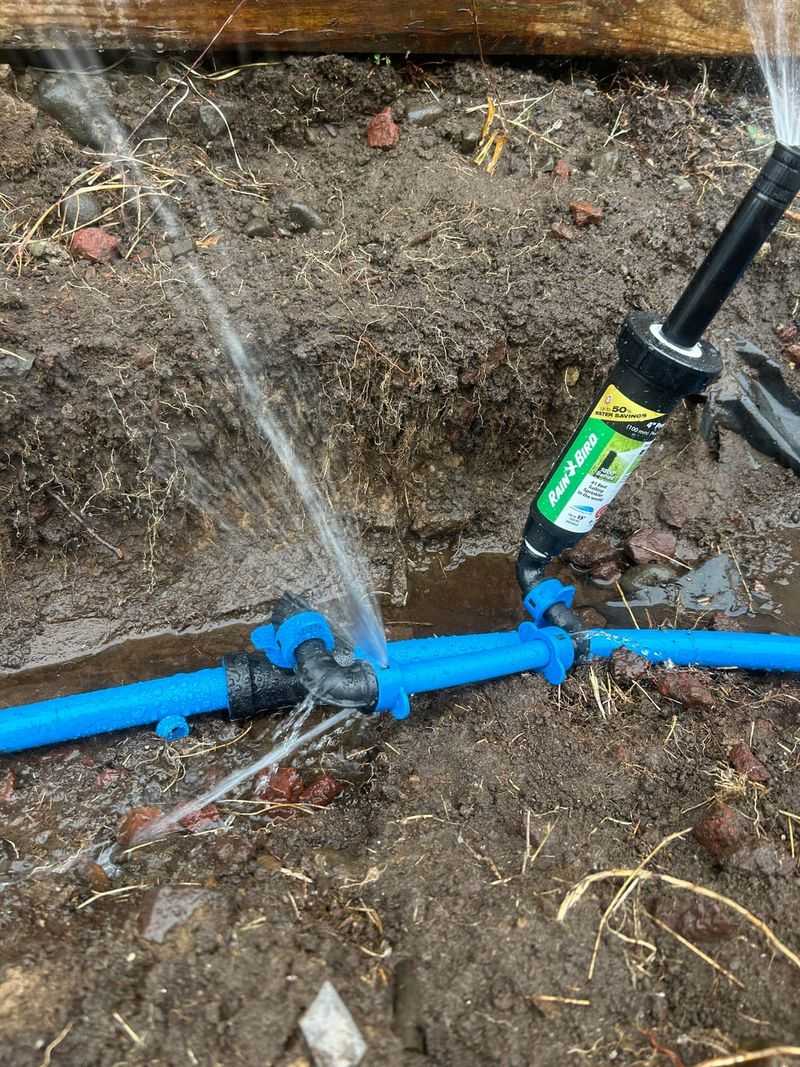
Leaks at fittings and connections are not just a water waste problem. When a drip system shuts off, pressure inside the line drops.
At a leaking barbed fitting, that pressure drop can actually suck surrounding soil and debris back into the tubing. Over time, this contaminates the line with fine particles that clog emitters downstream.
Barbed fittings that are not fully seated are the most common culprits. A fitting that looks connected from the outside might only be halfway onto the tubing, leaving a gap where water escapes and soil gets pulled in.
Push every fitting firmly until you feel it seat completely.
Arizona’s heat makes tubing expand and contract daily. That repeated movement loosens connections that were tight when first installed.
Inspect every fitting at the start of summer and again mid-season, especially on lines that run above ground in direct sun.
Goof plugs, elbows, and tee fittings all deserve attention. Look for wet spots in the soil around connections when the system is running.
A dark, damp ring in an otherwise dry area is a reliable indicator of a slow leak at a nearby joint.
Replacing a leaking fitting takes just a few minutes with the right tools. A tubing cutter, a replacement barbed fitting, and a pair of pliers are all you need.