Why Some Peace Lily Leaves Turn Black Instead Of The Usual Brown
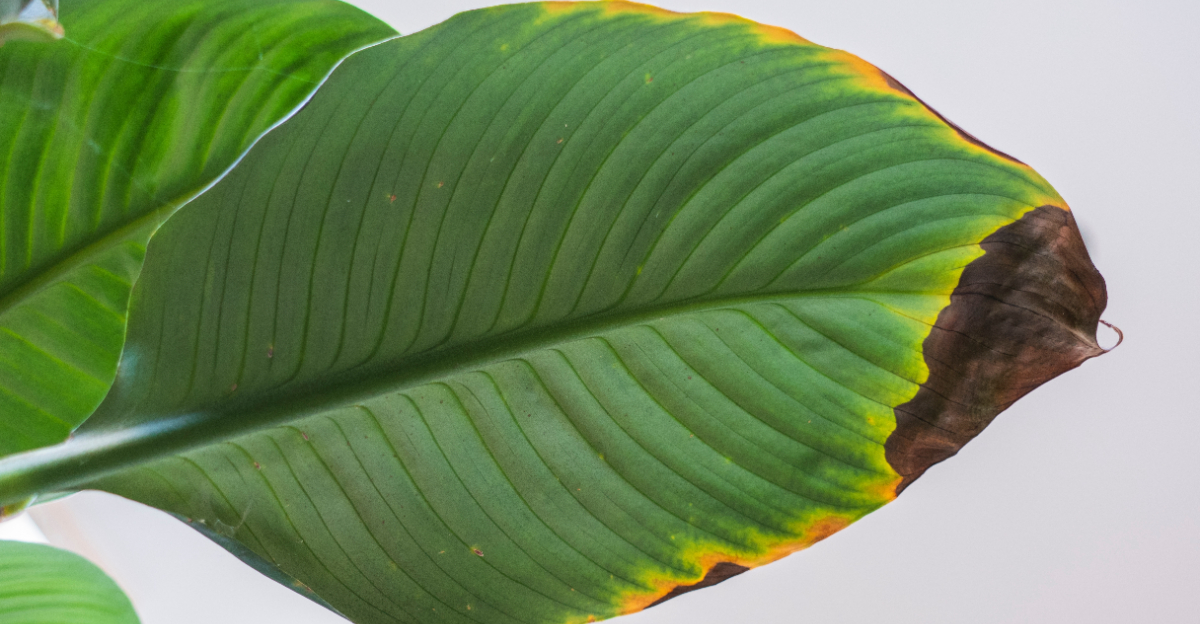
Black leaves on your peace lily feel confusing. Something invisible turned lush green into total darkness. Uncertainty sets in fast when color fails this badly. Root rot loves silence, and yours may be affected.
Water might be working against your plant without warning. Humidity traps moisture inside pots longer than expected here. Fungal spores thrive wherever drainage fails and air stalls.
Fungal activity spreads fast once black patches appear. Temperature shifts indoors confuse tropical roots very easily. Overwatering feels generous but quietly starves roots of oxygen.
Chemicals hidden in tap water accumulate silently over time. Cold drafts near windows disturb warm loving leaves without warning. Stress compounds quickly once problems begin triggering each other.
Every black leaf carries a specific, traceable root cause. None of these problems resolve themselves without intervention.
Your plant is sending signals you should not ignore. Ignore this now, and your peace lily will struggle badly.
1. Overwatering Deprives The Roots Of Oxygen
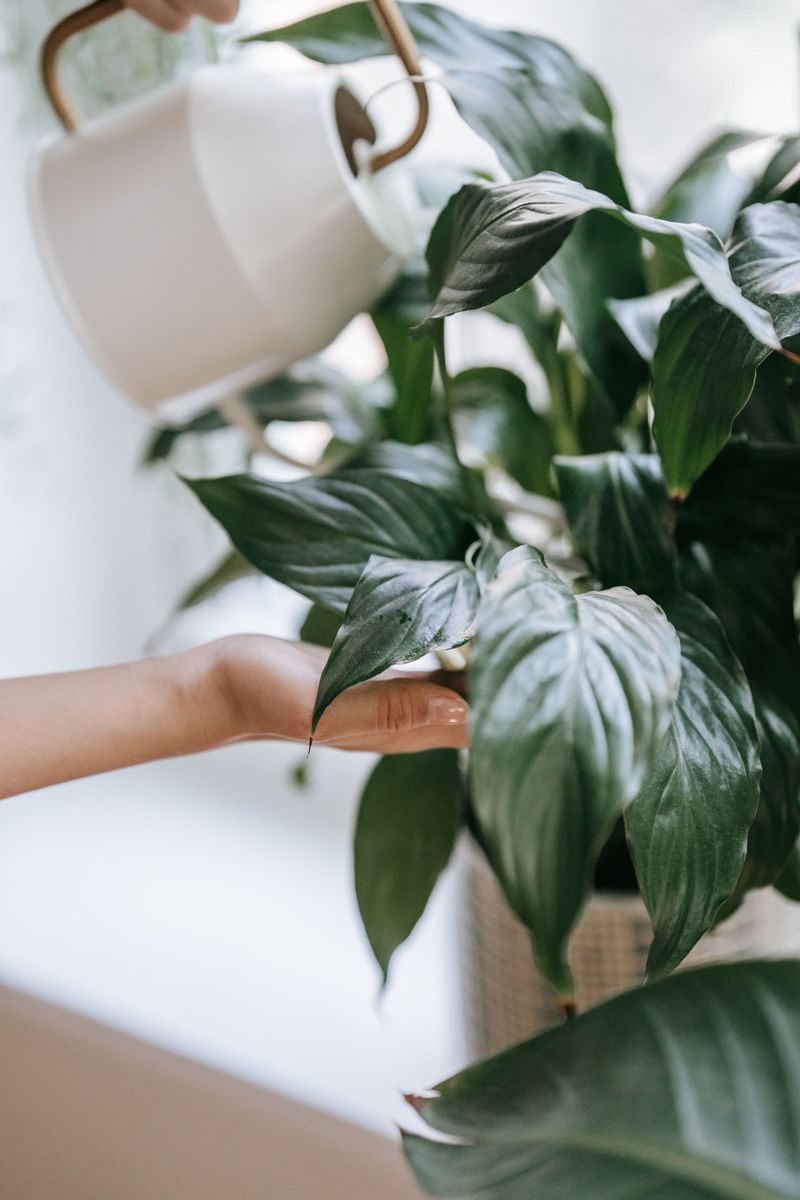
Too much water is one of the sneakiest ways to hurt a peace lily. Most people assume more water means more love, but roots actually need air to survive.
When soil stays soggy for too long, oxygen gets pushed out of the root zone. Without oxygen, roots lose function and start to break down fast.
That breakdown travels upward through the plant. Leaves begin turning black because they are no longer receiving nutrients from healthy roots.
Peace lily leaves turning black from overwatering often feel soft and mushy to the touch. Brown tips look dry, but black leaves from overwatering look waterlogged and limp.
Stick your finger about two inches into the soil before each watering session. If it still feels damp, wait another two or three days before adding more water.
A pot with drainage holes is strongly recommended for most peace lilies. Standing water at the bottom of a pot creates the perfect storm for root damage.
Choose a well-draining potting mix made for tropical houseplants. Adding perlite to your mix improves airflow around roots significantly.
If you catch the problem early, let the soil dry out completely before watering again. Trim off the blackened leaves with clean scissors to redirect the plant’s energy.
Consistent overwatering can cost a peace lily its entire root system. Treat every watering session as a decision, not a routine.
2. Cold Drafts Damage Leaf Cells
Imagine stepping outside in a t-shirt during a blizzard. That is basically what your peace lily experiences near a cold, drafty window.
Peace lilies are tropical plants that thrive in warm, stable temperatures. A sudden blast of cold air causes rapid cellular stress almost immediately.
Cold drafts cause cell walls inside the leaves to rupture. The damaged tissue turns black because it can no longer function or carry nutrients.
This type of blackening usually appears quickly, sometimes overnight. You might notice large black patches spreading across the leaf surface rather than just at the tips.
Common culprits include air conditioning vents, open windows in fall, and exterior doors that let in cold air. Even a gap in a window seal can cause enough chill to trigger damage.
The fix starts with location. Move your plant at least three feet away from any window or vent that produces cold airflow.
Peace lilies prefer temperatures between 65 and 85 degrees Fahrenheit. Below 55 degrees, cellular damage begins to set in rapidly.
Check your plant’s placement every season, not just in winter. Air conditioning in summer can be just as damaging as cold drafts in January.
Once leaves turn black from cold shock, they rarely recover. Trim them off cleanly and focus on protecting the healthy growth that remains.
A stable environment is the single best thing you can give a peace lily. Consistency keeps the color green and the plant thriving.
3. Direct Sunlight Scorches The Foliage
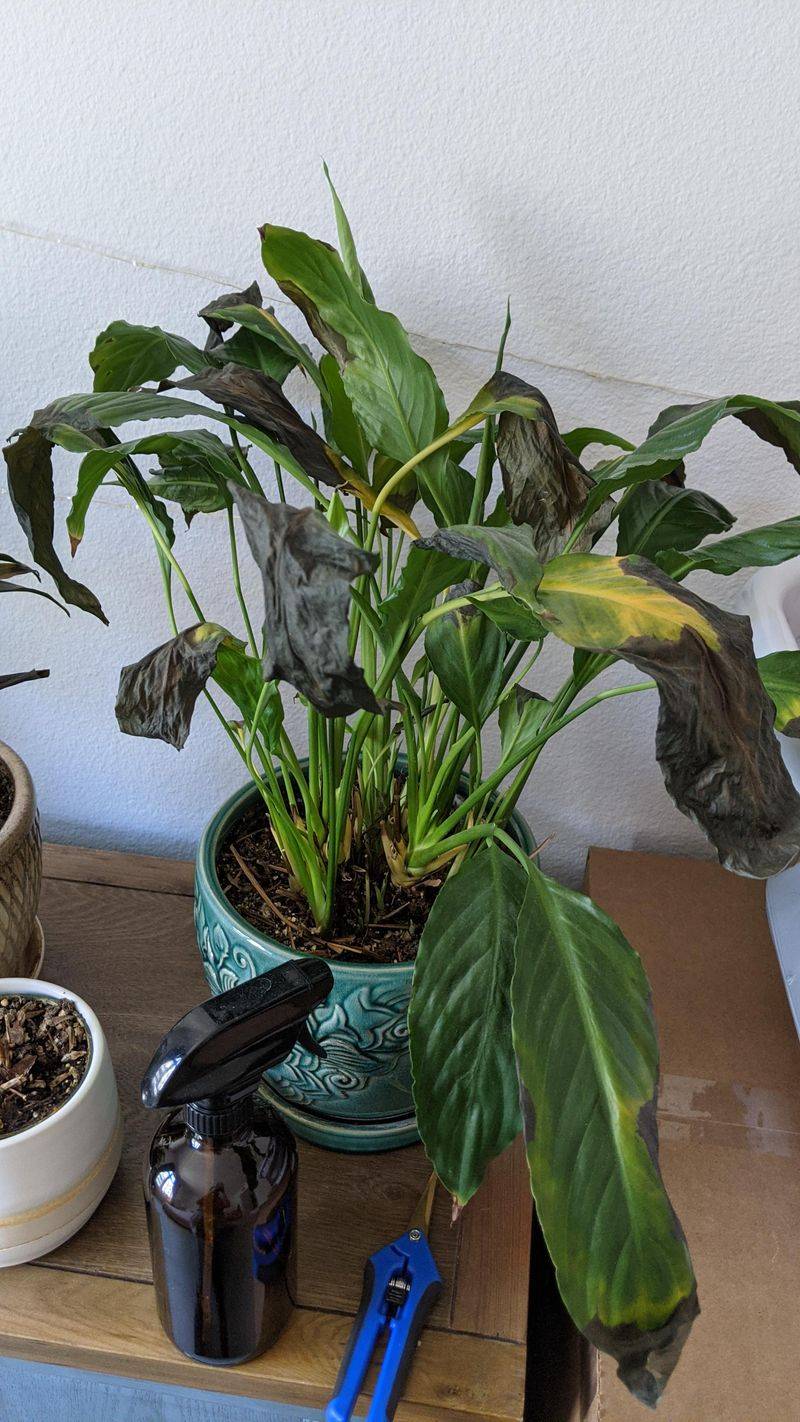
Peace lilies have a reputation for tolerating low light, and that reputation is well earned. Put one in direct sun, though, and you will see the consequences fast.
Direct sunlight hits the leaf surface with intense heat and UV radiation. The plant’s cells become damaged by intense heat and UV exposure, leaving black and brown scorched patches.
This kind of damage looks different from overwatering blackness. Scorched leaves have dry, crispy black areas, often surrounded by a yellowish border.
South-facing windows with no curtains are prime offenders in most American homes. Even an east-facing window can cause scorching if the morning sun is intense enough.
Peace lilies prefer bright, indirect light. Think of the filtered light you might find under a tree canopy in a tropical rainforest.
A sheer curtain between your plant and a sunny window makes a big difference. It diffuses the harsh rays while still letting in enough brightness for photosynthesis.
In the Northern Hemisphere, north-facing rooms or interior spaces with ambient light are often ideal.
Once a leaf is scorched black, that tissue is gone for good. Carefully remove the damaged leaves and relocate the plant before more foliage gets affected.
Rotate your plant a quarter turn each week to ensure even light exposure on all sides. This simple habit prevents any one side from getting overexposed.
Protecting your peace lily from harsh rays keeps its signature glossy leaves looking lush and healthy all year long.
4. Fluoride Buildup Burns The Leaf Tips
Tap water carries more than just water. In many American cities, fluoride is added to the supply, and peace lilies are surprisingly sensitive to it.
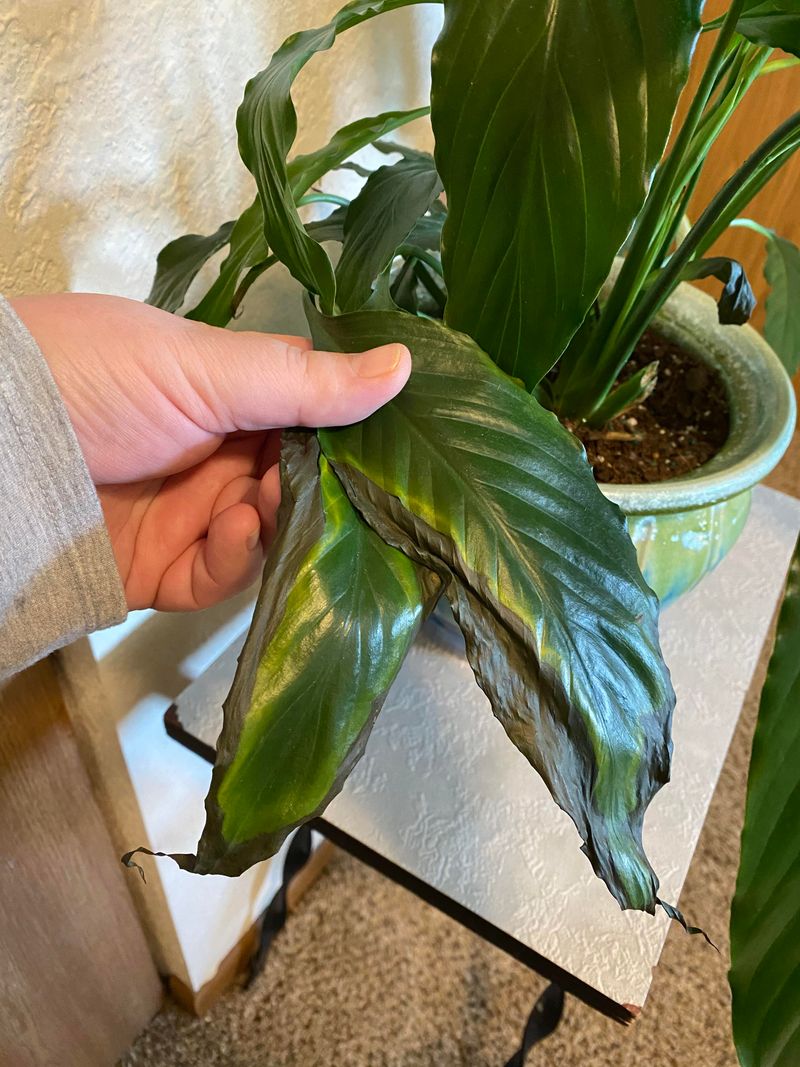
Over time, fluoride accumulates in the soil with every watering session. The plant absorbs it through the roots and deposits it at the tips of its leaves.
Those leaf tips then turn black and crispy, almost like they were lightly burned. The damage starts at the very end of the leaf and works its way inward slowly.
This is different from overwatering blackness, which is soft and mushy. Fluoride damage is dry, dark, and limited mostly to the tips and edges.
Switching to distilled water or collected rainwater is the most effective solution. Both options are free of added fluoride and much gentler on sensitive tropical plants.
If distilled water is not convenient, let tap water sit out in an open container overnight. Some of the chemicals dissipate when exposed to air for several hours.
You can also flush the soil every few months by running water through the pot repeatedly. This washes out accumulated salt and mineral deposits before they reach damaging levels.
Repotting into fresh soil every one to two years also helps refresh the soil and support root health. Use a pot with drainage holes to ensure excess water and minerals can escape.
Pruning the blackened tips with clean scissors keeps the plant looking tidy while you address the root cause. Your peace lily will thank you with healthier new growth.
5. Root Rot Spreads Blackening Upward
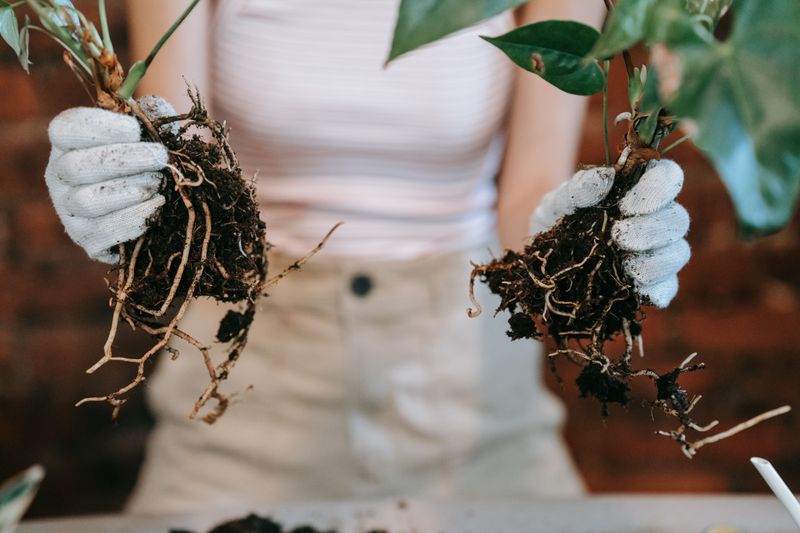
Root rot is a condition that begins underground and becomes visible later through the leaves. By the time you see black foliage, the roots may already be in serious trouble.
Fungal pathogens like Phytophthora and Pythium thrive in wet, poorly drained soil. They damage the root system and cut off the plant’s ability to absorb water and nutrients.
As the roots deteriorate, the blackening travels upward through the stems and into the leaves. The discoloration spreads in a way that looks almost like ink bleeding through paper.
Affected leaves feel limp and dark, not dry or crispy. The stem near the soil line may also show signs of black discoloration or feel spongy when pressed.
To confirm root rot, gently remove the plant from its pot and inspect the roots. Healthy roots are white and firm, while rotted roots are black, brown, and mushy.
Trim away all the damaged roots with sterilized scissors. Dip the remaining healthy roots in a diluted hydrogen peroxide solution to reduce lingering pathogens.
Repot the plant into fresh, dry, well-draining soil. Choose a clean pot with adequate drainage holes to prevent the cycle from starting again.
Reduce watering frequency significantly after repotting. The plant needs time to establish new roots before it can handle regular moisture again.
Catching root rot early gives your peace lily a good chance of recovery. A healthy root system below the soil means vibrant, green leaves above it.
6. Fungal Infections Target Stressed Leaves
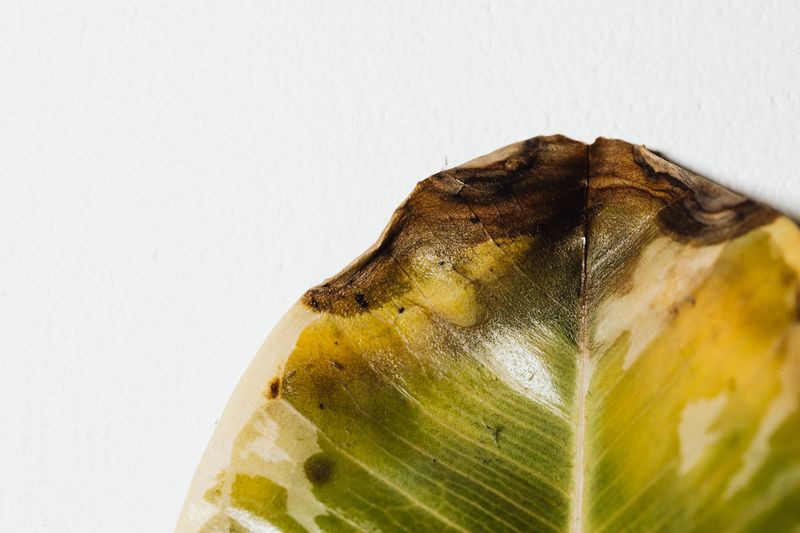
Stressed plants are like open doors for fungi. When a peace lily is already dealing with too much moisture or poor airflow, fungal spores find their moment to strike.
Fungal infections often appear as black spots with irregular or circular edges on the leaf surface. Unlike fluoride damage, these spots show up in the middle of the leaf, not just at the tips.
Botrytis and Cercospora are two common fungal culprits that target peace lilies. Both spread quickly in humid, stagnant air conditions.
Crowded plant shelves with poor circulation create conditions that allow these pathogens to spread. Fungi pass from plant to plant through spores carried by water droplets or even a gentle breeze.
Isolate any plant that shows signs of fungal infection immediately. Keeping it away from other houseplants stops the spread before it becomes a larger problem.
Remove all infected leaves at the base of the stem using sterilized scissors. Avoid dropping infected leaves into a home compost bin, since spores can often survive standard composting conditions.
Apply a copper-based fungicide or a neem oil spray to the remaining foliage. Repeat every seven to ten days until new growth comes in clean and healthy.
Improve airflow around your plant by spacing it away from walls and other plants. A small fan running on low nearby can also help circulate air effectively.
Fungal infections are manageable when caught early. Staying observant and acting quickly is what separates a plant that recovers from one that does not.
7. Excess Fertilizer Salts Burn The Edges
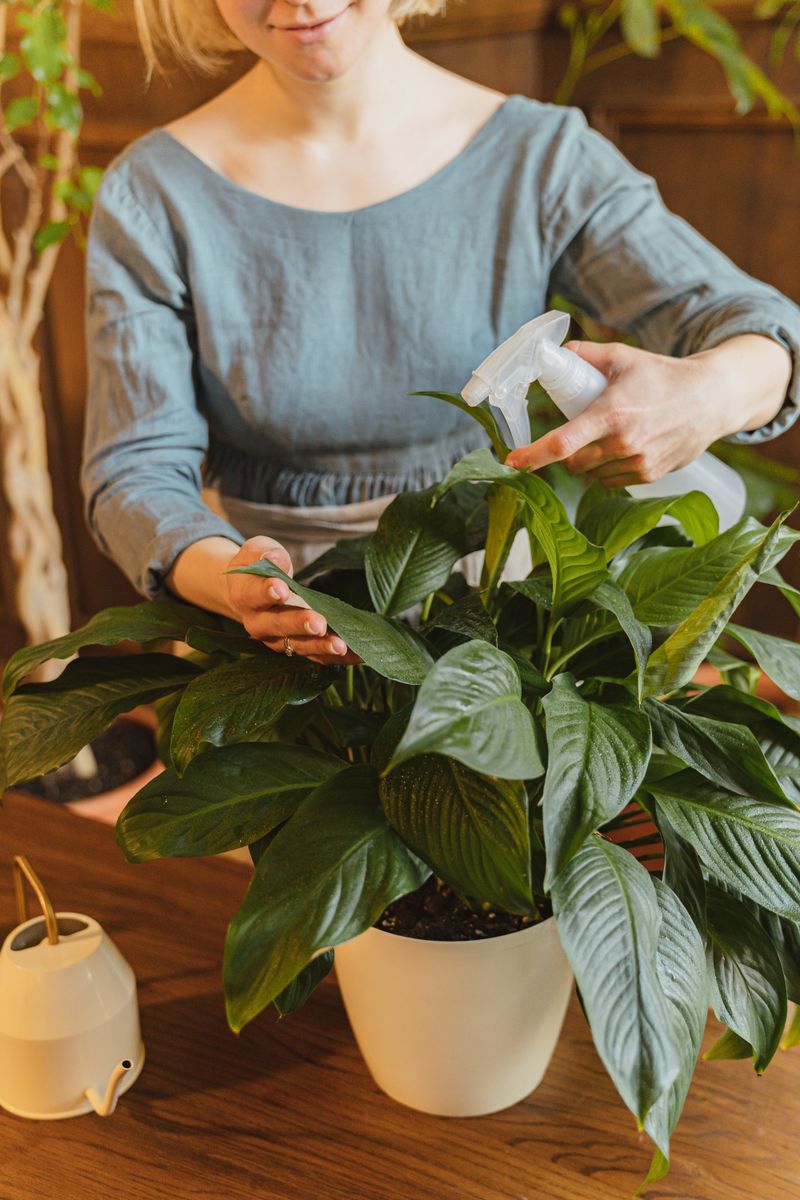
More fertilizer does not always mean a happier plant. With peace lilies, it can actually mean the opposite, especially when salts start building up in the soil.
Fertilizer contains mineral salts that accumulate over time with repeated applications. These salts draw moisture out of root cells through osmosis, essentially dehydrating the plant from the inside.
The damage shows up as black or dark brown burned edges along the leaves. Unlike cold damage or sunburn, fertilizer burn tends to follow the leaf edge in a consistent line.
You might also notice a white crusty layer forming on top of the soil. That crust is a visible sign of salt accumulation and a clear warning to scale back on feeding.
Peace lilies are light feeders compared to many other houseplants. Fertilizing once a month during the growing season with a balanced liquid fertilizer is usually enough.
During fall and winter, skip the fertilizer entirely. The plant slows its growth significantly and cannot process nutrients efficiently during those cooler, darker months.
Flushing the soil with plain water every two to three months helps remove accumulated salts. Run water slowly through the pot until it drains freely from the bottom several times.
If the buildup is severe, repotting into fresh soil gives the plant a clean start. Choose a fertilizer with a balanced ratio and always dilute it to half the recommended strength.
Feeding your peace lily with patience and restraint pays off with clean, dark green leaves that stay beautiful all season long.
8. Low Humidity Plus Heat Darkens Leaves
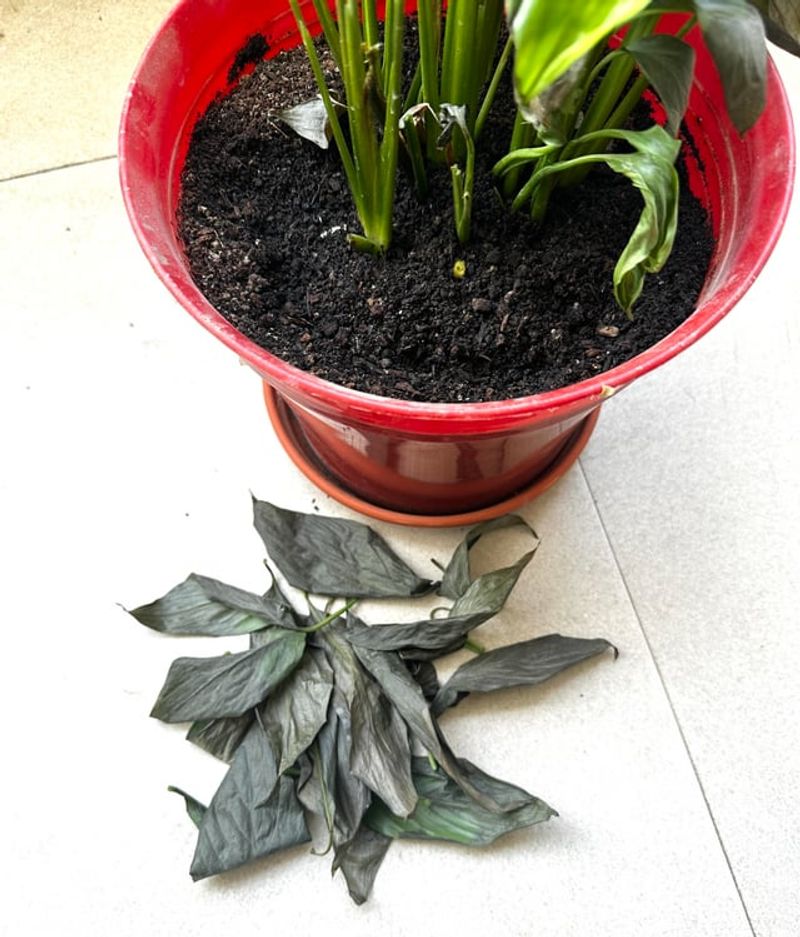
Peace lilies come from the humid rainforests of Central and South America. Ask them to survive in a dry, heated apartment, and they will show visible signs of stress through their leaves.
When indoor humidity drops below 40 percent, these tropical plants begin to struggle. The leaf edges are the first to show the stress, curling and darkening as moisture evaporates faster than the roots can supply it.
Heating systems in winter are a major cause of low indoor humidity. Forced-air heat is especially harsh because it actively pulls moisture out of the surrounding air.
The combination of dry air and warmth creates a double stressor for peace lily leaves. Cells at the leaf margins lose water faster than the plant can replace it, leading to dark, shriveled edges.
A simple digital hygrometer helps you monitor indoor humidity levels in real time. They are inexpensive and widely available at home improvement stores across the country.
Grouping plants together naturally raises the local humidity through a process called transpiration. Each plant releases moisture into the air, creating a small humid microclimate around the group.
A pebble tray filled with water placed under the pot is another easy fix. As the water evaporates, it adds gentle moisture to the air right around your plant.
A humidifier is the most reliable long-term solution for maintaining consistent moisture levels. Running it in the same room as your peace lily keeps conditions close to its tropical comfort zone.
Giving your peace lily the humidity it craves is the final piece of the puzzle. Consistent moisture in the air means peace lily leaves stay dark green, not darkened black.