Common Mistakes North Carolina Gardeners Make When Preparing Fall Garlic Beds
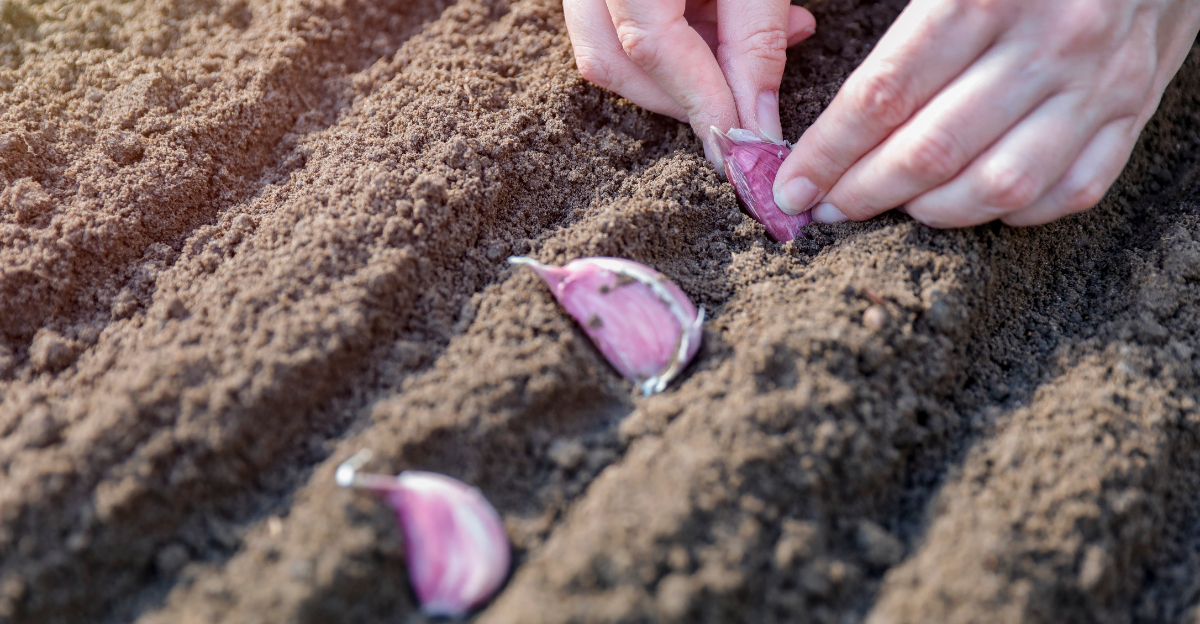
Growing garlic might just be one of the most satisfying fall projects a North Carolina gardener can take on, and there’s something deeply rewarding about tucking cloves into the soil and waiting for spring’s payoff.
But here’s the catch that trips up even experienced gardeners: the real work happens before a single clove goes into the ground.
How you prepare your beds sets the stage for everything that follows, and small missteps during this stage have a way of quietly shrinking your harvest without you realizing it until months later.
Skip a step or rush the process, and you might find yourself scratching your head come summer, wondering why your garlic bulbs came in smaller than expected.
The good news is that once you understand what your soil actually needs, the whole process becomes refreshingly simple.
Preparing your beds the right way turns garlic planting into something genuinely fun, setting you up for a harvest full of tasty rewards.
1. Planting Too Early In The Season
Timing trips up more gardeners than almost anything else. North Carolina falls can feel warm well into October, and that heat tempts folks to plant garlic sooner than they should.
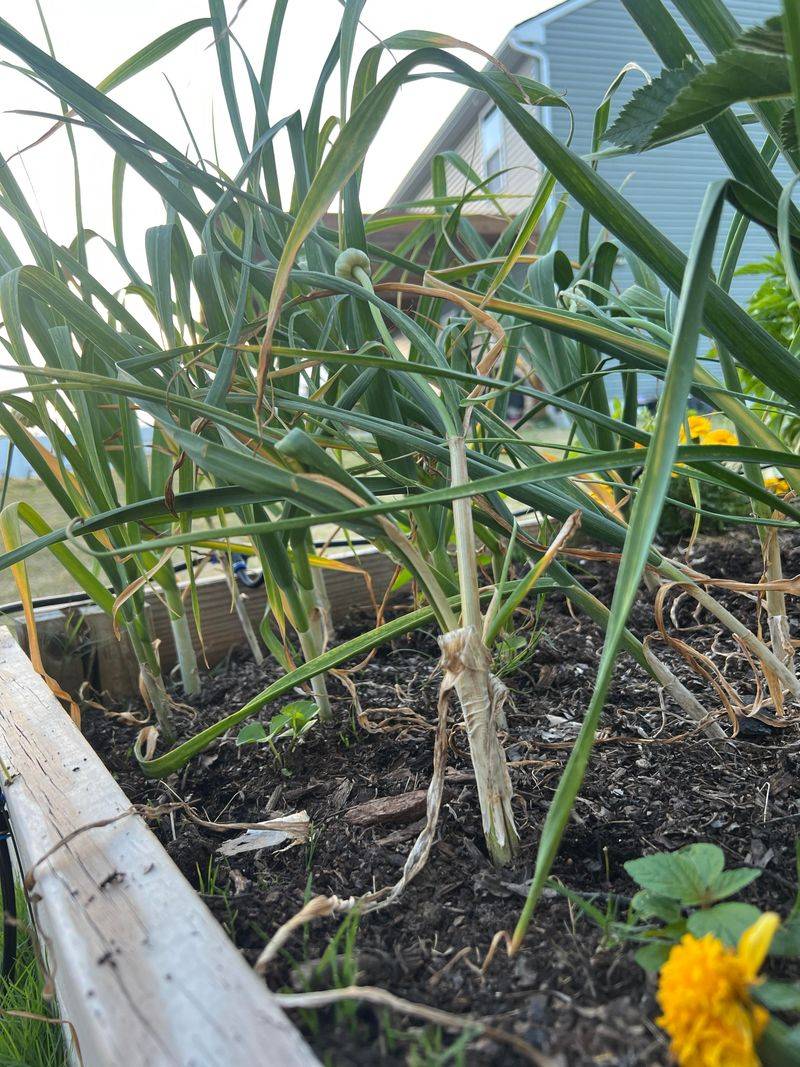
Cloves planted while the soil stays hot tend to sprout green tops way too fast. Those tender shoots then face rough winter weather that can weaken the whole plant before spring even arrives.
Most of the state sits in zones 7 and 8, which means mid-October through early November hits the sweet spot for planting.
In the cooler mountains, late September into early October works better. Watch your soil temperature instead of just the calendar. When the ground cools to around 50 degrees, roots grow strong without pushing up too much top growth.
A little patience pays off in a big way. Cloves that root deeply before winter come back tougher and produce fatter bulbs the following summer. If you already have garlic in the ground and see early sprouts, do not panic.
A thick layer of mulch helps protect those shoots through cold snaps. Straw or shredded leaves work great for this job. Keep notes each year about when you plant and how your crop turns out.
Over a season or two, you will find the exact window that fits your yard. That small habit turns guesswork into a reliable routine, and your garlic patch will thank you with plump, flavorful heads worth the wait.
2. Skipping A Soil Test Before Planting
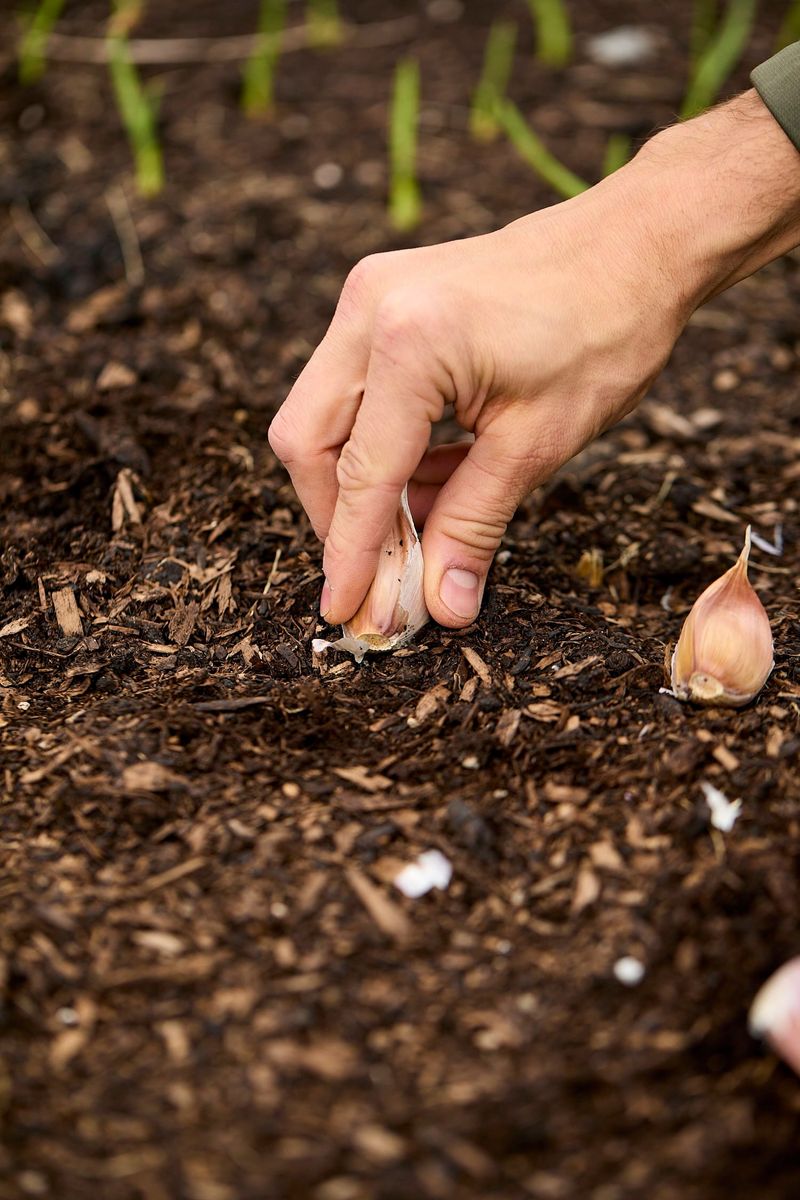
Guessing about your soil is like baking without measuring. You might get lucky, but usually the results fall short of what you hoped for.
Garlic loves soil that sits between 6.0 and 7.0 on the pH scale. Much of North Carolina has naturally acidic clay soil, which can drop below that range and lock up nutrients your plants need.
A simple soil test clears up the mystery fast. Your local county extension office offers affordable kits, and the results tell you exactly what your ground needs. Home test kits from garden stores work too if you want quick answers.
Your North Carolina Garden Changes Every Week. Your Plan Should Too.
Gardening in North Carolina changes quickly throughout the season. Every Friday you’ll receive a simple weekly plan showing exactly what to plant, prune, fertilize, harvest, and protect so you never miss the right timing.
Once you know your numbers, fixing problems becomes easy. Add lime to raise pH in acidic beds, or mix in organic matter to balance things out. The extension report usually spells out how much to use, so you are not left guessing.
Testing also reveals how much nitrogen, phosphorus, and potassium your soil holds. Garlic feeds heavily during its growing months, so starting with balanced ground gives every clove a head start.
Try to test at least a few weeks before planting. That gives any amendments time to blend into the soil and start working their magic.
Keep your test results in a folder or phone photo. Comparing them year after year shows how your garden changes and helps you spot patterns. That little bit of homework leads to healthier plants, bigger bulbs, and far fewer surprises come harvest time.
3. Ignoring Poor Drainage In Clay Soil
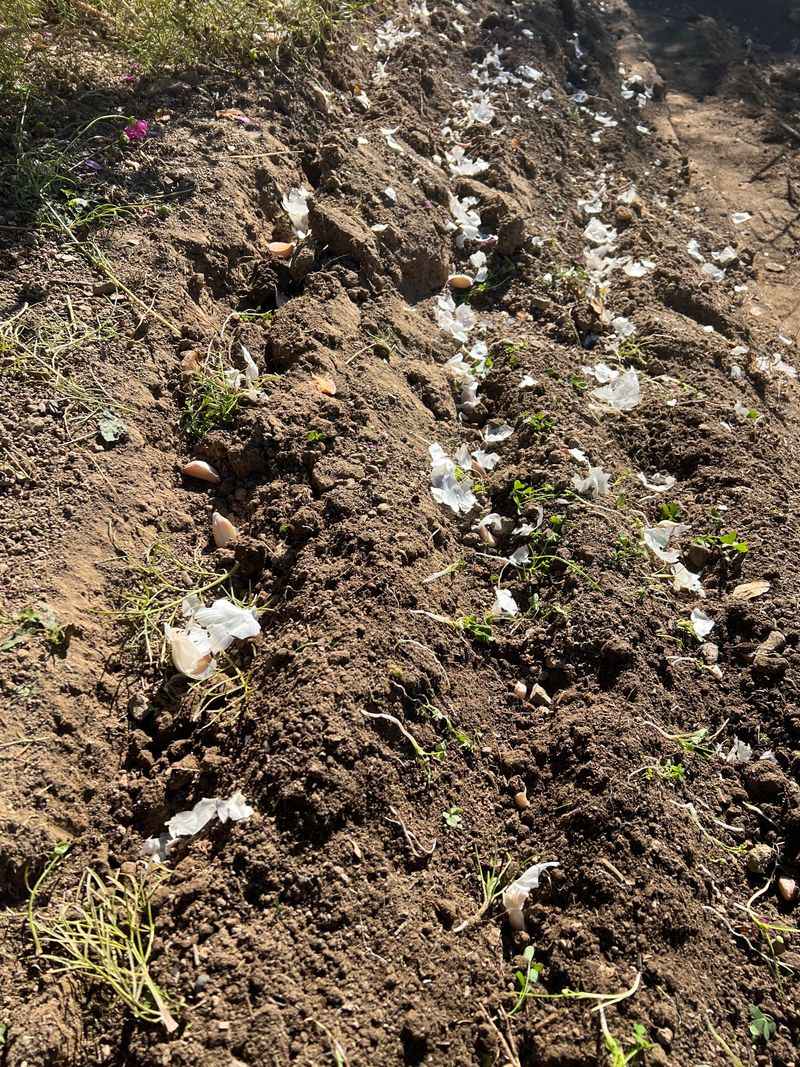
Nothing frustrates a garlic grower quite like soggy soil. Garlic hates having wet feet, yet North Carolina’s famous red clay holds water like a sponge.
When roots sit in waterlogged ground, they rot before they ever form good bulbs. Fungal problems love those damp conditions too, spreading trouble through the whole bed.
Raised beds solve this problem better than almost anything else. Lifting your soil six to twelve inches above the ground lets extra water drain away quickly. Your cloves stay moist enough to grow but never drowning.
Mixing in plenty of organic material also loosens heavy clay over time. Compost, aged leaves, and coarse sand break up sticky ground and create space for air and water to move freely.
Before planting, watch how your chosen spot handles a heavy rain. If puddles linger for hours, that area needs help before garlic goes in. Picking a slightly sloped location gives gravity a chance to pull moisture downhill.
Some gardeners add a layer of gravel beneath their beds for extra drainage insurance. That step is not always needed, but it can rescue a stubborn low spot.
Feel your soil with your hands to judge its texture. Good garlic soil crumbles apart rather than forming a hard, sticky ball. Keep improving that texture each season by adding organic matter.
With better drainage, your cloves develop firm roots and plump heads. A little effort up front spares you a whole lot of disappointment later.
4. Using Grocery Store Garlic For Planting
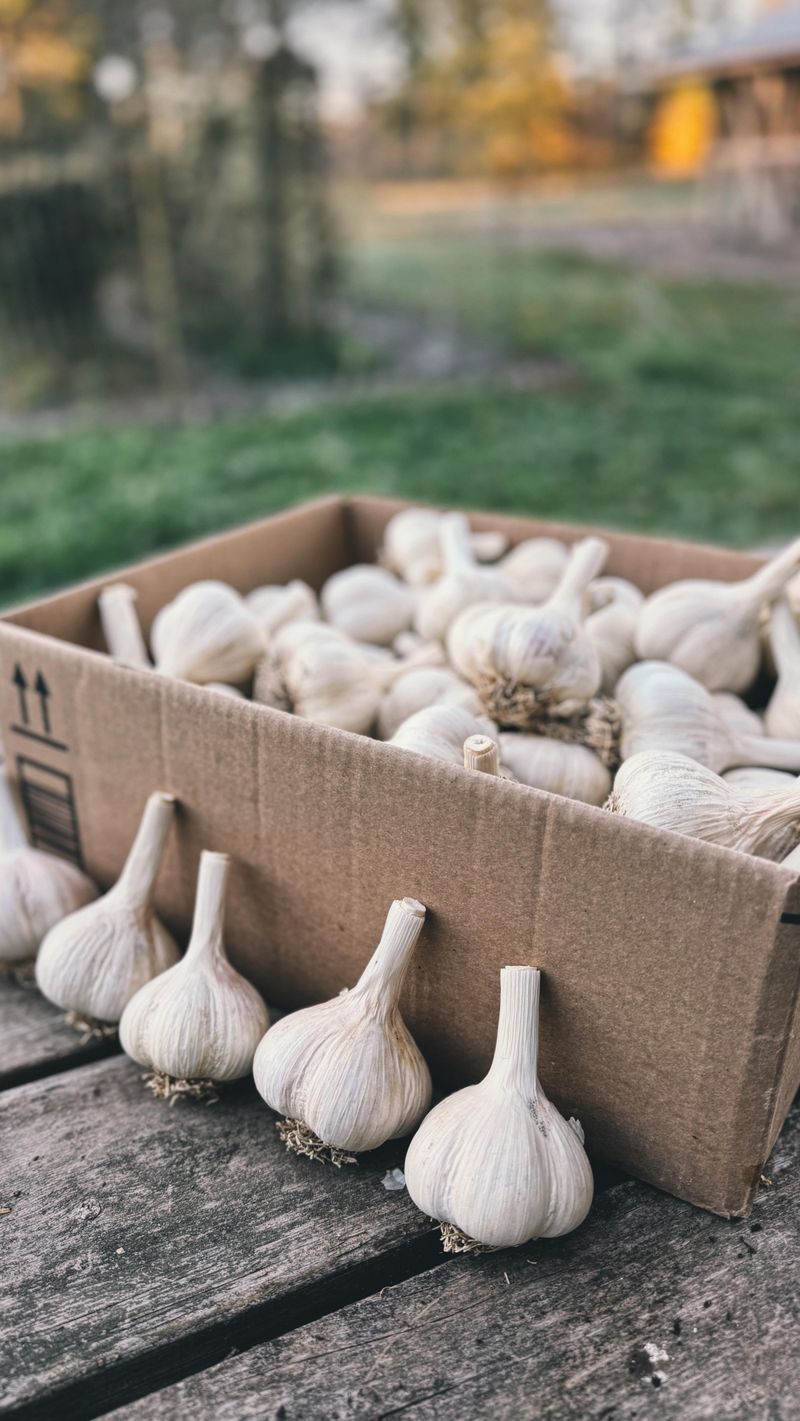
That bulb sitting in your kitchen basket looks tempting, but it usually makes a poor choice for planting. Grocery store garlic often comes from far-off places with completely different climates.
Much of it gets treated with chemicals that stop sprouting, which means those cloves may never grow at all. Even when they do sprout, they rarely match North Carolina’s weather patterns.
Seed garlic from a trusted supplier changes the whole game. These bulbs are grown for planting, free of sprout inhibitors, and often picked for varieties that thrive in your region.
Hardneck types like Music and German Extra Hardy handle cold well, while softneck types such as Inchelium Red do great in warmer parts of the state. Matching the variety to your area boosts your success from day one.
Buying local seed garlic offers another bonus. Bulbs grown by nearby farmers have already proven they can handle North Carolina soil and seasons.
Look for certified disease-free stock whenever possible. Starting with clean bulbs keeps hidden problems out of your garden and protects future crops.
Bigger cloves generally produce bigger bulbs, so choose plump, firm ones for planting. Save the smaller cloves for cooking instead.
Once you grow a variety you love, you can save your own best bulbs each year. That homegrown seed adapts to your exact garden over time.
Spending a little more on quality seed garlic pays off with a stronger, tastier harvest that keeps rewarding you season after season.
5. Forgetting To Add Enough Compost
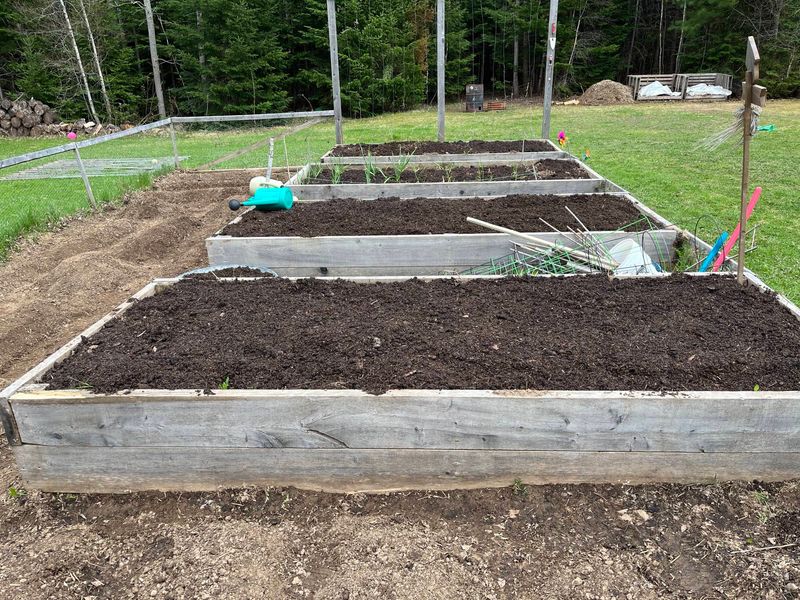
Hungry plants need rich food, and garlic ranks among the hungriest in the garden. Skipping compost leaves your cloves scrounging for nutrients they simply cannot find.
Compost does more than feed your plants. It improves soil texture, holds moisture at the right level, and welcomes helpful earthworms and microbes that keep the ground alive.
Before planting, spread two to three inches of finished compost across your bed. Work it gently into the top several inches of soil so roots can reach it easily.
Well-rotted manure works beautifully too, as long as it has aged properly. Fresh manure runs too hot and can burn tender roots, so give it plenty of time to break down first.
Garlic also enjoys a steady supply of nutrients through winter and spring. Compost releases its goodness slowly, feeding plants gradually instead of all at once.
If your soil already tests rich, you can ease up a bit. Too much nitrogen encourages leafy tops at the expense of the bulbs you actually want.
Homemade compost from kitchen scraps and yard trimmings costs almost nothing and works wonders. Building a simple pile turns waste into black gold for your garden.
Mixing compost in each fall builds better soil year after year. What starts as stubborn clay slowly becomes crumbly, fertile ground.
Give your garlic that rich foundation, and it rewards you with larger, more flavorful bulbs. Healthy soil truly is the secret behind every impressive harvest.
6. Planting Cloves At The Wrong Depth
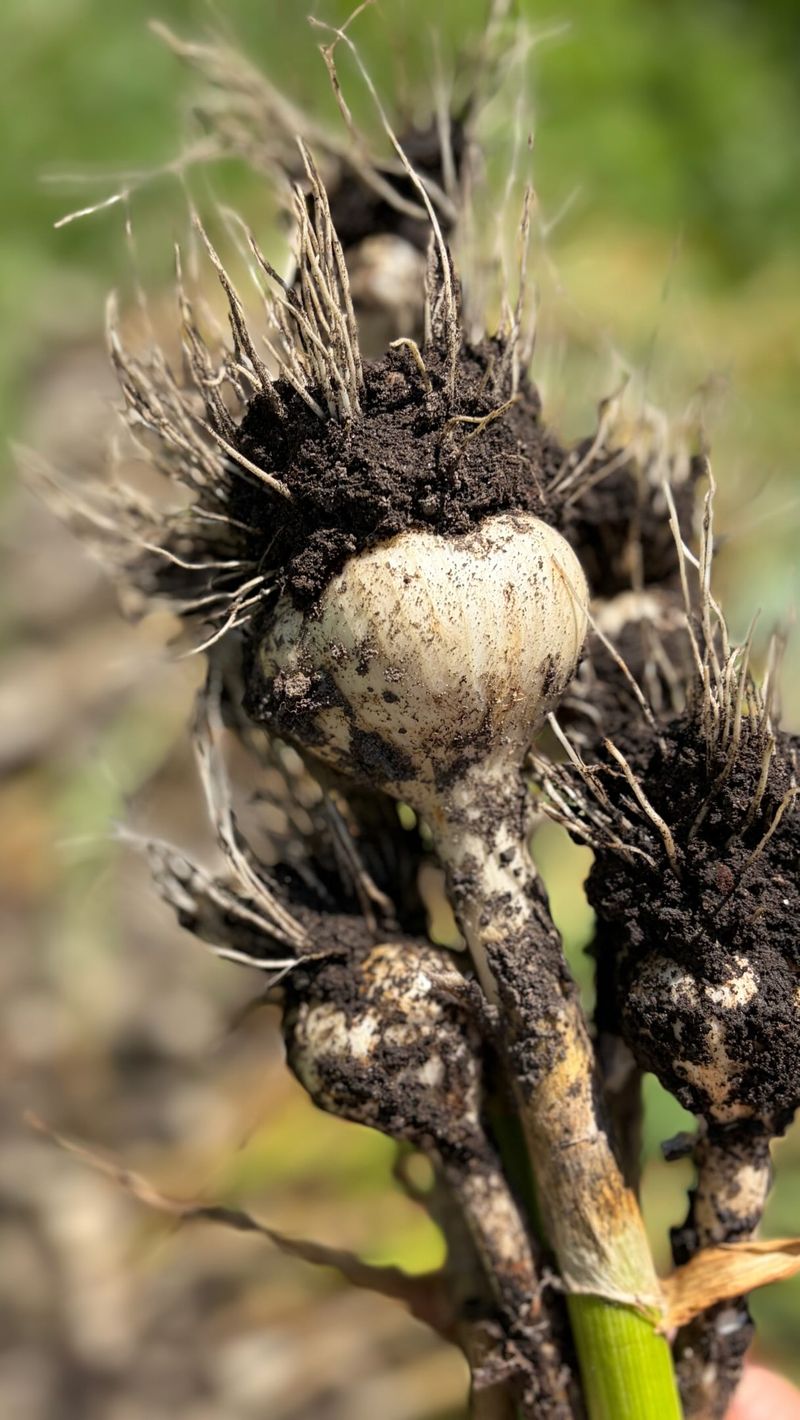
Depth might seem like a tiny detail, but it makes a huge difference for garlic. Cloves planted too shallow face harsh cold, while ones buried too deep struggle to push through.
The sweet spot sits around two inches deep for most of North Carolina. In colder mountain areas, go a bit deeper, closer to three inches, for extra winter protection.
Direction matters just as much as depth. Each clove has a pointed tip and a flat root end. Place the pointed side up so the sprout heads toward the sky and roots grow downward.
Planting a clove upside down wastes energy as the shoot fights to turn itself around. That slow start shrinks your final bulb size.
Spacing plays a role too. Give each clove about four to six inches of room in every direction. Crowded plants compete for food and light, leaving you with smaller heads.
Rows spaced roughly a foot apart make weeding and watering easier down the road. Good airflow between plants also cuts down on disease.
After planting, cover the cloves with soil and pat it down gently. A firm bed helps roots make solid contact with the ground.
Top everything with mulch once the soil cools. That blanket keeps temperatures steady and holds moisture where roots need it.
Getting depth, direction, and spacing right sets your whole crop up for success. These simple steps take only minutes but shape every bulb you harvest next summer.
7. Neglecting A Protective Layer Of Mulch
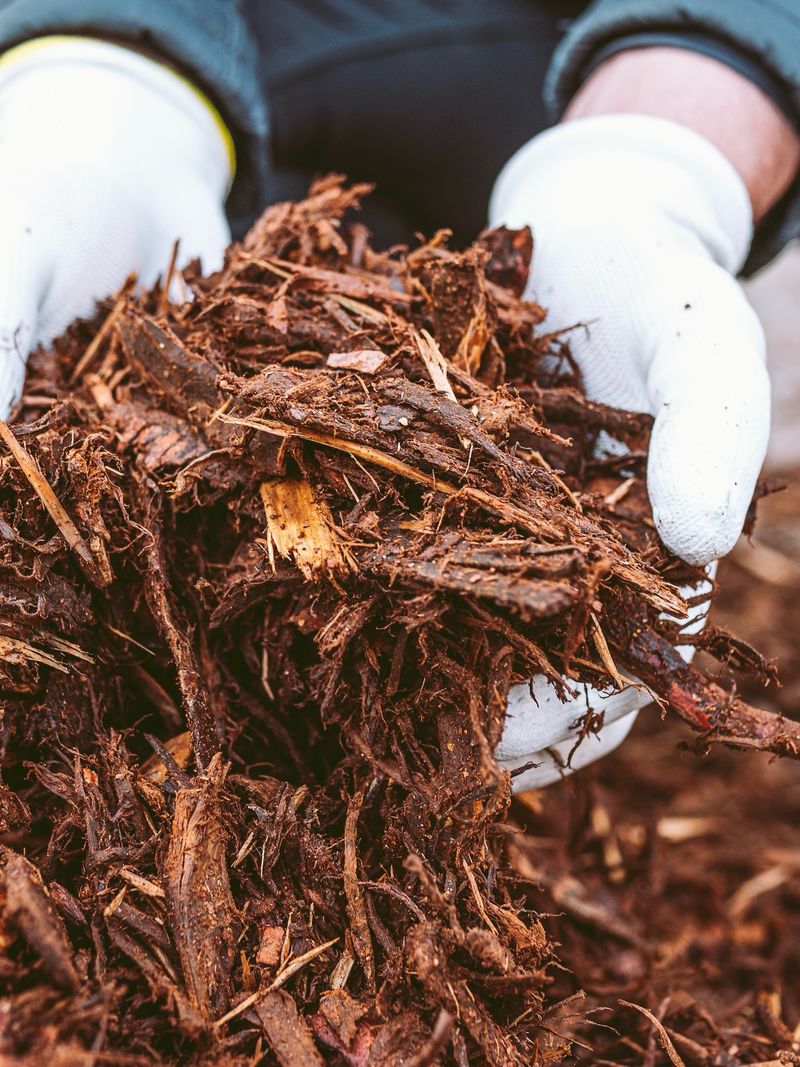
Mulch acts like a cozy blanket for your garlic bed, yet plenty of gardeners skip this step entirely. Bare soil leaves cloves exposed to wild temperature swings all winter long.
North Carolina winters bring warm spells followed by sudden freezes. That back-and-forth pushes soil up and down, sometimes heaving cloves right out of the ground.
A thick layer of mulch smooths out those swings. Straw, shredded leaves, or pine needles all work well and keep the soil temperature steady beneath the surface.
Aim for three to four inches of mulch spread evenly over your bed. That depth traps warmth, locks in moisture, and blocks weeds from taking over.
Mulch also feeds your soil as it slowly breaks down. By spring, that organic matter enriches the ground and helps hold water during dry stretches.
Weeds compete hard with garlic for nutrients, so smothering them early saves you tons of work later. A good mulch layer means far less weeding come spring.
Wait until the soil cools before laying it down. Mulching too early can trap heat and encourage sprouts before winter, which defeats the purpose.
When shoots push up in spring, you can leave the mulch in place. The plants grow right through it while it keeps doing its job.
Skipping mulch is one of the easiest ways to shortchange your harvest. A little straw goes a long way toward stronger plants and fatter bulbs when summer finally rolls around.
8. Overlooking Crop Rotation In The Garden
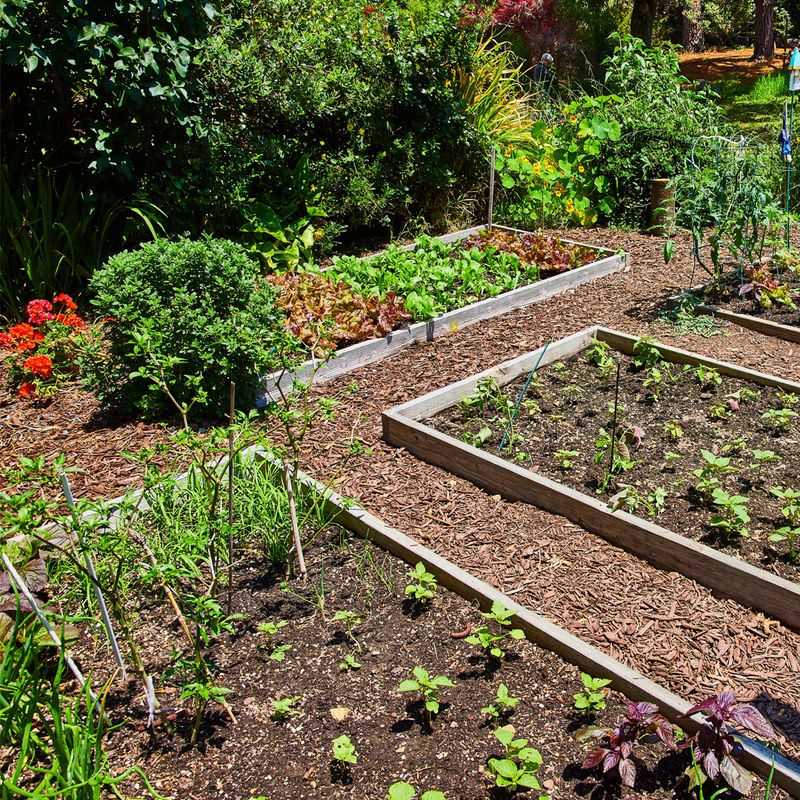
Planting garlic in the same spot year after year feels convenient, but it quietly invites trouble. Pests and diseases that target the onion family build up in that soil over time.
Garlic belongs to the allium family, along with onions, leeks, and shallots. Growing any of these in the same bed repeatedly gives problems a permanent home to thrive.
Rotating your crops breaks that cycle. Move garlic to a fresh spot each year, ideally one where alliums have not grown for three seasons.
Following different plant families also balances your soil. Beans and peas, for example, add nitrogen back to the ground, leaving it richer for the next crop.
Rotation spreads out nutrient demands too. Garlic pulls certain minerals from the soil, and planting something else afterward lets those levels recover naturally.
Sketching a simple garden map helps you keep track. Jot down what grew where each year so you never lose your rotation plan.
Even in a small garden, you can shuffle beds or containers around. A little creativity goes a long way when space runs tight.
Cover crops like clover or rye offer another smart move between garlic plantings. They protect bare soil and add organic matter when turned under.
Practicing rotation keeps your whole garden healthier, not just your garlic. Fewer pests, richer soil, and stronger plants all come from this one habit.
Give your garlic a new home each season, and you will notice cleaner beds and more reliable harvests year after year.