The Maryland Perennials That Should Be Split Before The Month Ends
There is a short window in the Maryland garden calendar when the soil is cool, the air is soft, and roots are still awake underground. Miss it, and you wait another year.
Maybe you have noticed a favorite clump flopping open in the middle like a bad haircut. Fewer blooms, crowded stems, and a bare spot right in the center are all quiet signals.
The fix costs nothing but an hour, a spade, and a little nerve. You slice, you lift, you replant, and suddenly one plant becomes four.
From Garrett County ridges to Eastern Shore sand, certain garden favorites respond beautifully to this treatment right now. Here are eight worth putting on your weekend list before the calendar flips.
1. Hostas For Shady Maryland Borders
Ask anyone with a shady yard in Howard or Montgomery County and they will tell you the same thing. Hostas multiply like gossip at a neighborhood picnic.
A clump that once looked tidy will balloon into a mound so thick the inner leaves shrink and pale. That crowding is your cue to grab a spade.
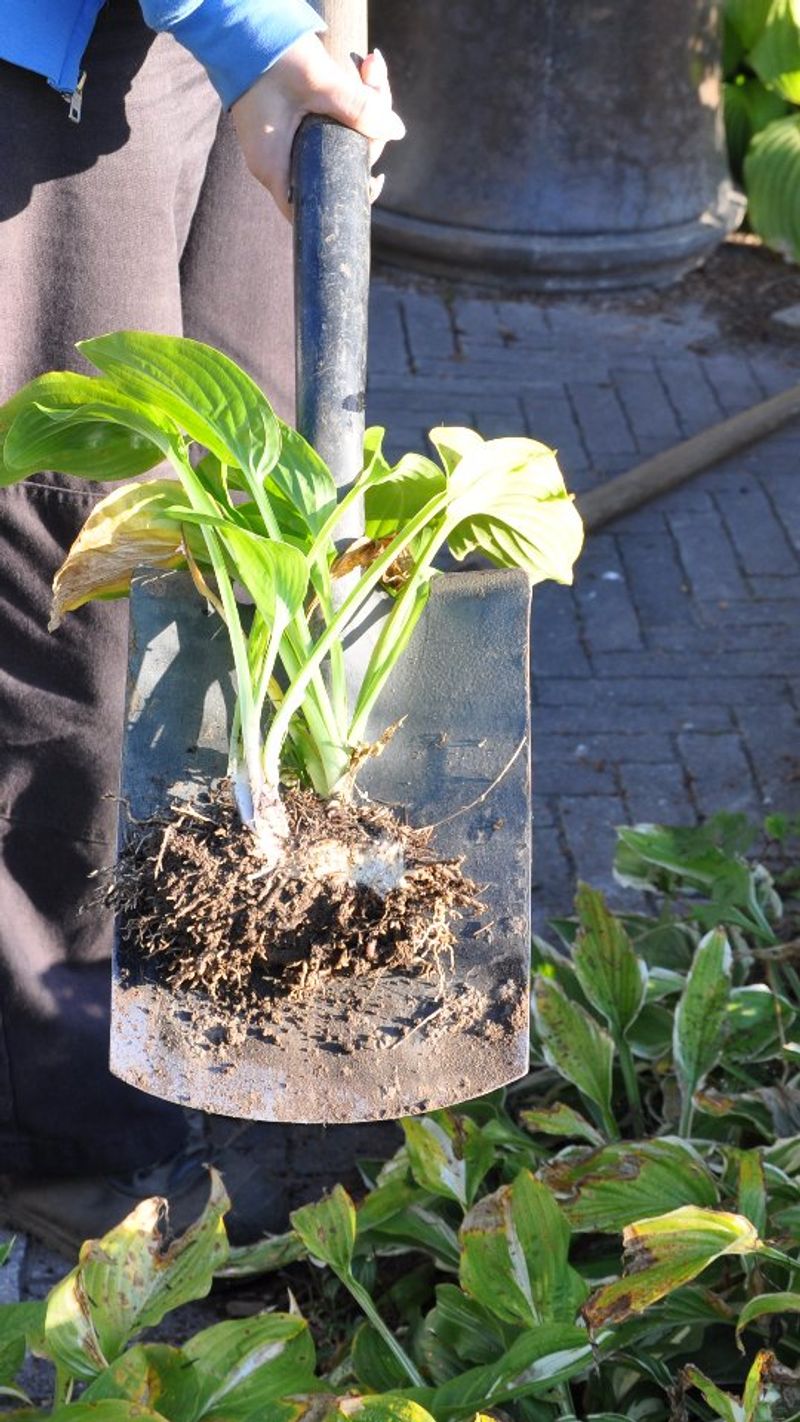
Dig a full circle around the plant about six inches out from the outer leaves, then pry the whole root ball up. Maryland clay holds tight, so rock the spade back and forth instead of forcing it.
Once the clump is out, hose off enough soil to see the crowns. Each crown is a future plant, and you can pull many varieties apart by hand.
For older, woody clumps, a serrated bread knife or a sharp garden knife works wonders. Aim for divisions with at least three shoots and a healthy fan of roots.
Replant at the exact same depth they were growing before. Burying the crown too deep invites rot in our humid summers.
Water deeply, then mulch with two inches of shredded leaves or bark, keeping the mulch off the crown itself.
Here is a bonus worth knowing. Divided hostas also tend to push out fuller, more vigorous foliage the following spring since the crowns are no longer competing for light and moisture.
Give the new divisions to a neighbor, tuck them along a fence line, or pot a few up. Free plants are the best kind of plants.
2. Daylilies Along Fences And Driveways
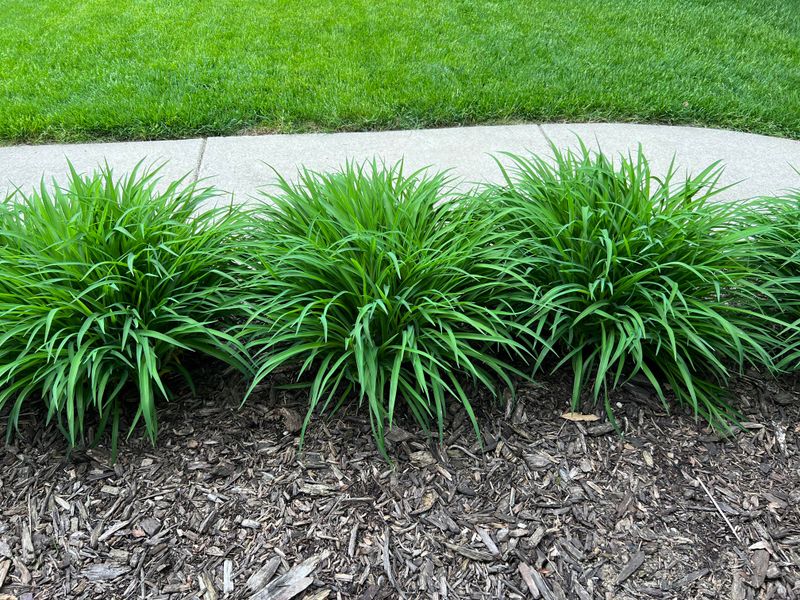
Daylilies are the workhorses of the mid-Atlantic. They tolerate heat, road salt spray, and gardeners who forget to water.
But even tough plants get sulky when they are packed too tightly. A clump that gave you sixty blooms three summers ago and only a dozen this year is begging for elbow room.
Lift the entire clump with a digging fork rather than a shovel. The fork slides between the fleshy roots instead of chopping through them.
Set the mass on a tarp and shake or wash off the soil. You will see individual fans, each with its own root cluster attached.
Two garden forks pushed back to back through the center make quick work of stubborn clumps. Pull the handles apart and the plant splits along natural seams.
Your Maryland Garden Changes Every Week. Your Plan Should Too.
Gardening in Maryland changes quickly throughout the season. Every Friday you’ll receive a simple weekly plan showing exactly what to plant, prune, fertilize, harvest, and protect so you never miss the right timing.
Single fans will bloom, though double or triple fans establish faster and often flower the very next June. Trim the foliage back to about six inches so the roots are not fighting to support tall leaves.
Plant the crown just one inch below the soil surface. Deeper planting is the most common reason divided daylilies skip a season of blooming.
Space them fifteen to eighteen inches apart and water them in well.
One fun bit of trivia: each individual daylily flower opens for a single day, which is exactly how the plant earned its name. Splitting the clump simply means more of those one-day wonders next year.
3. Bearded Iris With Crowded Rhizomes
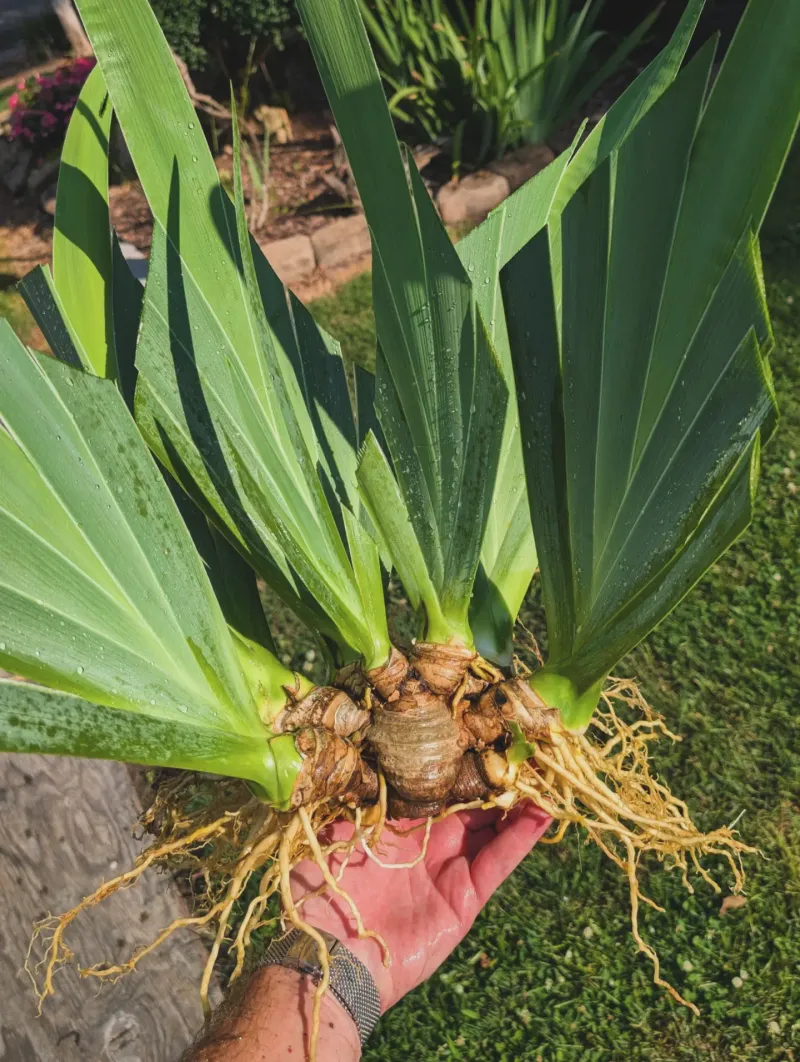
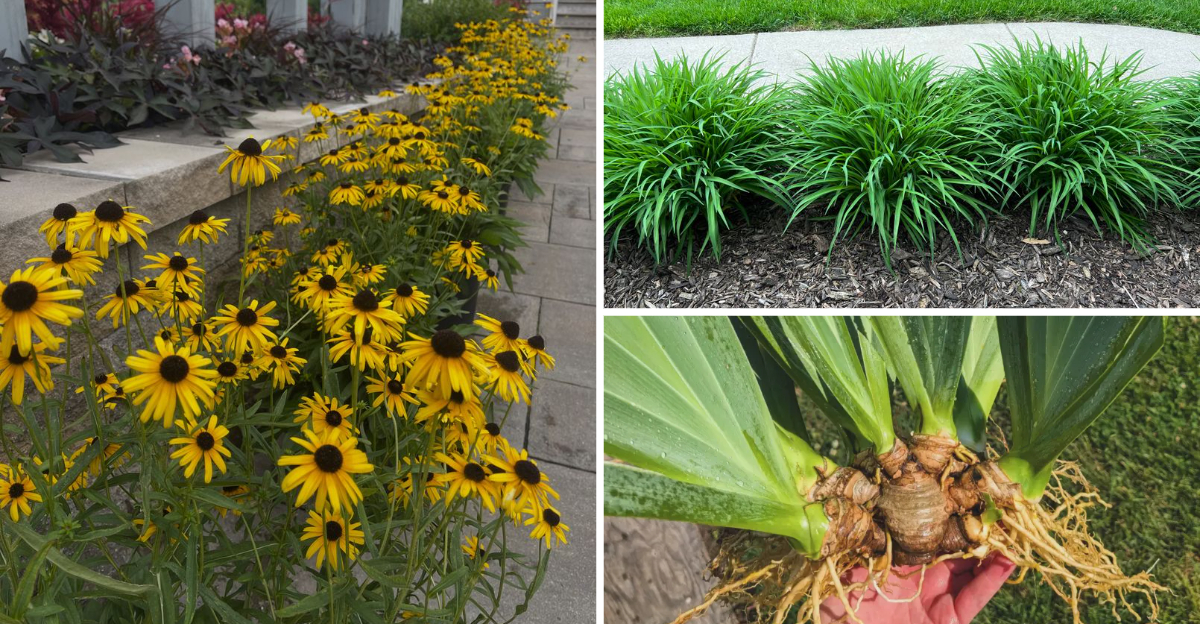
Bearded iris rhizomes creep across the soil surface like fat, sunbathing fingers. Over three or four years they pile up on each other until the center of the patch goes hollow and bloomless.
Maryland humidity makes crowded iris a target for soft rot and borer damage. Thinning them out is more than a beauty treatment, it is basic plant hygiene.
Lift the whole mat with a fork and knock the soil loose. Snap or cut the rhizomes apart where they naturally branch.
Toss anything mushy, hollow, or foul smelling. Keep the firm, plump pieces about the size of your thumb with a healthy leaf fan attached.
Trim leaves into a fan roughly six inches tall. This reduces wind rock while new roots grip the soil.
Now the part gardeners get wrong most often. Bearded iris rhizomes want to sit with their tops partly exposed, like a duck floating in the water.
Bury them and they rot. Set them shallow, spread the roots down into the soil below, and firm them in.
Plant divisions in groups of three with the fans pointing outward for a full look. Give them full sun and skip heavy mulch over the rhizomes.
Let the cut surfaces dry in the shade for a few hours before planting. That small pause forms a callus that blocks bacteria.
Come May, your reward is that unmistakable ruffled bloom, and many varieties carry a light grape-like fragrance.
4. Shasta Daisies Going Bare In The Middle
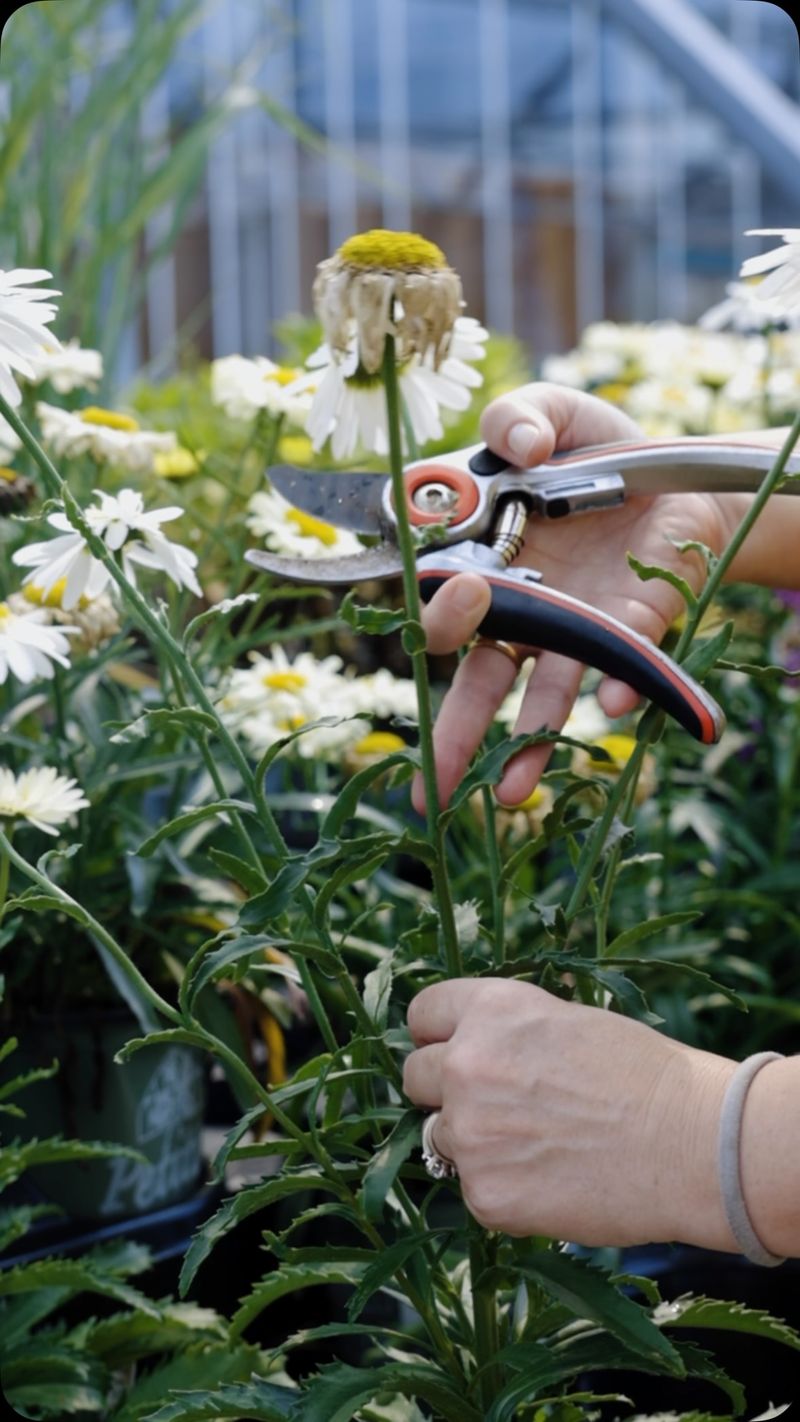
There is a moment every daisy grower recognizes. The ring of white blooms looks great from a distance, but walk closer and the middle has gone woody and bald.
Shasta daisies grow outward from the center each year, abandoning the oldest tissue behind them. Three years is about the limit before they need a reset.
Slide a fork under the outer ring and lift. The younger growth on the edges is what you want to save.
Discard the tough, hollow core without guilt. It has done its job and will not perk back up.
Break the outer ring into fist-sized chunks, each with green shoots and pale roots. Hand pressure usually does it, though a knife helps on older plants.
Replant in soil that drains. Soggy winter ground is harder on Shastas than any Maryland cold snap.
Work a shovel of compost into each planting hole, especially in the heavy clay common around Baltimore and the Piedmont. Space divisions about eighteen inches apart.
Water them well for the first two weeks, then let rainfall take over.
A small tip that pays off: leave a few inches of stem standing over winter so you remember where they are come spring cleanup. Cut them to the ground once new basal leaves appear.
Divided regularly, Shastas stay compact and stop flopping over onto their neighbors. Fewer stakes, more flowers, and a tidier bed all summer long.
5. Black Eyed Susans And Native Rudbeckia

Maryland’s state flower has a habit of wandering. Plant three, look away for two seasons, and you have a small golden colony marching toward the sidewalk.
That enthusiasm is exactly why rudbeckia divides so easily. The roots are shallow, fibrous, and forgiving of rough handling.
Slice straight down through the clump with a spade while it is still in the ground. Lift out the wedge you cut and leave the rest undisturbed.
This trick saves your back and lets the parent plant keep growing without missing a beat. Fill the gap with compost and move on.
Each division should have a few green rosettes at the surface and a decent handful of roots below. Anything smaller will sulk through winter.
Plant at the original depth, water thoroughly, and add a light mulch layer. Skip fertilizer for now since fresh divisions focus on roots, not leaves.
Rudbeckia fulgida, the variety most Marylanders grow, holds up well to our sticky Julys and shrugs off drought once established.
Leave some seed heads standing through winter rather than cutting everything flat. Goldfinches will strip them clean, and you get the entertainment for free.
Spread divisions along a sunny fence, near a mailbox, or in a rain garden where runoff collects. They handle wet feet better than most border perennials.
Within a single growing season, those little starts will look like they have been there for years.
6. Garden Phlox Prone To Powdery Mildew
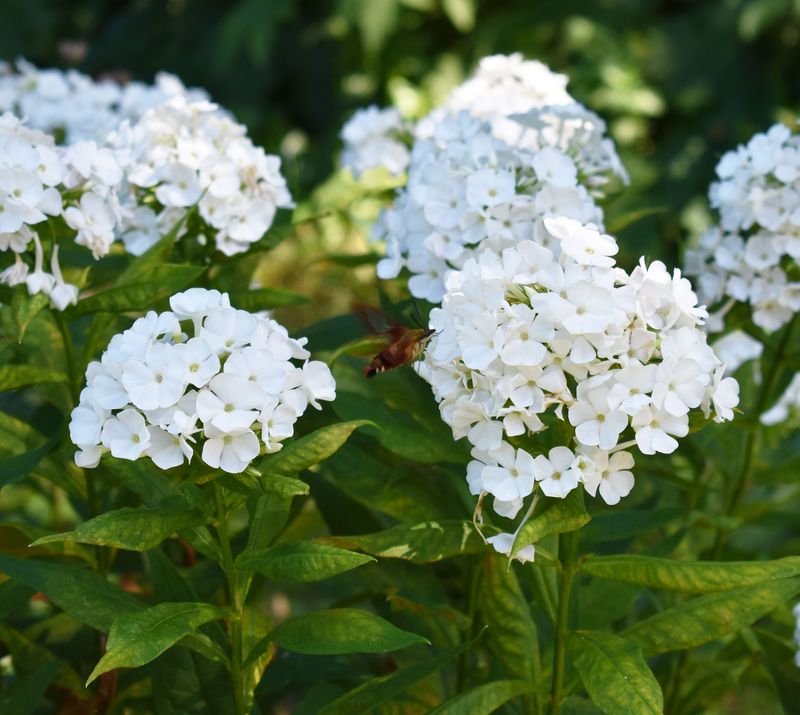
Tall garden phlox smells like summer evenings and attracts every swallowtail in the neighborhood. It also gets that dusty white coating on its leaves faster than almost anything else in a Maryland border.
Crowding is a big part of the problem. Stems packed shoulder to shoulder trap humid air, and mildew loves stale air.
Dividing thins the stand and opens up airflow. Think of it as installing windows in a stuffy room.
Dig the clump and separate it into sections with four or five stems each. The roots are stringy and pull apart with moderate effort.
Throw out the oldest, most congested center growth. Younger outer pieces root faster and grow more vigorously.
Replant divisions at least two feet apart, which feels generous now and looks right by midsummer. Choose a spot with morning sun to dry the leaves early in the day.
Water at the base rather than overhead. Wet foliage overnight is basically an invitation to fungal spots.
Add compost to the hole and mulch lightly, keeping material away from the stems.
Worth knowing: many older phlox varieties are far more mildew prone than newer selections. If your plant struggles year after year despite good spacing, replacing it with a resistant cultivar may serve you better than another round of splitting.
Divide phlox every three years and you will notice cleaner leaves, taller stems, and fragrance that carries clear across the patio.
7. Peonies With Congested Root Crowns
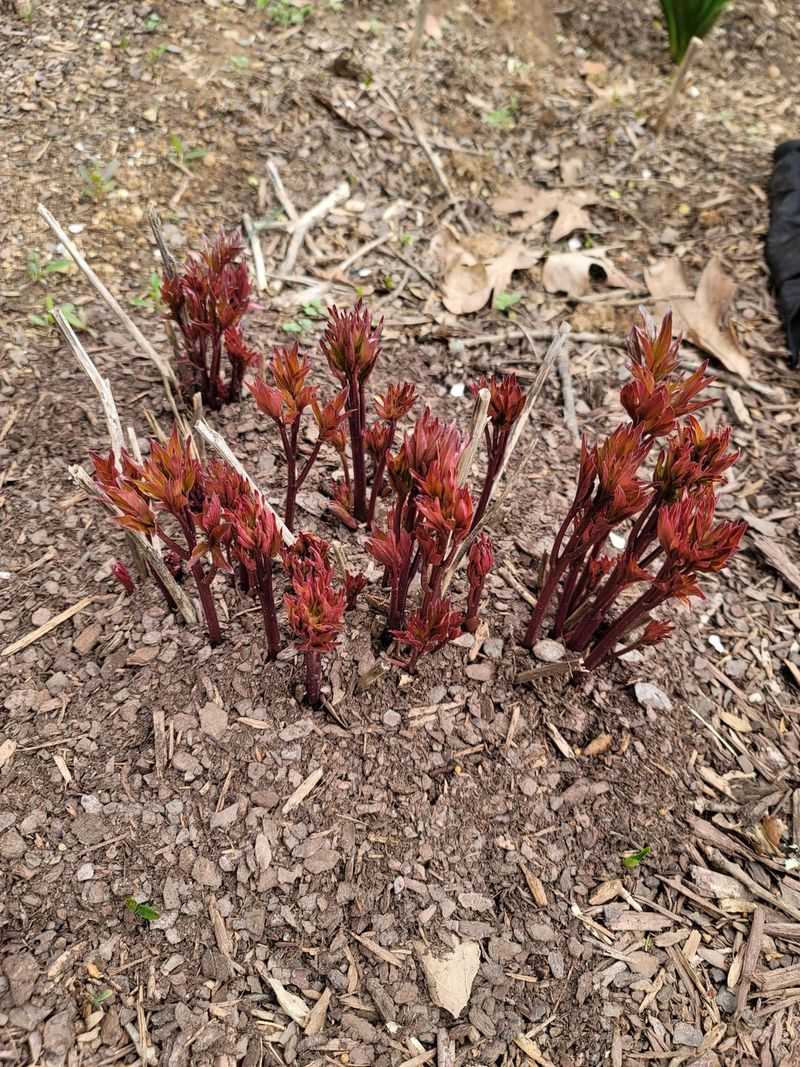
Peonies rarely ask for anything, which is exactly why gardeners forget they need dividing at all. After eight or ten years in the same spot, a crowded crown starts producing fewer, smaller blooms even in perfect soil.
Cut the foliage back to a few inches first so you can see what you are working with. Dig a wide circle a foot or more out from the stems, since peony roots spread further than you expect.
Lift the whole woody crown with a fork and hose off the clinging Maryland clay. You will see pale pink buds, called eyes, clustered along the top of the root.
Using a clean, sharp knife, cut the crown into sections with three to five eyes each. Fewer eyes means a longer wait for blooms, so resist the urge to make too many tiny pieces.
Here is where most divisions fail. Plant the eyes no more than two inches below the soil surface, since burying them deeper is the top reason divided peonies skip flowering for years.
Space new divisions three feet apart in full sun with excellent drainage. Water them in well, then leave them alone through winter.
Do not expect a big show next spring. Divided peonies typically sulk for a season or two before settling in, but once established, they will outlast almost everything else in the bed.
8. Astilbe Plumes Thinning At The Center
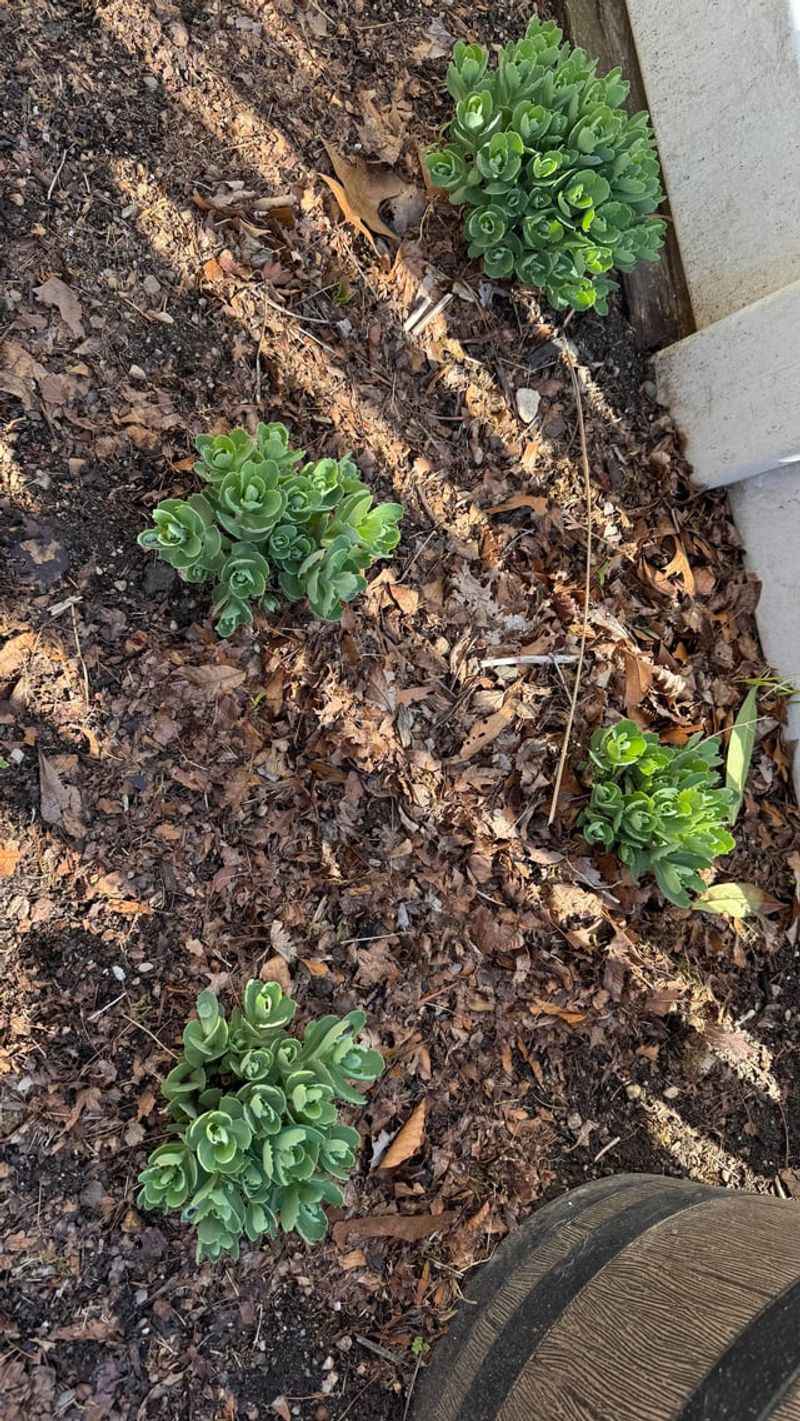
Astilbe earns its spot in every shady Maryland corner where hostas already thrive. Give it a few years, though, and the woody crown pushes upward and outward, leaving a bare, tired patch in the middle where the feathery plumes used to rise.
That upward creep is the clearest sign it is time to lift and split. Fewer blooms and a crown poking above the soil line both point to the same fix.
Water the bed the day before so the clay loosens its grip. Dig a wide circle around the clump and pry the whole root mass free with a spade or fork.
Once it is out, you will see a dense, woody crown laced with fine, fibrous roots. Older clumps resist bare hands, so a sharp spade or a pruning saw driven straight through the crown works better than fighting it apart.
Aim for divisions with at least three to five growth buds and a healthy tangle of roots attached. Smaller pieces will survive, but they take an extra season to bulk back up to a full plume.
Replant at the same depth the crown was growing before, since astilbe planted too shallow dries out fast in our humid summers. Work compost into the hole first, since these plants are heavier feeders than most shade perennials.
Water deeply and often for the first few weeks, especially if September stays dry. Astilbe roots are shallow, so a gap in rainfall shows up quickly as crispy leaf edges.
Space new divisions twelve to eighteen inches apart under trees or along a north-facing wall. Come next July, those thinned-out crowns will send up fuller, more colorful plumes than the overcrowded clump ever managed.