September Is The Time To Prepare Your Virginia Hostas For Winter And Here’s How To Do It
Don’t put those hostas to bed just yet. September is your last chance to give them a little attention before the season winds down.
As summer fades, hostas across Virginia start slowing their growth and preparing for their winter rest. That makes early fall a useful time to check on the plants and make a few smart adjustments while the garden is still active.
A little attention now can make fall cleanup easier and help you avoid carrying small problems into the next growing season. Watering, checking for slugs, handling fading foliage, and looking over the planting area all have a place in the September routine.
You don’t need a complicated checklist or hours of garden work. A few thoughtful steps can leave your hostas in better shape as colder weather approaches, while giving you a chance to enjoy those big, beautiful leaves for a little longer.
1. Give Hosta Roots A Good Drink Before Cold Arrives
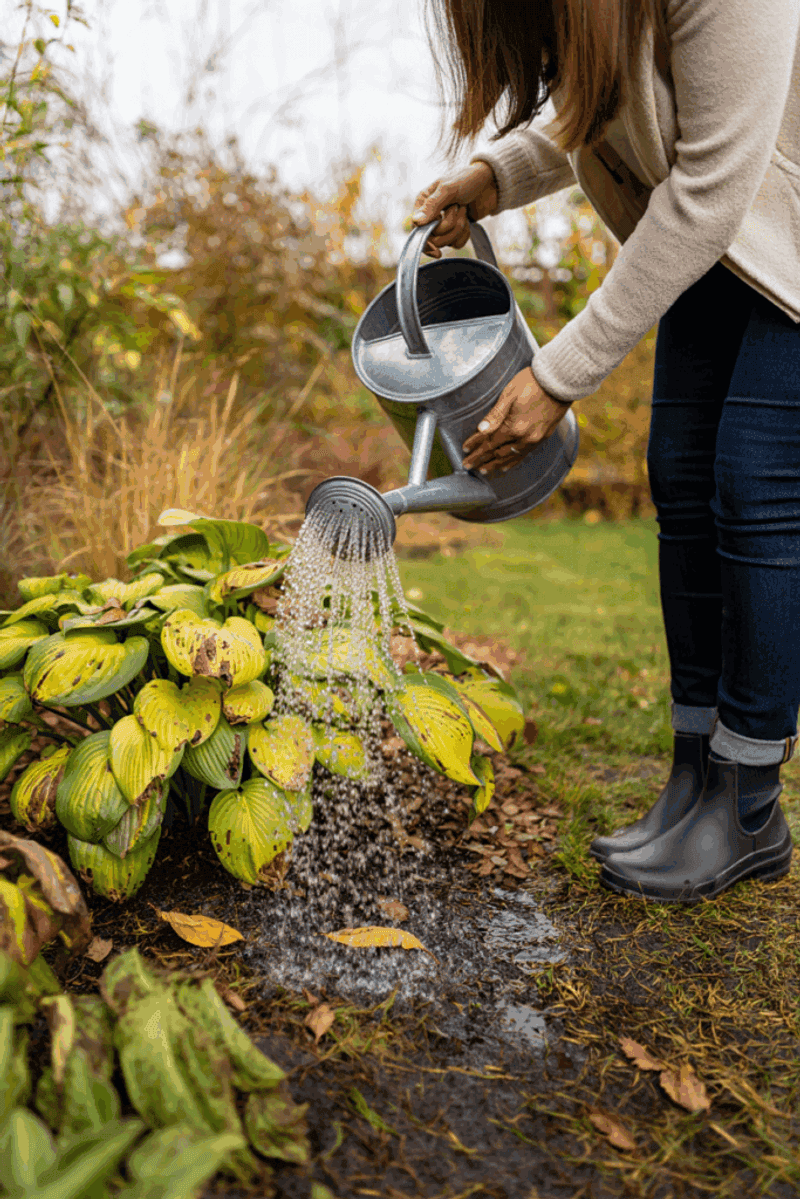
Before the ground freezes across Virginia, your hostas need a solid drink to build up strength for the months ahead.
Deep watering helps their roots handle the drying winds of winter and the freeze-thaw swings that come with our changing autumn weather.
Through the fall, monitor the soil and water thoroughly when it begins to dry. How often hostas need water depends on rainfall, soil type, temperature, and the conditions around the plants.
During dry periods, water deeply enough to moisten the root zone, applying the water directly to the soil rather than routinely wetting the foliage.
As temperatures drop and the plants enter dormancy, their water needs decrease. Continue to check the soil during extended dry periods and water when needed, especially before the ground freezes.
Even resting hostas use a little moisture, so peek at the soil during warm spells to keep the roots from drying out. Be careful not to overdo it, since soggy soil invites root problems and hungry slugs.
For hostas in pots, tuck them into a sheltered spot and water sparingly through the colder season.
If you recently divided plants and the weather turns dry, a couple of extra waterings will help those fresh crowns settle in.
Pay attention to the soil rather than watering strictly by the calendar. A rainy September may provide plenty of moisture, while a stretch of warm, dry weather can leave the ground surprisingly dry beneath a thick canopy.
Push a finger into the soil a few inches away from the crown to check the moisture before deciding whether another deep watering is needed.
2. Deal With Slugs Before Your Hostas Go Dormant
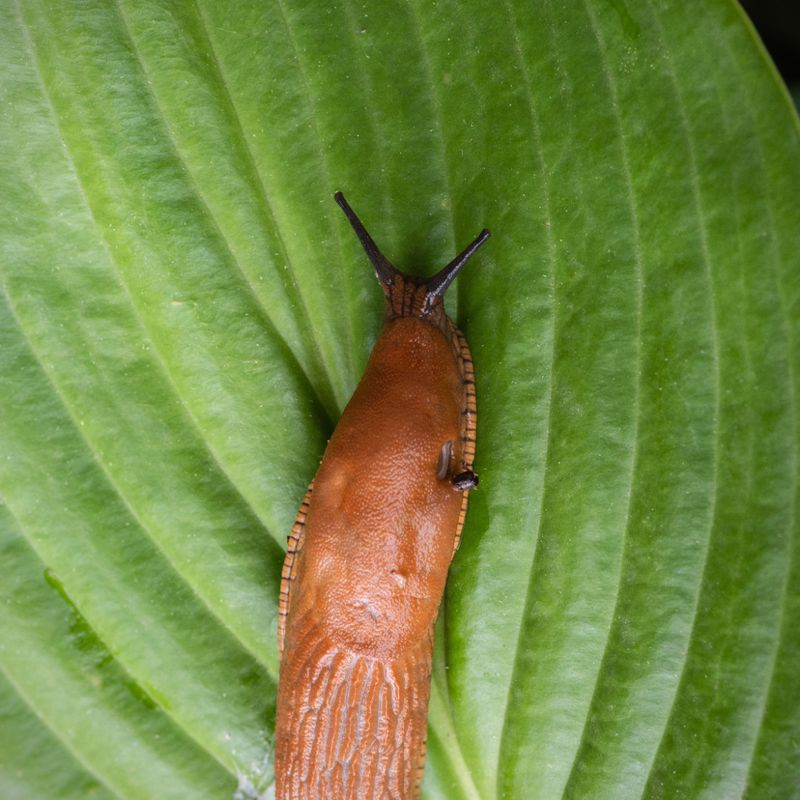
Just when you think pest season is over, slugs keep nibbling on hosta leaves well into autumn.
Those ragged holes and shiny slime trails are their calling card, and their munching often continues until steady cold weather finally slows them down.
The smartest move before your hostas rest is a good garden cleanup. Clearing away spent leaves and debris removes the damp hiding spots where slugs shelter and lay eggs over winter.
Your Virginia Garden Changes Every Week. Your Plan Should Too.
Gardening in Virginia changes quickly throughout the season. Every Friday you’ll receive a simple weekly plan showing exactly what to plant, prune, fertilize, harvest, and protect so you never miss the right timing.
Rotting plant material makes a cozy home for these pests and can spread disease too.
Mulch helps insulate your plants, but a thick or soggy layer can accidentally create a slug paradise. Use a lighter layer and keep it pulled back a bit from the crown.
Some gardeners set out shallow dishes as slug traps, while others sprinkle diatomaceous earth or slug bait around their beds.
Watering in the morning lets the soil dry before slugs get active at night, which really cuts down on damage. Thinning crowded clumps improves airflow and makes the area less inviting too.
If slugs have been a constant headache, tough-leaved varieties like Big Daddy and Brother Stefan resist them naturally.
Welcoming birds, frogs, and toads into your garden gives you helpful allies who happily keep slug numbers low year after year.
A quick evening inspection can tell you more than a daytime check. Slugs are most active when conditions are cool and damp, so look around the base of plants, beneath leaves, and along the soil surface after sunset.
Finding the pests themselves makes it easier to tell whether fresh holes are still being caused by slugs or whether older leaf damage is simply remaining visible.
3. Clean Up Spent Foliage Without Rushing The Job
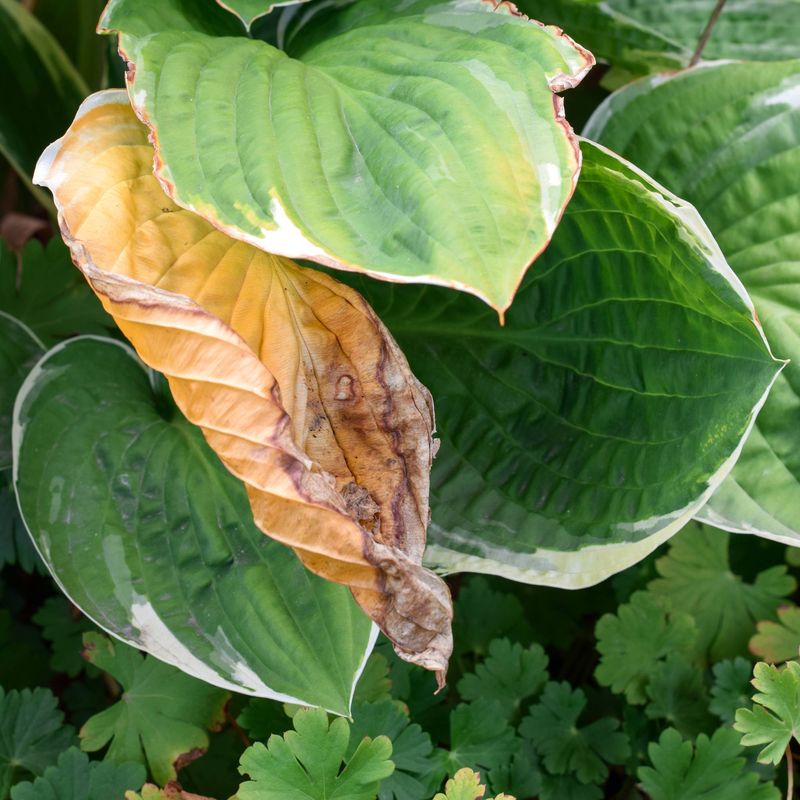
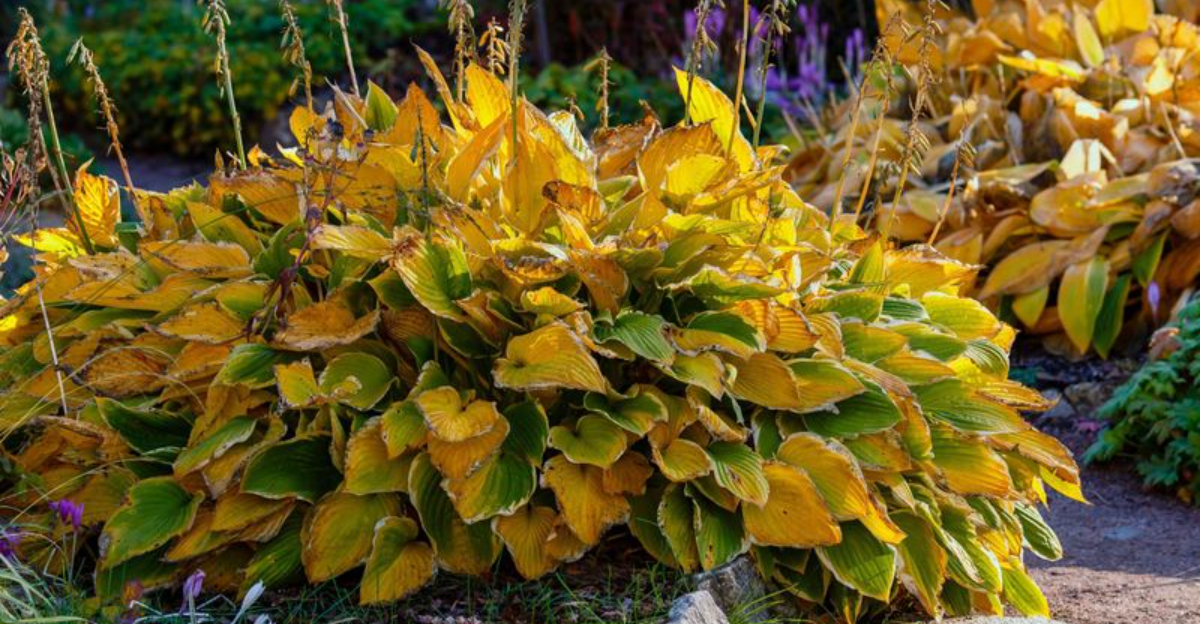
Patience really pays off when it comes to tidying up fading hosta leaves in Virginia. It’s tempting to snip yellow leaves the moment they appear, but letting the foliage fade naturally is actually good for the plant.
As those leaves slowly turn yellow and wilt, the hosta is pulling valuable nutrients back down into its roots. That stored energy fuels a strong, vigorous comeback next spring, so hold off on cutting things back too soon.
Once the foliage has naturally declined and turned yellow or brown, you can remove it as part of your seasonal cleanup. The timing can vary across the state depending on local weather and growing conditions.
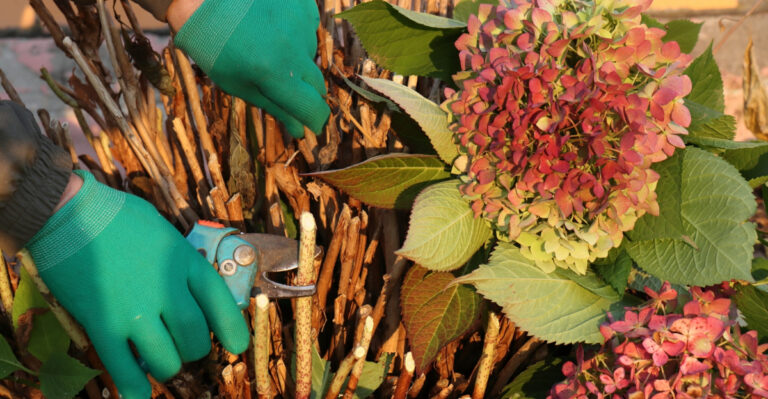
When that moment comes, grab clean, sharp shears and cut the foliage down to about one to three inches above the ground, being gentle around the crown.
Once you’ve trimmed, gather up and toss all the cut leaves and debris right away. Good garden hygiene matters here, because decaying foliage can shelter overwintering slugs, snails, and fungal troubles that hurt fresh growth later.
Leaving a short stub of stem behind serves a handy purpose too. Those little markers help you remember exactly where each plant sits once the beds look bare.
By waiting for nature to finish its work and then cleaning thoroughly, you set your hostas up for a healthy return.
There is no need to remove every slightly damaged leaf while the plant is still actively using its foliage. A few unattractive leaves are usually less important than allowing the plant to finish its seasonal transition.
Waiting also means you can do the main cleanup in one pass later, rather than repeatedly cutting individual leaves as they change color.
4. Check Whether Your Hostas Still Like Their Spot
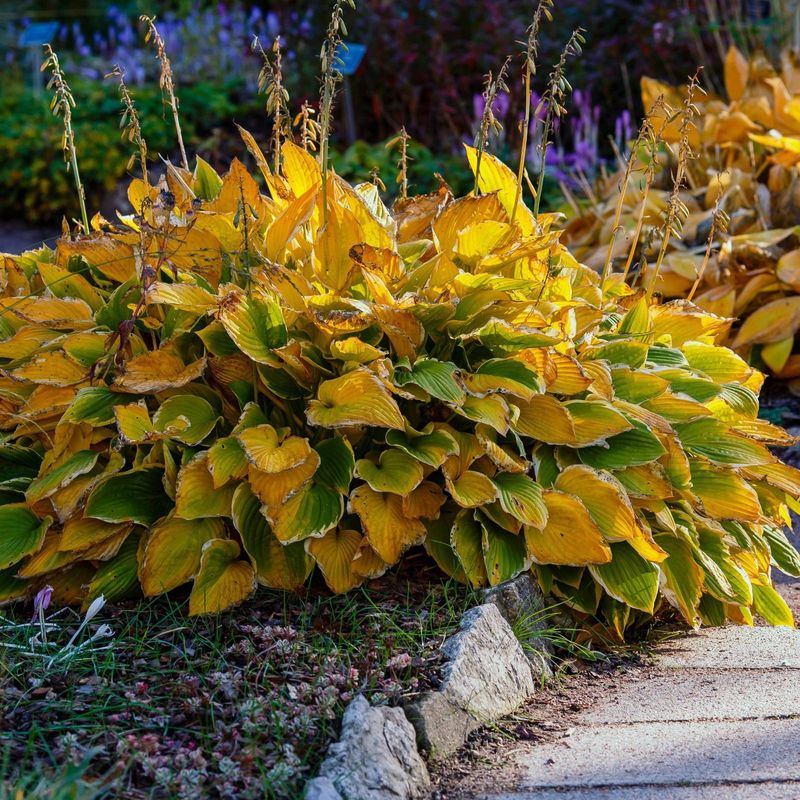
September is a good time to take a fresh look at where your hostas are growing. A spot that worked beautifully when you first planted them may not have the same conditions years later.
Trees grow taller, shrubs spread, and nearby plants can gradually change how much light and moisture reach the bed.
Start by looking at the amount of sunlight the hostas receive during the day. Hostas generally perform best in part to full shade, although some cultivars can handle more sun than others.
If a plant that once enjoyed afternoon shade is now sitting in stronger sunlight because a tree was removed or trimmed, its leaves may show more stress during the growing season.
Soil conditions deserve a look, too. Hostas prefer moist, well-drained soil rather than ground that stays constantly saturated.
Check the planting area after rainfall and notice whether water drains away normally or lingers around the crowns. Poor drainage can become especially troublesome when wetter weather arrives later in the year.
Pay attention to competition from nearby plants as well. Mature trees and large shrubs can extend their roots into the same area as your hostas, competing for available moisture.
Dense neighboring plants can also change the amount of air and light reaching the hosta bed.
You don’t need to make major changes simply because September arrives. Instead, use the month as an opportunity to notice whether the planting still provides the conditions your hostas need.
If a location has gradually become much sunnier, drier, or wetter, you have time to consider what adjustments might make sense before the next growing season.
A quick inspection can also reveal smaller issues that are easy to miss when the garden is at its summer peak. Look for exposed roots, soil that has washed away, or plants that have gradually shifted into a crowded position.
Catching those changes now can make spring garden maintenance much easier.
The goal isn’t to give every hosta a new home. It’s simply to make sure the plants you already have are growing in a spot that still suits them.
A few minutes spent checking the conditions around each clump can tell you whether your hostas are ending the season in a location that continues to work for them.
5. Give Crowded Hostas A Fresh Start When Needed
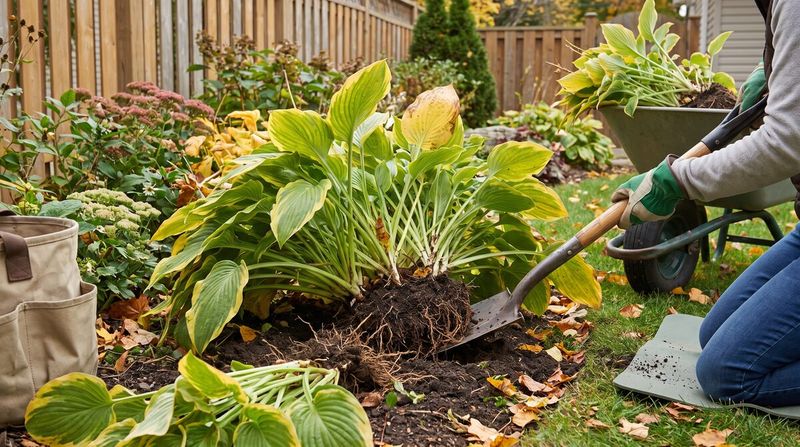
Over the years, hostas in your garden can grow into thick, crowded clumps that lose some of their pep or produce fewer blooms.
Fall offers a great chance to divide them and give those tired plants a fresh start before the cold arrives.
Hostas don’t absolutely need dividing to stay healthy, but it’s a handy way to make new plants or to tame a clump that has outgrown its space. If a clump has outgrown its space or you want to create additional plants, division can be a useful option.
If you decide to divide a hosta, give the new sections time to become established before the most challenging weather arrives.
Hostas can be divided at any time of year. Because Virginia’s weather varies considerably by region, the best timing can depend on local conditions and how much time the divisions have to establish.
Dividing is simpler than it sounds. Dig up the clump, then cut it into thirds or fourths, making sure each piece has two or three eyes plus a good chunk of crown and roots.
Replant them right away, and water well if the weather turns dry.
Divided hostas may take some time to settle into their new locations, particularly when the sections are small. Replant the divisions promptly and keep them adequately watered while they establish.
Hostas do not need to be divided on a strict schedule. After about six years, some hostas may benefit from division to promote shoot growth.
Before dividing, look at how much space the plant actually has rather than dividing simply because a certain number of years has passed.
A large, healthy clump that still has room to spread may not need attention, while a plant pushing into a walkway or crowding its neighbors may benefit from being split.
That makes the condition and size of the planting more useful guides than a strict schedule.
6. Mark Your Favorite Hosta Spots Before Winter
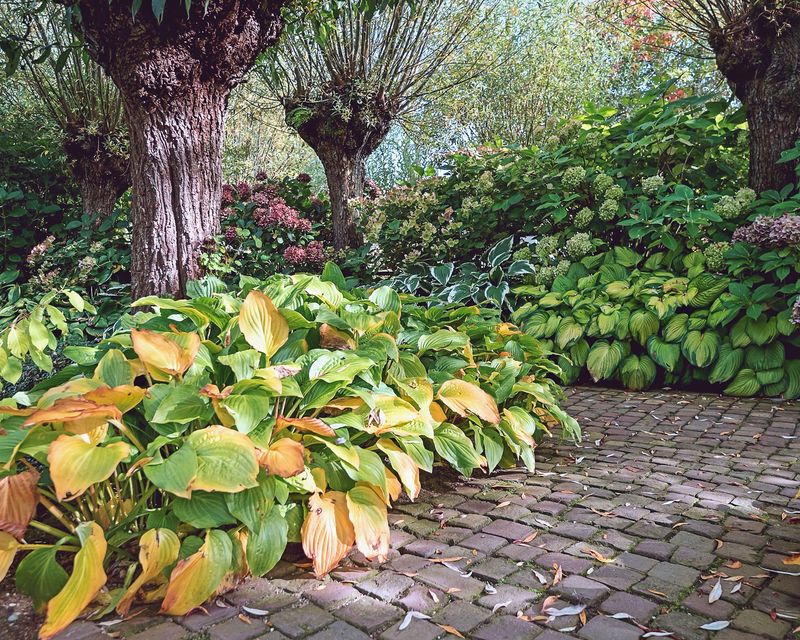
Once your hostas fade away for the season, remembering exactly where each one lives can turn into a real guessing game. That’s why marking your favorite spots in the fall is such a helpful little habit for Virginia gardeners.
After the foliage fades and you’ve cleaned up the beds, the garden can look empty. Without markers, it’s easy to forget which cultivar sits where, especially if you grow a big, varied collection or have spring planting plans that shouldn’t disturb sleeping crowns.
Use sturdy, weather-resistant markers that can handle winter weather. Simple stakes, engraved tags, or even labeled plastic spoons all work fine, as long as they clearly mark each plant’s location.
Writing the variety name right on the marker keeps your collection organized and helps you tell similar-looking dormant plants apart.
Marking your hostas does more than jog your memory. It keeps you from accidentally digging into or planting over a resting crown in late winter or early spring. It also makes any dividing or moving projects much easier once the season warms up.
Some folks leave a few inches of stem standing after trimming as a quick visual cue during the quiet months. Spending a few minutes labeling now means a smoother, more organized start when spring finally returns to your landscape.
You can make the labels even more useful by adding details that are easy to forget once the leaves disappear. Note the hosta’s mature size, flower color, or whether it has particularly distinctive foliage.
Keeping a simple garden record on your phone can work alongside physical markers, giving you a quick reference when you’re planning new plantings or deciding which clumps need attention in spring.