How To Dry Oregon Rosemary Before The Cold Snap Ruins The Harvest
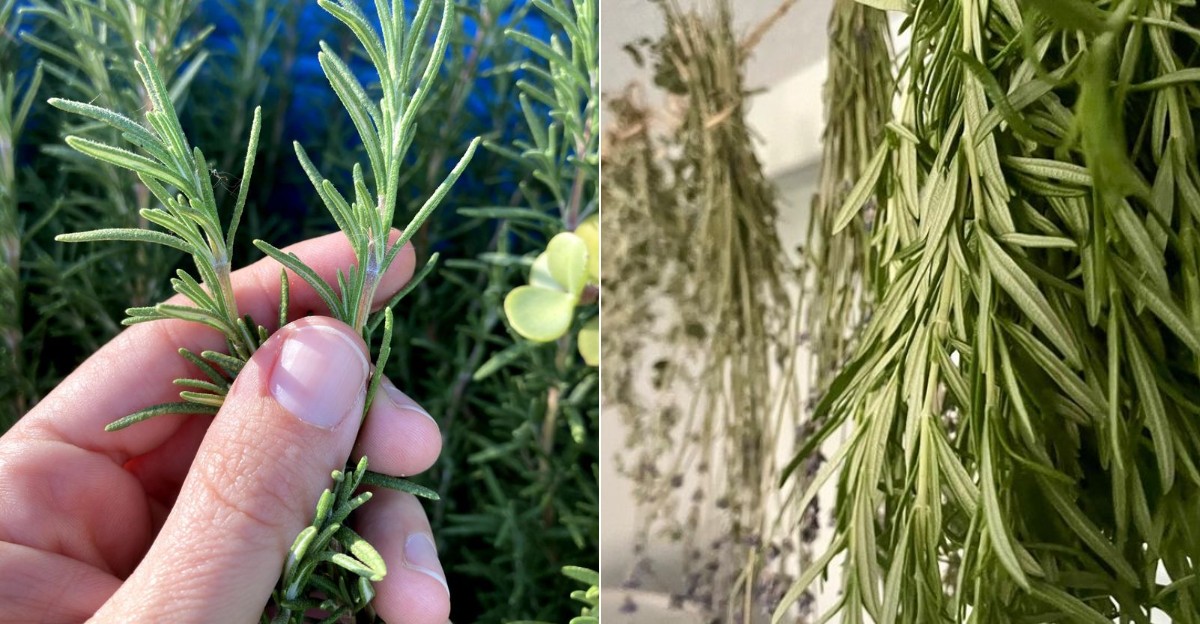
That thriving rosemary plant in your Oregon garden may not stay at its best once freezing temperatures arrive.
Cold snaps can quickly damage tender growth, leaving you with fewer fresh sprigs to use in the kitchen. If you have more rosemary than you can use right now, drying it is a simple way to preserve the harvest before winter weather moves in.
Properly dried rosemary keeps its strong aroma and flavor, making it useful for roasted dishes, seasonings, teas, and homemade blends.
The key is harvesting at the right time and using a drying method that protects the leaves instead of turning them dull or brittle.
A little preparation before the first hard freeze can help you save your rosemary and enjoy the taste of your garden long after the growing season slows down.
1. Harvest Rosemary Before Freezing Weather Arrives
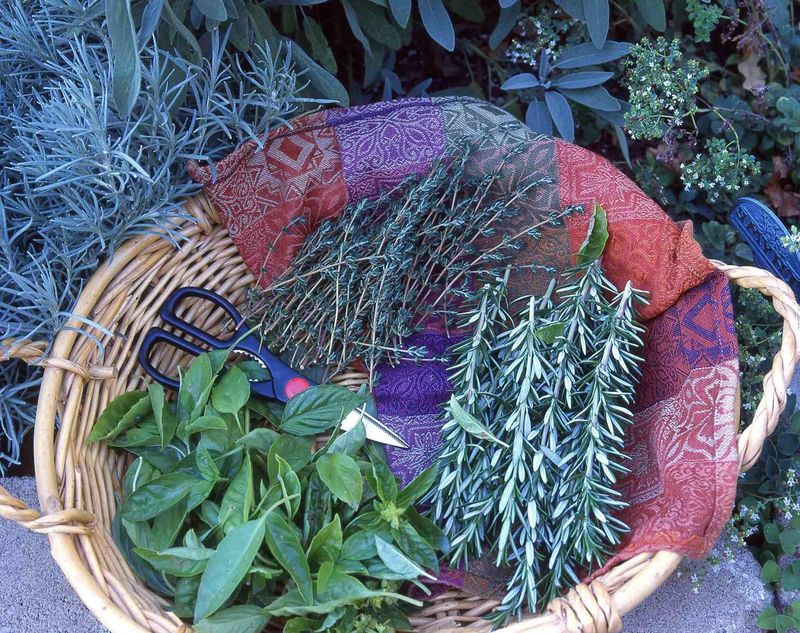
Timing makes all the difference when frost is on the way. Keep an eye on your local Oregon weather forecast during late fall.
Once you see nighttime temperatures dropping toward the freezing mark, it is time to get outside with your scissors. A single cold snap can turn healthy green needles dull and mushy overnight.
Try to cut your sprigs on a dry, sunny afternoon if you can. Moisture from morning dew or rain adds extra water that slows the drying later.
Snip stems that are firm and full of leaves, leaving a few inches of growth on the plant. That way the rosemary can bounce back if the weather stays mild.
Cutting early gives you the best flavor because the oils inside the leaves are still strong. Waiting too long risks losing that fresh, piney punch you want in your cooking.
Gather more than you think you need, since the leaves shrink quite a bit as they dry. A big basket of fresh sprigs turns into a small jar of seasoning.
Beat the freeze, and you protect months of work in just a few minutes of picking. Getting the harvest indoors before that first hard frost is the smartest move you can make.
2. Choose Healthy Stems For The Best Flavor
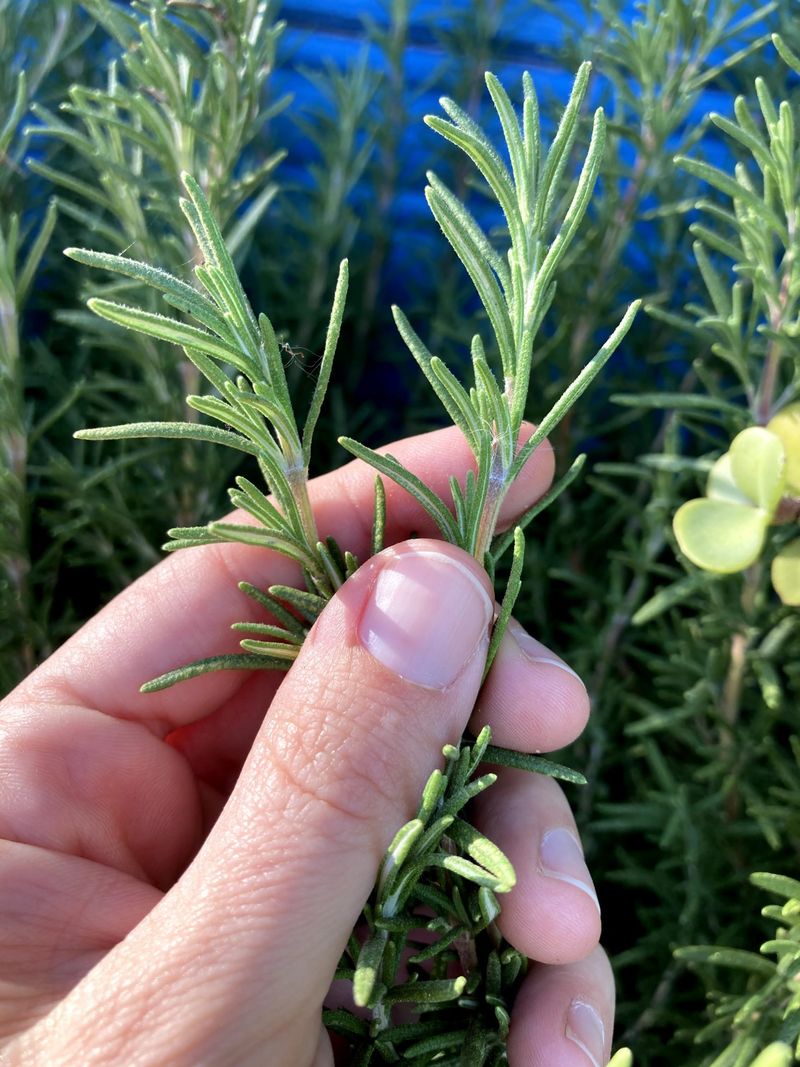
Not every sprig on the plant deserves a spot in your drying batch. Look closely at each stem before you cut it.
Bright green needles that snap gently and smell strong are exactly what you want. Those hold the most oil, which means the boldest flavor in your finished herb.
Skip any stems that look brown, spotted, or wilted. Damaged leaves lose their taste and can even bring mold into your drying bundle.
Younger, tender growth near the tips tends to be softer, while older woody stems carry lots of leaves. A mix of both works well for a full jar.
Give each sprig a quick sniff test. Fresh rosemary should smell sharp and piney, almost like a walk through an evergreen forest.
Watch out for tiny bugs or sticky spots on the leaves. Rinsing later helps, but starting with clean, pest-free stems saves you trouble.
Your Oregon Garden Changes Every Week. Your Plan Should Too.
Gardening in Oregon changes quickly throughout the season. Every Friday you’ll receive a simple weekly plan showing exactly what to plant, prune, fertilize, harvest, and protect so you never miss the right timing.
If part of a branch looks sad but the rest looks great, just trim off the bad section. There is no need to toss the whole thing.
Choosing wisely at this stage pays off big when you taste your dried rosemary in soups, roasts, and breads. Quality in means quality out, and your future self will thank you for being picky.
3. Wash And Dry The Sprigs Before Hanging
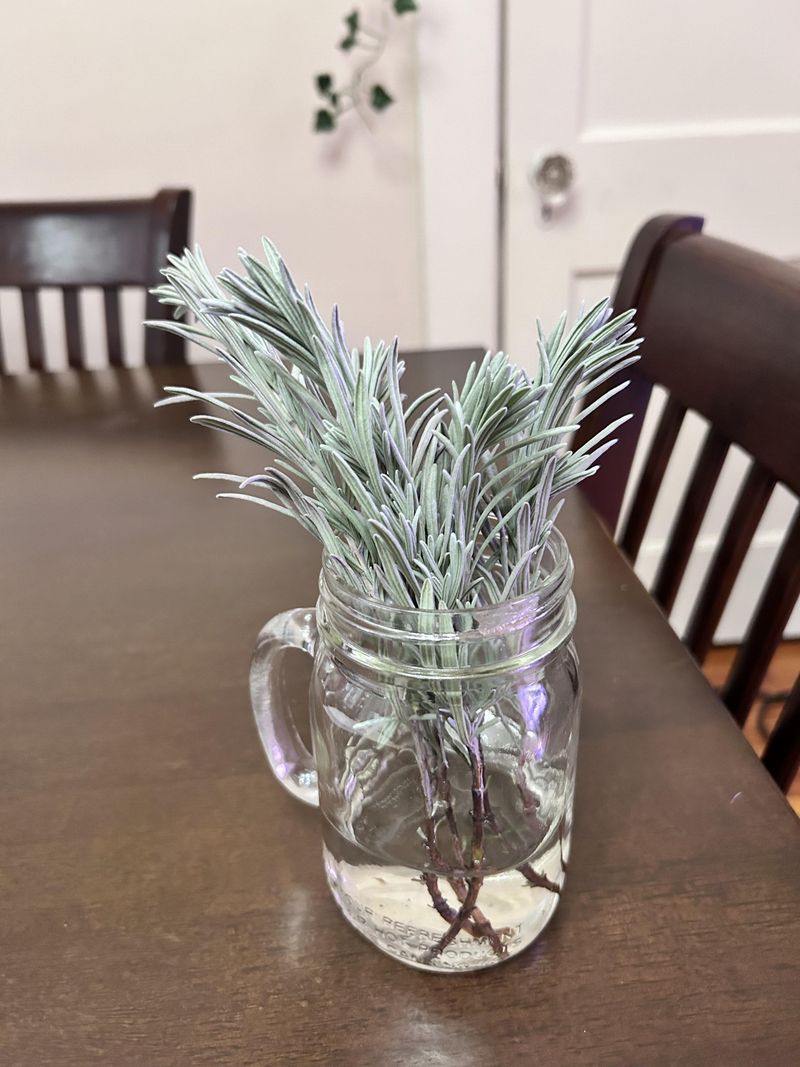
Fresh-cut herbs often carry dust, dirt, or a stray insect or two. A gentle rinse cleans them up nicely.
Hold your sprigs under cool running water and let it wash over the leaves. Avoid scrubbing, since rough handling can bruise the needles.
Swishing them in a bowl of clean water works too, especially for a big batch. Just lift them out and let the dirt sink to the bottom.
After rinsing, shake off as much water as you can. Extra moisture is the enemy of good drying, so this part really matters.
Lay the sprigs flat on a clean kitchen towel or paper towels. Pat them softly to soak up the drops clinging to the leaves.
Let them sit out for an hour or so until the surface feels dry to the touch. Damp bundles take longer to dry and can grow mold.
Some Oregon gardeners skip washing if their plants grew in a clean, sheltered spot. That choice is fine, but a rinse gives peace of mind.
Taking a few minutes here sets you up for smooth drying with no surprises. Clean, dry sprigs hang better, smell fresher, and store longer once they crisp up.
4. Bundle Small Bunches For Better Airflow
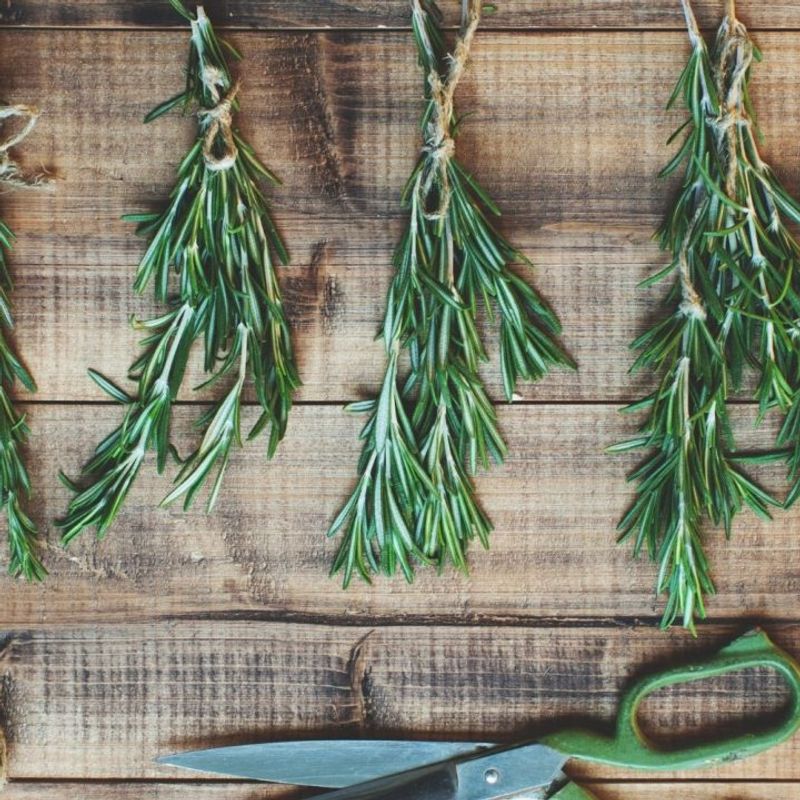
Once your sprigs feel dry on the outside, it is time to tie them up. Small bunches work far better than one giant clump.
Gather five or six stems together and wrap the bottoms with string, twine, or a rubber band. Keep each bundle loose enough for air to move through.
Packing too many stems together traps moisture in the middle. That trapped dampness can lead to mold instead of nice dry leaves.
Rubber bands actually hold up well as the stems shrink. String can loosen and drop sprigs on the floor, so check it now and then.
Leave a little tail of string or an open loop so you can hang the bundle easily. A paper clip or hook makes this even simpler.
Spread your bundles apart when you hang them, giving each one breathing room. Crowded bunches dry slowly and unevenly.
Smaller batches also dry faster, which means you get to your finished herb sooner. Speed helps lock in that strong, fresh scent.
Label your bundles with a tag if you dry different herbs at once. It saves confusion later when everything looks similar and dusty.
Good airflow is the secret to crisp, flavorful results, and small bunches make that airflow possible from every angle.
5. Hang Rosemary In A Dry, Dark Spot
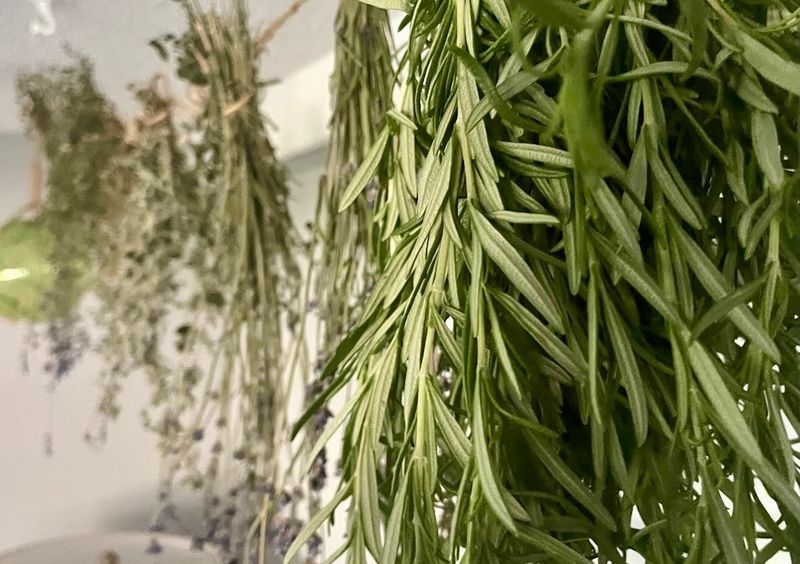
Where you hang your bundles shapes how well they dry. A warm, dry, and shady place is the sweet spot.
Sunlight might seem helpful, but it actually fades the color and drains the flavor. A dark corner protects those precious oils.
Hang each bunch upside down so the natural oils flow down into the leaves. This little trick keeps the flavor rich and even.
Good spots include a pantry, a closet, an attic, or a spare room with steady air. Kitchens work too if they stay dry and not too steamy.
Avoid damp basements or bathrooms where moisture hangs in the air. Wet conditions slow drying and invite mold to move in.
Aim for a place with gentle airflow, like near a cracked door or a slow ceiling fan. Moving air carries moisture away from the leaves.
In most Oregon homes, rosemary dries fully in one to two weeks. Cooler or damper rooms may need a bit more patience.
Check your bundles every few days without crowding them back together. A quick look tells you if things are going smoothly.
Picking the right hanging spot really is half the battle. Get it right, and nature does most of the work while you wait for crisp, fragrant results.
6. Avoid Trapping Moisture During Drying
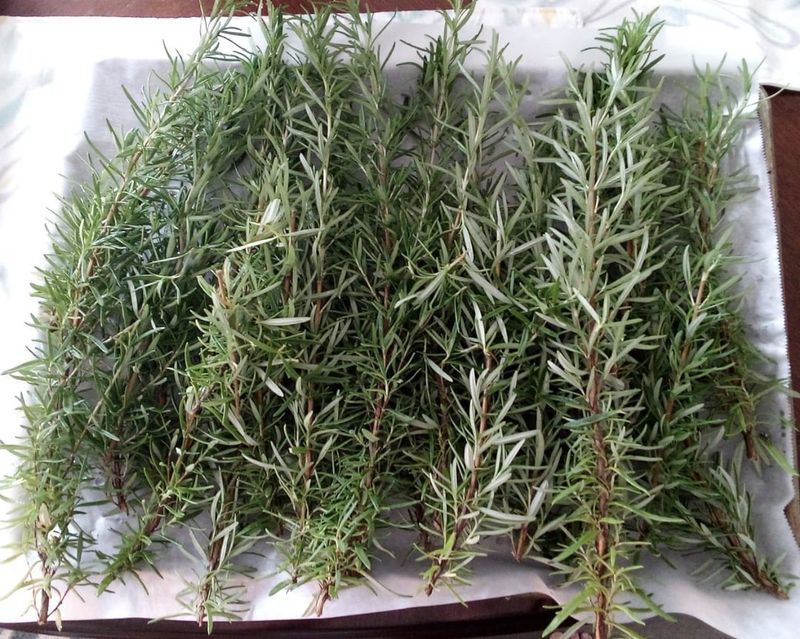
Moisture is the biggest problem when drying any herb. Even a little trapped dampness can ruin a whole batch.
Never seal fresh or half-dry rosemary in a bag or closed box. Air needs to circulate freely around every sprig.
If you notice water beading on the leaves or the room feels muggy, add more airflow. A small fan on low can make a big difference.
Watch for any fuzzy white or gray spots, which signal mold. Toss any bundle that shows those signs to protect the rest.
Rainy Oregon weeks raise the humidity indoors, so drying may take longer. Be patient and let the herbs finish on their own time.
Some people use a dehydrator or a low oven to speed things up. Keep the heat under 100 degrees so the oils do not burn off.
A screen or mesh tray also works nicely, letting air reach the leaves from below. Spread the sprigs in a single layer for the best results.
Give your setup a sniff now and then. A fresh, piney smell means things are going well, while a sour or musty odor warns of trouble.
Keeping moisture out is the one rule you cannot skip. Stay dry, stay airy, and your rosemary will crisp up perfectly.
7. Strip The Leaves Once They Become Crisp
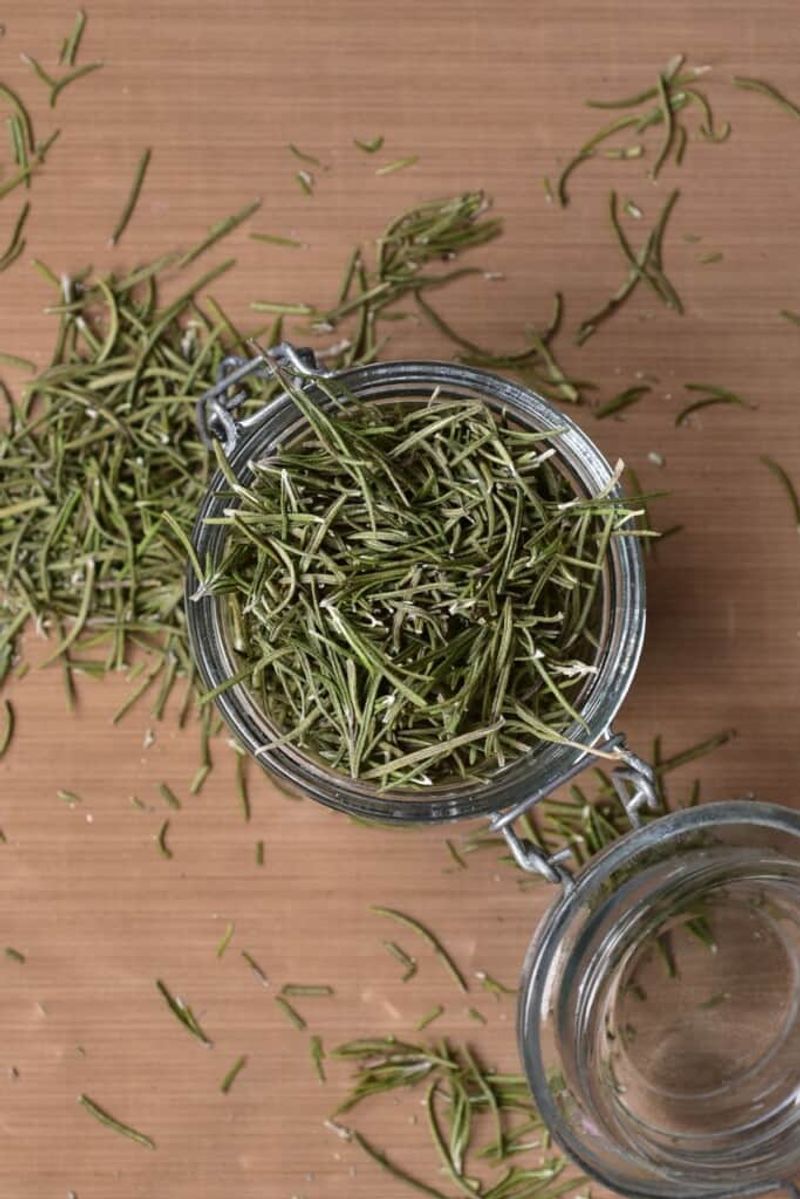
You will know your rosemary is ready when the needles snap instead of bend. Crisp, brittle leaves mean the drying is done.
Hold a stem at the top and slide your fingers down toward the base. The dried leaves pop right off into your hand or bowl.
Working over a plate or tray keeps the tiny needles from scattering everywhere. It saves you a messy cleanup later.
You can leave the leaves whole for a stronger look and slower flavor release. Crumbling them makes a finer texture for quick cooking.
Store the stripped leaves in a clean, dry jar with a tight lid. Glass works best because it keeps out air and moisture.
Keep the jar in a cool, dark cupboard away from the stove. Heat and light fade the flavor over time.
Label your jar with the date so you know how fresh it is. Dried rosemary stays tasty for about a year when stored well.
Give a jar to a friend or neighbor if you dried extra. Homemade herbs make a thoughtful, cozy little gift.
Every time you sprinkle some into a roast or soup, that garden smell comes rushing back. Your hard work pays off in every fragrant pinch, long after the cold has passed.