The New York Perennials You Need To Move Before The Ground Freezes
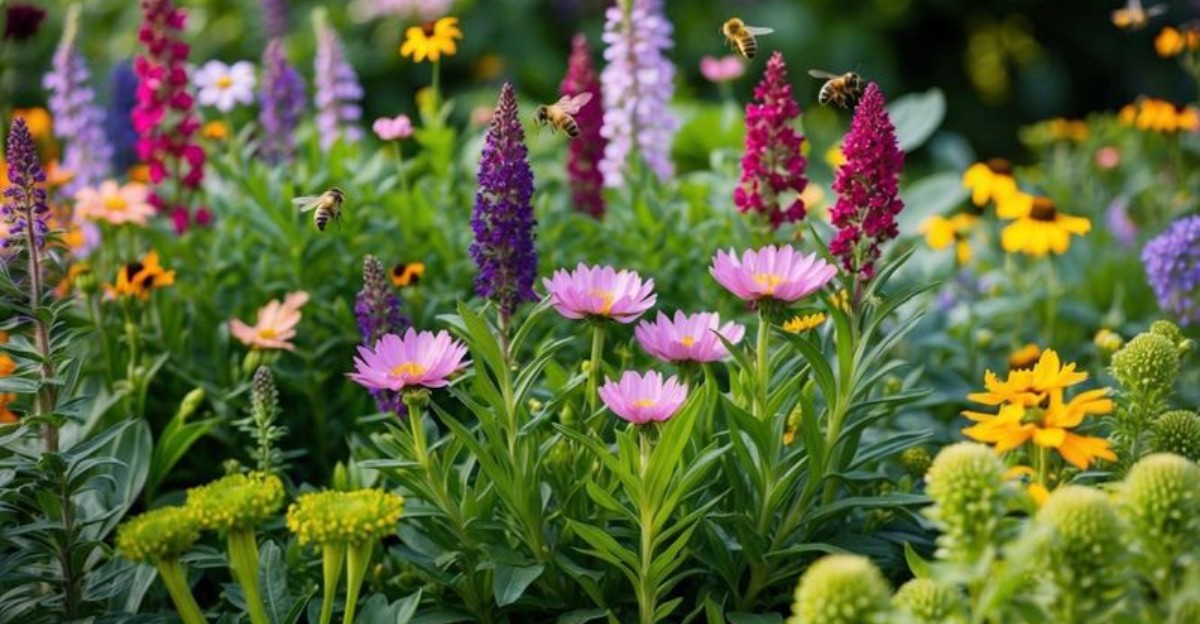
October is your last good chance to give perennials a better spot before the ground freezes in New York. Cooler temperatures make fall easier on transplanted plants, while warm soil gives roots time to settle in before winter arrives.
But that window does not stay open for long. Wait until the soil hardens, and moving a perennial becomes much tougher.
Get the timing right, though, and your plants can settle in quietly through winter and return stronger when spring arrives.
1. Find Peonies A Better Home Before Winter Arrives
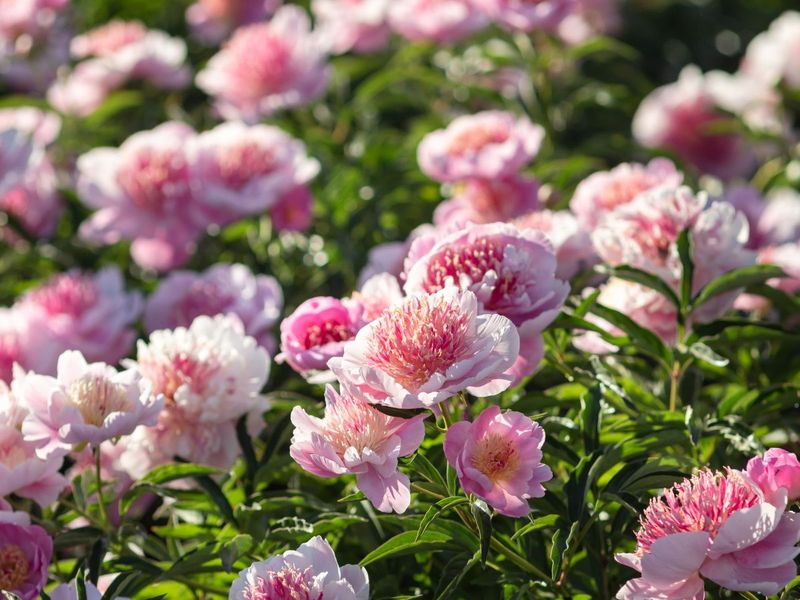
Few plants hold a grudge like a peony that was planted too deep. Get the depth right in fall and you are rewarded with armloads of blooms for decades.
Late September through October is the window most gardeners aim for. By then the plant is easing into dormancy, so the move feels far less shocking to it.
Start by trimming the foliage down to about two inches above the soil. That gives you a clear view of the crown and keeps stems from flopping in your way.
Dig a wide circle, roughly six to eight inches out from the stems, and go deep. Peony roots are thick and fleshy, and you want as many of them intact as possible.
Once the clump is lifted, rinse off the loose soil with a hose. The pinkish buds, called eyes, will show up clearly against the tuberous roots.
Each division needs three to five healthy eyes plus a solid section of root. Fewer than that and you may wait years for flowers.
Replant quickly so the roots do not dry out, setting the eyes just one to two inches under the surface. Deeper planting is the usual reason peonies sulk and refuse to bloom.
Water well, then keep watering until the soil chills for good.
2. Relocate Hostas Before Winter To Help Roots Establish
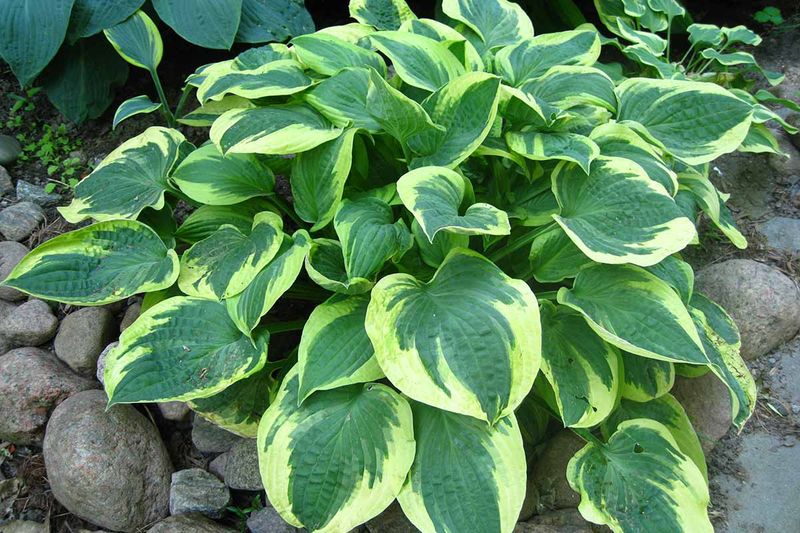
Hostas are the forgiving friends of the shade garden. Chop one into four pieces and it shrugs, then comes back looking better than before.
Spring is often called the ideal moment, but late summer into fall works beautifully across the state. Cooler days and moist soil give roots a calm stretch of time to spread out.
Dig up the whole clump first, sliding your spade well outside the leaf spread. Hosta roots run wider than most people expect.
Lift the mass onto a tarp so you can see what you are working with. A sturdy knife or the edge of your spade will slice through the crown without much fuss.
Make sure every section carries a chunk of crown along with roots attached below. Small divisions catch up fast, so do not worry if some pieces look modest.
Replant at the same depth the clump was growing before, then soak the soil thoroughly. Firming the ground by hand removes air pockets that dry roots out.
Here is the step that matters most in winter. Add a light layer of mulch in late autumn to help buffer freeze-thaw cycles, especially around newly transplanted plants.
Your New York Garden Changes Every Week. Your Plan Should Too.
Gardening in New York changes quickly throughout the season. Every Friday you’ll receive a simple weekly plan showing exactly what to plant, prune, fertilize, harvest, and protect so you never miss the right timing.
Keep the mulch away from the crown to prevent rot.
3. Transplant Daylilies In Early Fall For Healthier Spring Growth
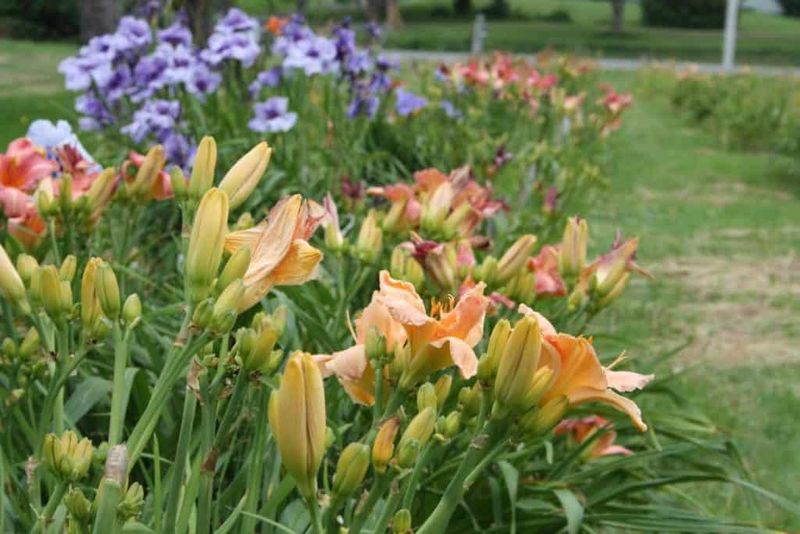
Daylilies have a reputation for toughness, and they earn it. You can practically toss a fan in a hole and it will find a way to grow.
Still, early fall gives them the best start. Moving them ahead of the first hard frost lets roots anchor while the soil holds some warmth.
Dig out the entire clump, working the spade around in a circle until the mass loosens. A garden fork works nicely if your soil runs heavy with clay.
Shake off the extra dirt and pull the fans apart using your hands. Stubborn clumps can be pried open with two forks placed back to back.
Trim the foliage down by about a third so the plant can focus on roots instead of leaves. It looks brutal, but the plant will not mind.
Dig the new hole wide, then spread the roots out rather than cramming them into a tight pocket. Set the crown at soil level or just slightly below the surface, with the roots spread naturally through the soil.
Water generously so soil settles snugly around every root. Good contact is what keeps roots hydrated through the winter.
Gardeners who move daylilies now usually notice thicker fans and more flower scapes the following summer.
4. Divide Bearded Irises Before The Soil Freezes
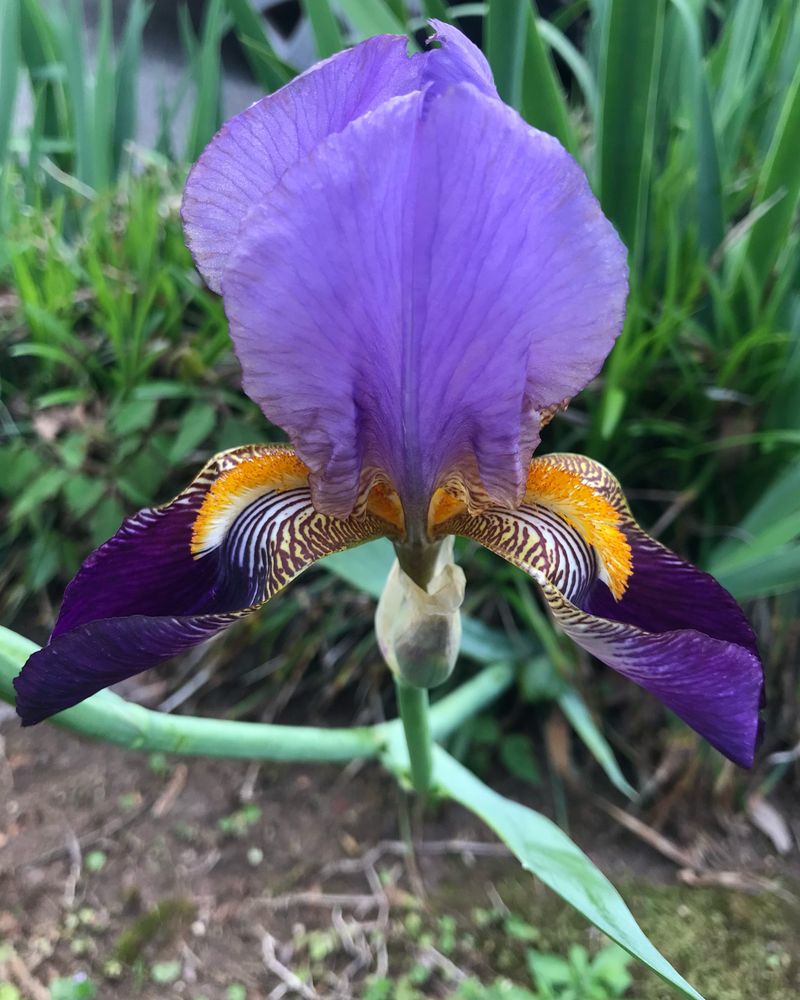
Bearded irises are the divas of the perennial world, and crowding makes them cranky. When blooms drop off year after year, congestion is usually the culprit.
Timing here is a bit different from other perennials. Six to eight weeks after flowering finishes, generally July through September, is when these rhizomes prefer to be handled.
Aim to wrap up the job at least six weeks before the first hard frost hits your part of New York. Rhizomes need that stretch to grip the soil.
Lift the clump with a fork, then brush the dirt away so you can inspect each piece. Firm rhizomes are keepers, while soft or hollow ones belong in the trash.
Look for signs of iris borer while you work, since damaged tissue often smells sour. Removing those sections protects the healthy ones.
Keep divisions that have one strong fan of leaves attached, and trim those leaves to about six inches. The shortened fans reduce wind rocking.
Replant with the top of the rhizome at or just barely below the soil surface, then space the divisions about 12 to 18 inches apart. Space them six to eight inches apart.
Crowded irises quit blooming, so give them elbow room and sunshine.
5. Move Coral Bells Before Frost Arrives In New York Gardens
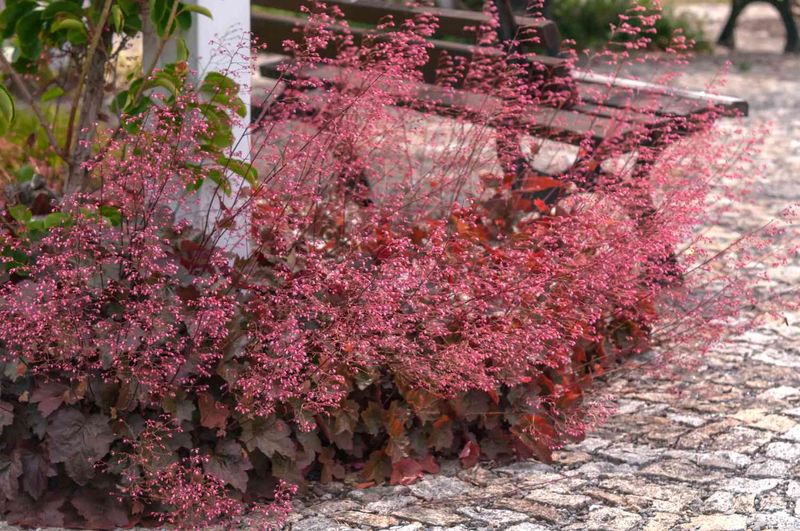
Coral bells bring color when flowers are scarce, with leaves in caramel, plum, lime, and silver. They are basically living confetti for shady corners.
The catch is that Heuchera tends to be short-lived compared to other perennials. Dividing every three or four years keeps the clump vigorous instead of woody.
Early fall works well, provided you move them while the soil still feels workable. Roots need a few weeks to knit in before weather turns sharp.
Dig up the root crown and take a close look at the center. Old woody stubs with no roots can be tossed aside without hesitation.
Separate the rooted offshoots by hand, twisting gently where they naturally break apart. Each piece should have its own small root system and a rosette of leaves.
Replant at the same depth the plant was sitting before, keeping the crown at soil level. Burying it too low invites rot during wet spells.
Water thoroughly to settle soil around the roots, then add a light mulch layer once the ground cools.
Fun detail worth knowing, coral bells are native to North America, which is part of why they handle our seasons so gracefully.
6. Transplant Bleeding Hearts After Summer Growth Ends
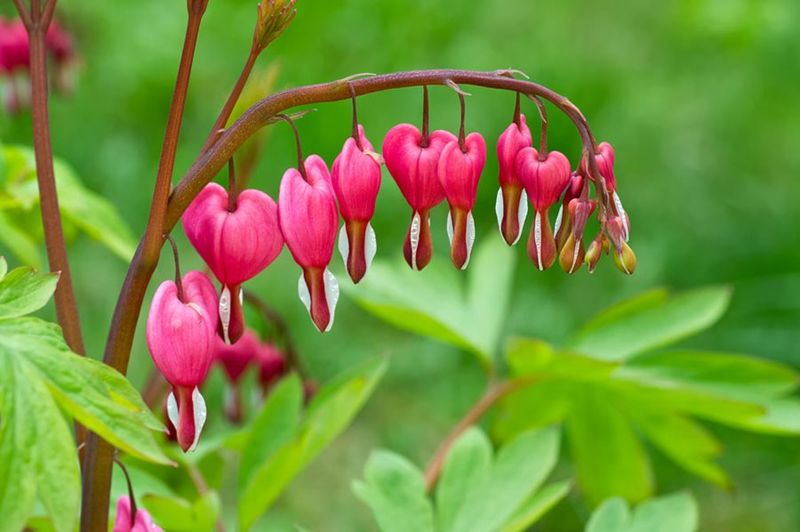
Old fashioned bleeding hearts dangle those little heart shaped lockets along arching stems in spring, then quietly disappear by August. That vanishing act is normal and actually helpful.
Once the foliage yellows and fades, the plant has slipped into dormancy. Moving it then means far less stress than tugging at it in June.
Mark the spot with a stake while you can still see the plant, because the crown gets hard to find later. Plenty of gardeners have sliced through one by accident.
Dig a generous circle around the base, wider than you think necessary. The roots are brittle and fleshy, so a big root ball protects them.
Lift the whole thing carefully and carry it on a shovel or tarp. Dropping it can snap the crown into useless bits.
Set the plant into its new hole with the crown at the same soil level as before. Shade or dappled light suits it best across yards.
Backfill, press gently, then water deeply to chase out air pockets. A layer of shredded leaves on top makes a fine winter blanket.
Come April, those arching pink stems return like they were never disturbed at all.
7. Relocate Astilbes Before Cold Weather Settles In

Feathery plumes in pink, white, and deep red make astilbe a standout in damp shade. Give it dry soil and it pouts almost immediately.
Cooler weather is exactly when these plants like to be handled. Late fall dormancy or early spring both work, though a fall move gives roots a real head start before soil freezes.
Cut a wide circle around the clump and dig deep enough to capture a solid root ball. Astilbe roots form a dense woody mat that takes some effort.
Tease the roots apart with your fingers when possible. For tight clumps, a sharp spade or old bread knife slices through cleanly.
Every division should carry healthy roots plus a few crowns or shoots. Toss the exhausted center if it looks hollow and fibrous.
Replant at the same soil level and water on a steady schedule until freeze up. Astilbe is thirstier than most perennials, especially during dry autumns.
Should you ever need to move one mid season, cut the top growth back first. Less foliage means less moisture loss while roots recover.
Mulch generously afterward, since astilbe crowns tend to rise slightly each year.
8. Move Shasta Daisies During Fall For Better Root Development
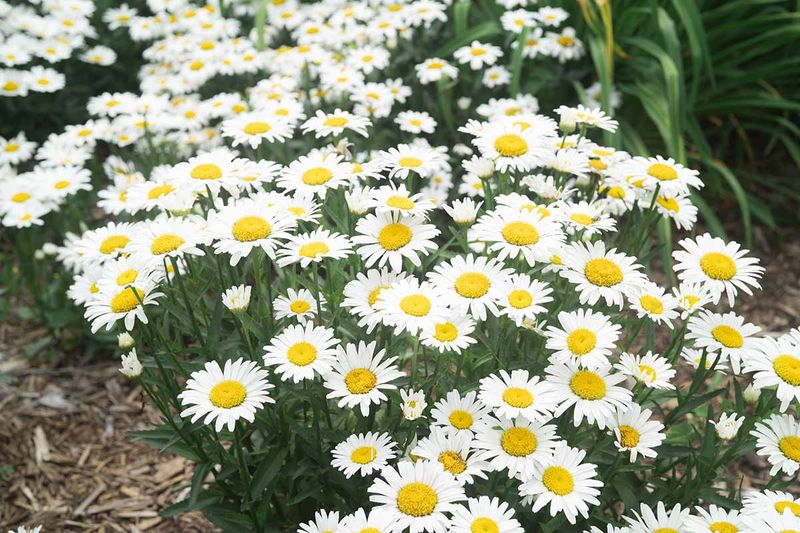
Cheerful white petals around a butter yellow center, Shasta daisies look like a child’s drawing of a flower. They also get stingy with blooms when clumps grow too thick.
Division every two or three years keeps them producing. Skip it and you may notice a bare, hollow middle where the strongest growth used to be.
Late spring often gets recommended, but early fall after the flowers fade works well for New York gardens. Just leave enough time for roots to settle before hard frost.
Begin digging about four inches out from the main stems to spare the fibrous roots. Work all the way around before attempting to lift.
Pull the clump apart into smaller sections, each holding decent roots and a few stems. Fingers usually do the job, though a knife helps with older plants.
Trim tall stems back to keep the divisions from tipping over. Replant at the original depth and firm the soil around each piece.
Water well, then check on them during dry autumn weeks. New roots form quickly in warm soil under cool air.
By June the following year, you will have more daisies than vases to hold them.
9. Divide Black Eyed Susans Before The Ground Hardens

Golden petals and dark chocolate centers keep black eyed Susans blooming long after other perennials call it quits. Left alone, though, clumps spread fast and crowd their neighbors.
Fall division keeps things tidy. Plan the job for late fall, well ahead of the first hard frost, or wait for early spring instead.
Give yourself at least thirty days before soil freezes so roots can settle in. Rushing it at the last minute rarely ends well.
Soak the plant and surrounding soil thirty to sixty minutes before digging. Damp ground releases roots far more easily than dry, packed dirt.
Dig down about a foot and work around the clump until it lifts free. Try to keep as much of the root mass together as you can.
Split larger clumps with a spade or sharp knife, making sure every section has substantial roots attached. Small pieces establish fine, so be generous with divisions.
Replant at the original depth and firm the soil to eliminate air pockets. Water regularly until the ground chills.
Leave a few seed heads standing through winter if you can. Goldfinches will thank you by showing up all season long.
10. Transplant Coneflowers Before Winter Dormancy Begins
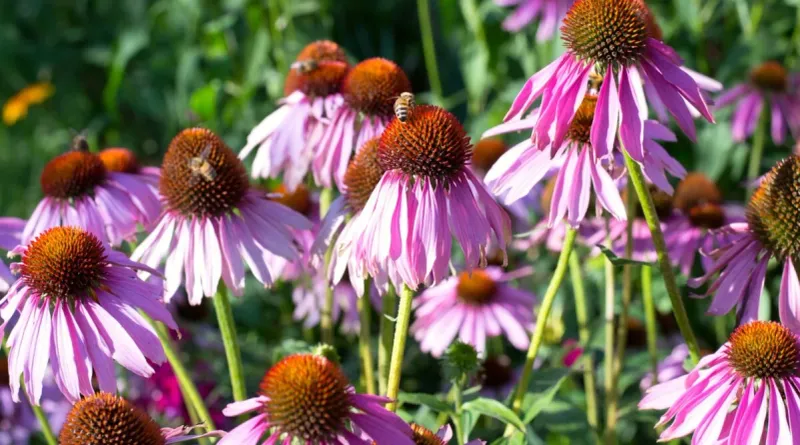
Butterflies treat coneflowers like a neighborhood diner all summer long. Echinacea keeps serving nectar right through the heat, then hands the seed heads over to the birds.
Relocation works in early spring or early fall. For a fall move, pick a stretch of cool weather that still leaves several weeks before the ground stiffens.
Remember that coneflowers grow a deep taproot. Shallow digging cuts that root short and sets the plant back considerably.
Loosen the soil in a wide ring first, then push your spade down deep before attempting to lift. Patience here saves you a season of sulking.
Prepare the new hole a little wider and deeper than the root ball you pulled. Loose soil underneath helps that taproot reach down again.
Set the plant at the exact depth it was growing before, then backfill and press gently. Burying the crown invites rot during soggy spells.
Water generously so roots make full contact with the surrounding earth. Continue watering on dry autumn days until freeze up arrives.
Leave the spent seed heads standing for winter interest and hungry finches. Snow caps on those dark cones look surprisingly pretty.