How To Refresh Tired California Raised Bed Soil After A Long, Dry Summer
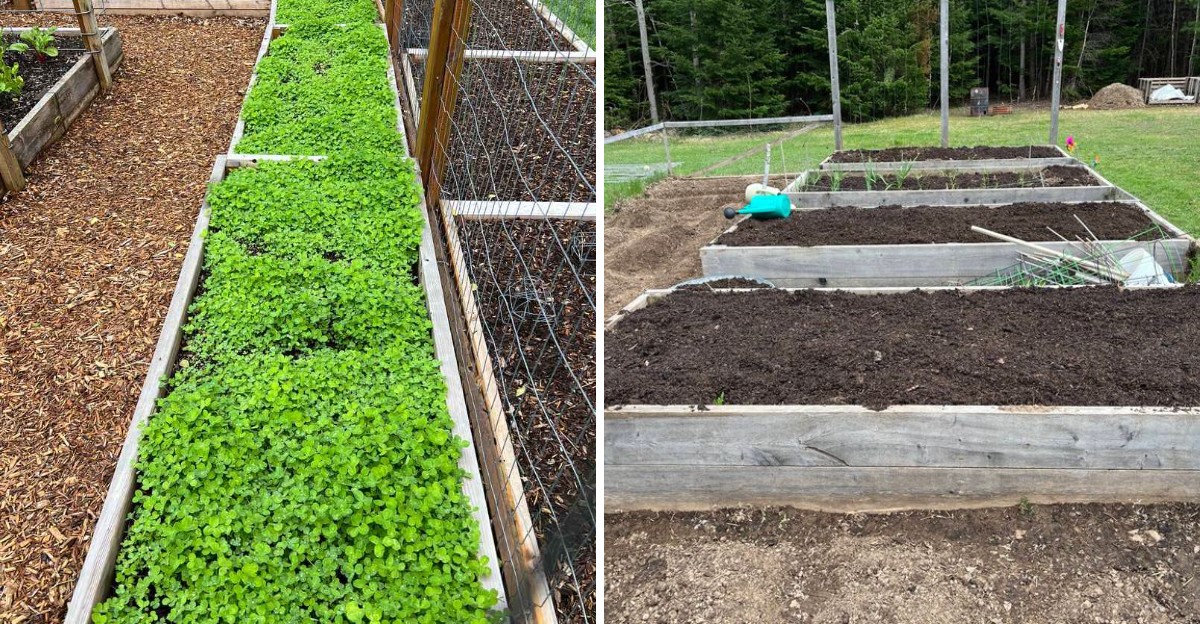
By late September, the raised bed that fed you tomatoes all summer can look pretty rough. Cracked along the edges, dusty on top, and sunk a few inches below the frame it started with.
California’s long dry season pulls moisture and organic matter out of soil faster than most gardeners expect, leaving beds hard, pale, and slow to soak up water.
Most gardeners assume the bed needs a complete overhaul at this point, hauling out old soil and starting fresh from scratch.
The good news is that fall is the best possible time to bring that soil back to life without any of that drastic work, and most of the steps are cheap and quick to do.
Here is a practical plan for getting your bed soft, moist, and ready to grow again before winter planting begins.
1. Work In Compost Before Fall Planting
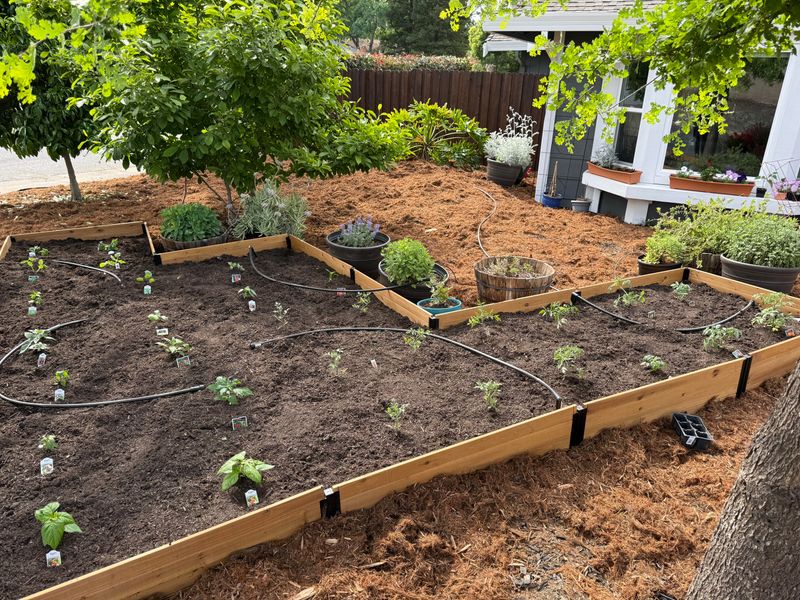
Summer tomatoes and peppers are hungry feeders, and by October the bed they grew in often looks like a sunken, pale sandbox nobody wants to plant in.
Compost is the fix that does the most work for the least money spent. UC ANR guidance on raised beds points to organic matter as the main way to rebuild soil that has shrunk and lost life over a long season.
Plan on adding one to three inches of finished compost across the surface of the bed. Blend it into just the top four to six inches with a garden fork.
Look for compost that smells earthy, feels crumbly, and shows no recognizable food scraps sitting in it. Half-finished material can tie up nitrogen while it keeps breaking down.
Compost also helps beds hold water, which matters a lot in California where irrigation is limited and summers run long. Organic matter acts like a sponge, holding moisture near roots.
Timing helps too here. Adding compost a week or two before planting gives soil microbes a head start, so nutrients are becoming available right when seedlings need them most.
Water the bed lightly after mixing to settle everything in properly. A little patience now pays off all winter long.
2. Test Soil Before Adding Amendments
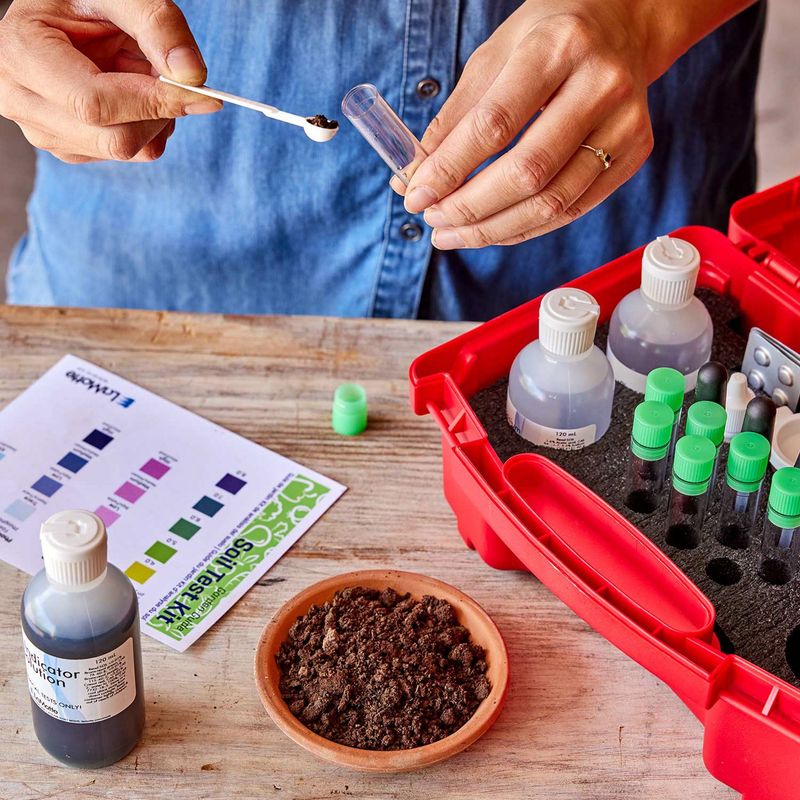
Guessing is expensive when it comes to soil amendments. A bag of bone meal, a bag of sulfur, and a bottle of liquid fertilizer add up fast, and none of them help if your bed never needed them.
UC ANR recommends sampling from several spots in the bed, then mixing those scoops into one clean container before sending the sample to a lab.
Take cores about six inches deep, since that is where most vegetable roots live throughout the season. Let the soil air dry before packaging it up for testing.
Ask for pH, plus nitrogen, phosphorus, potassium, and salts specifically. Salt buildup is a real concern in parts of California, especially where summer irrigation came from hard tap water.
High salts can stunt seedlings even when nutrients look fine on paper otherwise. Home kits give rough readings and can be a decent starting point.
Your California Garden Changes Every Week. Your Plan Should Too.
Gardening in California changes quickly throughout the season. Every Friday you’ll receive a simple weekly plan showing exactly what to plant, prune, fertilize, harvest, and protect so you never miss the right timing.
A lab report through a UC Cooperative Extension office is far more reliable though. Costs usually run modest, and one test can guide two or three seasons of decisions.
Once results arrive, amend only for what the report flags directly. Many tired California beds turn out to need organic matter and nitrogen, not a shelf full of specialty products.
Keep a simple notebook of test results and what you added afterward, so next fall you can compare and adjust instead of starting over blind.
3. Rehydrate Dry Soil Slowly, Not All At Once
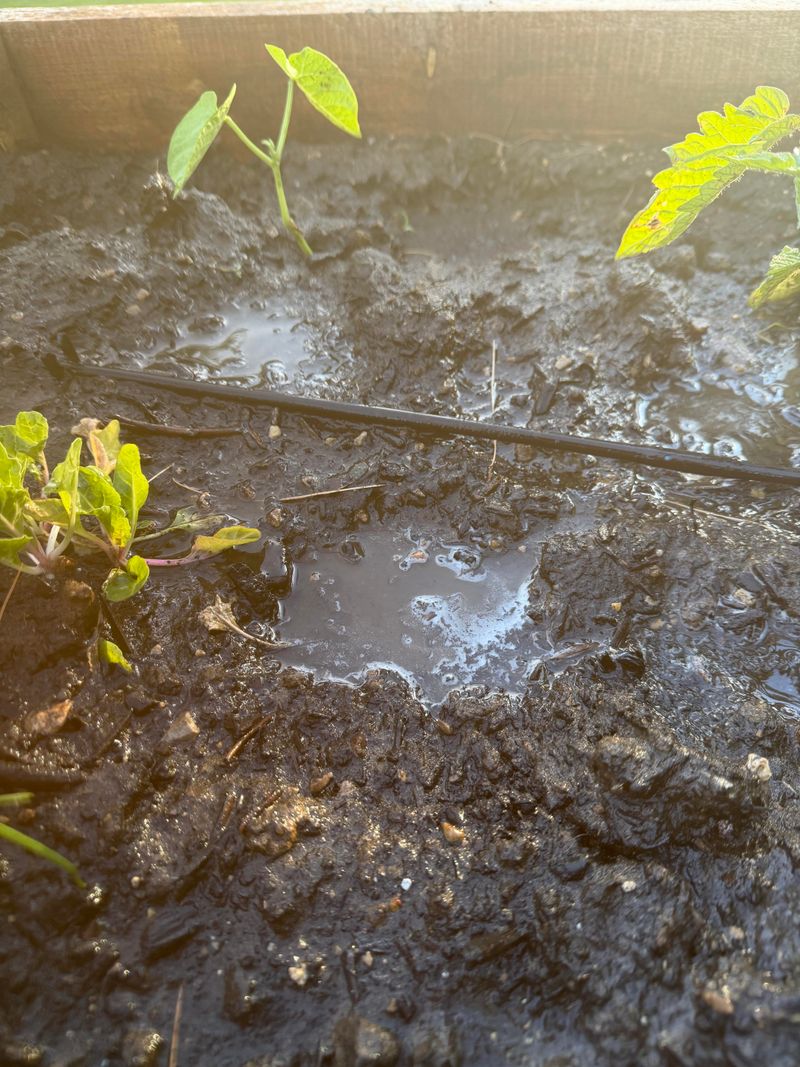
Pour a bucket of water on a bed that has baked since June, and watch what happens closely. The water beads up, runs off the sides, or races down cracks without wetting anything in between.
Severely dried soil, especially mixes high in peat or coir, can turn water repellent, a problem called hydrophobicity that surprises a lot of gardeners.
Gradual rewetting solves this issue. Run a slow soak for ten or fifteen minutes, stop, wait an hour or more, then repeat the whole process again.
Each round softens the dry particles a little more, so the next round soaks in deeper instead of sliding away across the surface.
Drip lines and soaker hoses work better than a sprayer here because they deliver water slowly and steadily over time. Overhead blasts mostly create runoff on crusted, cracked beds.
Check your progress by digging a small hole with a trowel after a few cycles of watering. Dry, dusty pockets a few inches down mean you need more rounds still.
Evenly dark, crumbly soil that holds together when squeezed means the bed is ready for compost and planting again.
Expect the process to take a couple of days on a badly dried bed overall. Rushing wastes water and leaves roots sitting in dry pockets underneath.
4. A Cover Crop Rebuilds Structure Over Winter
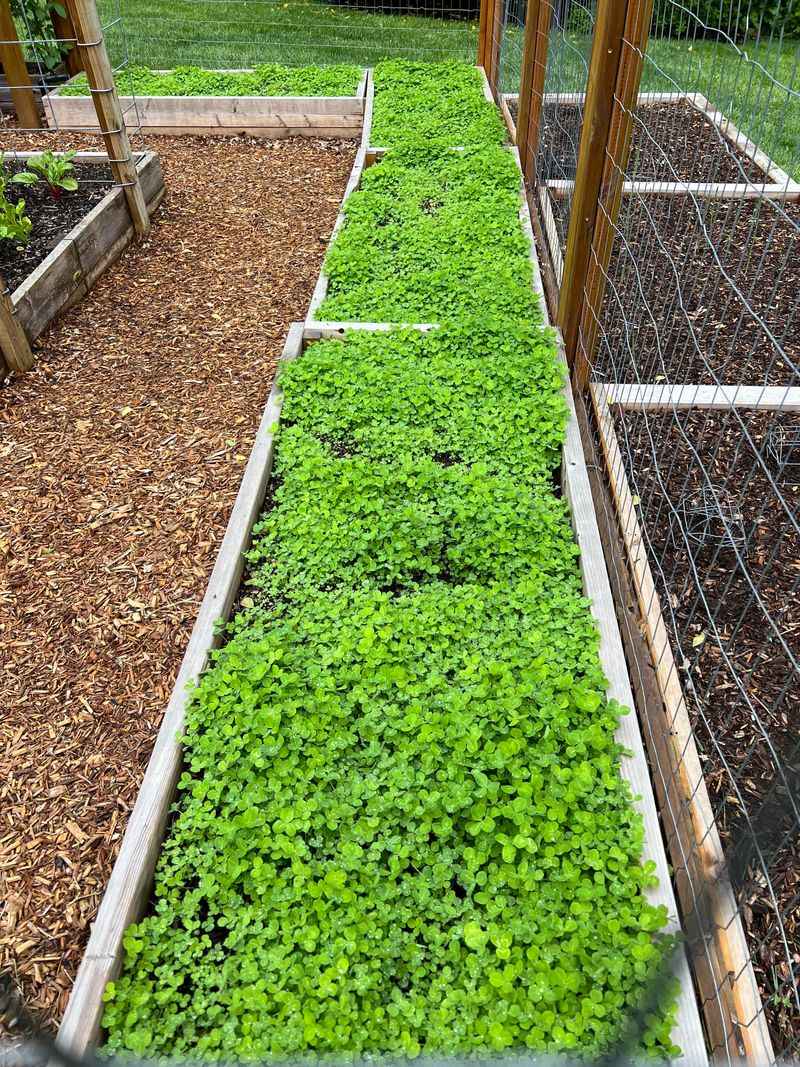
Mild California winters are a gift for soil builders working with raised beds. While gardeners in colder states shut things down entirely, you can grow fava beans, crimson clover, vetch, or cereal rye right through the rainy months.
Roots are the secret to this whole process. As they push through compacted layers, they open channels for air and water, and those channels stay behind as pathways afterward.
Legumes such as favas and vetch also pull nitrogen from the air and store it in root nodules, feeding next spring’s crops directly.
Sow seed in October or November, right before the first good rains arrive, so you may not need to irrigate much at all during establishment.
Mixes often outperform single species planted alone. A blend of a grass and a legume gives you both fibrous roots for structure and nitrogen for fertility.
Cut the crop down before it sets seed, usually when flowers first open in late winter or early spring. Chop the tops into small pieces afterward and leave them as mulch.
Even one small bed planted this way comes out noticeably softer, darker, and easier to dig by March than it would have otherwise.
5. Avoid Tilling More Than Necessary
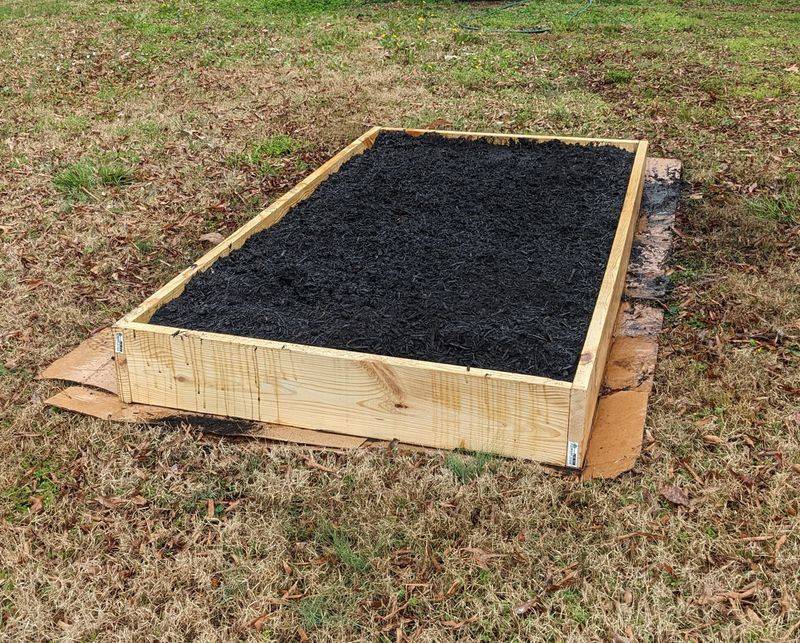
Underground there is a whole city at work in healthy soil. Fungal threads, earthworm tunnels, bacteria clustered around root hairs, and crumbs of soil glued together by all of it.
A rototiller or an enthusiastic double-dig knocks that city flat in about ten minutes without much thought given to the damage.
Raised beds rarely need heavy tilling anyway. Since nobody walks on them, they do not compact the way garden paths do over time, and loose material settles more than it hardens.
Repeated deep digging tends to backfire on gardeners who rely on it too often. Broken aggregates collapse into fine particles that crust over and shed water.
Mixing also burns through organic matter faster by exposing it to air, so the compost you worked hard to add disappears sooner than expected.
Light loosening is still fine to do occasionally. Slide a garden fork in, rock it back and forth to crack the surface, and pull it out without flipping the soil over.
If a bed truly is compacted, one careful loosening with plenty of compost can reset it entirely. After that, let roots, worms, and cover crops handle the aeration going forward.
6. Top Dress Instead Of Digging Deep
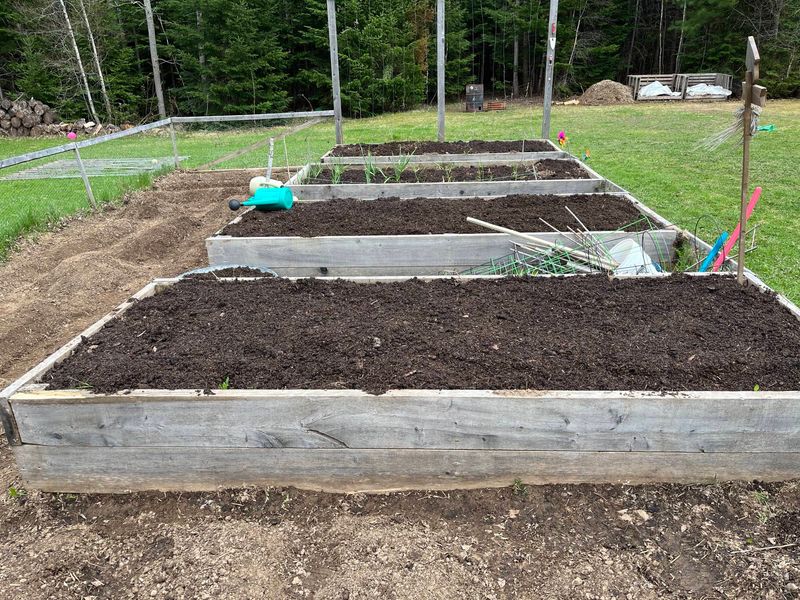
Think about how a forest feeds itself without any human intervention at all. Nobody turns the soil under an oak, yet leaves pile up each year and the ground underneath stays dark and springy.
Top-dressing copies that pattern in your raised bed. The method could not be simpler to follow. Spread one to two inches of finished compost across the surface, sweep it around plants, then water it in.
Rain, worms, and microbes carry the nutrients downward over the following weeks without any digging required from you.
Existing roots stay intact this way, which matters most when a bed already holds perennials, overwintering greens, garlic, or strawberries planted in it.
Top-dressing also fights the sinking problem California beds develop after a hot summer. Soil volume shrinks as organic matter breaks down, so adding a layer each fall keeps the bed full.
Keep compost slightly away from plant stems and crowns to avoid rot setting in, and skip piling it against wooden sides where it can speed up decay.
Gardeners who top-dress twice a year, once in fall and once in early spring, often stop buying fertilizer altogether after a season or two.
7. Mulch To Hold Moisture Going Forward
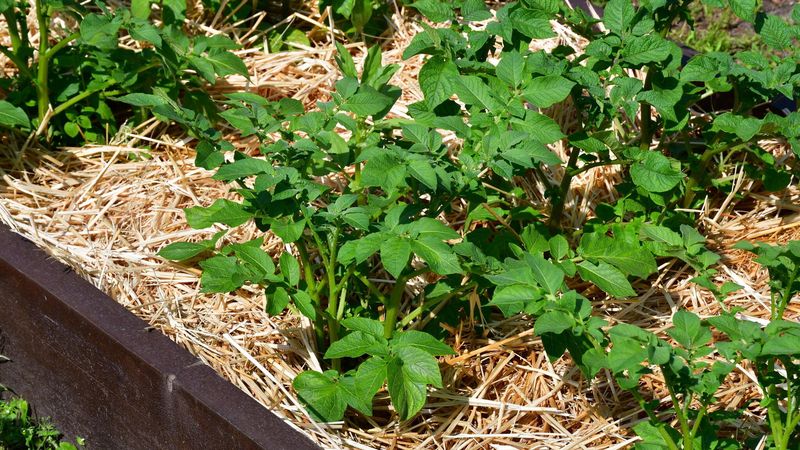
All that rehydrating and composting deserves protection afterward, and mulch is the lid on the jar that keeps it all in place. Bare soil in California dries from the top down fast, even in winter.
Two to four inches of coarse material works well for this purpose. Straw, shredded leaves, fine wood chips, or dried grass clippings all do the job effectively.
Keep mulch pulled back an inch or two from stems so air can circulate and slugs have fewer hiding spots right against the plants themselves.
Benefits stack up quickly once mulch goes down. It slows evaporation, cushions the surface against crusting during heavy rain, and moderates soil temperature throughout the season.
As it breaks down, it also feeds the soil slowly, so you are amending in slow motion the entire time it sits there.
Skip fresh manure-heavy mulches around leafy greens specifically, and avoid thick mats of whole leaves that seal into a waterproof layer over time.
Come summer, refresh the layer before the heat arrives in earnest again. Mulched beds in the Central Valley or inland Southern California can need noticeably less irrigation than bare ones.
8. Check And Repair Bed Frame Condition
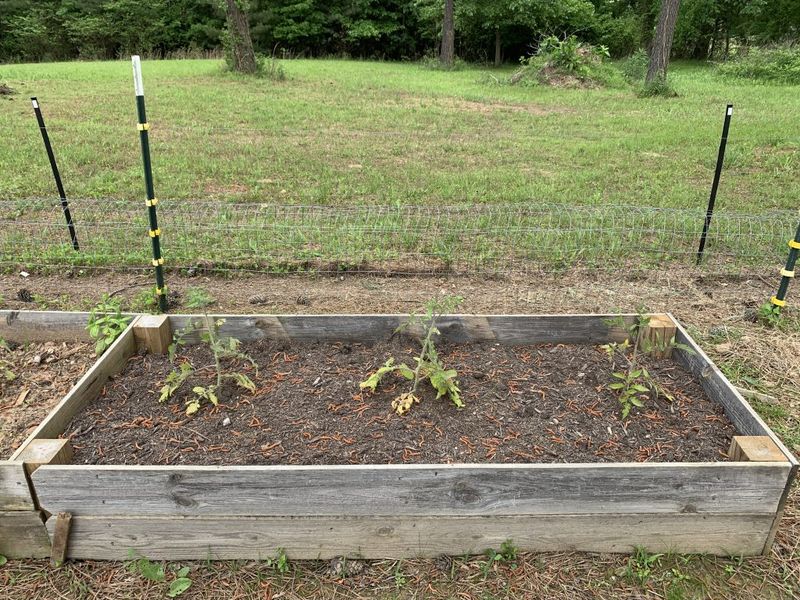
Wooden raised bed frames take a real beating from a full California summer, and fall soil work gives you a natural opportunity to check on the structure holding everything together.
Sun exposure, irrigation splash, and the natural expansion and contraction of wood through hot, dry stretches all wear down joints and boards faster than most gardeners expect, especially on beds built more than five or six years ago.
Press firmly against each side of the frame and watch for flex or bowing that was not there earlier in the season, since a little give is normal in cedar or redwood but noticeable wobble usually signals a loosened bracket or a board starting to fail.
Check corners and the bottom edge closely, where wood sits in direct contact with damp soil most of the year, since that contact point tends to rot or weaken years before the rest of the frame shows visible wear.
Metal or composite beds carry their own concerns worth checking too. Look for rust developing at seams or joints, and confirm bolted connections have not loosened from a summer of heat expansion followed by cooler fall temperatures.
Fixing a minor issue now, tightening a bracket or replacing one weakened board, takes far less effort than dealing with a collapsed corner mid-winter when the bed is already full of wet soil and cover crop roots.
This quick inspection pairs naturally with the compost and soil work already underway, since you are out at the bed anyway and can spend an extra few minutes checking the frame before moving on to planting.
A structurally sound bed protects every other investment covered here, since rich, well-rehydrated soil does little good if it is slowly spilling out through a widening gap in the frame itself.
9. Record What Struggled Before The Details Fade
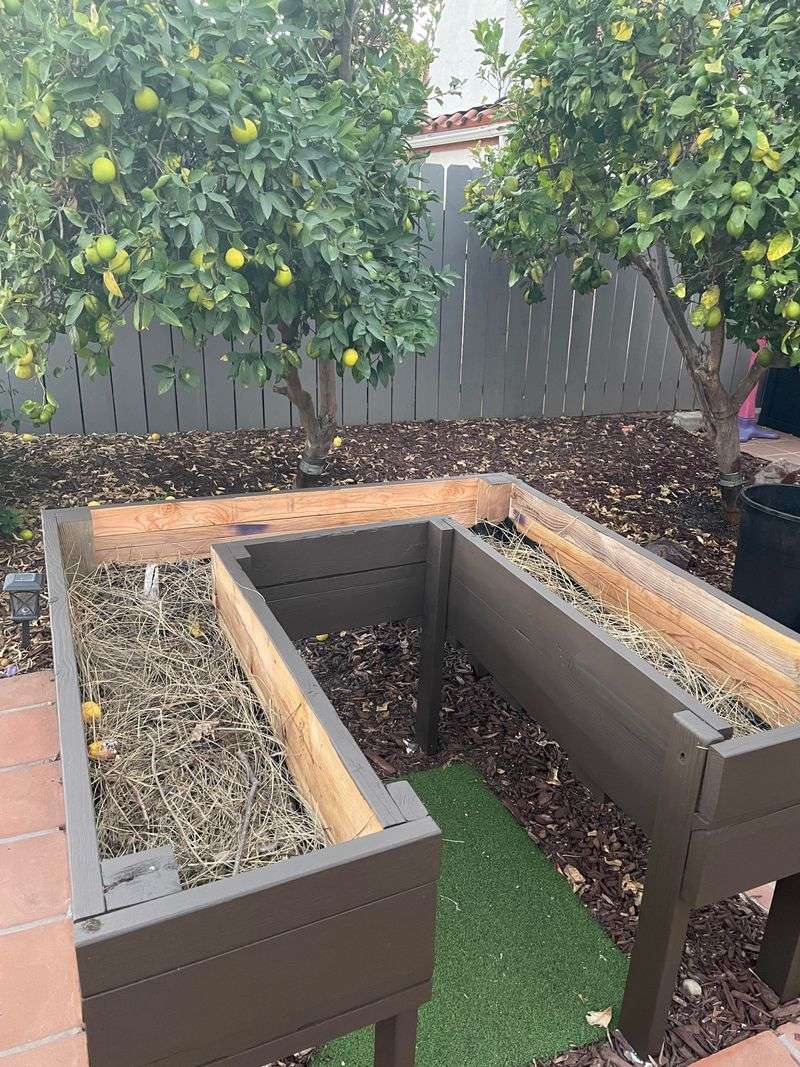
By late September, the specifics of a disappointing tomato harvest or a section of bed that never quite thrived have usually already started slipping from memory, replaced by whatever fall task comes next.
Taking a few minutes to jot down honest notes while the growing season is still fresh in mind gives next year’s planning something concrete to work from, rather than relying on a vague sense that one corner underperformed.
Note which parts of the bed produced poorly, whether specific plants showed yellowing, stunted growth, or early bolting in particular spots, and any patterns noticed with watering, drainage, or pest activity throughout the summer months.
Cross-reference those notes against soil test results if you had one done, since a consistently weak section often lines up directly with a spot testing low in a specific nutrient or showing unusually high salt levels from irrigation water.
Photos help just as much as written notes for this purpose. A quick picture of a struggling plant beside a healthy one in the same bed captures details that fade quickly by the time spring planting decisions come around again.
This record becomes especially useful when deciding where to concentrate extra compost, a cover crop, or spot repairs, turning general fall maintenance into something targeted at the specific issues your particular bed actually faced that season.
Keeping this habit consistent year after year builds a genuine picture of how a bed changes over time, which sections consistently underperform, and whether past fixes actually solved the problem or simply masked it temporarily.
A few minutes with a notebook or phone camera in September saves considerable guesswork come next June, when a soggy corner or a patch of pale, stunted plants would otherwise feel like a completely new mystery all over again.