Turn your cracked terracotta pots into free drainage and plant markers – 5 ways to save the broken ones
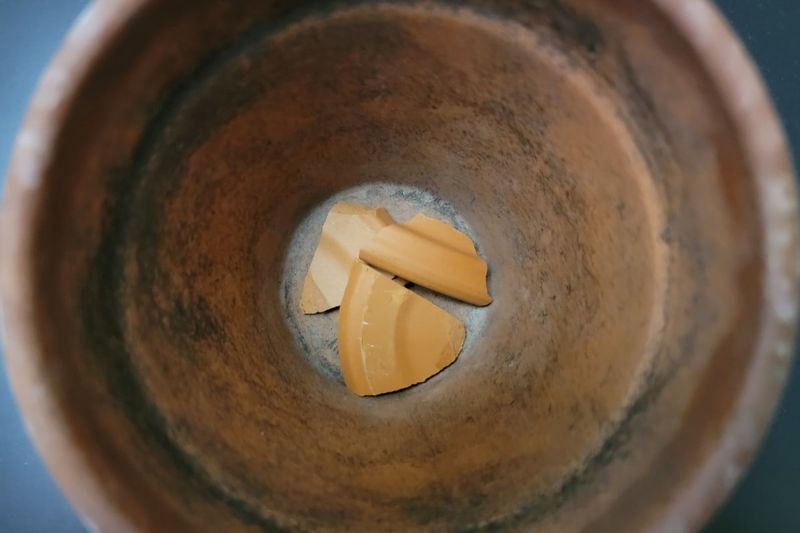
Every Oregon gardener has that sad little pile of broken pots hiding behind the shed. Before you toss those cracked terracotta pieces in the trash, know this: they are secretly some of the most useful free materials in your whole garden.
From boosting drainage in our soggy Willamette Valley winters to labeling your seed starts, those shards have plenty of life left. Here are five easy ways to give them a second act.
1. Build a Free Drainage Layer
West of the Cascades, our winters dump rain for months, and soggy roots are the fastest way to lose a beloved plant. Those broken shards are basically free insurance against root rot.
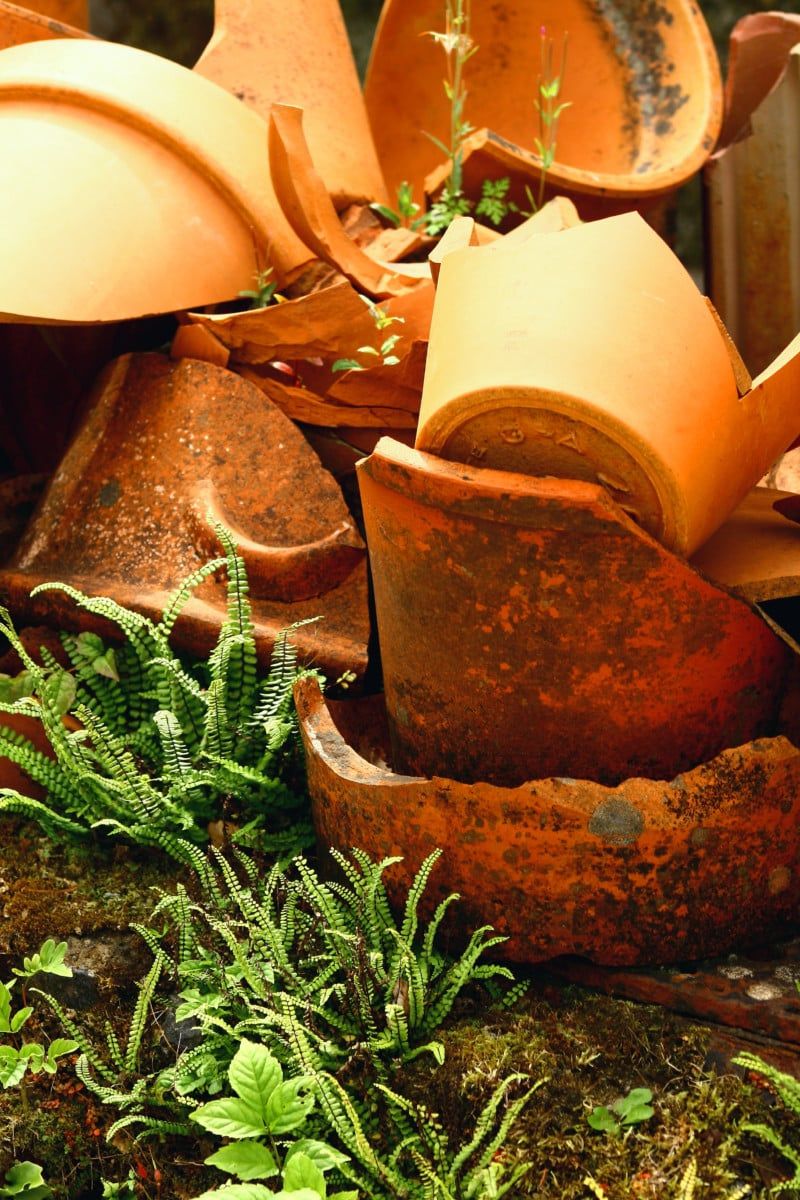
Drop a layer of terracotta pieces in the bottom of a new or larger planter before adding soil. The curved chunks create pockets that let water move away from the root zone instead of pooling around it.
Terracotta is naturally porous, so it lets a little air and moisture pass through as well. That airflow can help keep soil-borne trouble at bay, which is a real bonus during our gray, damp stretches from November through February.
Best of all, you are reusing something you already own instead of buying bags of drainage rock. Your wallet and your worm-friendly garden both win.
2. Cover Oversized Drainage Holes
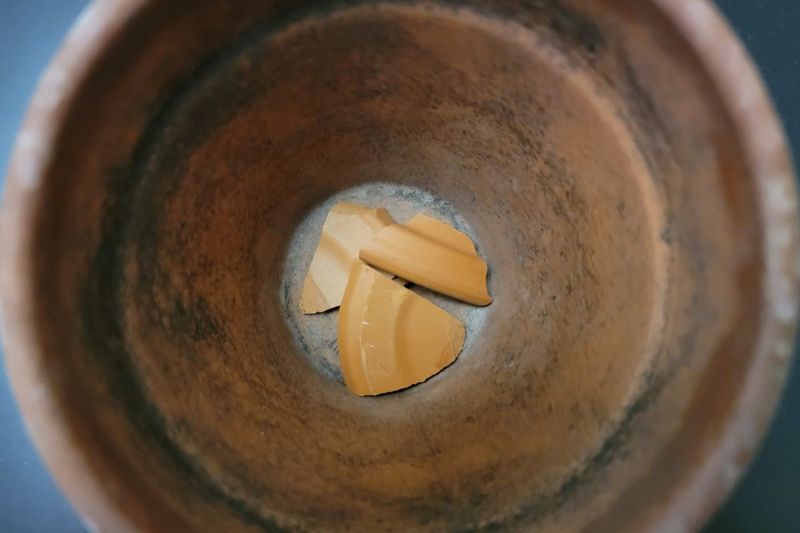
Big drainage holes are a blessing and a curse. They let water escape, sure, but they also let your good potting mix wash straight out the bottom every time you water.
A single larger shard laid curved-side down over the hole solves this in about two seconds. Water still drains freely, but the soil stays put where your plants need it.
For thirsty container plants that like steady moisture, a well-placed piece can also slow drainage just enough to hold onto a bit more water. That balance matters in an Oregon summer, when the rain quits and afternoon heat dries pots out fast.
No trimming, no tools, no fuss. Just match a shard to the hole and you are done.
3. Scatter Shards as Pest-Deterring Mulch
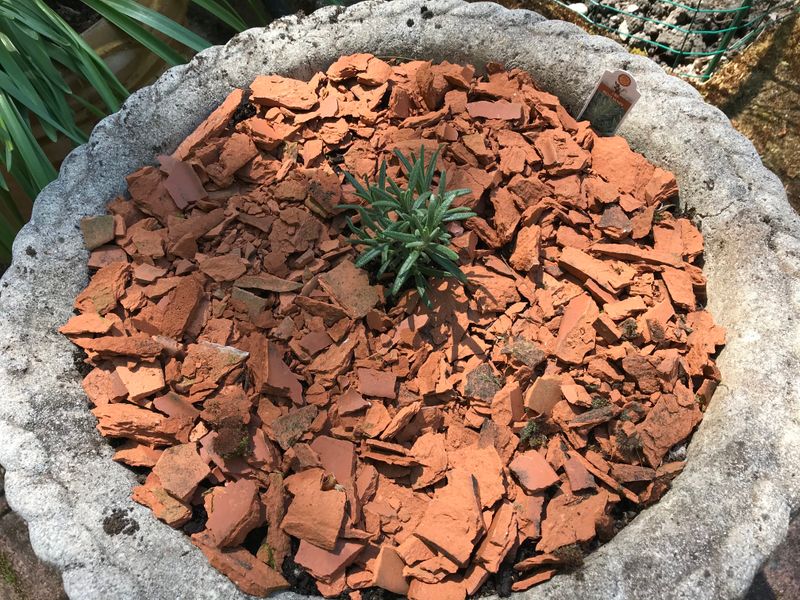
Ever come home to find a squirrel has excavated your favorite container like it owed them money? A scattering of terracotta pieces across the soil surface can politely change their mind.
Lay the shards sharp side down over the top of the soil. Curious diggers like squirrels and rabbits tend to dislike the rough surface and move along to easier targets.
Beyond guarding against furry troublemakers, the pieces work like a rustic mulch. They shade the soil, which can help hold moisture during dry spells and may block sunlight from waking up weed seeds.
Growing herbs or houseplants indoors? A layer of terracotta on top can also discourage fungus gnats from laying eggs in that first inch of damp soil.
It looks charming and does quiet, useful work.
4. Make Quick No-Fuss Plant Markers
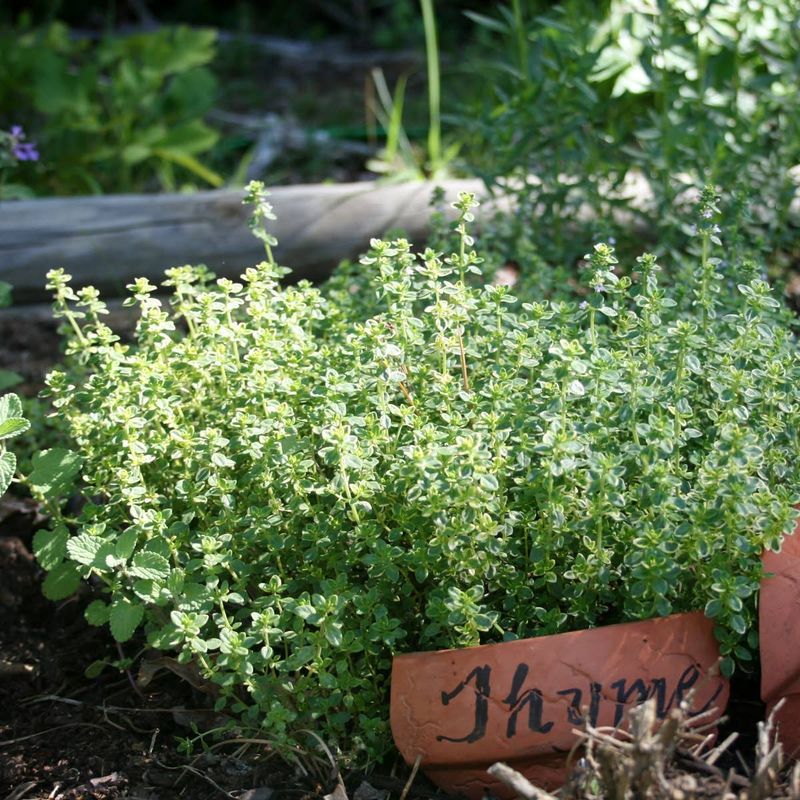
Raise your hand if you have ever planted a whole tray of seedlings and completely forgotten which green sprout was which. We have all been there, squinting at mystery leaves in April.
Your Oregon Garden Changes Every Week. Your Plan Should Too.
Gardening in Oregon changes quickly throughout the season. Every Friday you’ll receive a simple weekly plan showing exactly what to plant, prune, fertilize, harvest, and protect so you never miss the right timing.
The thicker brim and rim pieces of a broken pot are perfect for fixing that. Grab a shard, write the plant name on it with a permanent marker, and push the pointed end into the soil right beside the plant.
These homemade tags shrug off Oregon rain far better than paper or popsicle sticks, which turn to mush by June. They are especially handy in an herb bed or a crowded seed-starting shelf where basil and oregano look suspiciously alike.
Free, sturdy, and rustic. It is the kind of tiny fix that makes you feel like a very put-together gardener, even if the rest of your potting bench is chaos.
5. Craft Painted Decorative Plant Labels
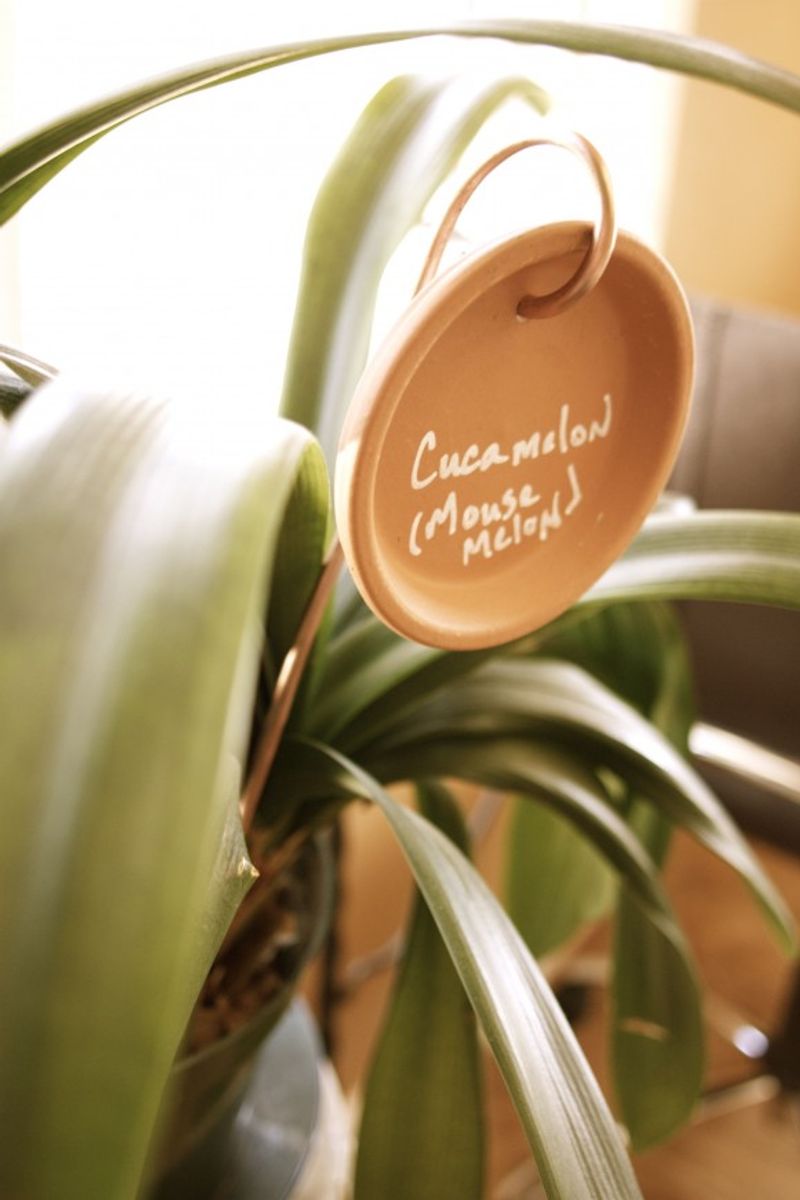
For the gardener who treats their beds like a gallery, plain marker tags simply will not do. Good news: those bigger shards can become little works of art.
Start by sanding a smooth, flat piece until the edges feel gentle. Paint on a background color, let it dry, then add the plant name with a paint pen or a tidy stencil.
A few thin coats of a protective sealer help the artwork stand up to our wet PNW seasons, so your pretty labels do not fade after the first storm. Tuck them among the pots on the porch or line them along a raised bed for a cheerful, personal touch.
It is a lovely rainy-afternoon winter project, right when you are itching for spring and stuck indoors dreaming of tomatoes. Turning a broken pot into something charming feels a little like redemption for all those clearance plants you swore you would stop buying.