The One Thing You Must Do To Michigan Toad Lilies Before September Ends

Toad lilies bring a unique, orchid-like bloom to shaded Michigan gardens each fall, and one task this September plays a real role in how well they perform and survive through winter.
As these plants shift their energy toward late-season flowering, their needs change slightly compared to earlier in the growing season.
Overlooking this shift can leave toad lilies weaker heading into dormancy, even while they’re actively putting on one of their most striking displays of the year.
Because these plants can be slow to bounce back from neglect during this transition, addressing this now carries more weight than it might seem.
A little extra attention before the month ends helps toad lilies finish strong and return reliably next year.
1. Keep The Soil Consistently Moist

Moisture matters more than almost anything else when toad lilies are putting on their fall show. These plants come from woodland areas where the ground stays cool and damp, so dry soil throws them off fast.
When the roots run short on water, the whole plant feels the strain. Leaves may curl at the edges, buds can drop before they open, and the flowers that do appear often look smaller or fewer.
That is a shame, because September and October are exactly when toad lilies should be showing off.
Steady moisture keeps the plant working at full strength. Water travels up from the roots to feed the leaves, and the leaves in turn make the energy needed for blooming.
Break that chain with drought stress, and you lose the color you waited all summer to enjoy.
Try to keep the soil feeling like a wrung-out sponge, damp but not soggy. During dry September stretches, that might mean watering two or three times a week, especially if you have sandy Michigan soil that drains quickly.
Water deeply rather than giving a light splash. A slow, thorough soak encourages roots to grow down where the ground stays cooler and moister. Shallow watering only wets the top inch and leaves the plant thirsty by afternoon.
Pay closer attention during warm, breezy days, since wind pulls moisture from both the soil and the leaves. A little consistency now sets your toad lilies up for their best possible finish to the growing season.
2. Check The Soil Before Watering
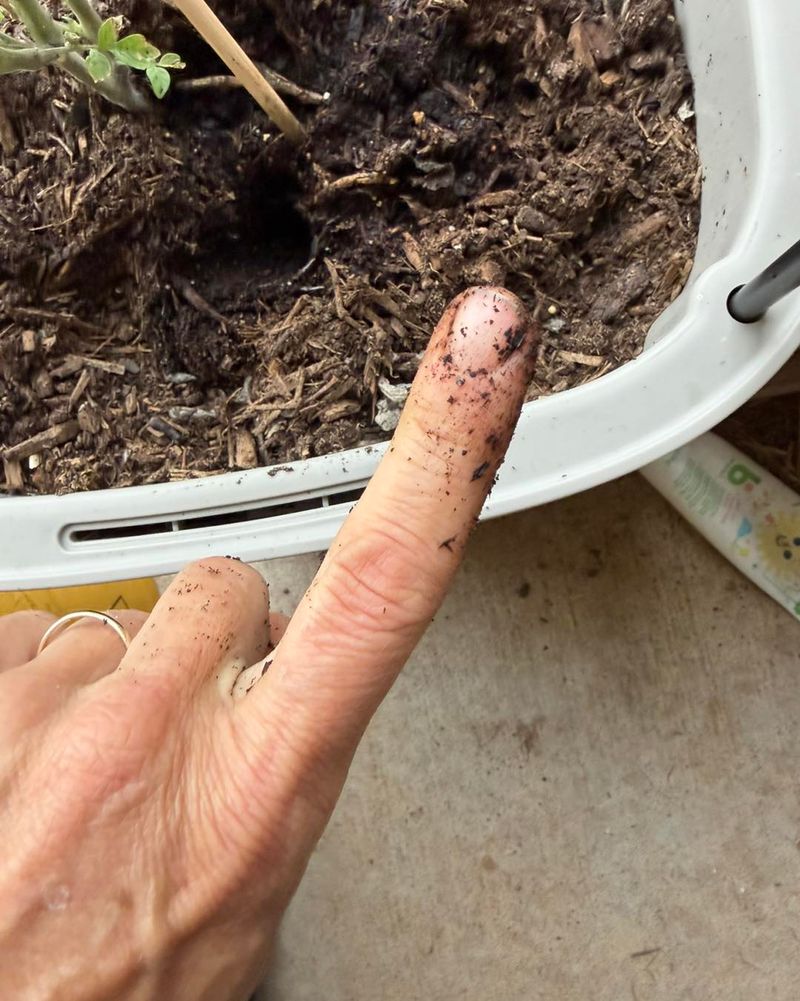
Grabbing the hose on a schedule feels easy, but plants do not read calendars. The smarter move is checking the root zone first, because the surface can look dry while the soil below stays plenty wet.
Stick your finger down about two inches near the base of the plant. If the soil feels damp and cool, hold off.
If it feels dry and crumbly at that depth, it is time to water. This quick test takes five seconds and saves you from guessing.
Toad lilies love moisture, but they do not want to sit in a swamp. Soggy, waterlogged soil pushes out the air that roots need to breathe.
When roots stay drowned too long, they weaken and stop taking up water properly, which oddly makes the plant look thirsty even when it is soaked.
Your Michigan Garden Changes Every Week. Your Plan Should Too.
Gardening in Michigan changes quickly throughout the season. Every Friday you’ll receive a simple weekly plan showing exactly what to plant, prune, fertilize, harvest, and protect so you never miss the right timing.
The goal is that middle ground: moist and refreshing, never flooded. Checking first helps you find it without overdoing things.
Clay-heavy spots in Michigan gardens hold water longer, so you will water less often there. Sandy beds dry out fast and need more frequent attention. Your finger tells you what the soil type is really doing.
Rainfall counts too. After a good soaking storm, skip your usual watering and let nature do the job. Piling more water on already wet ground only invites trouble.
Build the habit of testing before you reach for the hose, and your toad lilies will thank you with steady, healthy growth right through the fall.
3. Protect Them From Dry Afternoon Conditions
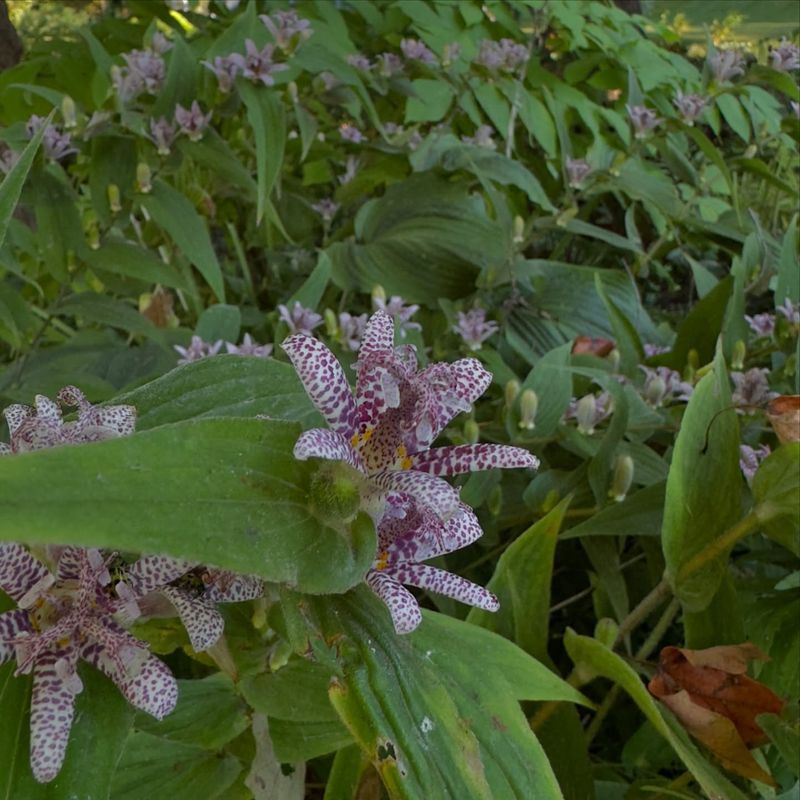
Toad lilies are shade lovers at heart, and afternoon sun is their least favorite thing. In the wild they grow beneath trees, tucked into cool, filtered light where the ground rarely bakes.
Hot afternoon rays dry out both the leaves and the soil in a hurry. When that happens, the plant loses water faster than its roots can replace it, and you end up with wilted foliage and scorched leaf tips by evening.
Shade acts like natural air conditioning. It keeps the soil cooler, slows evaporation, and lets the plant hold onto the moisture it needs to keep blooming.
That is why toad lilies planted under trees or on the east side of a house usually look happier than those out in the open.
If your plants sit in a more exposed spot, September dry spells call for closer watch. Those plants will need extra water and maybe a light shade cloth during the hottest part of the day.
Morning sun is fine and even helpful, since it dries dew and gives gentle light without the harsh heat. It is the strong midday and afternoon sun you want to soften.
Look at where the sunlight lands in your yard around 2 or 3 p.m. Spots that stay shady then are perfect for toad lilies.
Companion plants like hostas or ferns can throw a little extra shade over the root zone too. Giving your toad lilies protection from that harsh afternoon glare helps them coast smoothly toward their fall finish.
4. Mulch Around The Root Zone
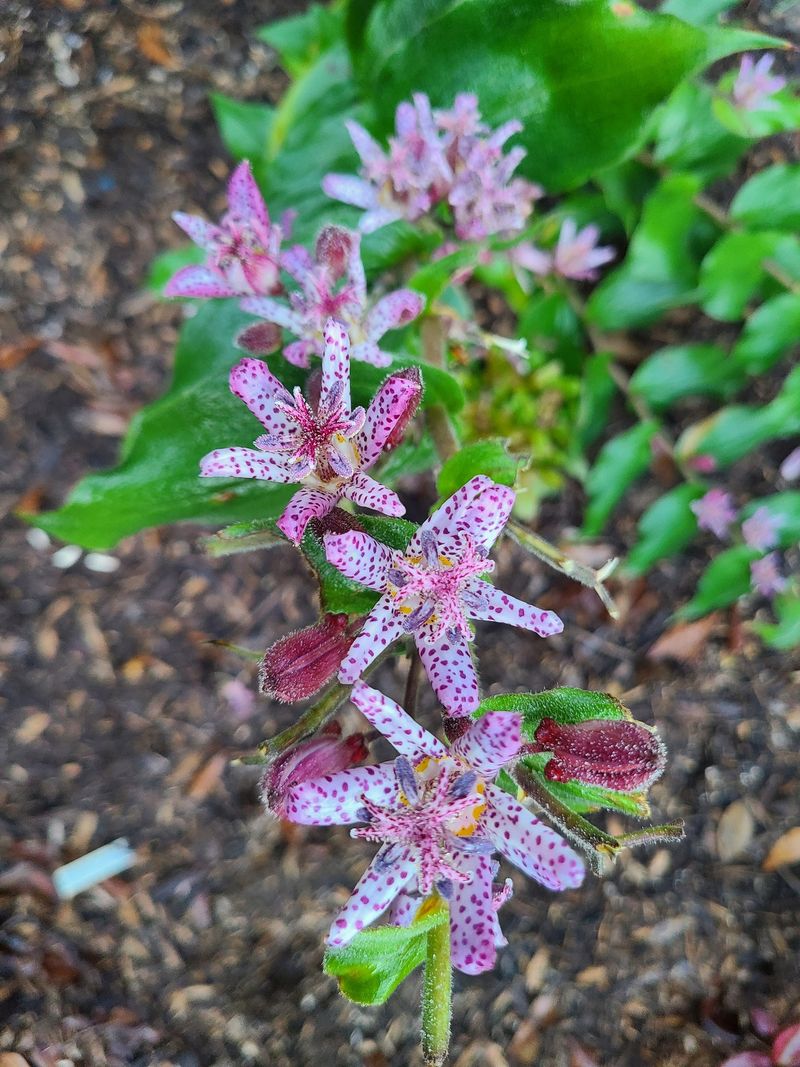
A good layer of mulch works like a cozy blanket for your toad lily roots. Spread the right way, it solves several problems at once and cuts down on how often you need to water.
The biggest gift mulch gives is moisture control. Bare soil loses water fast under sun and wind, but a two to three inch layer of shredded bark, leaves, or compost slows that loss way down.
The soil underneath stays damp much longer between waterings. Temperature is the other win. Mulch keeps the ground from swinging between hot and cool, which roots really appreciate.
Steady soil temperatures mean less stress on the plant during those unpredictable September days when mornings feel chilly and afternoons turn warm.
Organic mulch also breaks down slowly over time, feeding the soil and improving its texture. That means better moisture holding and healthier roots season after season, without any extra work from you.
Choose natural materials like shredded leaves, pine needles, or bark chips. These match the woodland conditions toad lilies love and look tidy in the garden too.
Spread it evenly across the root zone, reaching out to where the leaves stretch. That coverage protects the whole feeding area where the roots search for water.
Skip plastic sheeting or heavy rock mulch, since those trap too much heat and block the gentle air and water flow the roots need.
Laying down a fresh layer before September ends gives your toad lilies steady, comfortable conditions right through their bloom time and into the cooler weeks ahead.
5. Keep Mulch Away From The Crowns
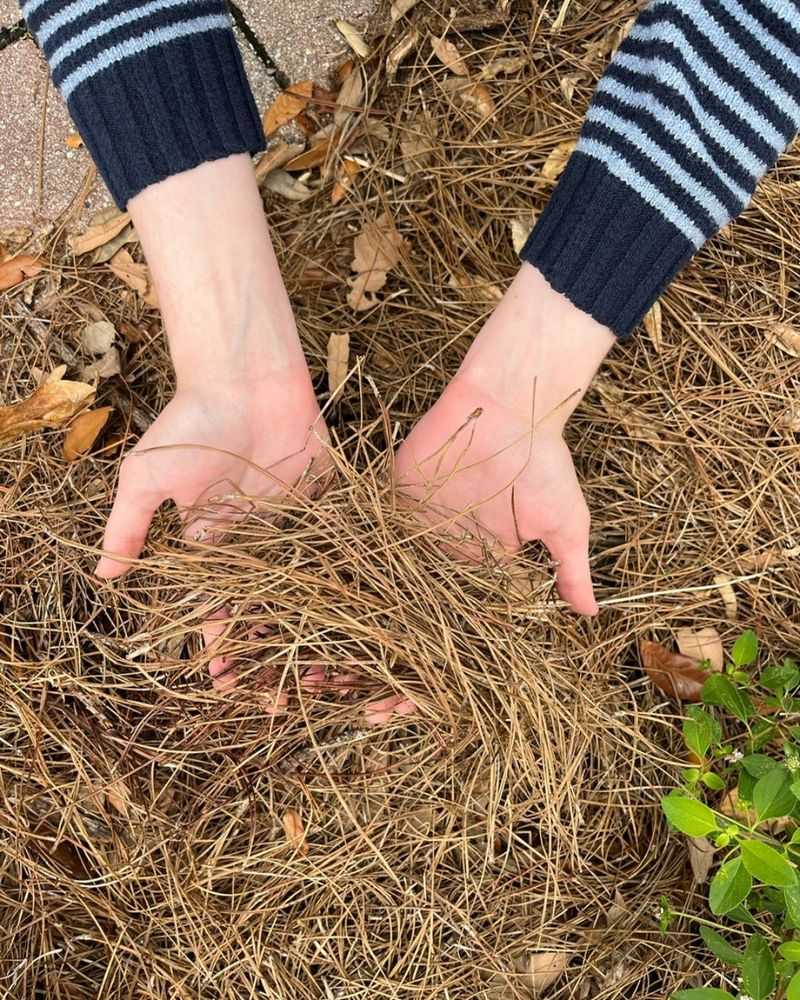
Here is a small detail that makes a big difference: leave a little breathing room around the crown of each plant. The crown is that spot where the stems rise up out of the soil, and it does not like being buried.
When mulch gets piled straight against the crown, it traps moisture right where the plant is most sensitive. Constant dampness against those stems can lead to rot, and rot is tough to reverse once it takes hold.
Think of the crown like a neck that needs air. Roots want to stay moist, but the crown wants to stay dry and open. Piling mulch high around the stems mixes those two needs in the worst way.
The easy fix is a doughnut shape. Spread your mulch over the root zone, then pull it back an inch or two from the base so the crown sits in a clear little circle. Air can move freely, and water drains away instead of pooling.
This trick also keeps pests and fungus from setting up camp against the stems. Bugs and mold both love the warm, wet pocket that mulch-against-the-crown creates.
Take a minute to check your plants after you mulch. Gently sweep away anything touching the stems and shape that open ring.
The same rule works for trees and other perennials, so it is a habit worth building. A crown that stays dry and open keeps your toad lilies healthy and standing tall through their fall display.
6. Avoid Heavy Late Fertilizer
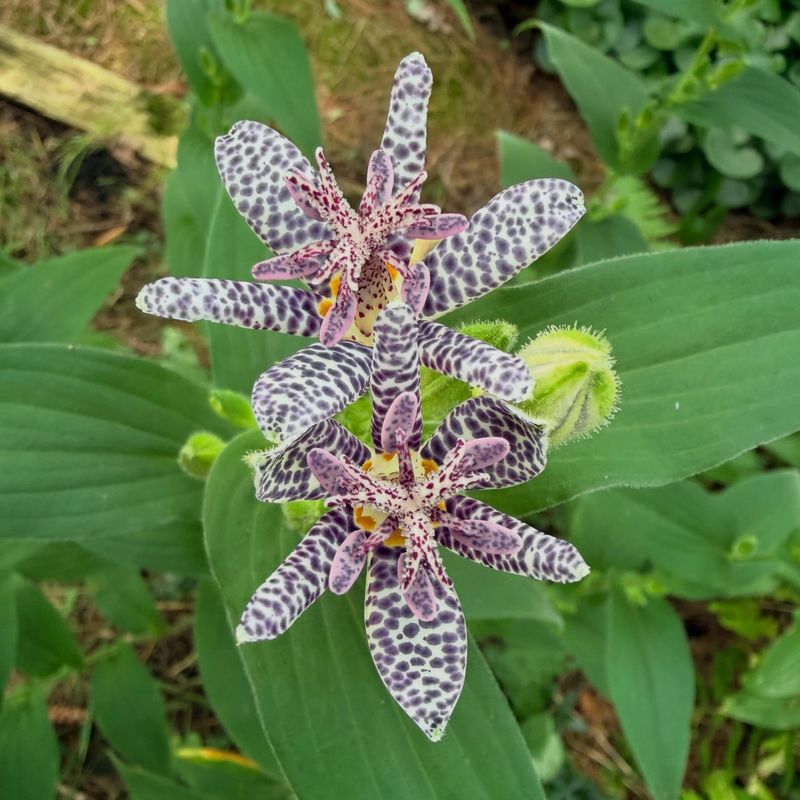
Reaching for fertilizer feels helpful, but late September is the wrong time to load up your toad lilies. Established plants already have what they need to finish the season strong.
Strong fertilizer, especially the kind high in nitrogen, tells a plant to grow fast and push out fresh leaves. That sounds nice until you remember what comes next: cold Michigan weather.
Tender new growth that appears late has no time to toughen up before frost arrives. Soft, young shoots are fragile. They get damaged easily by cold snaps, and that damage weakens the whole plant heading into winter.
Instead of helping, a late feeding can leave your toad lilies worse off. At this point in the year, the plant should be slowing down, not speeding up. Its natural rhythm is to store energy in the roots and get ready for dormancy.
A big shot of fertilizer fights against that rhythm. If your soil is truly poor, a light feeding earlier in the growing season is plenty. Rich, healthy soil with compost mixed in usually supplies everything toad lilies want without any boxed products at all.
Focus your late-season energy on moisture and mulch instead. Those steps support the plant in ways that actually match what it needs right now.
Save the fertilizer for next spring, when new growth is just starting and the plant is hungry for a boost. Holding back now is not neglect, it is smart timing that lets your toad lilies wind down naturally and wake up healthy when warm weather returns.
7. Remove Diseased Foliage When Necessary
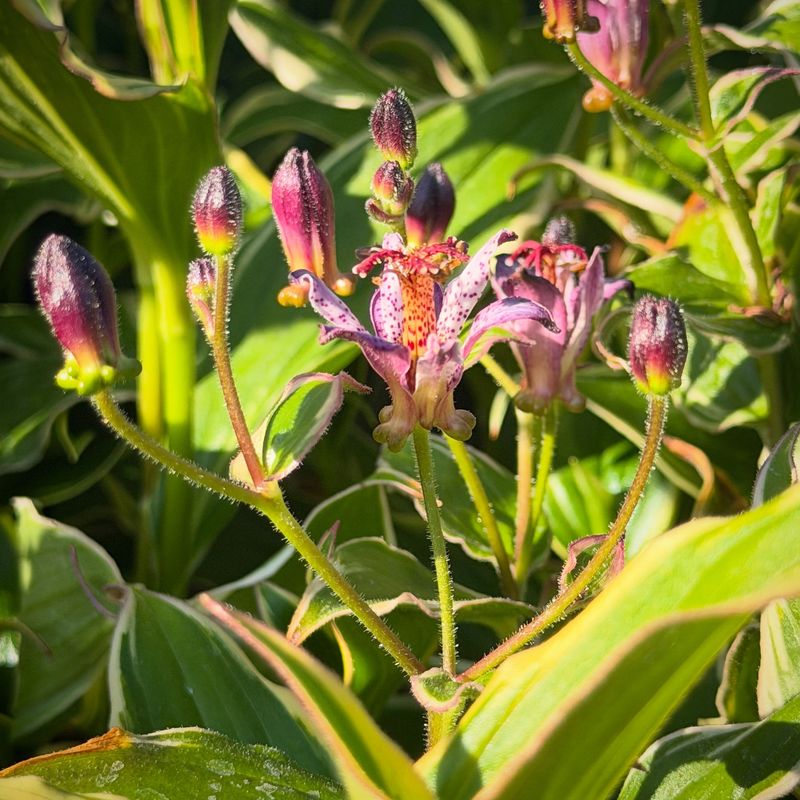
Every so often a leaf or two will show spots, mildew, or heavy damage, and those are worth trimming away. Clearing out troubled foliage helps stop problems from spreading to the rest of the plant.
Fungal spots and mildew love to travel. One spotted leaf left alone can pass its trouble to neighbors, especially in the damp, cool air of fall.
Snipping off the worst of it slows that spread and keeps the plant looking clean. The key word here is severely. You are not stripping the plant bare.
You only remove leaves that are badly spotted, mushy, or clearly struggling. Healthy green leaves stay put, and for good reason.
Those healthy leaves are still hard at work. They soak up light and make the energy that flows down to the roots, and the roots need that energy to store up for winter. Cutting off good foliage too early robs the plant of that support.
Use clean, sharp snips and cut close to the base of each bad leaf. Wipe your blades with rubbing alcohol between plants so you do not carry problems from one to another.
Toss the trimmed leaves in the trash rather than the compost pile. Diseased material can survive composting and come back to haunt next year’s garden.
Do a gentle check every week or so during September. A quick once-over lets you catch trouble early while leaving the plant mostly whole.
Balancing cleanup with patience keeps your toad lilies both tidy and well fed through the fall.
8. Let The Plant Finish Its Fall Growth
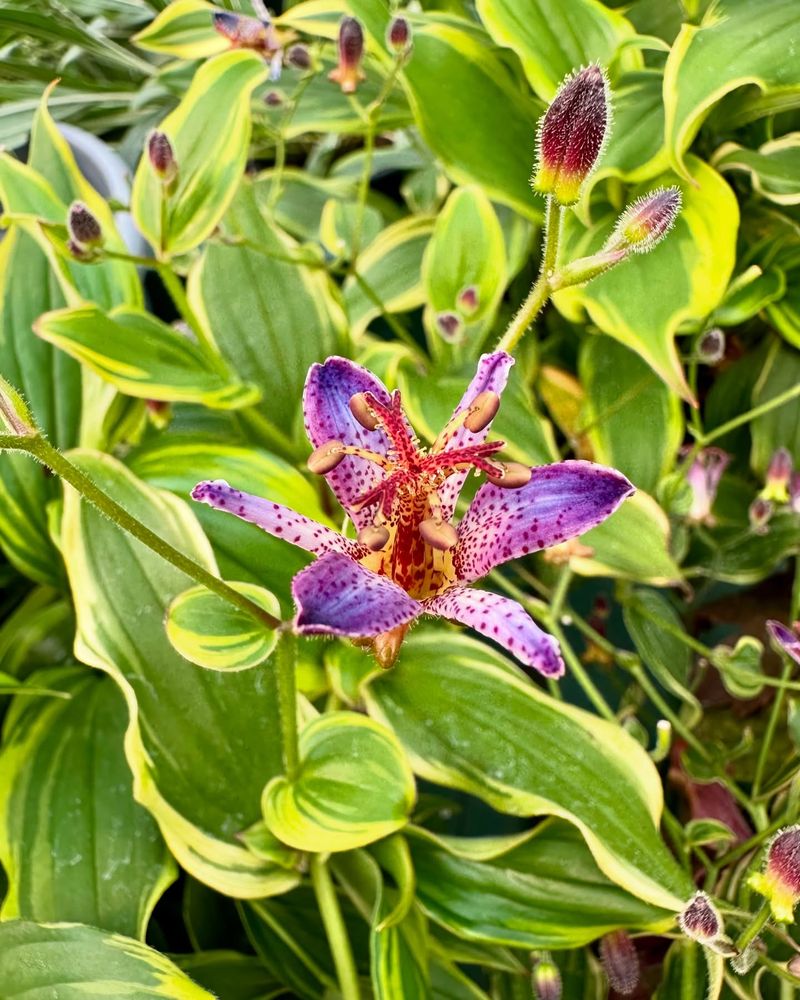
The last and gentlest tip is simply this: step back and let your toad lilies do their thing. After all your careful watering and mulching, the plant knows how to finish the job on its own.
Fall is a time of quiet preparation. Toad lilies keep blooming while also pulling energy down into their roots, getting ready to rest through the cold months. That natural process works best when the plant is left mostly undisturbed.
Fight the urge to dig, move, or heavily prune right now. Roots that get disturbed late in the season have little time to settle before winter, and that can weaken the plant when it should be storing strength.
Your main jobs at this point are the easy ones. Keep the soil evenly moist, keep that protective mulch in place around the root zone, and clear away only the leaves that truly need it. Everything else, the plant handles itself.
As the flowers finish and the weather cools, the foliage will slowly fade and yellow. That is completely normal and part of the plant tucking itself in for the season.
You can leave the spent stems standing through winter if you like. They offer a little shelter for the crown and can be tidied up in spring instead.
Give your toad lilies steady moisture, a comfortable root zone, and room to wind down, and they will slip smoothly into dormancy. Come next summer, they will return with those charming speckled blooms, ready to light up your shade garden all over again.