What To Do With Green Tomatoes When Michigan Frost Comes Early
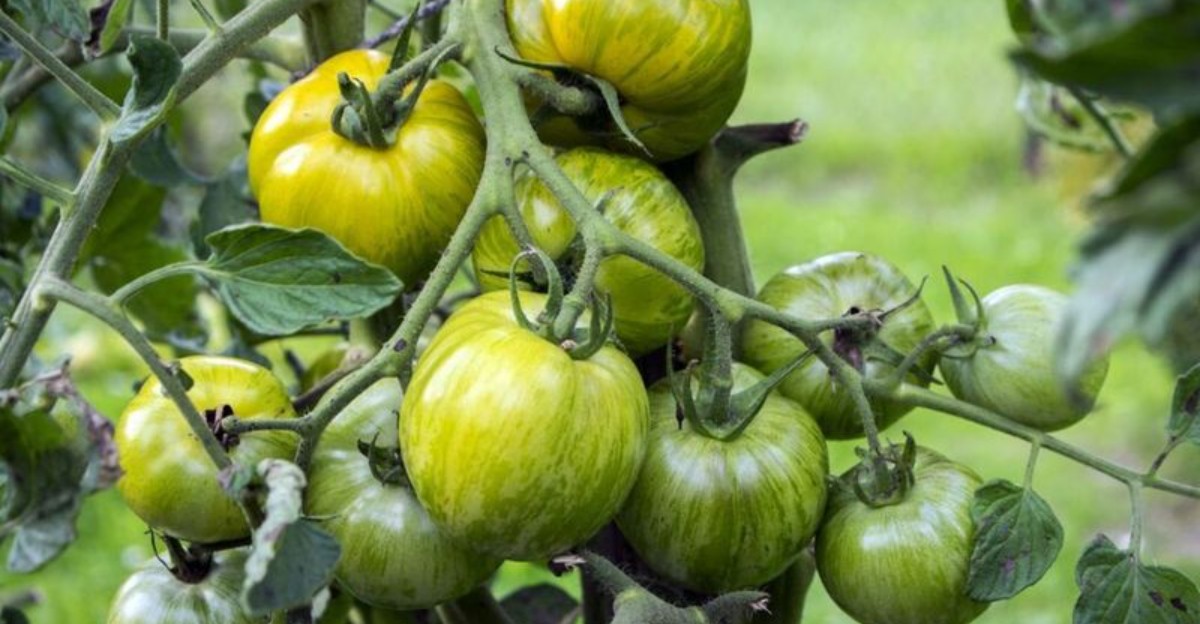
Frost snuck into your garden overnight and left every green tomato caught mid-ripen. Nobody expected Michigan’s first freeze to land this early in the season.
Vines still sag under the weight of fruit that never got its chance to turn red. Panic feels natural right now, but your harvest is not finished yet.
Gardeners across Michigan face this exact scramble every autumn when temperatures drop without warning. Dozens of hard, pale globes sit on your counter now, waiting for a decision only you can make.
Every choice you make in the next few hours could decide how much of this harvest survives. That basket by your door holds more than clutter, a small stubborn bet on flavor you refuse to give up.
1. Bring Potted Plants Indoors Before The Frost
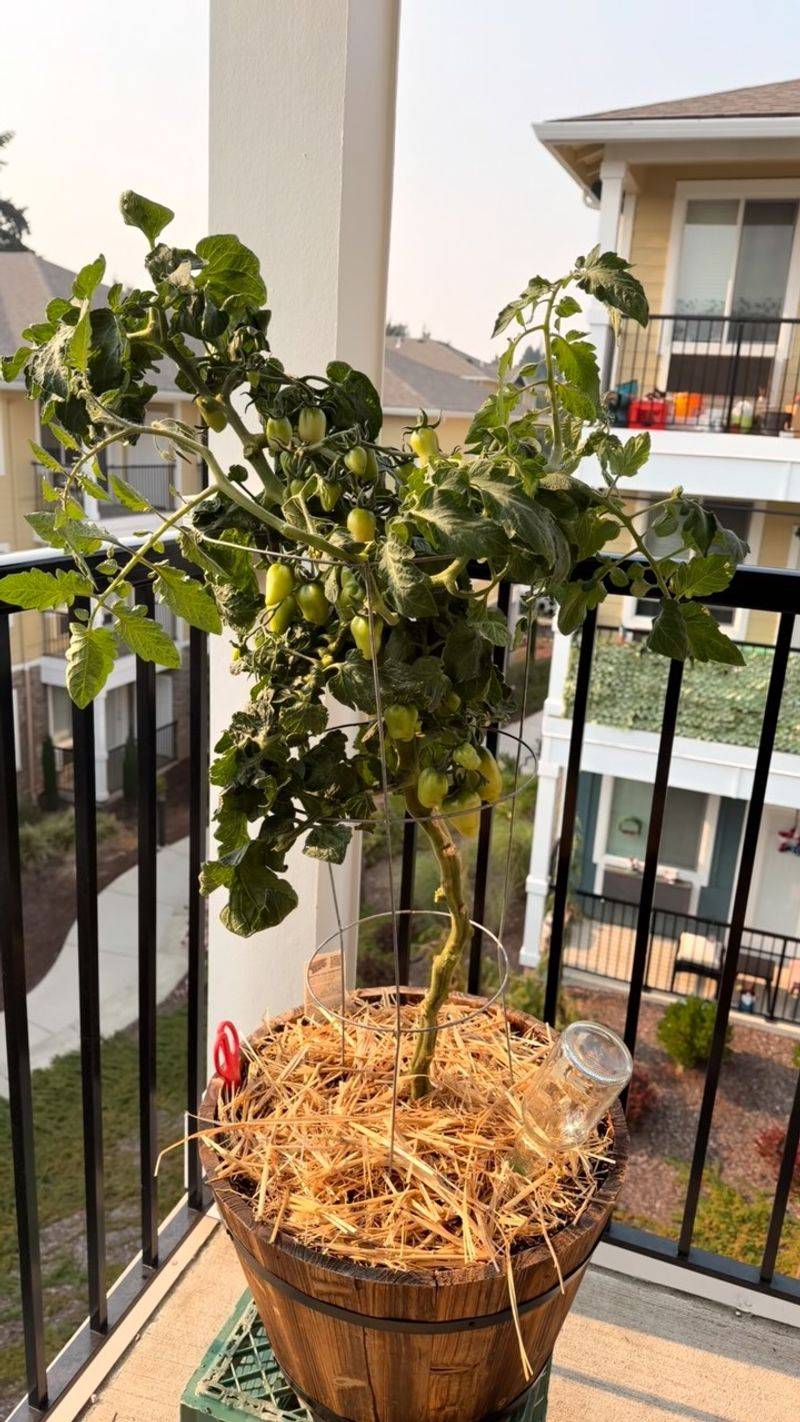
My grandma used to haul her patio pots into the garage every September, grumbling the whole way. Her reward was fresh salads well into October while neighbors stared at frosty stems.
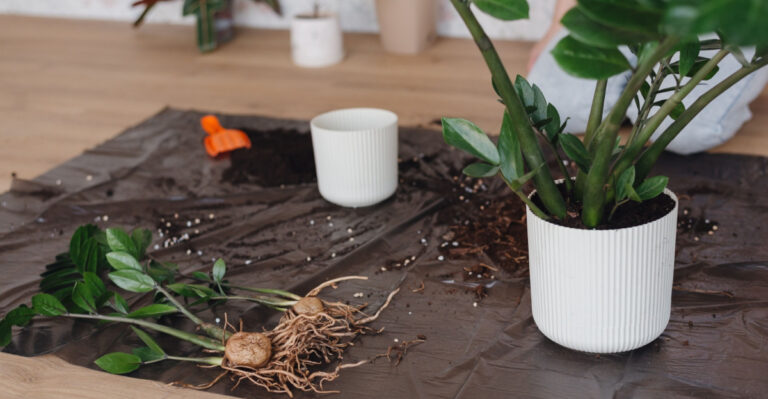
Container plants are the easiest to rescue because they can move. Watch the forecast closely, and plan to act when nighttime lows are expected to dip below 40 degrees.
Tomatoes slow their ripening a lot once temperatures fall below 50 degrees, even before any frost appears. Moving them early gives the fruit a better chance to keep developing flavor and color.
Pick a bright spot, like a south-facing window, a sunroom, or a heated garage with a grow light. Plants need at least six to eight hours of light to stay happy indoors.
Before carrying pots inside, check under the leaves for aphids, whiteflies, and spider mites. A quick spray from the garden hose a day earlier can wash away most of those tiny hitchhikers.
Big pots get heavy, so a hand truck or a rolling plant caddy saves your back. Set a shallow tray underneath each container to catch extra water and protect your wood floors.
Water less often indoors, since cooler rooms and weaker sunlight mean the soil dries slowly. Gently shaking the stems every few days helps flowers pollinate without any bees around.
Once a warm spell returns, you can set pots back outside during sunny afternoons. Just remember to bring them in again before sunset, when Michigan temperatures tend to drop fast.
2. Sort Ripe Tomatoes From Green Ones
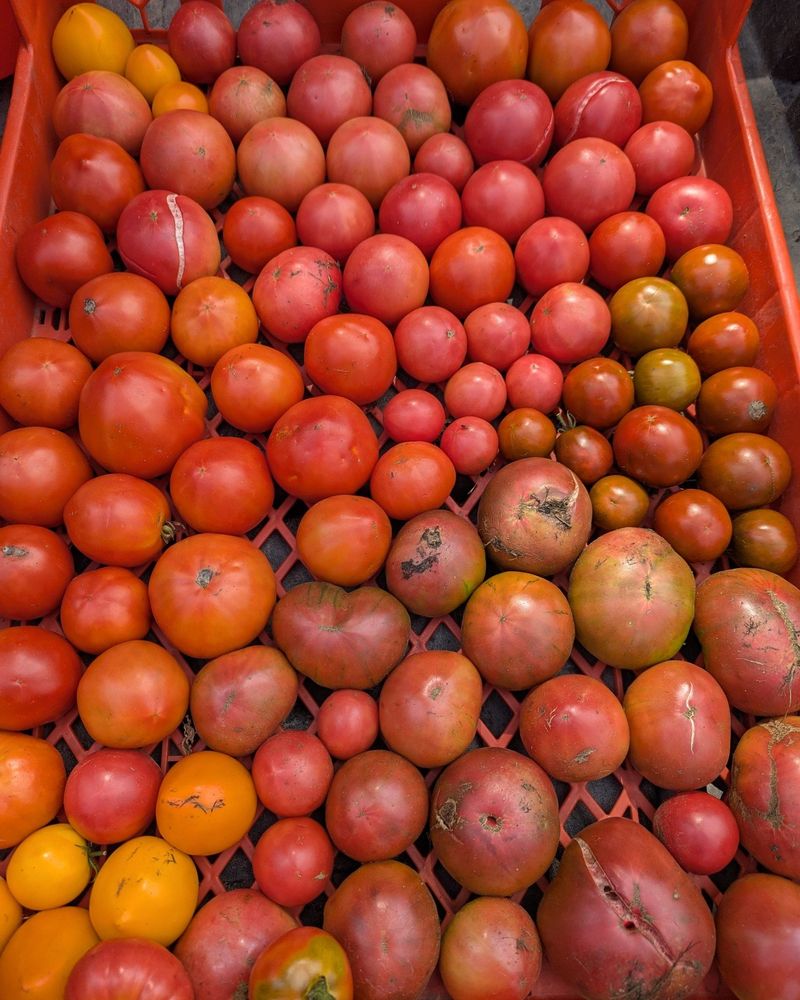
Not every tomato on a frosty vine is equally green, and that difference matters a lot. Gardeners call the stages mature green, breaker, turning, pink, light red, and red.
Spread your harvest out on a big table or an old bedsheet so you can see everything. Then make piles, the way you might sort Halloween candy into favorites and rejects.
Fully red or orange tomatoes go straight to the kitchen for eating within a few days. Ones with a pink blush on the bottom will finish ripening quickly on the counter.
Mature green tomatoes look shiny and pale, almost whitish-green near the blossom end. Slice one open, and you will see gooey jelly around the seeds instead of solid white flesh.
Your Michigan Garden Changes Every Week. Your Plan Should Too.
Gardening in Michigan changes quickly throughout the season. Every Friday you’ll receive a simple weekly plan showing exactly what to plant, prune, fertilize, harvest, and protect so you never miss the right timing.
Those mature ones can ripen indoors, but small, hard, dark green fruit usually will not. Save the tiny ones for frying, pickling, or chutney instead of waiting for miracles.
Next, look closely for cracks, soft spots, bug holes, or frost damage that looks water-soaked. Damaged tomatoes spoil fast and can spread mold to their healthy neighbors in just a day or two.
Use those blemished ones right away by trimming out the bad parts with a small paring knife. Anything mushy or moldy belongs in the compost bin, not your storage box.
Wipe off dirt gently with a dry cloth, and pull off any stems that could poke other fruit. A little sorting now saves you from a smelly surprise two weeks later.
3. Wrap Tomatoes In Paper For Faster Ripening
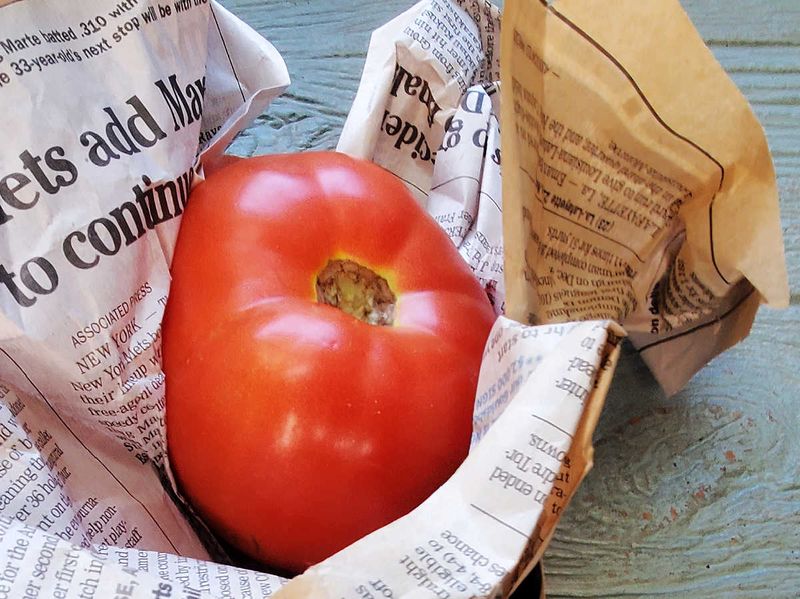
Tomatoes carry a secret weapon, and it is a faintly sweet, invisible gas called ethylene. Each fruit releases it as it ripens, and that gas tells nearby tomatoes to hurry up.
Wrapping each one in paper traps a little of that helpful gas right close to the skin. The paper also lets moisture escape, so the fruit does not get soggy or moldy.
Plain newspaper works fine, though many gardeners prefer brown paper bags or tissue paper. Skip plastic wrap or zipper bags, since they hold in too much water and invite rot.
Wrap each tomato loosely, twisting the corners like a piece of saltwater taffy. Then set them in a single layer, not touching, inside a shallow cardboard box or tray.
Want even faster results from your paper-wrapped stash this fall? Tuck a ripe banana or apple into the box, because both fruits pump out lots of ethylene too.
Keep the box somewhere between 65 and 70 degrees, like a spare bedroom or a basement shelf near the furnace. Warmer rooms speed things up, while cooler spots slow ripening down.
With this method, mature green tomatoes often turn red in about one to three weeks. The flavor will not match a sun-ripened August tomato, but it beats anything from the store.
Label the box with the date using a marker so you remember when you started. Your future self, craving a juicy slice in November, will thank you for the extra effort.
4. Store Green Tomatoes In A Cool Dark Spot
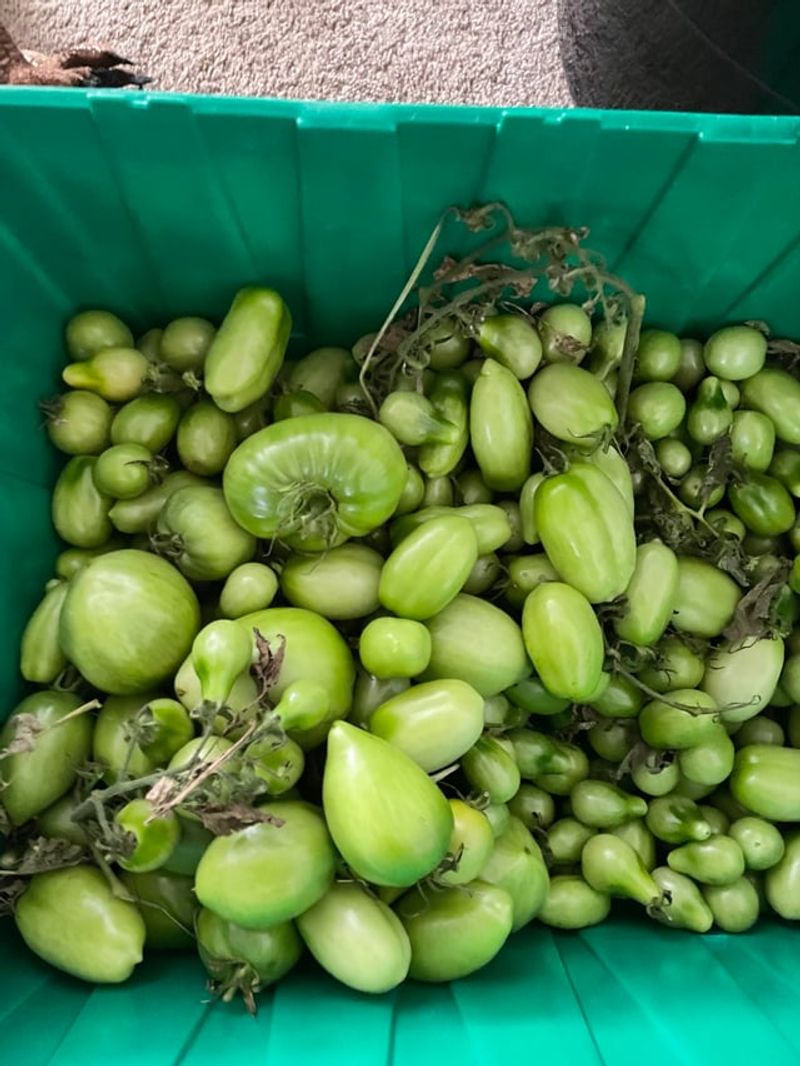
Long before refrigerators, Michigan farm families stored their late harvest in root cellars dug beneath the house. Those chilly, shadowy rooms kept food fresh for months without electricity.
Green tomatoes still love that old-fashioned treatment today, even in modern suburban homes. A cool, dark place slows ripening down, so you can enjoy tomatoes a few at a time through late fall.
Aim for a temperature between 55 and 60 degrees for the slowest, steadiest ripening. An unheated basement, a cool closet, or an attached garage that stays above freezing all work nicely.
Keep them out of the refrigerator, though, because temperatures below 50 degrees damage their texture. Chilled green tomatoes often turn mealy and bland instead of ripening properly on the counter later.
Darkness matters less than people think, but it helps keep the fruit from getting too warm in sunlight. Sunny windowsills can actually cause uneven ripening and tough, leathery skins.
Line a cardboard box or an old apple crate with newspaper, then add tomatoes in one layer. Stacking them in piles creates pressure bruises that turn into soft, mushy spots.
Keep the storage area away from apples if you want slow ripening, since apples release ripening gas. Also watch out for curious mice, who find a box of tomatoes quite tempting.
Stored this way, some tomatoes stay firm for four to six weeks or longer. Pulling out a red one at Thanksgiving feels a little like finding money in an old coat pocket.
5. Check Tomatoes Weekly For Ripening Progress
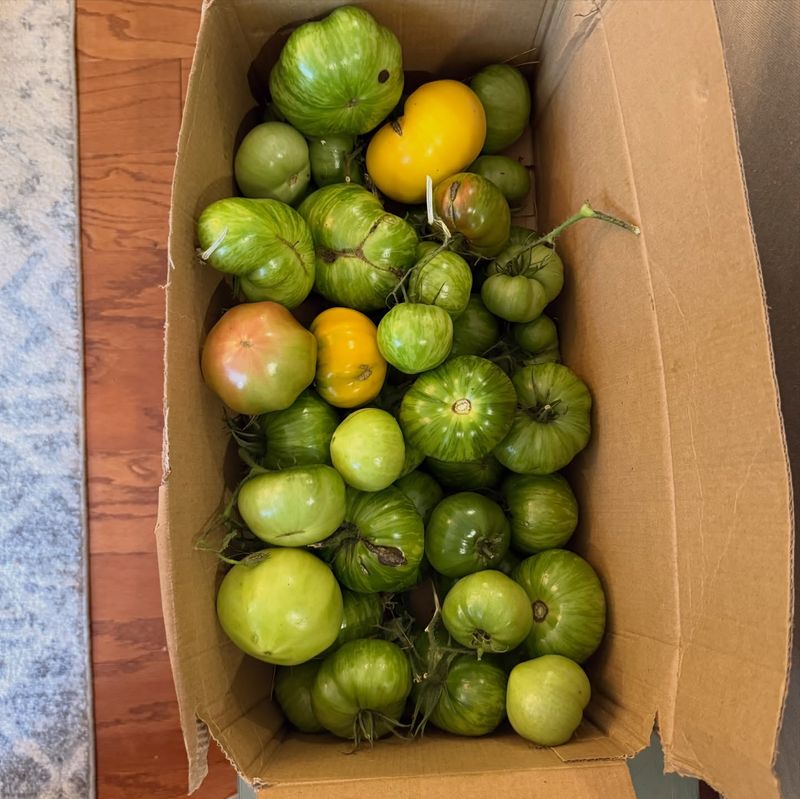
One October, I forgot about a box of tomatoes in my basement for almost a month. When I finally opened the lid, the smell nearly knocked my fuzzy socks off.
Learn from my mistake and treat your stash like a class of students needing weekly check-ins. Pick the same day each week, maybe Sunday afternoon, so the habit sticks like glue.
Open the box or unwrap a few papers and look for any hint of color change. A faint yellow or pink blush at the bottom means ripening has officially begun.
Move blushing tomatoes to your kitchen counter so they can finish up in a warmer room. Within a few days, most will reach that deep red you have been waiting for.
Give each tomato a gentle squeeze with your fingertips while you are checking colors. Ripe ones feel slightly soft, like a firm peach, while green ones still feel hard as a baseball.
Sniff the box too, because your nose often catches trouble before your eyes do. A sour or musty smell usually means one tomato has started to rot somewhere near the bottom.
Remove any spoiled fruit right away, since one bad tomato can ruin a whole layer quickly. Wipe the spot where it sat and replace any damp or stained newspaper.
Some gardeners keep a simple notebook tracking how many tomatoes ripen each week. It sounds a bit nerdy, but those scribbled notes help you plan smarter storage next fall.
6. Try Frying Green Tomatoes For A Quick Meal
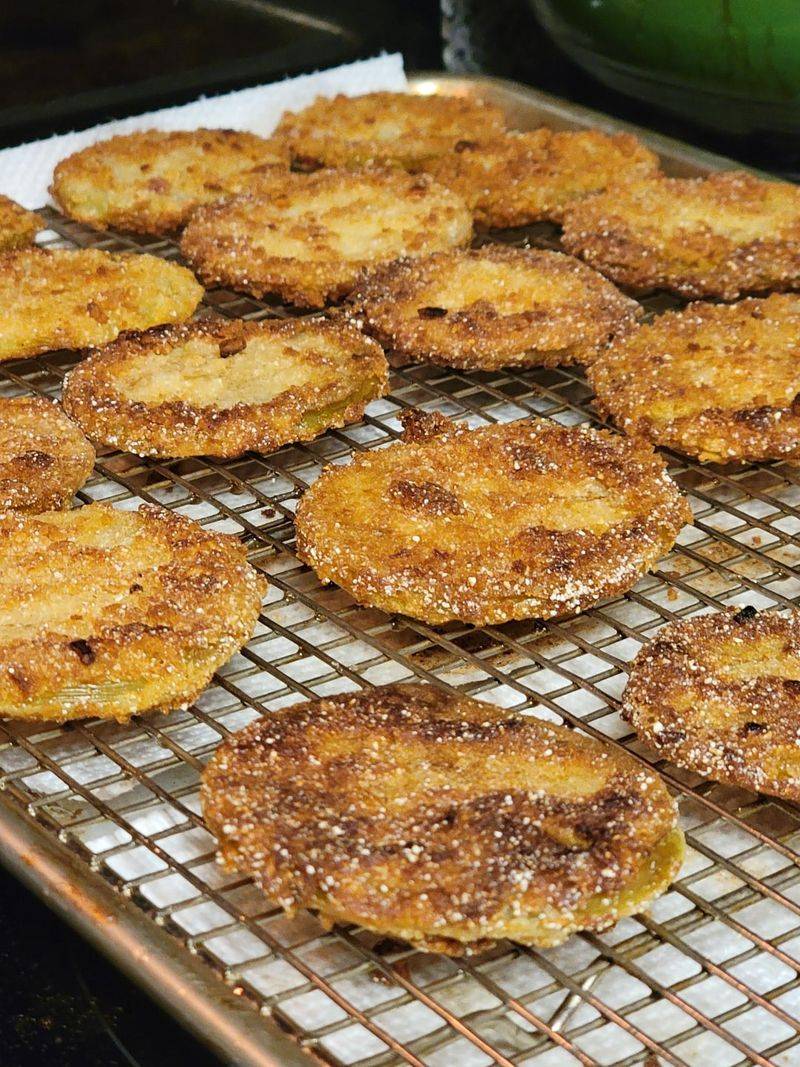
Southern diners often get the credit, but fried green tomatoes have found a home in kitchens across the country for generations. Home cooks everywhere have used this method to turn stubborn end-of-season tomatoes into something worth eating.
So frying up your frost-rescued harvest fits right into Great Lakes kitchen history. Best of all, dinner comes together in about 20 minutes with stuff already in your pantry.
Choose firm, fully green tomatoes and slice them about a quarter inch thick with a sharp knife. Sprinkle the slices with salt and let them rest a few minutes to pull out extra juice.
Set up three shallow bowls: one with flour, one with beaten eggs, and one with cornmeal or breadcrumbs. Dip each slice in that order, pressing the coating on firmly.
Heat about half an inch of vegetable oil in a heavy skillet over medium-high heat. Fry the slices two to three minutes per side until they turn a deep, crackly golden brown.
Place finished slices on a wire rack instead of paper towels to keep the bottoms crunchy. Ask an adult for help if you are new to cooking with hot oil.
The tangy, slightly sour flavor pairs beautifully with ranch dressing, spicy mayo, or a squeeze of lemon. Stack them on a sandwich with bacon and lettuce for a fun twist.
Leftovers get soggy fast, so fry only what your family will eat in one sitting. Luckily, a plate of these crispy golden rounds rarely lasts long enough to become a problem.
7. Make Green Tomato Chutney For Later Use
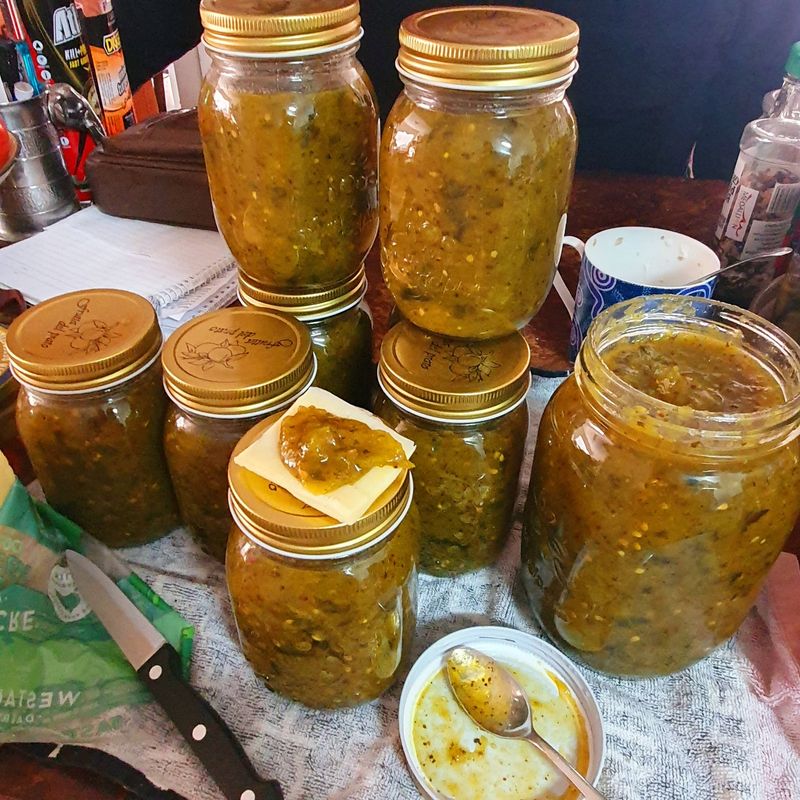
Chutney started in India, where the Hindi word chatni describes a fresh, spicy relish. British travelers loved it so much that they brought recipes home and swapped in local fruit.
Green tomatoes became a favorite because gardeners everywhere face the same end-of-season pile. Cooked with sugar, vinegar, and spices, those sour little fruits turn sweet, sticky, and wonderful.
A basic batch uses about two pounds of chopped green tomatoes, one onion, and one apple. Add a cup of brown sugar, a cup of apple cider vinegar, and a handful of raisins.
For spice, try ginger, mustard seeds, cinnamon, and a pinch of red pepper flakes. Michigan-grown apples like Northern Spy or Jonathan give the mix a nice local touch.
Toss everything into a large pot and bring it to a boil, stirring often. Then lower the heat and simmer for about 90 minutes, until the mixture turns thick and jammy.
Your kitchen will smell like a cozy holiday market the whole time. Drag a spoon across the pot bottom, and if the trail stays open for a second, it is ready.
Spoon the hot chutney into clean jars and store them in the fridge for up to a month. For longer storage, follow tested water-bath canning steps from Michigan State University Extension.
Serve it with sharp cheddar and crackers, roast pork, grilled chicken, or even scrambled eggs. A ribbon-tied jar also makes a thoughtful homemade gift for teachers and neighbors in December.
8. Protect Remaining Plants With Row Covers
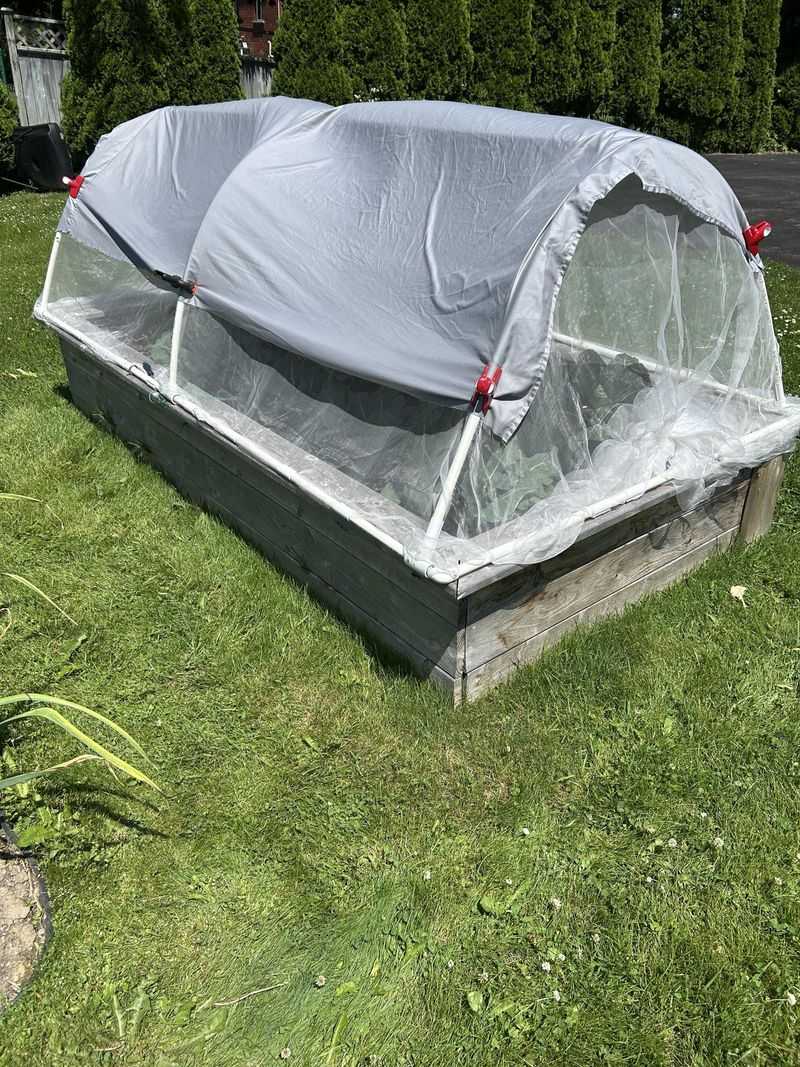
A thin sheet of fabric can buy your garden a few extra weeks of growing time. Frost cloth, also called row cover, traps heat rising from the soil, adding roughly two to eight degrees of warmth.
That may not sound like much, but it often separates a frosty lawn from a surviving tomato patch. Michigan frequently gets one early cold snap followed by weeks of mild autumn weather.
Heavier fabric protects better, while lighter fabric lets more sunlight reach the leaves. Many gardeners keep both kinds, grabbing the thick stuff when forecasts dip below 30 degrees.
Drape the cover over your plants in late afternoon, before the sun goes down. Let the fabric reach all the way to the ground, since warmth rises from the soil, not the air.
Hold the edges down with rocks, bricks, or garden staples so the wind cannot snatch it away. Wire hoops or tall stakes keep heavy fabric from crushing tender branches.
No row cover on hand? Old bedsheets, blankets, or cardboard boxes work in a pinch, but skip plastic touching leaves since it conducts cold.
Remove the covers the next morning once temperatures climb above freezing. Plants need sunlight and fresh air, and trapped heat on a sunny day can actually cook them.
Watering the soil the day before a cold night helps too, since moist ground holds more heat. Tucking your garden in each evening might feel silly, but those stubborn green globes will reward you.