How To Save Seeds From Your Michigan Garden Before The First Frost
September in Michigan smells like woodsmoke, crunchy leaves, and the last sweet bite of summer you ate over the sink. The garden looks tired, but it is secretly packed with treasure.
Tiny rattles hide inside crispy pods, and flower heads droop like sleepy kids after a sugar rush. Shake one near your ear and you will hear next summer whispering back.
Then the weather app flashes a little blue snowflake, and your heart does a tiny flip. Up here, the cold can sneak in overnight like a raccoon with a house key.
Grandparents knew this dance well, tucking paper envelopes into drawers and coffee cans. Their kitchens smelled like dill, dust, and a bit of stubborn Midwestern pride.
You can join that club with nothing fancier than a few envelopes and some patience. Just warn your family that the drawer labeled ‘mystery crunchies’ is not the snack drawer.
1. Pick Fully Mature Seed Pods First
Patience is the secret ingredient nobody bothers to print on the back of a seed packet. A pod picked too early is like a cookie pulled from the oven after two minutes.
Seeds need time on the plant to fill up with stored food and harden their outer shells. Immature seeds look fine at first, but they often shrivel and refuse to sprout.
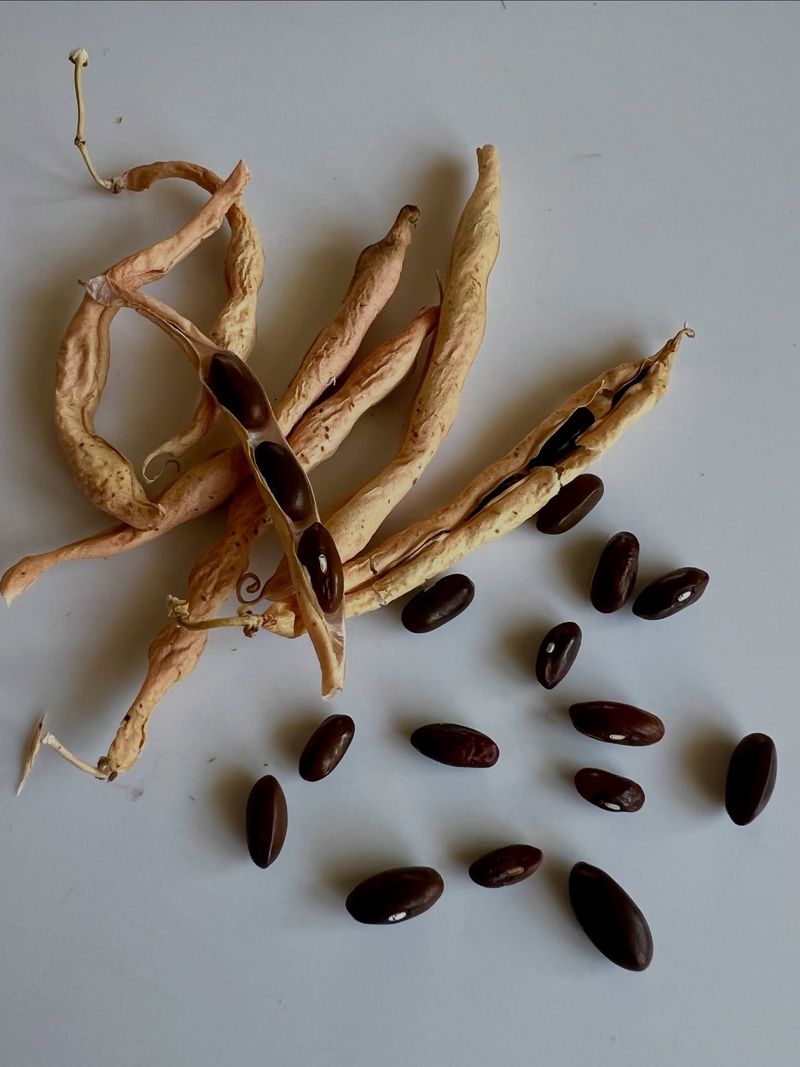
So how do you know when they are finally ready to pick? Look for pods that turn brown, feel papery, and rattle when you give them a gentle shake.
Beans and peas are ready when the pods go dry and crispy on the vine. Lettuce and dill form fluffy or flat seed heads that start to crumble at a touch.
Tomatoes, peppers, and squash work a little differently because their seeds hide inside juicy fruit. Let those fruits get extra ripe, even a bit soft, before you scoop out the seeds.
In Michigan, early September is prime time to start checking your plants every couple of days. Carry a small paper bag in your pocket so you can grab ripe pods on the spot.
Choose seeds from your healthiest, most productive plants, since those traits can pass down. Skip hybrids labeled F1 on the tag, because their offspring rarely look like the parent plant.
Heirloom and open-pollinated varieties are your best bet for seeds that grow true. Grandma’s favorite pole beans, for example, will come back looking just like they did this year.
2. Time Your Harvest Around Weather Alerts
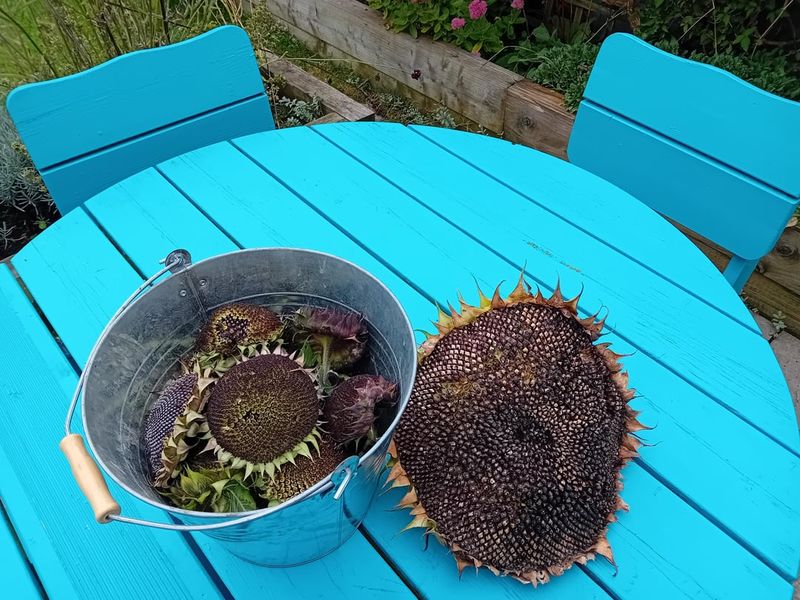
Michigan weather has a sense of humor, and it loves a surprise ending. One week feels like mid-July at the beach, and the next brings frost warnings before breakfast.
The average first frost lands anywhere from late September up north to late October near Detroit. The Upper Peninsula can see chilly nights even earlier, so northern gardeners need to move fast.
Sign up for free weather alerts on your phone from the National Weather Service or a local TV station. A frost advisory usually means temperatures around 33 to 36 degrees overnight.
A freeze warning is more serious and means temperatures of 32 degrees or colder are expected. When you see either alert, that is your signal to grab the scissors and paper bags.
Your Michigan Garden Changes Every Week. Your Plan Should Too.
Gardening in Michigan changes quickly throughout the season. Every Friday you’ll receive a simple weekly plan showing exactly what to plant, prune, fertilize, harvest, and protect so you never miss the right timing.
Try to harvest seeds on a sunny afternoon, after the morning dew has dried off. Damp seeds can grow fuzzy mold in storage, which quickly ruins all your hard work.
Rainy stretches are tricky, because wet pods may split open or start sprouting on the plant. If a soggy week is coming, gather nearly ripe pods early and let them finish indoors.
Many plants, like beans and peppers, will keep ripening if you pull the whole plant and hang it upside down. A garage or covered porch works great for this trick.
Think of the forecast as your garden coach yelling from the sidelines. Listen closely, and you will beat the cold snap with a pocketful of seeds safely in hand.
3. Dry Seeds On A Flat Surface
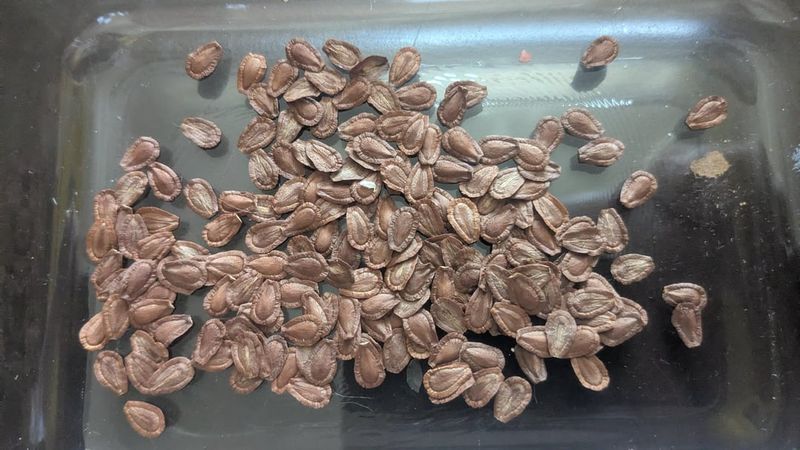
My neighbor once dried bean seeds on every cookie sheet she owned, and her kitchen looked like a farm stand. She baked zero cookies that month, but her garden thanked her next spring.
Freshly harvested seeds still hold moisture, even when they feel dry to your fingers. Letting them air-dry for one to three weeks keeps mold away and helps them last for years.
Spread the seeds in a single layer on a paper plate, a screen, or a baking sheet lined with newspaper. Crowded piles trap dampness, so give every seed a little elbow room.
Skip paper towels for wet seeds like tomatoes, because the seeds glue themselves to the fibers. Coffee filters or a ceramic plate let them release easily once they are dry.
Pick a spot with good airflow and no direct sun, such as a shelf in a spare room. Keep the drying area away from the stove, the dishwasher, and a steamy bathroom.
Stir or flip the seeds every day or two so all sides get fresh air. A small fan on its lowest setting can speed things up during humid Michigan weeks.
Curious pets and little siblings love to investigate, so place your trays up high. A mesh laundry basket flipped upside down over the tray makes a clever cat shield.
Wondering when the drying job is finally finished? Large seeds should snap in half instead of bending, while small seeds should pour freely without clumping together.
4. Separate Chaff From Viable Seeds
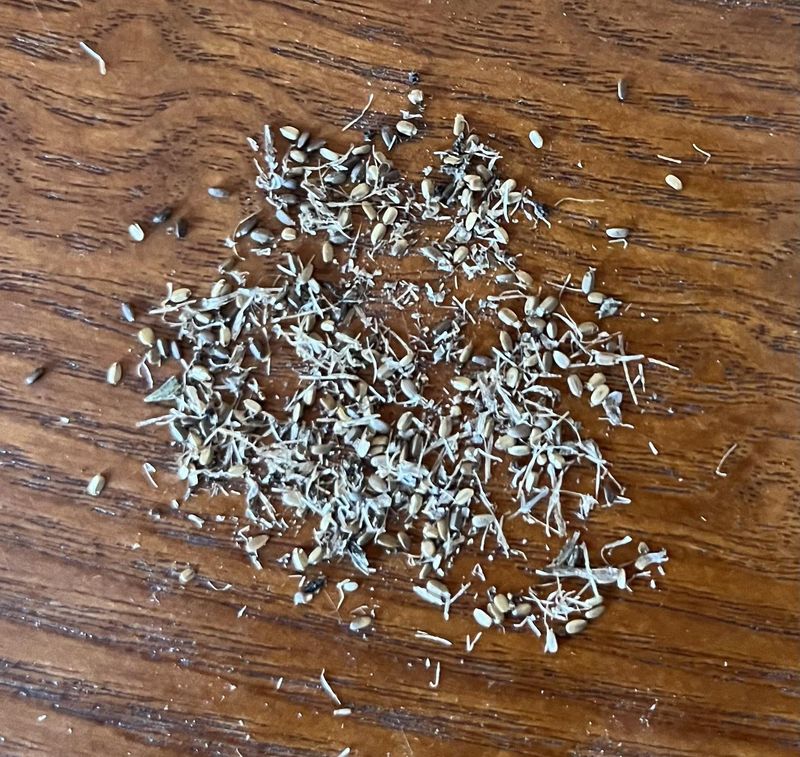
Chaff is basically the garden’s version of those annoying foam packing peanuts. It is all the dry husks, bits of stem, and flaky pod pieces that tag along with your seeds.
Leaving it mixed in may seem harmless, but chaff holds moisture and invites tiny bugs. Cleaner seeds also take up less space and are easier to plant next spring.
Start by crushing dry pods or seed heads inside a paper bag or between your palms. For beans and peas, just split the pods with your thumbs like opening a tiny zipper.
Next comes the fun part, called winnowing, which people have done for thousands of years. Pour the mix slowly from one bowl to another while a soft breeze blows across it.
Light chaff floats away, and the heavier seeds drop straight into the bottom bowl. A box fan on its slowest speed or a calm afternoon outdoors both do the job.
Kitchen strainers and old window screens help sort out bigger debris before winnowing. Shake the seeds through a few different mesh sizes until mostly plump, clean seeds remain behind.
Keep an eye out for flat, cracked, moldy, or pale seeds while you sort through the pile. Healthy seeds usually look full and firm, so toss the weaklings into the compost bin.
Fair warning, this job gets messy, so work over a tray or outside on the patio. Your poor vacuum cleaner will appreciate the kindness far more than you might expect.
5. Label Every Variety Before Storage
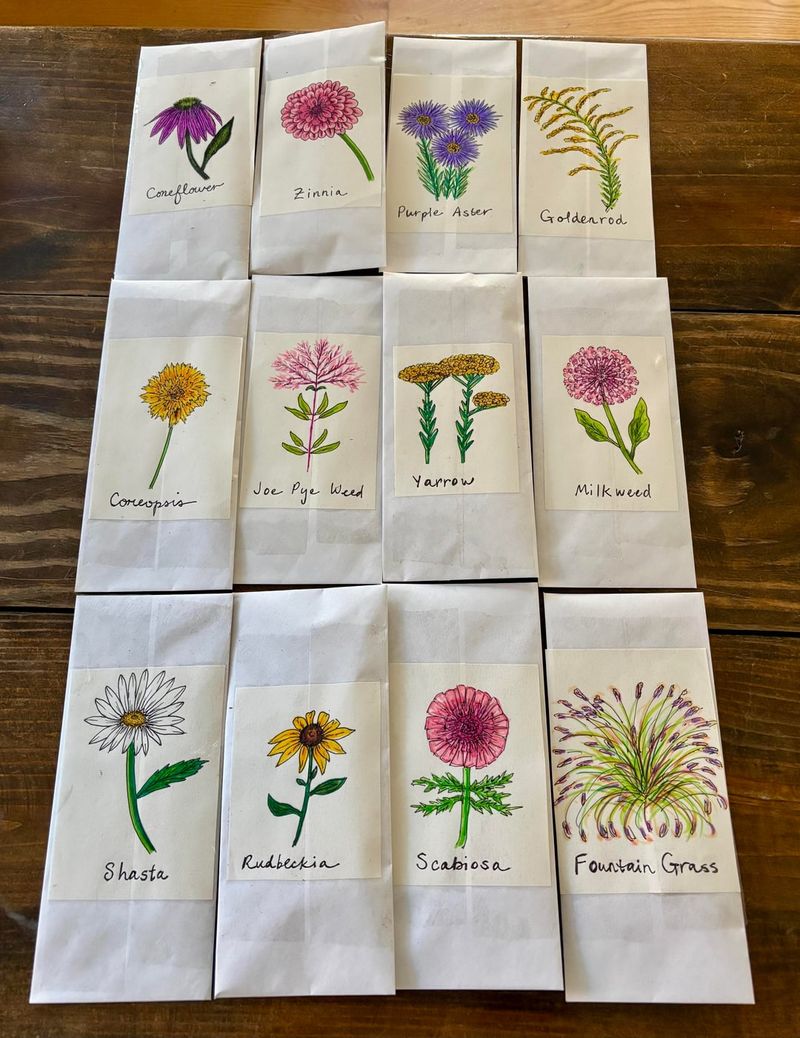
Every seed saver has a story about the mystery envelope. You plant what you think is sweet basil, and three months later a giant pumpkin vine swallows the yard.
Seeds from different plants can look shockingly similar once they are dry and cleaned. Tomato, pepper, and eggplant seeds are all small, flat, and pale, so memory alone will fail you.
The golden rule is to label seeds the moment they come off the plant. Write on the drying tray, the paper bag, and later on the final storage envelope or jar.
A good label includes the plant type, the variety name, and the date you harvested it. Add the garden spot or the friend who shared the original seeds, too.
Quick notes about each plant help a lot later, like ‘huge fruit’ or ‘first to ripen in July.’ Those little details make it much easier to pick the real winners for next season.
Use a pencil or a permanent marker, because regular ink can smear if things get damp. Masking tape labels work well on jars, since they peel off cleanly next year.
Fun fact: some families in Michigan have passed down the same bean varieties for over a hundred years. Those treasures only survived because someone took the time to write the names down.
Label first, store second, and you will skip the pumpkin-in-the-herb-bed surprise. Future you will feel grateful every single spring, especially when kneeling in fresh soil with a trowel.
6. Store Seeds In A Cool Dry Spot
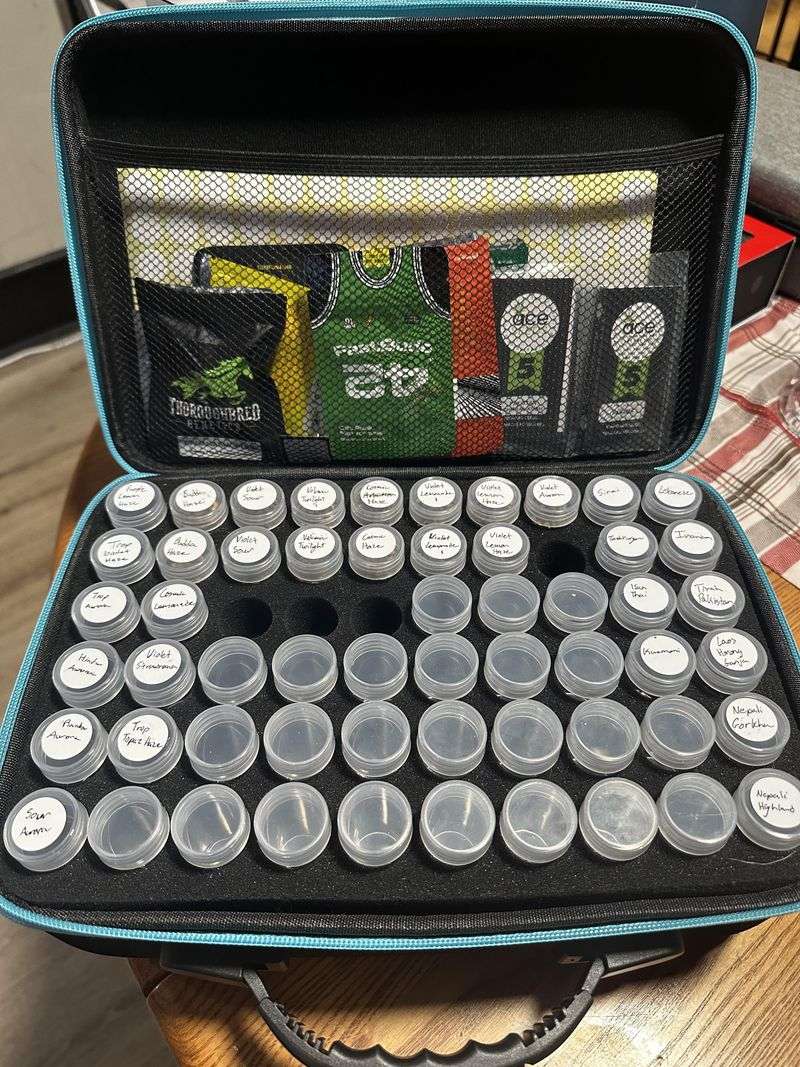
Seed experts follow a handy guideline: temperature plus humidity should add up to less than 100. A dry spot at 50 degrees with 40 percent humidity fits that rule quite nicely.
Heat and moisture are the two biggest enemies of seeds tucked away for winter. Warm, damp conditions wake seeds up too early or let sneaky mold creep in.
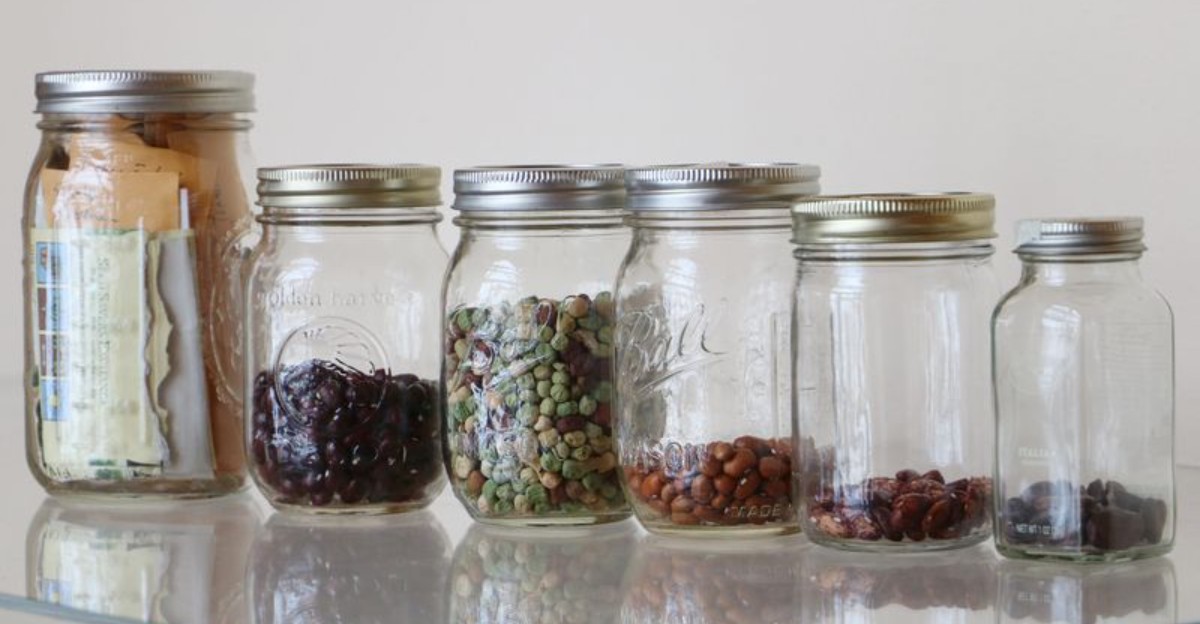
Paper envelopes are great for short-term storage, because they breathe and prevent sweating. For longer storage, small glass jars with tight lids keep humidity out much better.
Only seal seeds in jars once they are thoroughly dry, or trapped moisture will cause trouble. Tuck a silica gel packet or a spoonful of powdered milk wrapped in tissue inside each jar.
Good spots in a Michigan home include a dry basement closet, an interior pantry, or a bedroom drawer. Avoid garages and sheds, because they swing from freezing to hot throughout the year.
Your refrigerator can work too, if the seeds are sealed tightly in a jar. Let the jar warm to room temperature before opening, so droplets do not form on the chilly seeds.
Some seeds last longer than others, even under perfect conditions. Onions and parsnips fade after about a year, while tomatoes and beans can stay strong for four years or more.
Think of your seed stash like a bear napping in its den. Keep things dark, calm, and chilly, and it will wake up hungry to grow in spring.
7. Test Germination Rates Next Spring
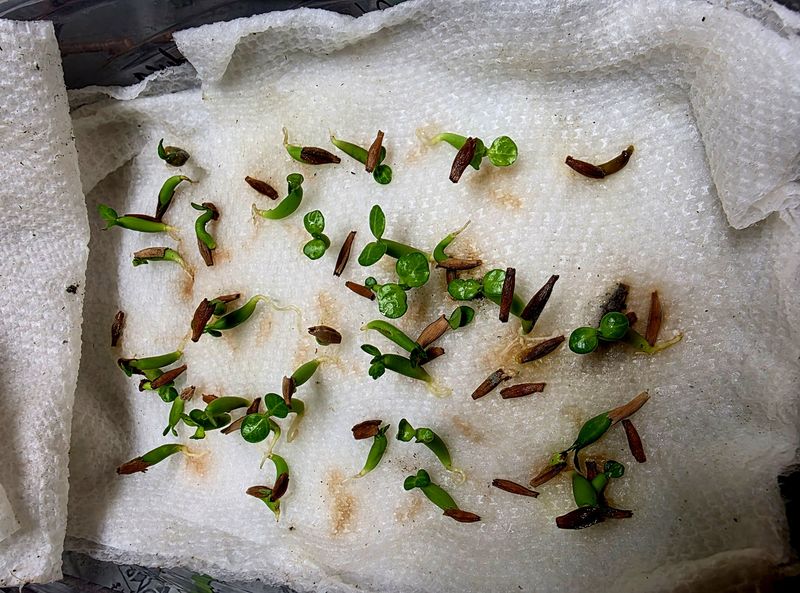
Remember old science fair projects with soggy paper towels and a handful of seeds? That same simple experiment tells you if your saved seeds are ready for the garden.
Seeds slowly lose their strength over time, even when you store them with great care. A quick test in March or April saves you from planting rows that stay bare and disappointing.
Count out ten seeds from one envelope and lay them on a damp paper towel. Fold the towel over, slide it into a plastic zipper bag, and write the date on the outside.
Set the bag somewhere warm, like the top of the refrigerator or near a heat vent. Most vegetable seeds sprout happily somewhere between 70 and 80 degrees Fahrenheit.
Peek inside every two or three days and mist the towel if it starts drying out. After one to two weeks, count how many seeds grew little white roots.
The math is pleasantly easy, because each sprouted seed out of ten equals ten percent. Eight sprouts means an 80 percent germination rate, which is excellent for home-saved seeds.
Lower numbers do not mean the seeds are useless or ready for the trash can. If only half of them sprout, simply plant twice as many seeds to fill your garden row.
Bonus tip: those sprouted test seeds can go straight into small pots of soil. Nothing goes to waste, and you get a cheerful head start on the Michigan growing season.
8. Protect Tender Plants Until Harvest Day
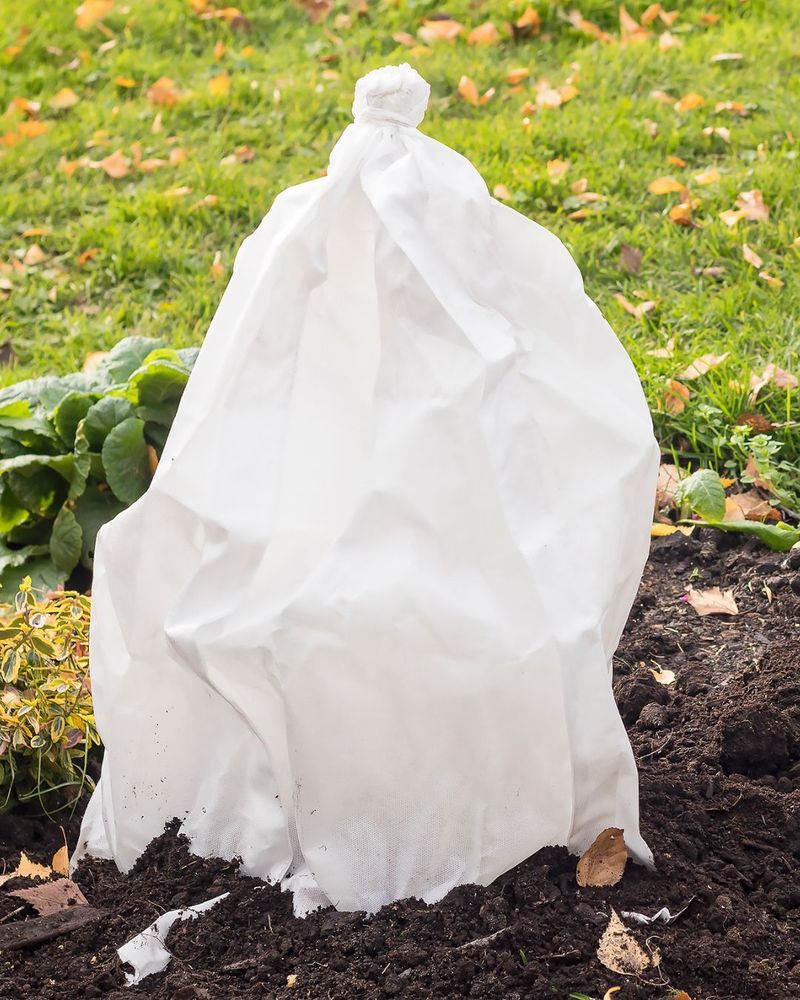
Picture your favorite pepper plant wearing an old bedsheet like a Halloween ghost costume. Silly as it looks, that cover might rescue a whole season of seed saving.
Warm-season crops like tomatoes, peppers, squash, and beans cannot handle even a light frost. One cold night can turn their leaves black and ruin fruit that still holds unripe seeds.
Old bedsheets, cozy blankets, and store-bought frost cloth all make excellent overnight covers for tender crops. Drape them over the plants in late afternoon, so they trap warmth rising from the soil.
Let the fabric reach the ground on all sides, like a tent, for the best protection. Skip plastic sheets touching the leaves, because plastic can pass cold through and damage them.
Heavy rocks or bricks on the corners keep gusty Michigan winds from stealing the covers away. Pull everything off the next morning once temperatures climb safely above freezing again.
Water the soil during the day before a cold night, since moist ground holds heat better than dry dirt. Milk jugs filled with warm water and set near plants add extra warmth.
Smaller potted plants have it easiest, since you can roll them into the garage overnight. Container herbs and flowers can finish ripening their seeds safely indoors near a sunny window.
A few protected nights can buy two or three extra weeks of mild fall sunshine. Those bonus days often make the difference between plump seeds and flat, empty ones.