Can You Plant Shallots In Fall In North Carolina?
September air in the South smells like warm dirt and the first hint of cooler nights. Your garden looks a little tired, like it just finished a long summer shift.
Most folks think planting season wrapped up months ago. Yet something sneaky and delicious wants to go into the ground right now.
Picture tiny papery bulbs tucked under soil while leaves drift down around them. They quietly work all winter while you sip cocoa inside.
Come spring, you get a flavor that chefs brag about at fancy restaurants. It tastes milder and sweeter than a regular onion, with a hint of garlic.
The best part is how little effort these little guys ask from you. Honestly, they ask for less upkeep than most other fall crops.
Autumn Planting Works Best Across The State
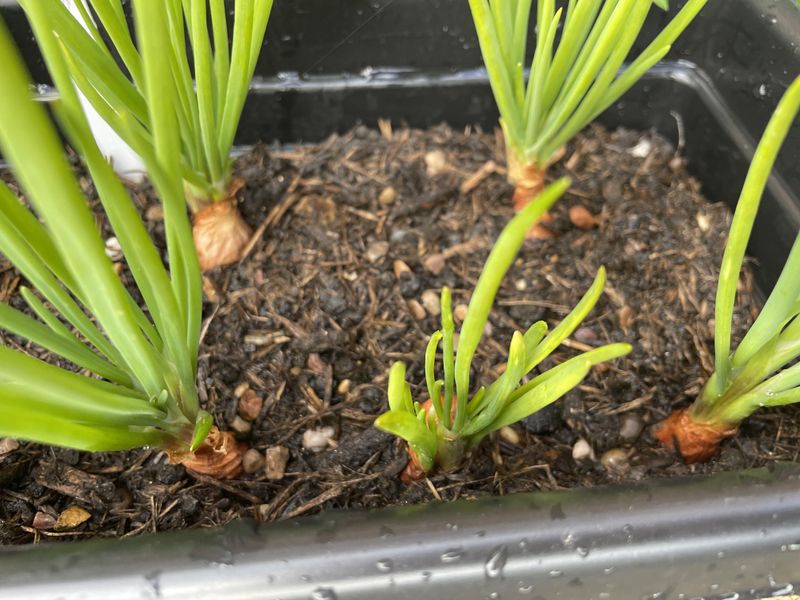
Here is the short answer: yes, fall is the sweet spot for shallots in North Carolina. Gardeners from the mountains to the coast get bigger bulbs by planting before winter.
Shallots need a long, cool stretch to build strong roots. Fall planting gives them months of quiet growth underground before spring arrives.
Mild Carolina winters rarely freeze the soil deep enough to harm bulbs. That means roots keep working slowly even on chilly January days.
Spring planting can still work, but the results are usually smaller. Warm weather arrives fast here, and shallots stop growing leaves once days get long.
Bulbs planted in autumn wake up early in spring with a head start. They grow lots of green tops, which feed the clusters forming below.
More leaves mean more energy stored in each bulb. That translates into plump clusters you can use in soups, dressings, and roasted veggies.
Fun fact: one shallot bulb typically splits into four to eight new bulbs. Plant a handful now, and you could harvest a full basket next summer.
Fall planting also saves you time during busy spring months. Your shallots are already settled while you focus on tomatoes and peppers.
Pick firm, healthy bulbs from a garden center instead of grocery store ones. Store-bought shallots are sometimes treated to stop sprouting.
Look for varieties like French Red or Dutch Yellow. Both handle Southern weather nicely and store well after harvest.
Ideal Planting Window For Each North Carolina Region
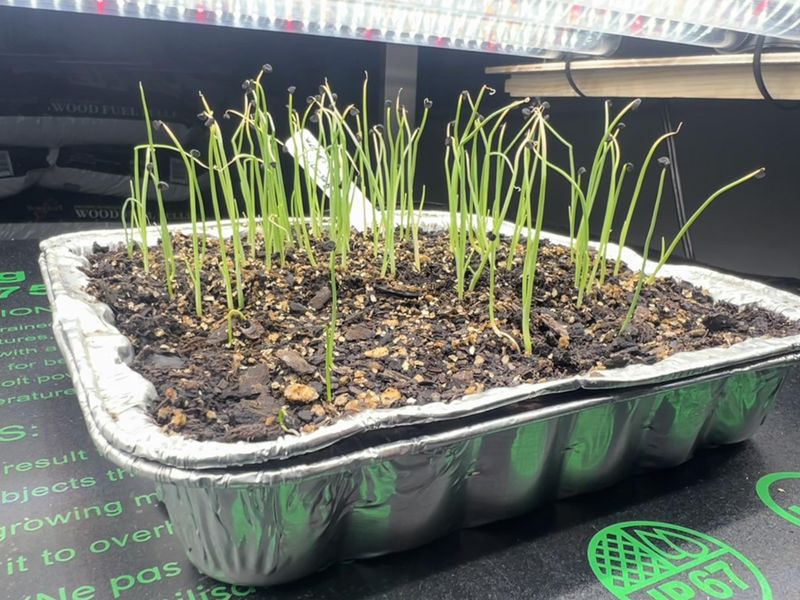
North Carolina stretches over 500 miles, so timing changes a lot by region. A gardener in Boone and one in Wilmington live in different worlds.
Mountain gardeners should plant from late September through mid-October. Cold arrives early up high, and bulbs need roots before the ground chills.
In the Piedmont, around Charlotte, Raleigh, and Greensboro, aim for October into early November. Soil stays warm enough for root growth well into fall.
Coastal Plain gardeners get the longest window of all. Planting from late October through November works well near the beaches and eastern farms.
A handy rule helps no matter where you live. Plant about four to six weeks before your first hard frost date.
Not sure of your frost date? Your local NC State Extension office shares free charts for every county.
Your North Carolina Garden Changes Every Week. Your Plan Should Too.
Gardening in North Carolina changes quickly throughout the season. Every Friday you’ll receive a simple weekly plan showing exactly what to plant, prune, fertilize, harvest, and protect so you never miss the right timing.
Soil temperature matters too, so grab a simple soil thermometer. Readings between 50 and 60 degrees are perfect for planting.
Planting too early can cause trouble. Warm soil may push lots of leafy growth that gets nipped by winter cold.
Planting too late brings a different problem. Bulbs may not root well before freezing weather shows up.
Keep a garden journal to track your dates each year. After a season or two, you will learn exactly what your yard likes.
Weather varies from year to year, so stay flexible. A warm fall might let you plant a week or two later than usual.
Soil Preparation Before Setting Out Bulbs
Red clay is practically North Carolina’s state souvenir. Shallots, however, would rather skip that sticky gift.
These bulbs love loose, crumbly soil that drains fast. Heavy clay holds water, and soggy bulbs can rot over a wet winter.
Start by loosening the bed about eight inches deep. A garden fork or shovel works great for breaking up hard chunks.
Next, mix in two to three inches of compost. Compost improves drainage in clay and helps sandy coastal soil hold moisture.
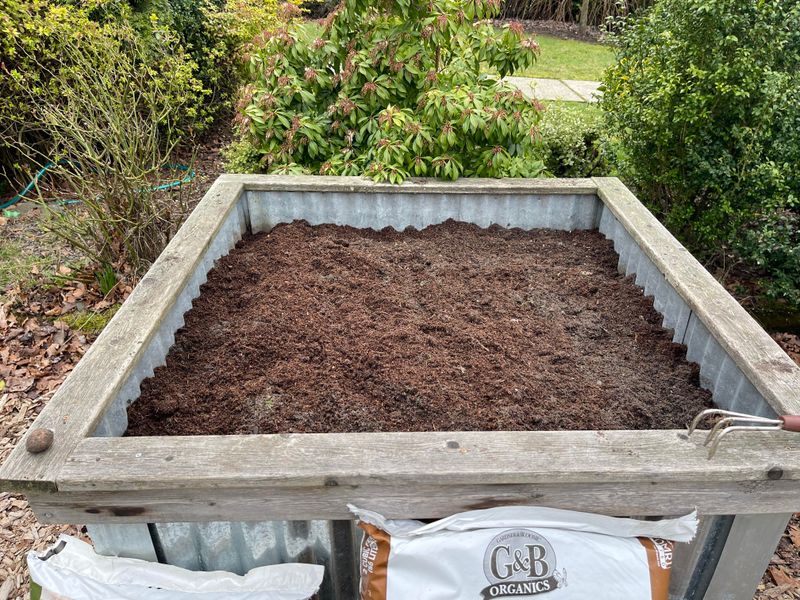
Raised beds are a smart choice for clay-heavy yards. They warm quickly in spring and drain much better after rain.
Test your soil pH before planting if you can. Shallots grow best in soil between 6.0 and 7.0.
Many Carolina soils lean acidic, so lime may help. NC State Extension offers soil testing that tells you exactly what to add.
Work in a balanced fertilizer at planting time. A light sprinkle of 10-10-10 gives roots a gentle boost.
Avoid fresh manure, since it can burn tender roots. Well-aged manure is fine if it has sat for several months.
Pick a spot with at least six hours of sun daily. Shady beds produce skinny bulbs and weak leaves.
Clear away weeds and old summer plants before you begin. Shallots dislike competition, and a clean bed gives them room to thrive.
Correct Planting Depth For Healthy Bulbs
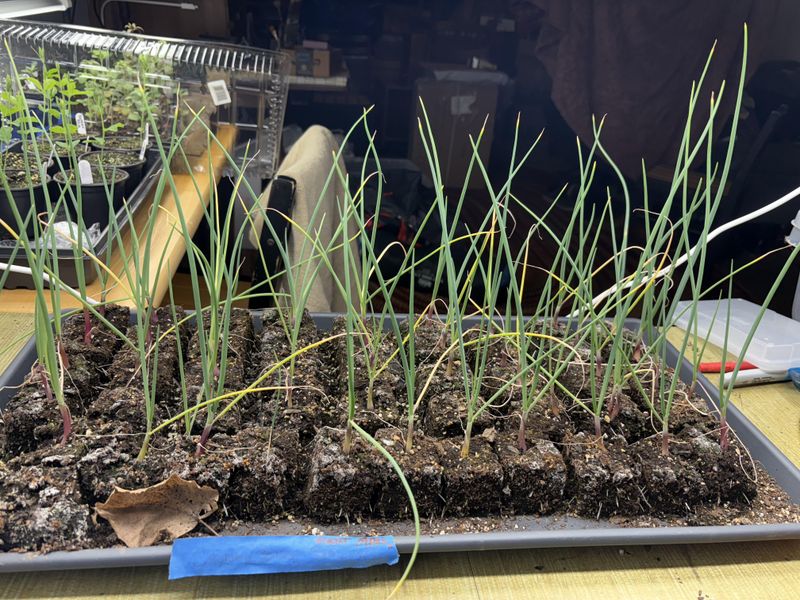
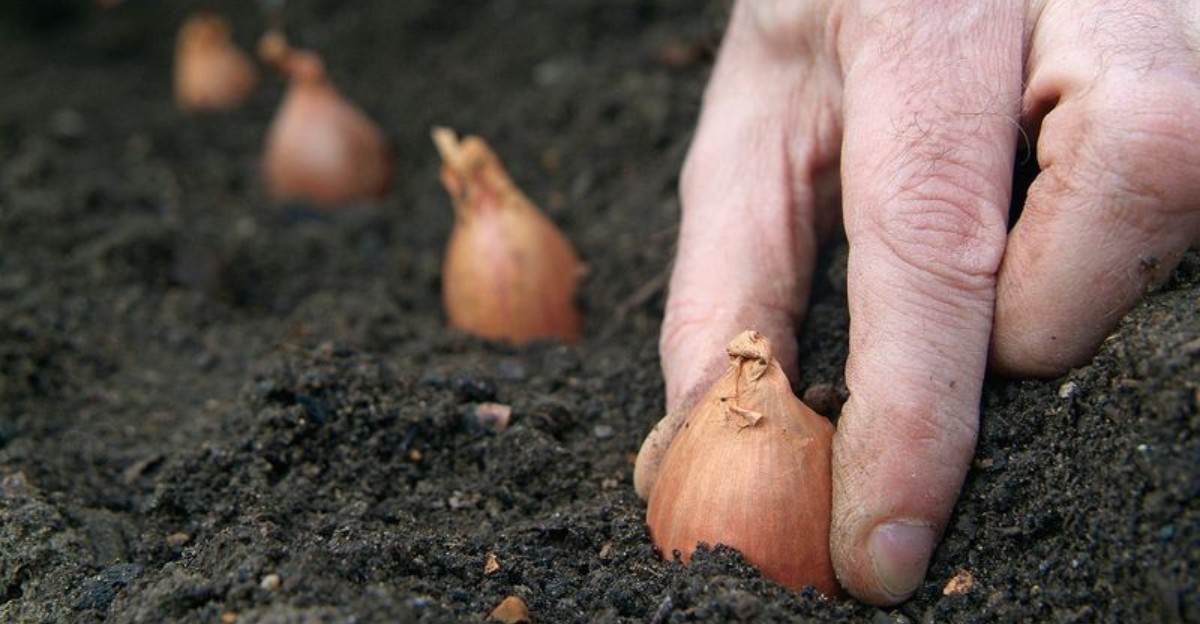
Each bulb should sit with its pointy tip just above the soil line. The pointy tip should peek just barely above the soil line.
Plant bulbs about one inch deep, with the flat root end facing down. The tip can sit right at or slightly below the surface.
Going too deep makes bulbs struggle to push up in spring. They may also form fewer cloves in each cluster.
Planting too shallow has its own risks. Birds and squirrels love tugging at exposed bulbs just for fun.
Space bulbs six to eight inches apart in each row. Each one needs room to split into a cozy cluster.
Leave about twelve inches between rows. This space makes weeding and harvesting much easier later.
Gently press soil around each bulb after planting. Firm contact helps roots grab hold quickly.
Water the bed well right after you finish. One good soaking settles the soil and wakes up the roots.
Choose the biggest, firmest bulbs for planting. Larger starters usually give you bigger harvests.
Separate clustered bulbs into single cloves first. Keep the papery skin on, since it protects each clove.
Here is a neat bit of history: shallots were once named after Ashkelon, an ancient city. Folks have grown them for thousands of years using these same simple steps.
Mark your rows with stakes or labels. Once mulch goes on, finding your bulbs gets surprisingly tricky.
Mulch Protection Through Cold Winter Months
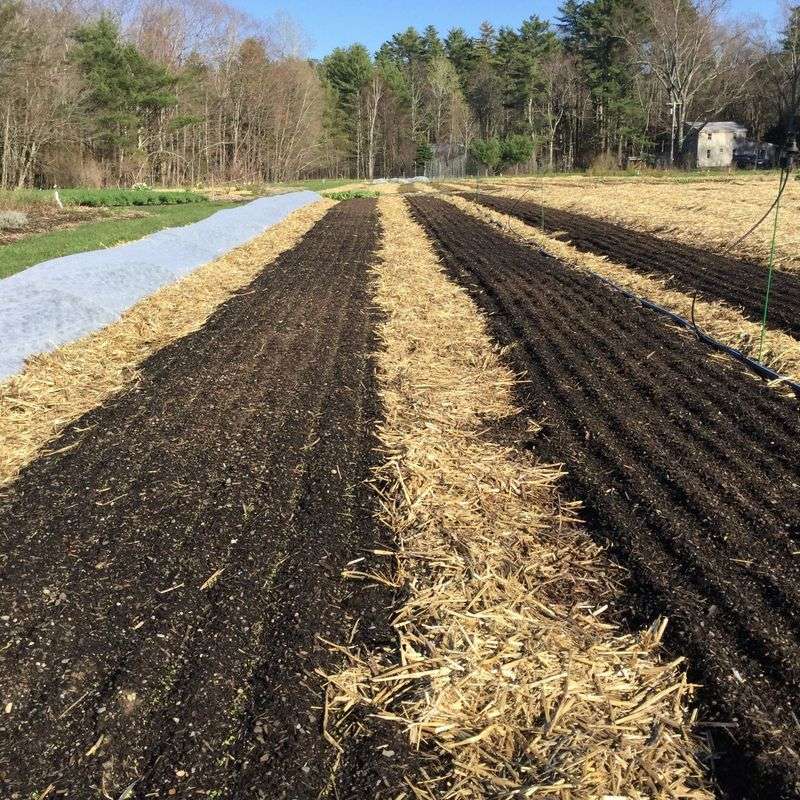
Imagine tucking your garden into bed with a fluffy blanket. That is basically what mulch does for shallots in winter.
Once bulbs sprout a few inches, spread two to four inches of mulch. Clean straw, shredded leaves, or pine straw all work nicely.
Pine straw is a Carolina favorite for good reason. It is cheap, easy to find, and lets water drain through freely.
Mulch keeps soil temperatures steady during wild weather swings. North Carolina can jump from 70 degrees to freezing in one week.
Those quick changes can heave bulbs right out of the ground. A thick layer of mulch holds everything snugly in place.
Mountain gardeners should use the thicker end of that range. Deeper cold up there calls for extra protection.
Coastal gardeners can go lighter with just two inches. Winters there stay mild most of the time.
Mulch also blocks winter weeds like chickweed and henbit. Fewer weeds mean less work when spring arrives.
Keep mulch from piling right against the green shoots. Leave a little breathing room around each plant.
Check the bed after heavy storms or strong winds. Fluff or add mulch wherever it has thinned out.
Watering is rarely needed in winter here. Rain usually handles it, but water during long dry spells.
Skip heavy fertilizer during these cold months. Shallots rest now and will be hungry again in spring.
Spring Care Leading Up To Harvest Time
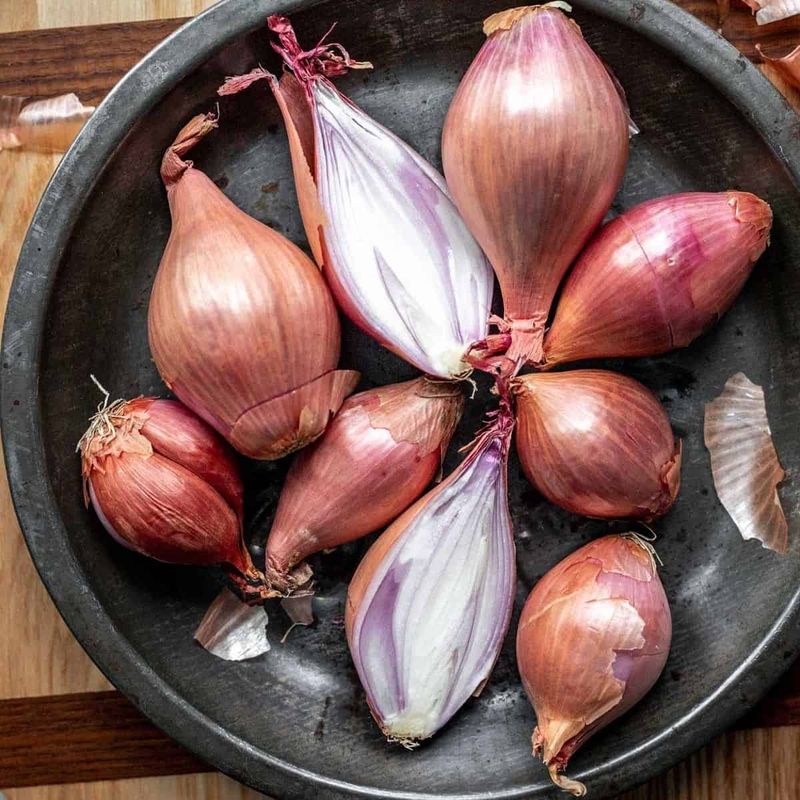
“When the tops flop, the harvest is on,” old gardeners like to say. Getting there, though, takes a little spring attention.
As weather warms in March, pull mulch back slightly. Warm sunshine helps soil heat up and speeds growth.
Feed plants with a nitrogen-rich fertilizer in early spring. Green leaves grow fast, and they power bulb growth below.
Stop fertilizing once bulbs start swelling in April. Extra food late in the season can make bulbs soft.
Water about one inch per week if rain is scarce. Steady moisture keeps bulbs plump and flavorful.
Pull weeds by hand, since shallot roots grow shallow. Hoeing too close can nick the bulbs.
Snip off any flower stalks that appear. Flowers steal energy that should go into the bulbs.
Harvest usually happens from late May through June. Watch for tops turning yellow and falling over naturally.
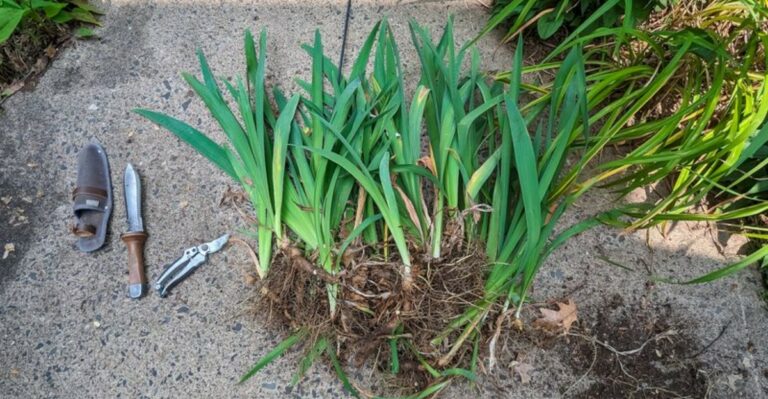
Gently lift clusters with a garden fork on a dry day. Shake off loose soil but do not wash them.
Cure shallots in a shady, airy spot for two weeks. A porch or garage with good airflow works well.
Once the necks feel dry, trim the tops and roots. Store bulbs in mesh bags somewhere cool and dry.
Save a few of your best bulbs for next fall. That way, your shallot patch keeps going year after year.