The Simple Trick To Stop Weeds Between Pavers
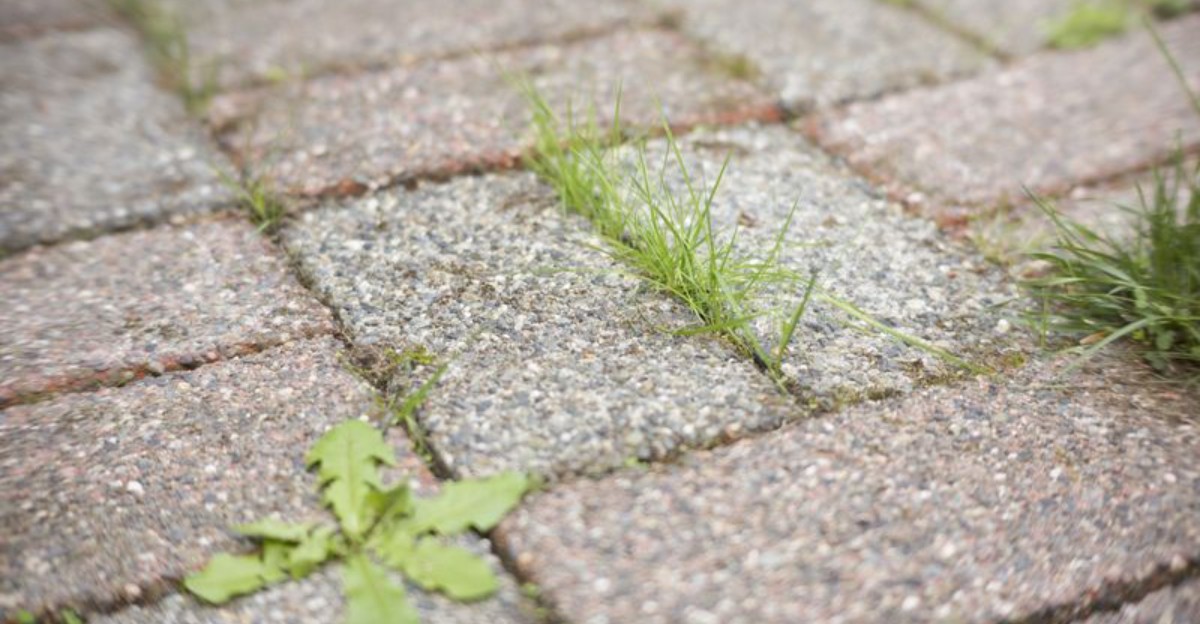
You pull the sprout, yet you just cleared a seedbed for its relatives. Open joints between your pavers trap windblown dust and seeds. Rain turns that dust into free real estate for roots.
Polymeric sand changes that equation for you. Sweep the fine granules into the joints, then mist them so you activate the binder. Hidden polymers harden into a flexible crust that blocks seeds and ants.
Pavers stay locked in place, and your surface holds firm. Choose a dry afternoon, because rain on loose granules leaves a hazy film. Brush leftover granules off the stone surface before you add water.
Sealed joints shed surface water, so they stay intact through changing seasons. Skip the rusty butter knife and the aching knees.
Your bare feet meet smooth, tidy stone, and your weekend belongs to you. Invest an afternoon, reclaim your weekends.
Polymeric Sand Seals The Joints Tight
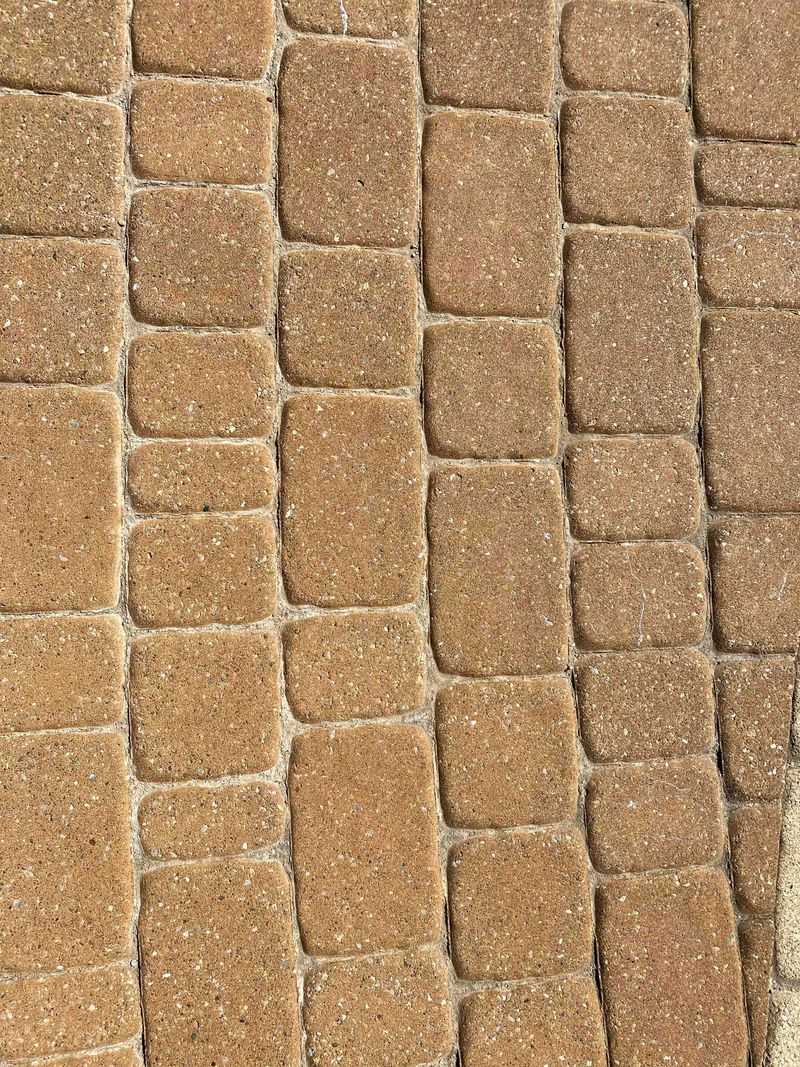
Ordinary sand is like a loose welcome mat for seeds and ants. Polymeric sand works very differently, because it hardens into a firm, flexible seal between your pavers.
The secret is a blend of fine sand and special binders called polymers. Once water touches them, those binders wake up and glue the grains together like dried mortar.
Unlike real mortar, though, the finished joint still bends a tiny bit as the ground shifts. Your patio can absorb small seasonal movement without cracking those lines apart.
Seeds blowing across the yard need soft, loose soil to sprout and grow roots. A hardened joint gives them far less to grip, so most sit on top and blow away.
Ants lose out too, since they can no longer tunnel up and leave little sand piles. Ant mounds often shrink once the joints harden, though results vary by site and ant species.
You can find polymeric sand at nearly any hardware store in gray, tan, or charcoal colors. Picking a shade that matches your pavers makes the finished patio look clean and planned.
Coverage varies by brand, joint width, and paver size, so check the chart on the bag. Narrow gaps use less, while wide, rustic joints between stone slabs use more product.
Standard polymeric sand suits joints up to roughly half an inch wide, so wider gaps may need a specialty product.
Think of it as a protective seal for the joints in your walkway. Skip it on permeable pavers, since hardened joints block drainage. It costs a bit more than regular sand, yet it saves hours of crouching and pulling later.
The Hidden Cause Of Sprouting Joints
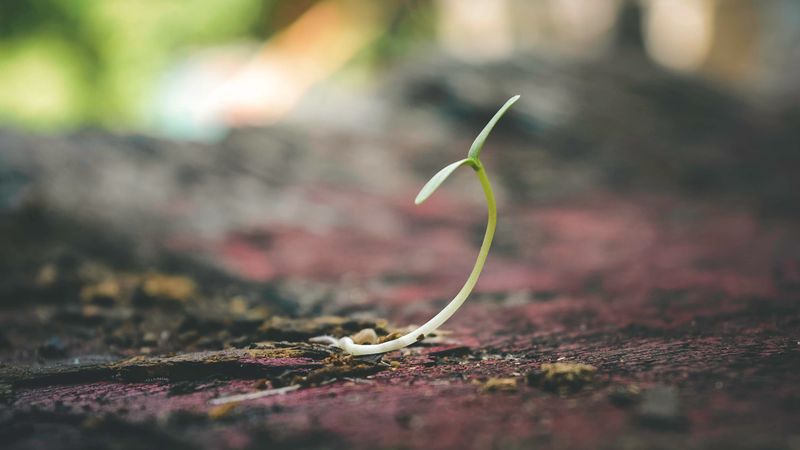
My neighbor once swore her brand-new patio was cursed by sneaky garden gnomes. The real culprit was much less magical, and it was hiding right in the cracks.
Most paver joints start out filled with plain sand, which washes out bit by bit. Rain, hose spray, and leaf blowers carry a few grains away over time.
As the sand drops lower, the gaps catch dust, crumbs of soil, and old leaves. Over time, that debris breaks down into a thin layer of rich, crumbly dirt.
Wind and birds then deliver a steady supply of seeds right on schedule. Those seeds find moisture, shade, and food in the joints, which is basically a tiny greenhouse.
Roots also travel sideways from nearby lawns and flower beds looking for fresh space. Creeping grasses and clover love sneaking under the edges of a patio and popping up between stones.
Pulling sprouts helps for a short time, but roots left behind often regrow. Contact sprays can damage the leaves, yet they do not address the loose dirt feeding the problem.
So the true cause is not the seed itself but the soft, open joint welcoming it. Fixing that weak spot matters more than treating each sprout you see.
Polymeric sand targets that weak spot by filling the gap firmly and evenly from top to bottom. My neighbor switched last spring, and her gnome theory has since been quietly retired.
Dry Days And The Perfect Forecast
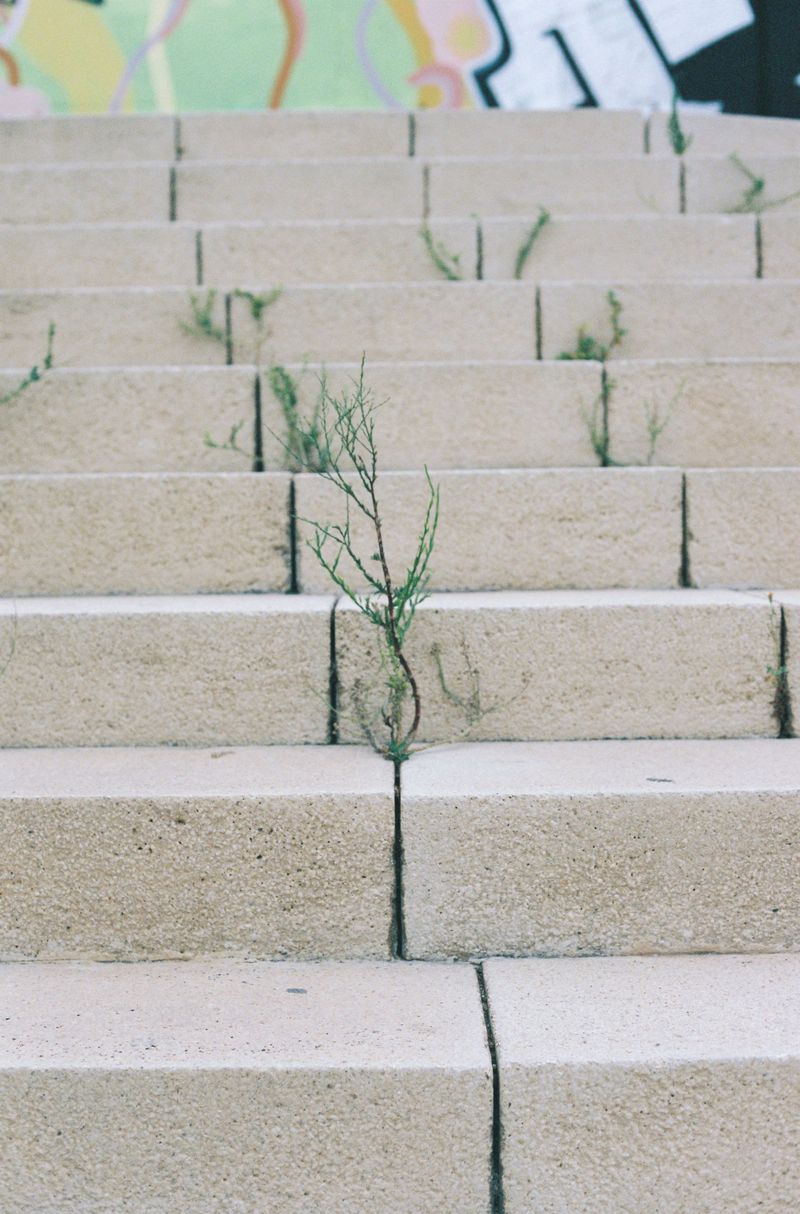
Weather can make or break this whole project faster than you can say thunderstorm. Polymeric sand needs dry conditions before you start and a dry stretch after you finish.
Pavers should be fully dry on the surface and in the joints before any sand goes down. Damp spots cause the binders to activate early, leaving clumps and patchy, weak areas.
Check the forecast for the dry window your bag specifies, often twenty-four to forty-eight hours after you mist the joints. Many brands ask for that window so the sand can cure firm without washing out.
Temperature matters too, so check your bag for the approved range, which often falls between about forty and ninety degrees Fahrenheit. Cold air slows curing, while high heat dries the surface before the binders fully bond.
Late spring and early fall are often the sweet spots in many parts of the country. Mornings work well once the dew has dried, yet before the afternoon heat arrives.
Skip the job right after a heavy rain, even if the sun pops out later. Water hiding below the pavers can rise into the joints and spoil the setting process.
A rough test helps when you are unsure about moisture levels in the joints, though your bag’s instructions come first. Press a paper towel into a gap, and if it comes out damp, wait another day.
Patience feels annoying when the bags are sitting in your garage, waiting to be opened. Still, one well-timed afternoon beats redoing a soggy patio twice, so let the sky decide.
The Haze Mistake To Avoid
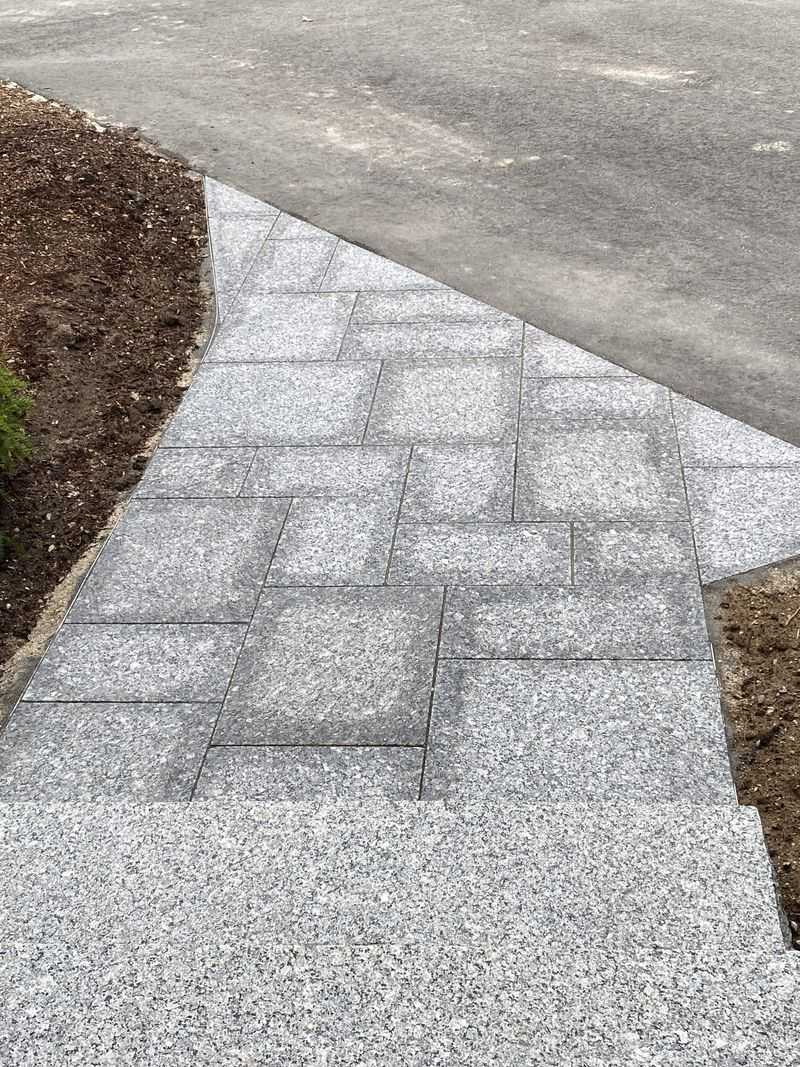
Imagine finishing your patio, stepping back proudly, and seeing a cloudy white film on the stones. That foggy coating is called polymer haze, and it is a common beginner mistake.
Haze happens when sand dust stays on the paver surface before you add water. The binders stick to the tops of the stones just as firmly as they stick in the joints.
Once cured, that film is stubborn and can take special cleaners and scrubbing to remove. If you catch it early, rewetting and brushing may lift it, so check the stones the same day.
The fix is mostly about cleaning before misting, not after. Sweep the pavers carefully with a soft broom, then follow with a leaf blower on low.
Hold the blower nearly flat so the air skims the surface without emptying the joints. You want the stone surfaces clean while the gaps stay packed to the right height.
Another slip is spraying the joints with a strong hose stream instead of a gentle shower. Hard spray splashes sand out of the gaps and leaves a thin, milky film.
Too much water is also trouble, because it can wash the binders away from the sand. Light misting in a few passes works far better than one big soaking.
Finally, avoid filling joints to the very top, since overfilled sand smears across the surface. Leave the sand about an eighth of an inch below the paver edge for a crisp, haze-free finish.
A Simple Sweep, Mist, And Set Routine
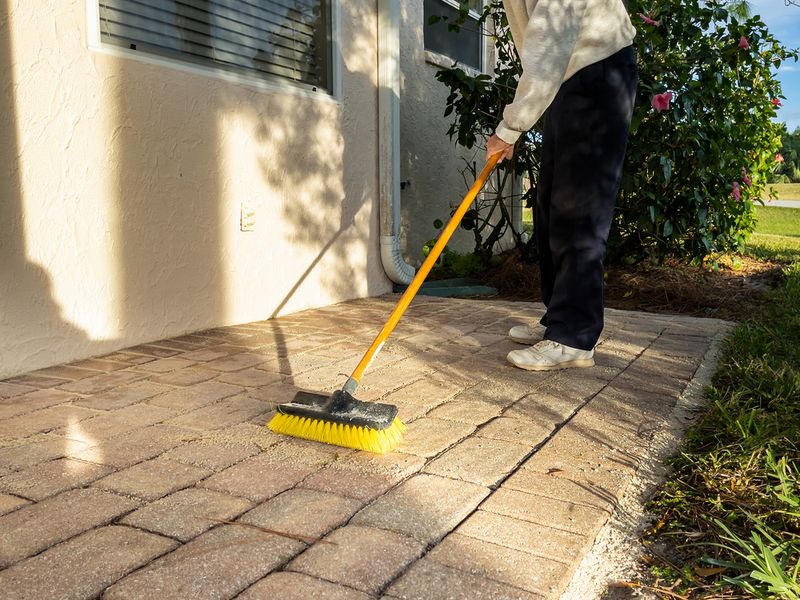
Grab a broom, a hose with a shower nozzle, and a free sunny afternoon. The whole process feels a lot like icing a cake, just with sand and stones.
First, scrape out old sand and debris until the joints are at least an inch deep. A narrow putty knife or a joint scraper makes quick work of it.
Avoid pressure washers here, since they can wash out the bedding sand beneath the pavers.
Let everything dry fully, ideally for a day or two after any washing. Next, pour polymeric sand across the pavers in small piles rather than one giant heap.
Wear a dust mask and eye protection while pouring and sweeping, since the dry sand throws off fine silica dust.
Sweep it diagonally across the joints so the grains drop in and fill each gap. A plate compactor with a protective pad helps settle the sand, letting you add more as needed.
After topping off, clear the surface with a soft broom and a leaf blower on low. Any speck left on the stones can harden into a cloudy film later.
Now comes the water, with your nozzle set on a gentle shower or mist setting. Soak a small section lightly, wait a minute, then mist again two or three times.
Work in small sections and follow your bag’s misting instructions so nothing dries out unevenly. Watch for puddles, since standing water means you are using a little too much.
Once finished, keep foot traffic off for a full day and cars off for about two days. Follow the directions on your specific bag, because cure times vary from brand to brand.
Long Lasting Results And Easy Upkeep
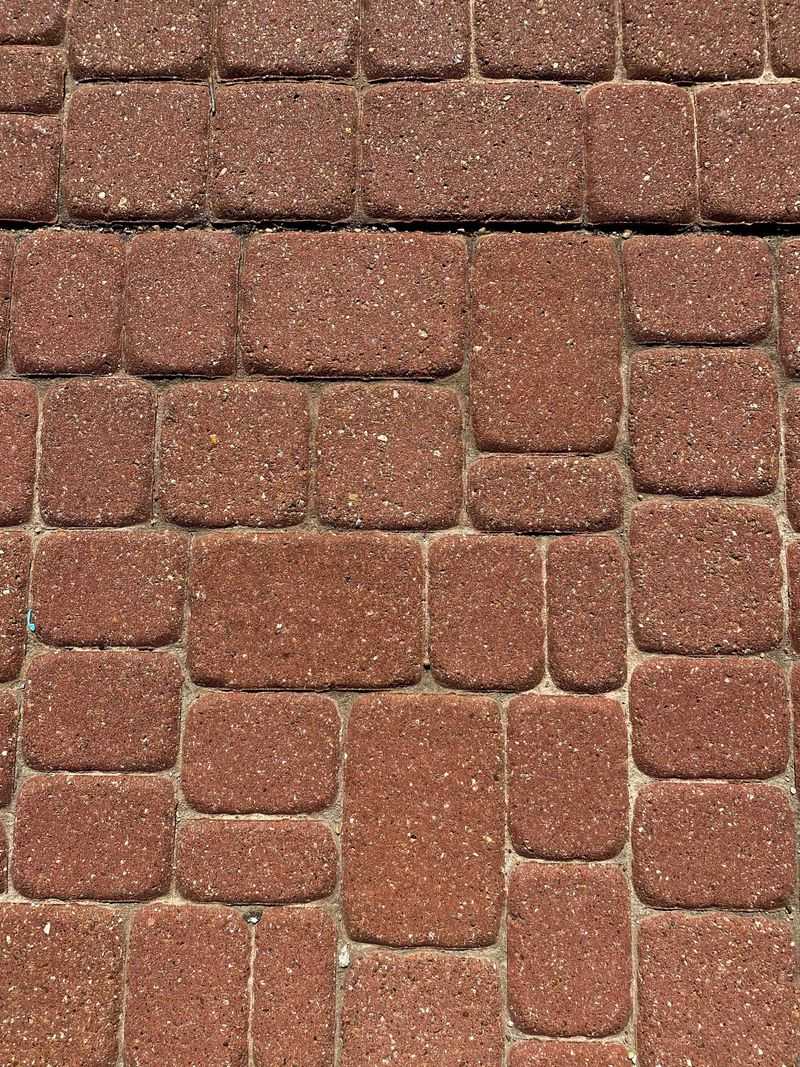
There is something satisfying about stepping onto a patio with crisp, tidy lines. Done right, polymeric sand can keep joints firm and mostly sprout-free for many years.
Lifespan depends on the brand, climate, and traffic, so check the manufacturer’s stated range for your product. Shady, damp patios may need attention sooner than sunny spots that dry out quickly.
Even hardened joints can collect a dusting of dirt on top over time. A stray seed may sprout there, but its roots stay shallow and lift out easily.
A quick sweep every week or two stops that thin dirt layer from building up. Blowing leaves off in fall helps too, since rotting leaves create food for new sprouts.
Skip pressure washers aimed straight into the joints, since strong blasts can chip the sand away. If you must wash, keep the nozzle at a low angle and a safe distance.
Small cracks or low spots may appear after a few hard winters. Patch them by digging out the loose material and adding fresh sand the same way.
Many homeowners also apply a paver sealer every few years for extra color and protection, but only after the sand has fully cured and following the sealer’s instructions. Sealer helps the joints shrug off water and keeps stones looking rich and fresh.
Best of all, your weekends belong to you again instead of the cracks in your patio. Picture lemonade in hand, sandals on, and few or no weeds in sight. Neighbors will likely ask your secret, so keep a spare bag handy for show-and-tell.