How To Get Rid Of Aphids Without Harming Your Flowers
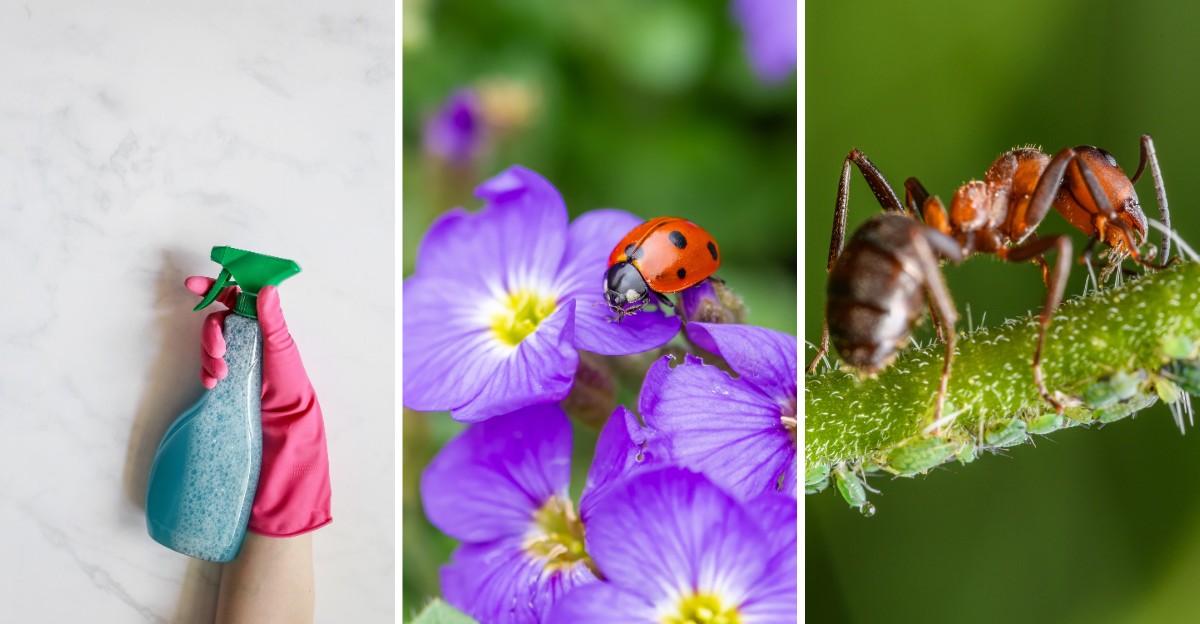
A glossy film coats your leaves, and your fingers stick. Look closer and you will spot green specks packed shoulder to shoulder.
That shine is honeydew, the sugary drip aphids release while they feed. Ants farm these herds for honeydew, so you will see them patrolling stems.
Sooty mold follows, turning your glossy leaves into a dusty layer. Pause before grabbing a store spray.
Ladybugs and lacewings feast on aphids for you, and chemical sprays send them away. Your best tools are cheap: a hose, soap, and a little patience.
Water pressure lifts colonies off stems, and few find their way back. Soapy spray breaks down their waxy protective coating, so you can mix it in minutes.
Neem oil helps when you spray after bees head home. Gather a spray bottle, because you are about to outsmart tiny sap sippers.
1. Rinse Them Off With A Strong Stream Of Water
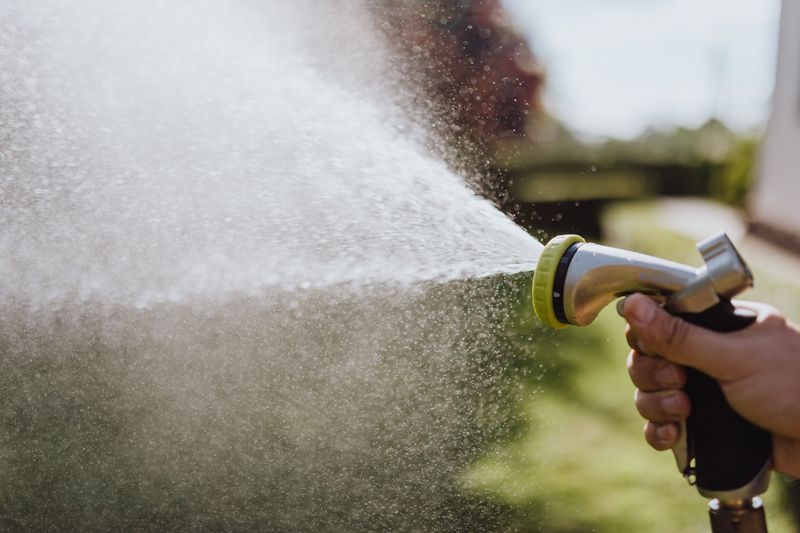
Picture a tiny bug hit by a strong jet of water, and you already understand this trick. A firm jet from your garden hose knocks the soft-bodied pests off stems and buds.
Many of them struggle to crawl back up once they hit the ground. They are slow walkers, so a puddle and some mulch feel like a long trek to them.
Aim for a strong stream, but not one so forceful that it damages petals. A spray nozzle set to jet or shower works well for most sturdy plants.
Hit the undersides of leaves too, since the pests love hiding where you cannot easily see. Tender new growth and flower buds are their favorite snack bars, so check those first.
Morning is the best time for a good rinse. Leaves dry quickly in the sun, which helps prevent mold and other moisture problems later.
Repeat the spray every two or three days for about a week. New babies hatch fast, and a few rounds catch the stragglers before they start families.
Delicate plants like young seedlings may need a softer touch, such as a gentle mist. You can also hold the stem steady with one hand while you spray with the other.
The best part is the price, because water costs almost nothing. No chemicals touch your blooms, and nearby bees are far less likely to be affected.
Keep an eye on the soil afterward, since repeated heavy watering can waterlog roots. A quick, focused blast beats a long soak, so think strong and short.
2. Coat Leaves With Neem Oil
Pressed from the seeds of a tree native to India, neem oil has helped gardeners for centuries. It smells a bit like garlic and peanuts, but pests avoid it.
The oil smothers soft bugs and messes with their eating and growing. It also discourages new pests from settling in, so it works on several fronts.
Look for cold-pressed neem oil, since it keeps more of the active natural compounds. Mix about one teaspoon per quart of warm water with a few drops of mild soap.
The soap helps the oil blend instead of floating on top like salad dressing. Shake the bottle often while spraying, because the mix separates quickly.
Timing matters with this oil. Spray at sunset, when bees have gone home and the sun cannot damage the coated leaves.
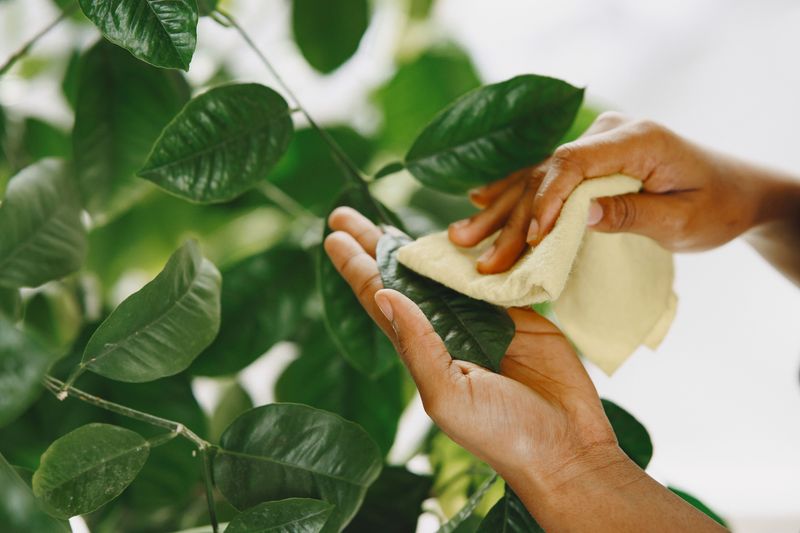
Cover both sides of every leaf, plus stems and the spots where buds meet branches. Avoid spraying open flowers directly, since pollinators visit those first thing in the morning.
Apply every seven to fourteen days, and follow the product label for frequency. Spray only on infested areas, since neem can also affect helpful insects such as ladybug larvae. Use your mix within eight hours, because neem breaks down after it meets water.
Try a test patch first, just like you would with a new sunscreen. Some plants, especially those recently moved or stressed, may react with spotty leaves.
Store the bottle in a cool, dark cabinet to keep it fresh. Cold weather can turn neem solid, but warm water quickly loosens it up again.
3. Mix A Simple Soap Spray At Home
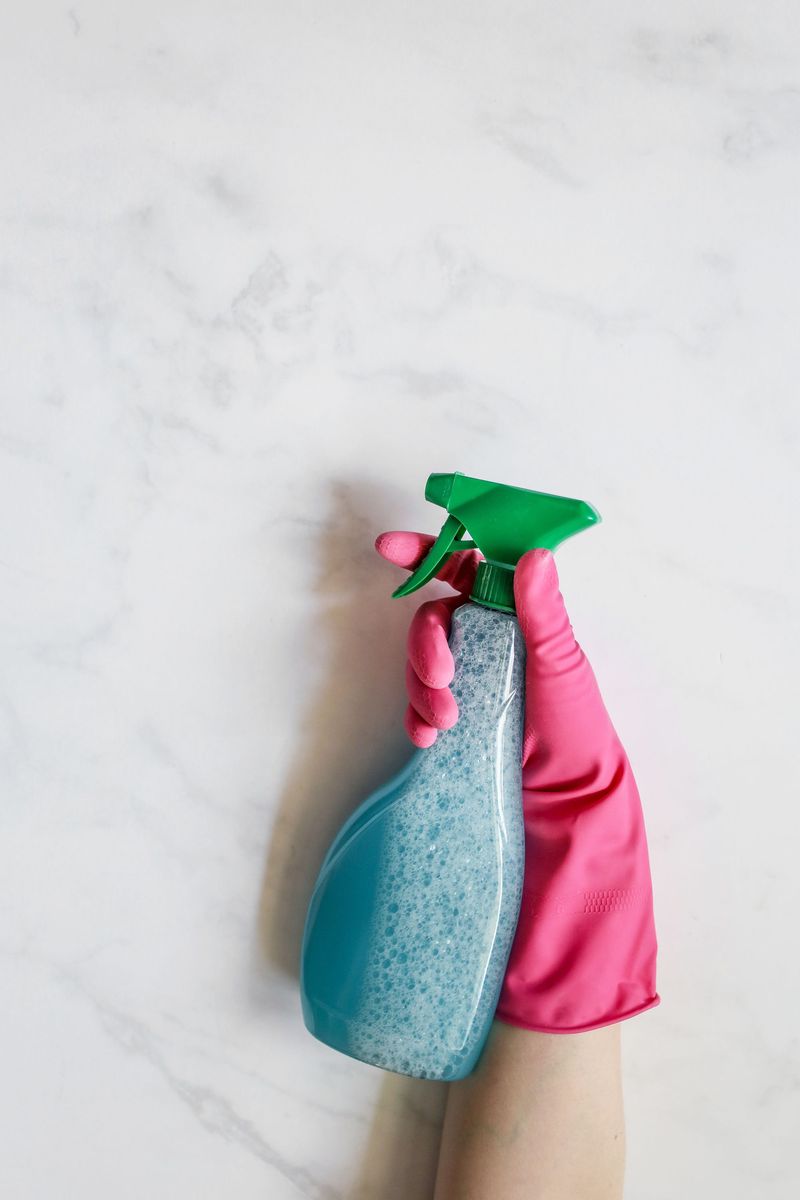
Grandma probably knew this one before anyone wrote it down in a gardening book. A little mild soap mixed with water makes a spray that breaks down the bugs’ soft coating.
Mix about one teaspoon of pure liquid castile soap into one quart of water. Skip dish detergents with degreasers, scents, or bleach, since those can damage tender leaves.
Pour the mix into a clean spray bottle and shake it gently. Then coat the pests directly, because the soap only works when it touches their bodies. Spray only on infested areas to protect ladybug larvae and other helpful insects.
Dried soap has little effect, so a light mist from far away will not help much. Get close, soak the clusters, and pay extra attention to curled leaves and stem joints.
Test a small patch on one leaf before spraying the whole plant. Wait a full day and look for brown spots, wilting, or crispy edges.
Plants with fuzzy or waxy leaves can be extra sensitive to soap. Ferns, sweet peas, and some succulents may react poorly, so go slowly with them.
Spray in the early morning, when it is cool and leaves have time to dry. Hot sun plus soap can damage leaves, so avoid spraying in midday heat.
Rinse the plants with water a few hours after treatment. Doing so clears leftover soap and keeps leaves breathing easily.
Reapply every four to seven days until the colonies disappear. Bees should stay clear while you spray, so wait until they finish their rounds.
One batch costs pennies, but a freshly mixed spray works best. Label the bottle so nobody grabs it by mistake.
4. Invite Ladybugs To Patrol Your Garden
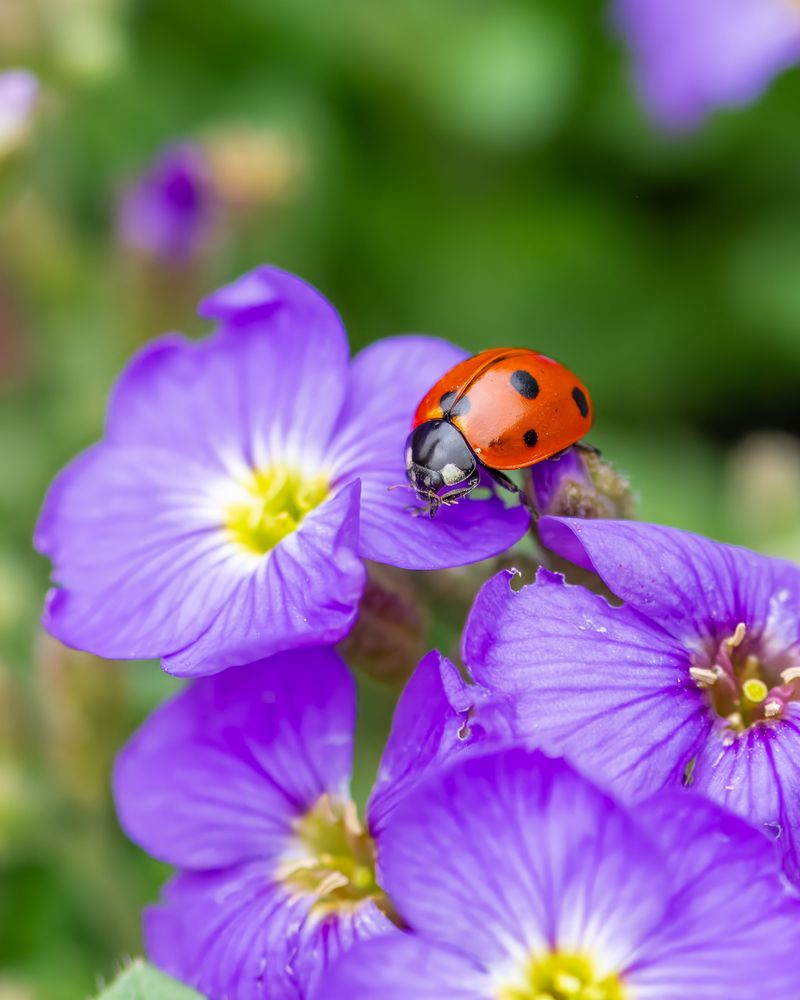
A single ladybug can eat dozens of aphids a day, and thousands over its lifetime, depending on species and conditions.
Their spiky little babies, called larvae, have even bigger appetites than the adults. They look like tiny alligators, so do not squash them by mistake.
You can buy ladybugs from garden centers, but they may disperse quickly, so results vary. Release them at dusk after misting your plants, since cool evenings make them want to stay.
Building a welcoming home works even better over time. Plant dill, fennel, yarrow, and sweet alyssum, which offer nectar and pollen the adults love.
A shallow dish with pebbles and water gives them a safe place to drink. Leave a few leaf piles or rough mulch in corners for winter shelter.
Lacewings and hoverflies are also excellent helpers worth inviting. Their young munch on soft pests with the same eager energy as ladybug larvae.
Skip broad chemical sprays, because those harm the good bugs along with the bad. Even one heavy treatment can reduce your helpful insects for some time.
Patience matters here, since predators need a few pests around to stick around themselves. A handful of bugs on one stem means the dinner bell is ringing.
Kids love helping with this method, too. Counting red spotted beetles on leaves turns pest control into a backyard treasure hunt.
Watch for yellow-orange egg clusters under leaves, which may be ladybug eggs. Identify them before removing anything.
5. Plant Smart Companions Near Your Blooms
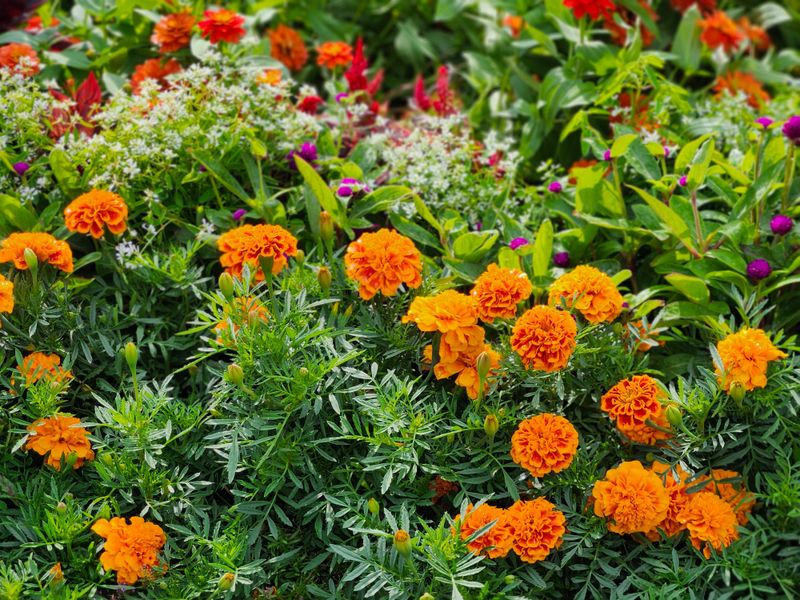
Some plants act like bouncers, and others act like bait. Smart gardeners use both to steer pests away from their prized blooms.
Strong-smelling herbs may confuse some pests that find food by scent. Chives, garlic, mint, and catnip planted nearby may make your garden less inviting.
Garlic tucked between rose bushes is an old cottage garden trick. The smell may help mask the scent pests follow, and the green shoots look tidy too.
Trap plants work the opposite way, by luring pests to a sacrificial snack. Nasturtiums are well known for this job, pulling bugs away from more valuable plants.
Place them a few feet from your favorite beds, not right next to them. When nasturtiums get crowded with pests, simply snip and bag the infested stems.
Mint spreads quickly, so grow it in pots instead of open soil. Set the containers among your flowers, and you get the scent without the spread.
Single-flowered marigolds and sweet alyssum add color while also attracting helpful predator insects. Their blossoms feed hoverflies, whose larvae feed on soft pests.
Mixing many plant types also helps on its own. Large patches of one kind act like an open buffet, while variety slows pests down.
Plan your companions in early spring, before trouble shows up. Prevention feels much easier than chasing an outbreak in July heat.
Sketch a simple map of your beds on paper first. Mark where herbs, trap plants, and blooms will go, then adjust as the season unfolds.
6. Remove Them By Hand With Garden Gloves
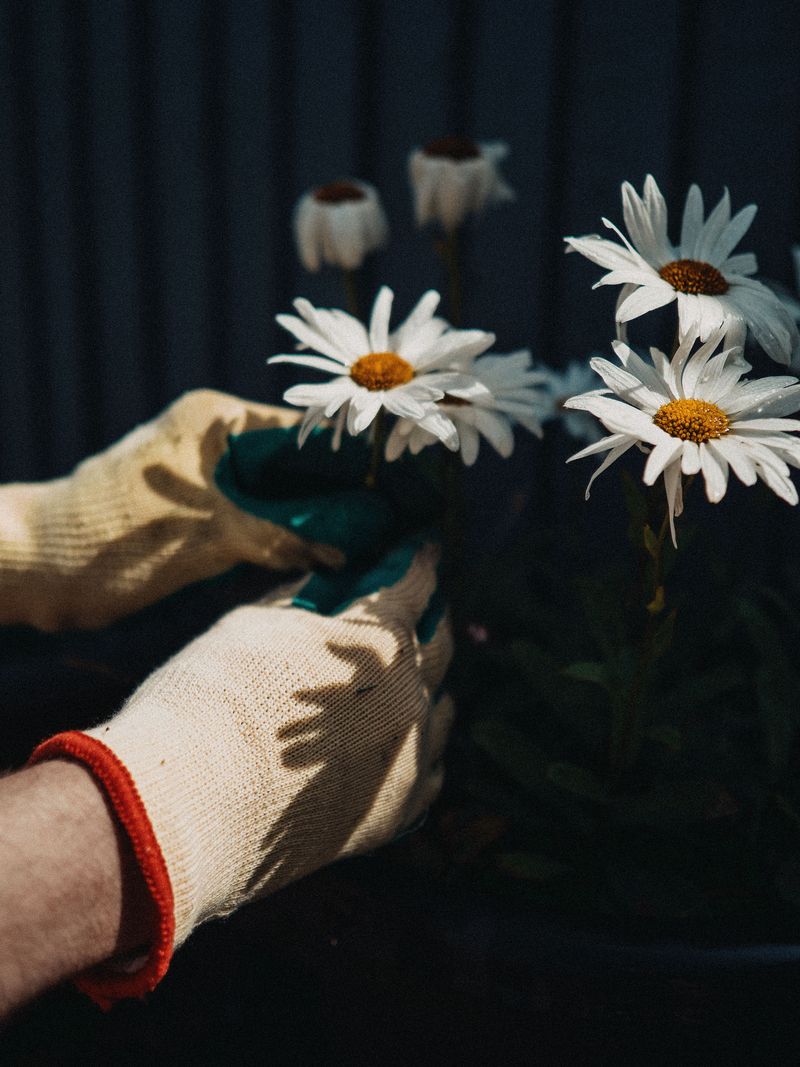
Sometimes the oldest tool in the shed is the one attached to your wrist. For small infestations, a gloved hand often handles the job faster than a spray.
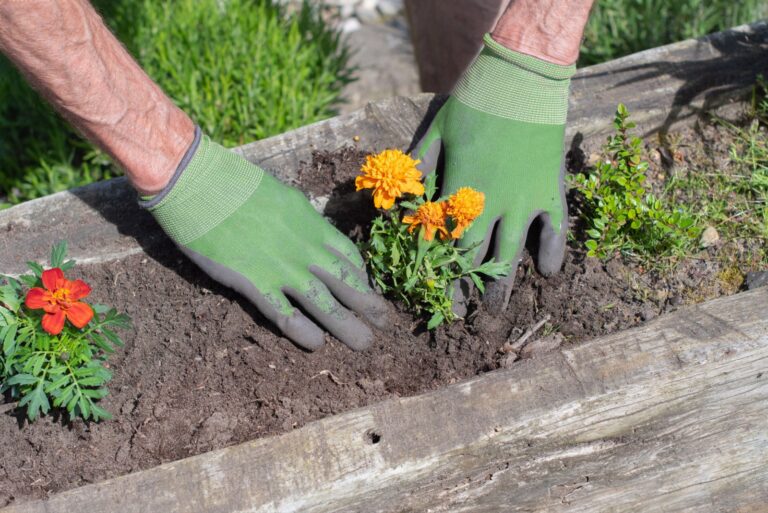
Slip on thin garden or rubber gloves, since the pests leave sticky residue behind. Then gently pinch the clusters between your fingers and wipe them off the stem.
It may feel unpleasant at first. After a few minutes, though, many gardeners find it oddly relaxing, like popping bubble wrap.
Support each bud from behind while you work so it does not snap. Flower stems can be surprisingly fragile, especially on young plants and fresh growth.
A damp cloth or cotton pad works well for delicate petals. Simply swipe downward along the stem, and rinse the cloth in a bucket of soapy water.
Badly infested leaves or tips can be pruned off with clean scissors. Drop the cuttings into a sealed bag instead of the compost pile.
Check your plants every couple of days during spring and early summer. Catching a few bugs today prevents a much larger colony next week, because they reproduce rapidly.
Some females give birth to live young without needing a mate at all. That fast reproduction explains why one quiet stem can become crowded within days.
Make it part of your routine, maybe during an evening stroll through the yard. A quick, focused rinse beats a long soak, so think strong and short. You need only gloves, a cloth, and a sealed bag. Your blooms stay chemical-free.
7. Go Easy On The Nitrogen Fertilizer
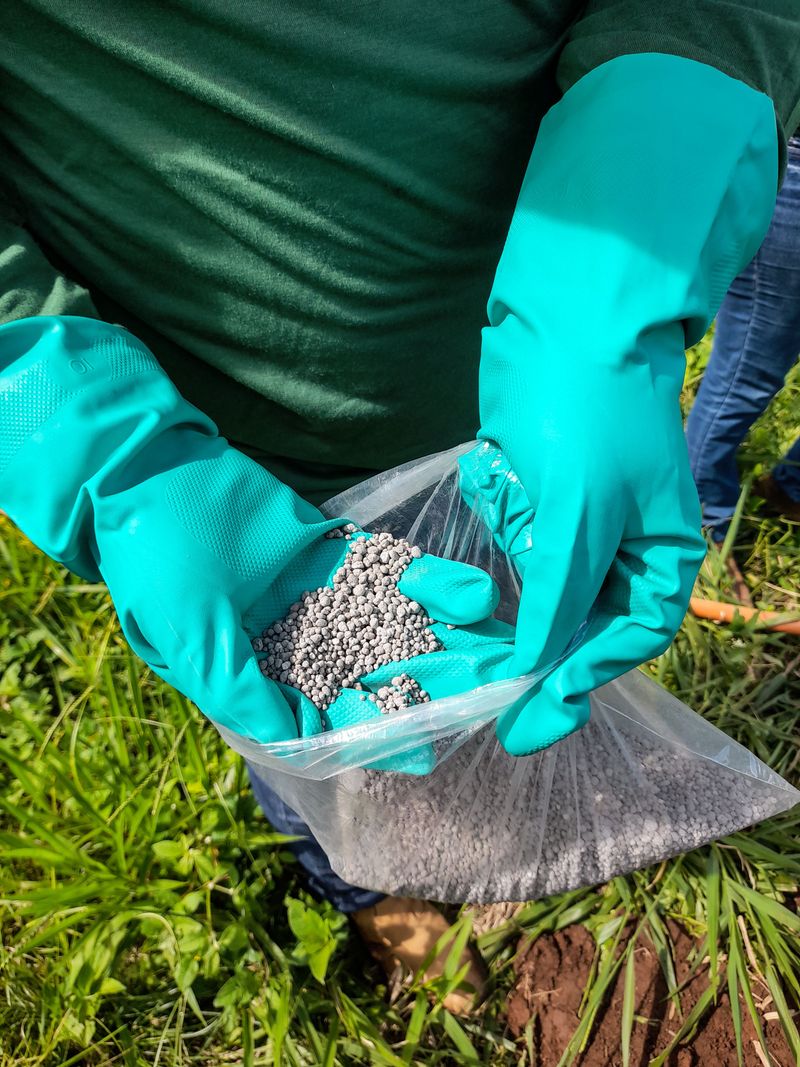
Ever notice how pests swarm the greenest, juiciest plants in the yard? Too much fertilizer might be ringing the dinner bell without you realizing it.
Nitrogen pushes plants to grow lots of soft, leafy shoots very quickly. Those tender tips are packed with nitrogen-rich sap, which is exactly what the pests prefer.
Quick-release fertilizers are a common contributor here. They release a large amount of nitrogen at once, creating a sudden flush of fresh growth.
Switch to a slow-release or balanced flower fertilizer instead. Look for bags where the first number is equal to or lower than the others.
Compost is another friendly choice for feeding your soil. It releases nutrients slowly, and it builds healthy soil that grows tougher, stronger plants.
Follow label directions carefully, and lean toward using a little less. More food does not mean more flowers, and overfed plants can actually bloom less.
Watering matters too, because stressed plants may be more attractive to pests. Deep, steady watering, adjusted to your climate and soil, keeps roots strong and stems sturdy.
Spread mulch around the base to hold moisture and keep soil temperatures even. Healthy plants can handle small infestations without needing much help from you.
Watch how your garden responds over a full season. If pest numbers drop as growth slows a bit, your new feeding plan is working.
Keep a simple notebook of what you feed and when. Patterns pop out quickly, and next year you will know exactly what your beds prefer.
8. Stop The Ants Guarding The Pests
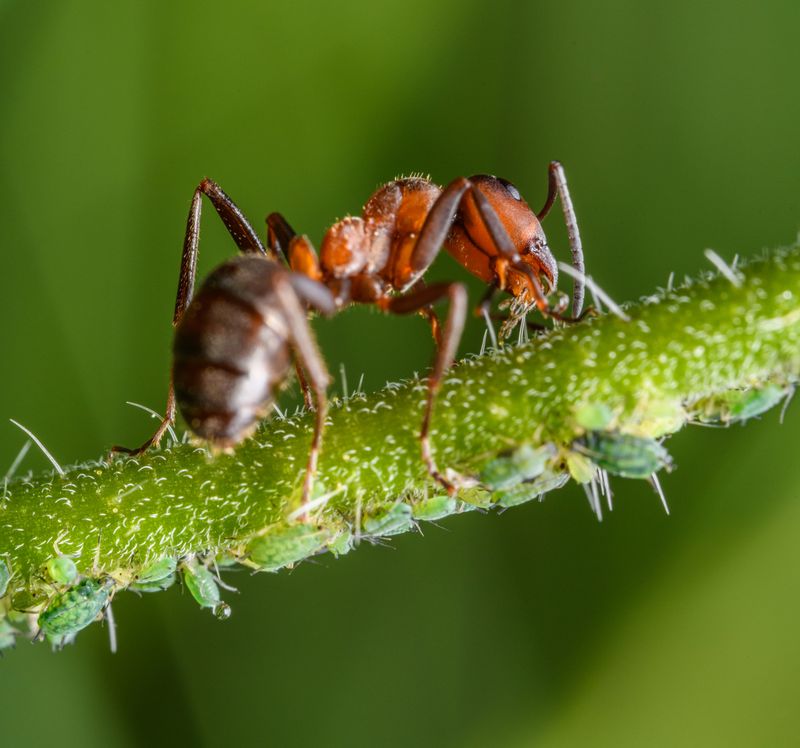
Believe it or not, some ants run tiny farms right on your flower stems. They guard the sap-feeding pests like cattle and collect the sweet honeydew they produce.
In return, the ants chase away ladybugs and other helpful predators. So if ants march up and down your plants, they may be protecting the real problem.
Follow the ant trail to see where it leads. A steady parade up one stem often means a colony of aphids, scale, or mealybugs waits at the top.
Wrap tape or paper around woody stems and trunks, then apply sticky tree barrier over the wrap instead of directly on the bark. Ants get stuck crossing it, and your predators can finally do their job in peace.
For soft stems, sprinkle food-grade diatomaceous earth around the base of each plant. The fine powder affects crawling insects, so use it sparingly and avoid breathing the dust.
Reapply the powder after rain or watering, since wet dust loses its power. Keep it off open blooms, because bees should not walk through it.
Trim branches that touch fences, walls, or other plants. Ants love using those bridges as shortcuts, so removing them slows the whole operation down.
Borax bait stations placed away from flowers can shrink nearby ant colonies over time, but borax and neem products are restricted in some countries, so check your local rules first.
Once the ants leave, predators can reach the aphids again. Honeydew continues until the colony shrinks, so keep rinsing or spraying as needed.
Think of it as removing the aphids’ protection. Without ants on guard, helpful predators can do their job.