Virginia Gardeners Have One Important Pot Cleaning Job To Finish This Weekend
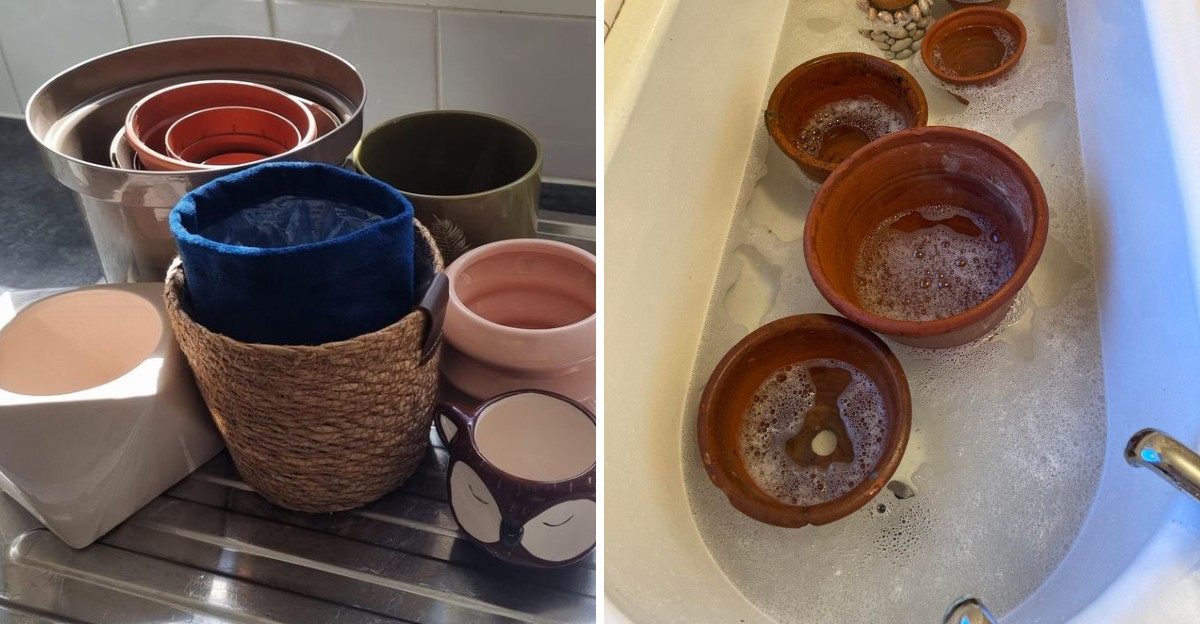
Your empty flower pots are hiding more than you think. That crusty white ring, the clump of tired soil, and the faint musty smell all carry secrets from last summer.
As cold nights creep across Virginia, a stack of grimy containers can turn into next year’s trouble. Fungus spores, pest eggs, and mineral buildup love to wait out winter in neglected pots.
Luckily, one weekend of scrubbing, soaking, and stacking can fix almost all of it. A hose, a stiff brush, and a sunny porch handle most of the work.
By Sunday evening, your pots could be fresh, safe, and ready for spring. Tackling the chore now saves money and plenty of headaches later.
Dump Old Soil Into The Compost Or Beds
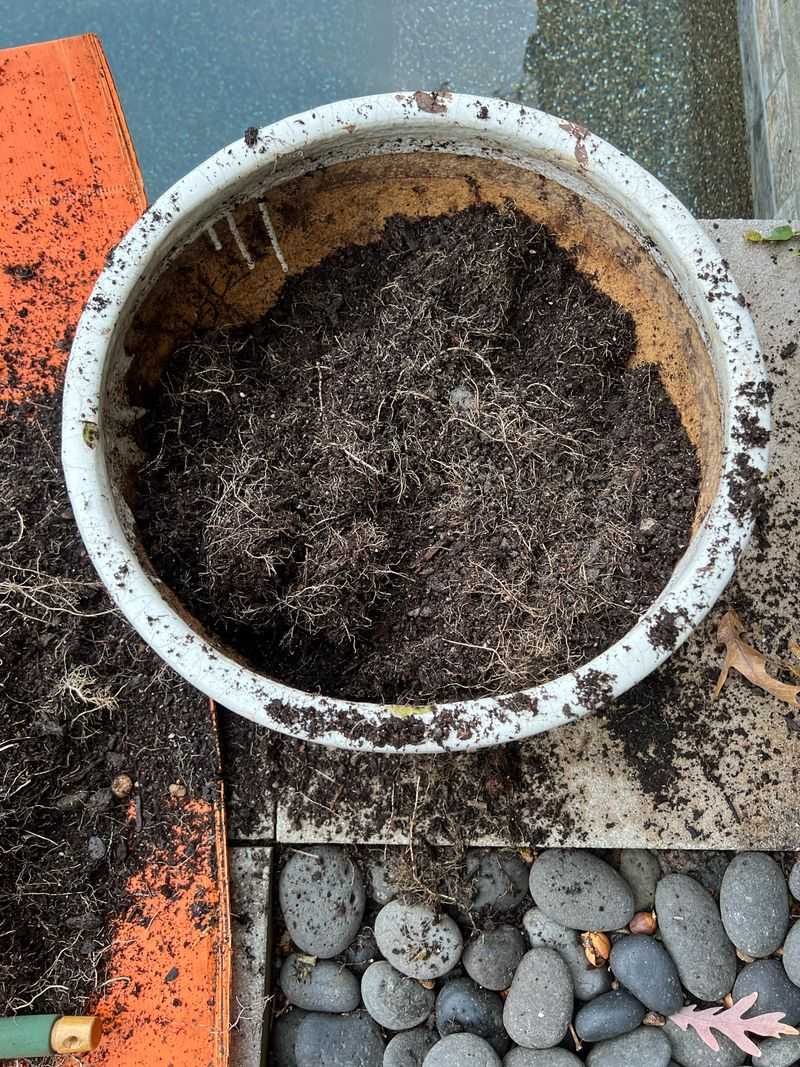
Picture a pot full of tired soil that fed your tomatoes all summer long. Most of its nutrients are gone, and it may be hiding fungus or pests.
Start by tipping each pot over a wheelbarrow or tarp. Knock the sides gently so the root ball slides out in one piece.
Healthy plants leave behind soil that still has some value. You can toss it straight onto your compost pile to break down further.
Another smart option is spreading it across your garden beds. Mix it into the top few inches, and it adds bulk to your native ground.
Sick plants are a different story, though. Soil from wilted or spotted plants should go in the trash, not the compost.
Old potting mix also builds up salts from fertilizer and tap water. Fresh rain in your beds will help wash those salts down and away.
Virginia clay soil can actually benefit from this loose, fluffy material. Many backyards here have heavy red clay that drains slowly after storms.
Break apart any big root clumps with a hand trowel or your gloved fingers. Smaller pieces rot faster and blend into compost much more easily.
Pull out old plant tags, twist ties, and bits of plastic as you go. Those stray items have a sneaky way of ending up in next year’s beds.
Once the pots are empty, give them a quick knock against the ground. Loose crumbs fall away, and you are ready for real scrubbing.
Scrub Off Crusty Mineral Deposits
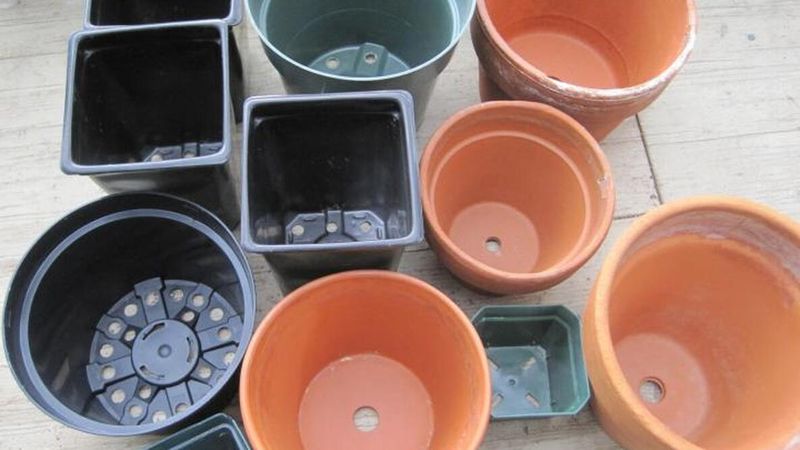
Ever notice that chalky white crust ringing your clay pots? Gardeners sometimes mistake it for mold, but it is mostly leftover minerals.
Hard water and fertilizer salts seep through clay walls over time. As the water dries, the minerals stay behind and harden into a crust.
Those deposits can harm tender roots and stems that touch the rim. They also make your pots look older than they really are.
Vinegar is your secret weapon here. Mix one part white vinegar with three or four parts water in a large bucket or tub.
Let the pots soak for about an hour, or even overnight for thick buildup. The acid softens the crust so it wipes off with far less effort.
Next, grab a stiff brush and scrub in small circles. Steel wool works well on stubborn spots, especially along the top rim.
Your Virginia Garden Changes Every Week. Your Plan Should Too.
Gardening in Virginia changes quickly throughout the season. Every Friday you’ll receive a simple weekly plan showing exactly what to plant, prune, fertilize, harvest, and protect so you never miss the right timing.
Really tough patches may need a little extra help. An old butter knife can scrape away hardened lumps without damaging most clay.
Plastic pots get mineral rings too, though they are usually thinner. A sponge and vinegar water often clean them up in minutes.
Many Virginia homes use well water, which tends to carry extra minerals. If that sounds like your house, expect a bit more scrubbing.
Put on some music and work through the stack one pot at a time. A few minutes per pot adds up to a satisfying pile of clean containers.
Soak Pots In A Diluted Bleach Solution
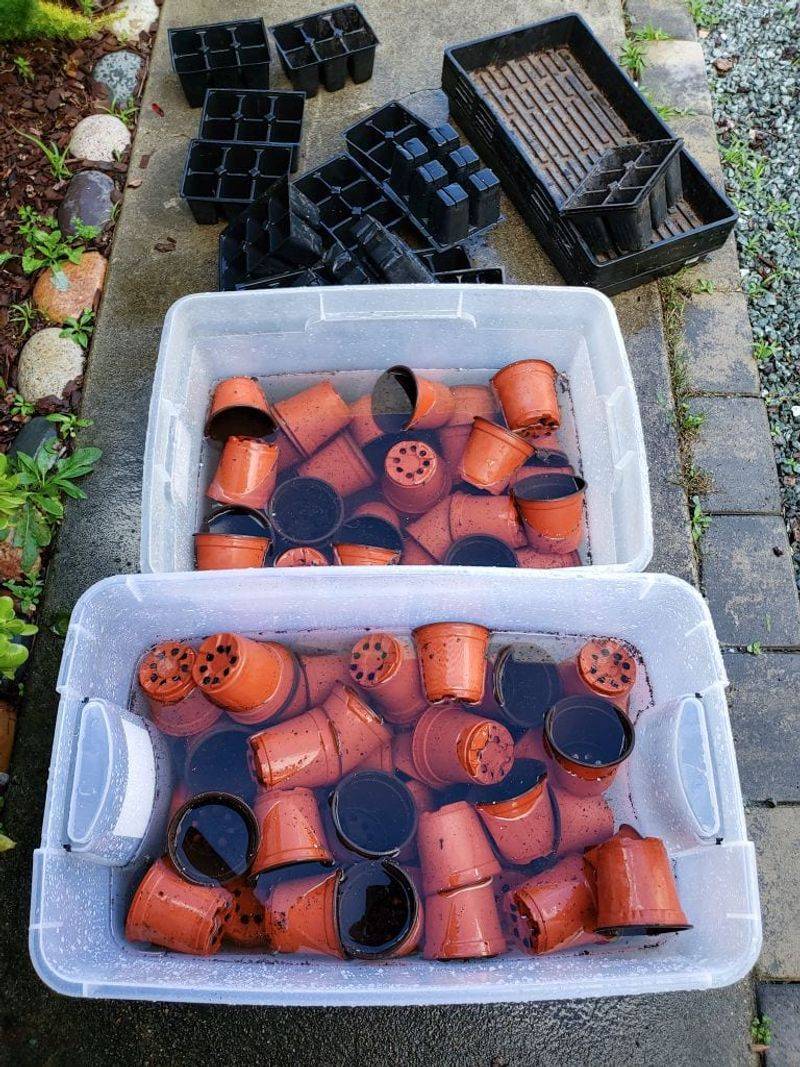
Germs you cannot see cause some of the worst garden problems. Fungi and bacteria cling to pot walls and wait for new roots to arrive.
Damping off is a classic example that hurts young seedlings. Root rot and leaf spot can also hitch a ride in unwashed containers.
A simple bleach soak handles these invaders well. Mix one part household bleach with nine parts water in a large tub.
Make sure pots are already scrubbed before they go in. Dirt and soil weaken bleach, so clean surfaces get the best results.
Submerge each pot fully and let it sit for 10 to 30 minutes. Clay pots benefit from the longer end of that range.
Safety matters during this step. Wear rubber gloves, old clothes, and eye protection to guard against splashes.
Work outside or in a garage with the door open. Bleach fumes build quickly in small, closed spaces like basements.
Keep kids and pets away from the soaking tub. A curious dog lapping at bleach water is a scary trip to the vet.
Mix a fresh batch for each gardening session. Bleach loses strength after sitting out, so yesterday’s bucket will not work as well.
Here is a fun bit of history worth sharing. Gardeners have used diluted bleach for decades, and university extension programs still recommend it today.
Rinse Thoroughly To Remove Residue
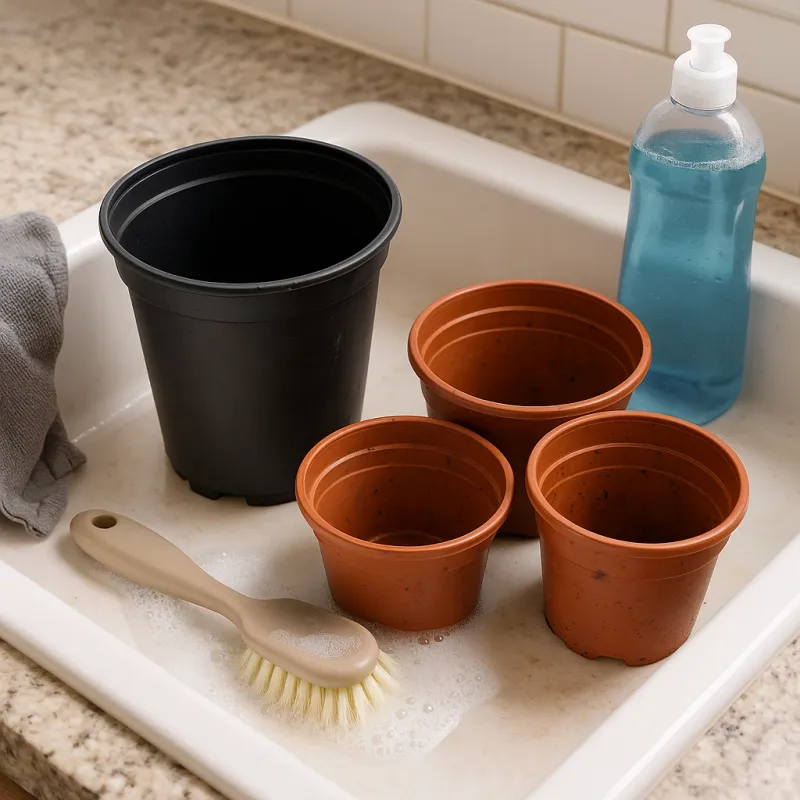
Skipping the rinse is like washing dishes and leaving the soap on. Leftover chemicals can sneak into fresh soil and bother young roots.
Bleach and vinegar both change soil chemistry if they linger. Even small amounts can shift pH in ways your plants will not enjoy.
Plastic pots are the easy part of this job. A strong spray from the garden hose, inside and out, usually does the trick.
Clay is trickier because it acts like a sponge. Bleach soaks deep into those tiny pores and stays there after a quick spray.
Fill a clean tub with plain water for your terra-cotta. Let each clay pot soak for at least 10 minutes to pull out residue.
Change the rinse water if it starts smelling strongly of bleach. Fresh water draws chemicals out faster than a cloudy, used batch.
Your nose makes a handy testing tool here. Sniff each pot, and keep rinsing until no cleaning scent remains.
Drainage holes deserve special attention too. Run water straight through them to flush out any trapped bits of soil or bleach.
Pick a spot for rinsing where runoff will not harm your lawn. A gravel driveway or patio edge works better than a flower bed.
Sunny fall weekends in Virginia make this step pleasant. Cool air and warm light are perfect for splashing around with the hose.
Let Everything Dry Completely
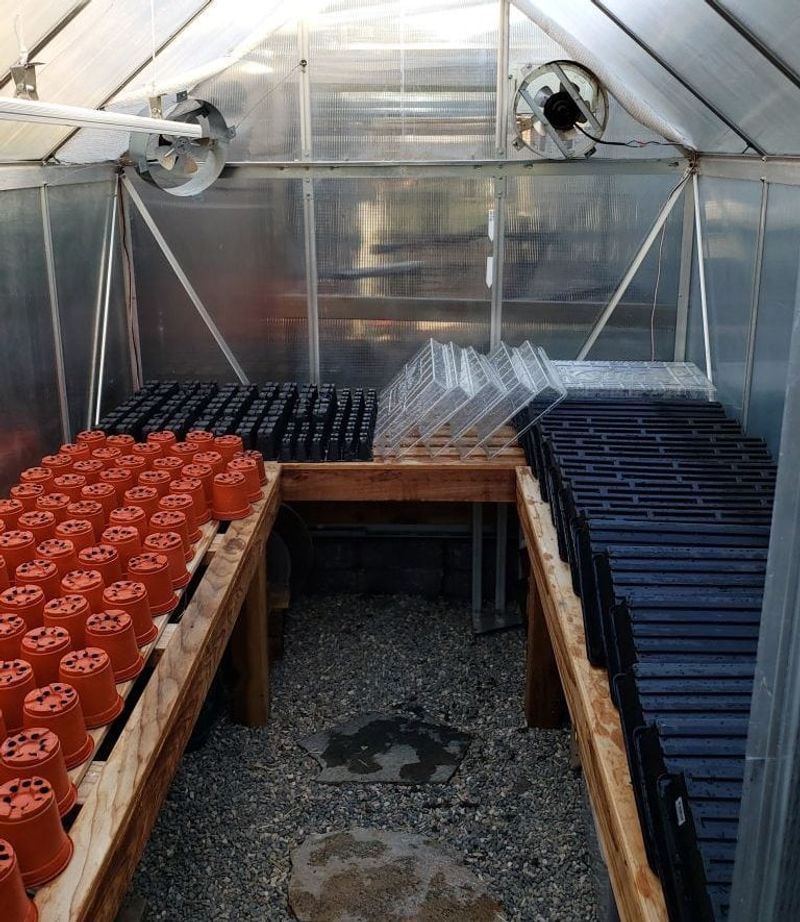
Patience pays off at this stage more than any other. Putting damp pots away invites mold, mildew, and bacteria to move right in.
Moisture trapped in storage creates a warm, dark hideout for trouble. Come spring, you may find fuzzy spots and a funky smell.
Set your pots in a sunny, breezy spot after rinsing. Tilting them on their sides lets air flow through the openings.
Sunlight does more than just dry things out. Its ultraviolet rays act as a natural sanitizer, giving your pots a bonus cleaning.
Plastic pots may dry in a single afternoon. Thick clay can need a full day or more, especially on cool or cloudy days.
Here is a quick test for clay pots. Darker patches mean water is still inside, while an even, pale color means they are ready.
Fall humidity in Virginia can slow things down. Coastal areas near the Chesapeake Bay often hold extra moisture in the air.
If rain shows up, move pots under a porch roof or into a garage. A box fan pointed at the stack can speed up drying indoors.
Flip pots halfway through so both sides get sunshine. Bottoms and drainage holes tend to hold water longer than the rims.
Resist the urge to rush this part. A little waiting now saves you from scrubbing mold off everything again next spring.
Bring Terra-Cotta Inside Before It Cracks
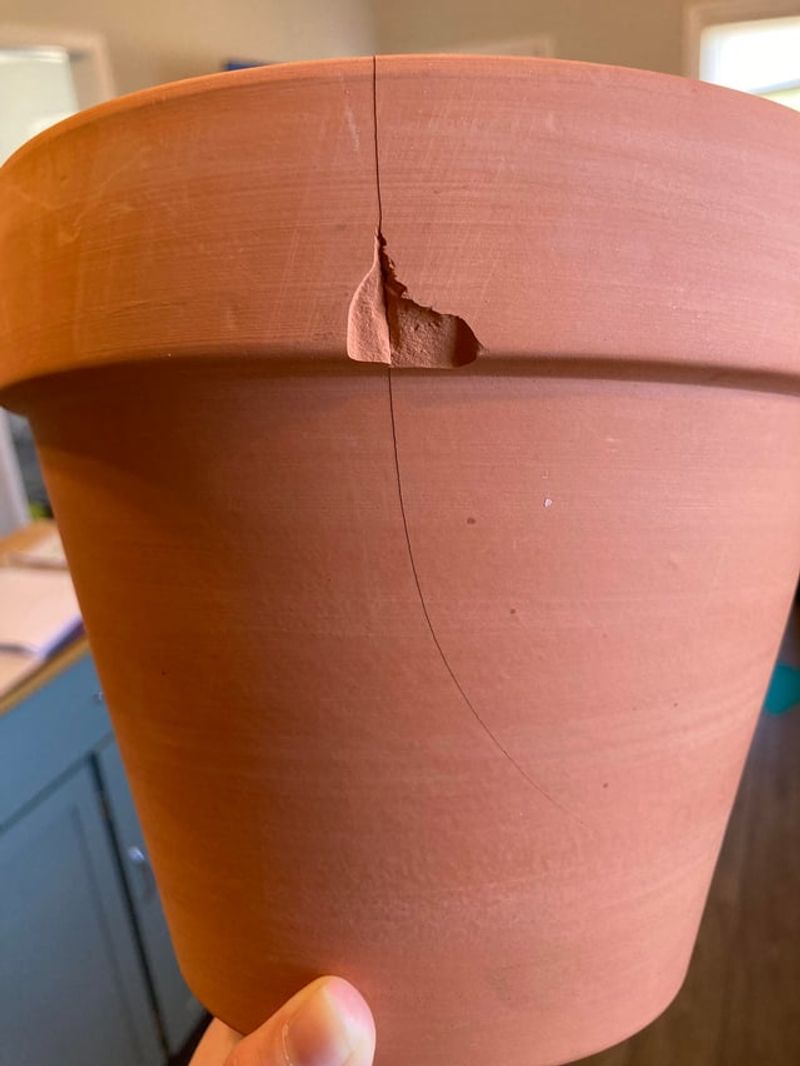
Nothing stings quite like finding your favorite clay pot split in half. One frosty night can ruin a pot you have loved for years.
Terra-cotta soaks up water like a thirsty sponge. When temperatures drop below freezing, that water turns to ice and expands.
Expanding ice pushes outward from inside the clay walls. Tiny cracks form first, then grow bigger with each freeze and thaw cycle.
Virginia winters bounce between mild days and icy nights. Those repeated swings are especially tough on porous pots left outdoors.
The safest move is bringing clay pots indoors. A garage, shed, or basement keeps them dry and away from the harshest cold.
Glazed ceramic pots need protection too. Water can slip under the glaze through small chips and cause flaking or splitting.
Short on indoor space? Empty the pots, keep them dry, and raise them off the ground on bricks or pot feet.
Covering outdoor clay with a tarp also helps keep rain and snow out. Just make sure air can still move a little underneath.
Large planters too heavy to move can stay put if emptied. Without wet soil inside, they face far less risk from ice.
Mountain gardeners in western Virginia should move pots earliest. Frost often arrives there weeks before it reaches Richmond or Norfolk.
Store Plastic Pots Upside Down
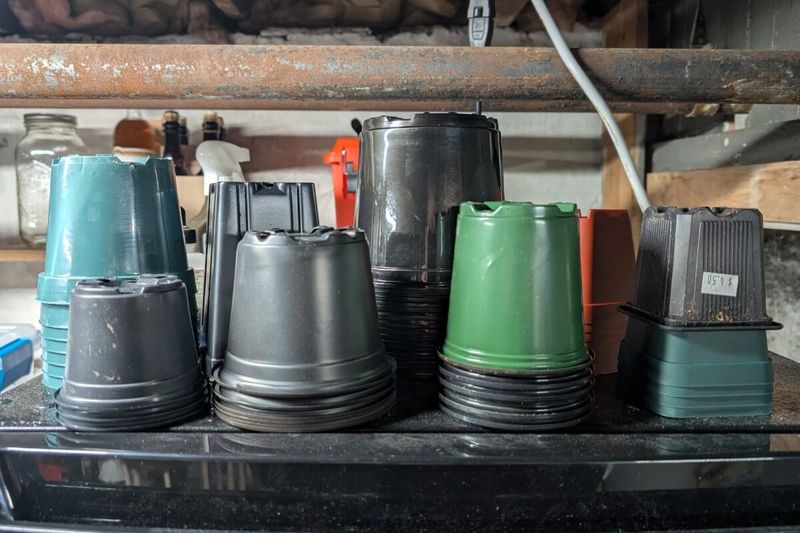
Plastic pots are the tough kids of the garden world. They shrug off bumps and drops that would shatter a clay pot.
Still, they are not invincible during winter. Water that pools inside can freeze, expand, and split thin plastic walls.
Flipping pots upside down solves that problem fast. Rain and melting snow simply roll off instead of collecting inside.
Upside down storage keeps out leaves and other debris too. You will not have to clean them again before spring planting.
Insects and spiders also lose an easy hiding place. Stink bugs, common in Virginia, love tucking into cozy, sheltered spots each fall.
Sunlight slowly breaks down plastic over many seasons. Storing pots in shade or indoors helps them stay flexible longer.
Brittle plastic tends to snap when you squeeze it. If a pot crackles in your hand, it may be near the end of its useful life.
Resin and fiberglass planters benefit from the same treatment. Turning them over protects their finish from standing water and stains.
Small nursery pots can nest inside each other while upside down. Line them up like little towers along a fence or garage wall.
Got extras you do not need? Many local garden centers accept clean plastic pots for reuse, which keeps them out of landfills.
Check For Hidden Pests And Egg Cases
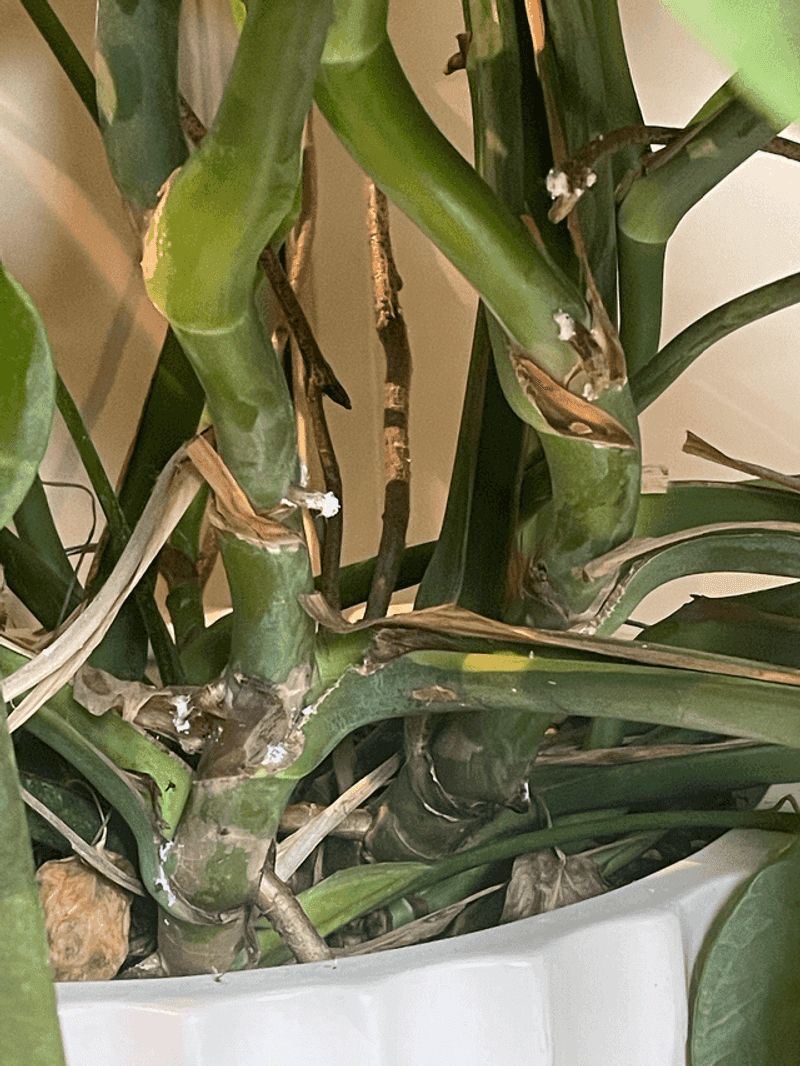
Some unwanted guests plan to spend winter rent free in your pots. Tiny eggs and sleeping bugs can hide in places you rarely look.
Aphids and spider mites often leave eggs on pot rims. Mealybugs tuck themselves into cracks and under the lips of containers.
Fungus gnats are another common sneak. Their larvae survive in old soil and pop out as annoying flies once things warm up.
Grab a flashlight and a magnifying glass for this hunt. Check drainage holes, rims, and the undersides of saucers carefully.
Look for white fuzz, tiny dots, or sticky patches. Small clusters of shiny specks may be eggs waiting for spring.
Slugs and snails love the damp space beneath pots too. Lift every container and peek at the bottom before storing it away.
Spotted lanternfly egg masses are a real concern in Virginia. They look like smears of gray mud and stick to many outdoor surfaces.
Scrape off any lanternfly egg masses you find into a bag of rubbing alcohol. State agriculture officials encourage residents to report and destroy them.
Your earlier scrubbing and bleach soak handle most hidden pests. A quick final inspection simply catches anything that slipped through.
New plants deserve a careful look next spring as well. Keep them apart for a week or two before mixing them with your collection.
Toss Or Repurpose Cracked Pots
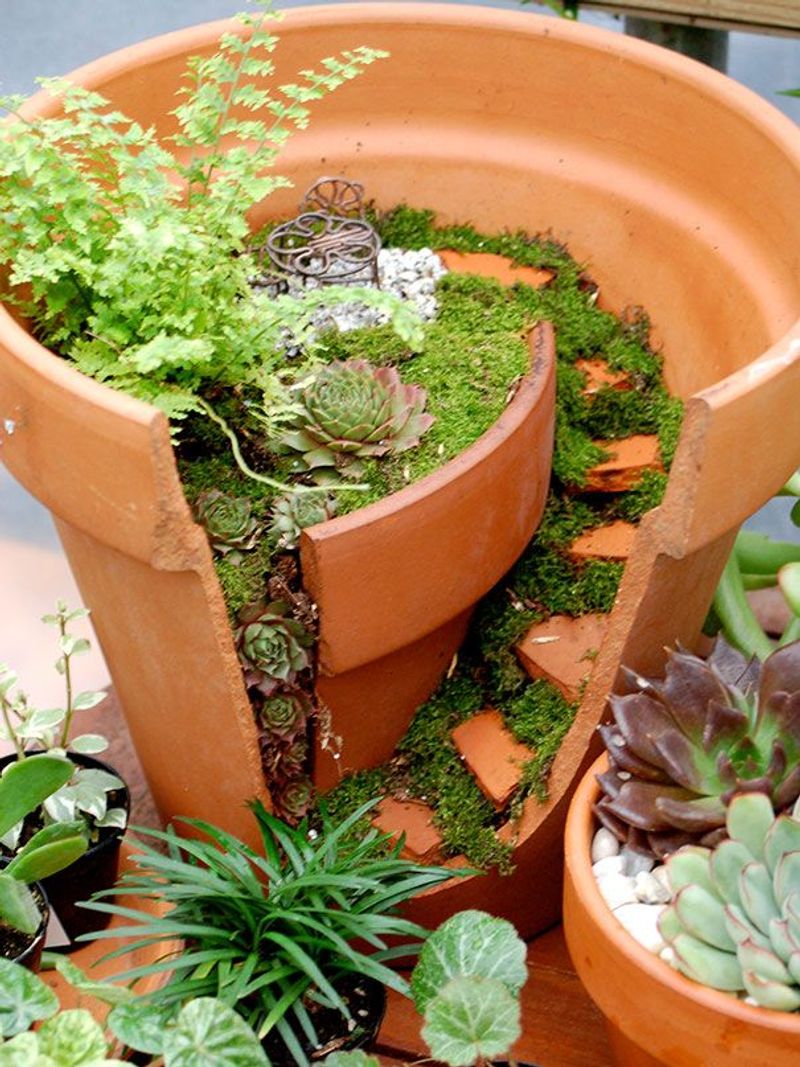
Broken pots have a second life waiting for them. Before you toss that chipped clay planter, think about what it could become.
Badly cracked pots usually cannot hold soil safely anymore. Water leaks out, roots escape, and the pieces may crumble further.
Small hairline cracks are a different matter. Waterproof epoxy glue can seal them, and wire wrapped around the pot adds support.
A half broken pot makes a charming fairy garden. Tuck in moss, tiny succulents, and use shards as little stairs inside.
Kids especially love helping with this kind of project. It turns a disappointing break into a fun weekend craft.
Shards also work as clever plant markers. Write herb or vegetable names on them with a paint pen and push them into the soil.
Gardeners sometimes place shards over drainage holes in new pots. They help hold soil in while letting extra water drain away.
Crushed clay pieces can even guard tender plants. Scattered around hostas, the rough edges may discourage slugs from sliding through.
Plastic pots that split are harder to reuse. Check whether your local Virginia recycling program accepts them before adding them to the trash.
Wrap sharp pieces in newspaper before throwing them away. Sanitation workers will appreciate not getting cut by hidden clay edges.
Stack Pots With Paper Between Them
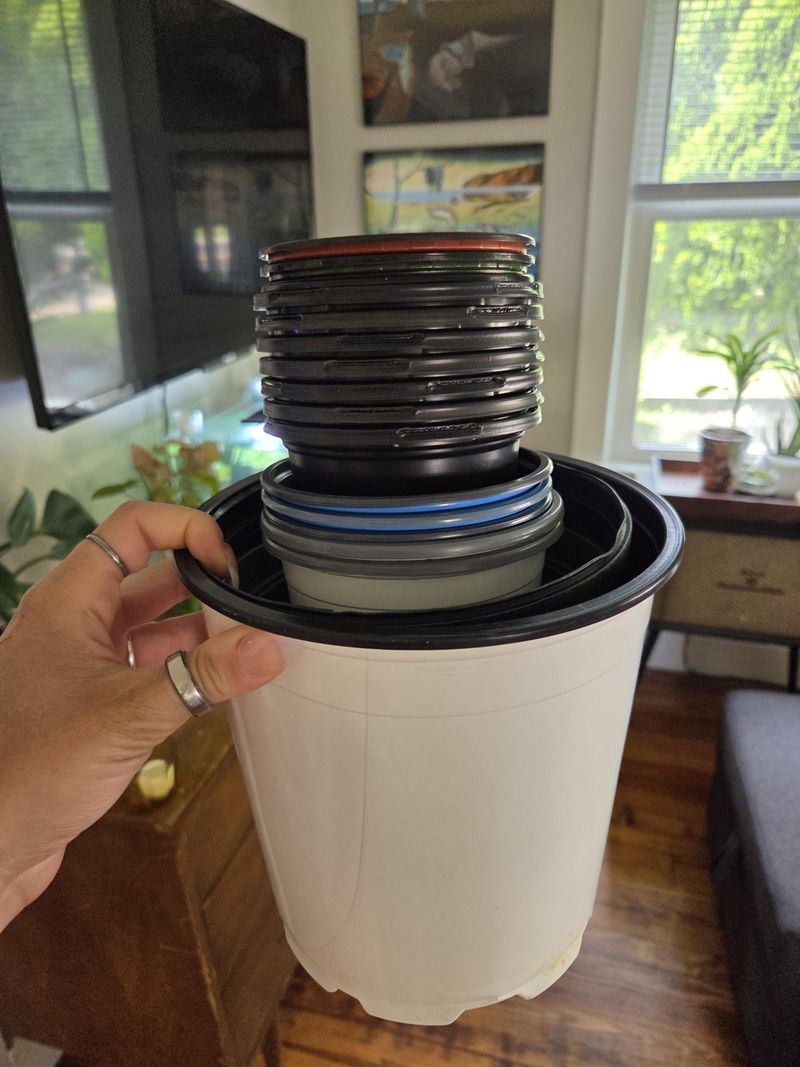
Stacking pots seems simple until two of them get stuck together. Anyone who has tugged on jammed pots knows that frustrating struggle.
Clay and ceramic pots can chip when they rub against each other. Even sturdy containers pick up scratches during months of storage.
A sheet of newspaper between each pot fixes both problems. It cushions the surfaces and keeps them from locking tightly together.
Cardboard and old burlap sacks work just as well. Use whatever you have lying around the garage or recycling bin.
Paper also soaks up any tiny bit of leftover moisture. That small benefit helps protect against mold during long winter months.
Sort pots by size before you start stacking. Big ones go on the bottom, and smaller ones nest neatly on top.
Keep each stack fairly short to avoid tipping. Five or six pots high is plenty for most clay and ceramic containers.
Choose a storage spot with decent airflow. A garage shelf or a dry corner of the basement works nicely for most homes.
Label the shelf or bin with pot sizes if you have many. Spring planting goes faster when you can grab the right pot quickly.
Finishing this step means your weekend job is done. Virginia gardeners can now relax, sip some cider, and dream about spring.