Try These Colonial Garden Techniques That Are Making A Comeback In Virginia
Something quiet is stirring in Virginia backyards. It doesn’t look like much at first glance. But look closer, and you’ll notice gardeners doing things differently this year. They’re stepping away from modern conveniences.
Instead, they’re reaching for something older. Something their ancestors trusted long before store shelves were lined with quick fixes.
There’s no single trick behind it. Just a slow return to methods that once fed entire families, season after season.
Nobody’s rushing. Nobody’s following a trend. They’re simply rediscovering what worked. The strange part is how well it fits into today’s world.
You don’t need sprawling land or generations of experience to begin. A small backyard is enough.
A little curiosity is enough. Virginia’s soil remembers these old rhythms, even if we’ve forgotten them ourselves.
What’s changing in these gardens might surprise you, and it explains why so many people are drawn back to it.
1. Raised Rectangular Beds With Defined Paths
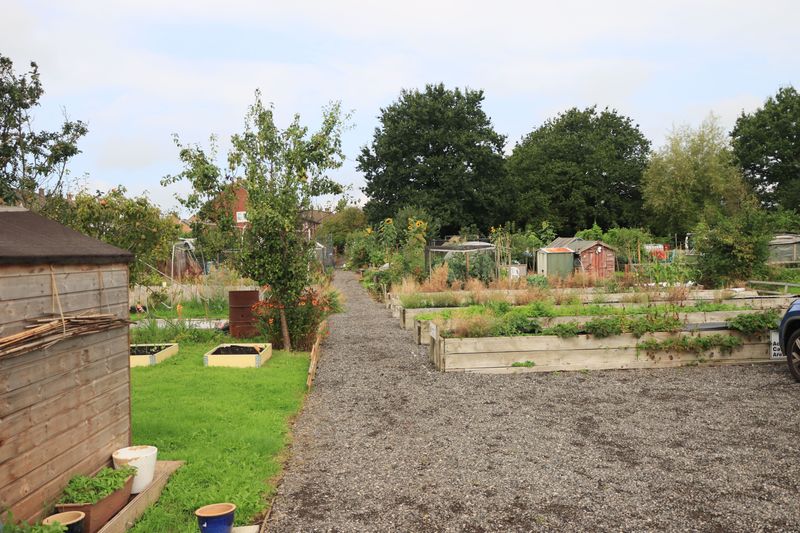
Nothing beats the clean, organized look of a well-planned raised bed garden. Colonial gardeners knew exactly what they were doing when they built rectangular plots with walking paths between them.
Defined paths kept the soil from getting compacted by foot traffic. Loose, airy soil means roots can push down easily and plants grow stronger.
Wooden frames made from cedar or pine work best for raised beds. Cedar resists rot naturally, so your investment lasts for years without chemical treatment.
Fill your beds with a mix of compost, topsoil, and aged manure. That rich blend feeds plants slowly all season long without expensive store-bought fertilizers.
Gravel or bark chips between paths keep weeds down and mud off your shoes. Walking through a tidy garden feels satisfying in a way that a messy plot never does.
Colonial gardeners often laid out beds in groups of four, creating a symmetrical pattern. That layout made crop rotation simple and kept the garden looking intentional and polished.
Start with two beds if space is limited. You can always add more rectangular sections as your confidence and appetite for fresh vegetables grow.
These colonial garden techniques reward planning with productivity. A well-built raised bed setup can outperform a flat garden plot of the same size every single season.
2. Succession Planting Of Lettuce Every Two Weeks
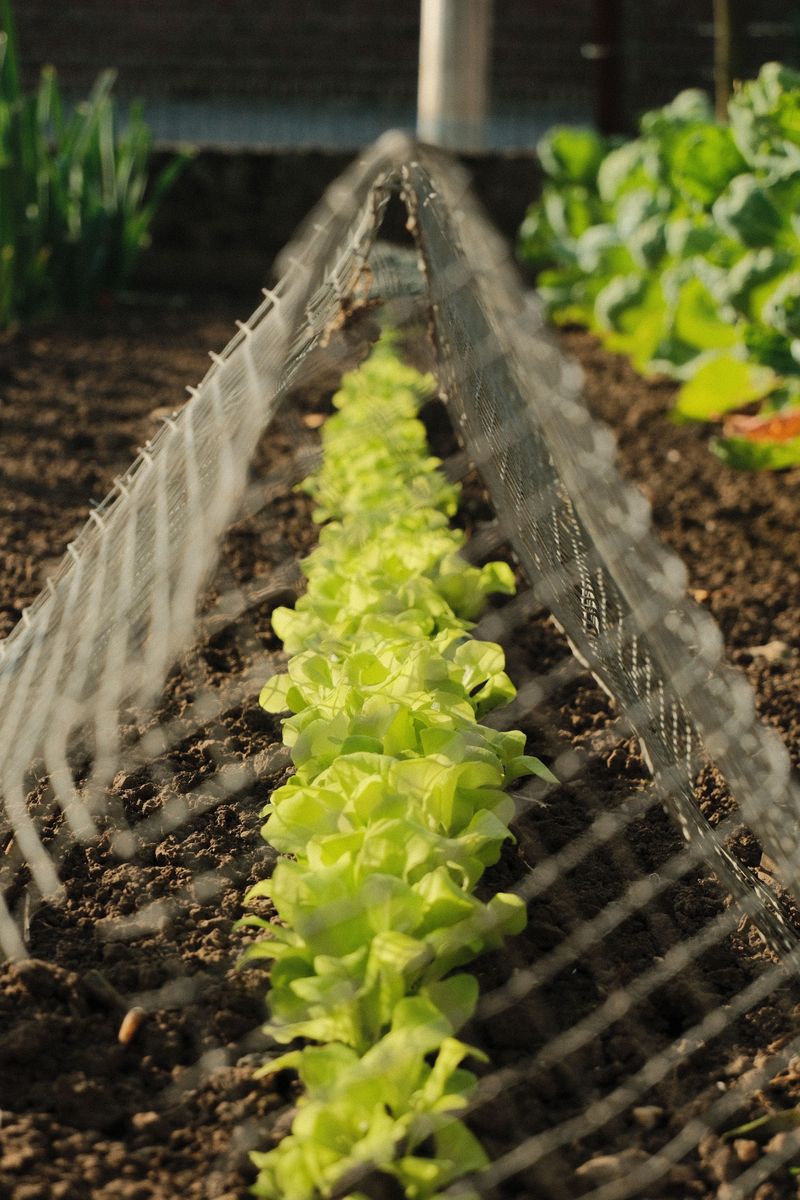
Imagine walking to your garden and picking fresh lettuce every single week all season long. That dream is exactly what succession planting delivers to your table.
Colonial farmers figured out a brilliant trick: plant a short row of lettuce seeds every two weeks. By the time the first row matures, the second row is just getting started.
Lettuce bolts fast in summer heat, turning bitter and tough. Staggering your planting schedule means you always have tender, sweet leaves ready before the older plants give up.
Start your first succession in early spring, about four to six weeks before the last frost. Virginia springs are perfect for cool-season greens that thrive in mild temperatures.
Your Virginia Garden Changes Every Week. Your Plan Should Too.
Gardening in Virginia changes quickly throughout the season. Every Friday you’ll receive a simple weekly plan showing exactly what to plant, prune, fertilize, harvest, and protect so you never miss the right timing.
Choose three or four different lettuce varieties for each succession. Mixing butterhead, romaine, and loose-leaf types adds color and flavor to every salad bowl.
Mark each row with a small stick and the date you planted it. That simple habit helps you track what is ready and when to sow the next batch.
Fall successions work just as well as spring ones in Virginia. Cooler temperatures actually improve flavor, making autumn lettuce taste sweeter than anything grown in July.
Colonial garden techniques like this one prove that smart timing beats brute force every time. A little planning at the seed packet stage feeds your family for months without extra effort.
3. Interplanting Radishes With Slower-Growing Roots
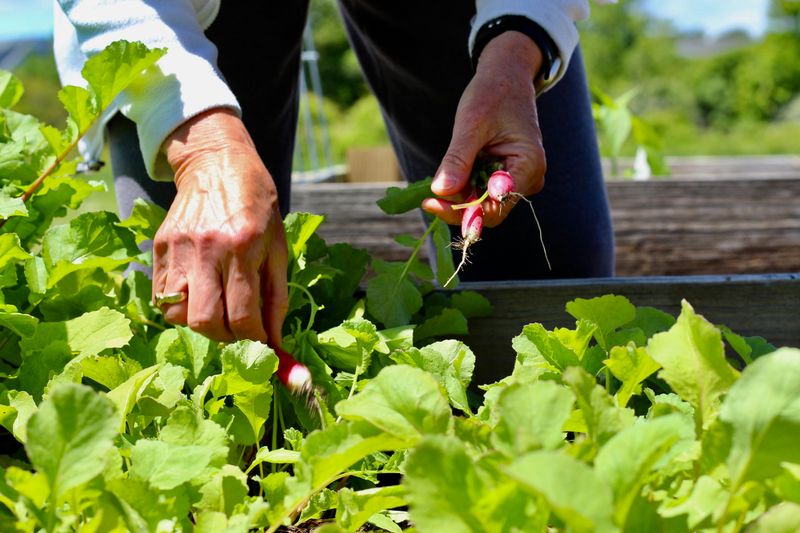
Radishes are the speedsters of the root vegetable world. They sprout fast, mature in about three weeks, and get out of the way before slower neighbors need the space.
Colonial gardeners planted radishes directly among carrots, parsnips, and beets. The quick radish harvest loosened soil naturally, creating pathways for slower root vegetables to push deeper.
Compacted soil is the enemy of any root crop. When radishes are pulled, the gaps they leave behind improve drainage and aeration for the roots still growing below.
Sow radish seeds in the same row as carrot seeds, spacing them every few inches. By harvest time, pulling radishes automatically thins the carrot row without extra work from you.
This method also marks your rows clearly while carrots are still tiny seedlings. Radish leaves pop up fast and show you exactly where the row is, preventing accidental stepping.
Choose fast-maturing radish types like Cherry Belle or French Breakfast for best results. These varieties are typically ready in about 22 to 30 days, leaving plenty of room for what comes next.
Interplanting also squeezes more food from a small bed. Two crops share the same square footage, which colonial families needed when garden space was precious and carefully managed.
Trying colonial garden techniques like this one makes you rethink empty space in your beds. Every inch of soil is a chance to grow something delicious and useful this season.
4. Companion Planting Basil Alongside Tomatoes
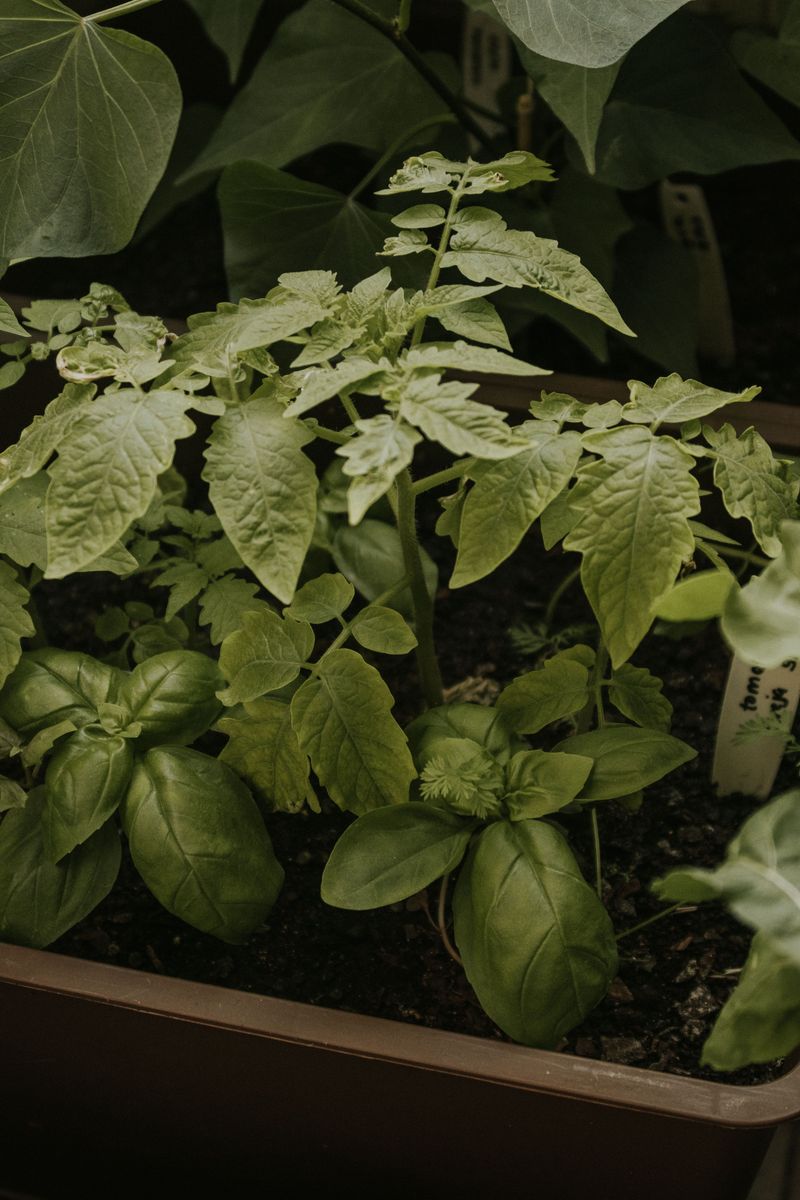
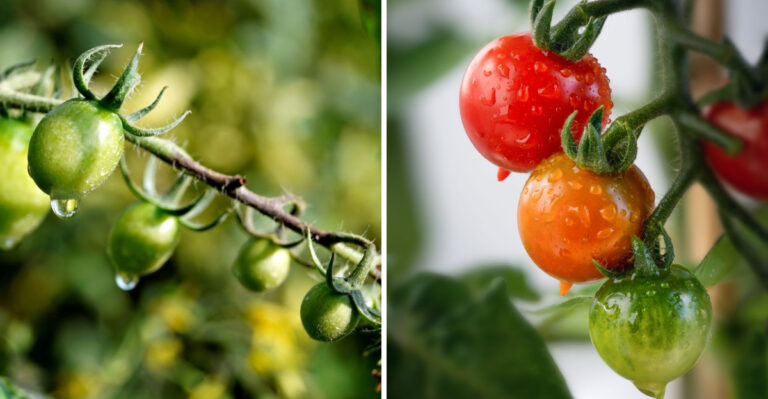
Basil and tomatoes are one of the oldest partnerships in garden history. Colonial Virginians planted them side by side long before modern science confirmed what farmers already knew by instinct.
Many gardeners believe basil helps deter aphids, whiteflies, and hornworms that love to feast on tomato leaves.
Keeping a few basil plants close is a traditional, spray-free way to discourage pests, even if the science behind it is still debated.
The aromatic oils in basil leaves are thought to create a scent barrier that confuses insects looking for their favorite host plant.
Some gardeners find that bugs have a harder time locating tomatoes when strong-smelling herbs crowd the row.
Plant basil about 12 inches from each tomato stem for the best coverage. Too close and the basil gets shaded out; too far and you lose the protective benefit of the pairing.
Sweet Genovese basil is the classic choice for companion planting with tomatoes. Its large, fragrant leaves also mean you get plenty of fresh herbs for pasta sauce while protecting your crop.
Some gardeners swear that tomatoes grown near basil taste richer and more complex. Whether that is science or story, the combination has stood the test of centuries in productive gardens.
Pinch basil flowers off as soon as they appear to keep plants bushy and productive. A well-maintained basil plant stays aromatic and useful right up until the first autumn frost arrives.
Colonial garden techniques like this pairing remind us that nature already solved many of our gardening problems. Working with plant relationships is smarter than fighting pests with chemicals every single season.
5. Stick Fences And Tripods For Climbing Peas
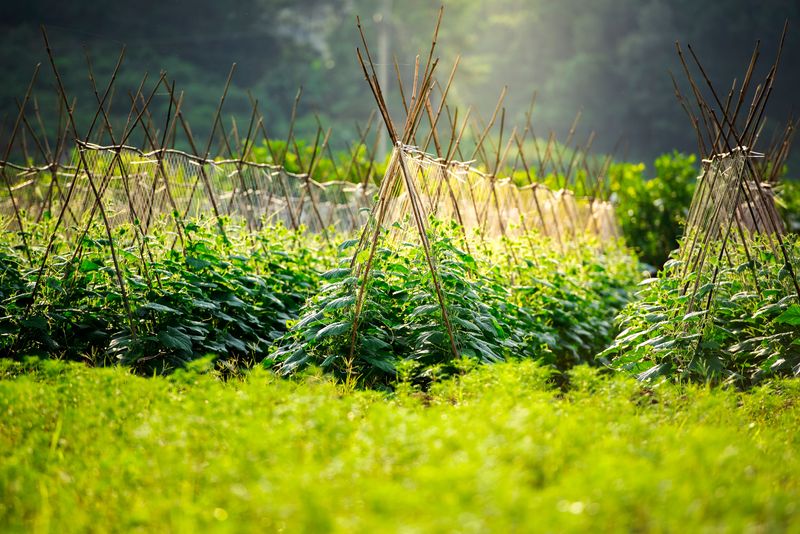
Before plastic netting and metal cages existed, colonial gardeners built beautiful structures from branches and sticks. These handmade supports gave climbing peas exactly what they needed to thrive.
Stick tripods are easy to build with three sturdy branches tied at the top. Push the bottoms into the soil about 18 inches apart and let peas find their way up naturally.
Pea tendrils are surprisingly strong once they latch onto a rough surface. Bark-covered sticks give those tiny curling fingers something to grip far better than smooth metal rods.
Woven stick fences work well for longer rows of climbing varieties. Push upright stakes every foot and weave flexible branches horizontally to create a sturdy, attractive support structure.
Hazel, willow, and young oak branches all work well for garden structures. These materials are free if you have trees or shrubs to prune, making this the most budget-friendly trellis option available.
Tall varieties like Telephone and Alderman peas need supports reaching at least five feet high. Short varieties like Little Marvel only need one to two feet of structure to stay upright and productive.
Stick structures also add charm and character to any garden space. A row of rustic tripods covered in flowering pea vines looks like something straight out of a Virginia heritage farm.
Colonial garden techniques built with natural materials connect you to the land in a deeply satisfying way. Your garden becomes both a food source and a living piece of history worth sharing.
6. Symmetrical Twin Flowerbeds Flanking A Central Walkway
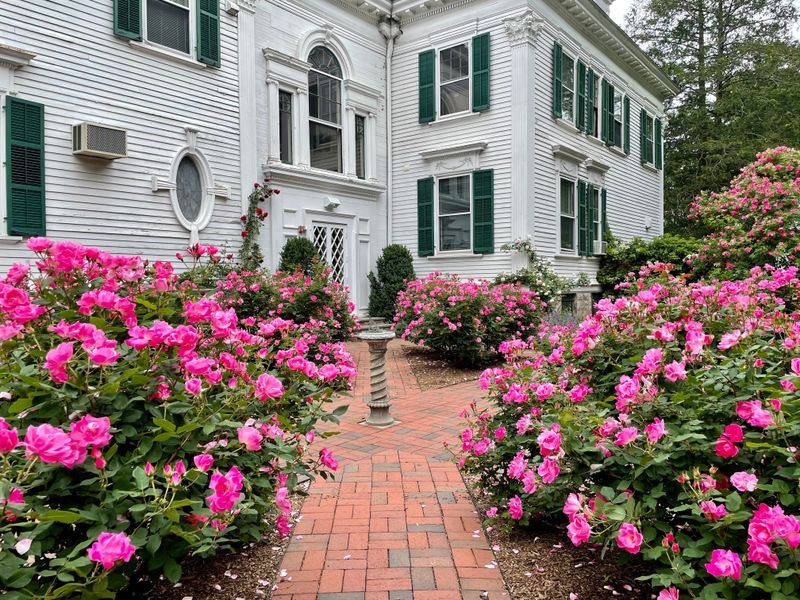
Walk up to a colonial-era Virginia home and chances are two matching flowerbeds greet you on either side of the front path. That formal symmetry was no accident.
Colonial gardeners often valued a well-ordered look, and a tidy, symmetrical garden was commonly seen as a reflection of a well-run household.
Symmetrical beds flanking a central walkway gave visitors an immediate impression of care and order.
Beyond appearances, the layout had practical benefits too. Equal beds on both sides meant balanced sun exposure and easier maintenance since both sections mirrored each other exactly.
Plant hollyhocks, foxglove, and larkspur for an authentic colonial feel. These tall, dramatic flowers were staples of 18th-century Virginia gardens and are still widely available today.
Edge each bed with low-growing herbs like thyme or chamomile. That soft border blurs the line between formal and natural, adding fragrance every time a visitor brushes past the plants.
A central path of brick, gravel, or packed earth ties the whole design together. Keep it straight and wide enough for two people to walk side by side comfortably.
Maintain both beds identically so the symmetry stays sharp through the growing season. Letting one side get ahead of the other breaks the visual effect that makes this design so striking.
Colonial garden techniques like this one prove that beauty and function can share the same soil. A symmetrical layout welcomes guests warmly while making your garden the most admired one on the street.
7. Kitchen Gardens Planted Close To The House
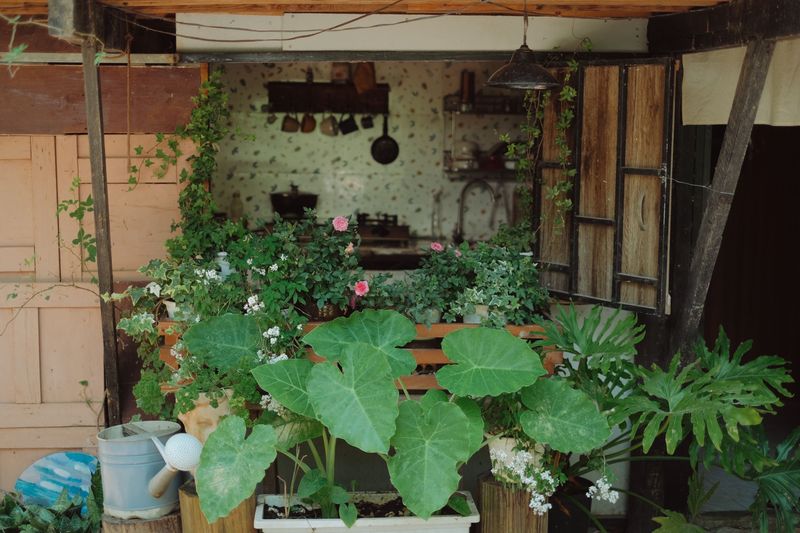
Colonial cooks had no time to hike across a large property every time they needed fresh herbs. That is exactly why the kitchen garden lived just steps from the back door.
Proximity was everything in an 18th-century household. A short walk between the stove and the garden meant herbs went from stem to pot while still at peak freshness and aroma.
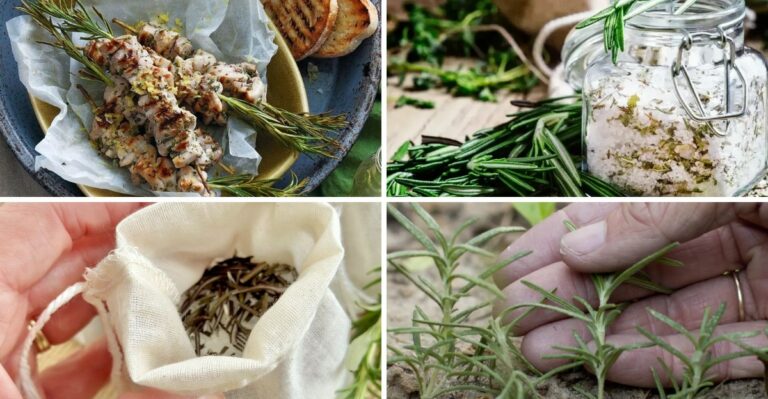
Today, that same logic makes perfect sense for busy home cooks. Planting parsley, sage, rosemary, and thyme within arm’s reach of your kitchen door changes how often you actually use them.
Keep the kitchen garden small and intensely planted. A four-by-eight-foot bed packed with your most-used herbs and greens outperforms a large, sprawling plot that feels overwhelming to maintain.
Colonial homeowners often built low picket fences around kitchen gardens to keep chickens out. A small decorative border also defines the space and keeps it feeling intentional rather than messy.
Raised beds near the house warm up faster in spring because walls and foundations radiate heat. That extra warmth can give you a modest head start and a slightly longer finish to your growing season.
Plant what you actually cook with rather than what looks impressive in a catalog. Cilantro, chives, mint, and cutting lettuce are everyday workhorses that earn their spot near the back steps.
Colonial garden techniques remind us that convenience drives consistency in any garden. When your herbs are steps away, you harvest more often and waste less food throughout the growing season.
Rosemary is a wonderful addition too, though gardeners in Virginia’s cooler western zones may need to grow it in a container or bring it indoors for winter, since it isn’t always reliably hardy there.
8. Heirloom Seed Saving From Season To Season
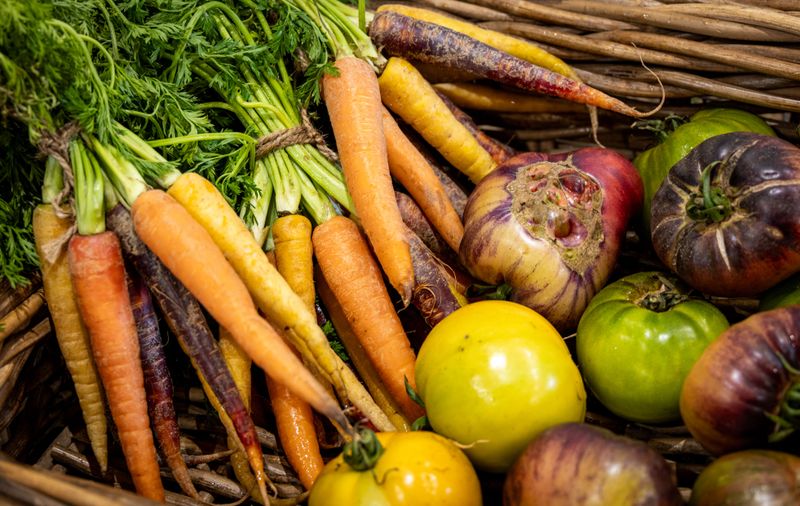
Every seed saved from this year’s harvest carries the memory of every garden that grew it before. Heirloom seed saving is one of the most powerful colonial garden techniques still practiced today.
Colonial Virginians could not order seeds online or visit a garden center. They saved seeds from their best plants every fall and replanted them the following spring without fail.
Heirloom varieties are open-pollinated, meaning seeds reproduce true to the parent plant. Save seeds from a Cherokee Purple tomato and you get Cherokee Purple tomatoes next year, every year.
Start with easy seed savers like tomatoes and beans, which self-pollinate and produce seeds that are simple to clean, dry, and store without special equipment.
Squash is trickier, since different varieties cross-pollinate easily, so growers usually need some isolation distance or hand-pollination to keep seeds true to type.
Let a few of your best specimens ripen fully past eating stage. Seeds pulled from an overripe tomato or a dried bean pod are mature enough to sprout reliably next planting season.
Dry seeds thoroughly before storing them in paper envelopes or glass jars. Any moisture left on the seed can cause mold that ruins your entire collection before winter ends.
Label every envelope with the variety name and harvest year. Memory fades fast, and a mystery seed packet is frustrating when spring planting time rolls around in early March.
Embracing colonial garden techniques like heirloom seed saving connects you to generations of growers who fed their families with patience and care. Your seeds become a living legacy passed forward to the next season.